In the past when plastic was not widely used, most vehicles had glass headlights.
Like the ones on this MG.

Glass headlights have now been replaced by cheaper and lighter plastic versions.
The plastic construction of these modern headlights allow us to make some very fancy shapes and designs at a reasonable cost compared to glass. However, they are now more susceptible to the elements and can oxidize/yellow with time.
Plastic headlight housings are coated with a special sealant at the factory. This coating can fail and fade away. At that point the plastic is vulnerable to UV light, acid rain, dirt, etc. This causes those oxidized and yellow headlights you see today.
Like this one.

In this article I will showcase how I restore these headlights by using a wet-sanding method that can get results such as this.

This is in fact the same headlight if you are wondering! The client was in disbelief and quipped that there may have been a sneaky headlight replacement until he saw the process on the other headlight.
There are rare cases where a headlight’s seal may break and cause it to oxidize on the inside. If that happens it is usually a better option to replace it. Since I am sure you can imagine wet-sanding the inside of the headlight would be akin to building a ship in a bottle!
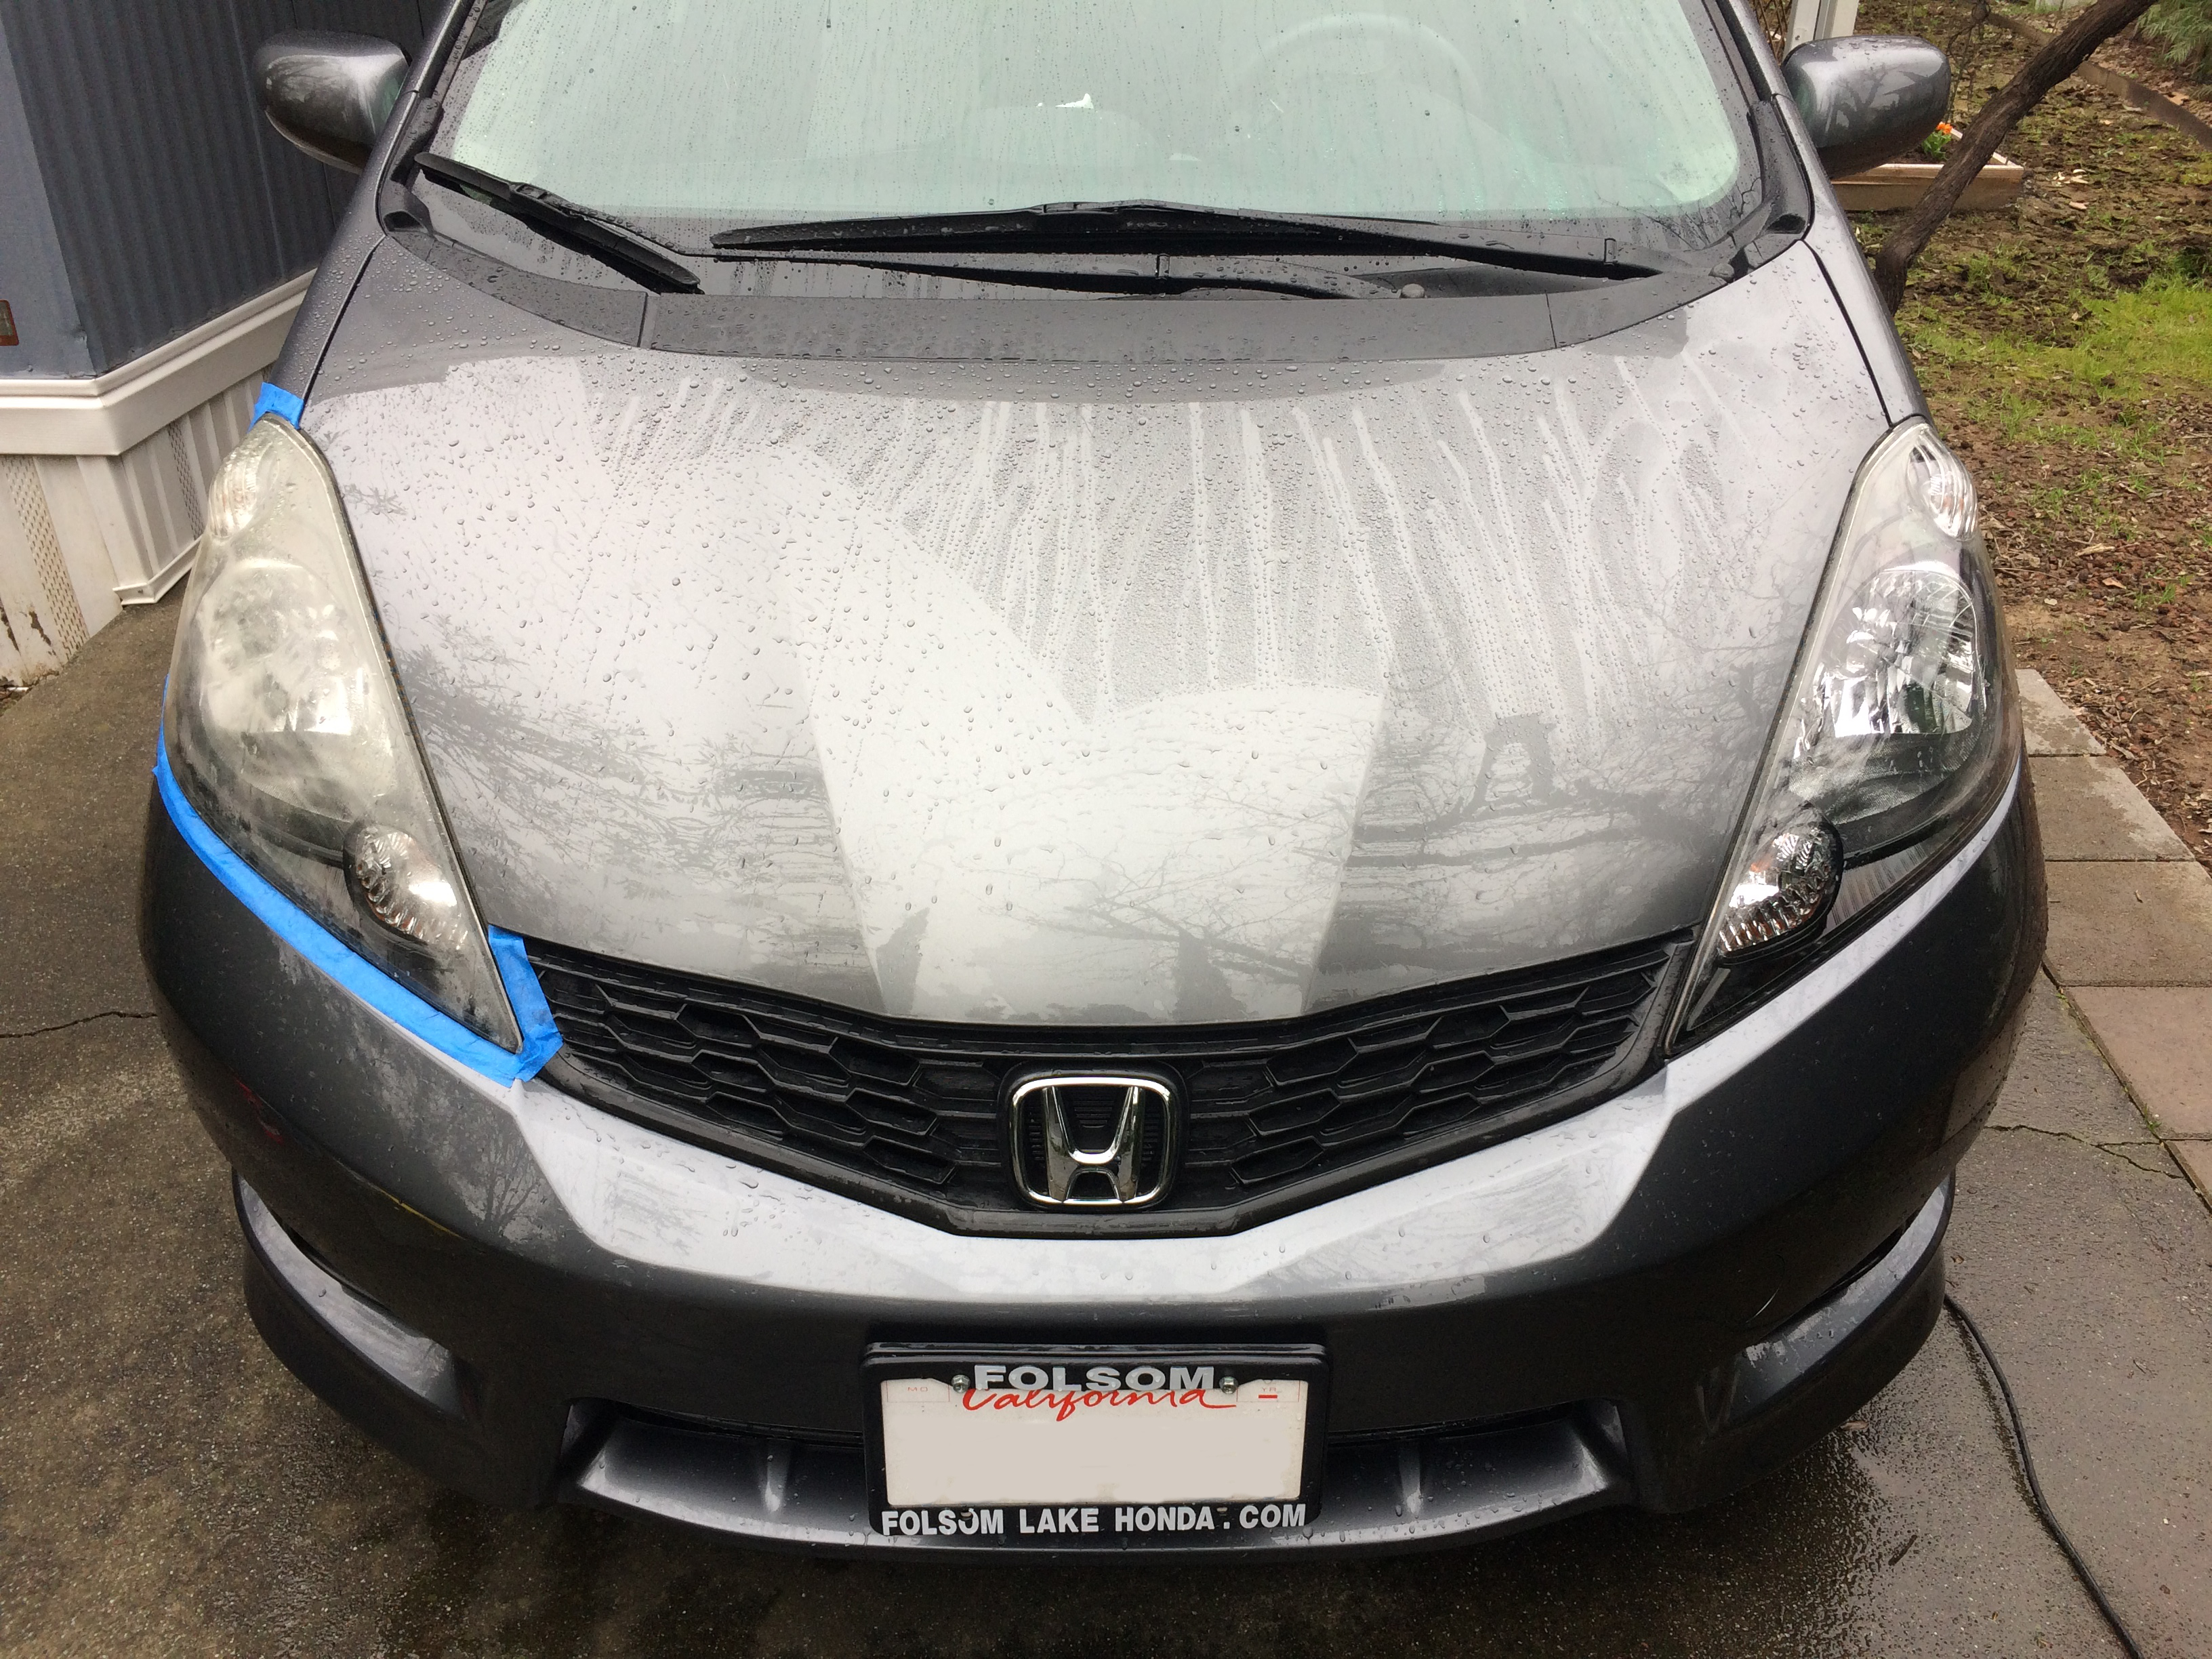
Our helpful subject for this demonstration will be a 2013 Honda Fit. You can see the factory coating is starting to fail on these headlights.


I always start by washing the headlights and performing a clay treatment to ensure they are very clean. We don’t want to be grinding any dirt into the headlights as we wet-sand.
Before wet-sanding we will protect the surrounding paint by applying an “eyeliner” using masking tape. This Fit’s headlights are right next to the hood, so I will simply lift the hood to get that section of paint out of the way.
A toothpick makes a useful tool for pressing the tape into creases.

Here we have sandpapers ranging from 1000 to 3000 grit and a KXK Dynamics R.I.D. STIX foam sanding block. We will start with the 2000 grit sandpaper since these headlights are only partially oxidized.
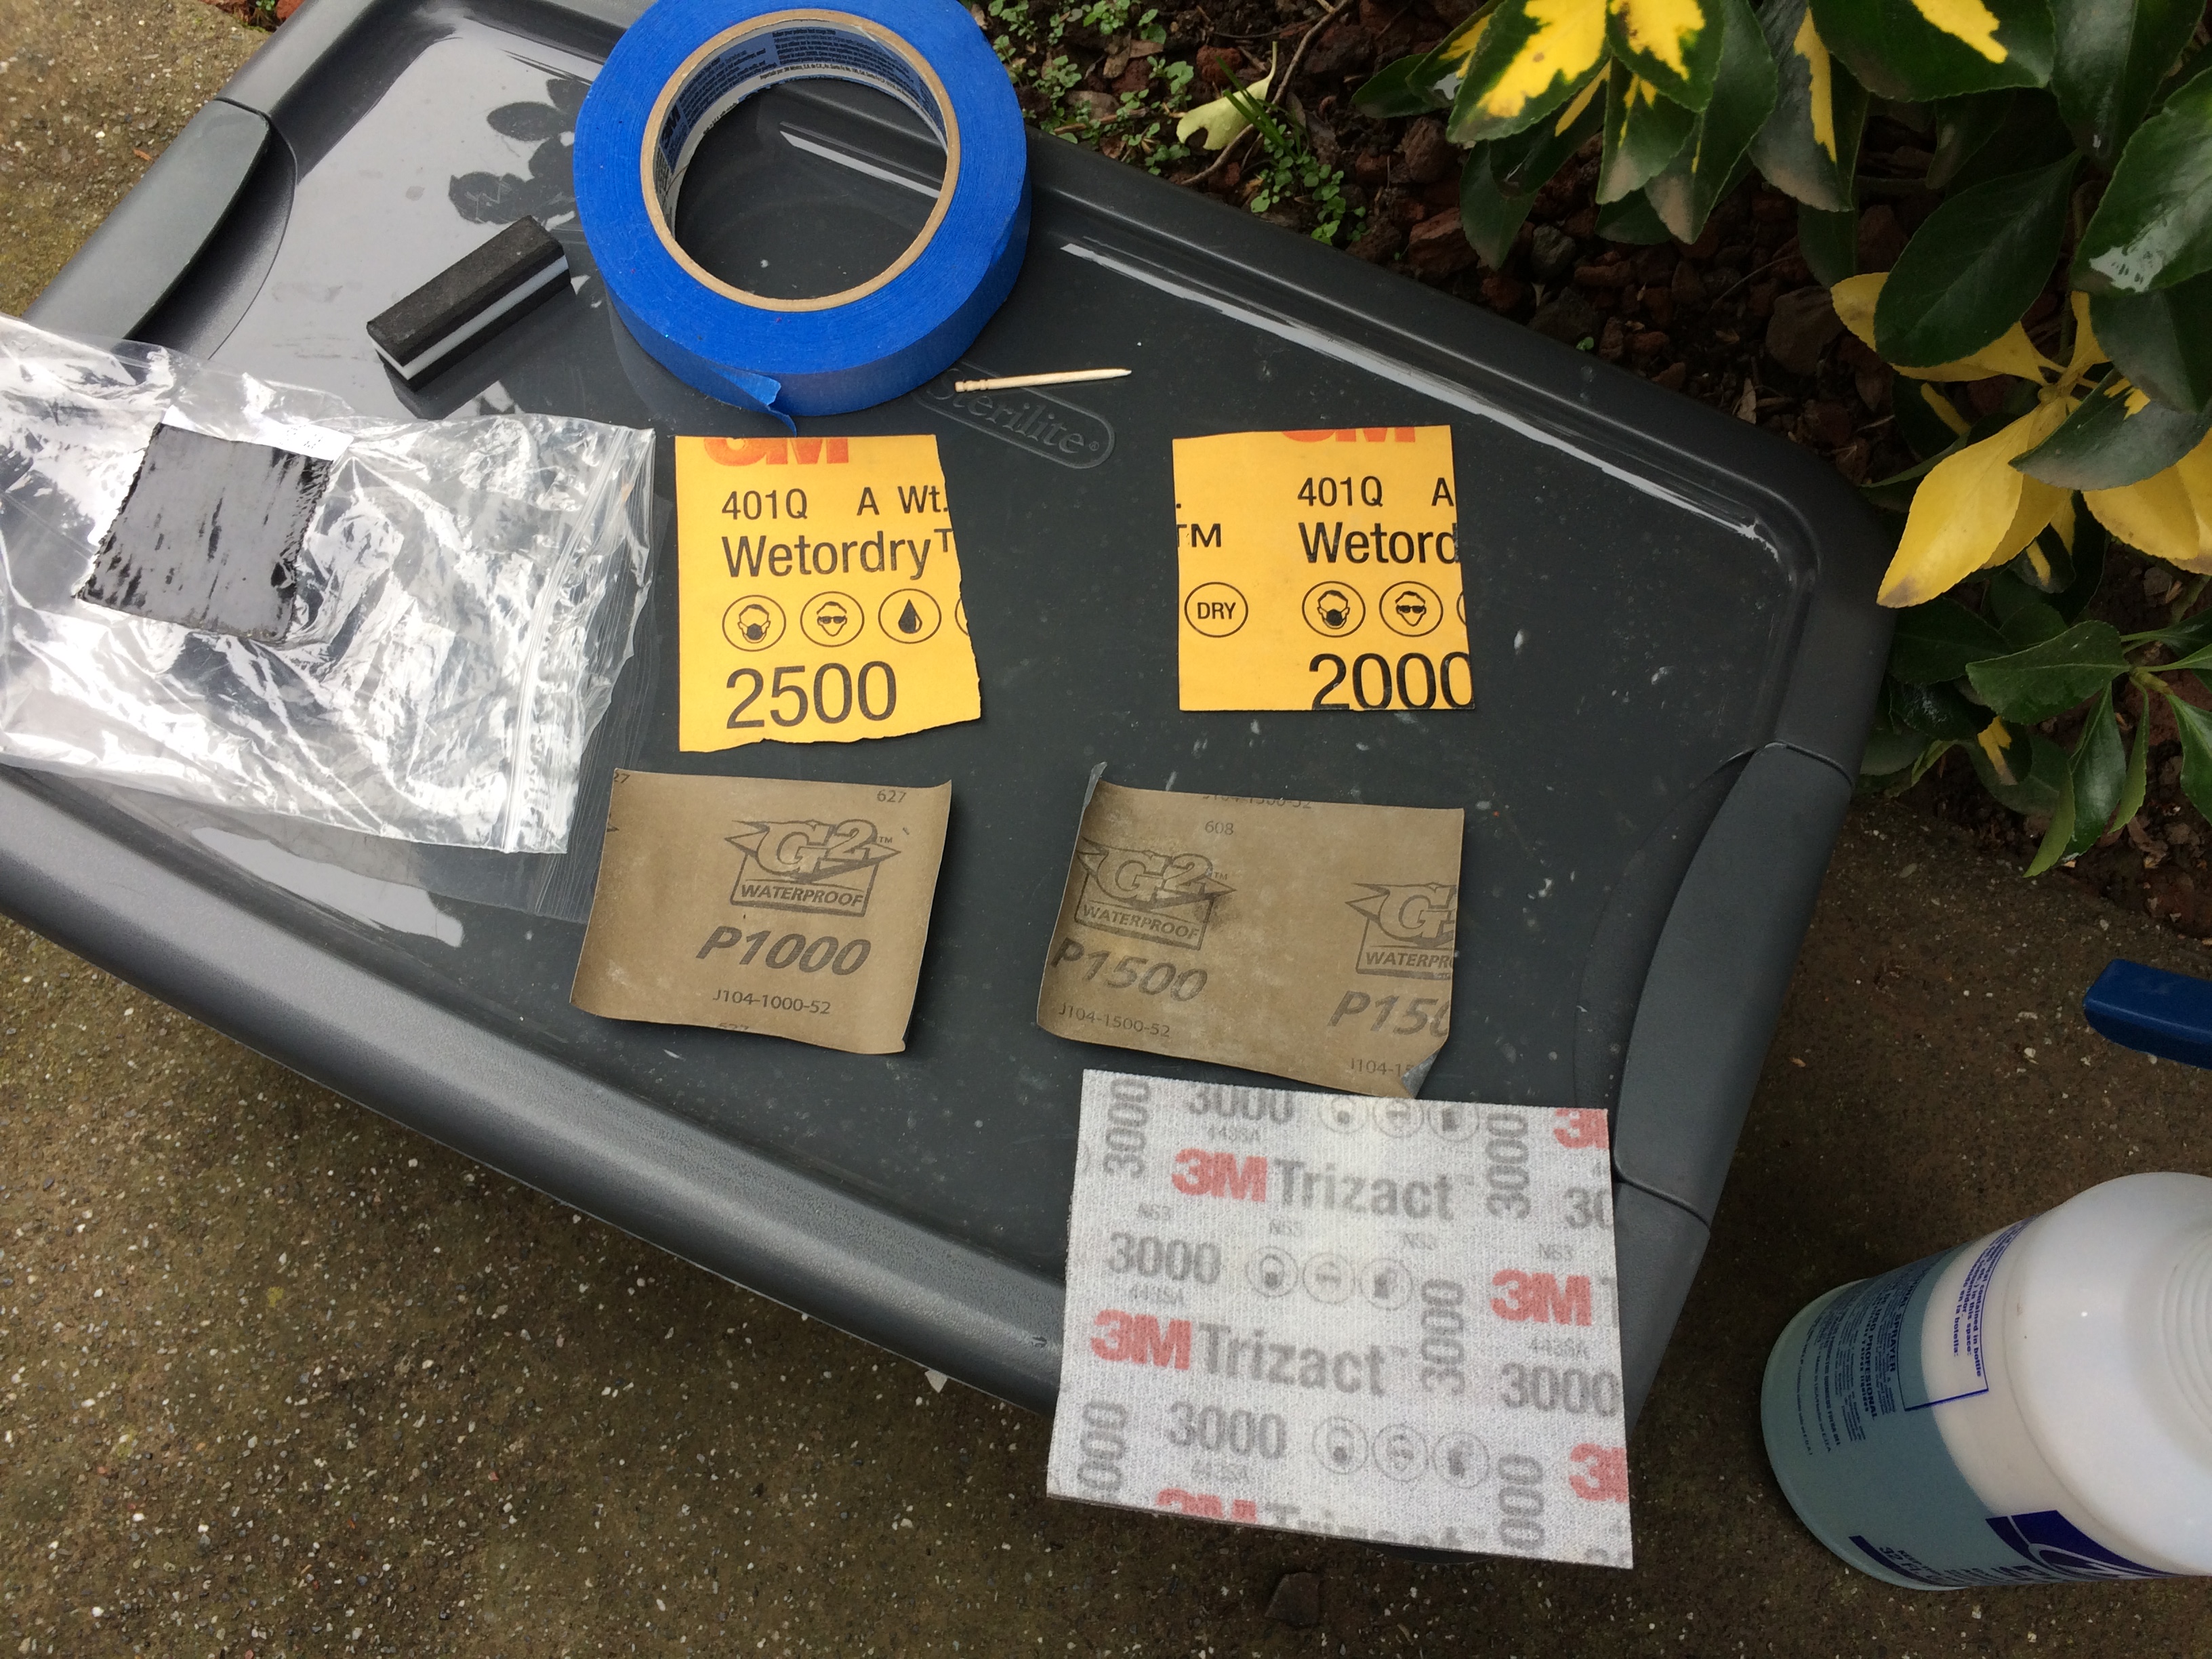
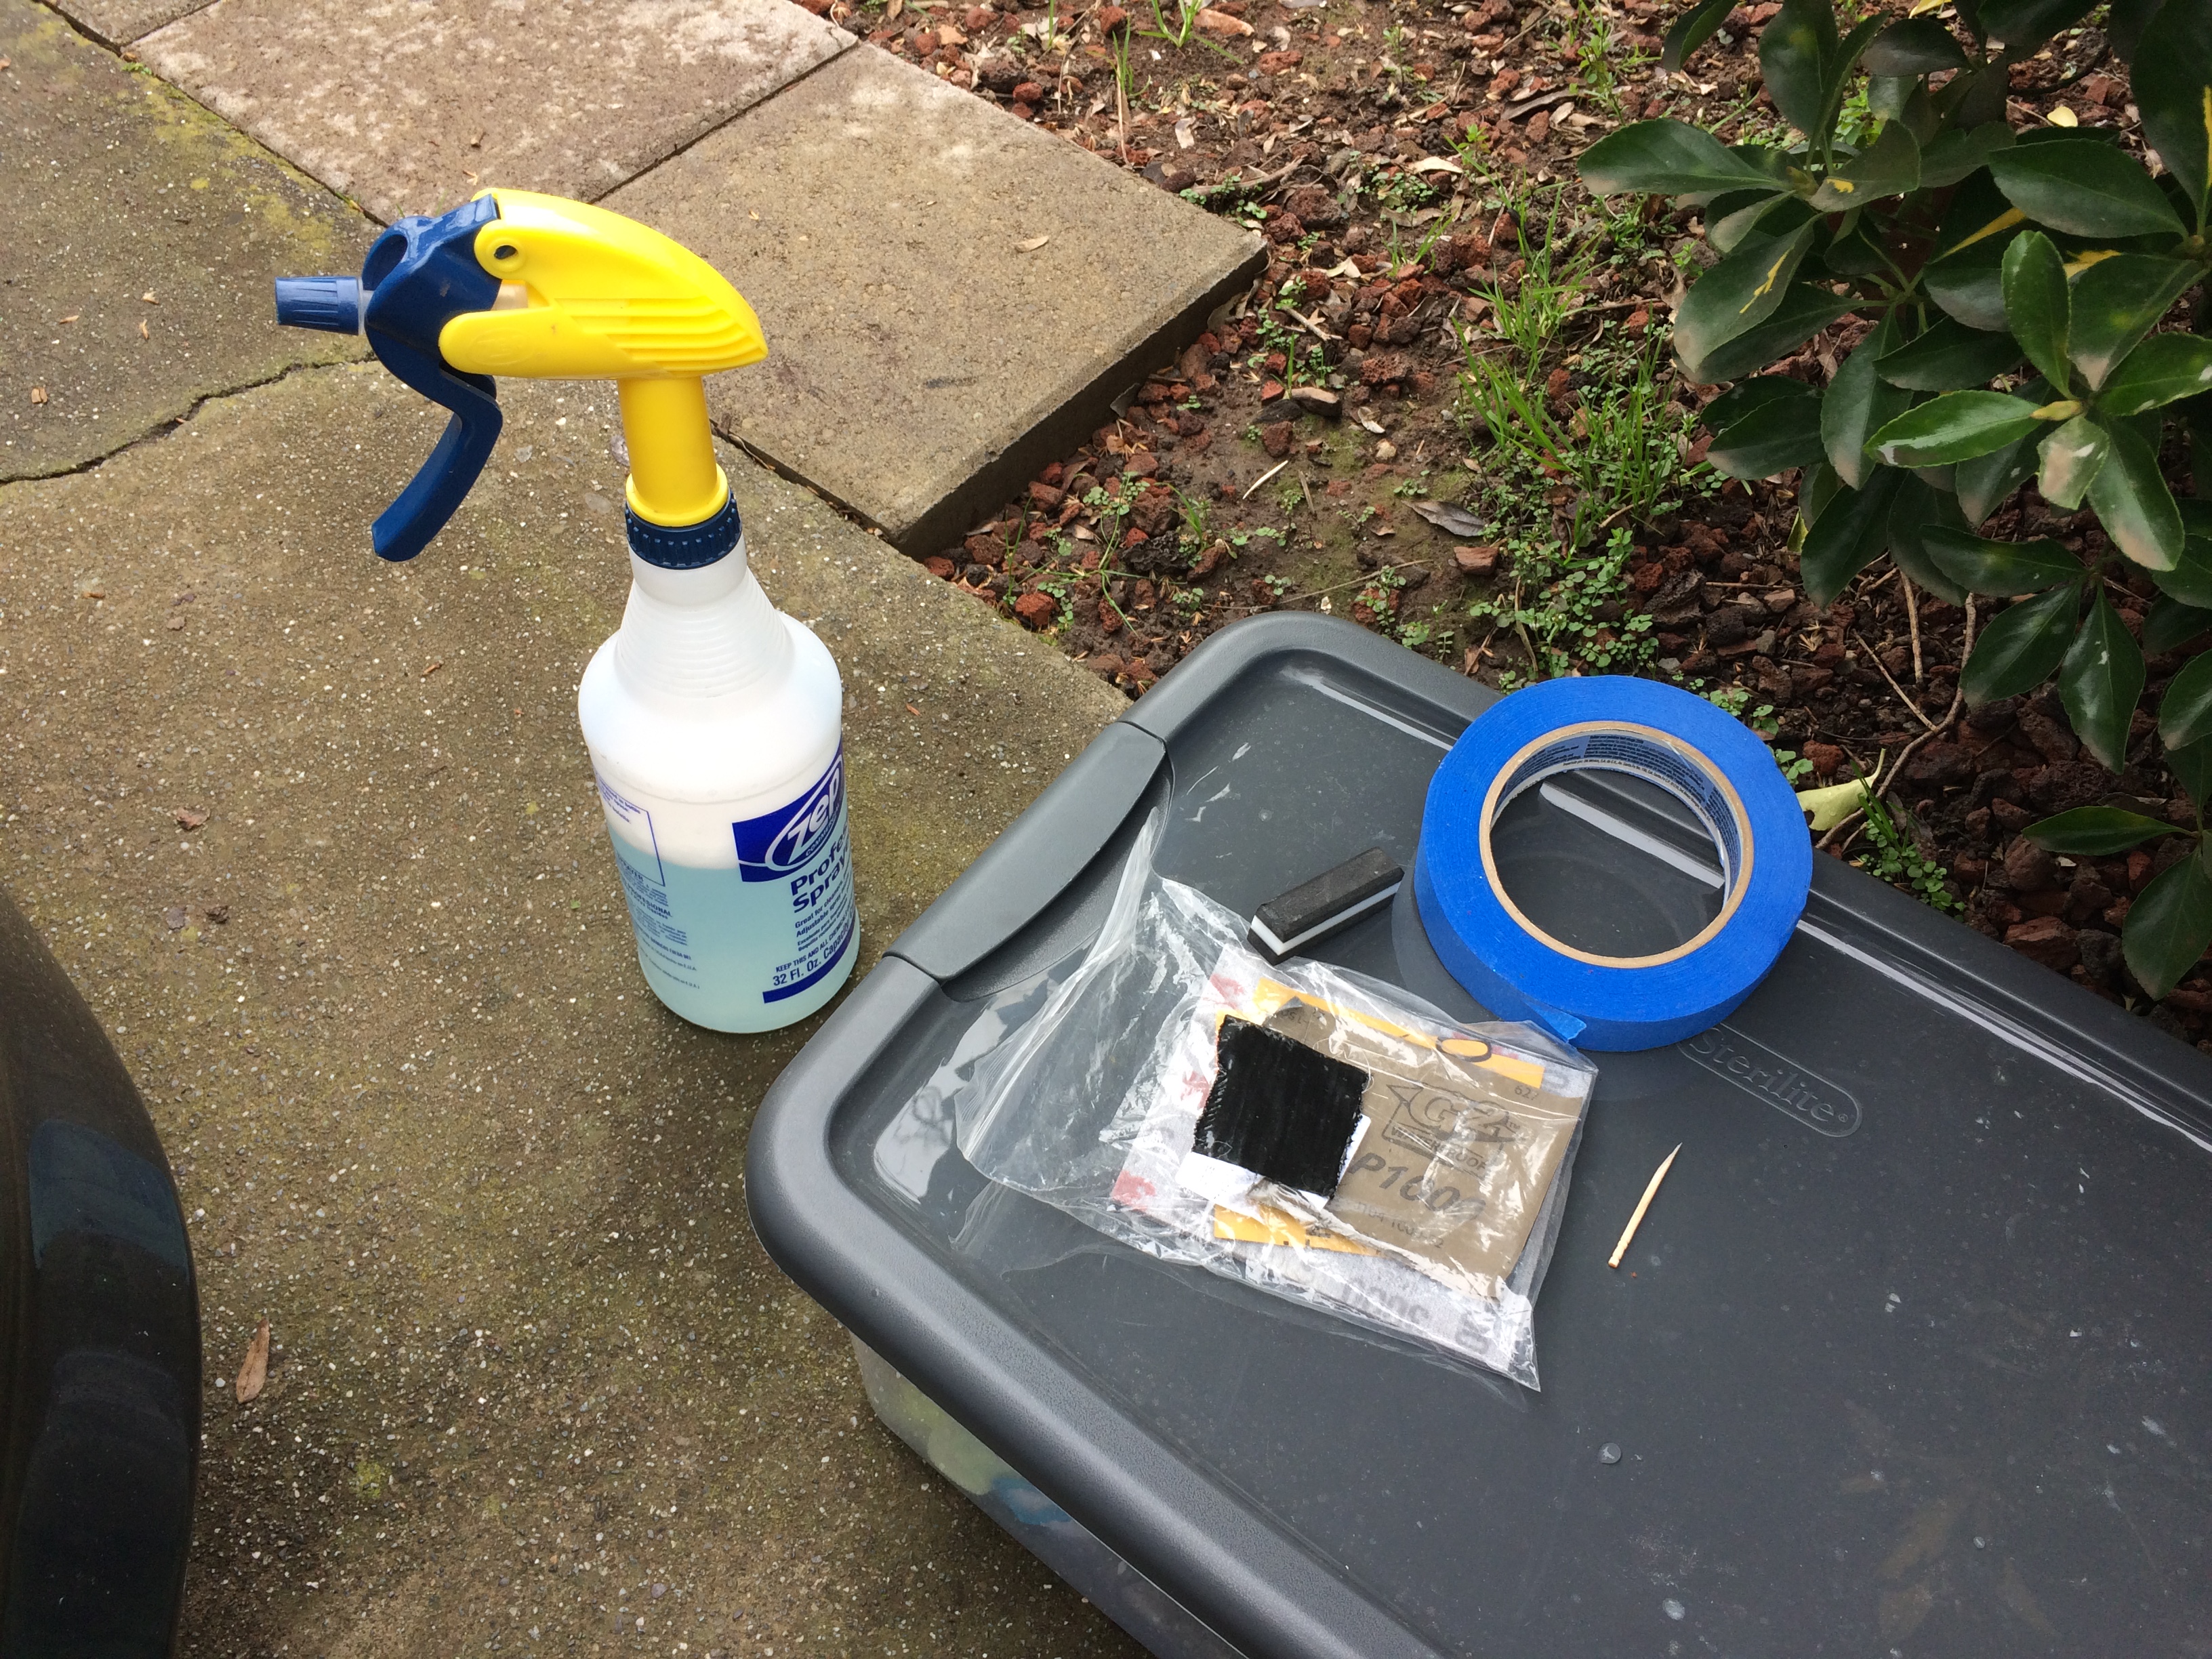
As a sanding lubricant I am using diluted Optimum Wash & Shine in a Zep spray bottle. The W&S will help clean away the sanding residue and prevent hard water spots.
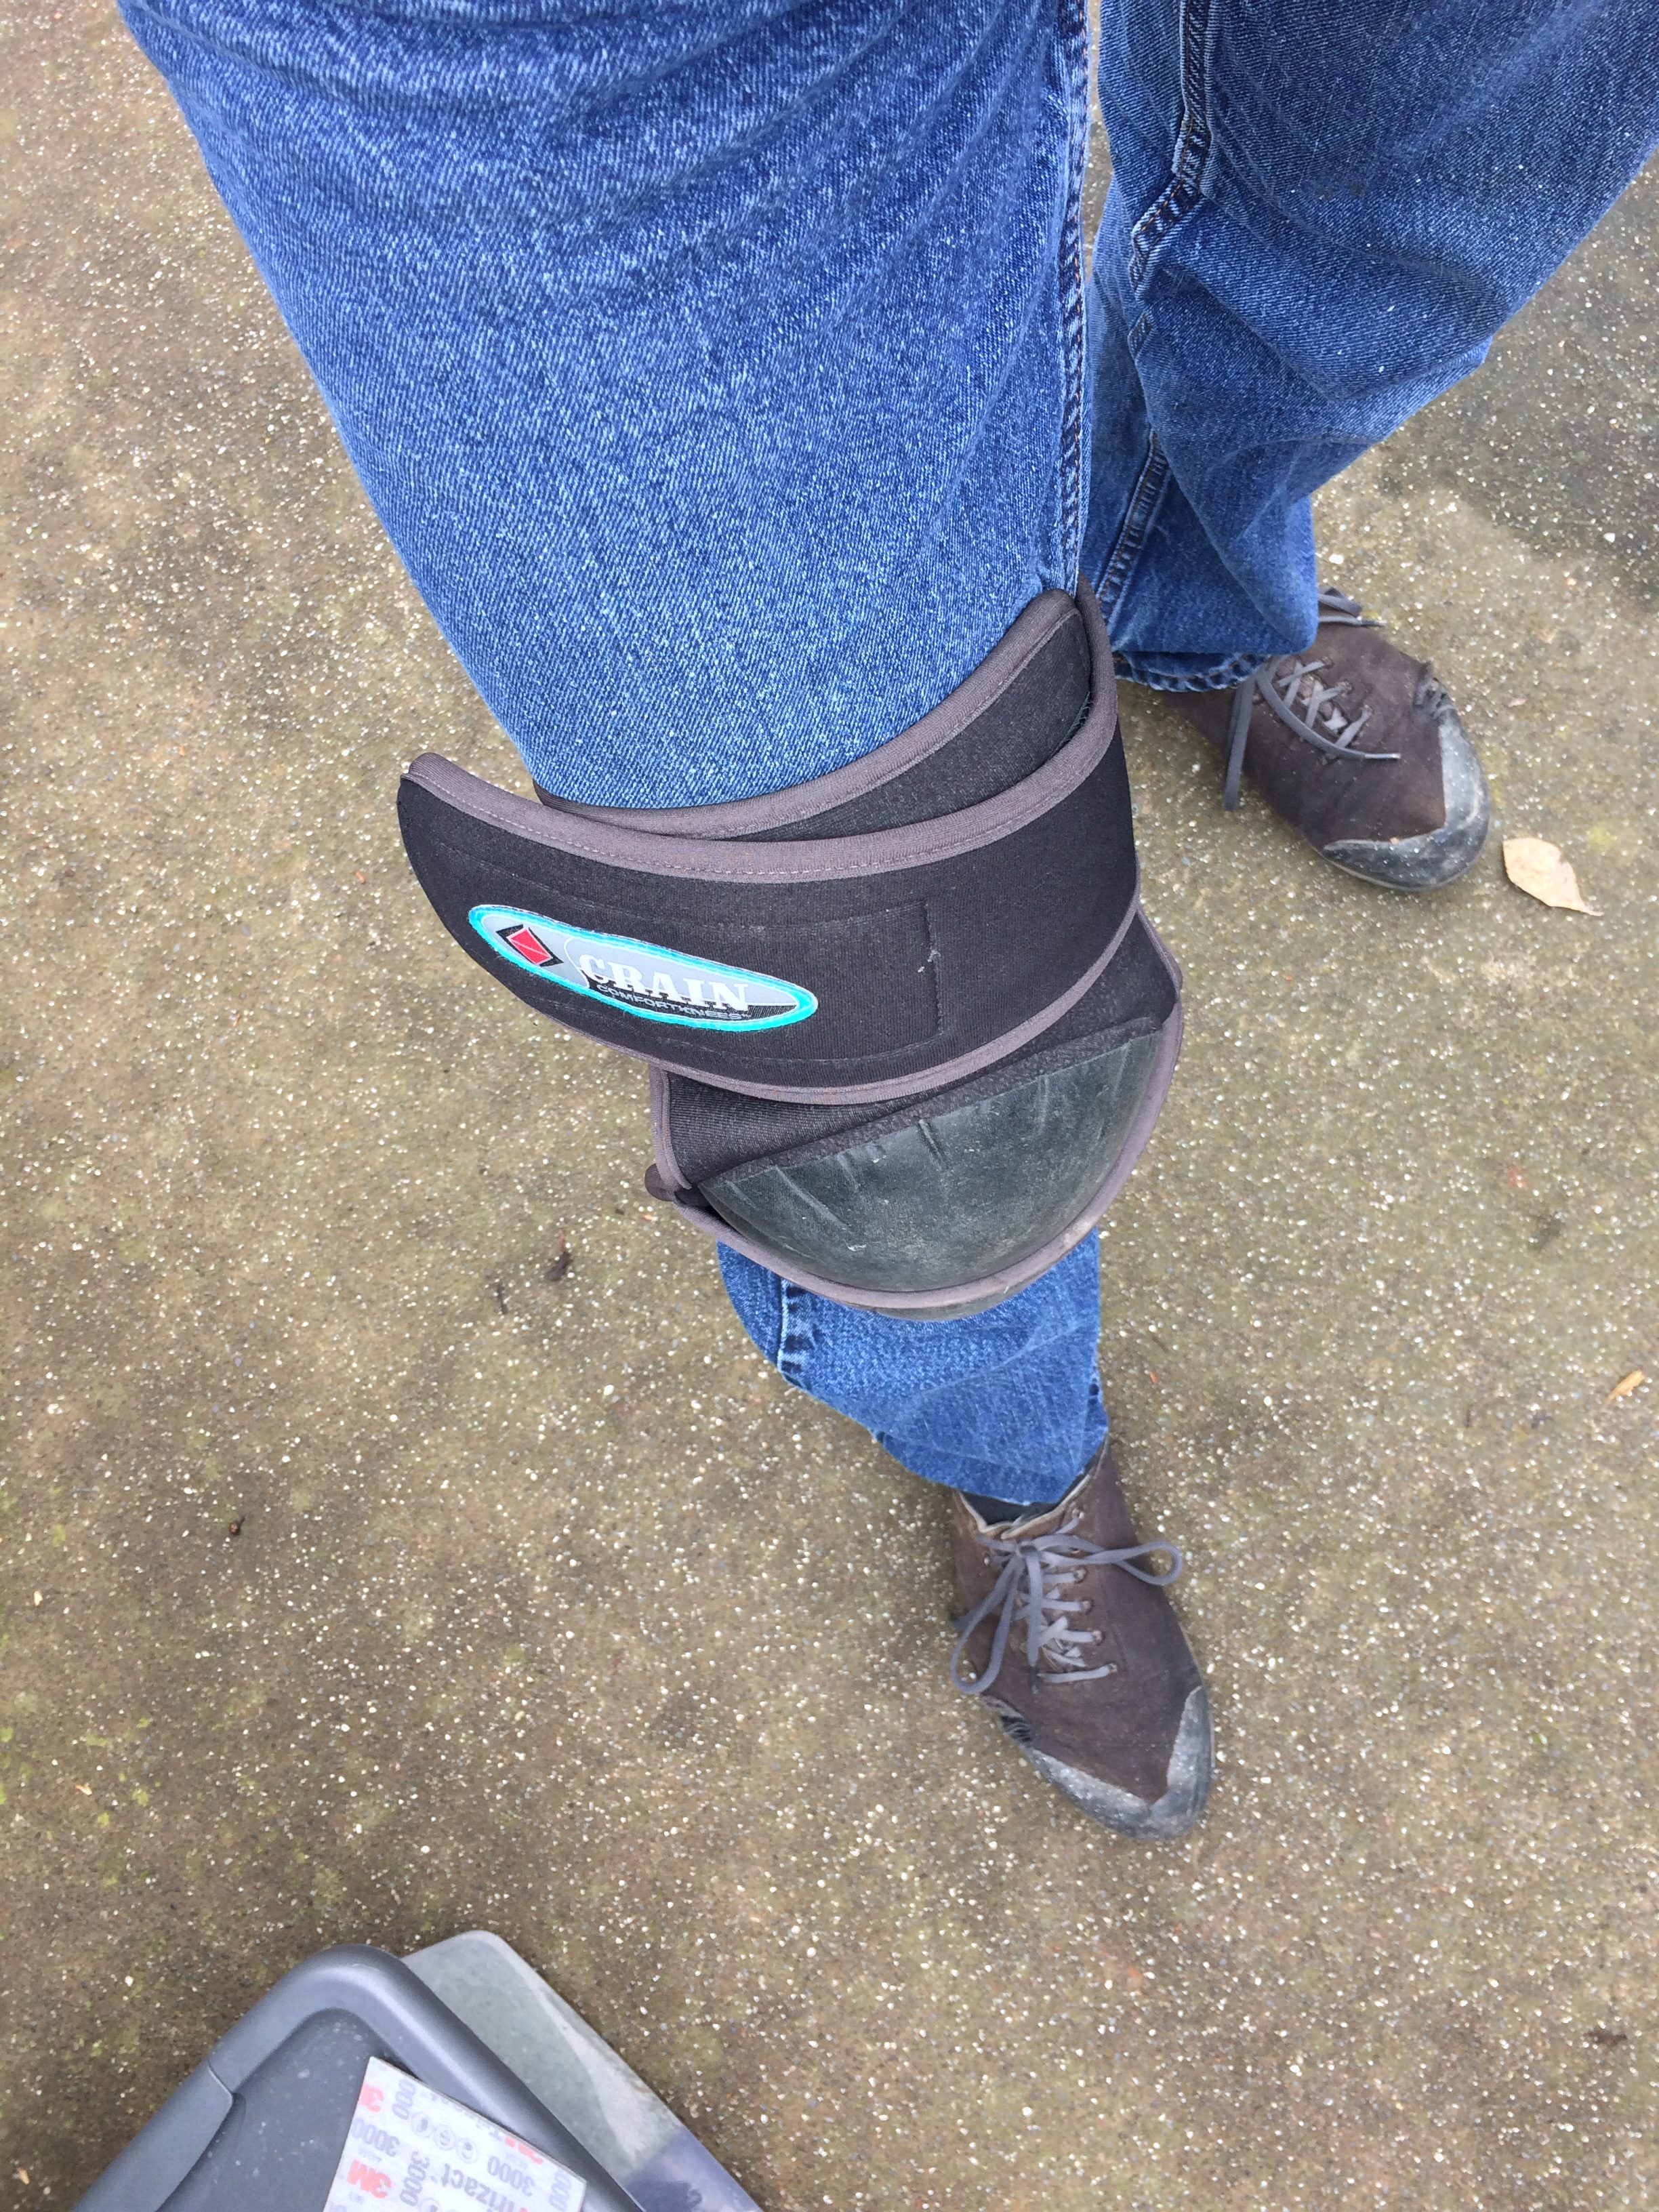
I would highly recommend these Crain Comfort Knee Pads to any other professional detailers! They are designed for use by flooring professionals who have to be on their knees day in and day out! I particularly use them whenever I work on wheels, headlights, or exhaust tips.

I like to start sanding from one side of the headlight and work towards the opposite side. When wet-sanding a painted surface we would want to use very light pressure to ensure we do not burn through the paint. We don’t need to worry about that on this plastic surface and can use heavier pressure on the worse sections of these headlights.

We will use the 2000 Grit paper in straight lines to remove the majority of the oxidized plastic. And we will use the 2500-3000 grit papers to gradually bring the sanding marks to a finer level that we can more reasonably correct with our dual action polisher. This leaves the headlights with a hazy look.


Once wet-sanding is finished, any residue is wiped off of the surface using a microfiber towel and Optimum W&S.
To polish the headlights we will be using Griot’s Fast Correcting Cream on an orange Griot’s Boss Correcting Foam Pad installed on our Rupes Bigfoot DA polisher.
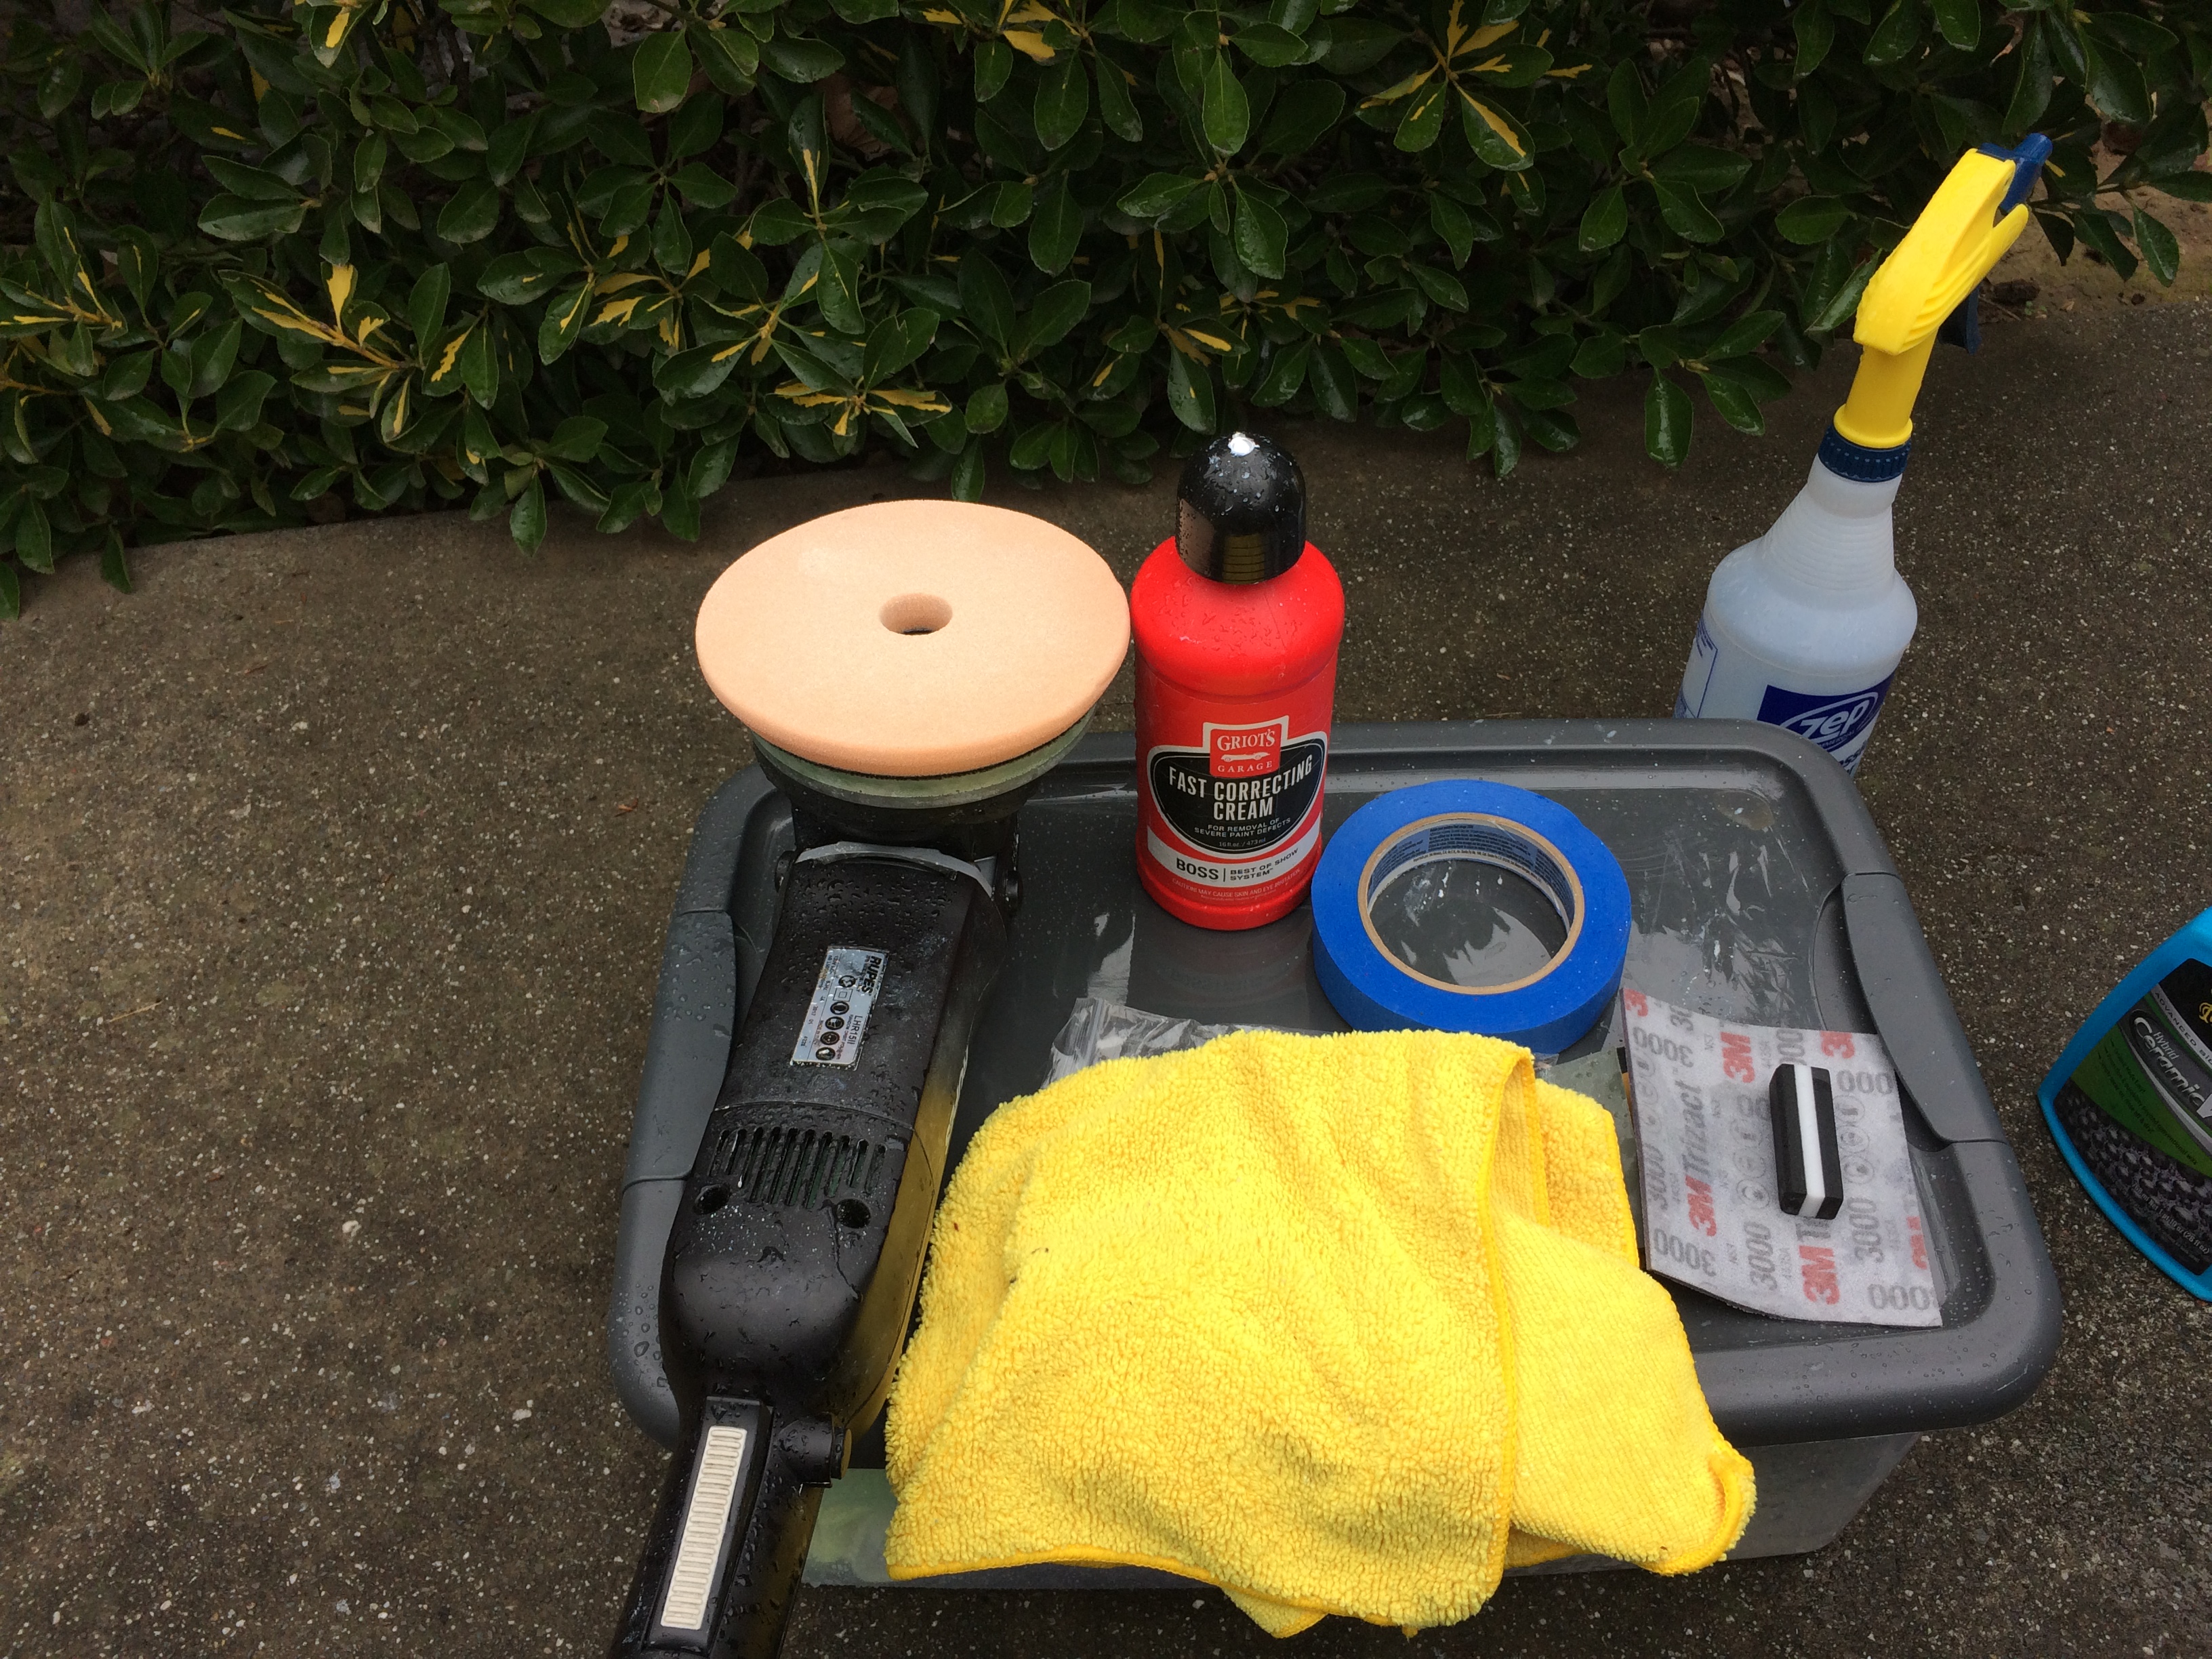
After polishing is complete, we will wipe away the oils using a microfiber with CarPro Eraser. And lastly, we must add a new protective coating to protect the plastic from further oxidization. Normally I would use a ceramic coating such as CarPro Cquartz UK, but I am testing Meguiar’s new Hybrid Ceramic Wax this time.

And that leaves us with crystal clear headlights once again!
But honestly, doesn’t all of that wet-sanding just make you want that MG with those glass lights?
– Rio Hansen


Left side uncorrected for comparison.