As a detailer I love exploring car shows. I like to take my time examining every vehicle at the show and pick a personal favorite. I also enjoy looking for vehicles that I would especially like to work on myself. I found one at a car show in Dixon, CA.
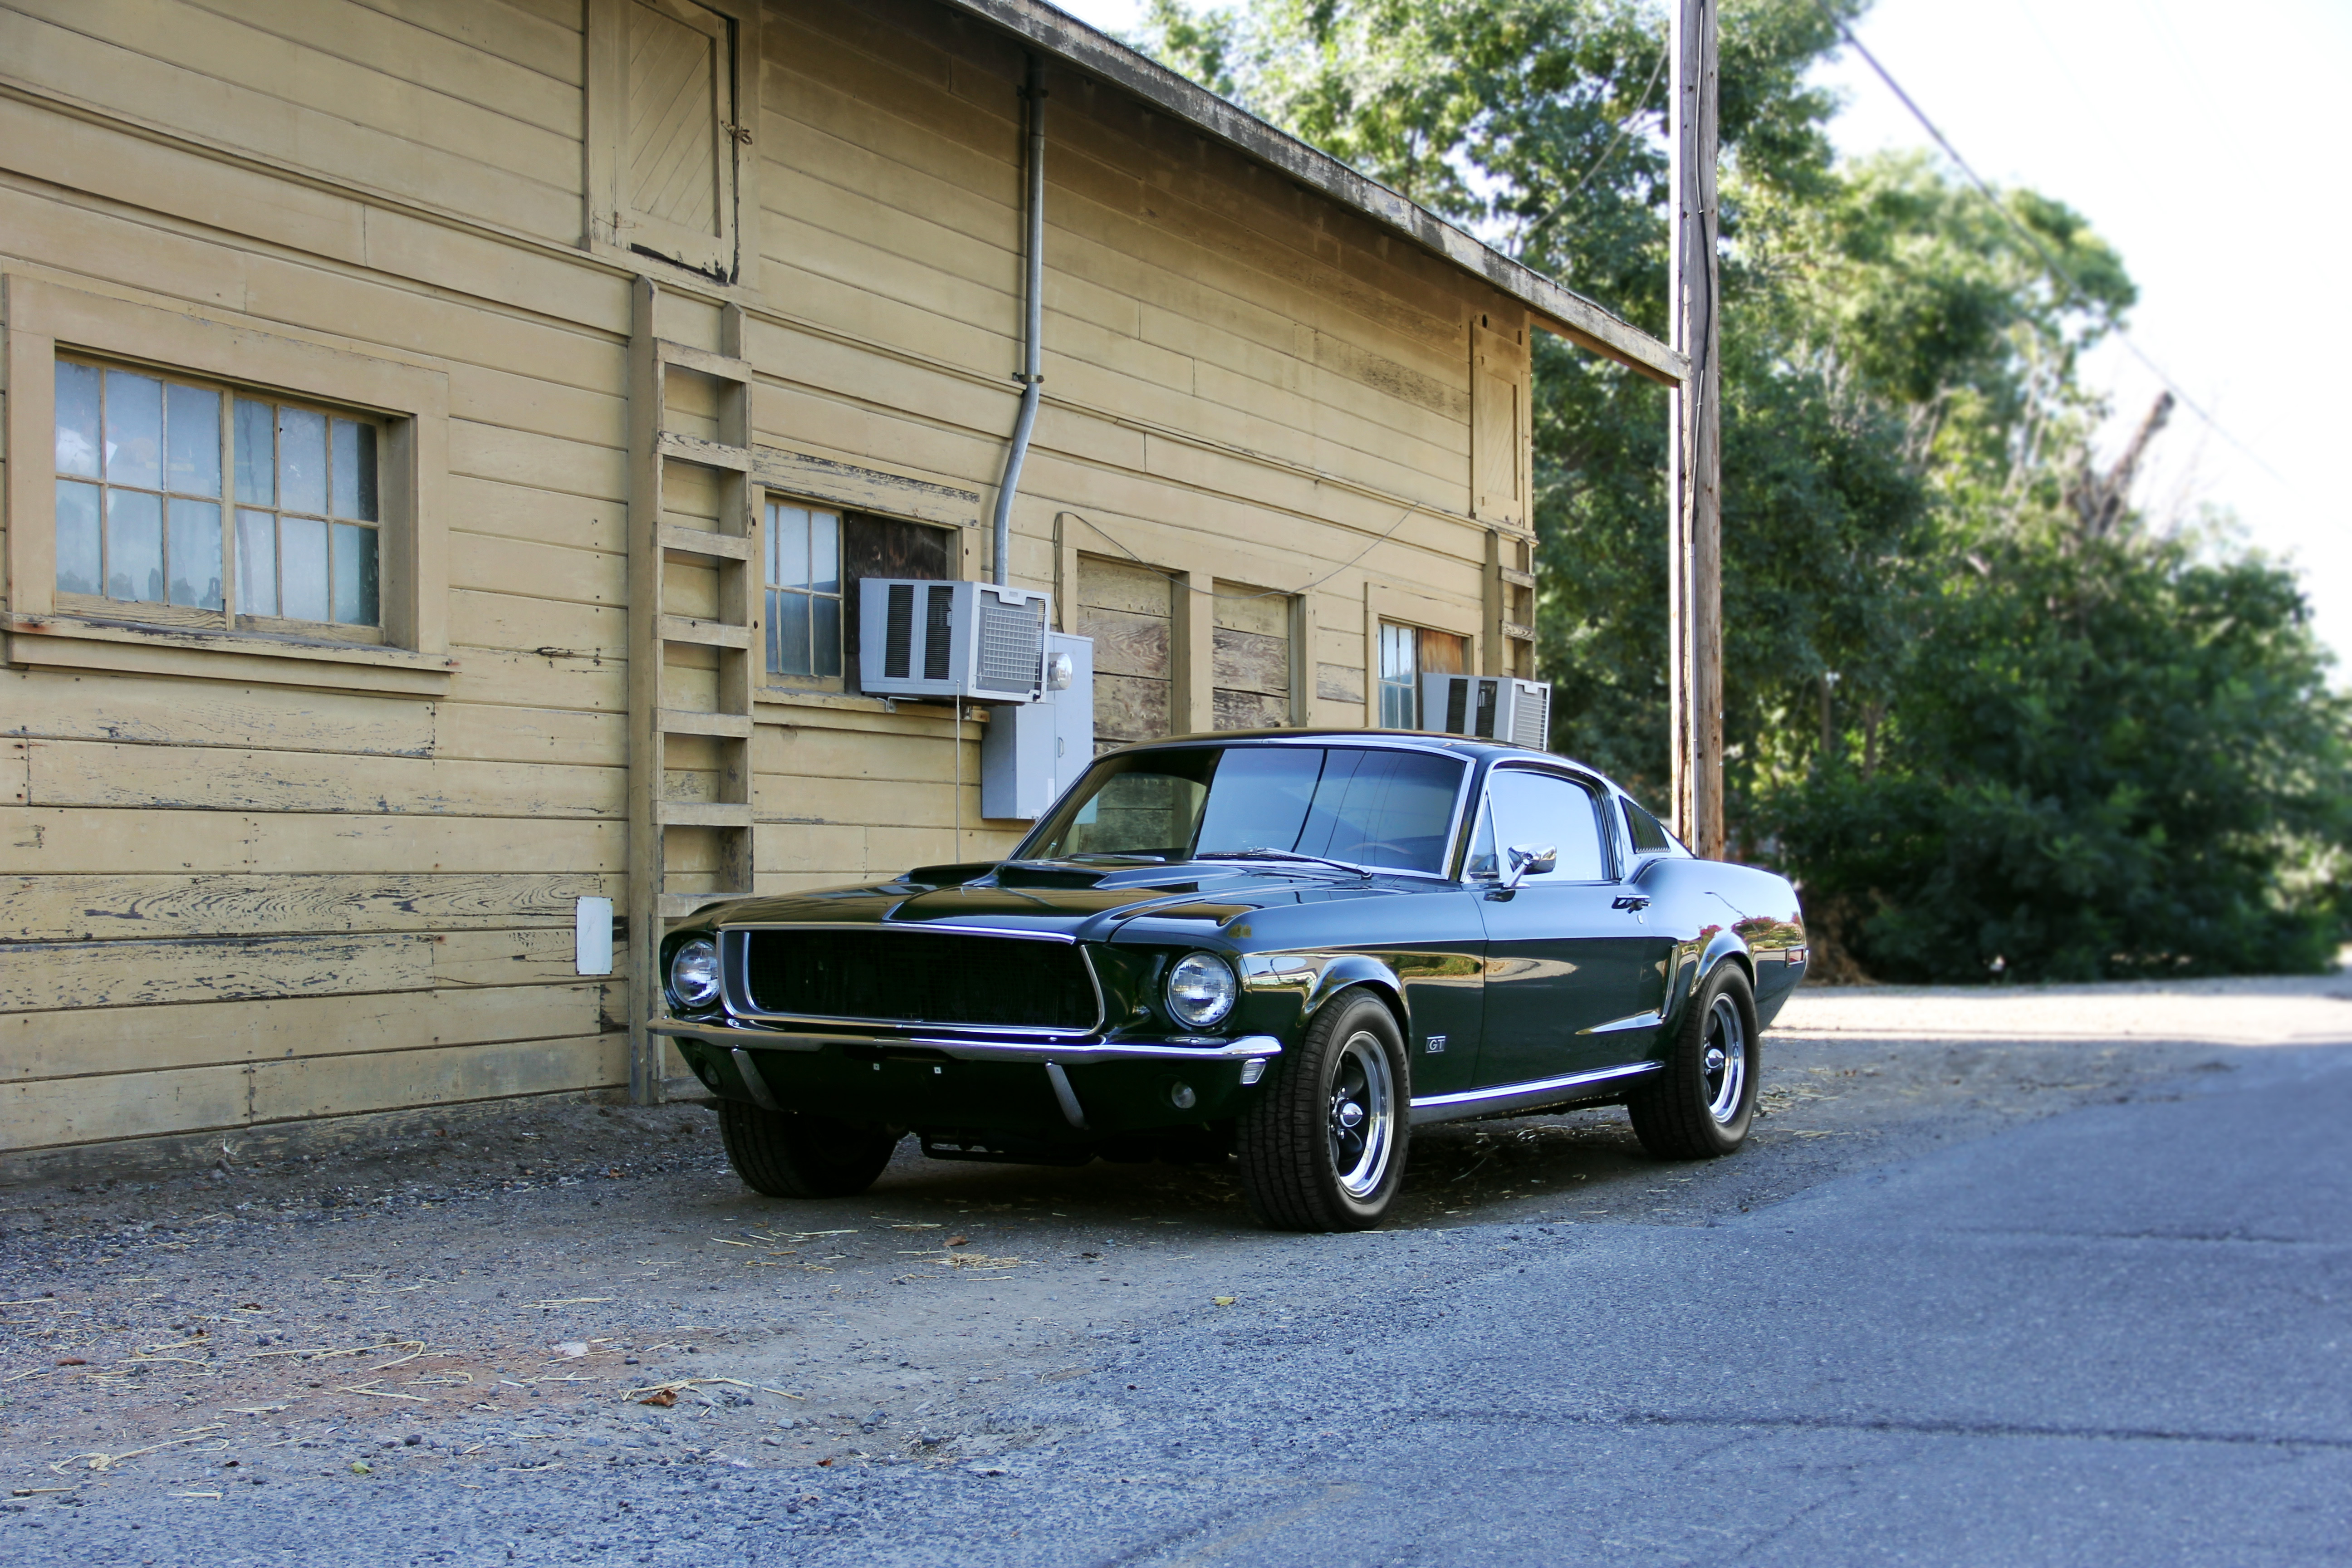
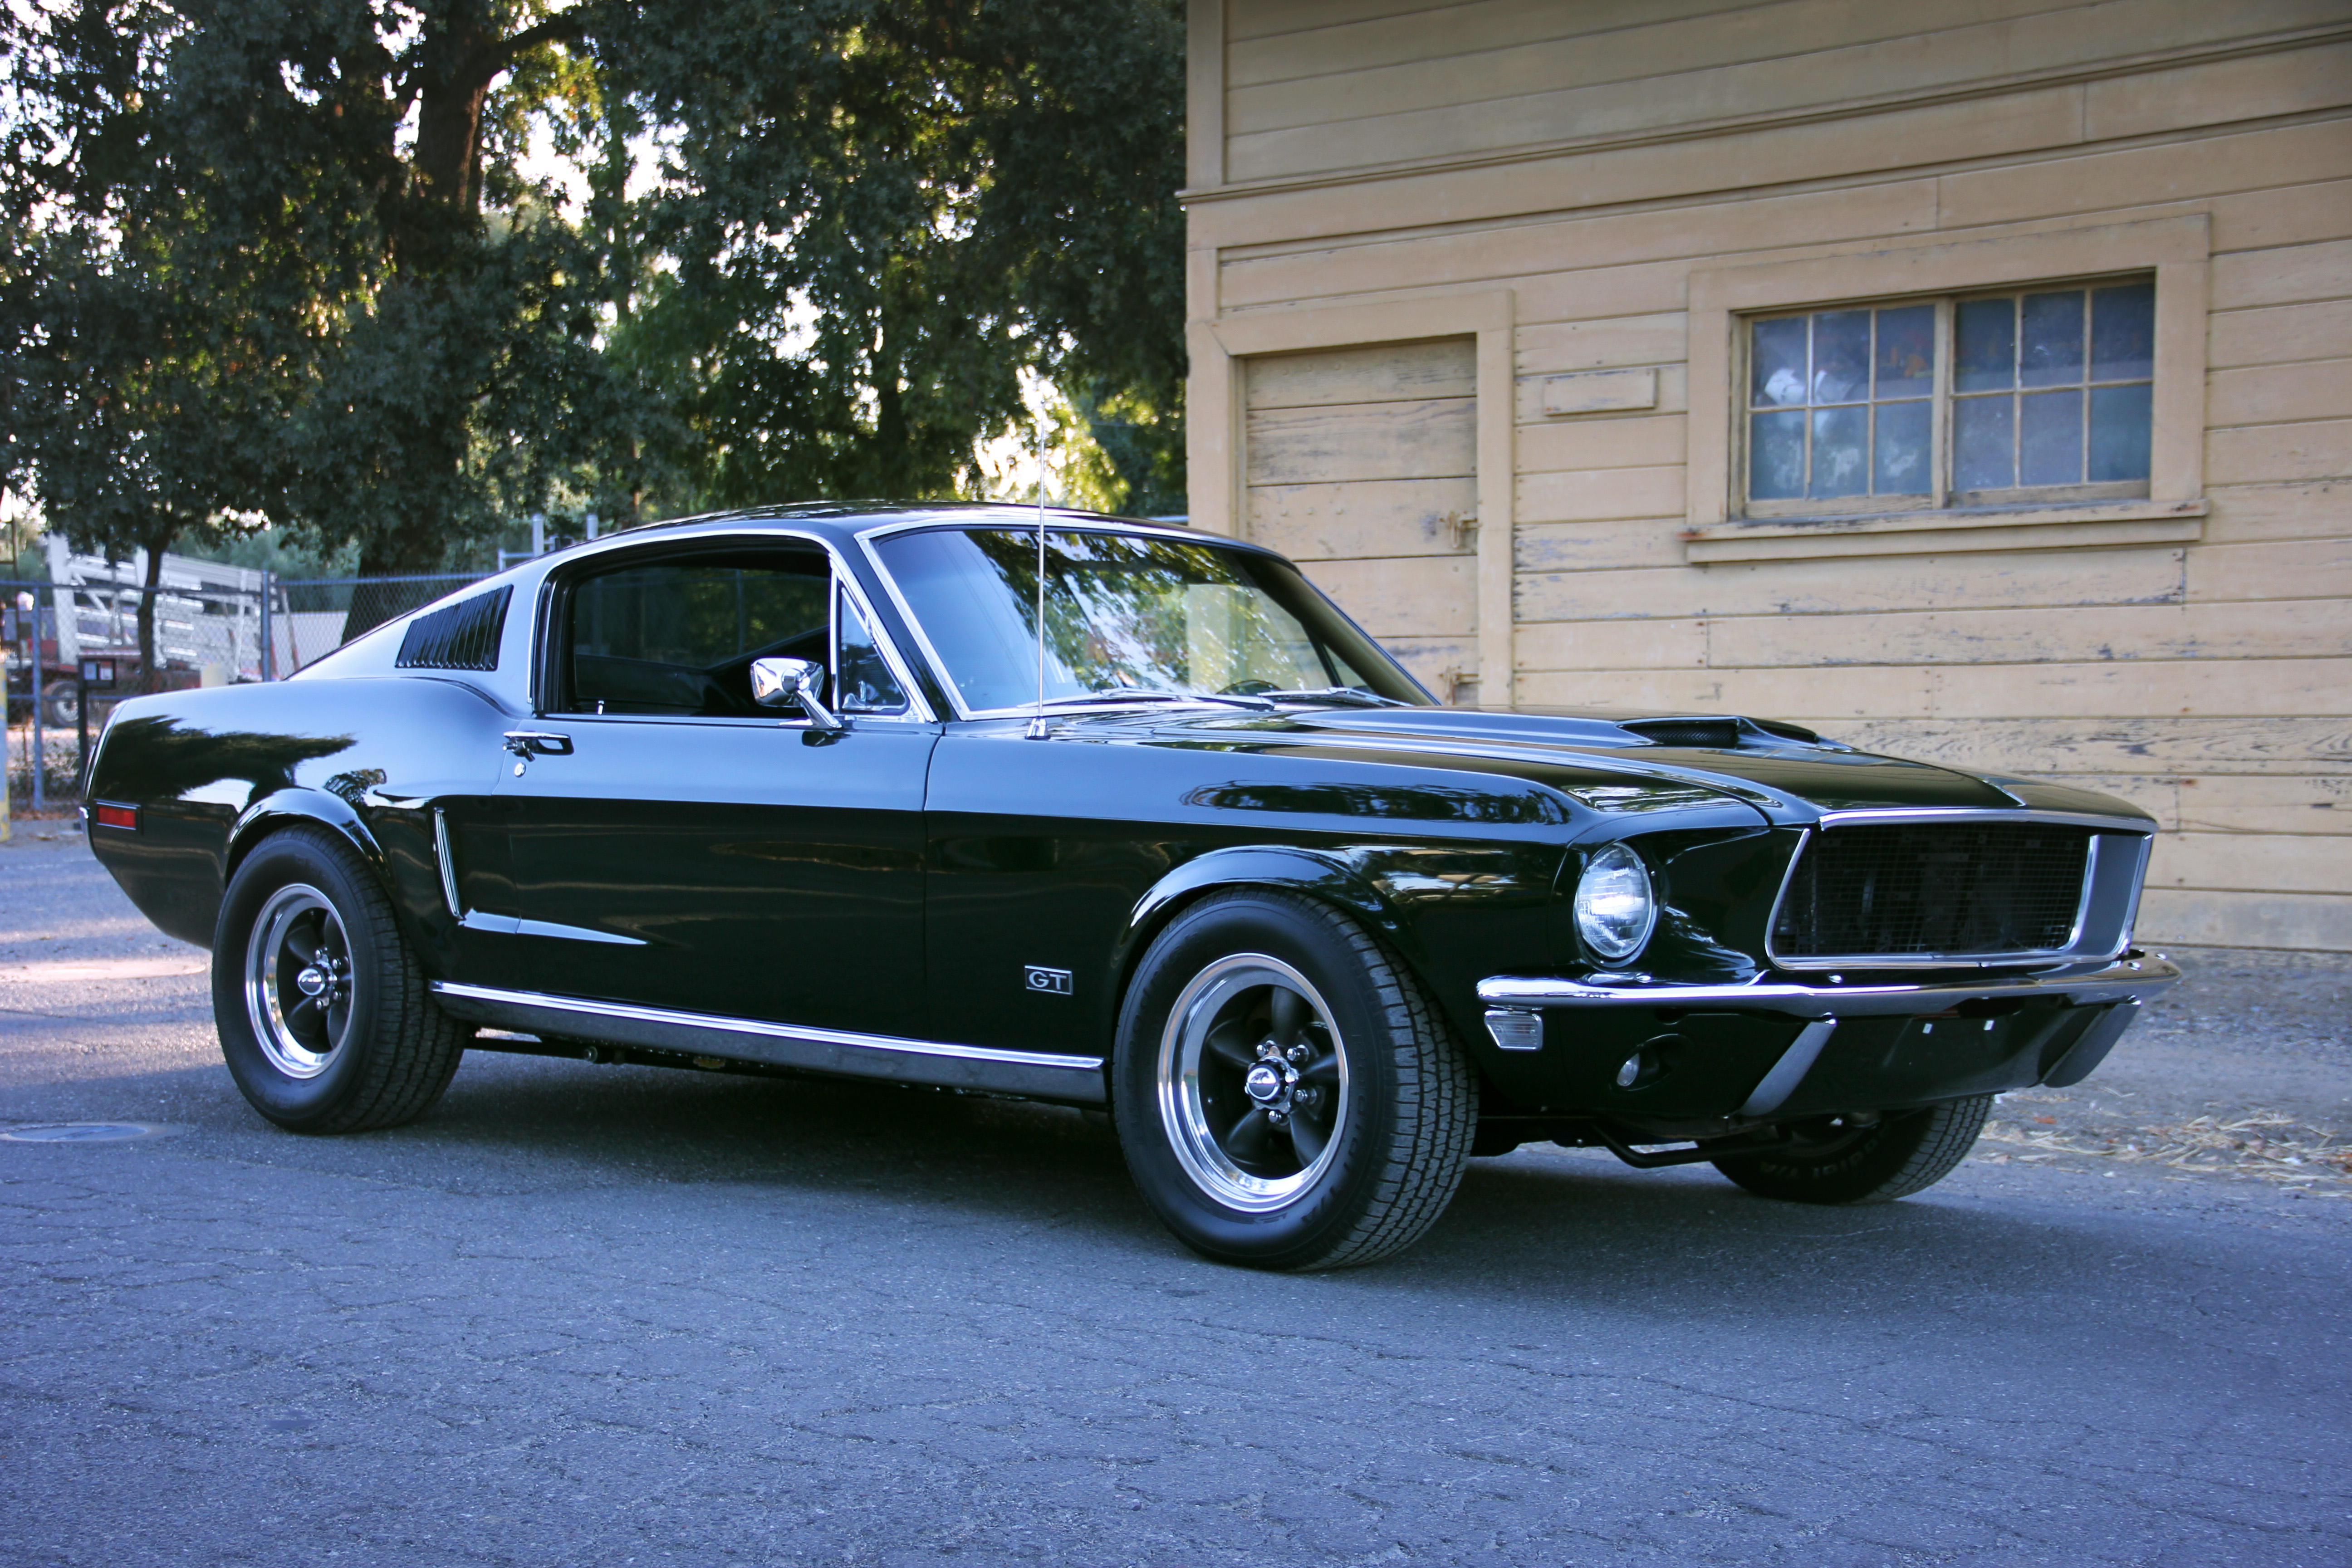
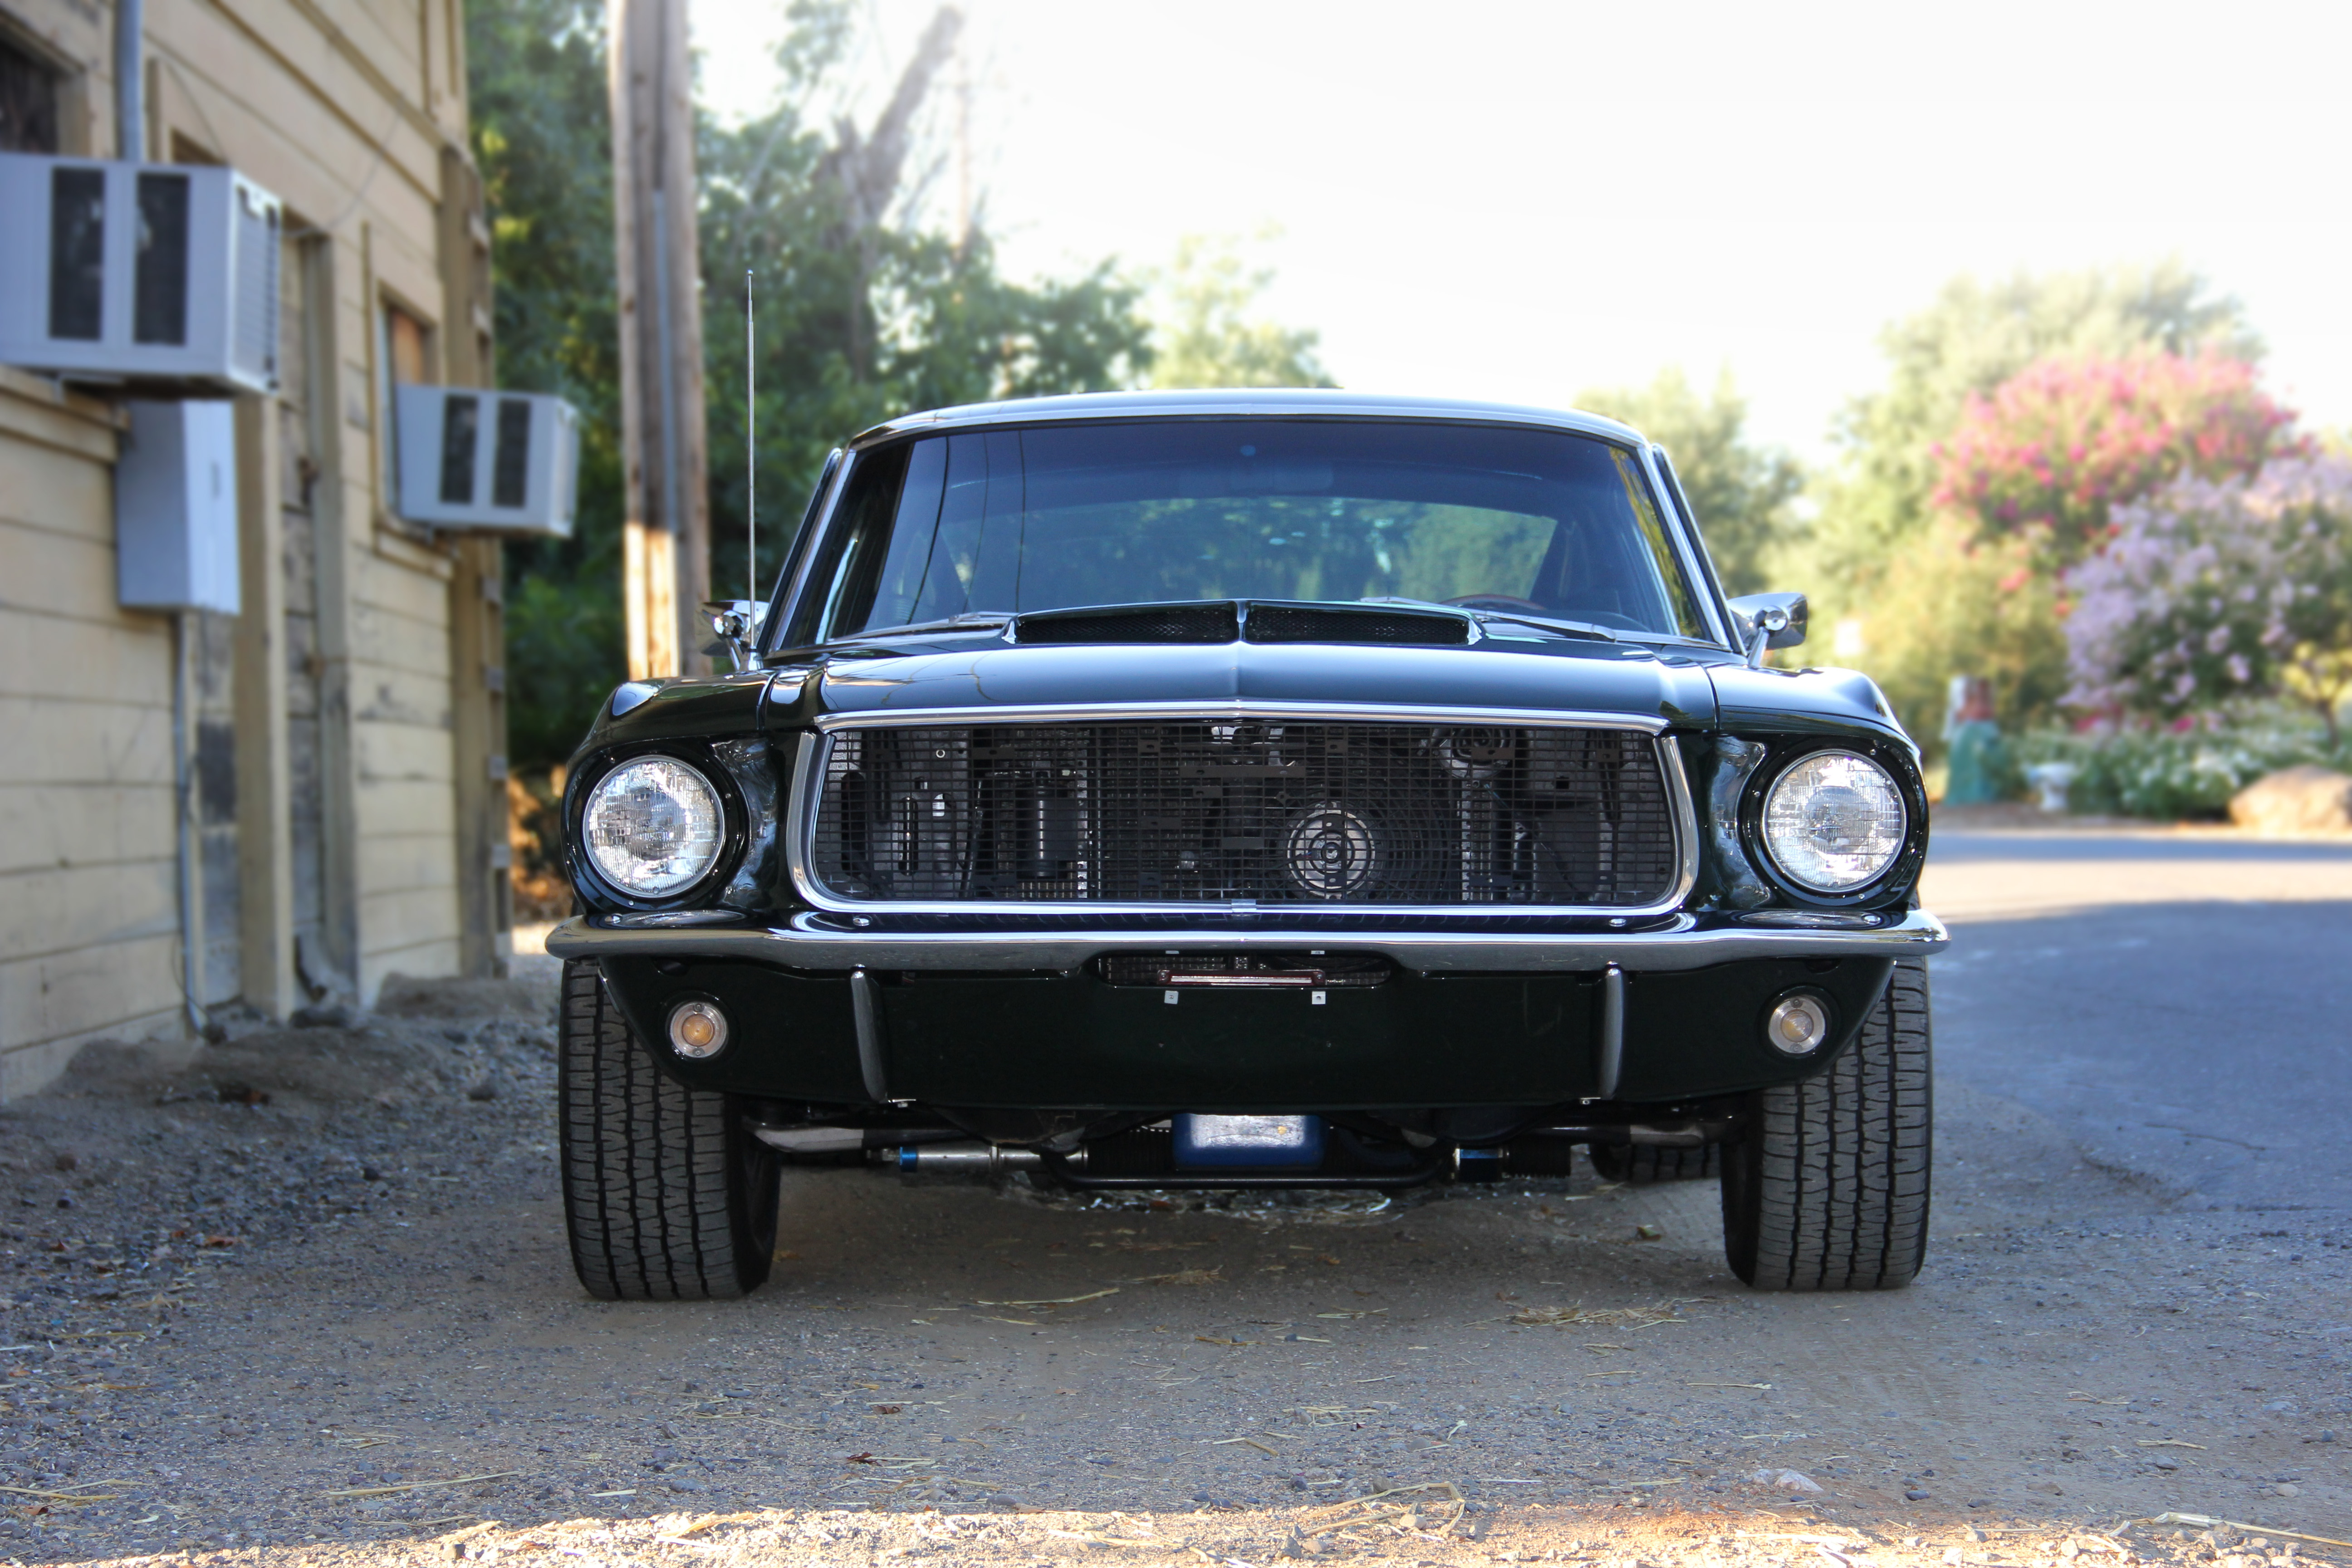
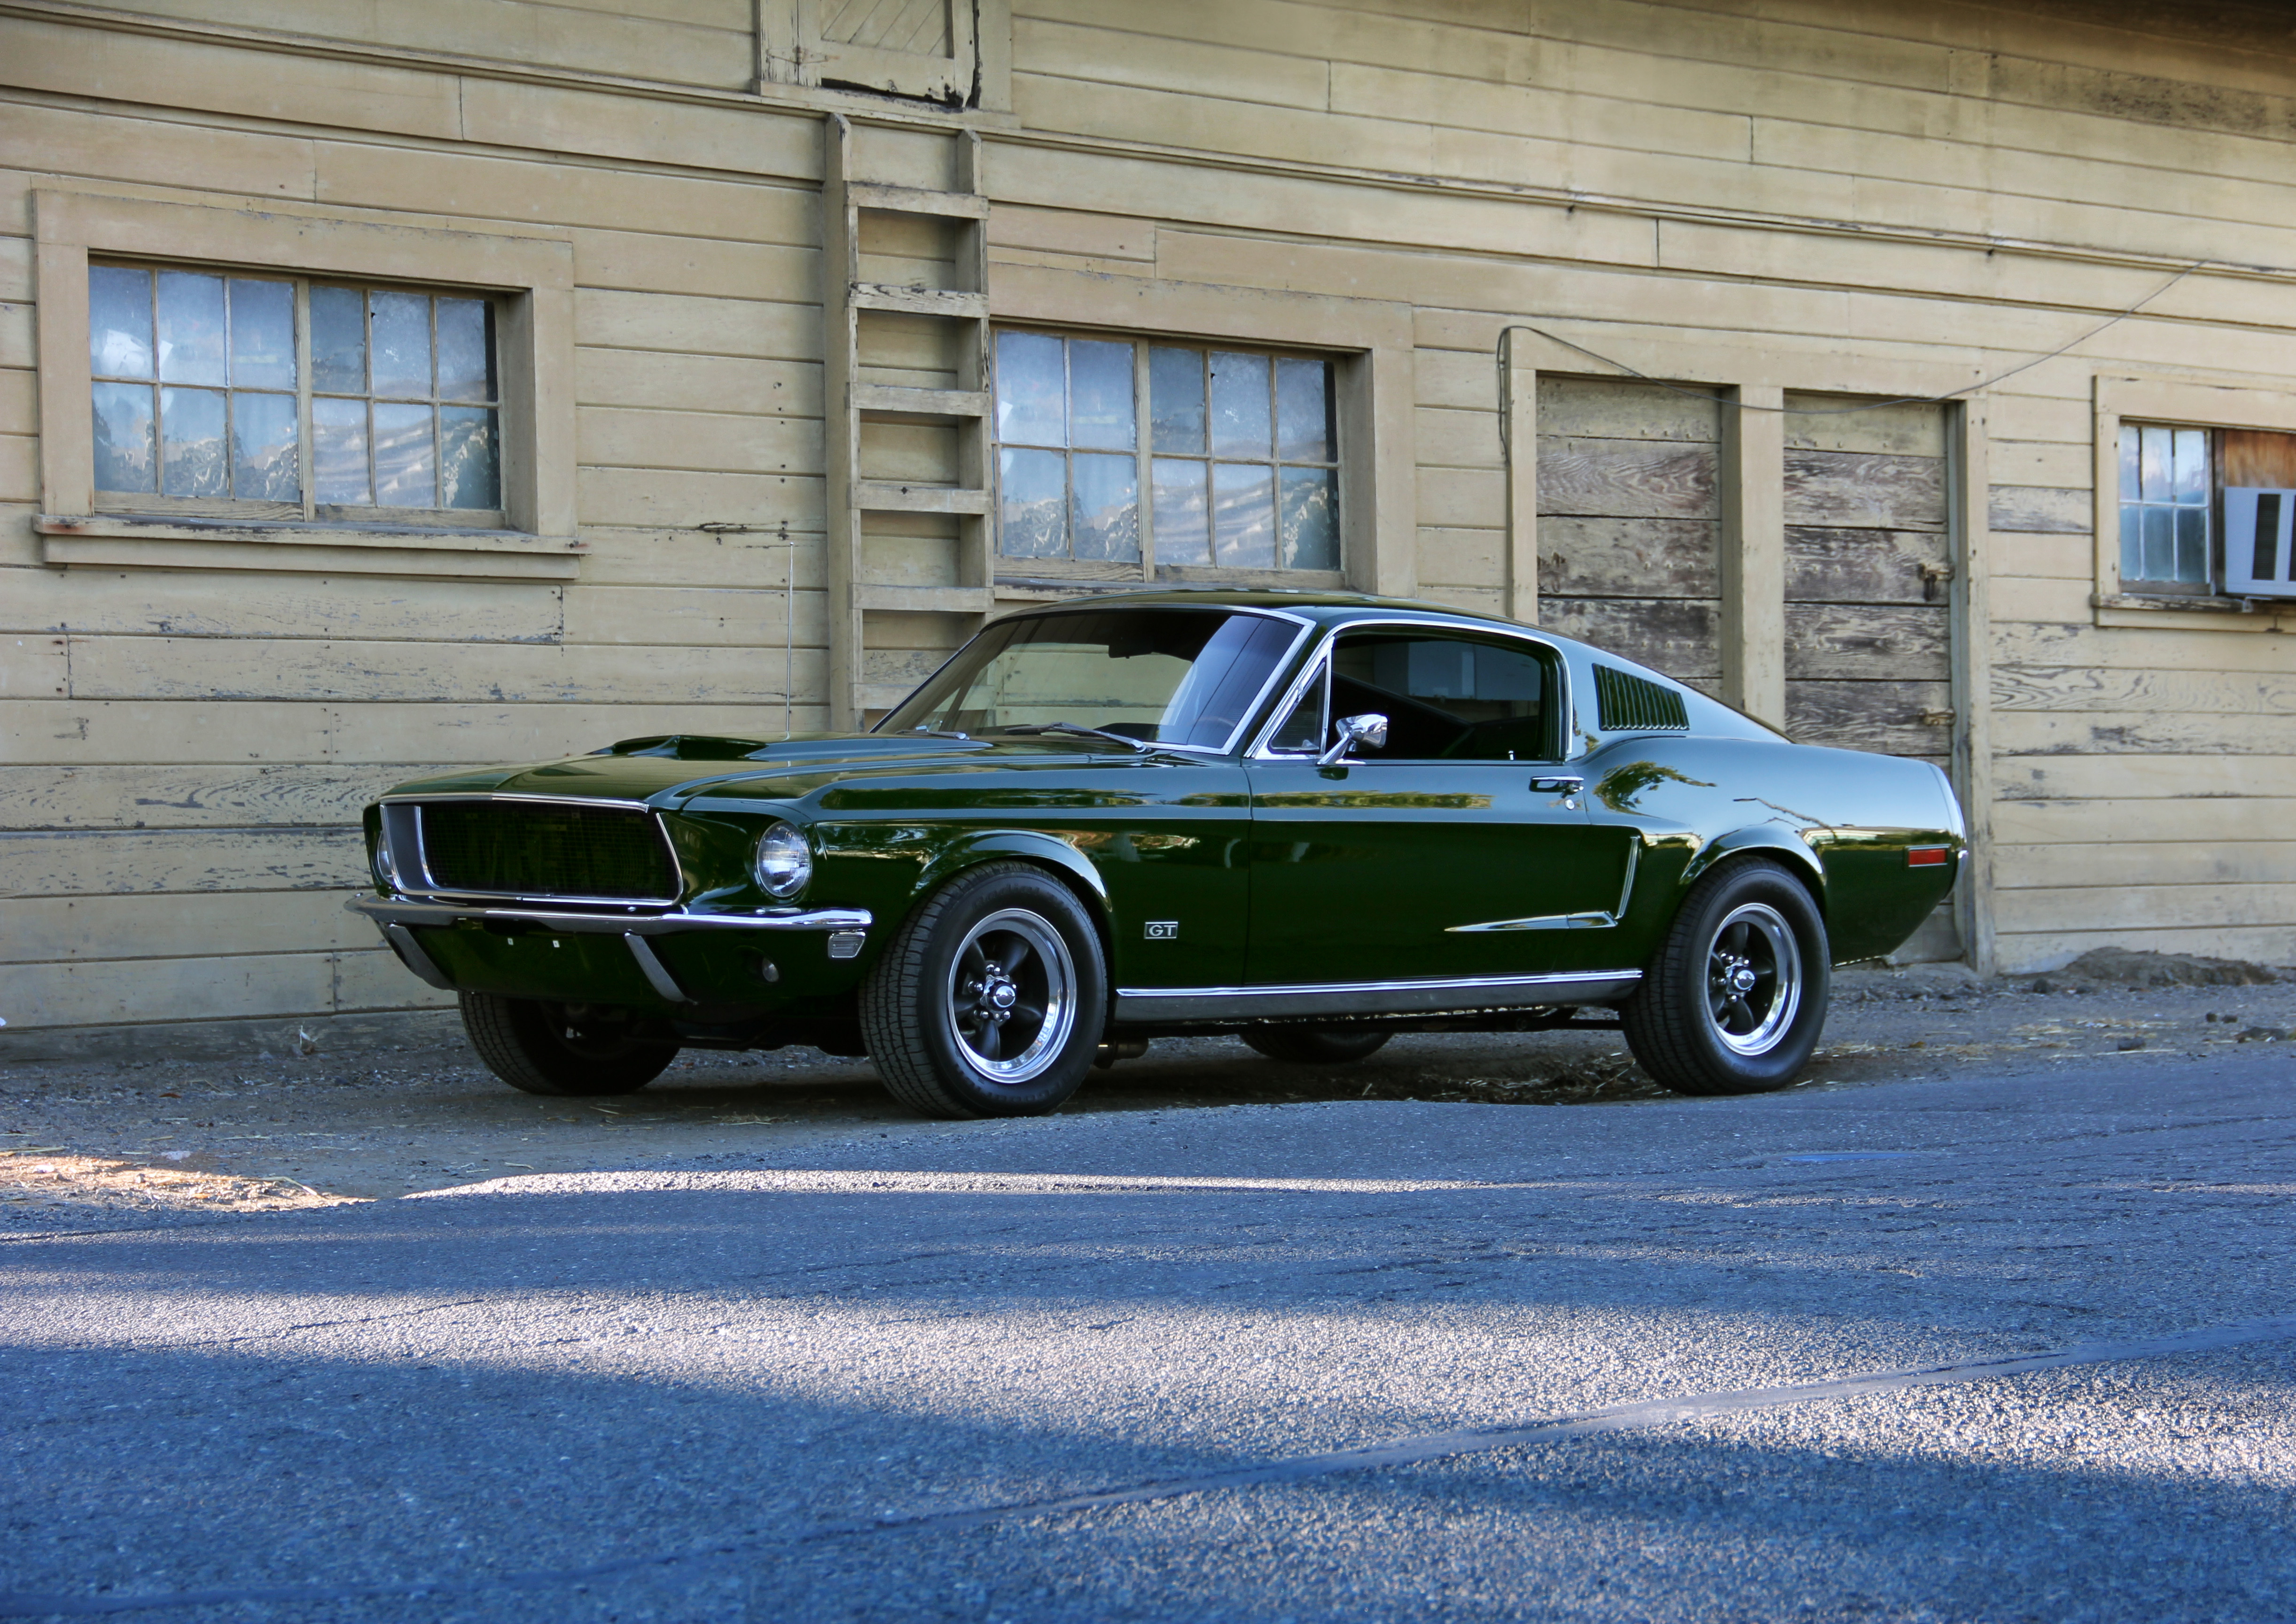
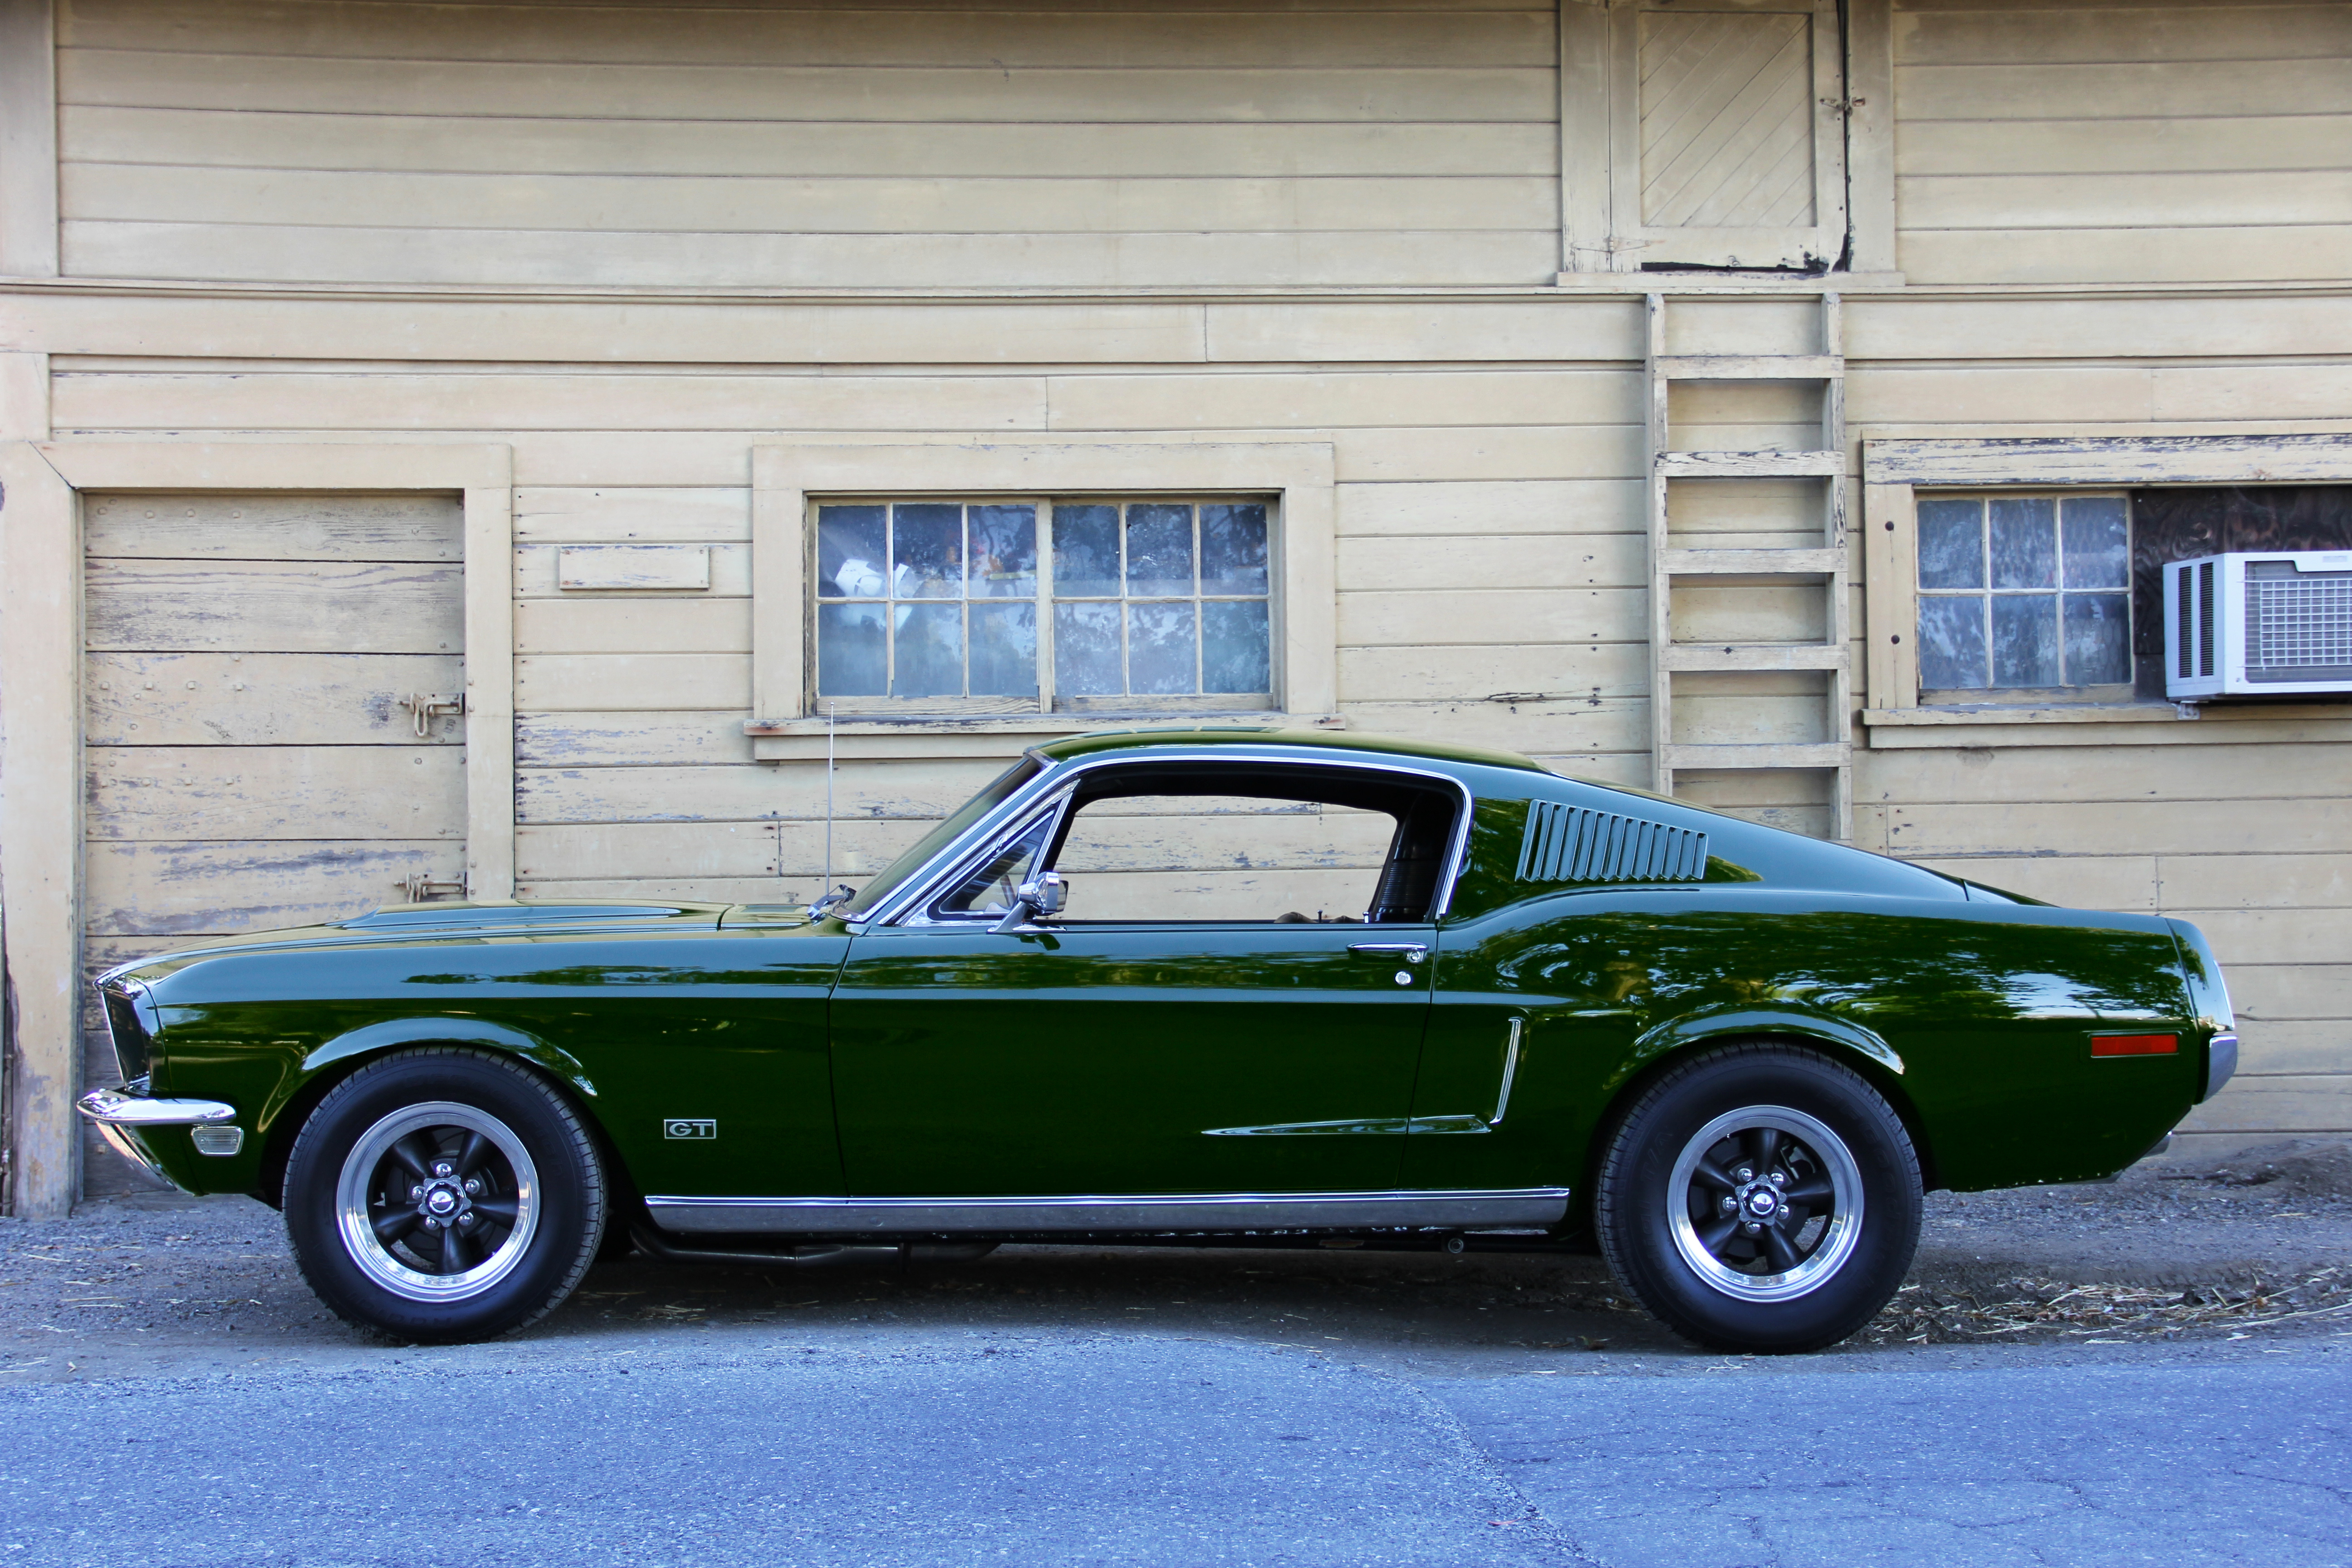
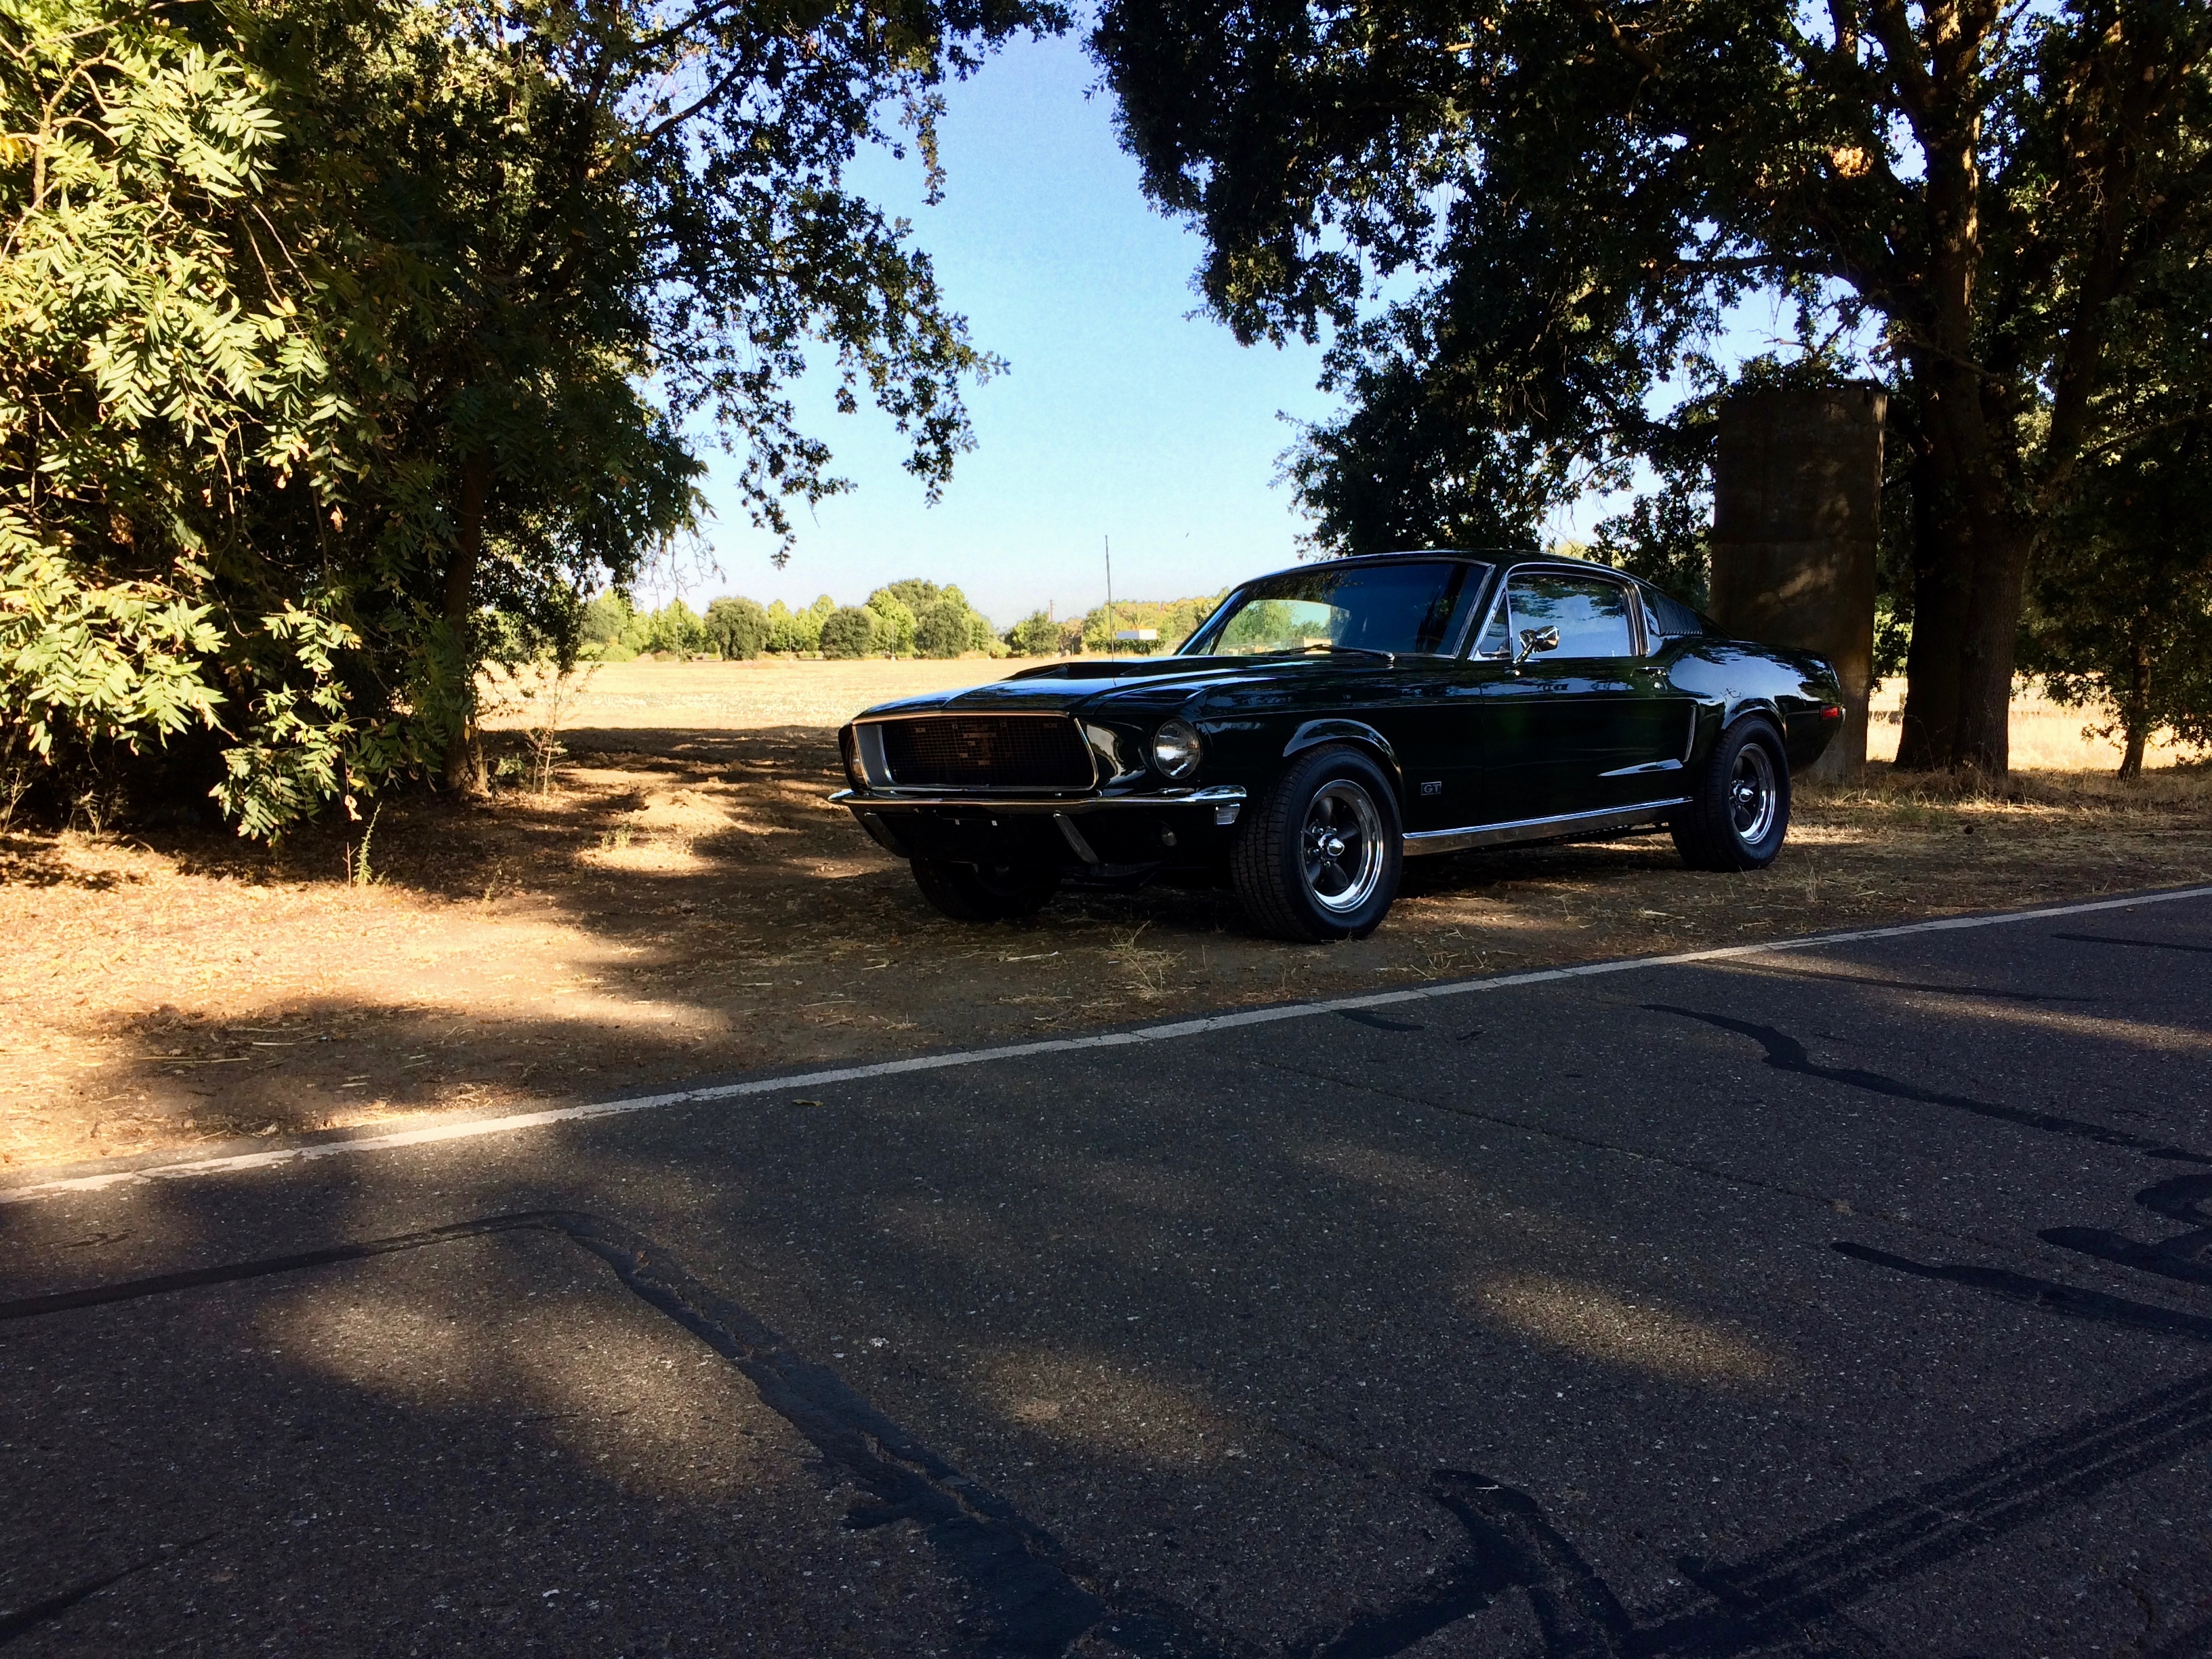
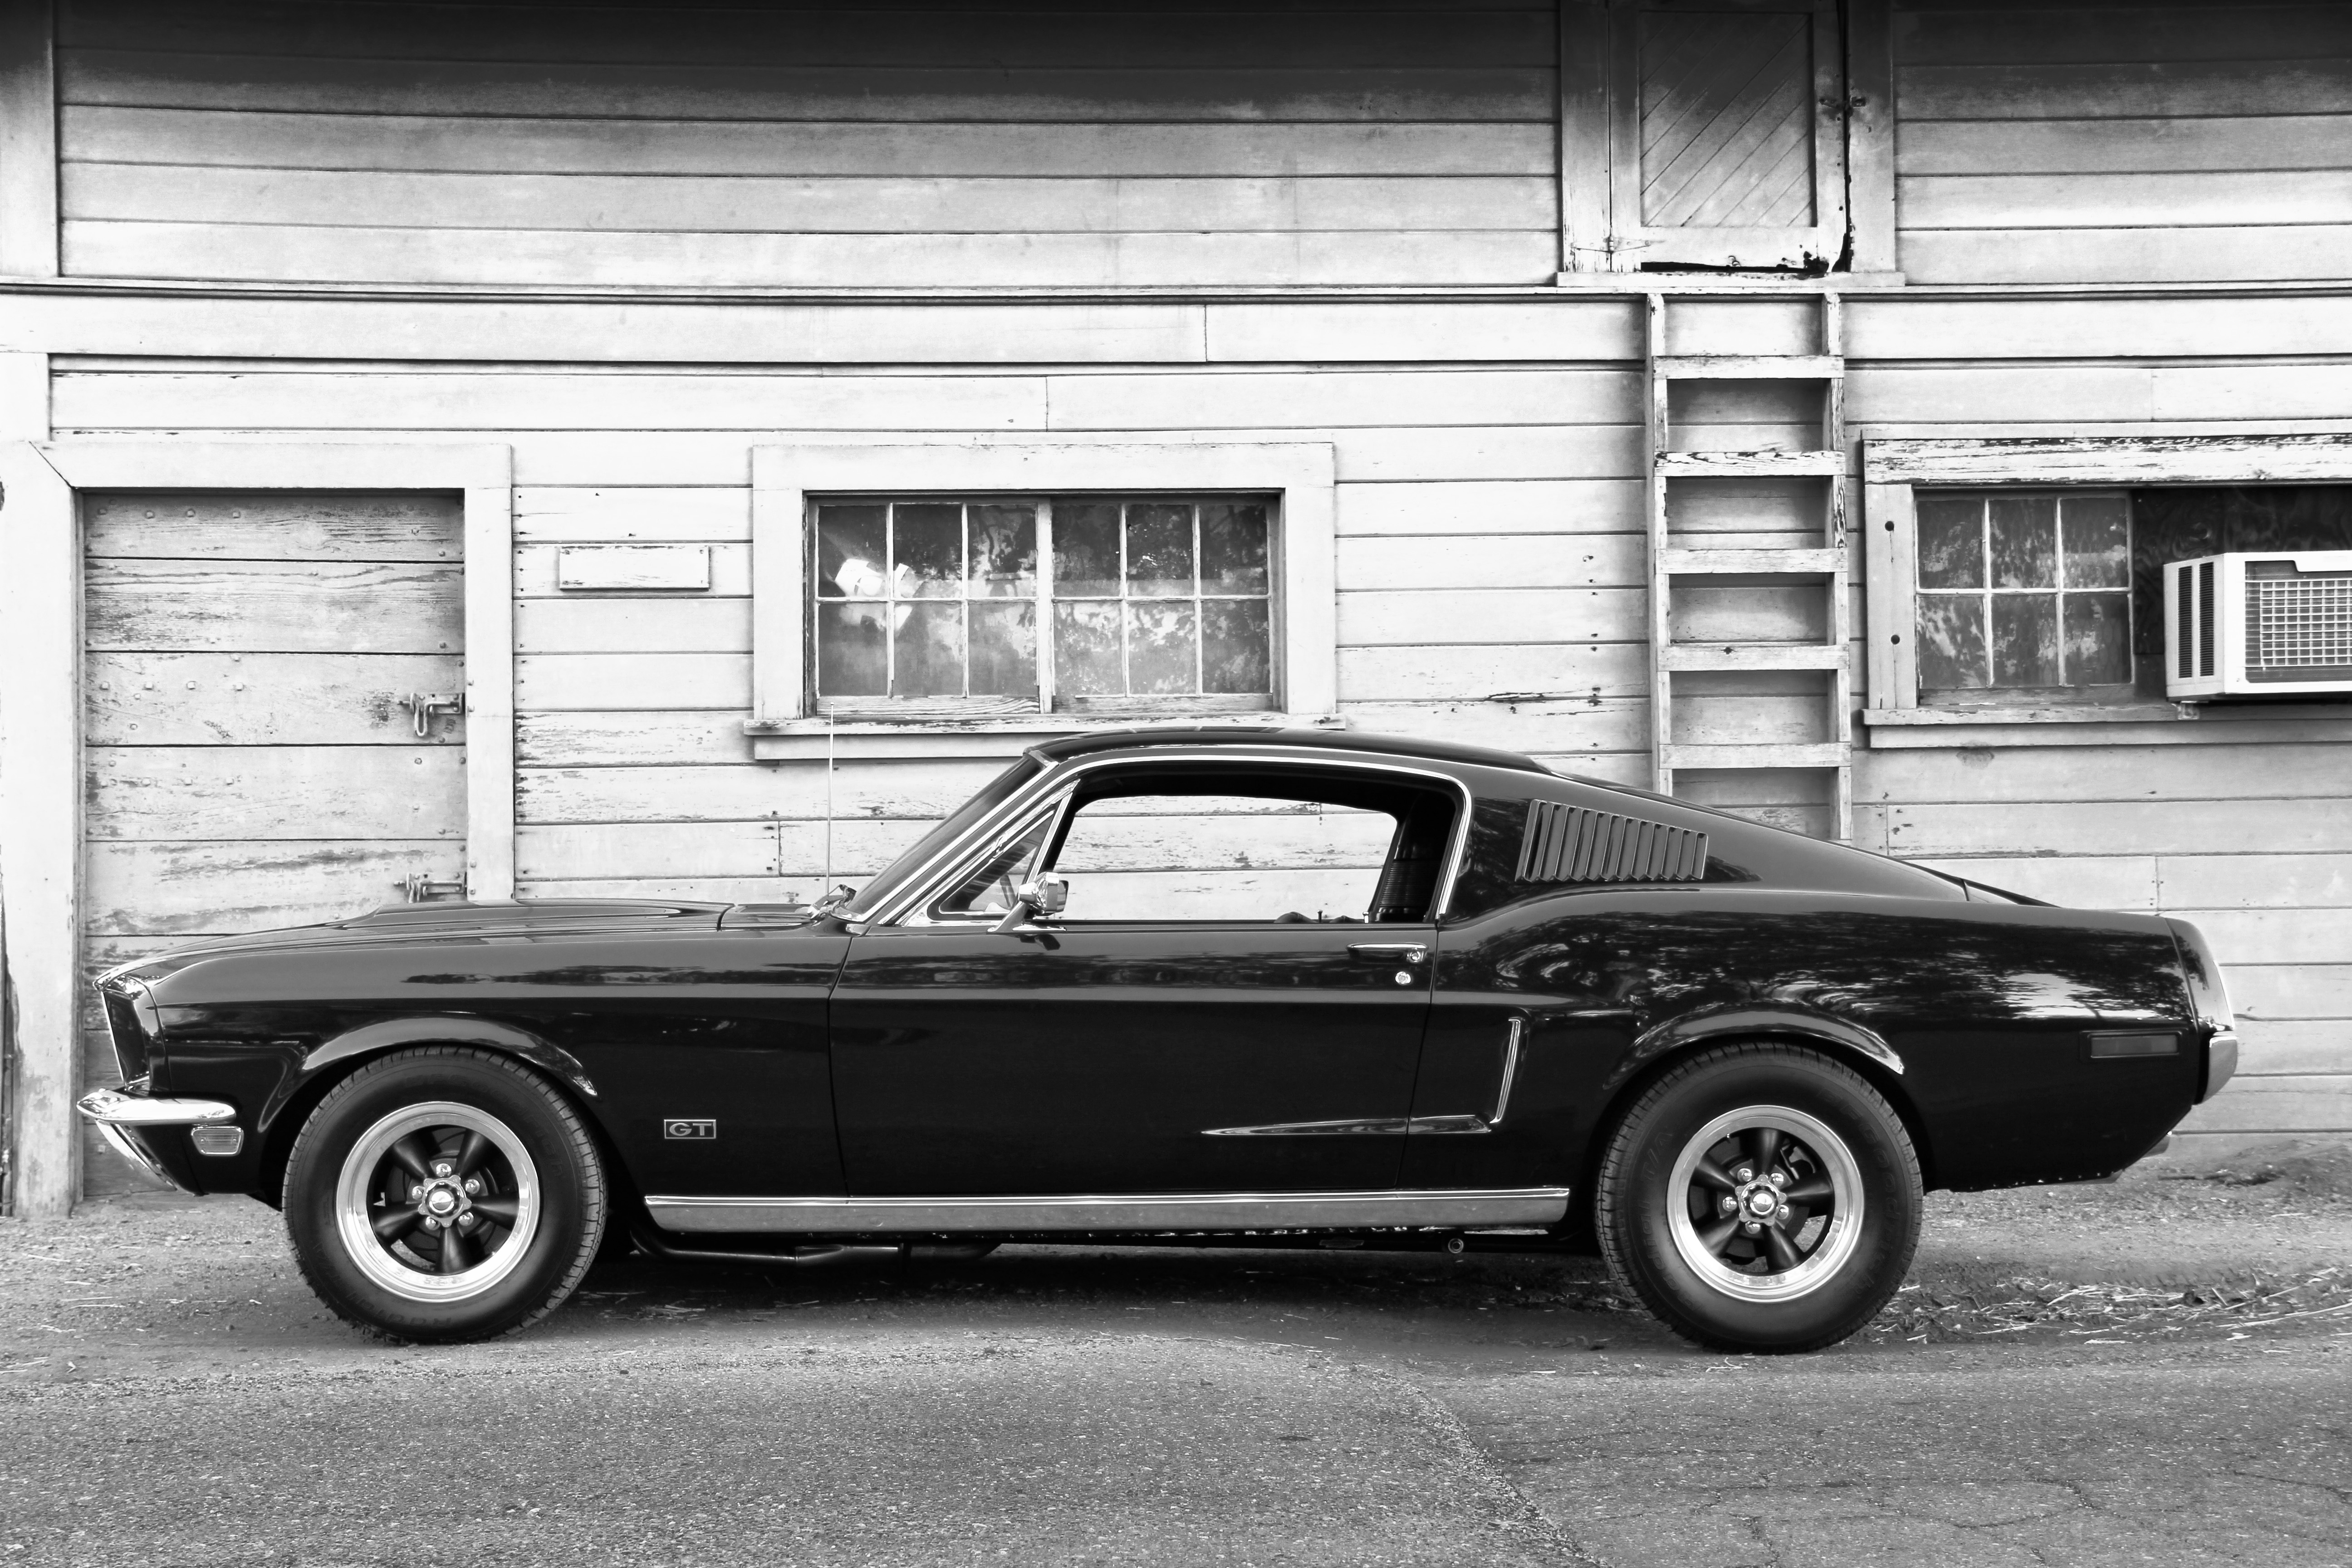
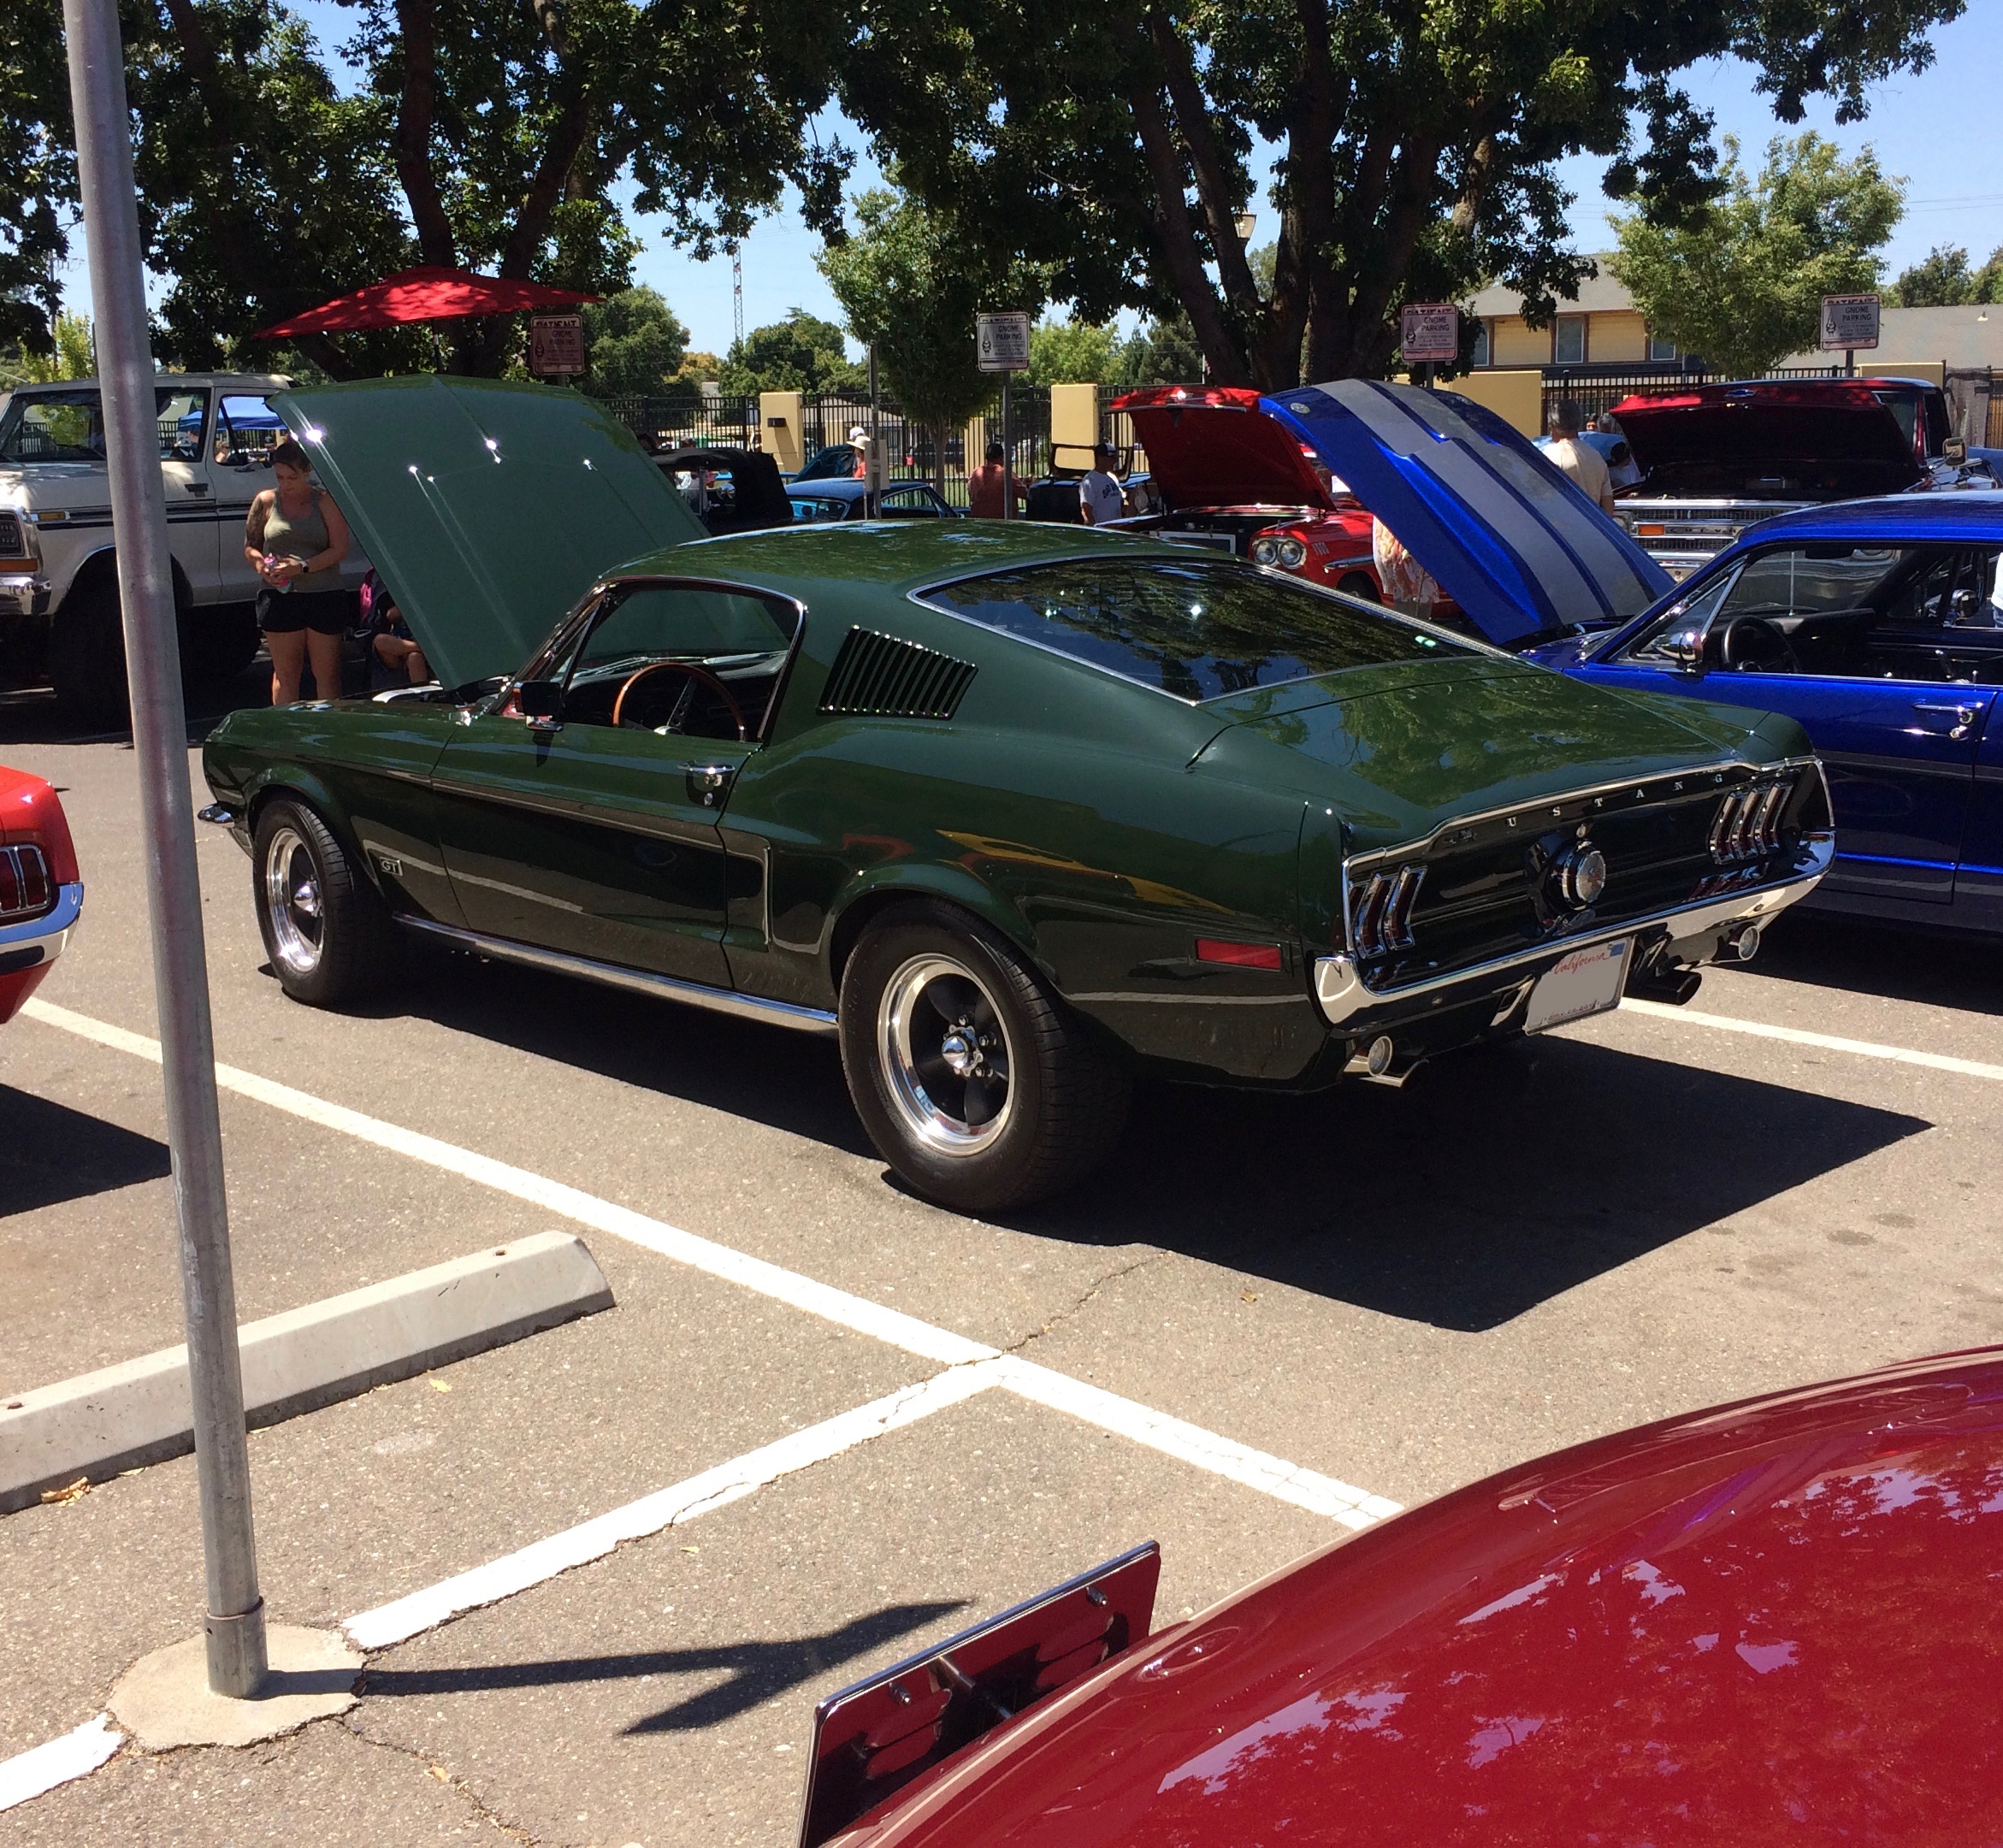
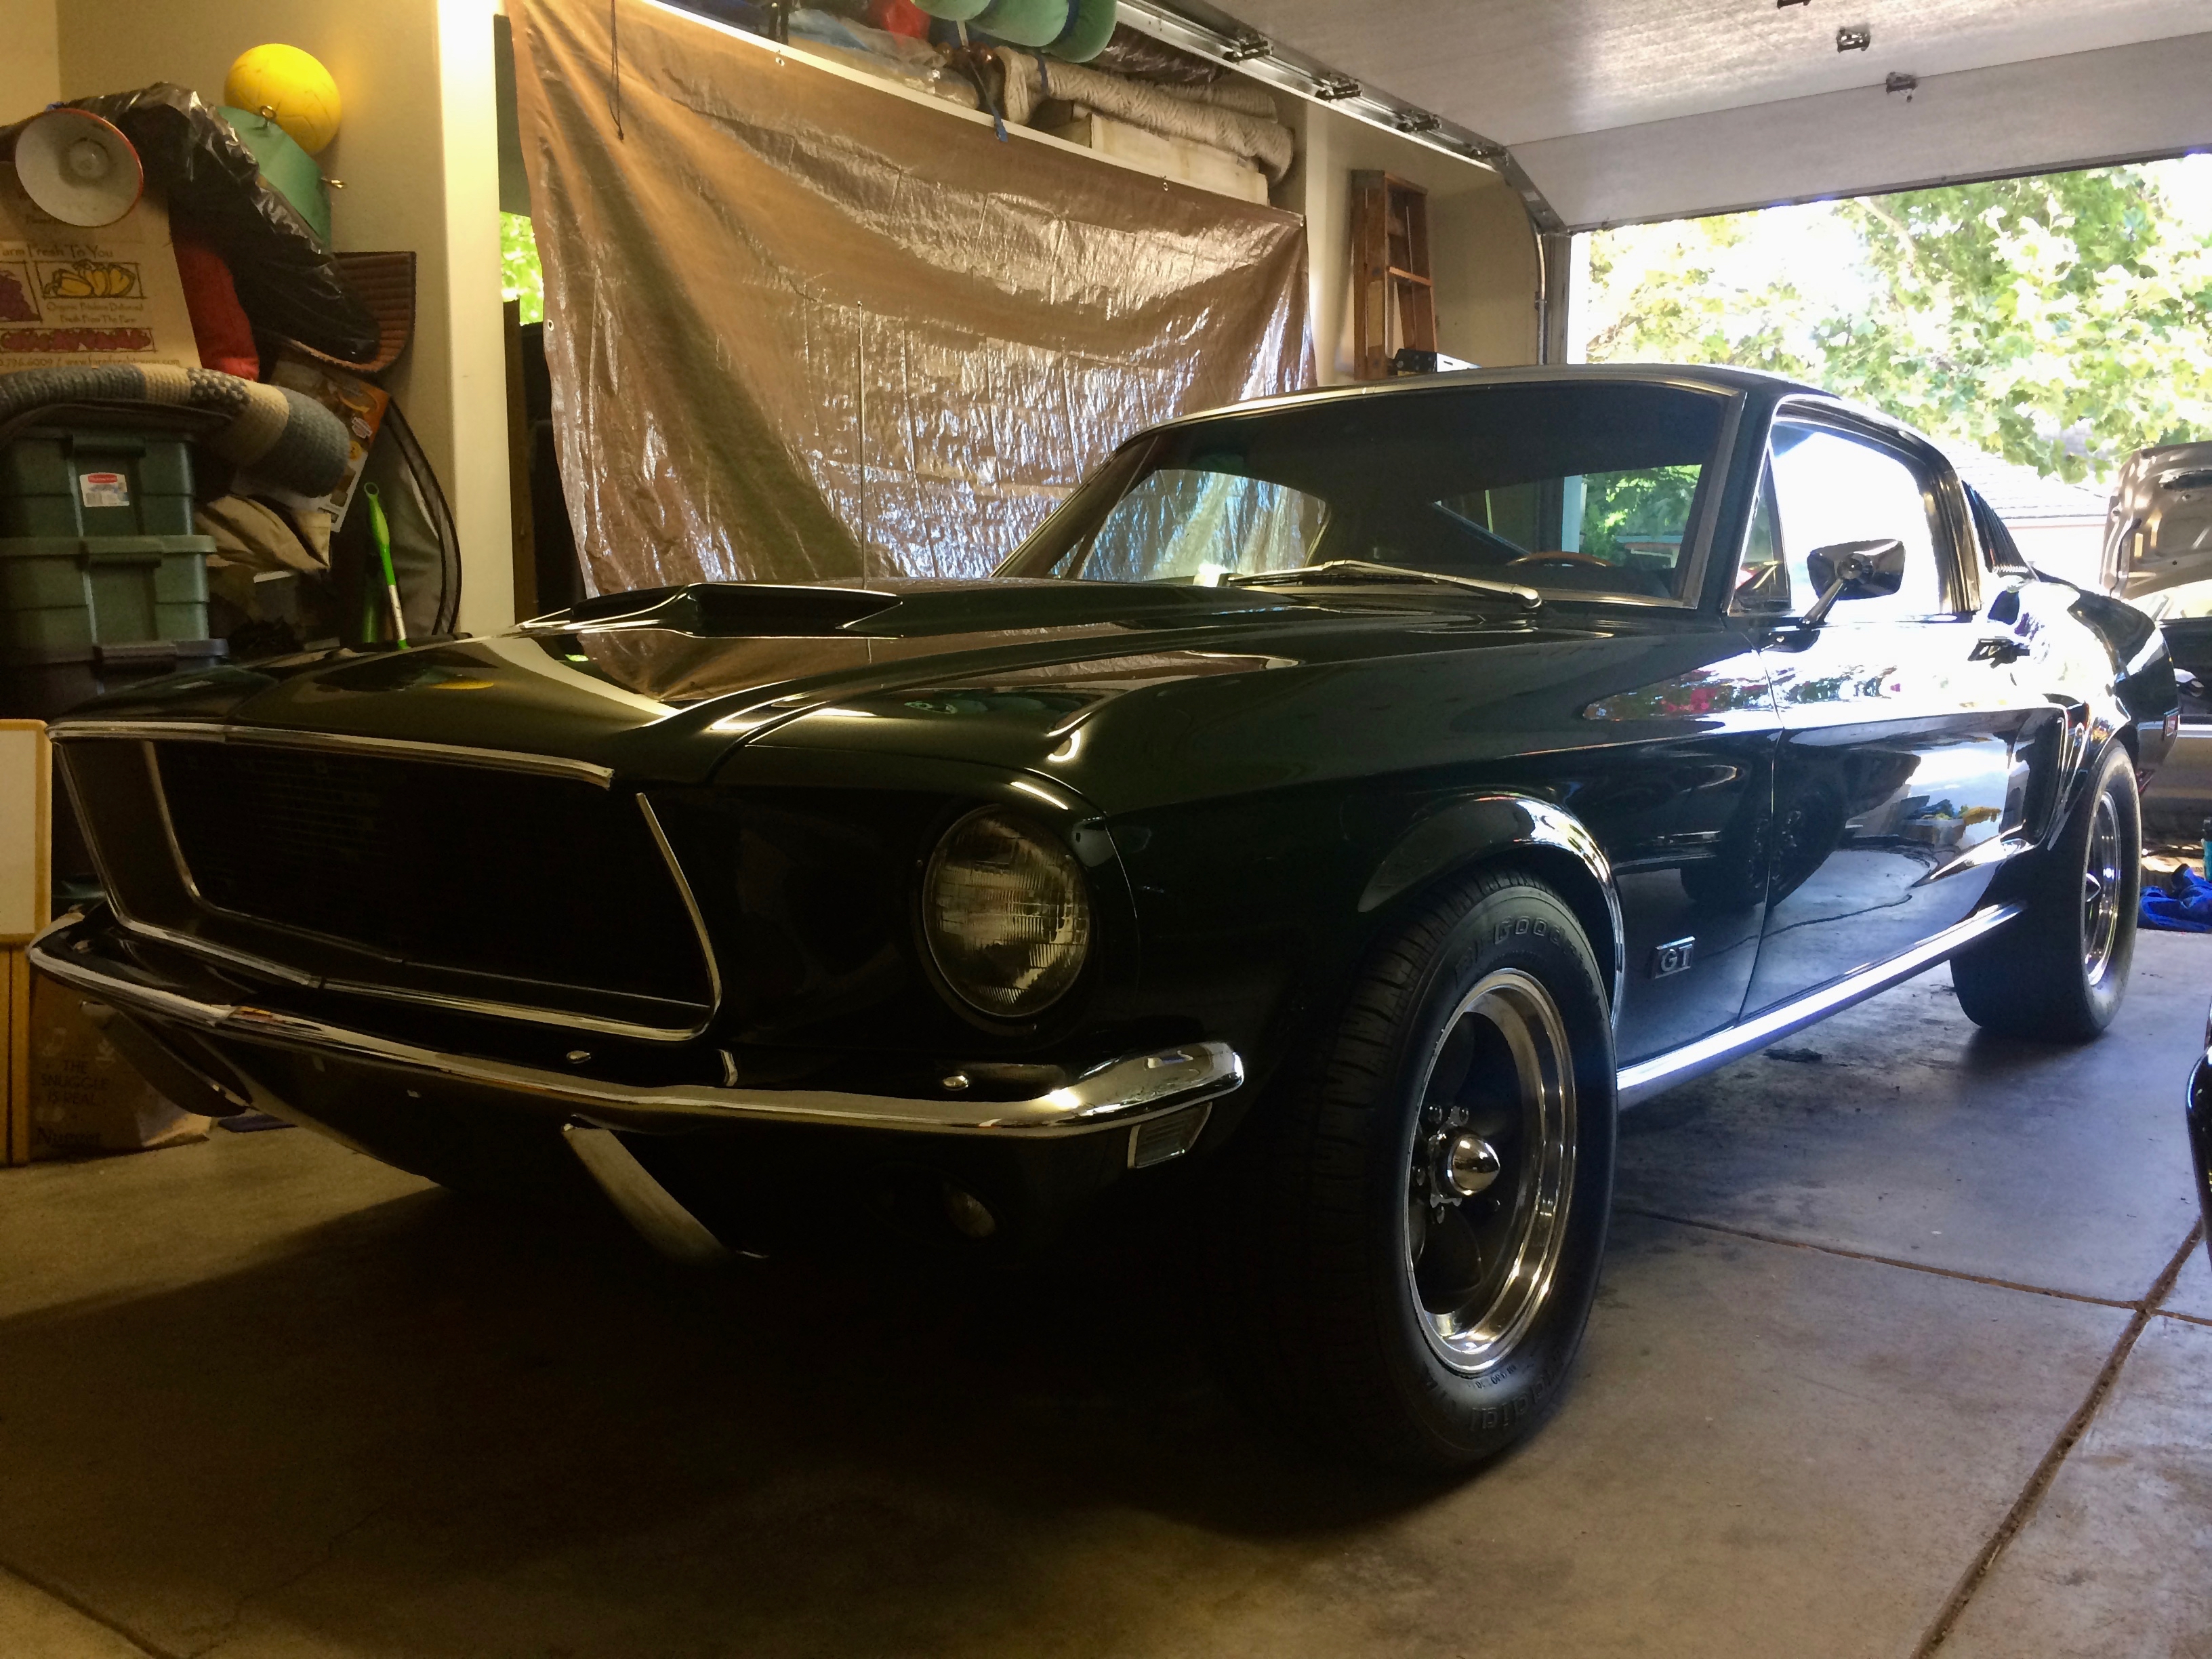
A 1968 Ford Mustang Bullitt Tribute stood out from the rest.
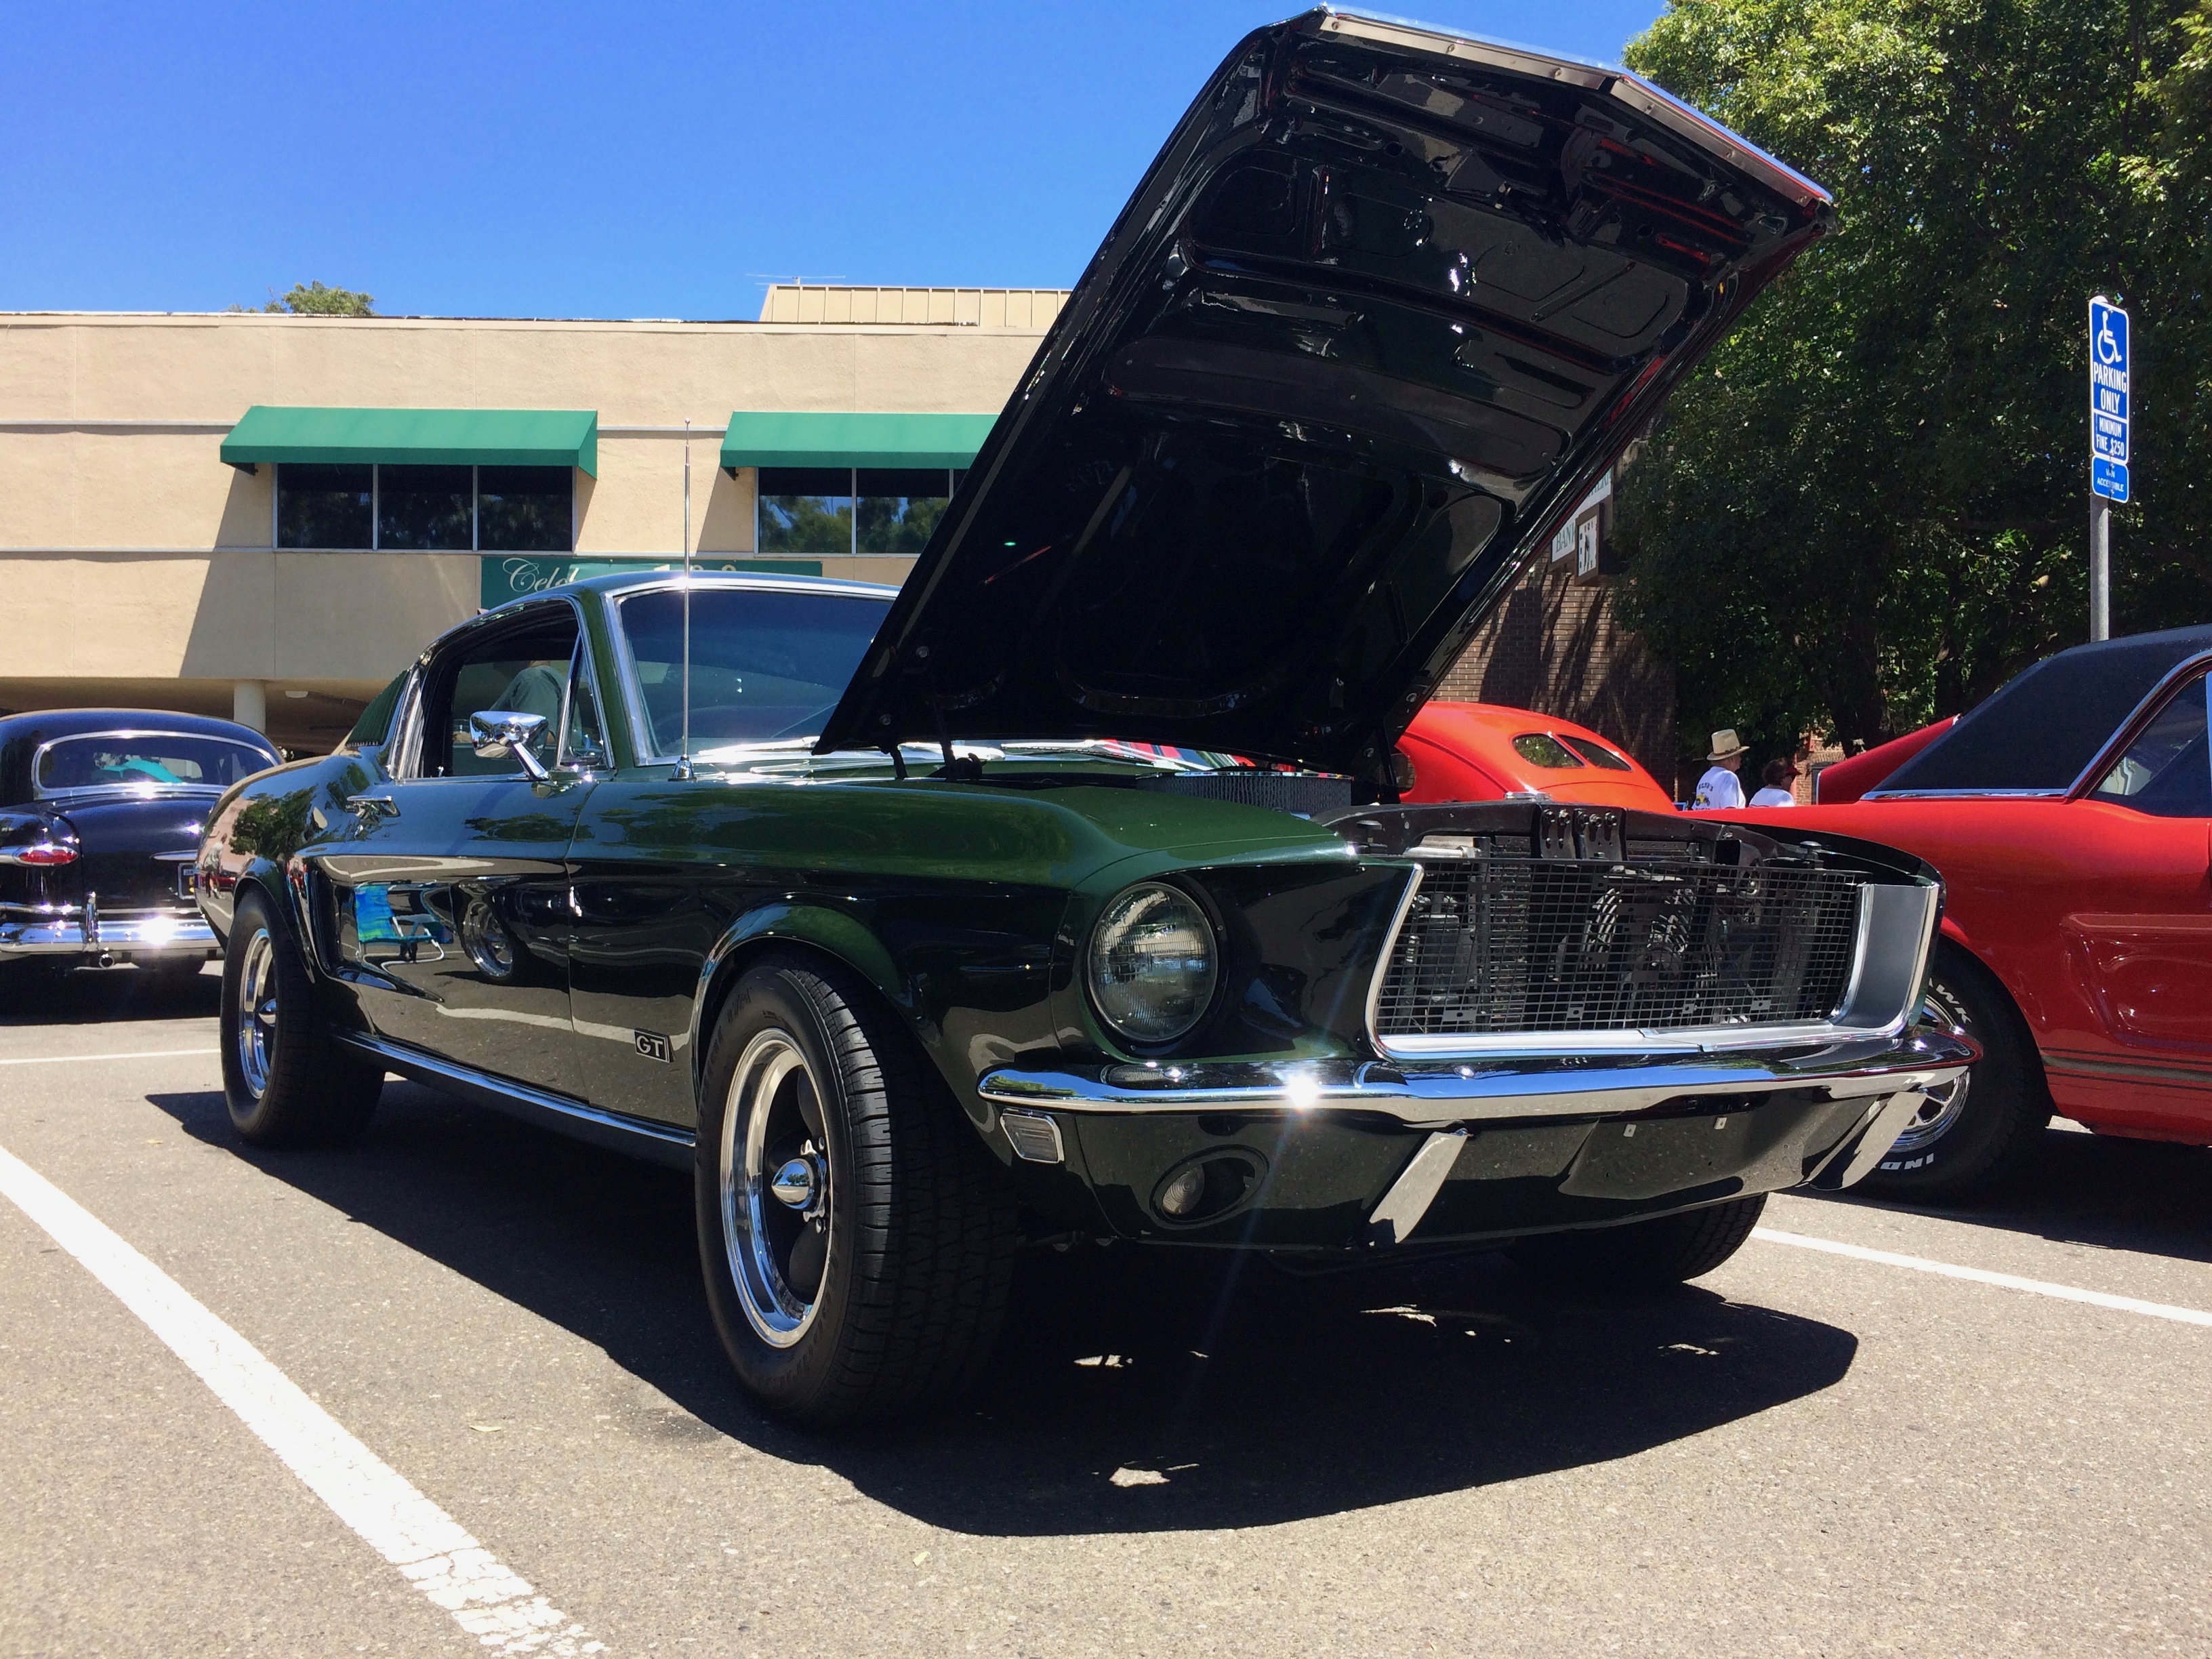
The paint was in fairly good condition already.
I was able to speak with the owner and ask him about the Mustang. I learned that it had been repainted recently.
At the time that I found the Mustang, I still hadn’t seen every vehicle in the show. So with the Mustang at the top of my list I continued exploring. Once I had seen every other vehicle there, the Mustang was still on top of my list, so I beelined back to it.
I told the owner that it was my favorite in the show. He showed me around the vehicle and we examined a couple problem areas on the paint. He wanted to have the Mustang detailed but first he told me, to my surprise, that he has a 1968 Mercury Cougar with paint in need of care.
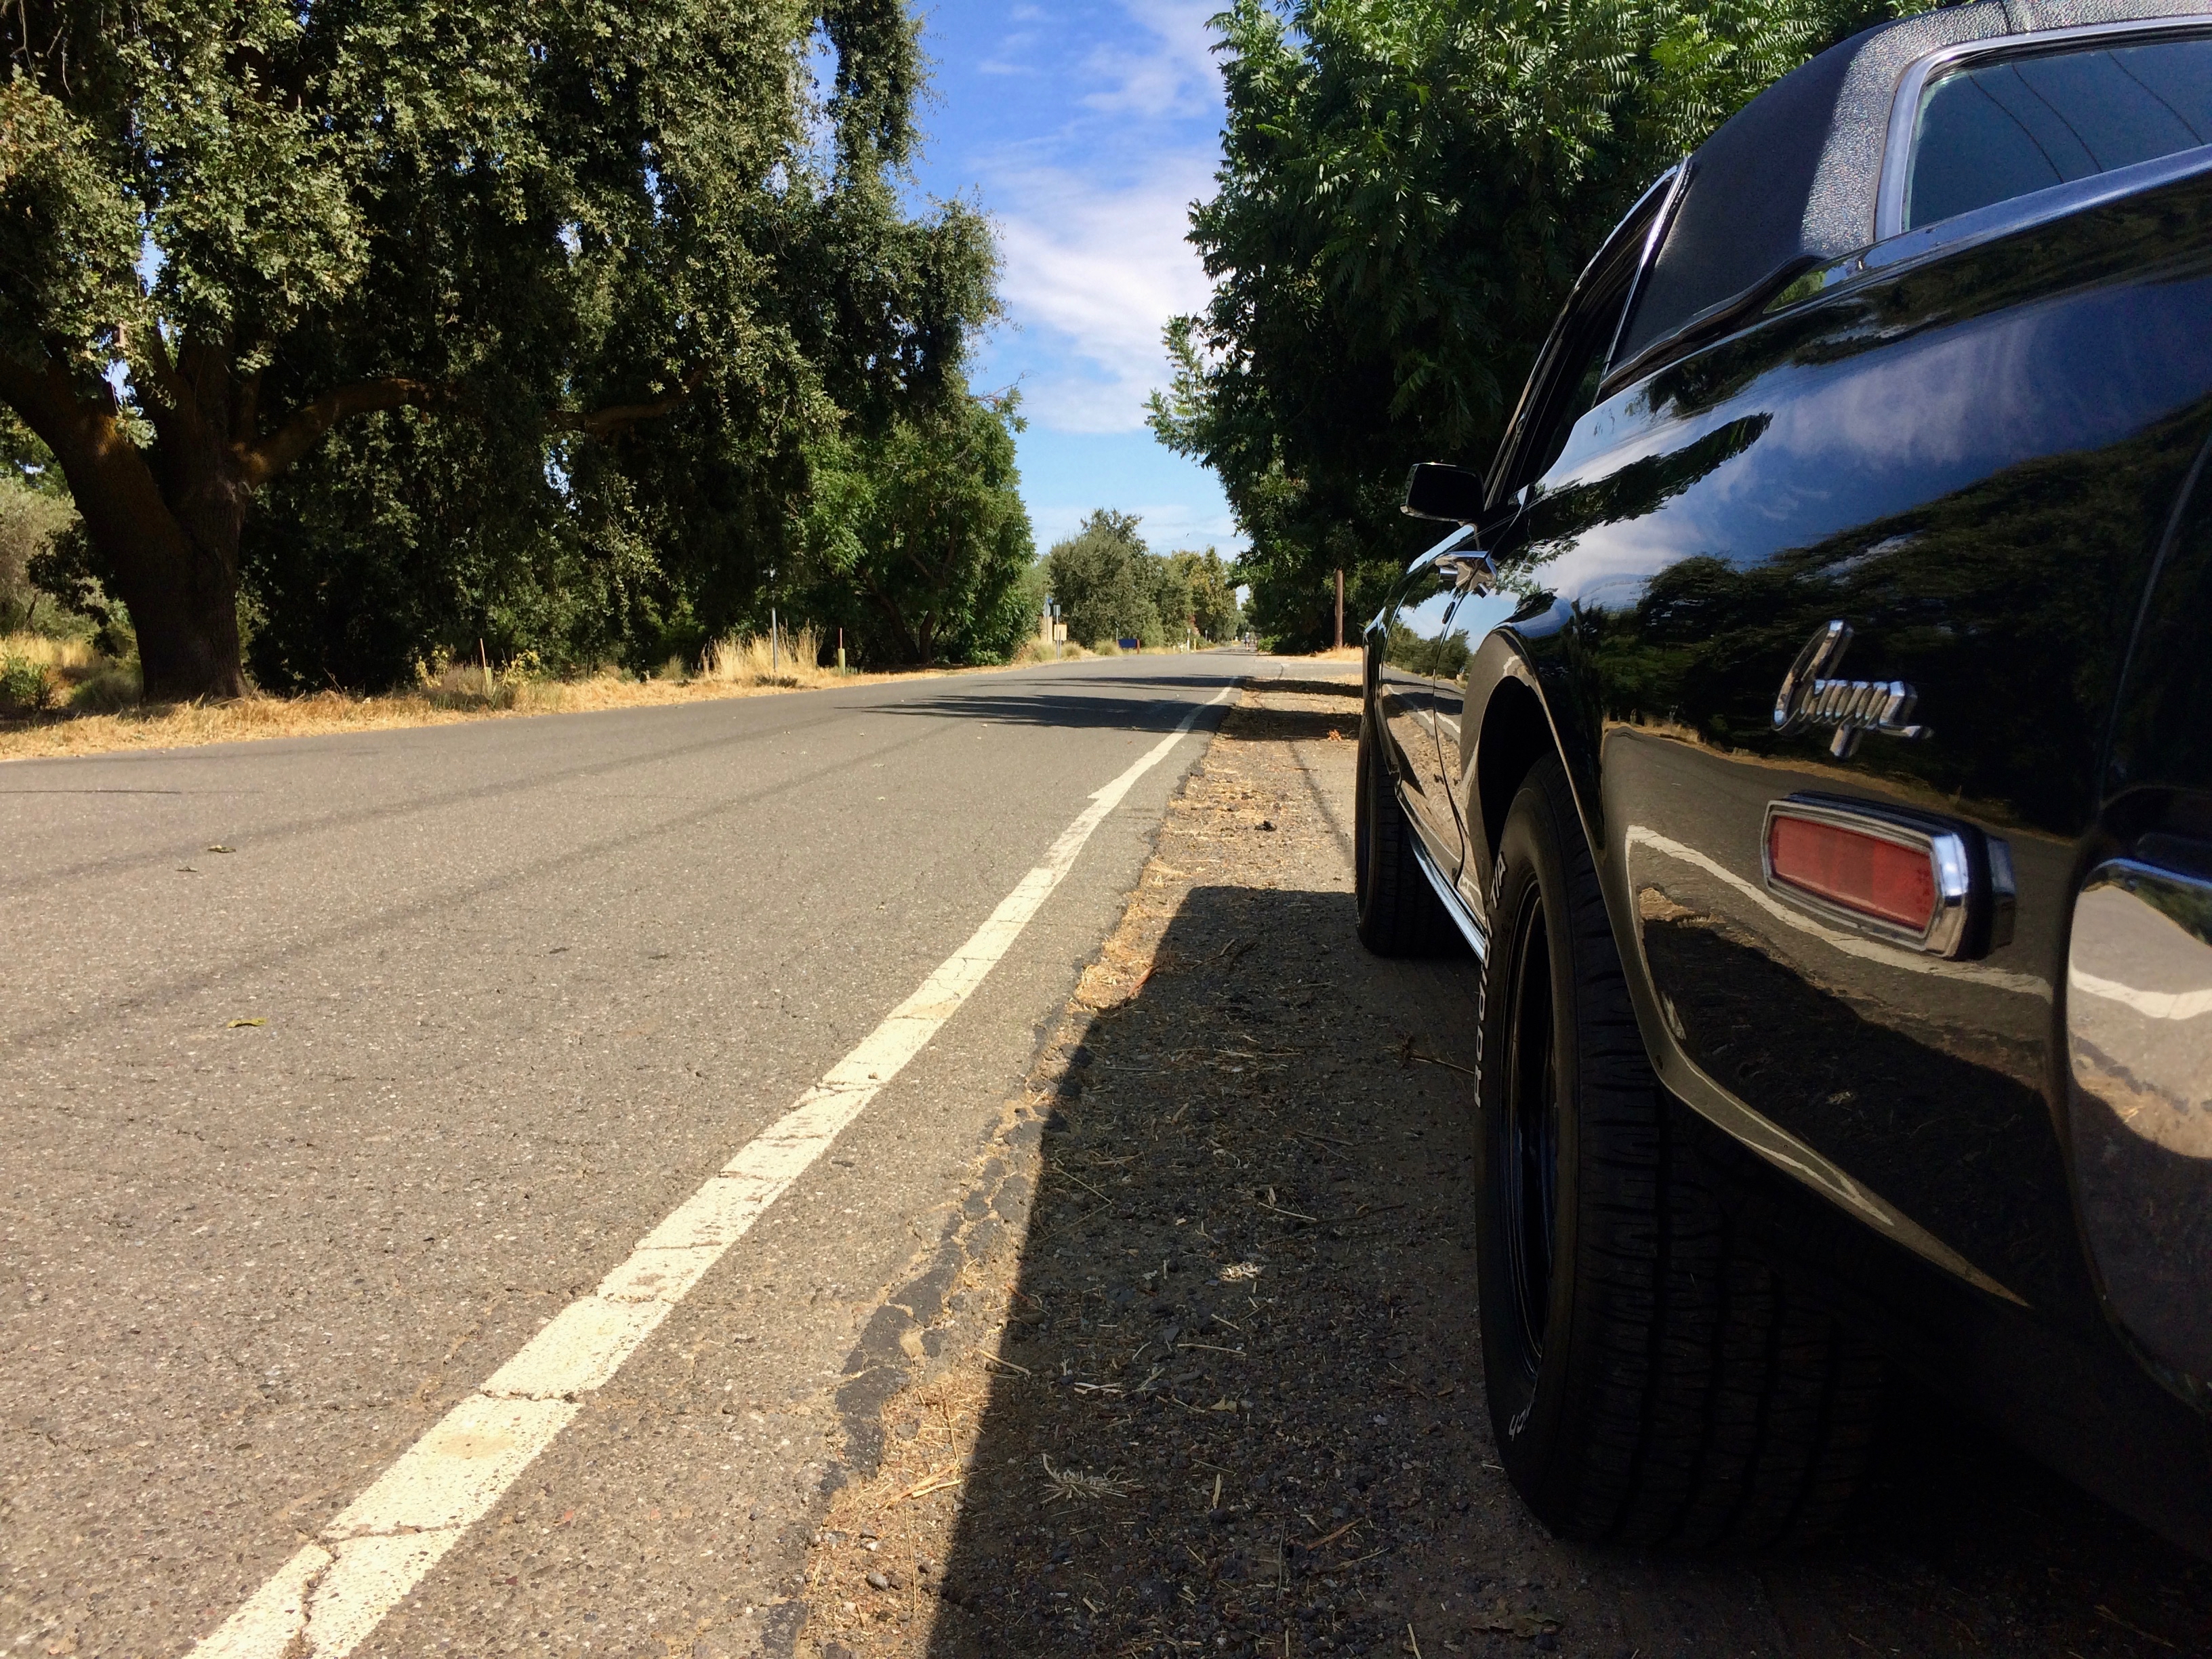
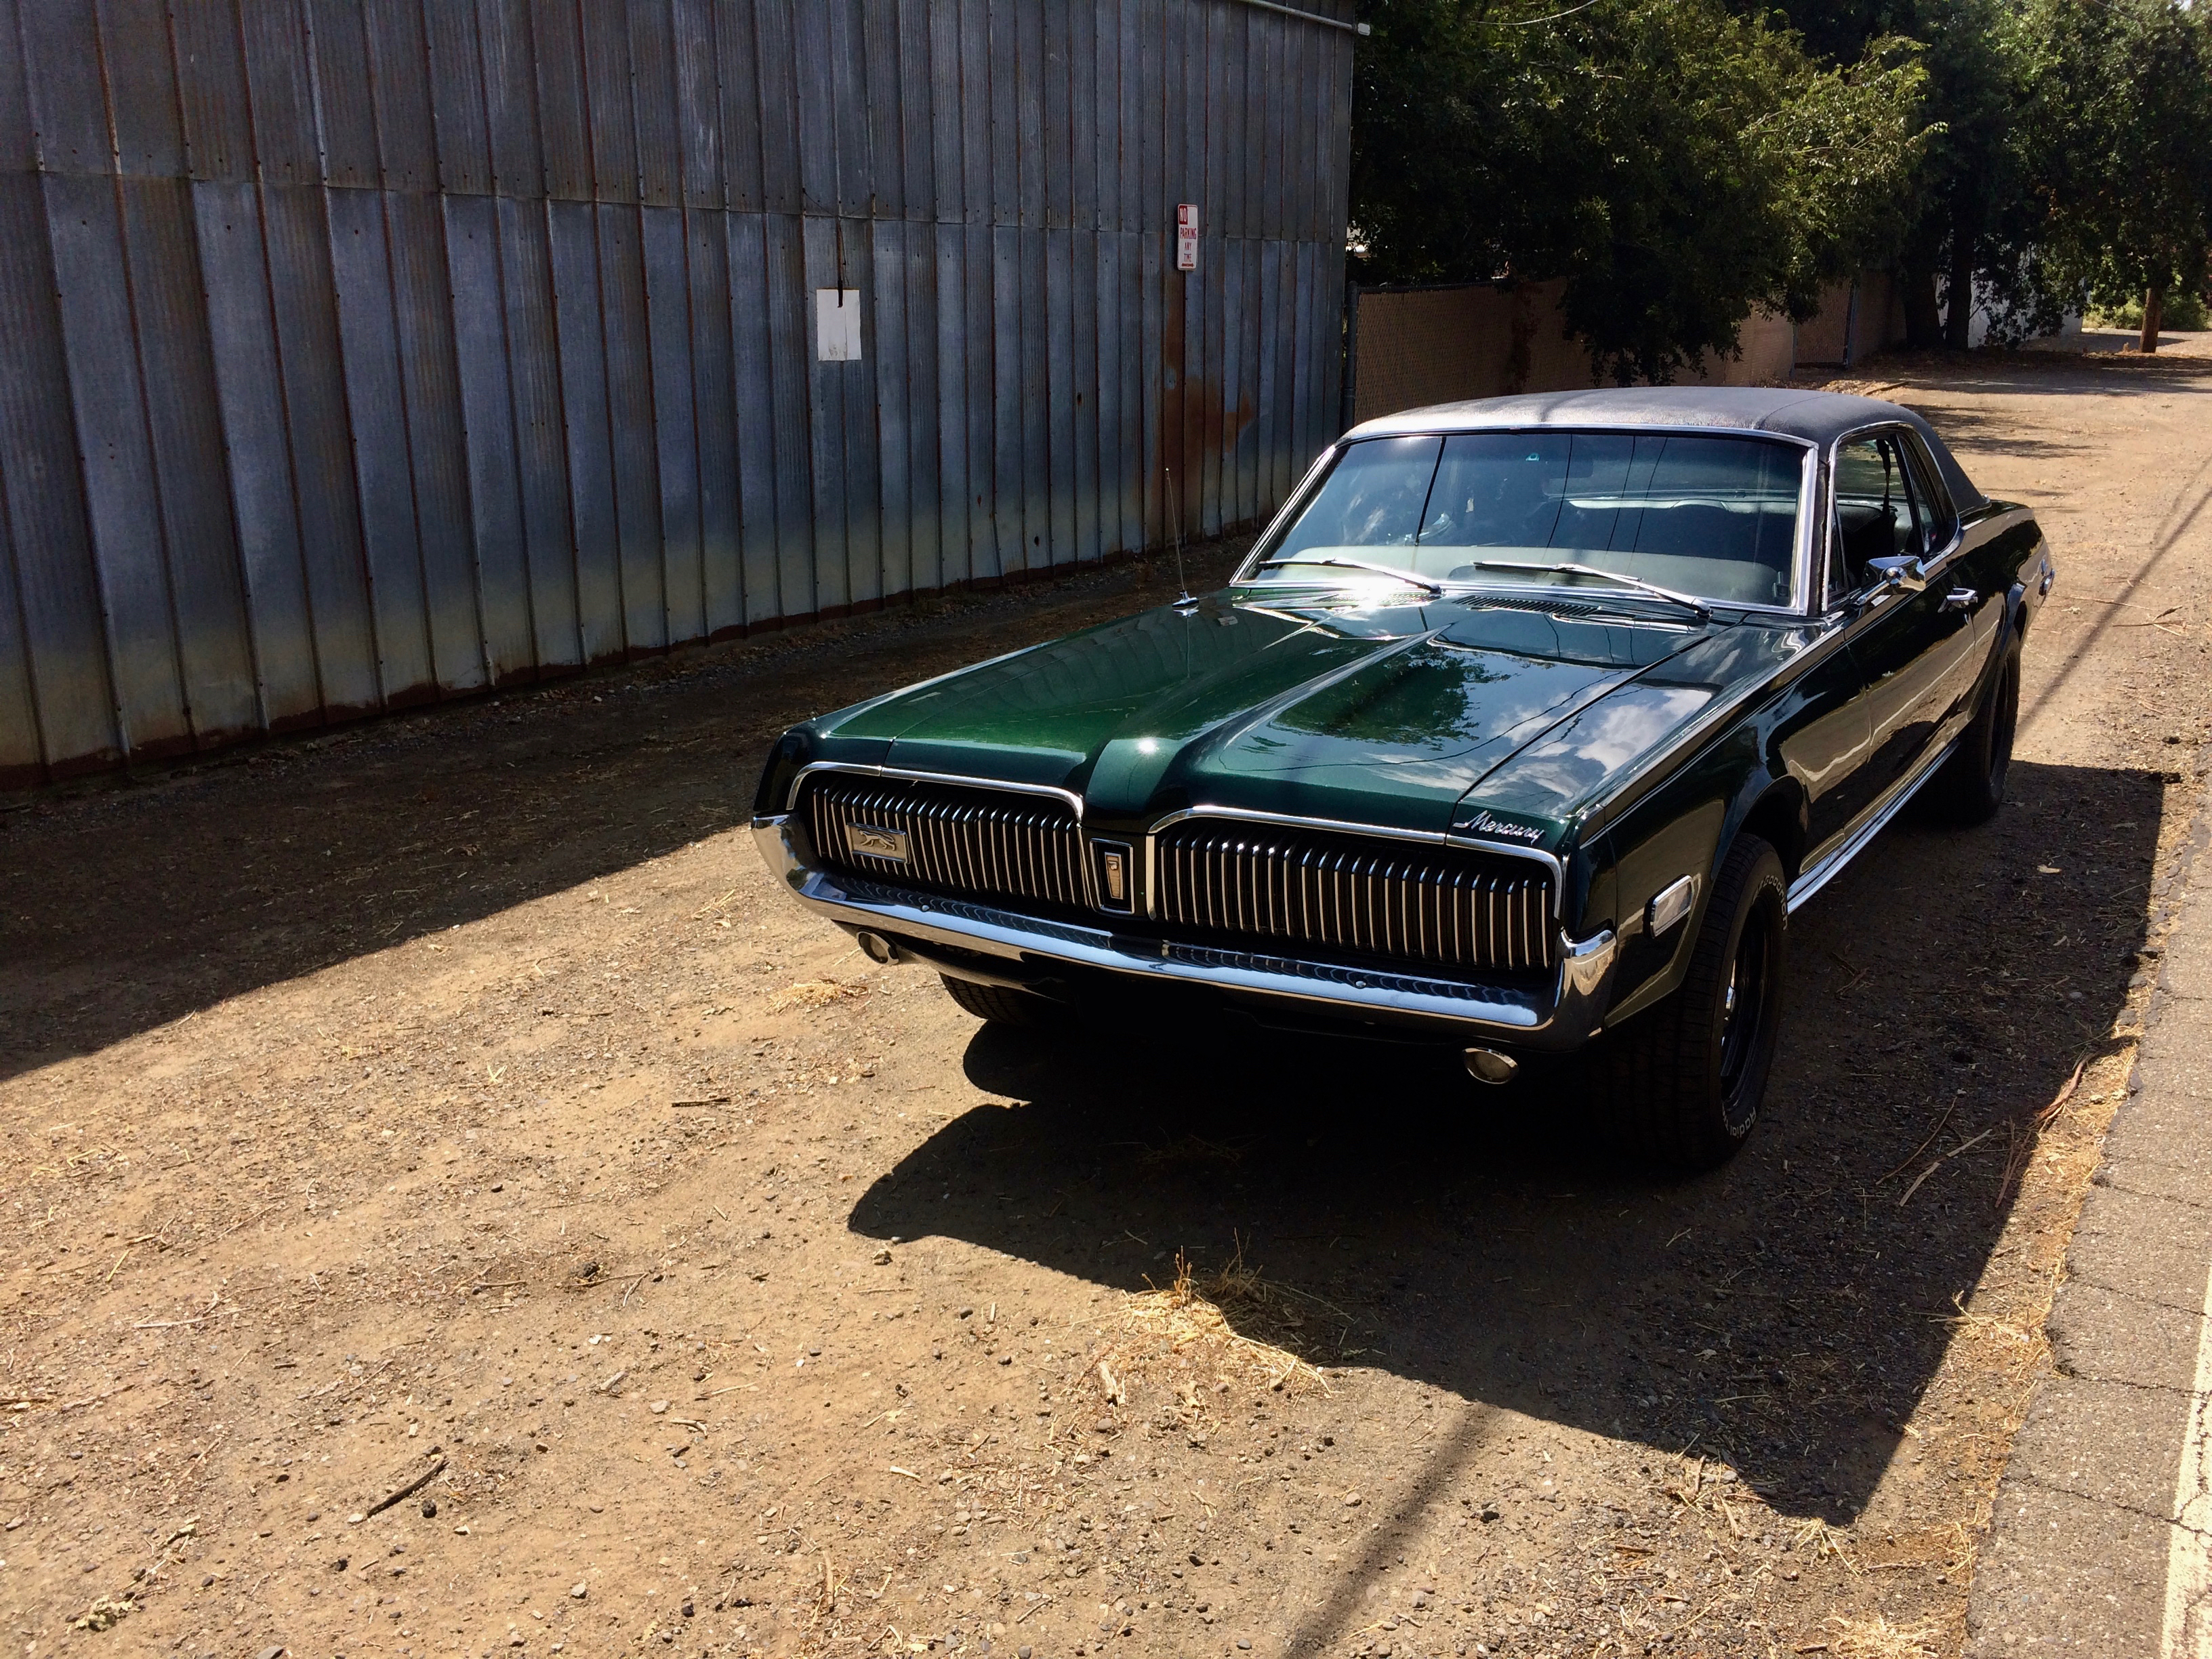
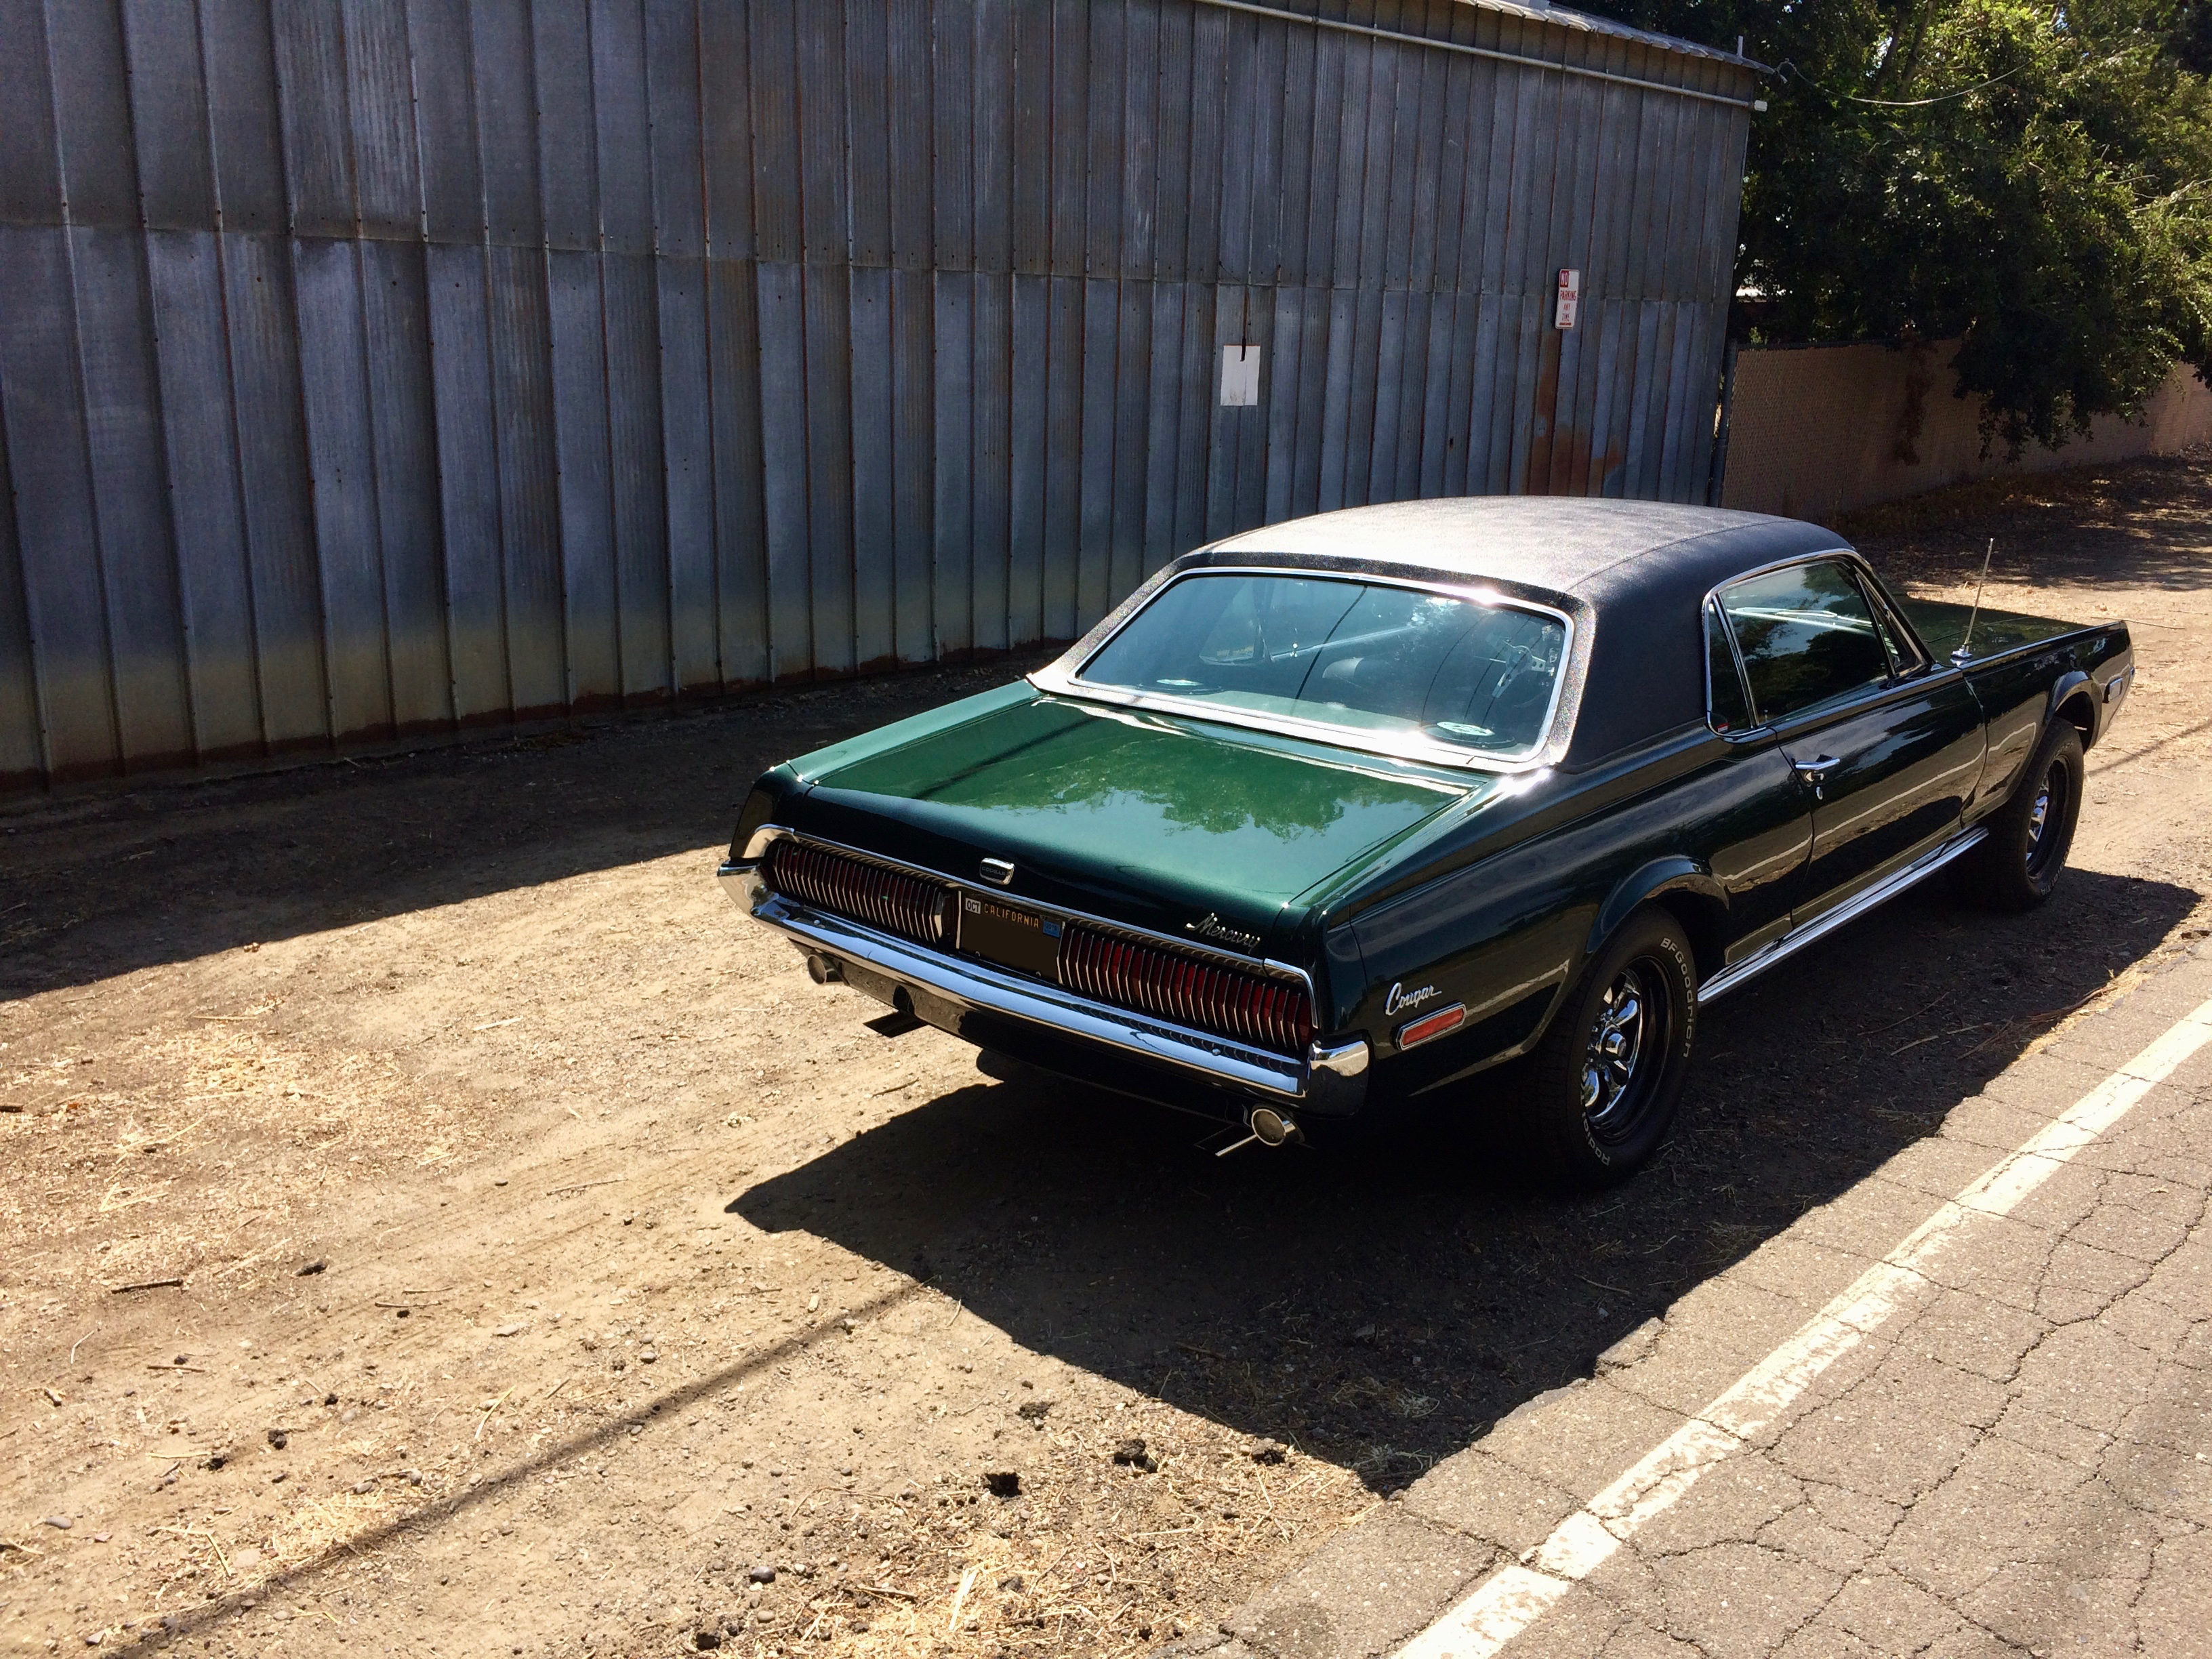
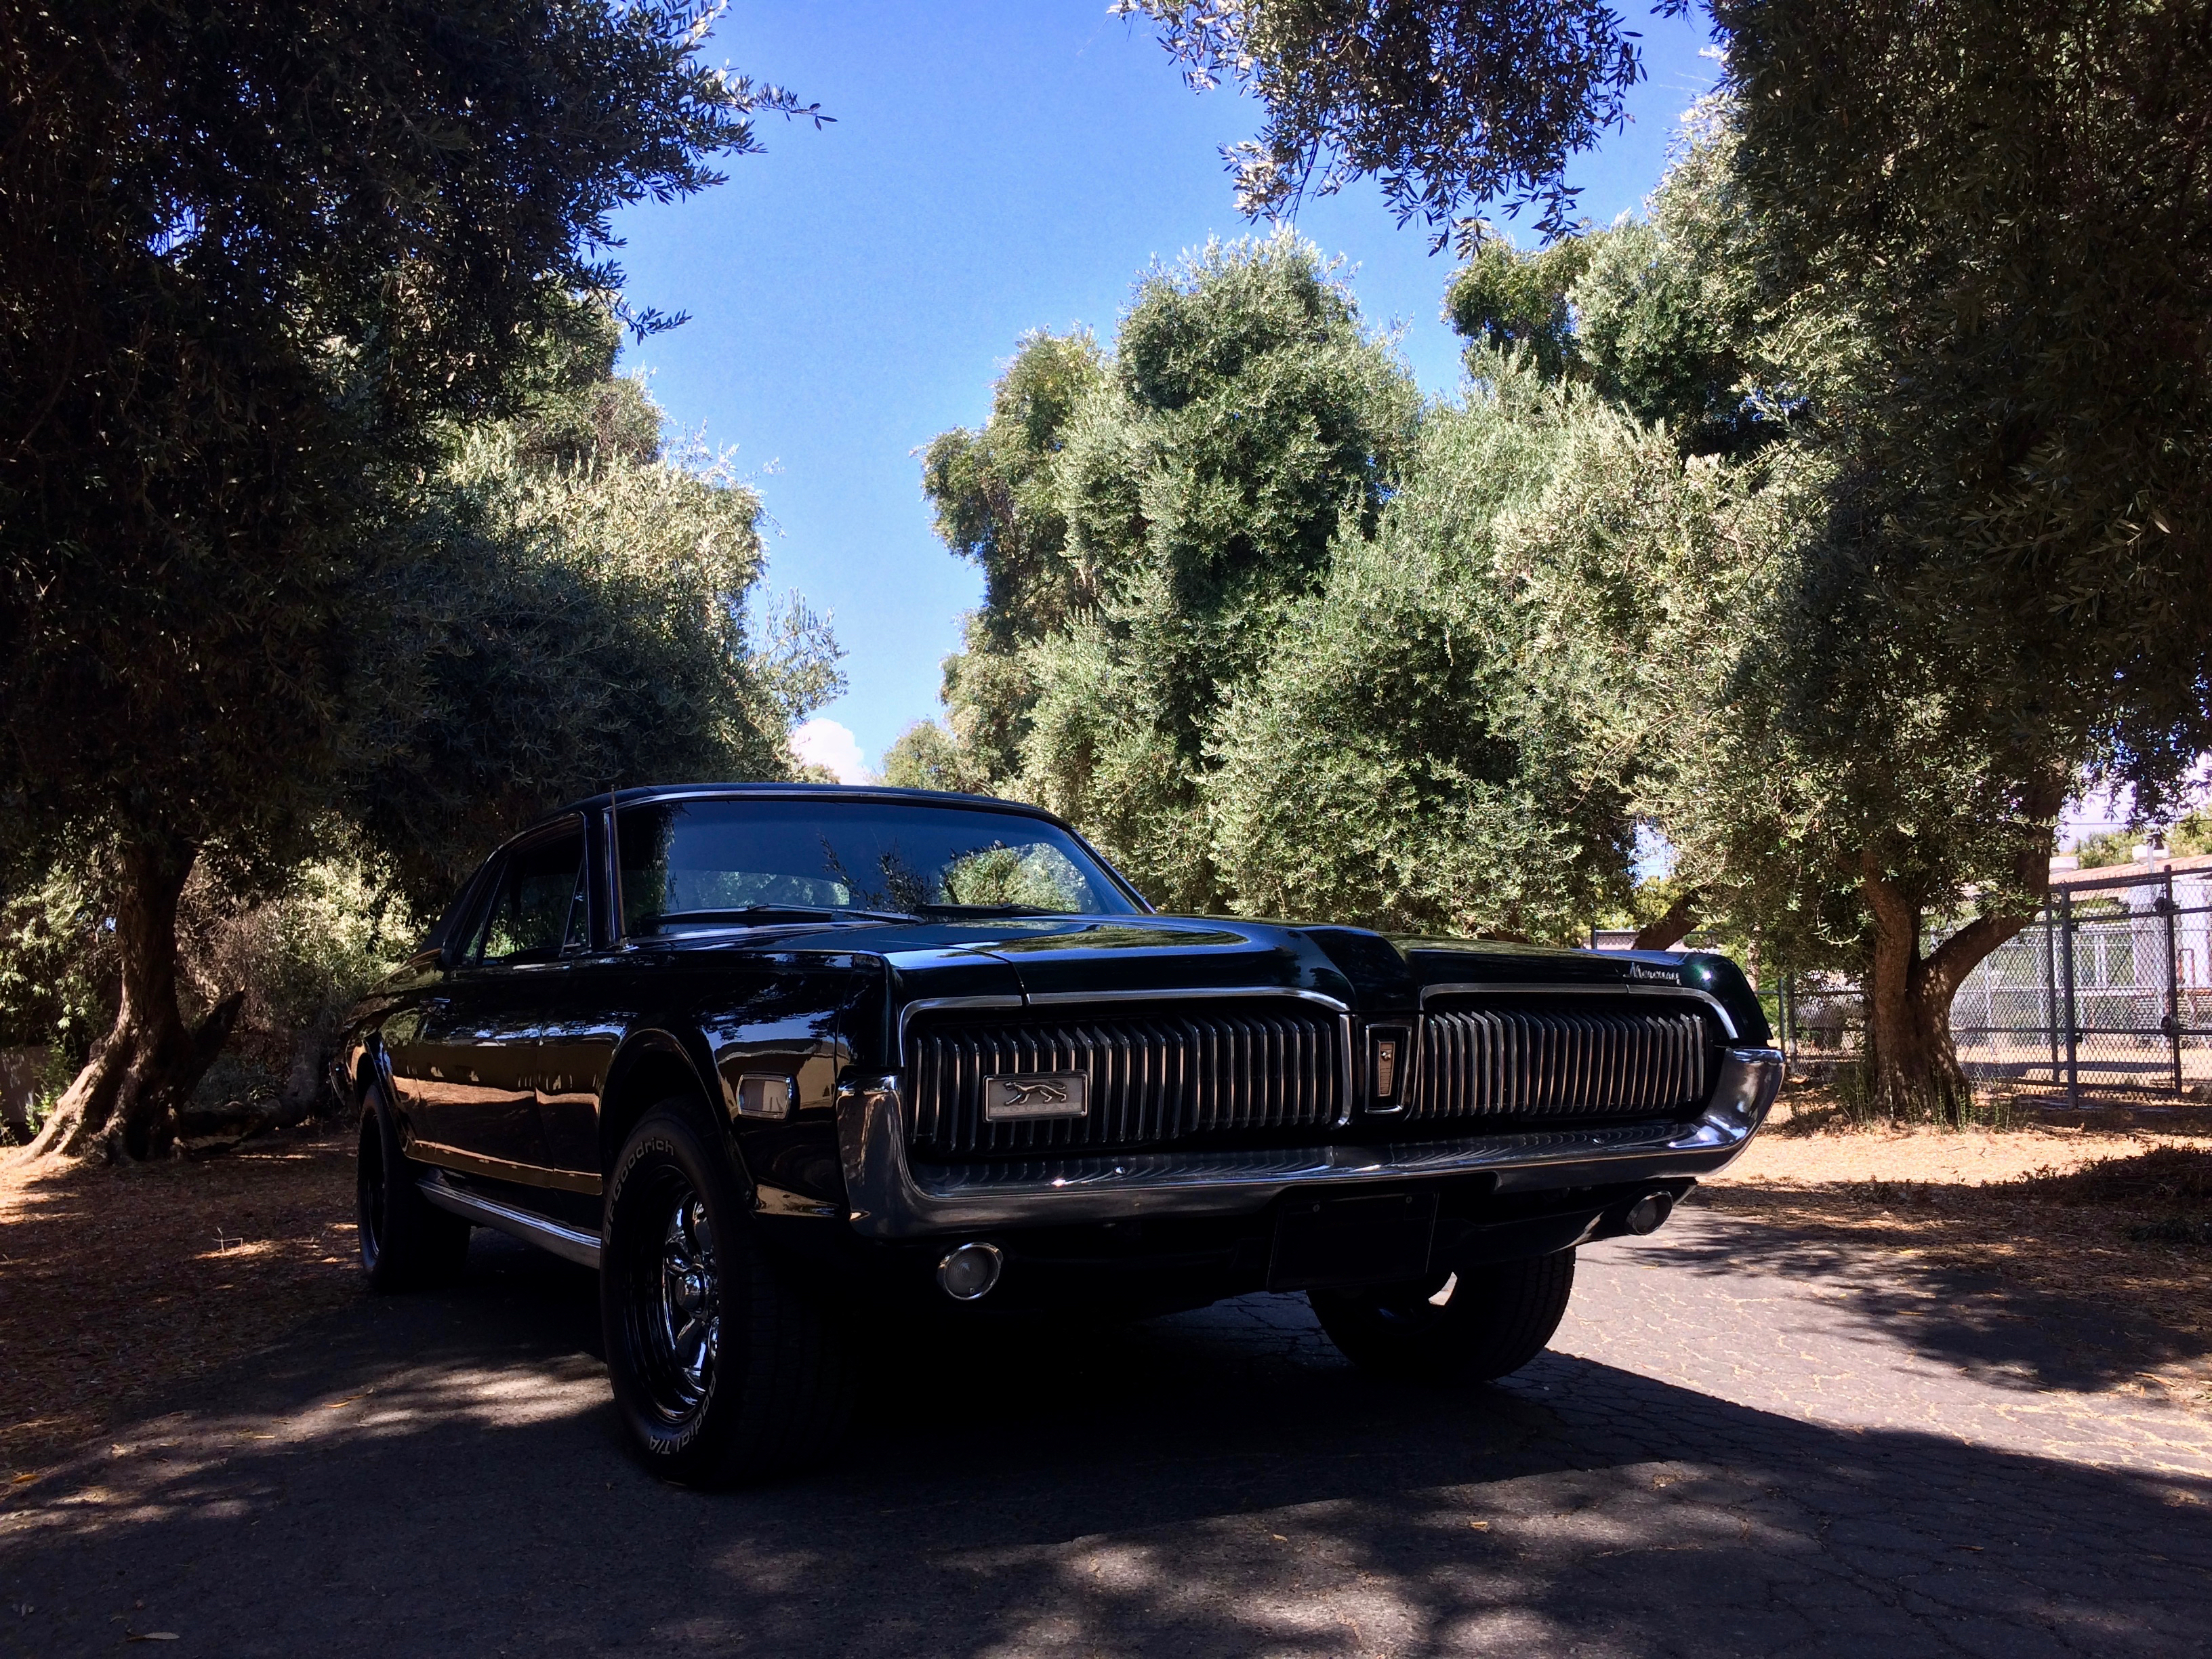
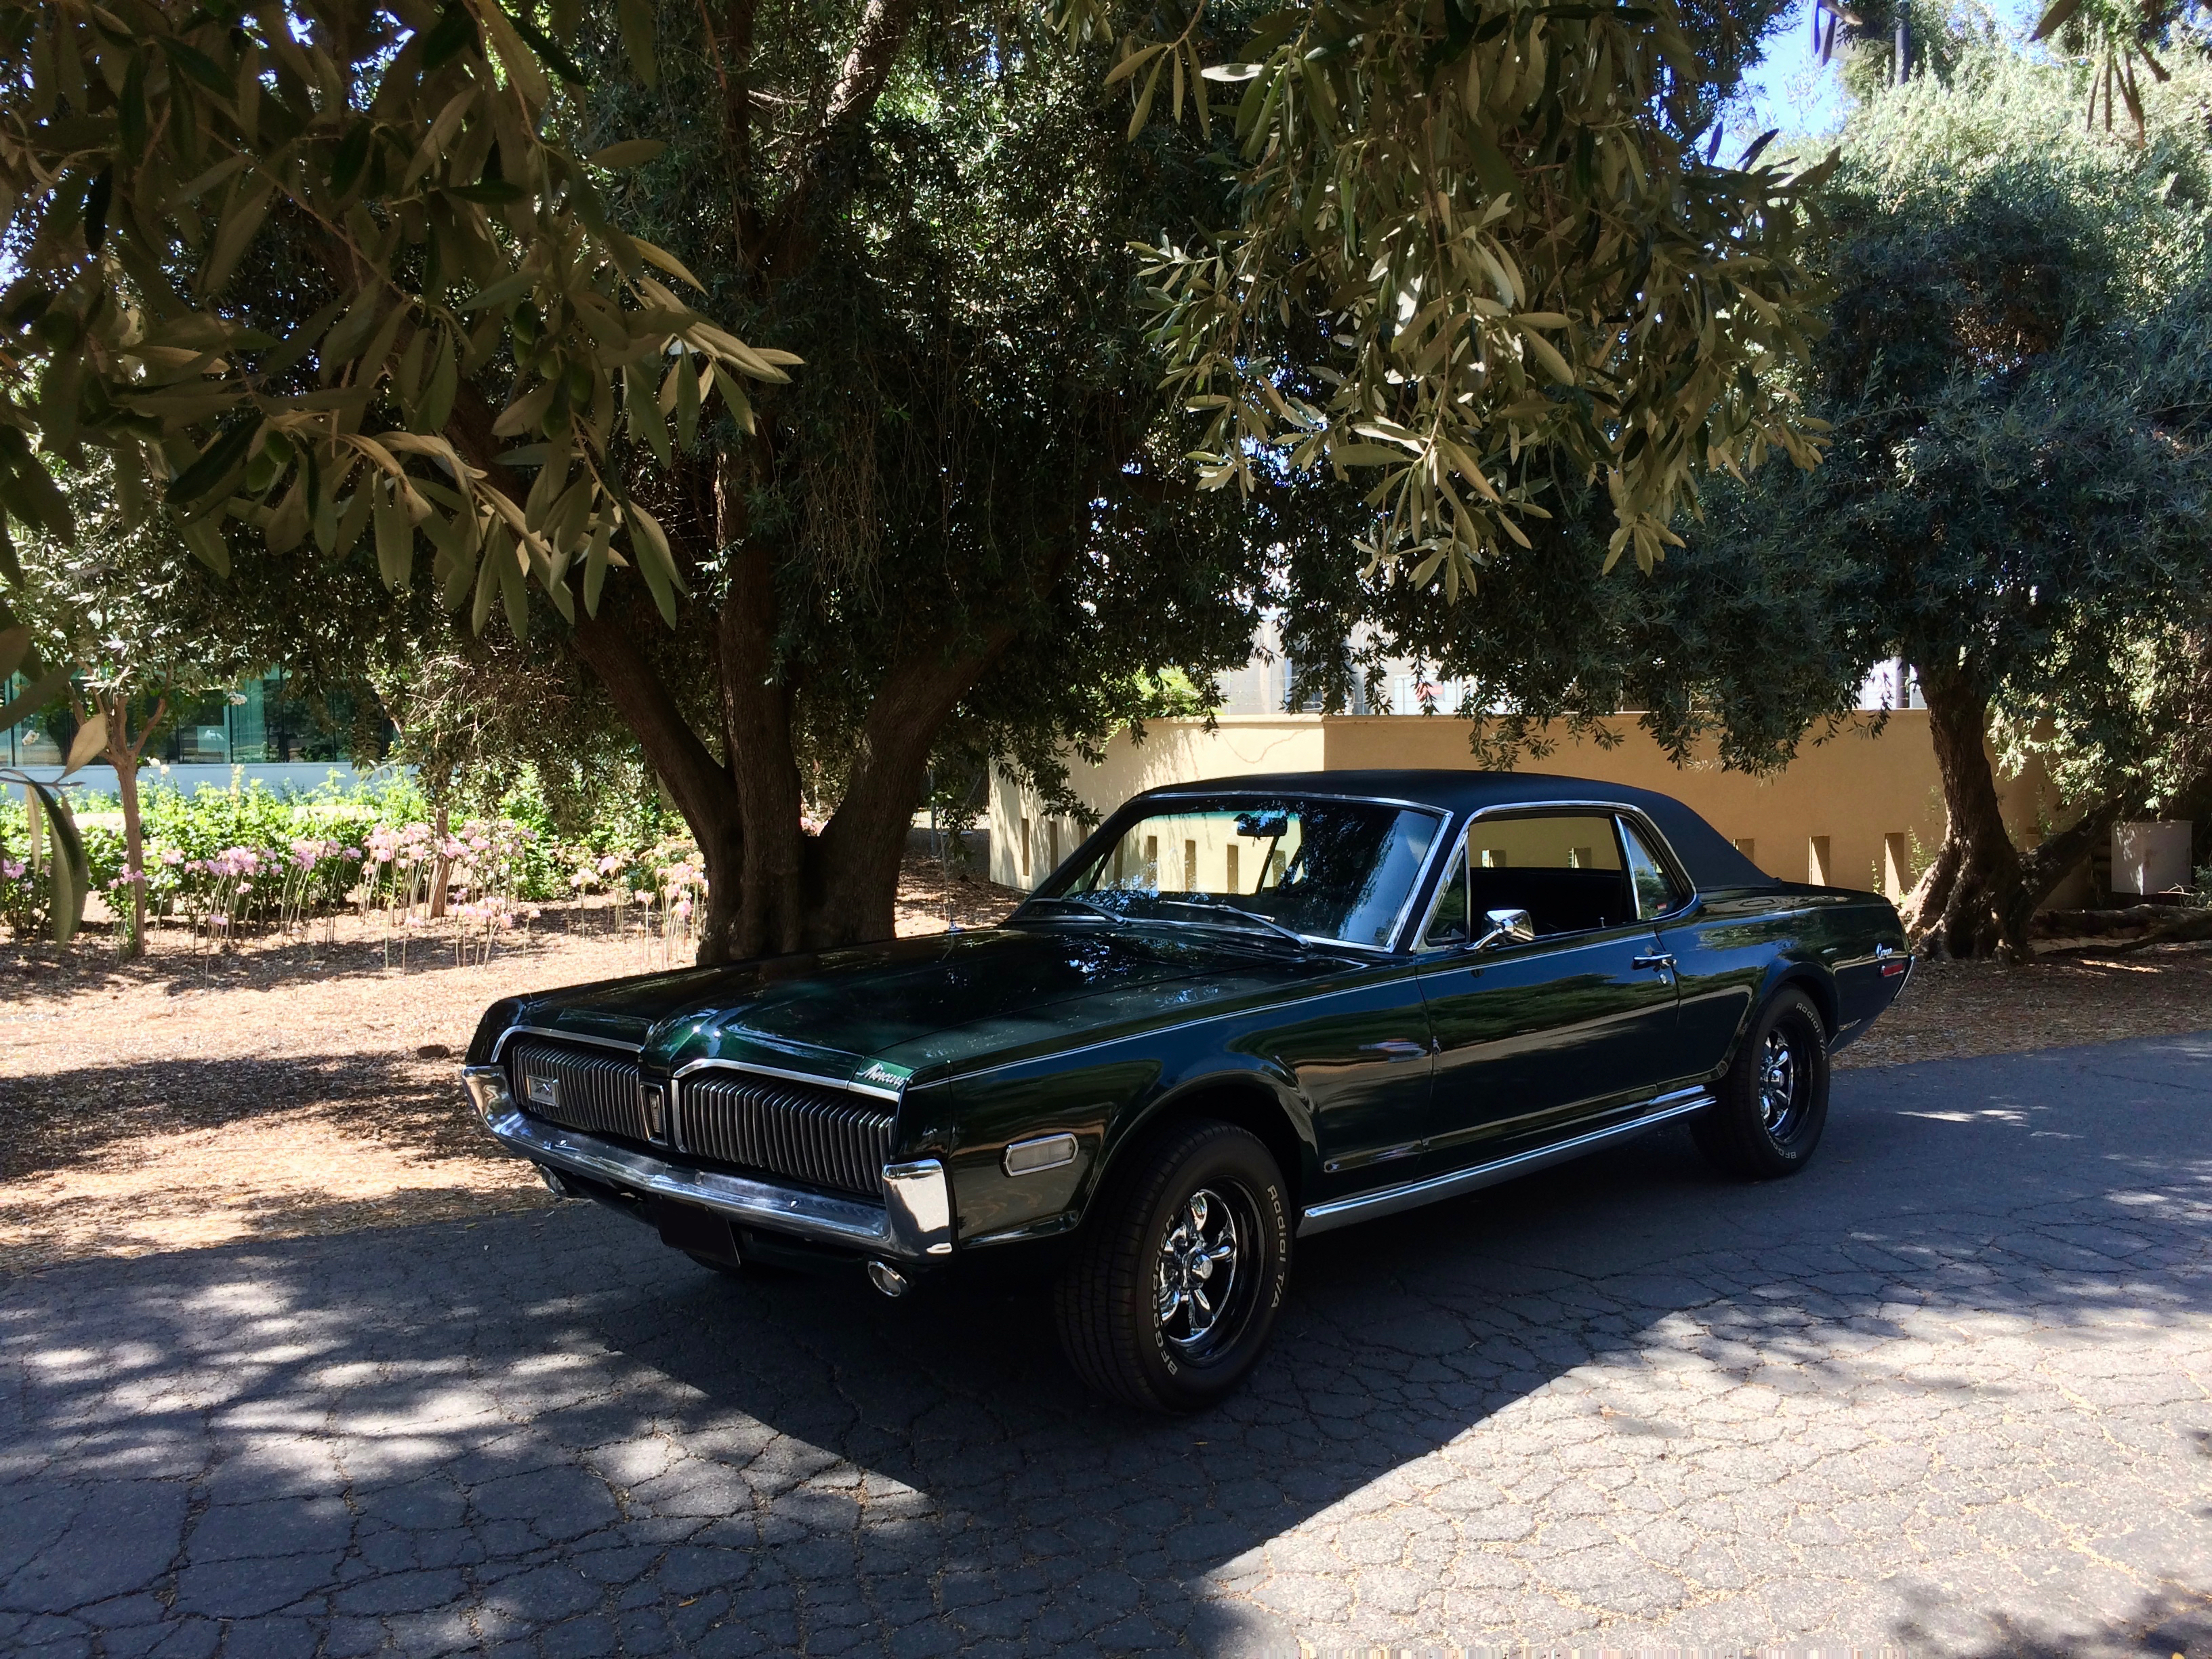
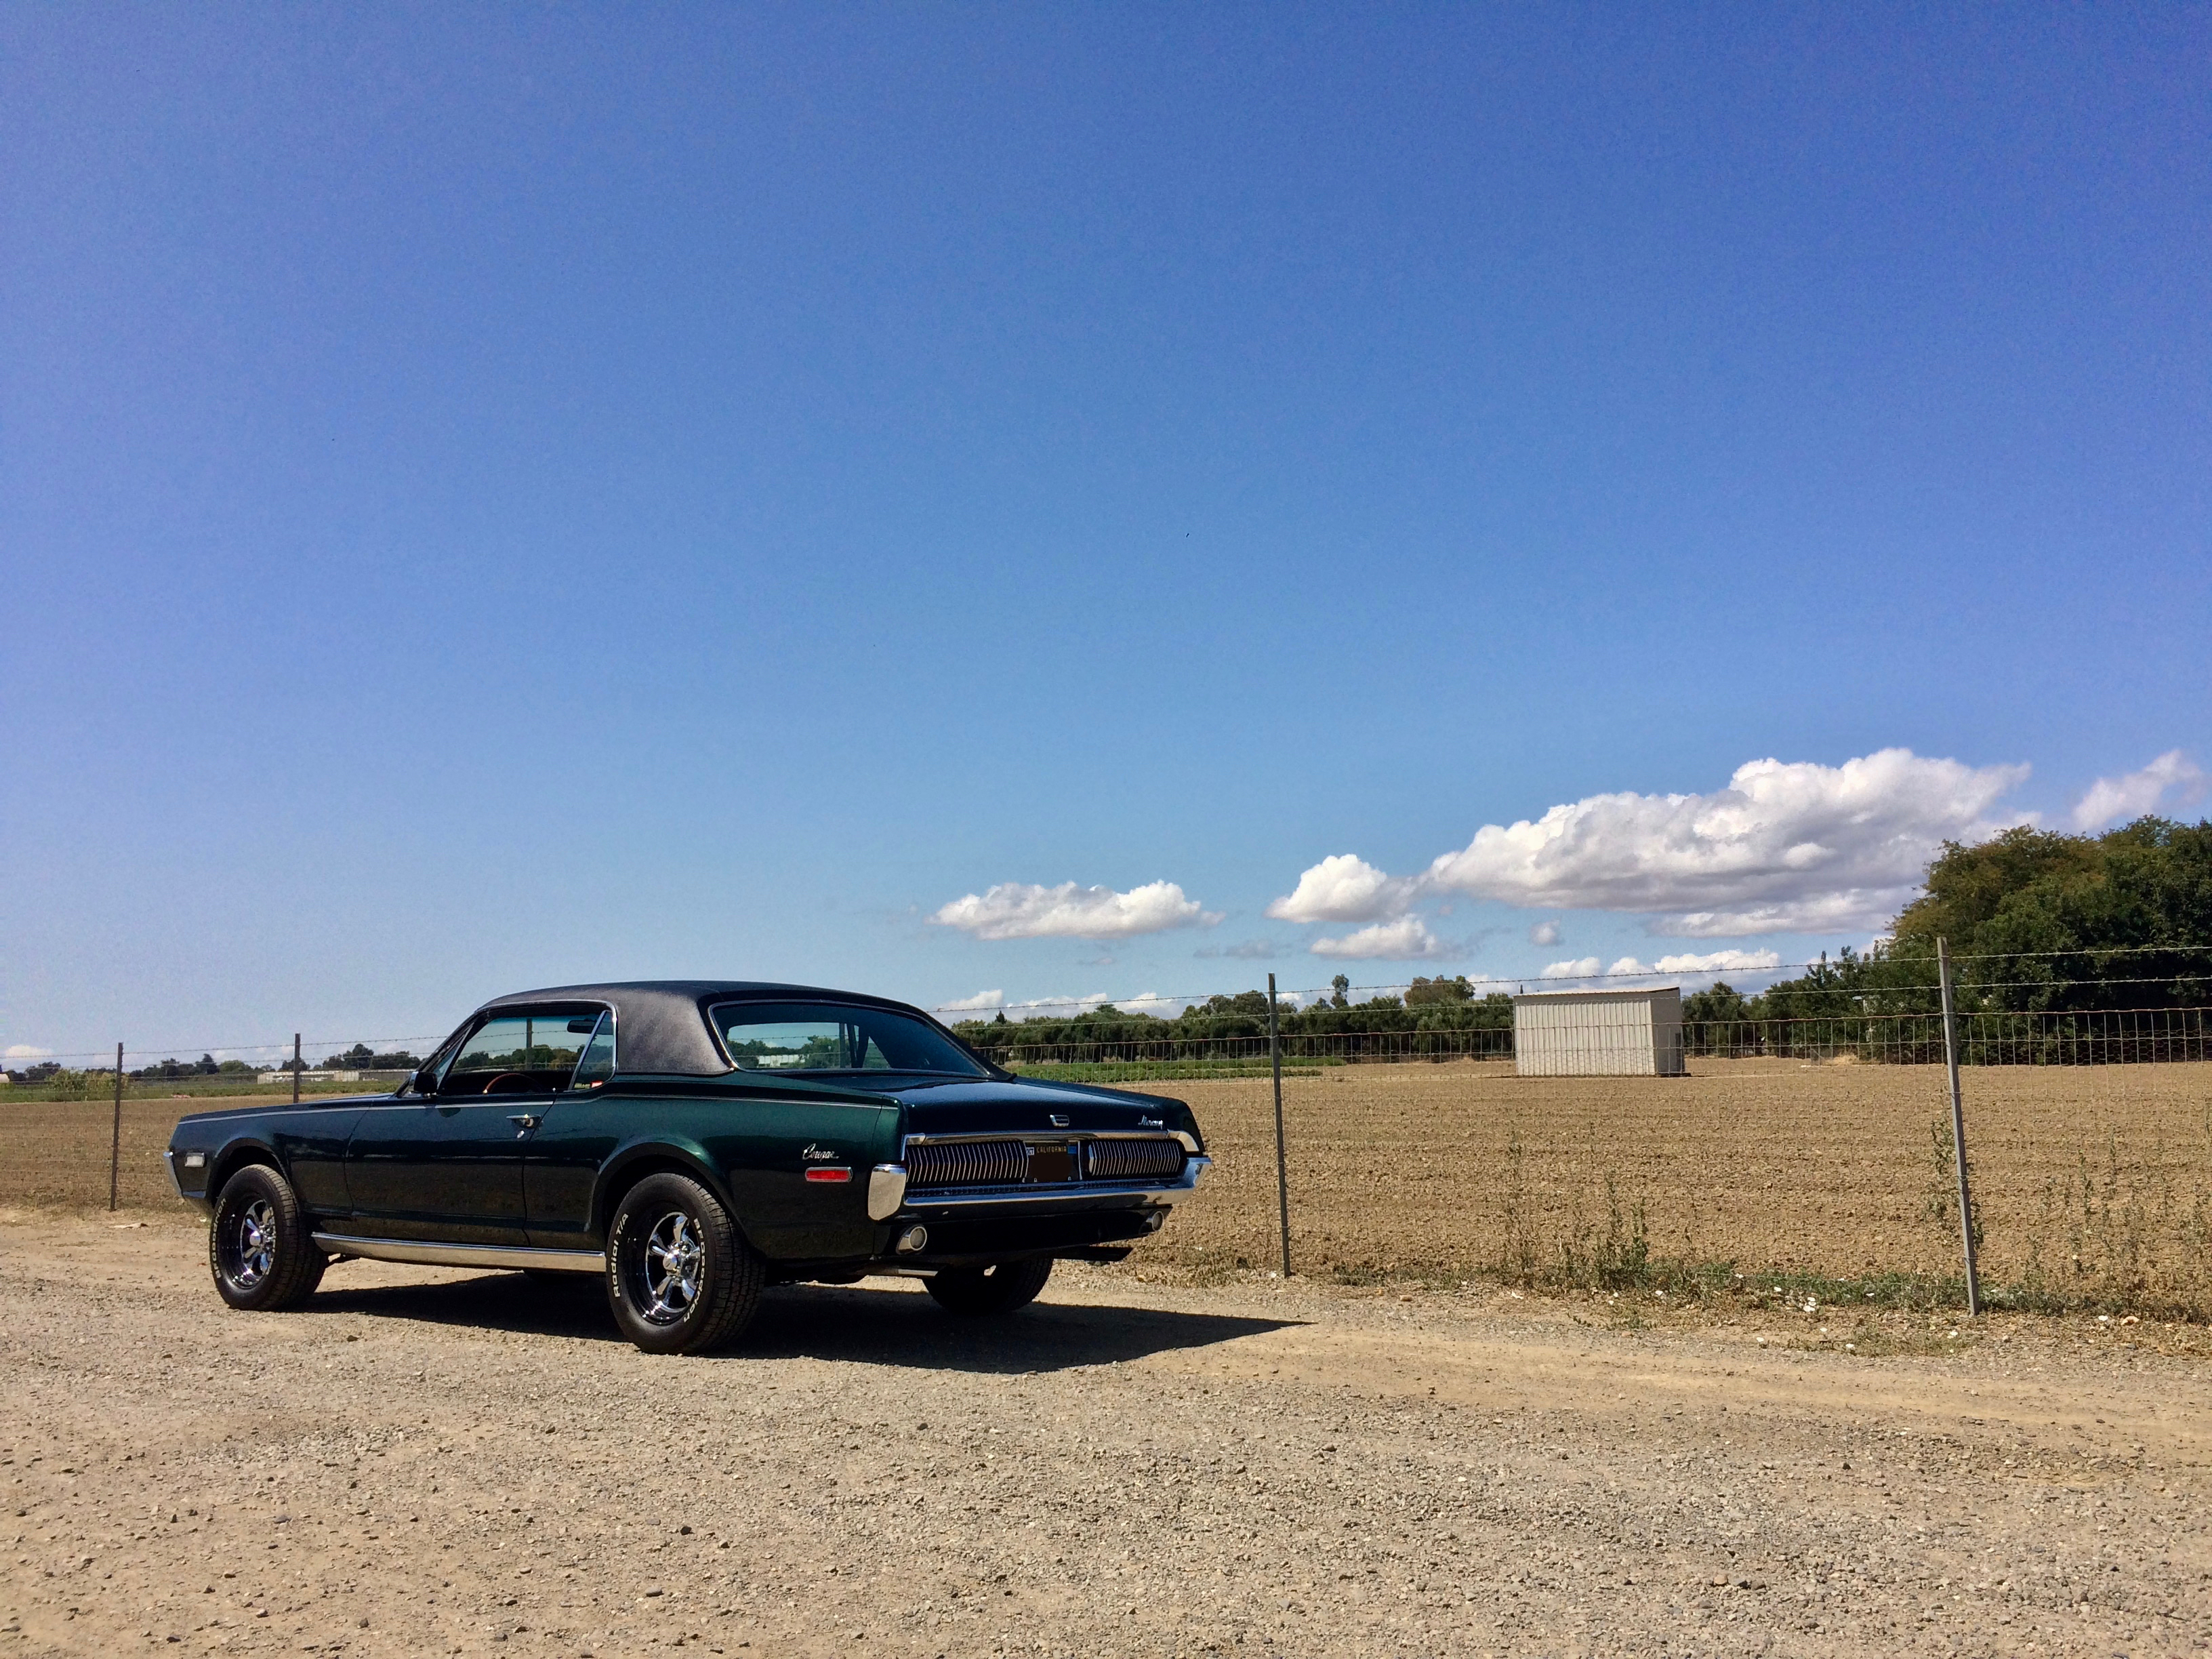
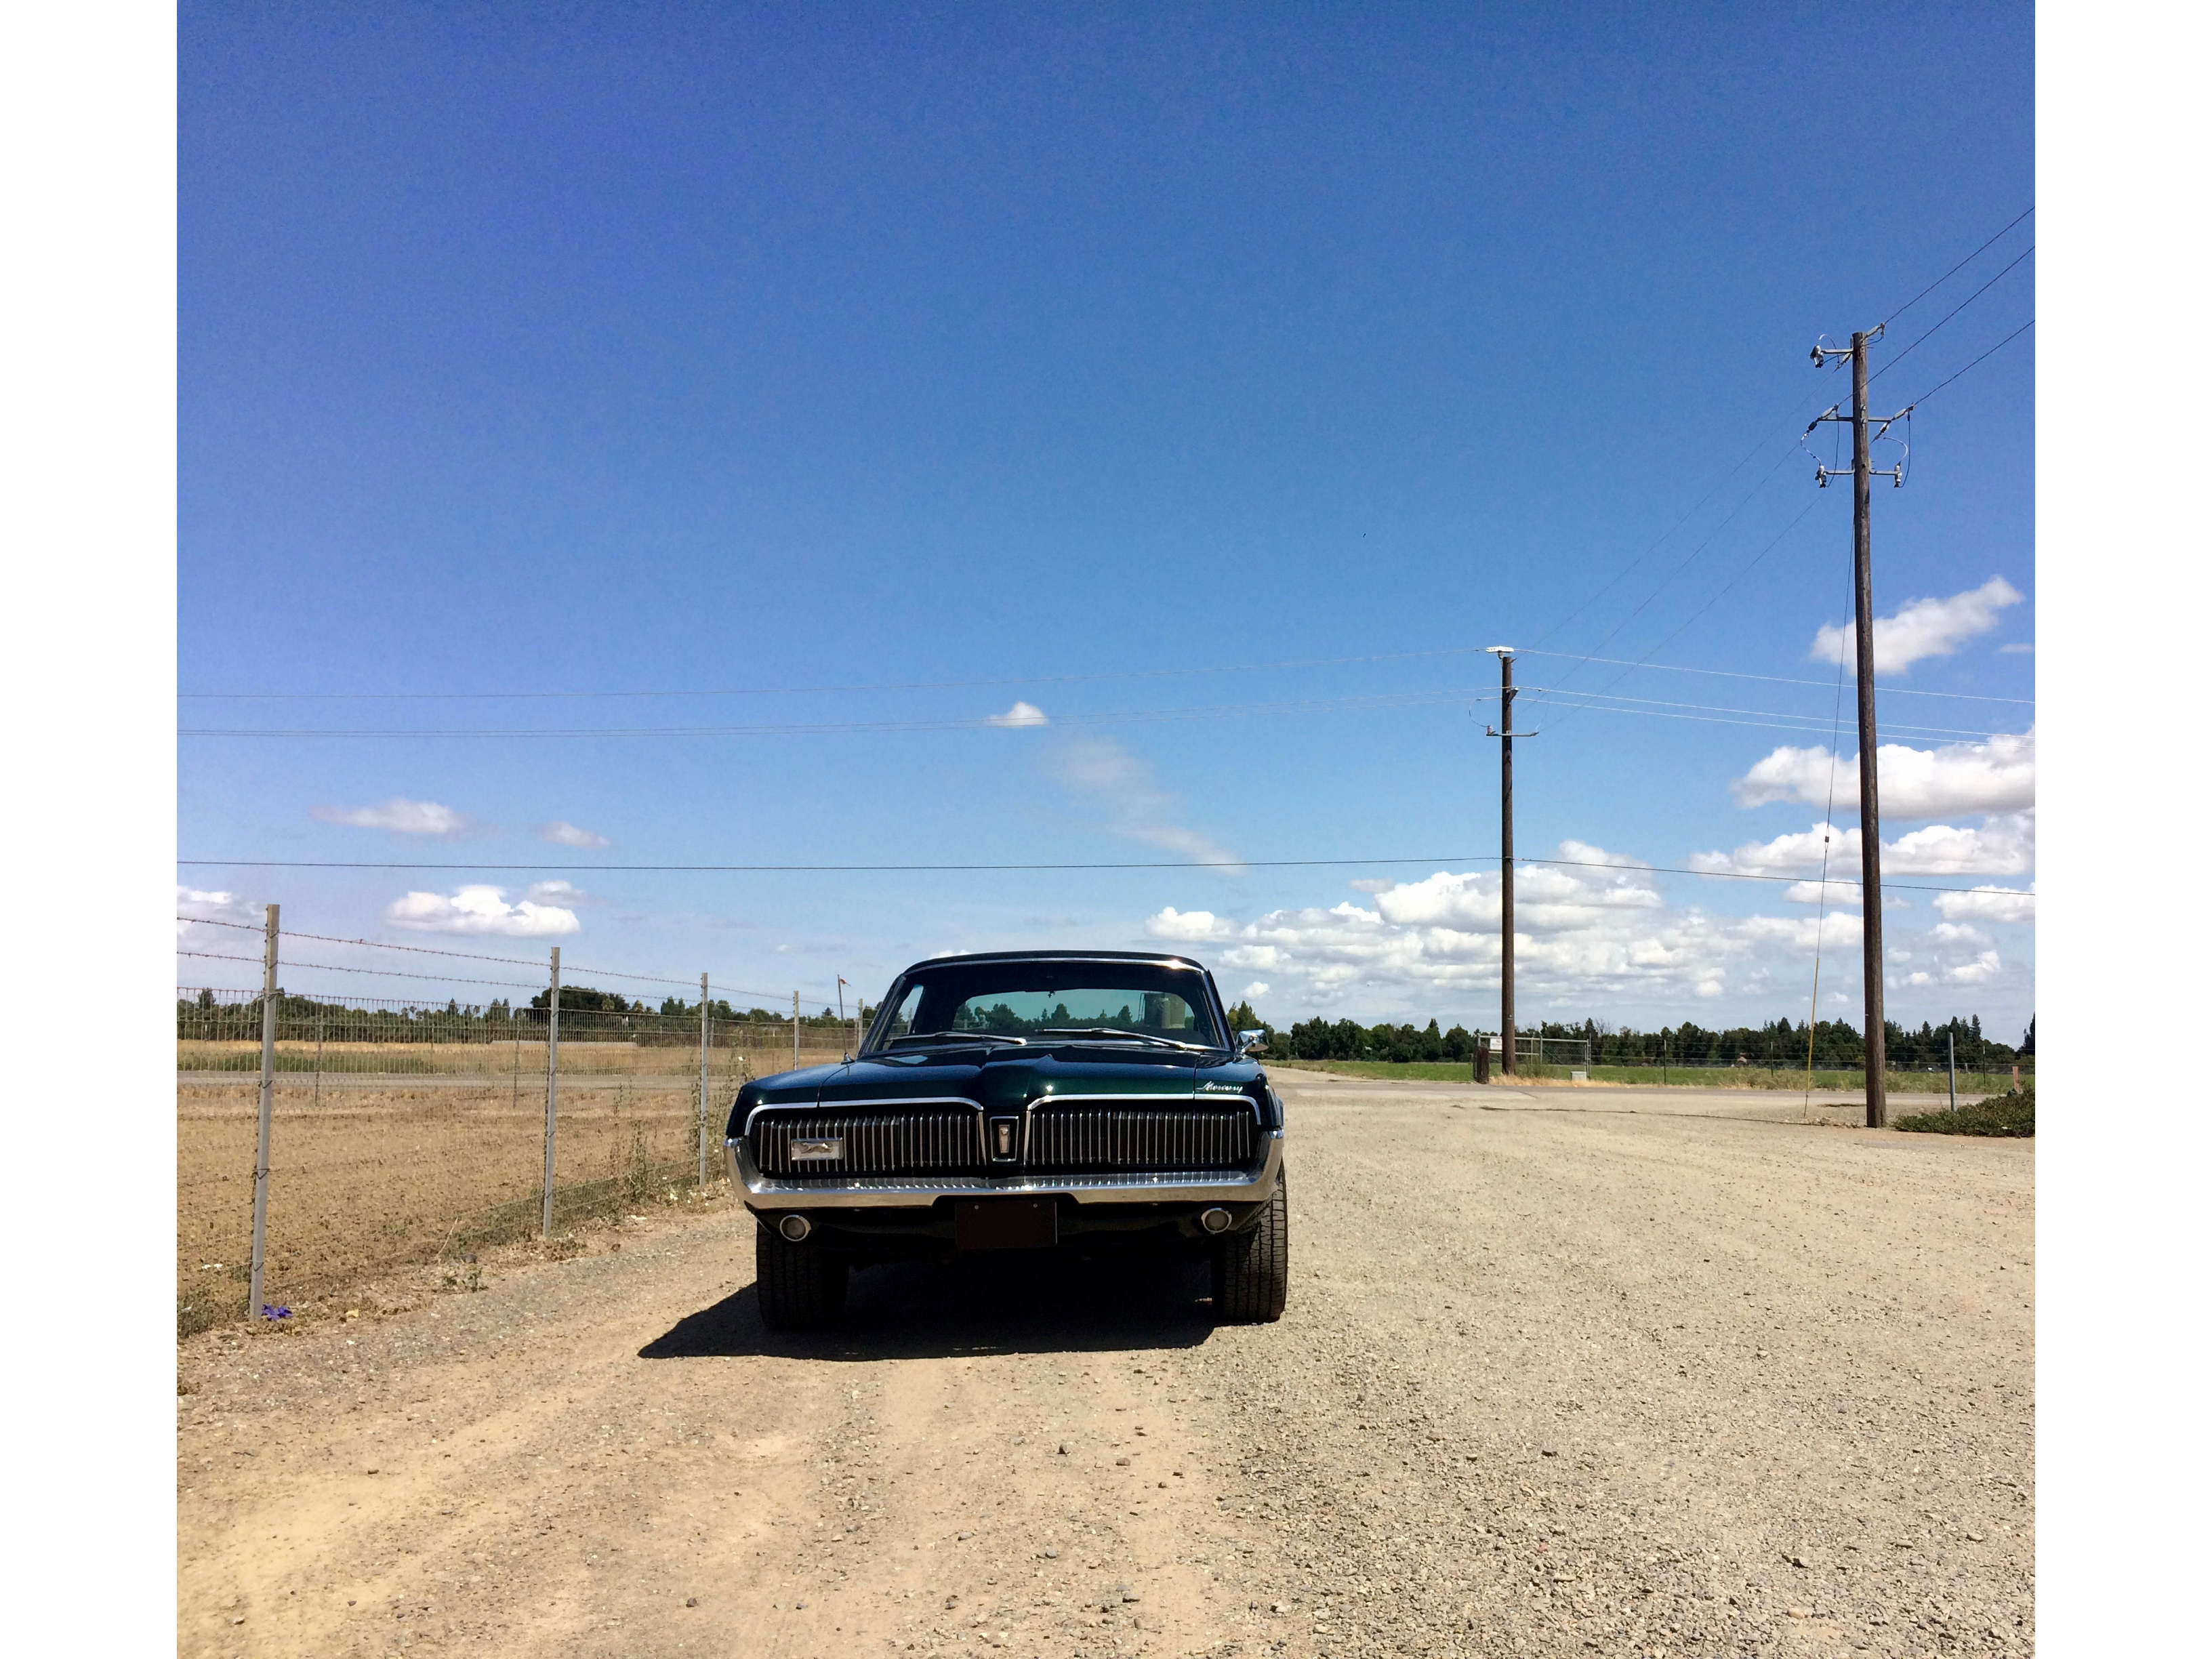
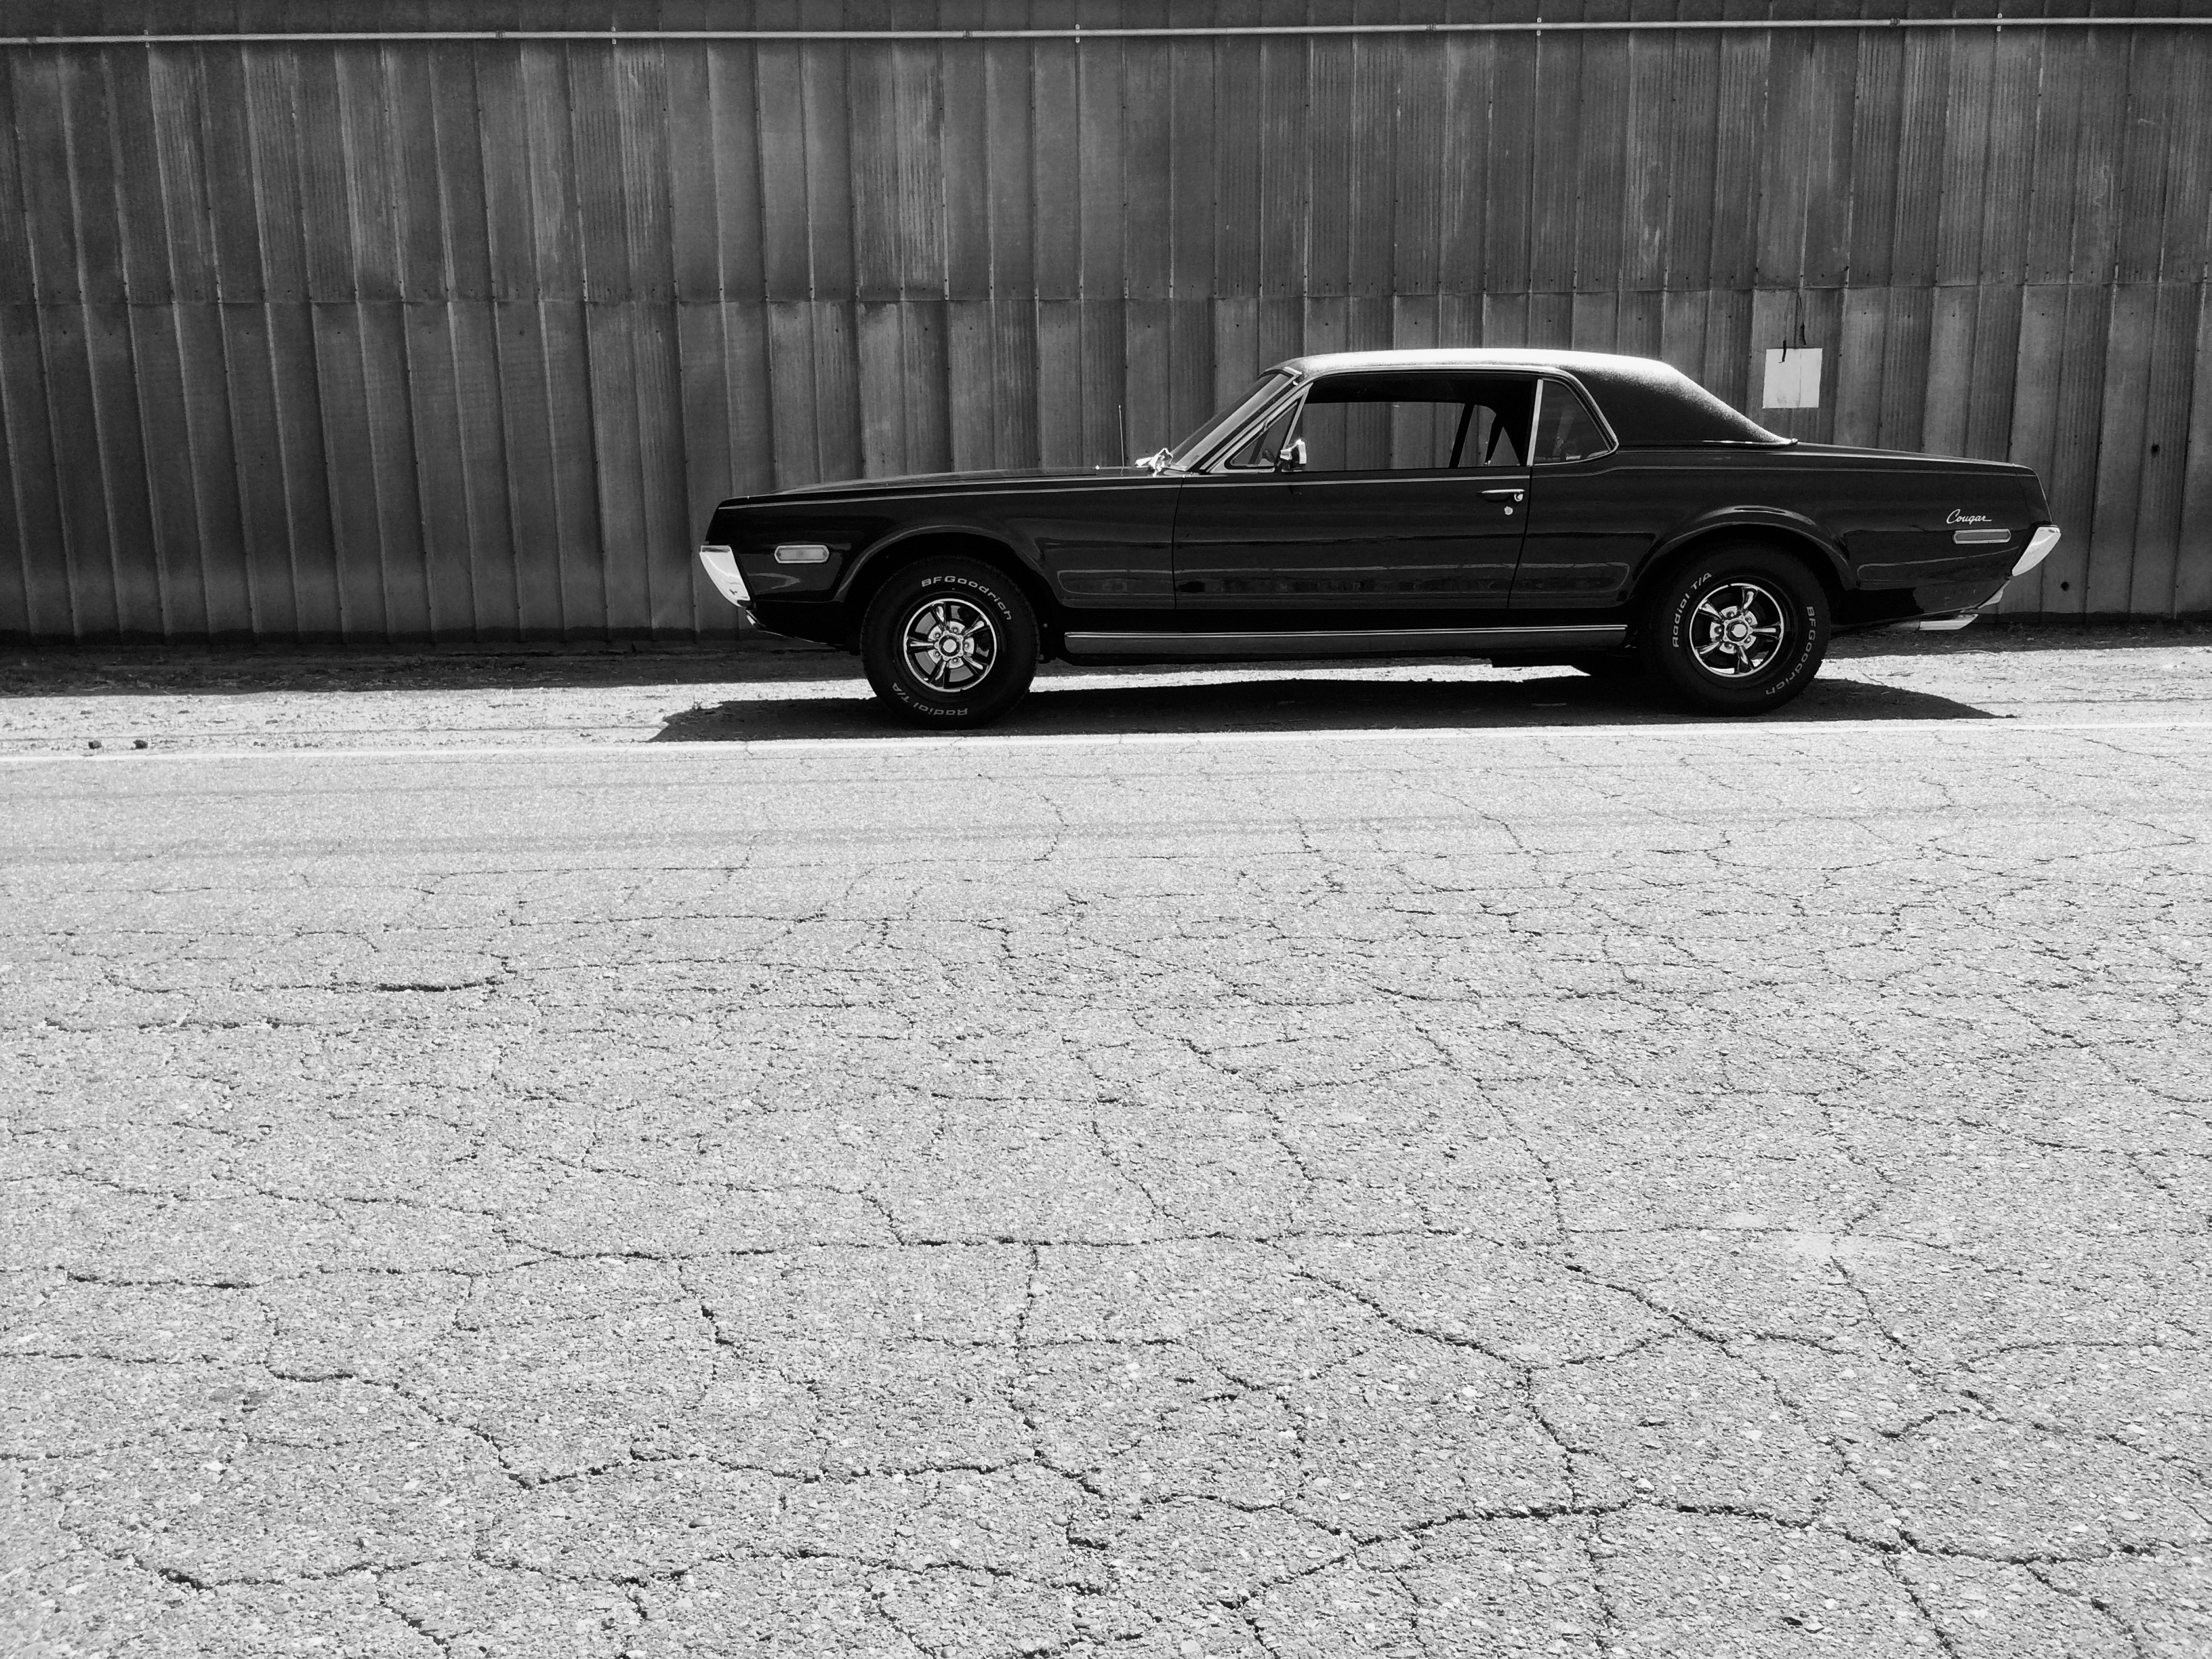
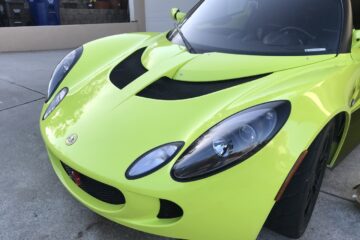
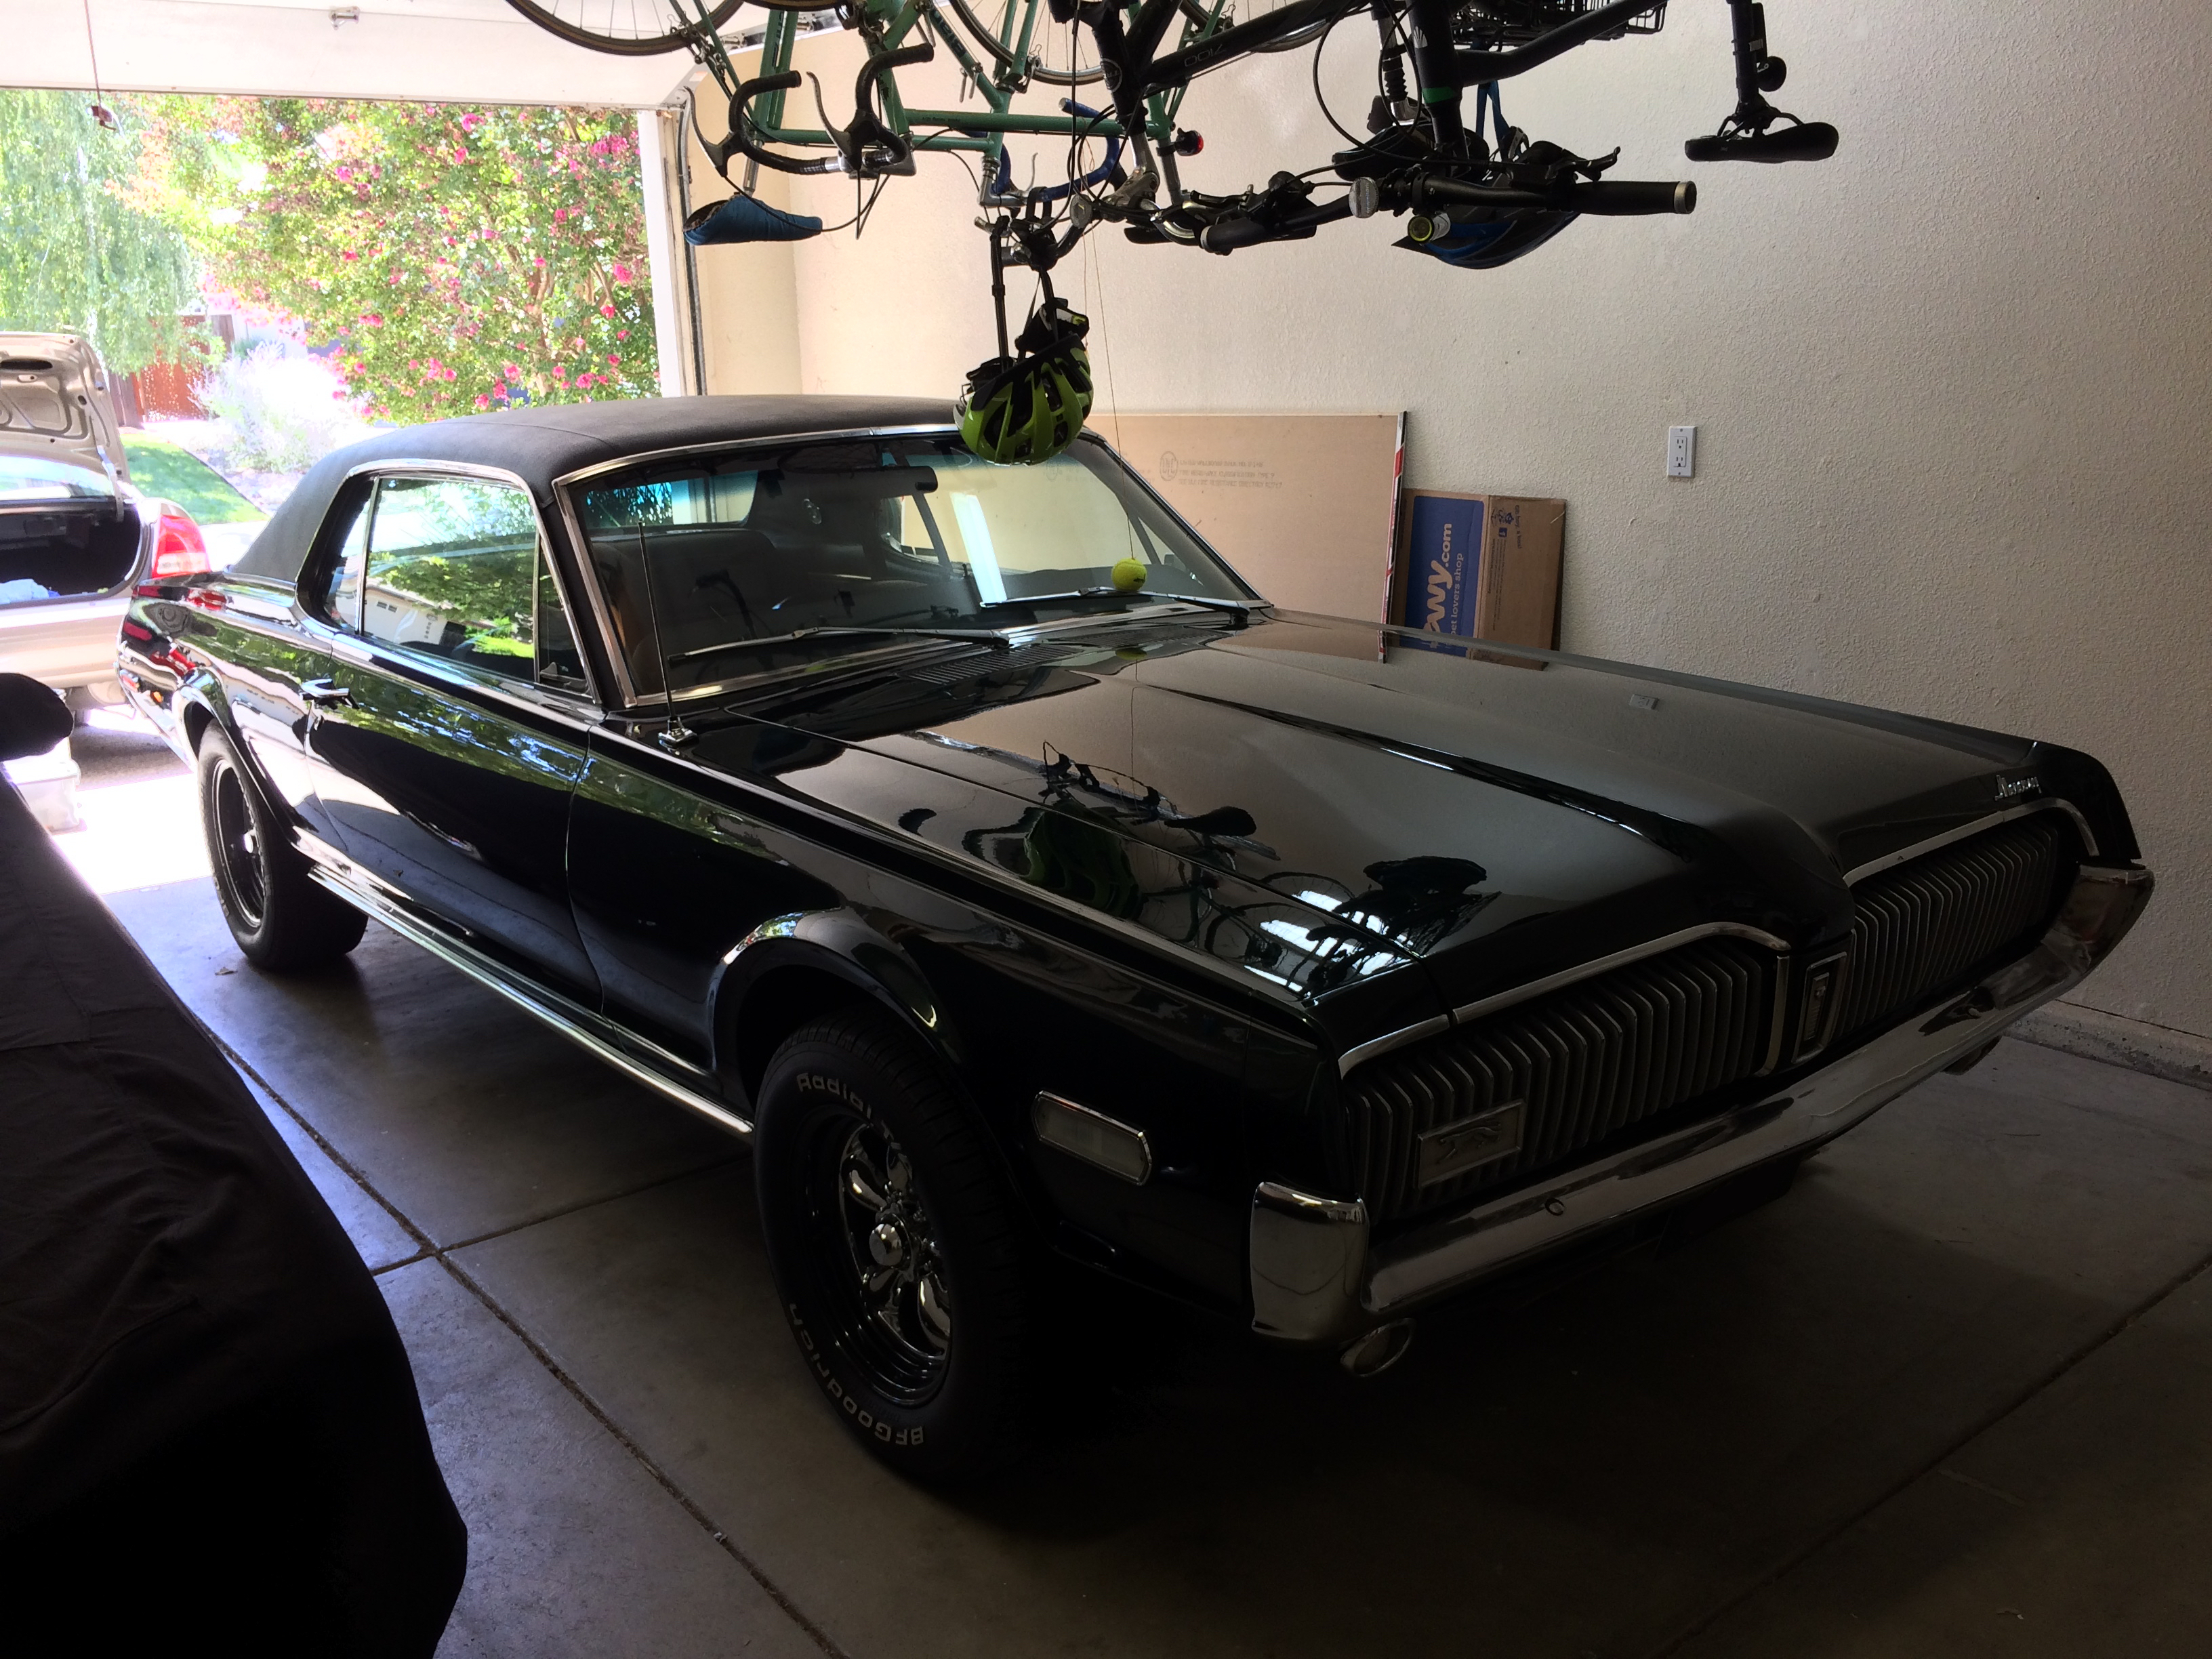
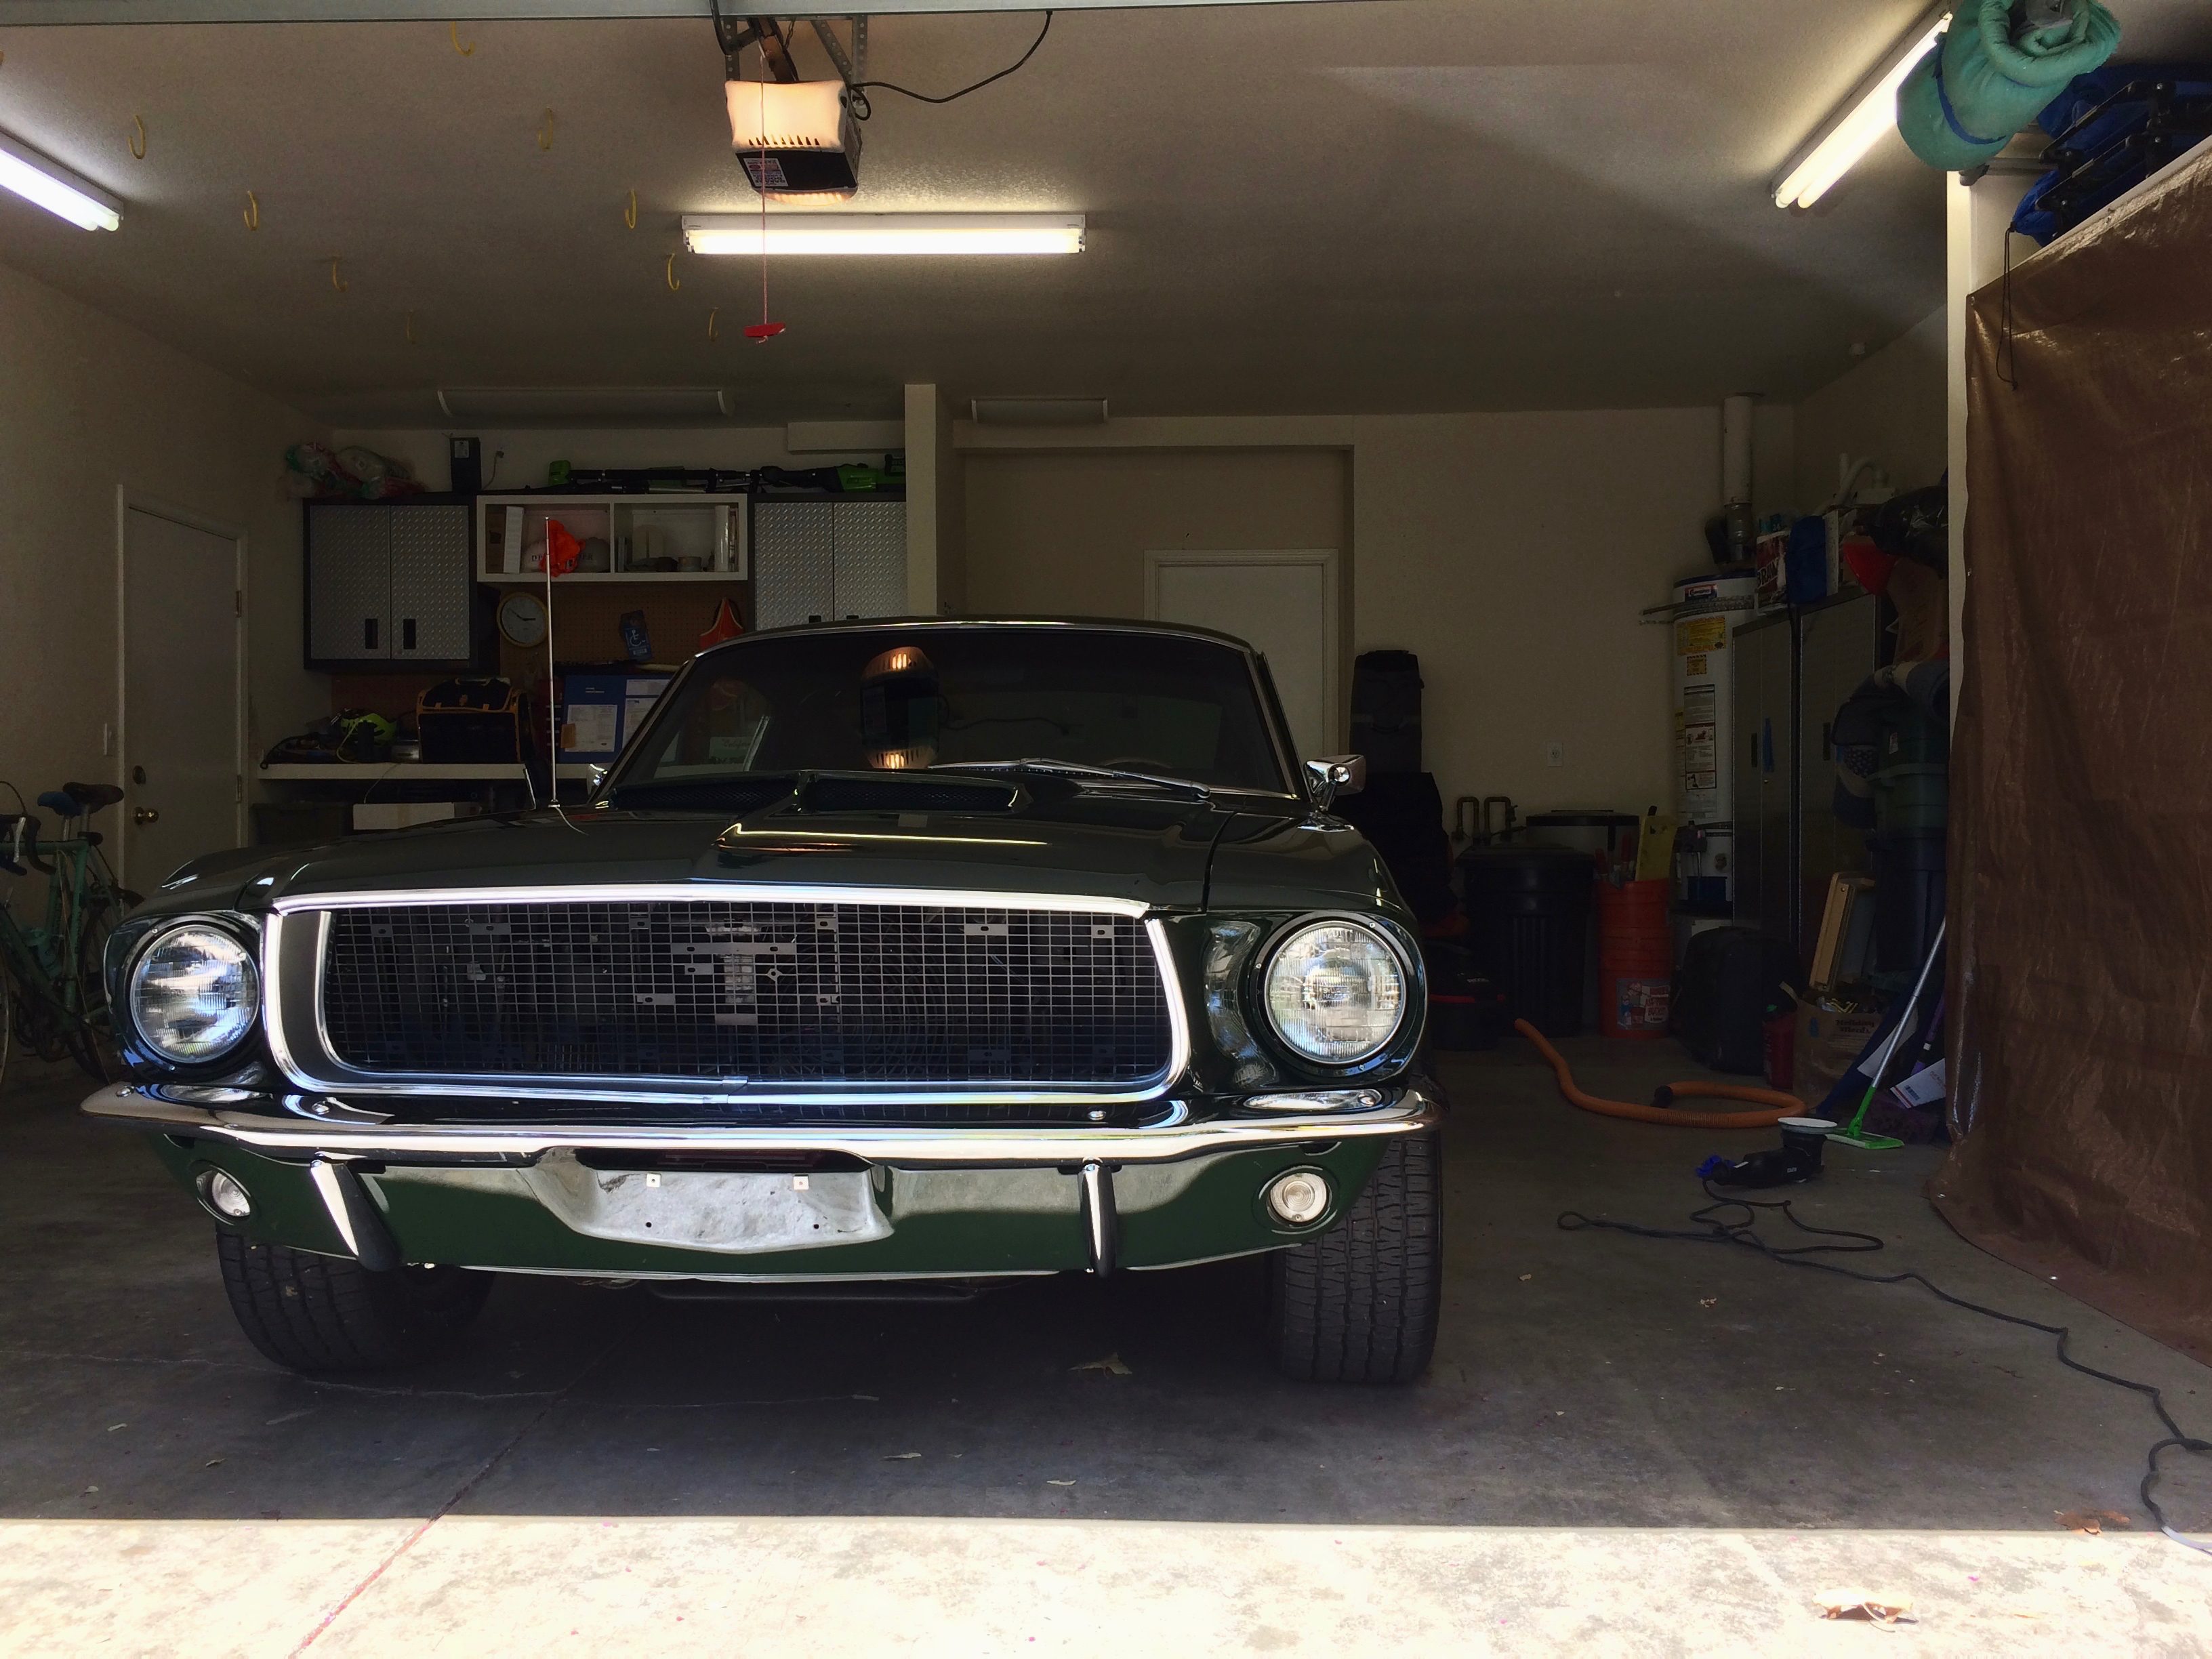
Fast forward and I found myself standing before a garage with two cousins beside each other, both painted a deep shade of green.
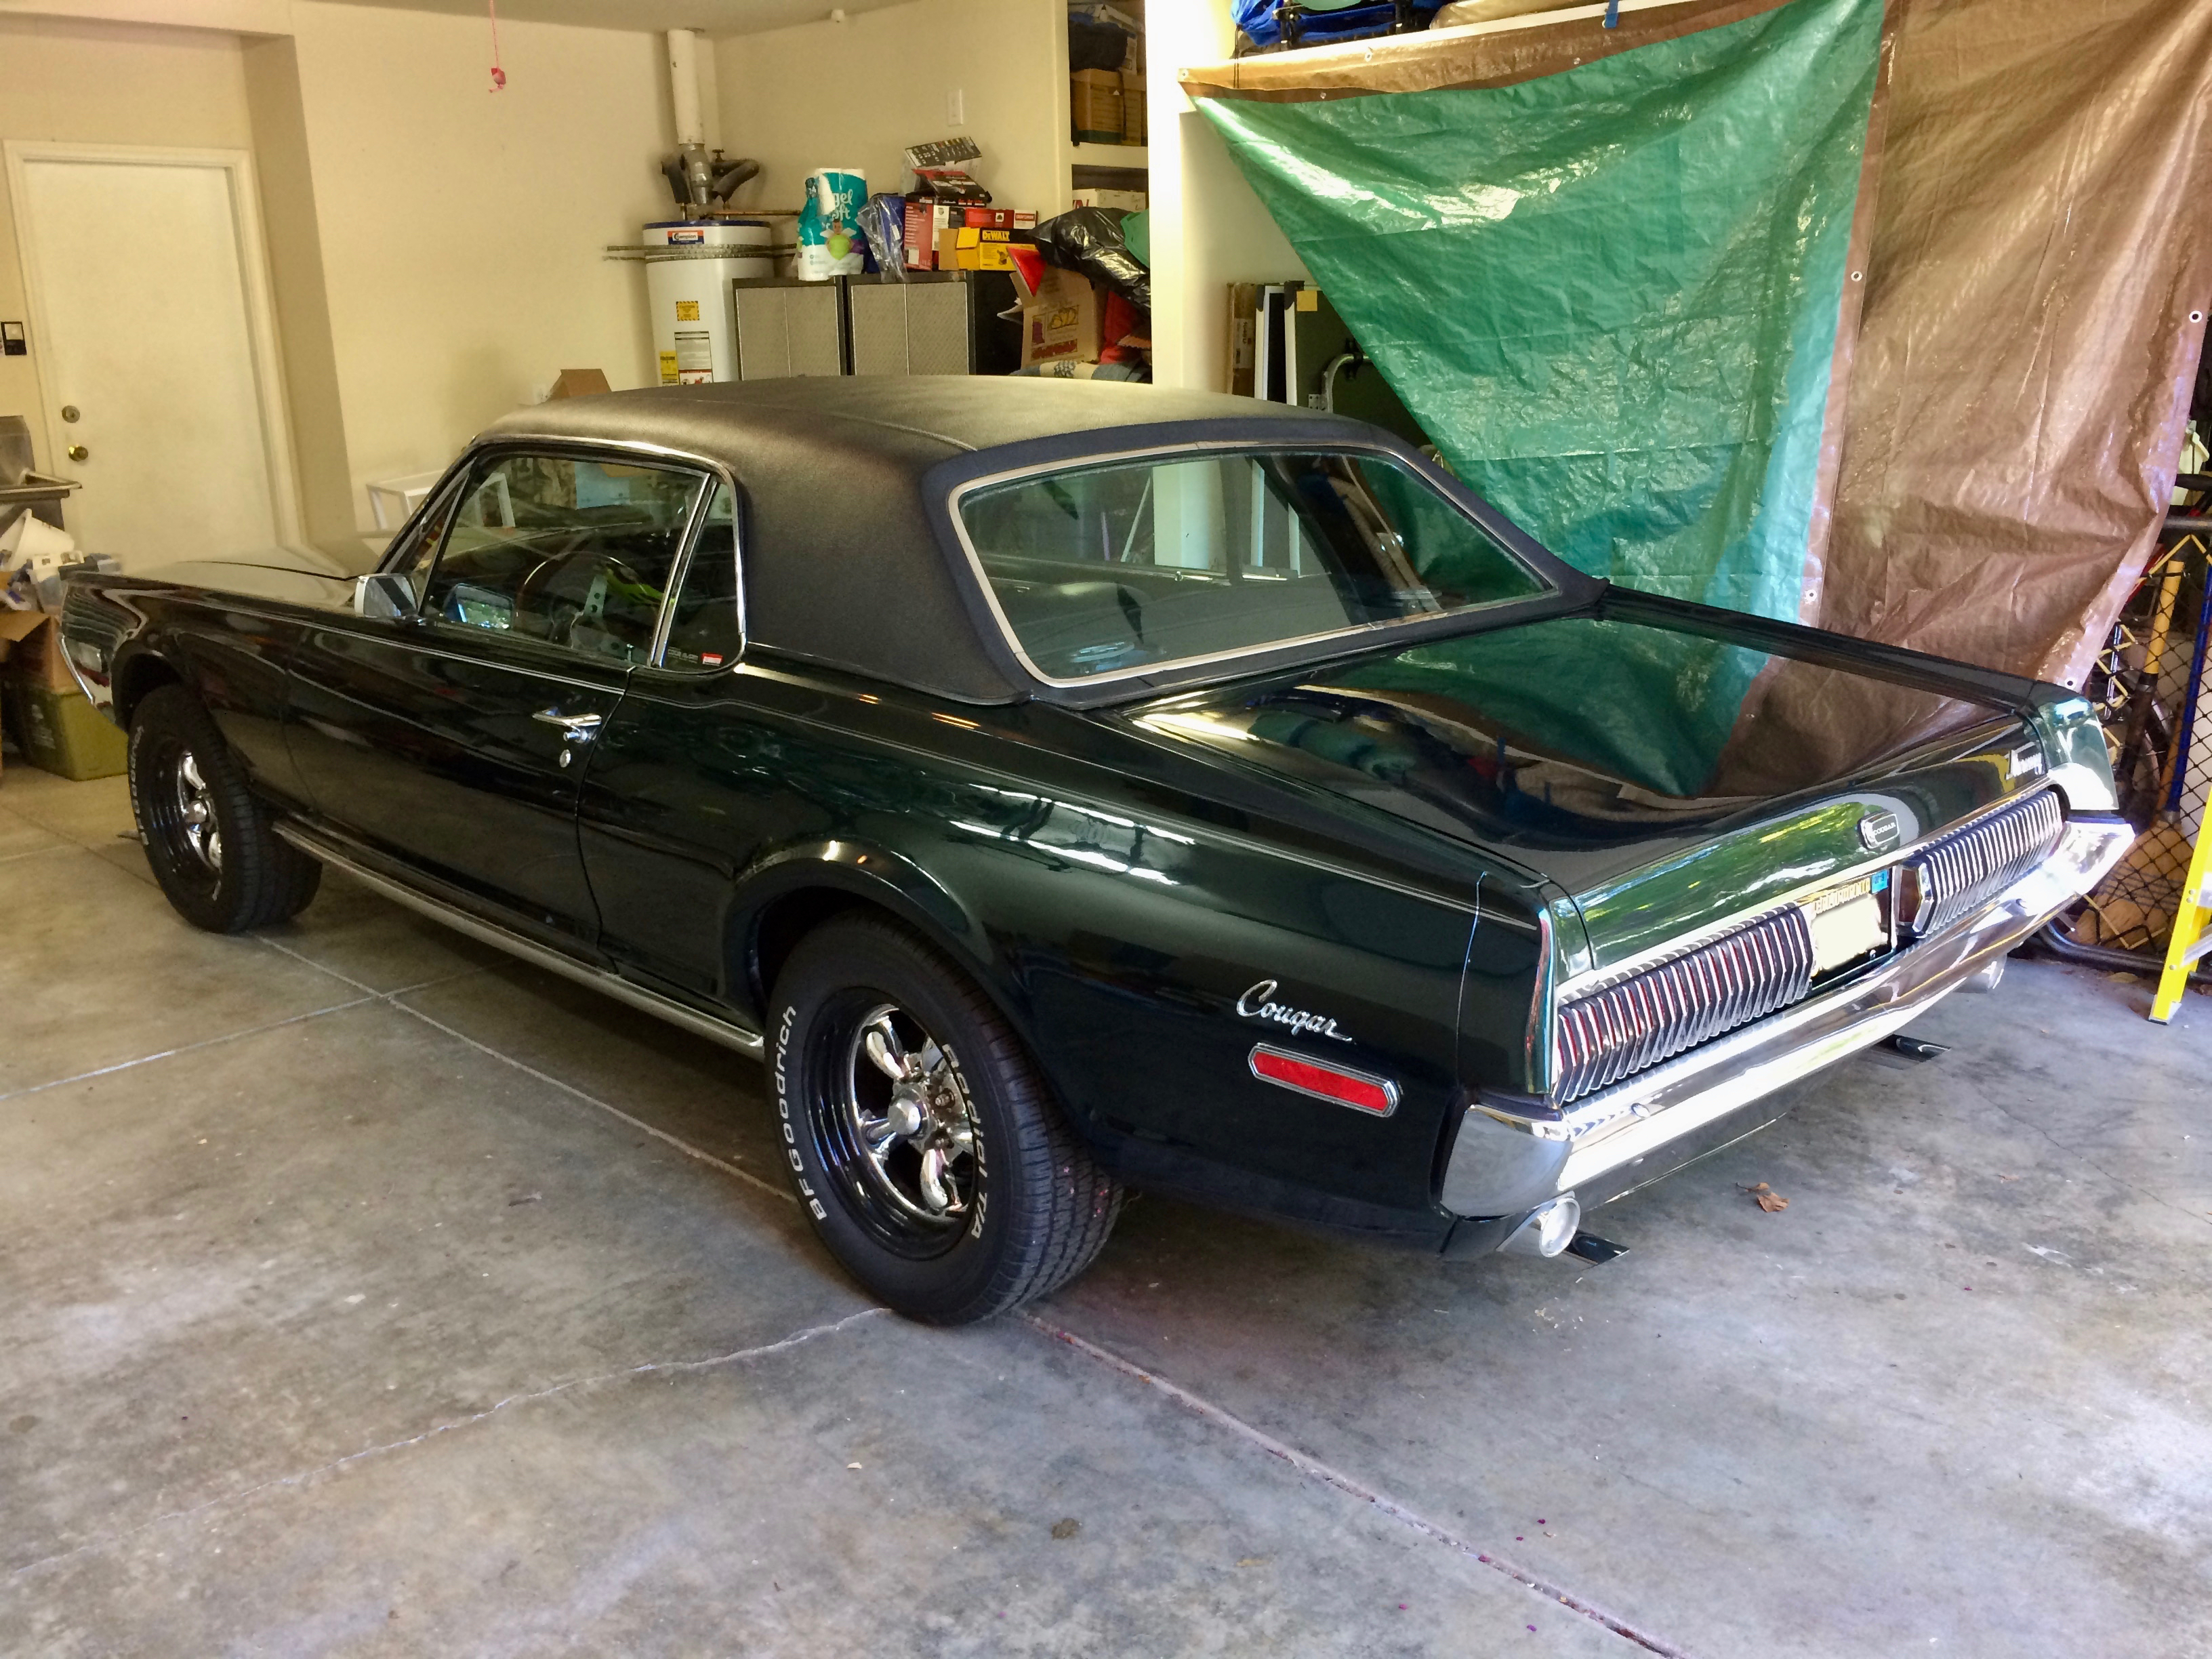
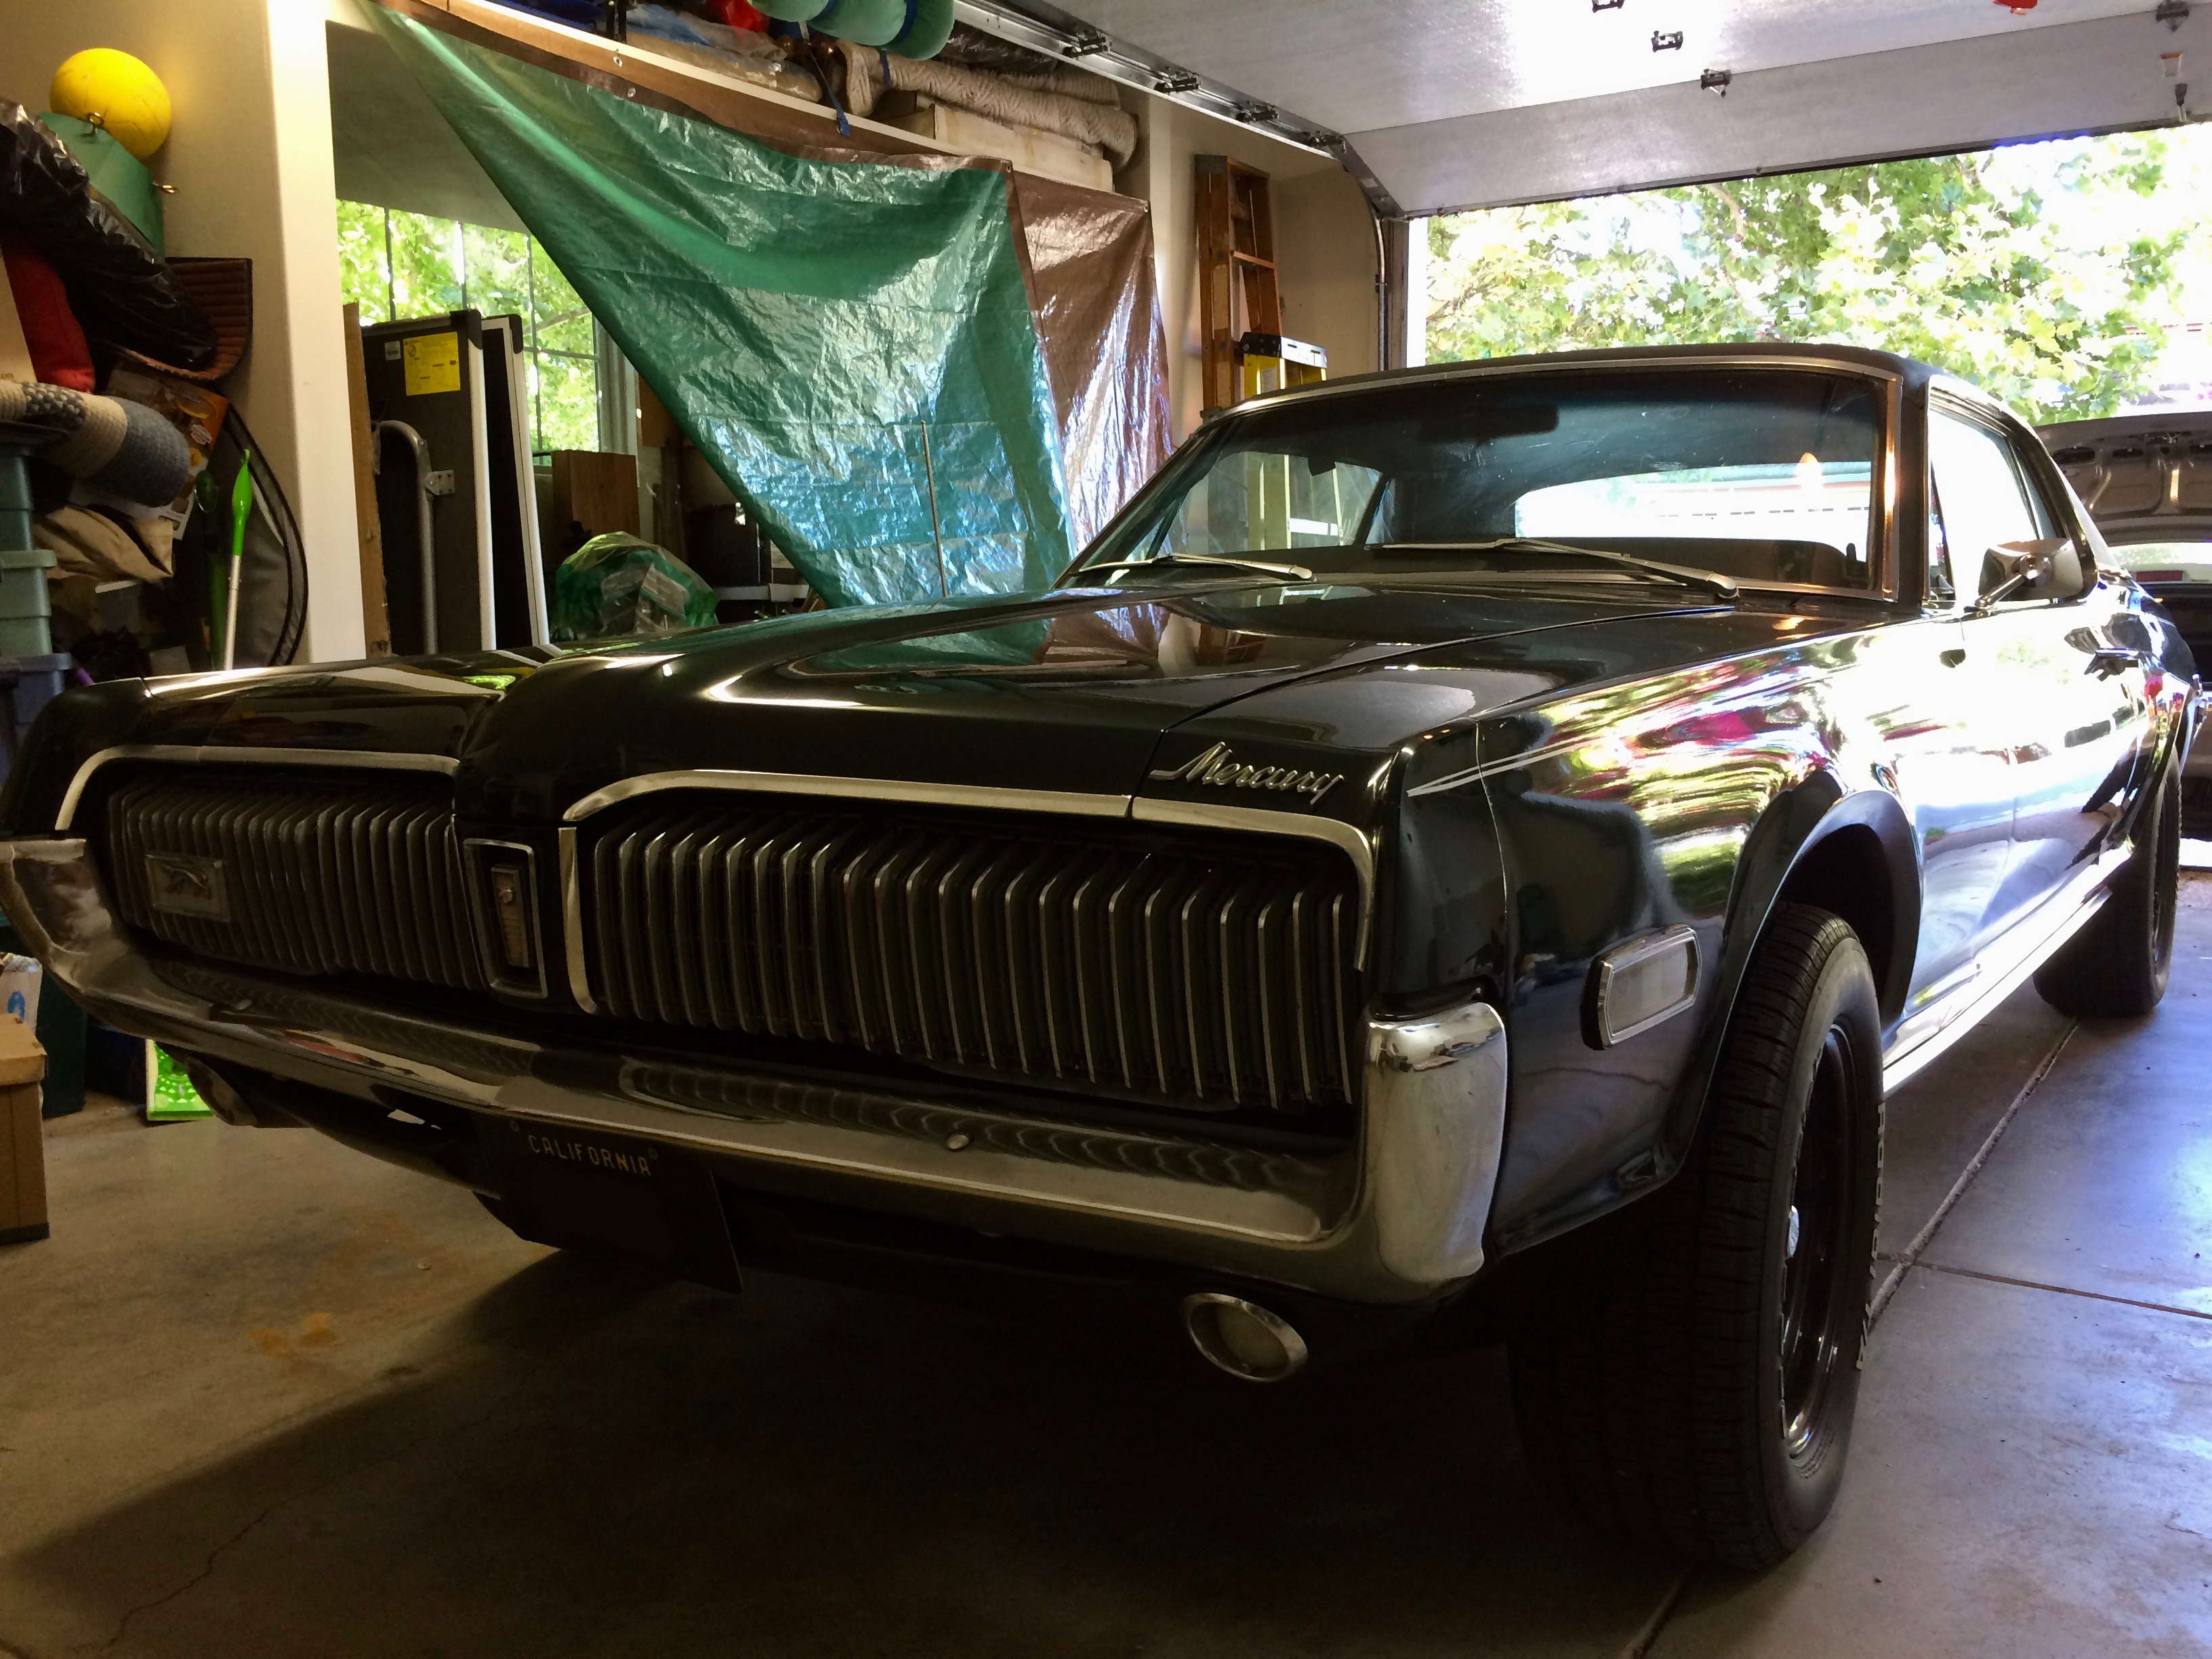
I started work on the Cougar. It needed more work done than the Mustang. It had repainted sections and there was paint cracking in a few areas, but the clear coat was mostly intact.
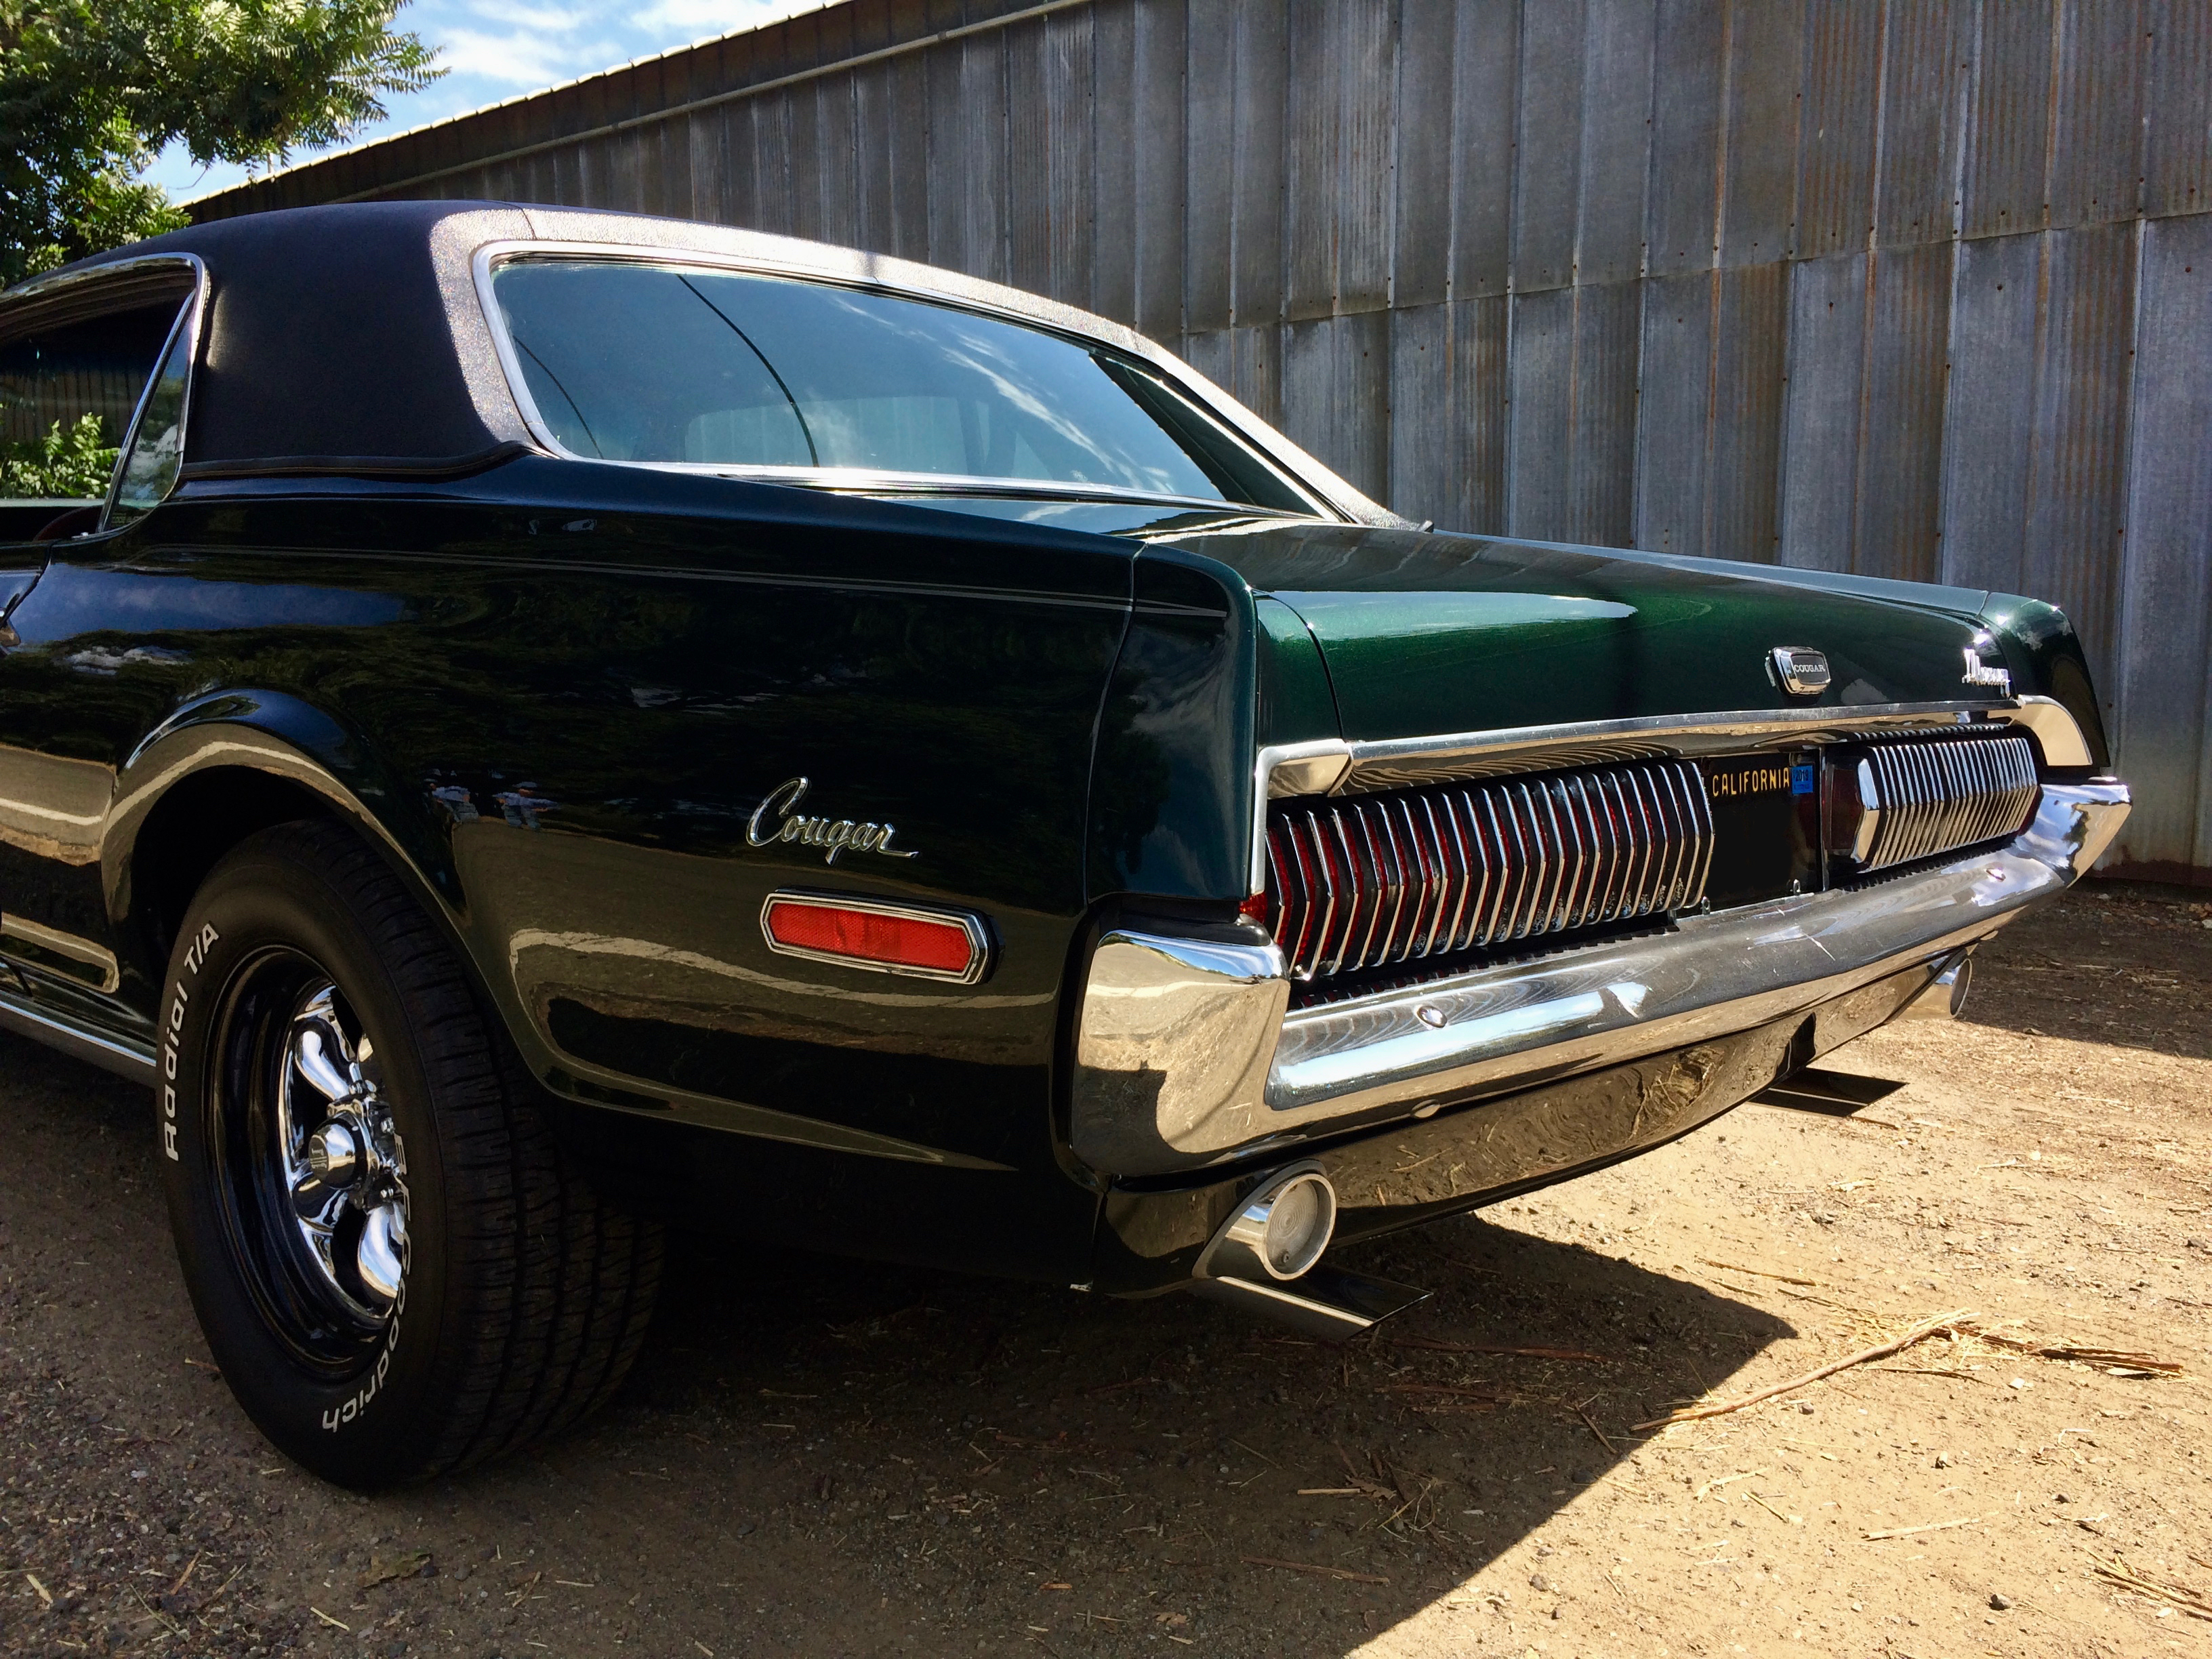
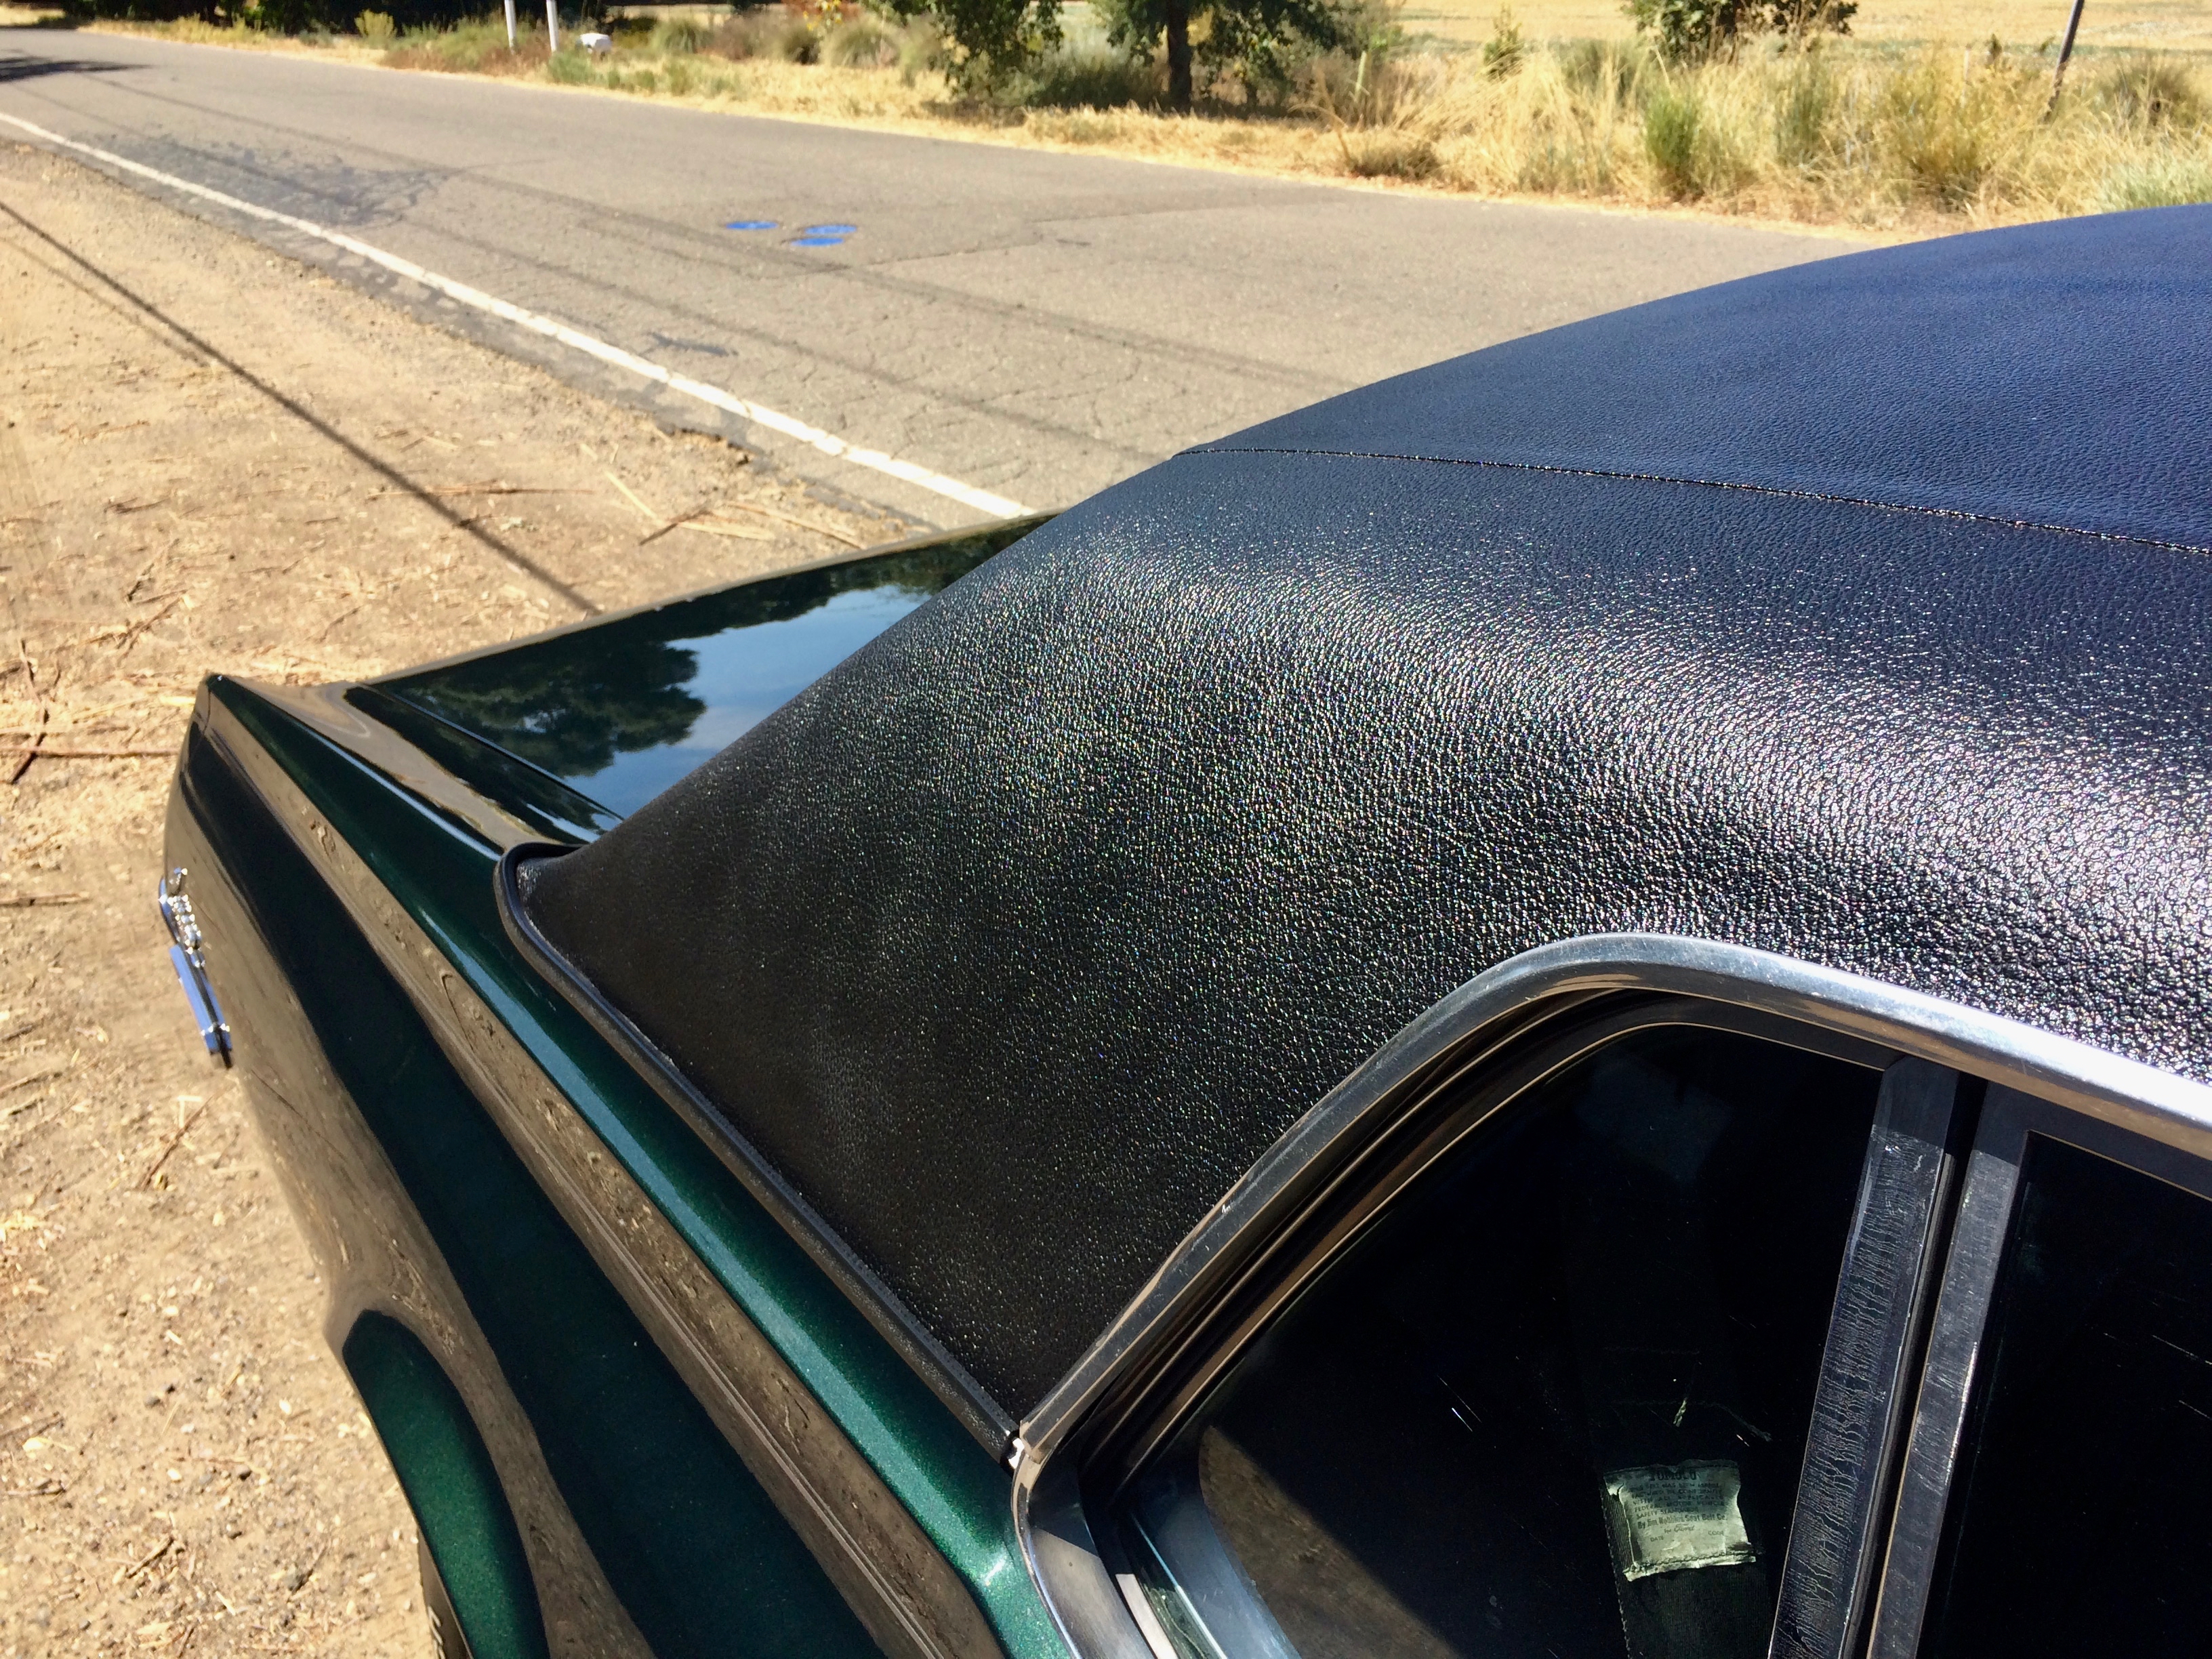
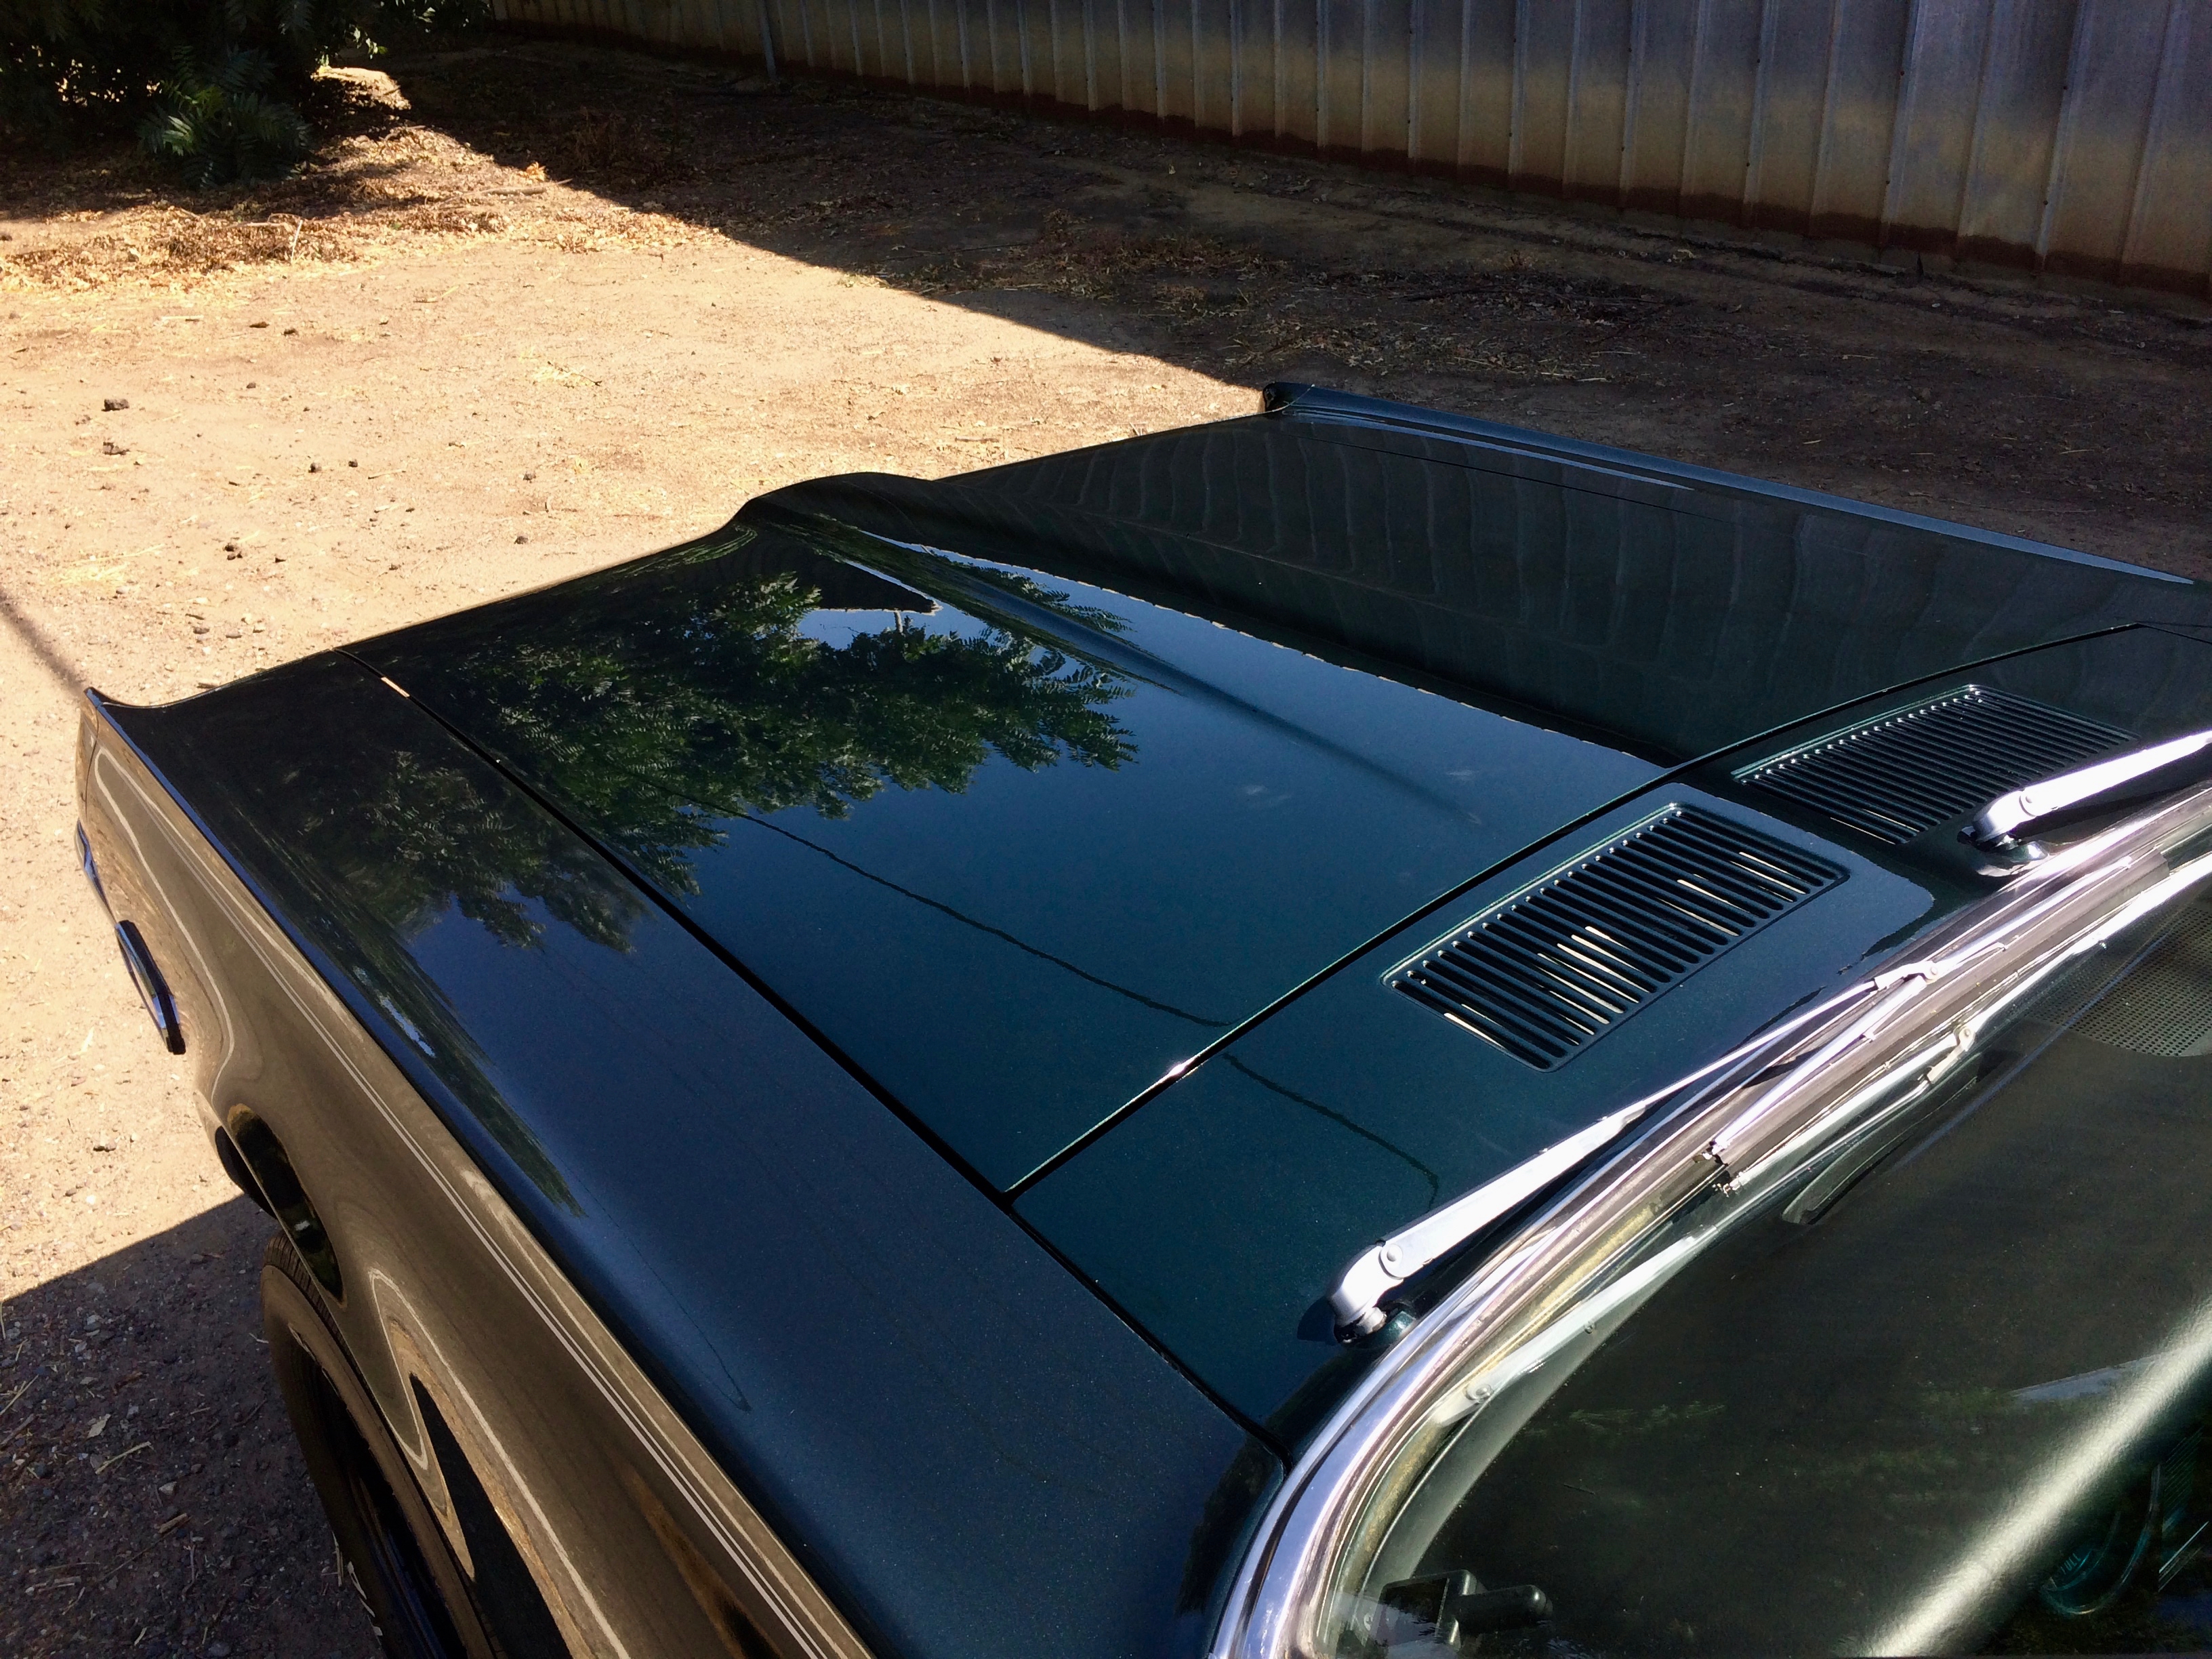
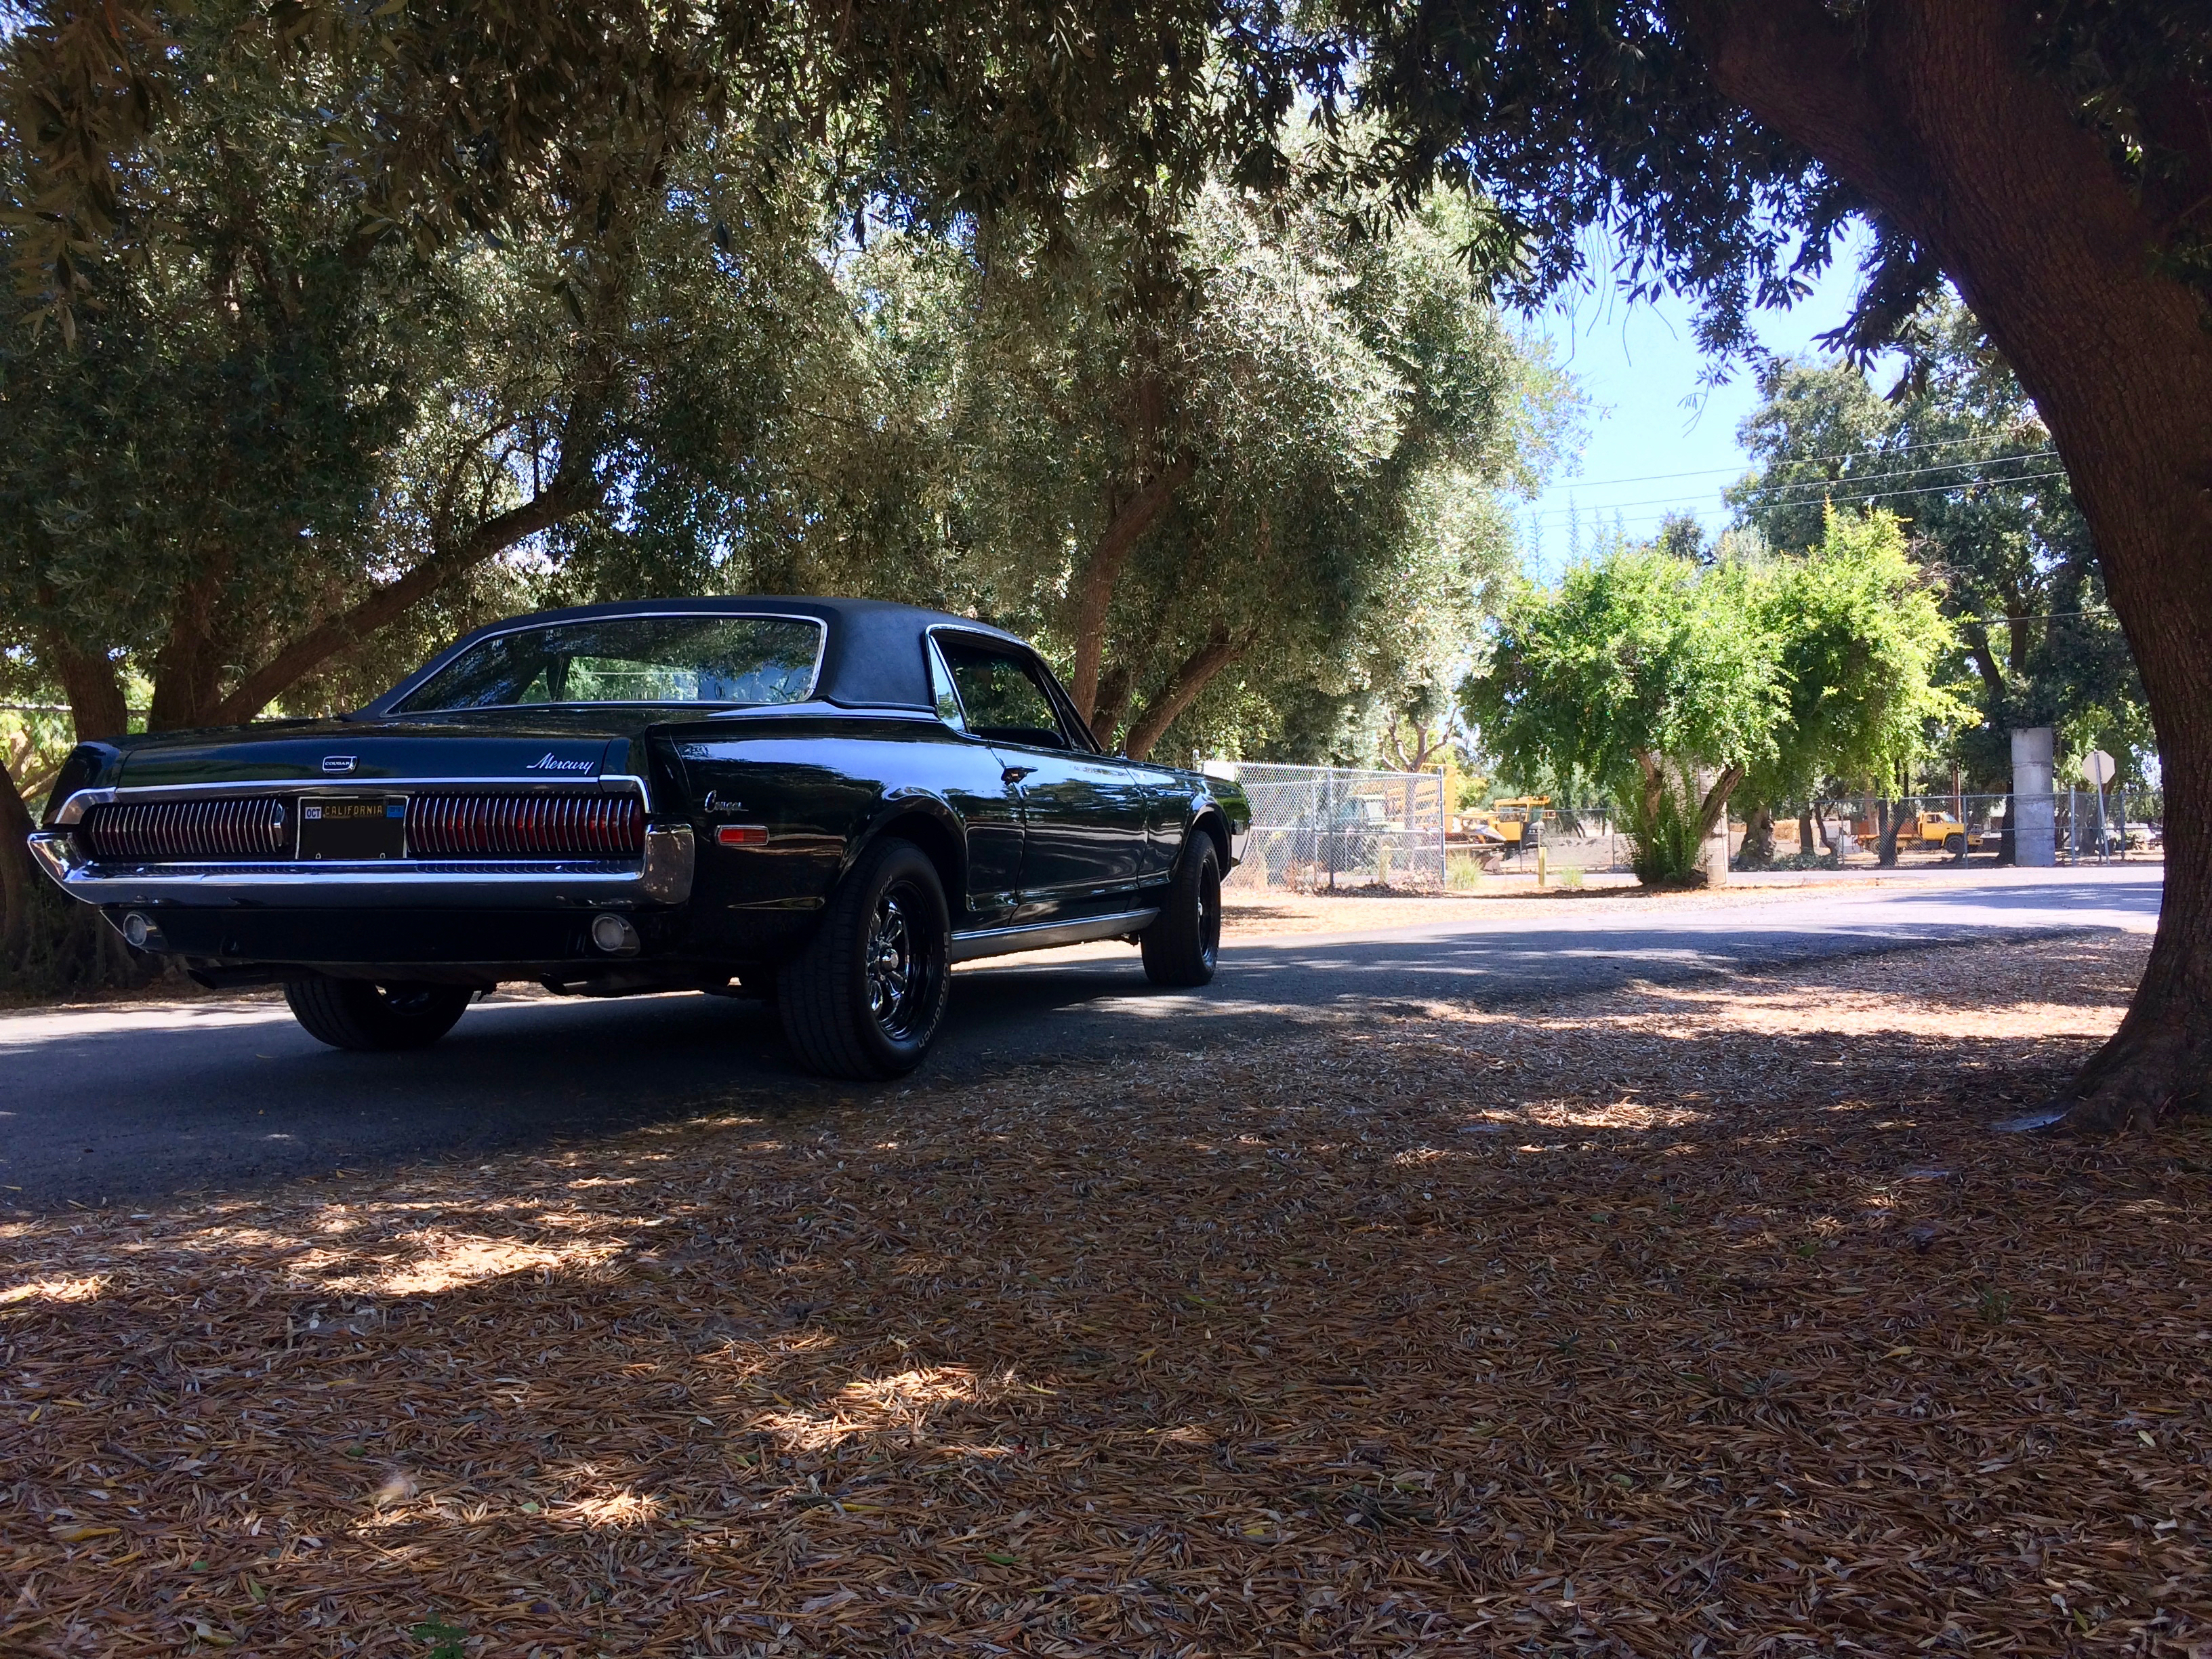
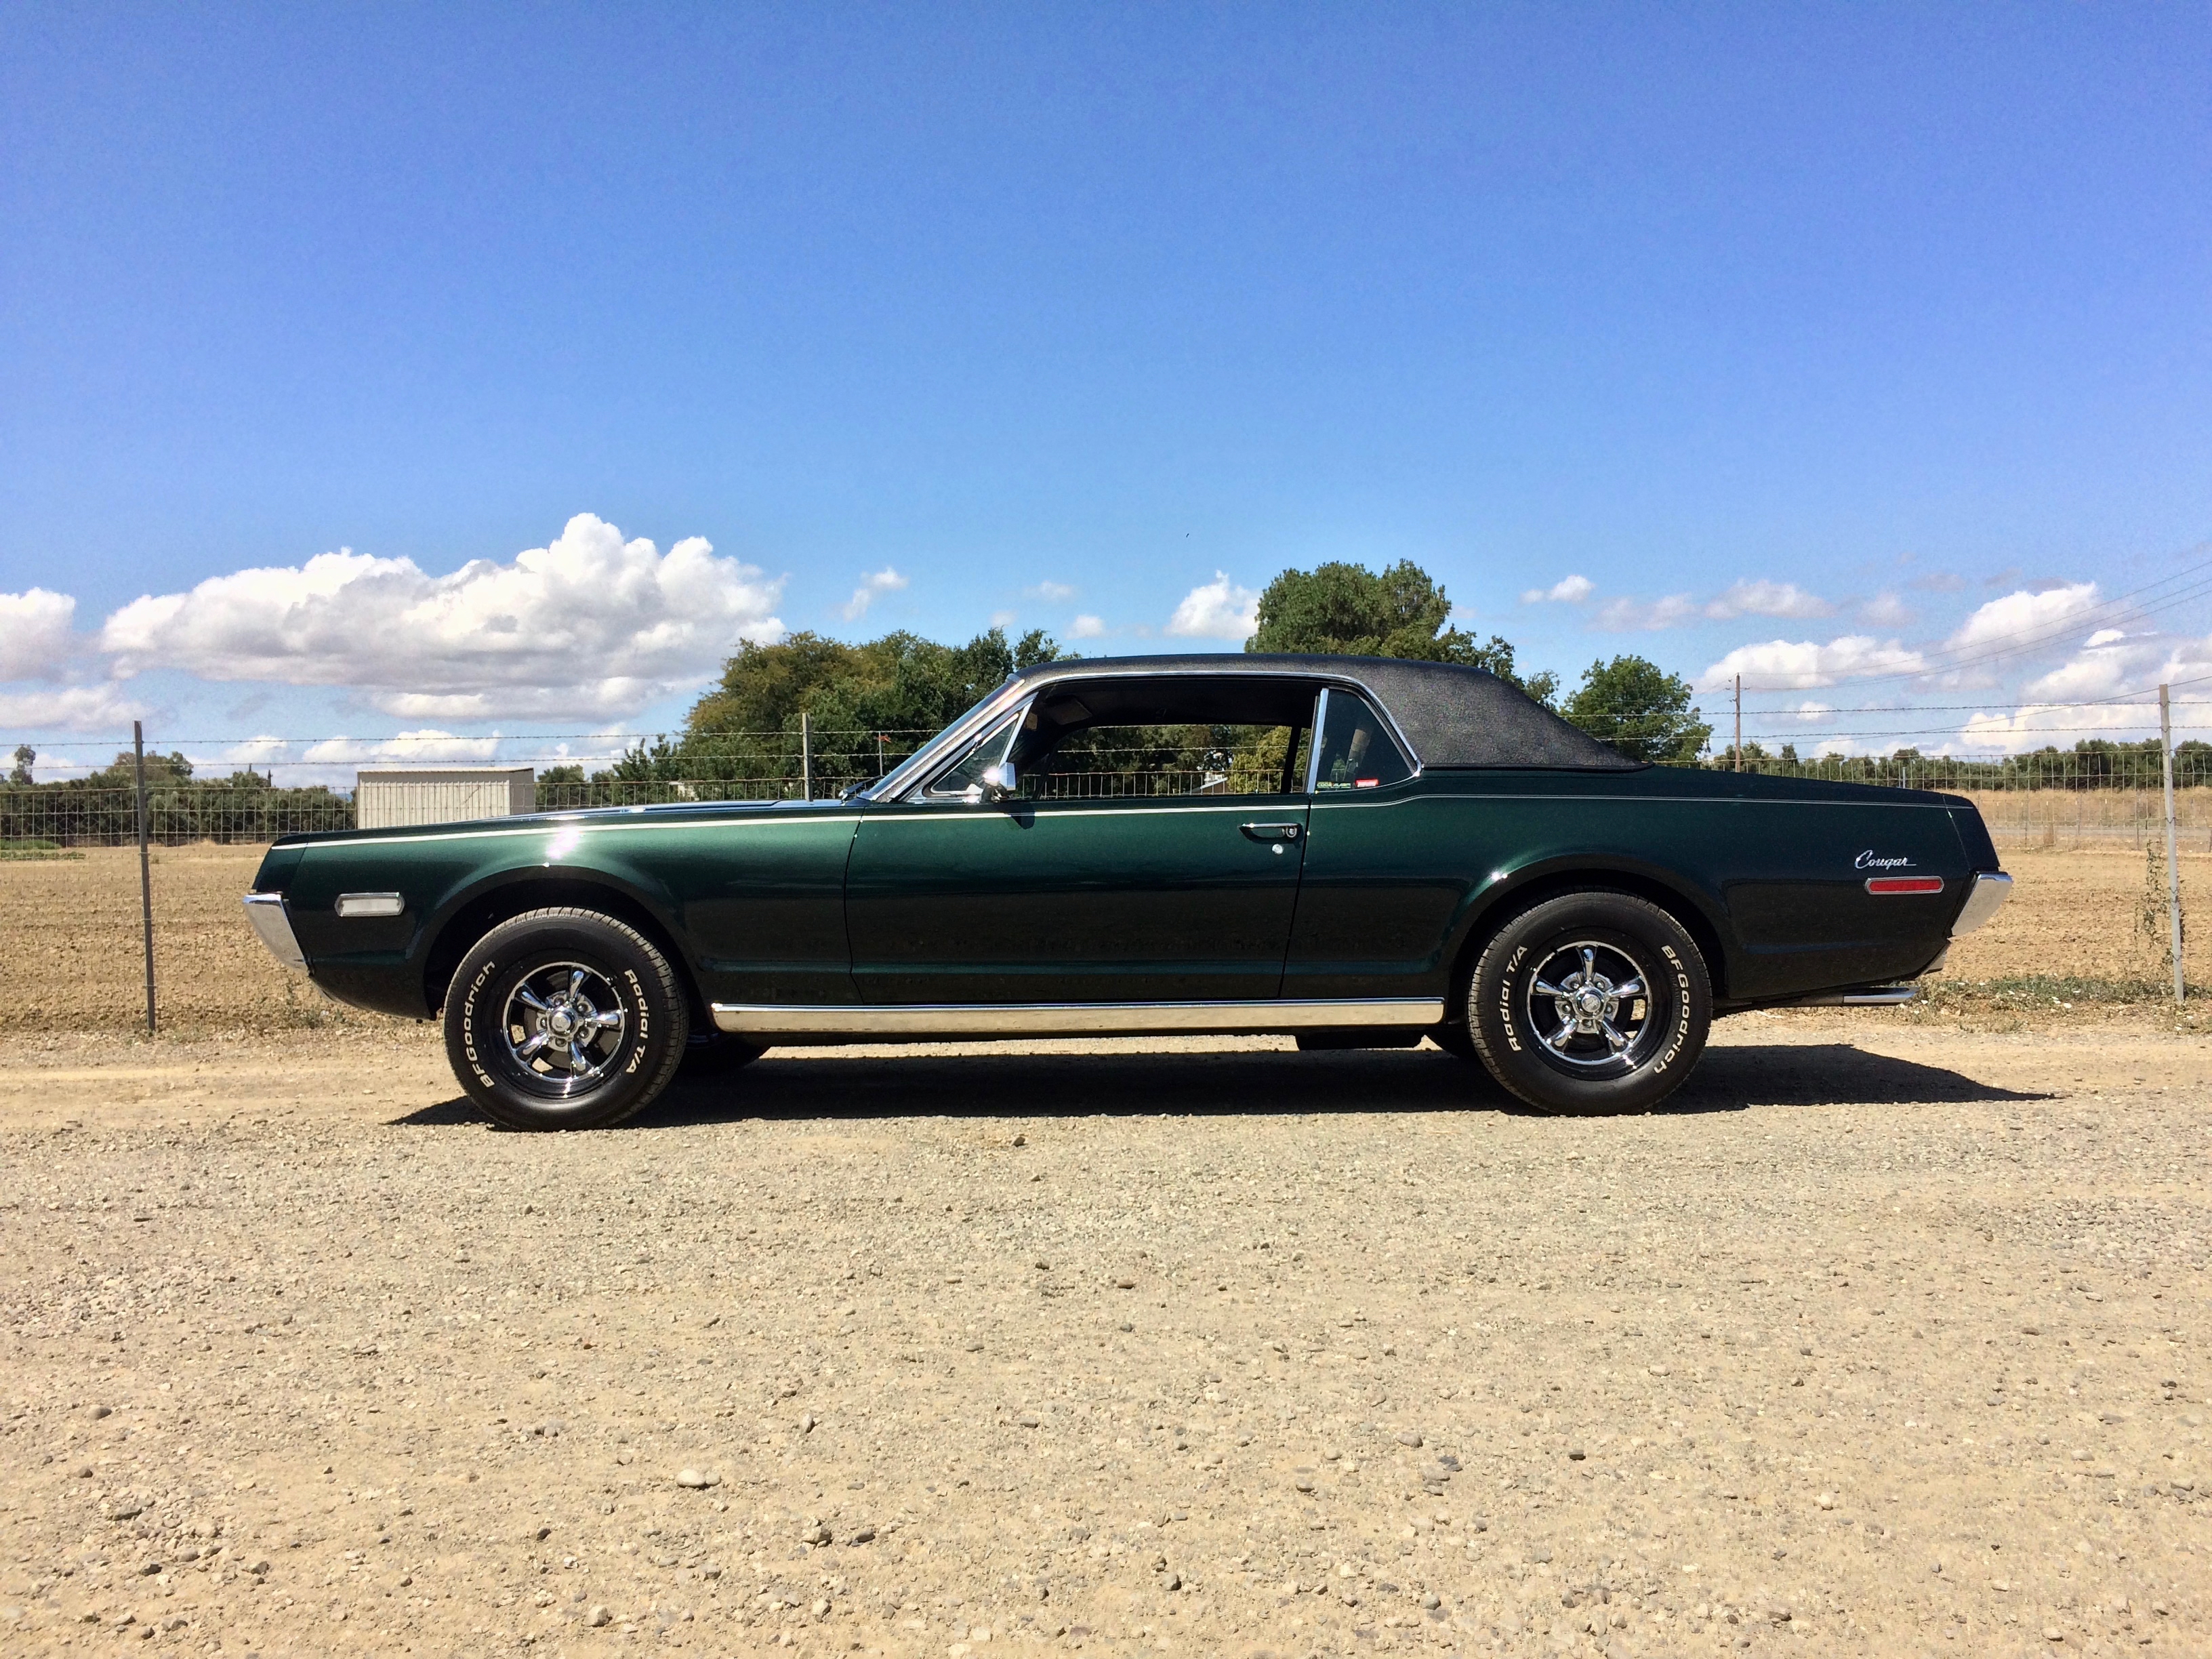
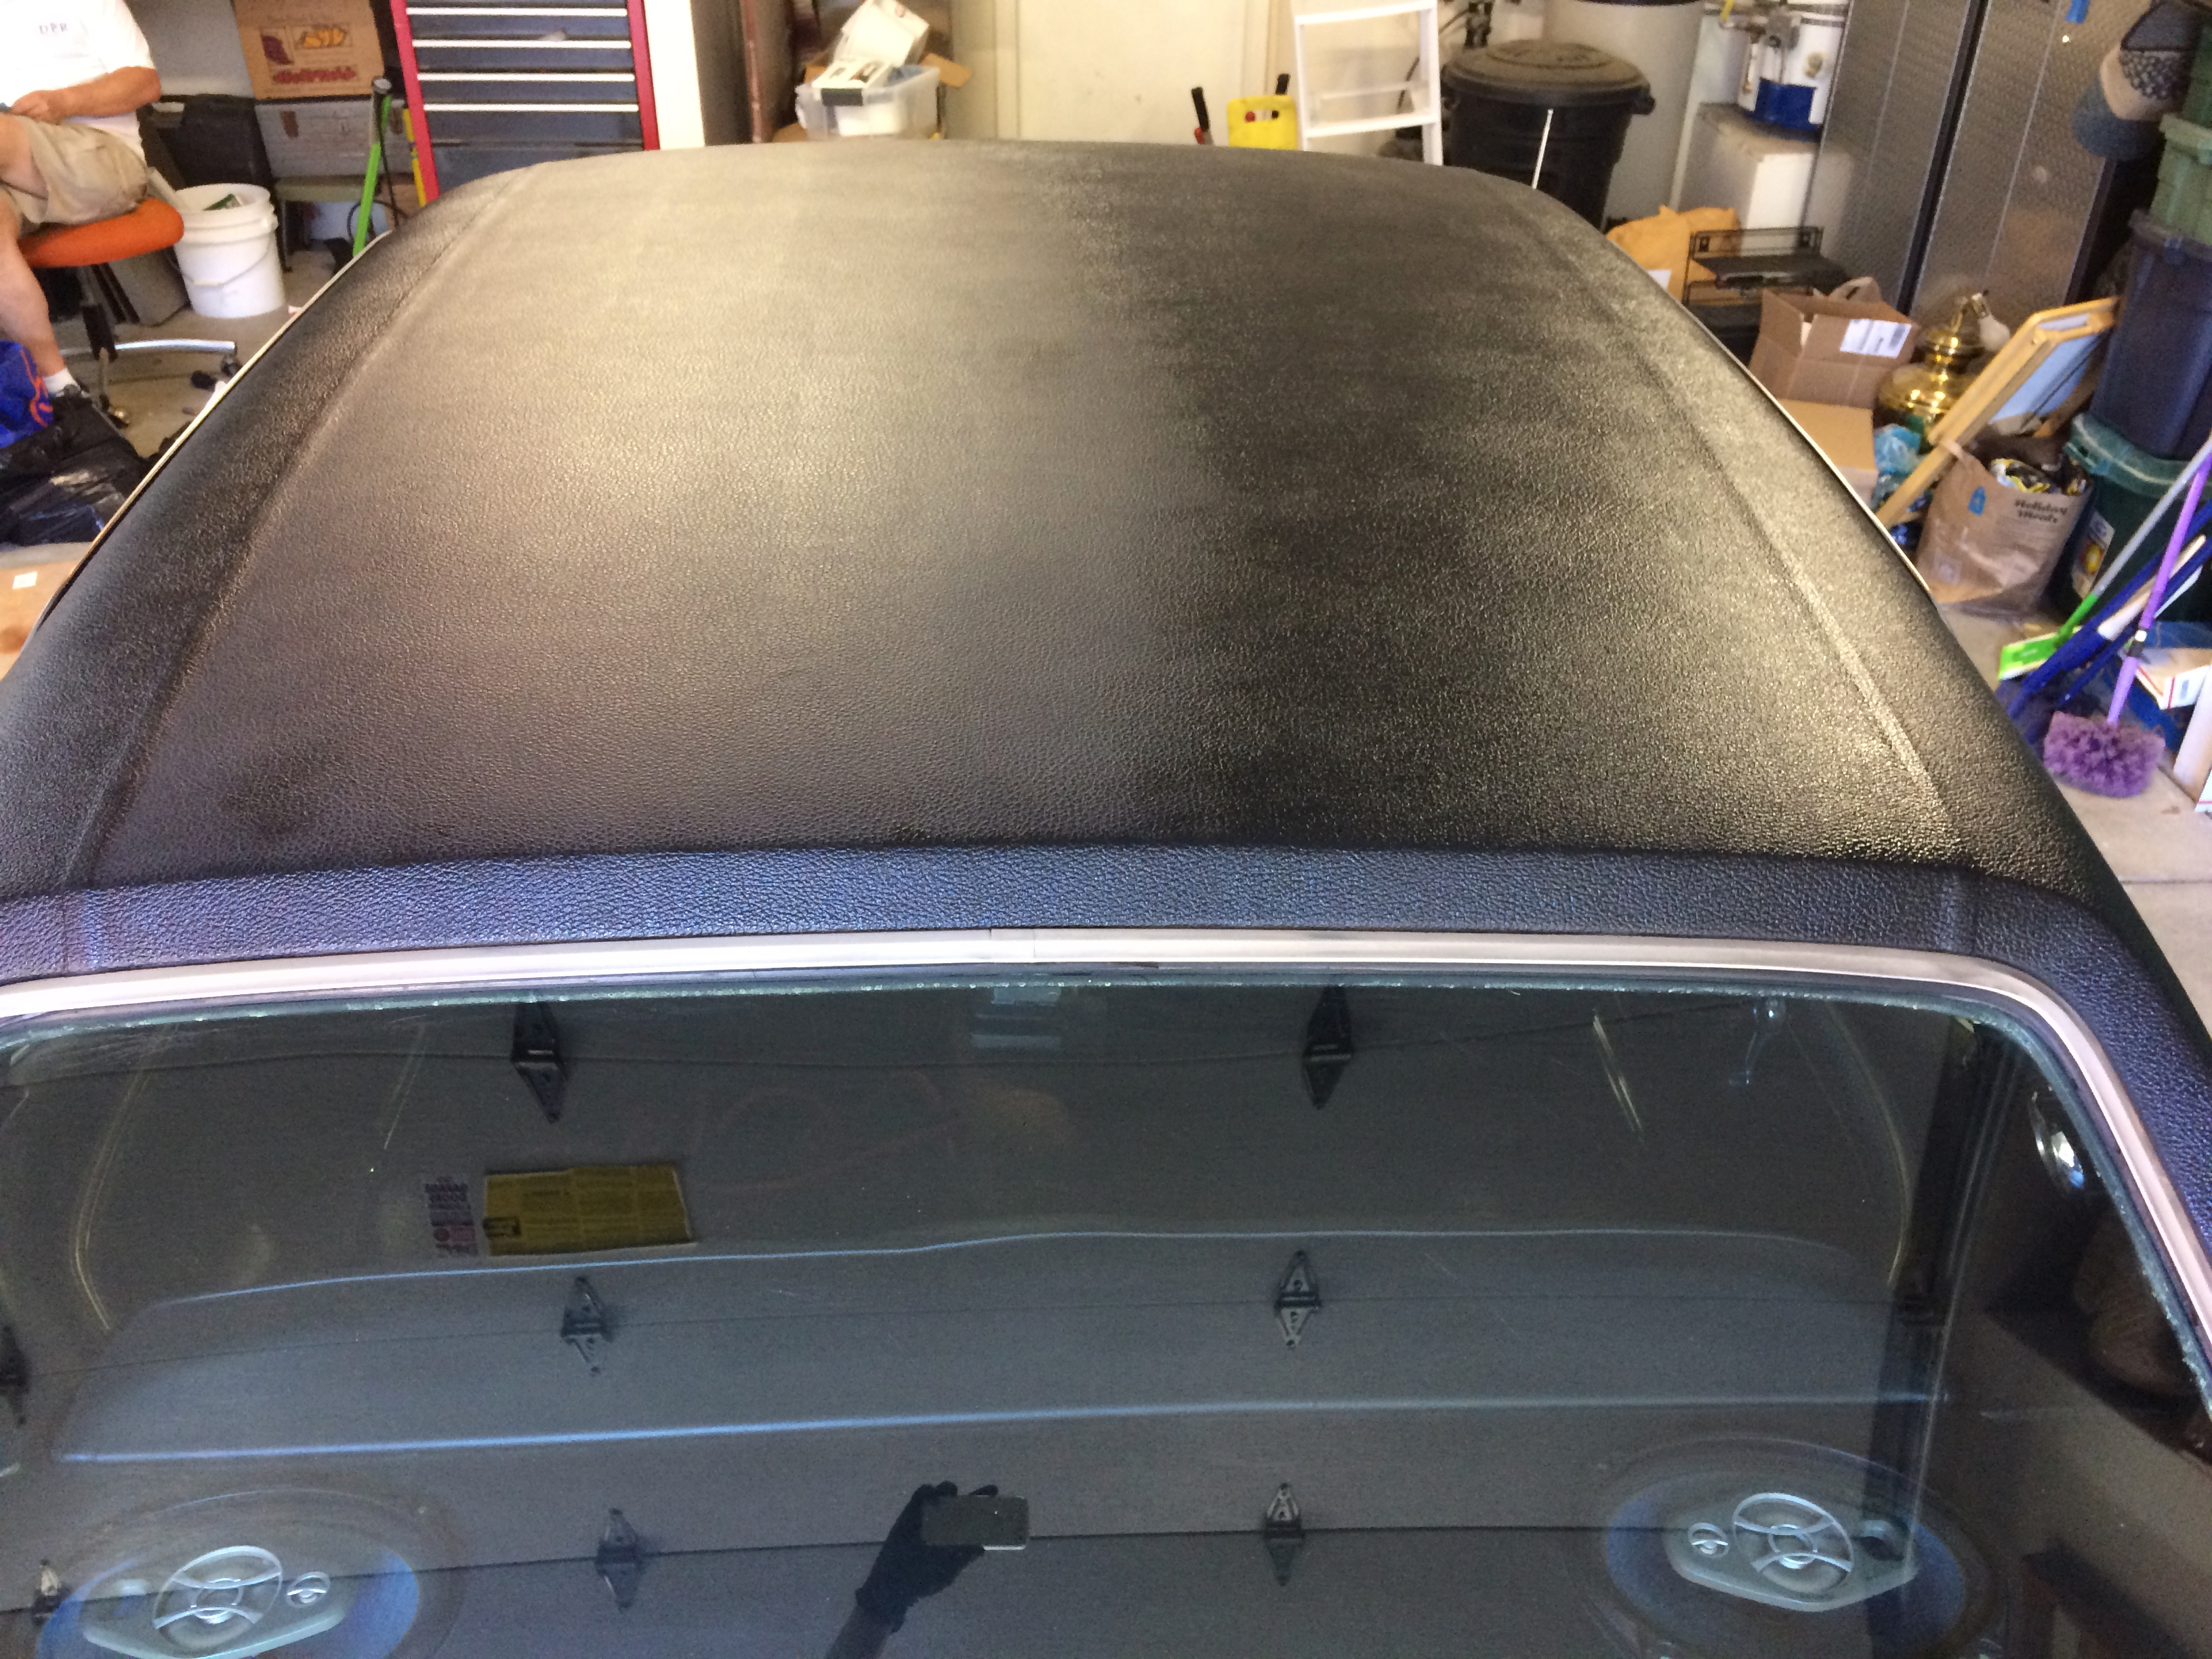
I immediately brought my attention to the black vinyl roof. It had been replaced previously and the installer left behind several deep scratches in the rear window that I couldn’t fix. However, the vinyl was slightly faded to grey and I knew that if I restored it to black it would quickly make the Cougar look far younger.
With the owner’s approval after seeing a test spot, I decided to be fancy and coat the entire roof with Gyeon Q2 Trim.
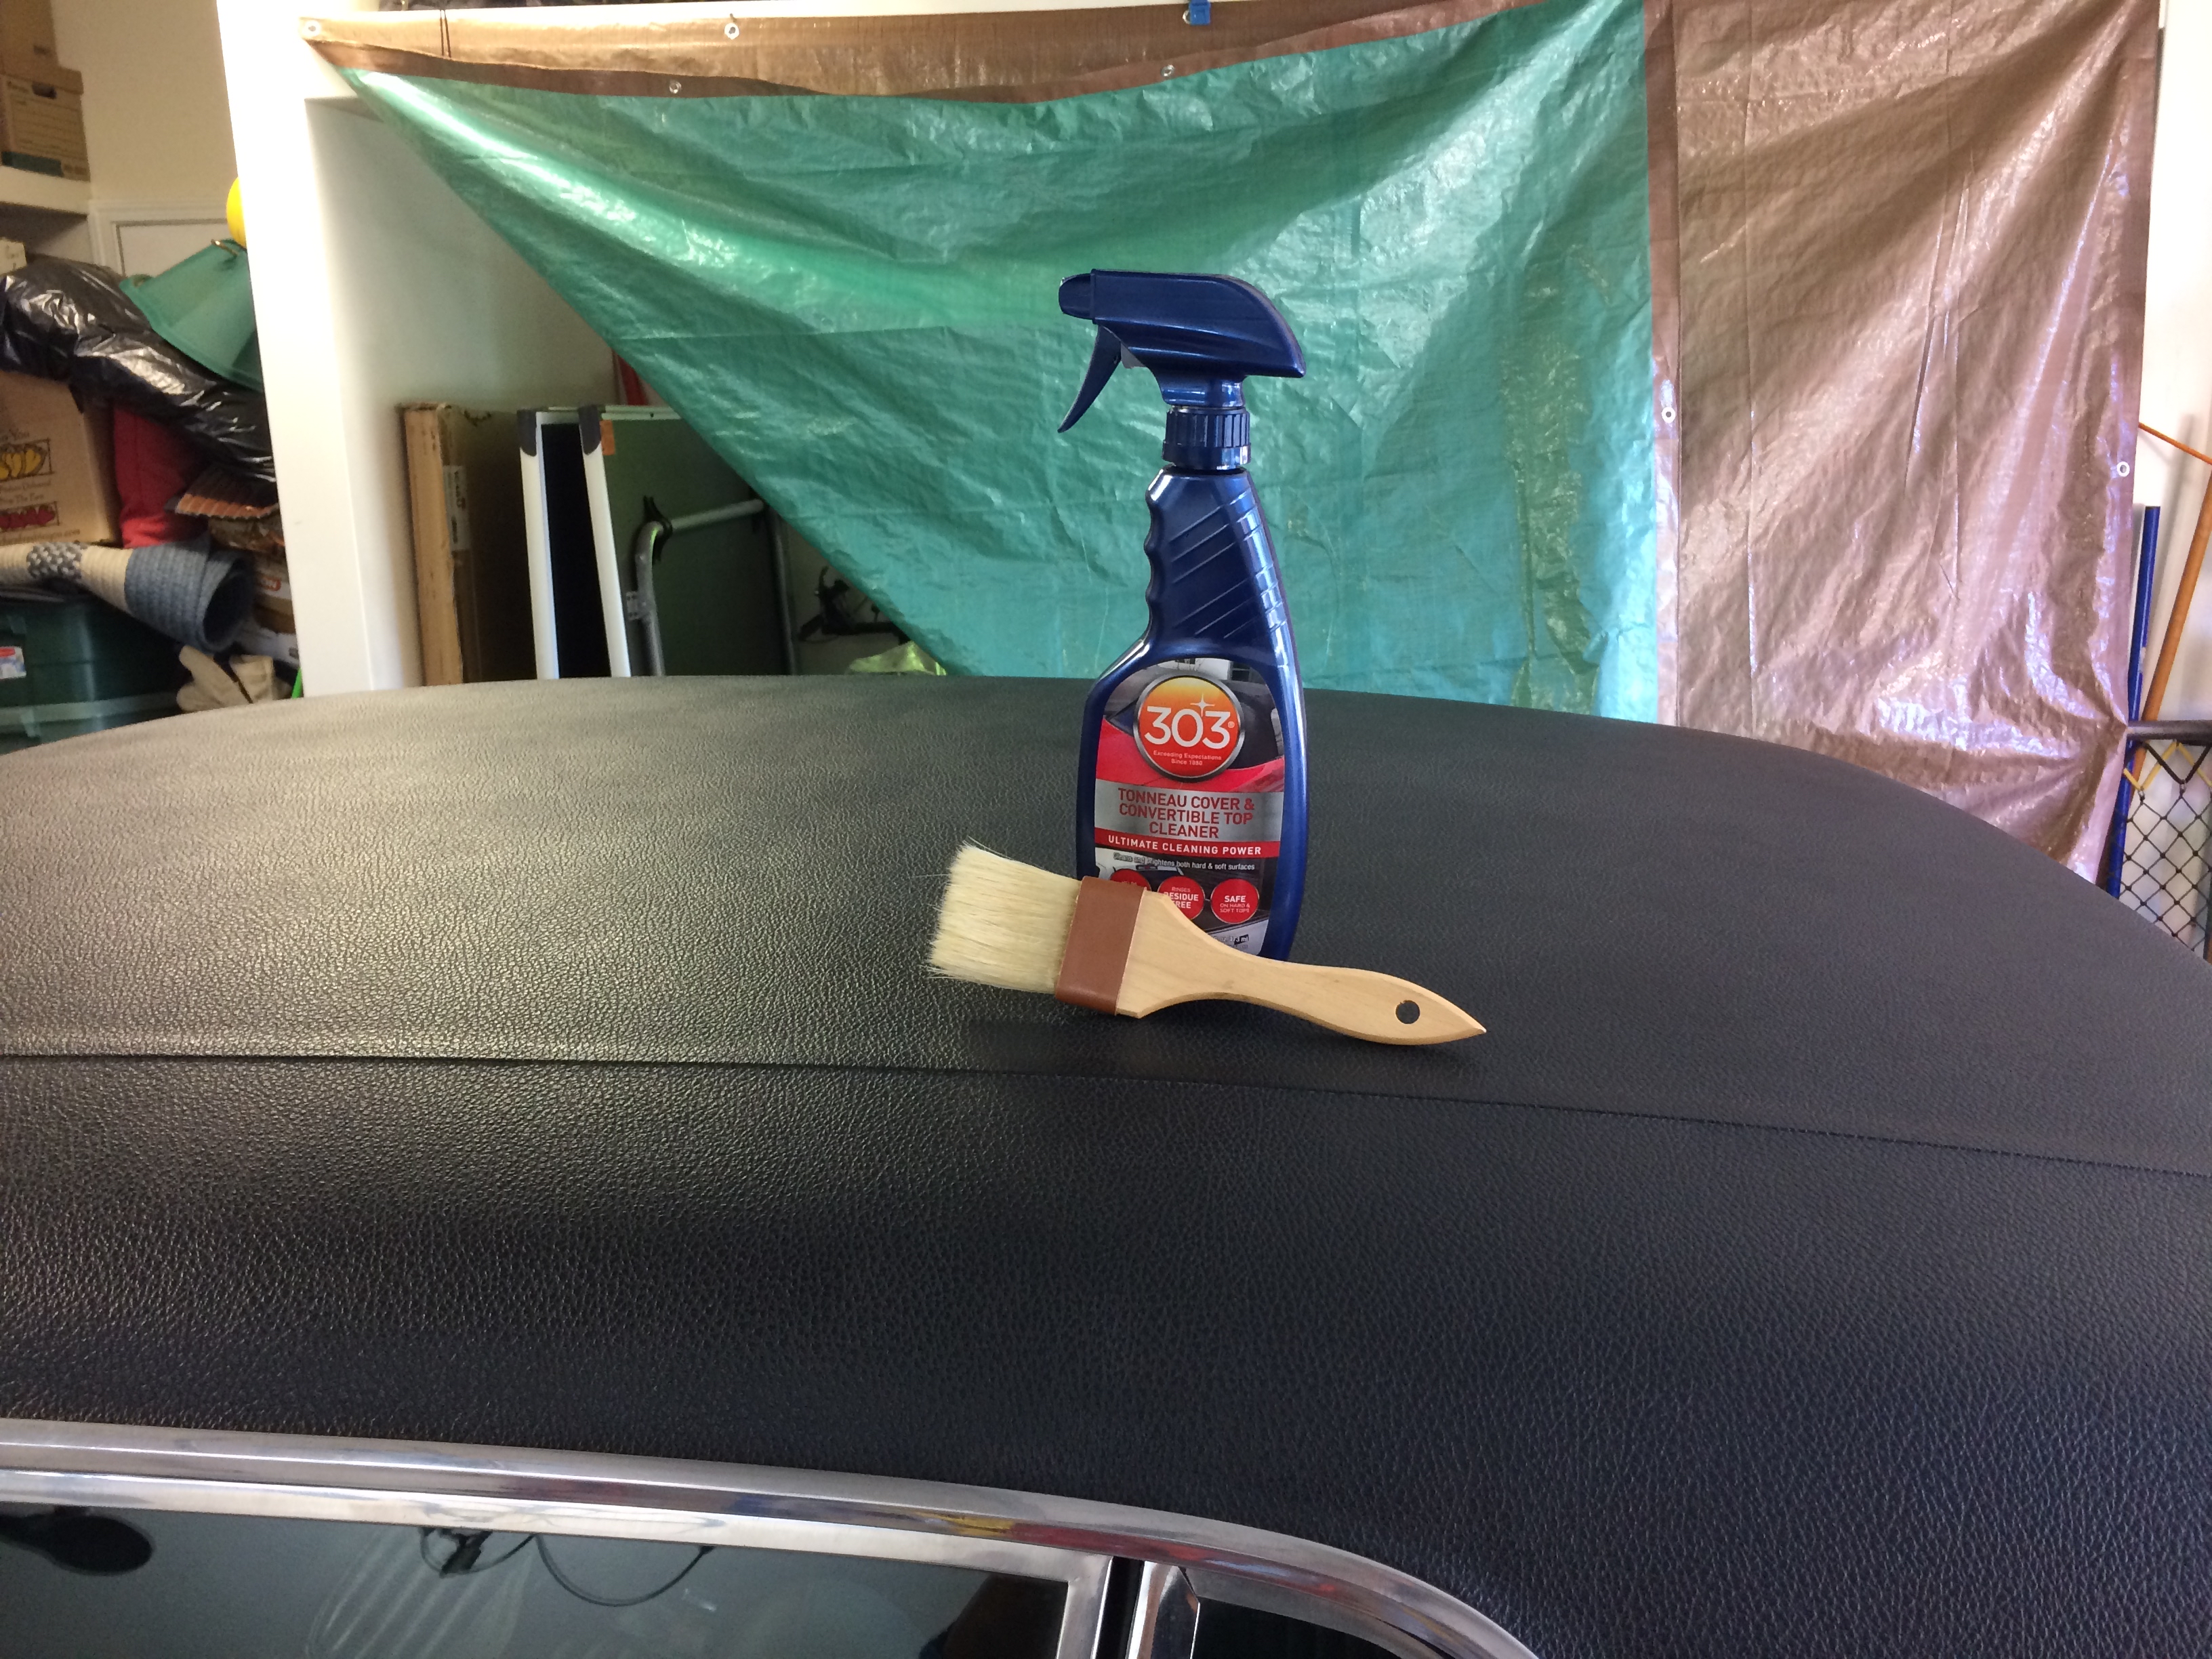
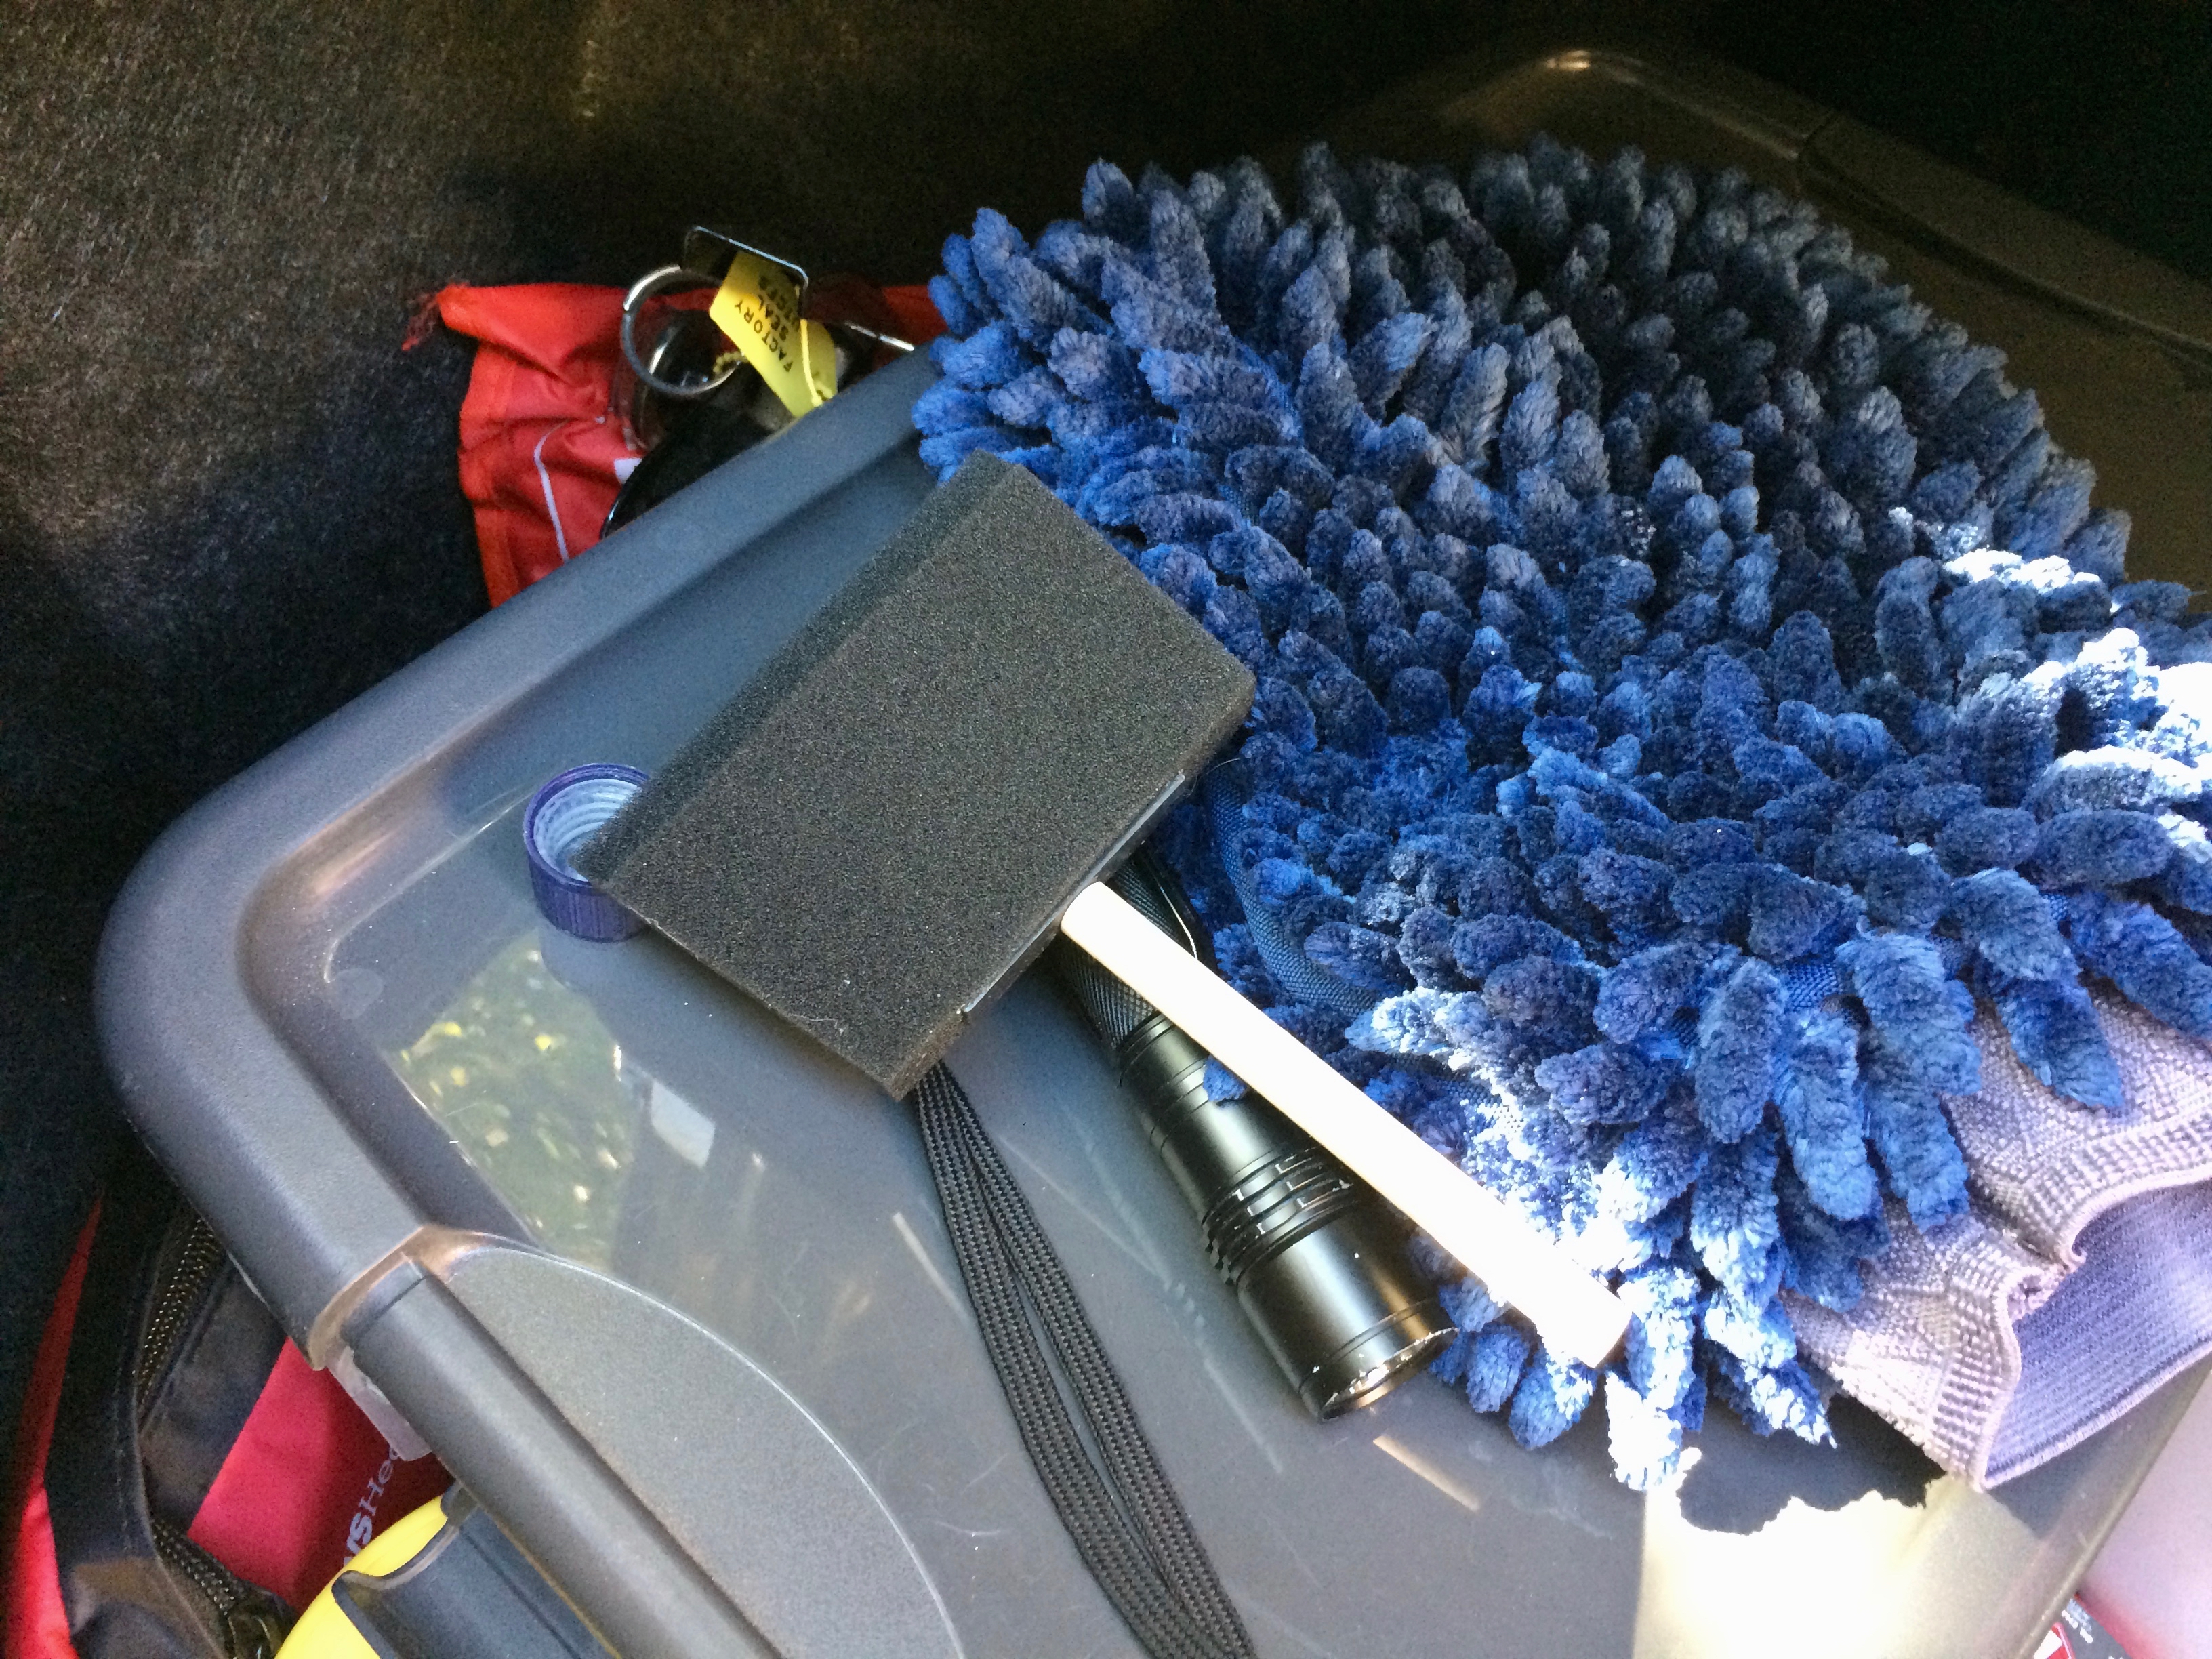
First I cleaned the roof with 303 convertible top cleaner and a boar’s hair brush, then I followed up with a Carpro Eraser cleanse. My largest foam brush was used to apply the Q2 Trim across the roof.
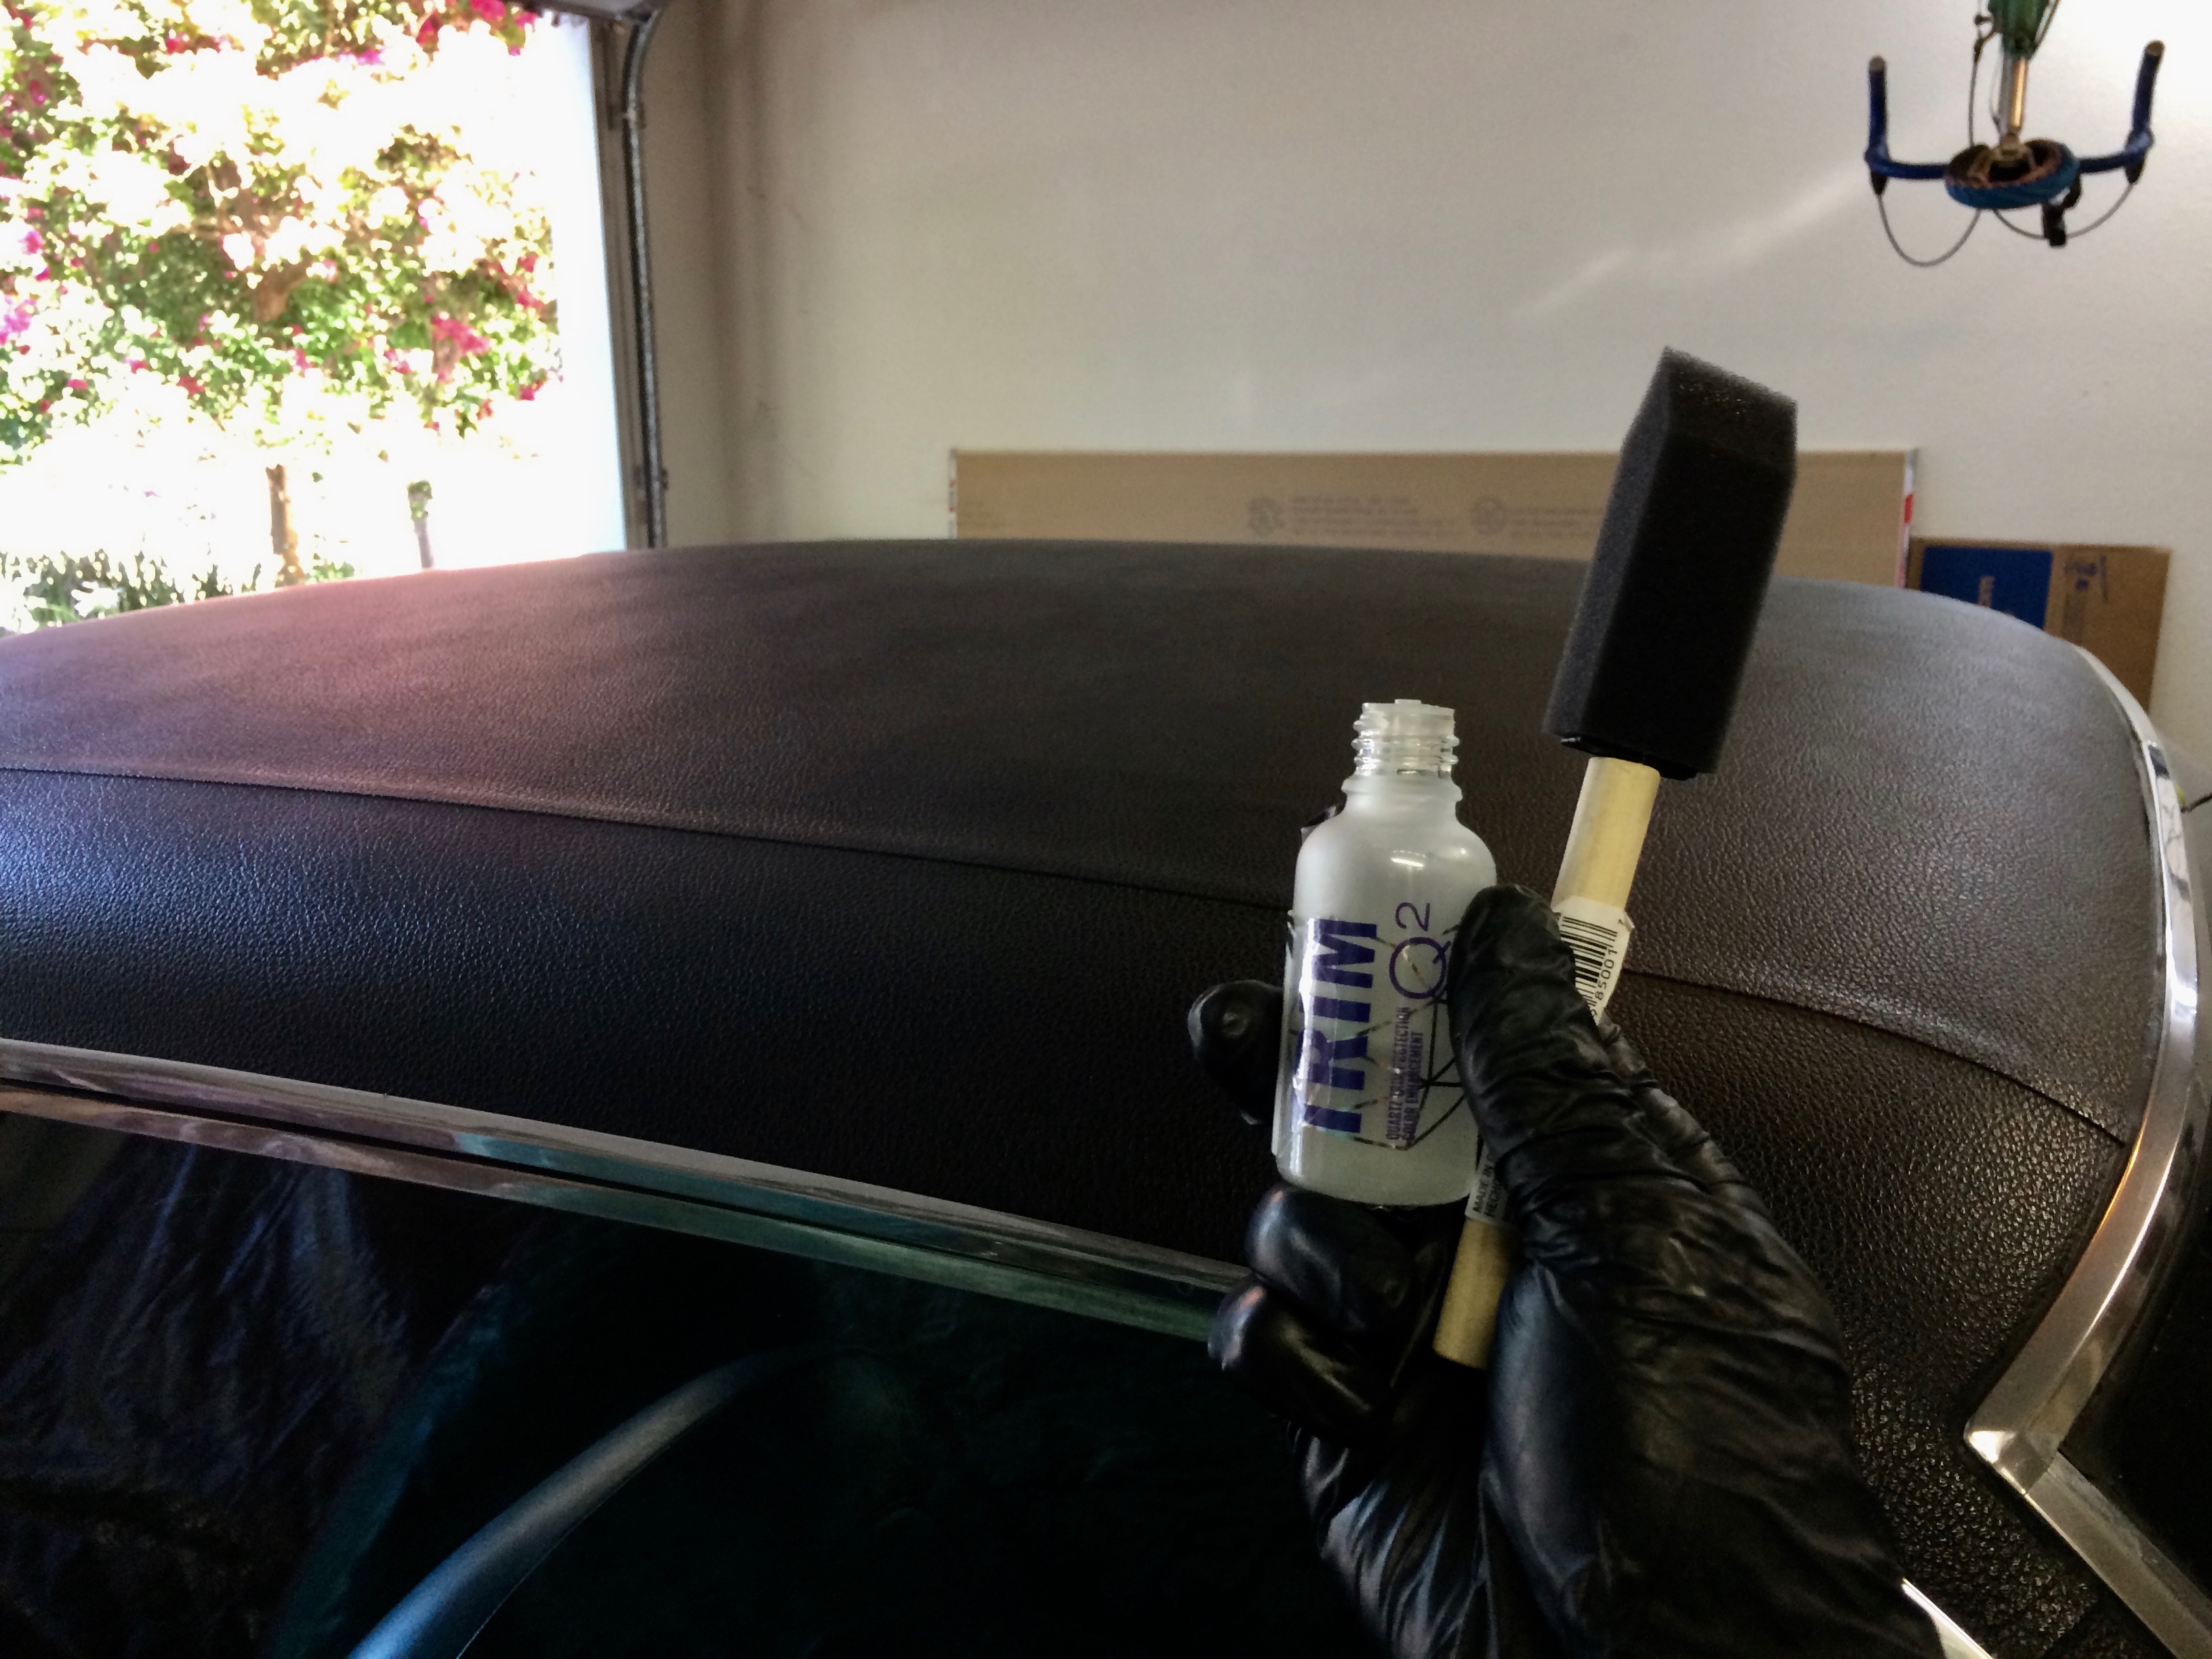
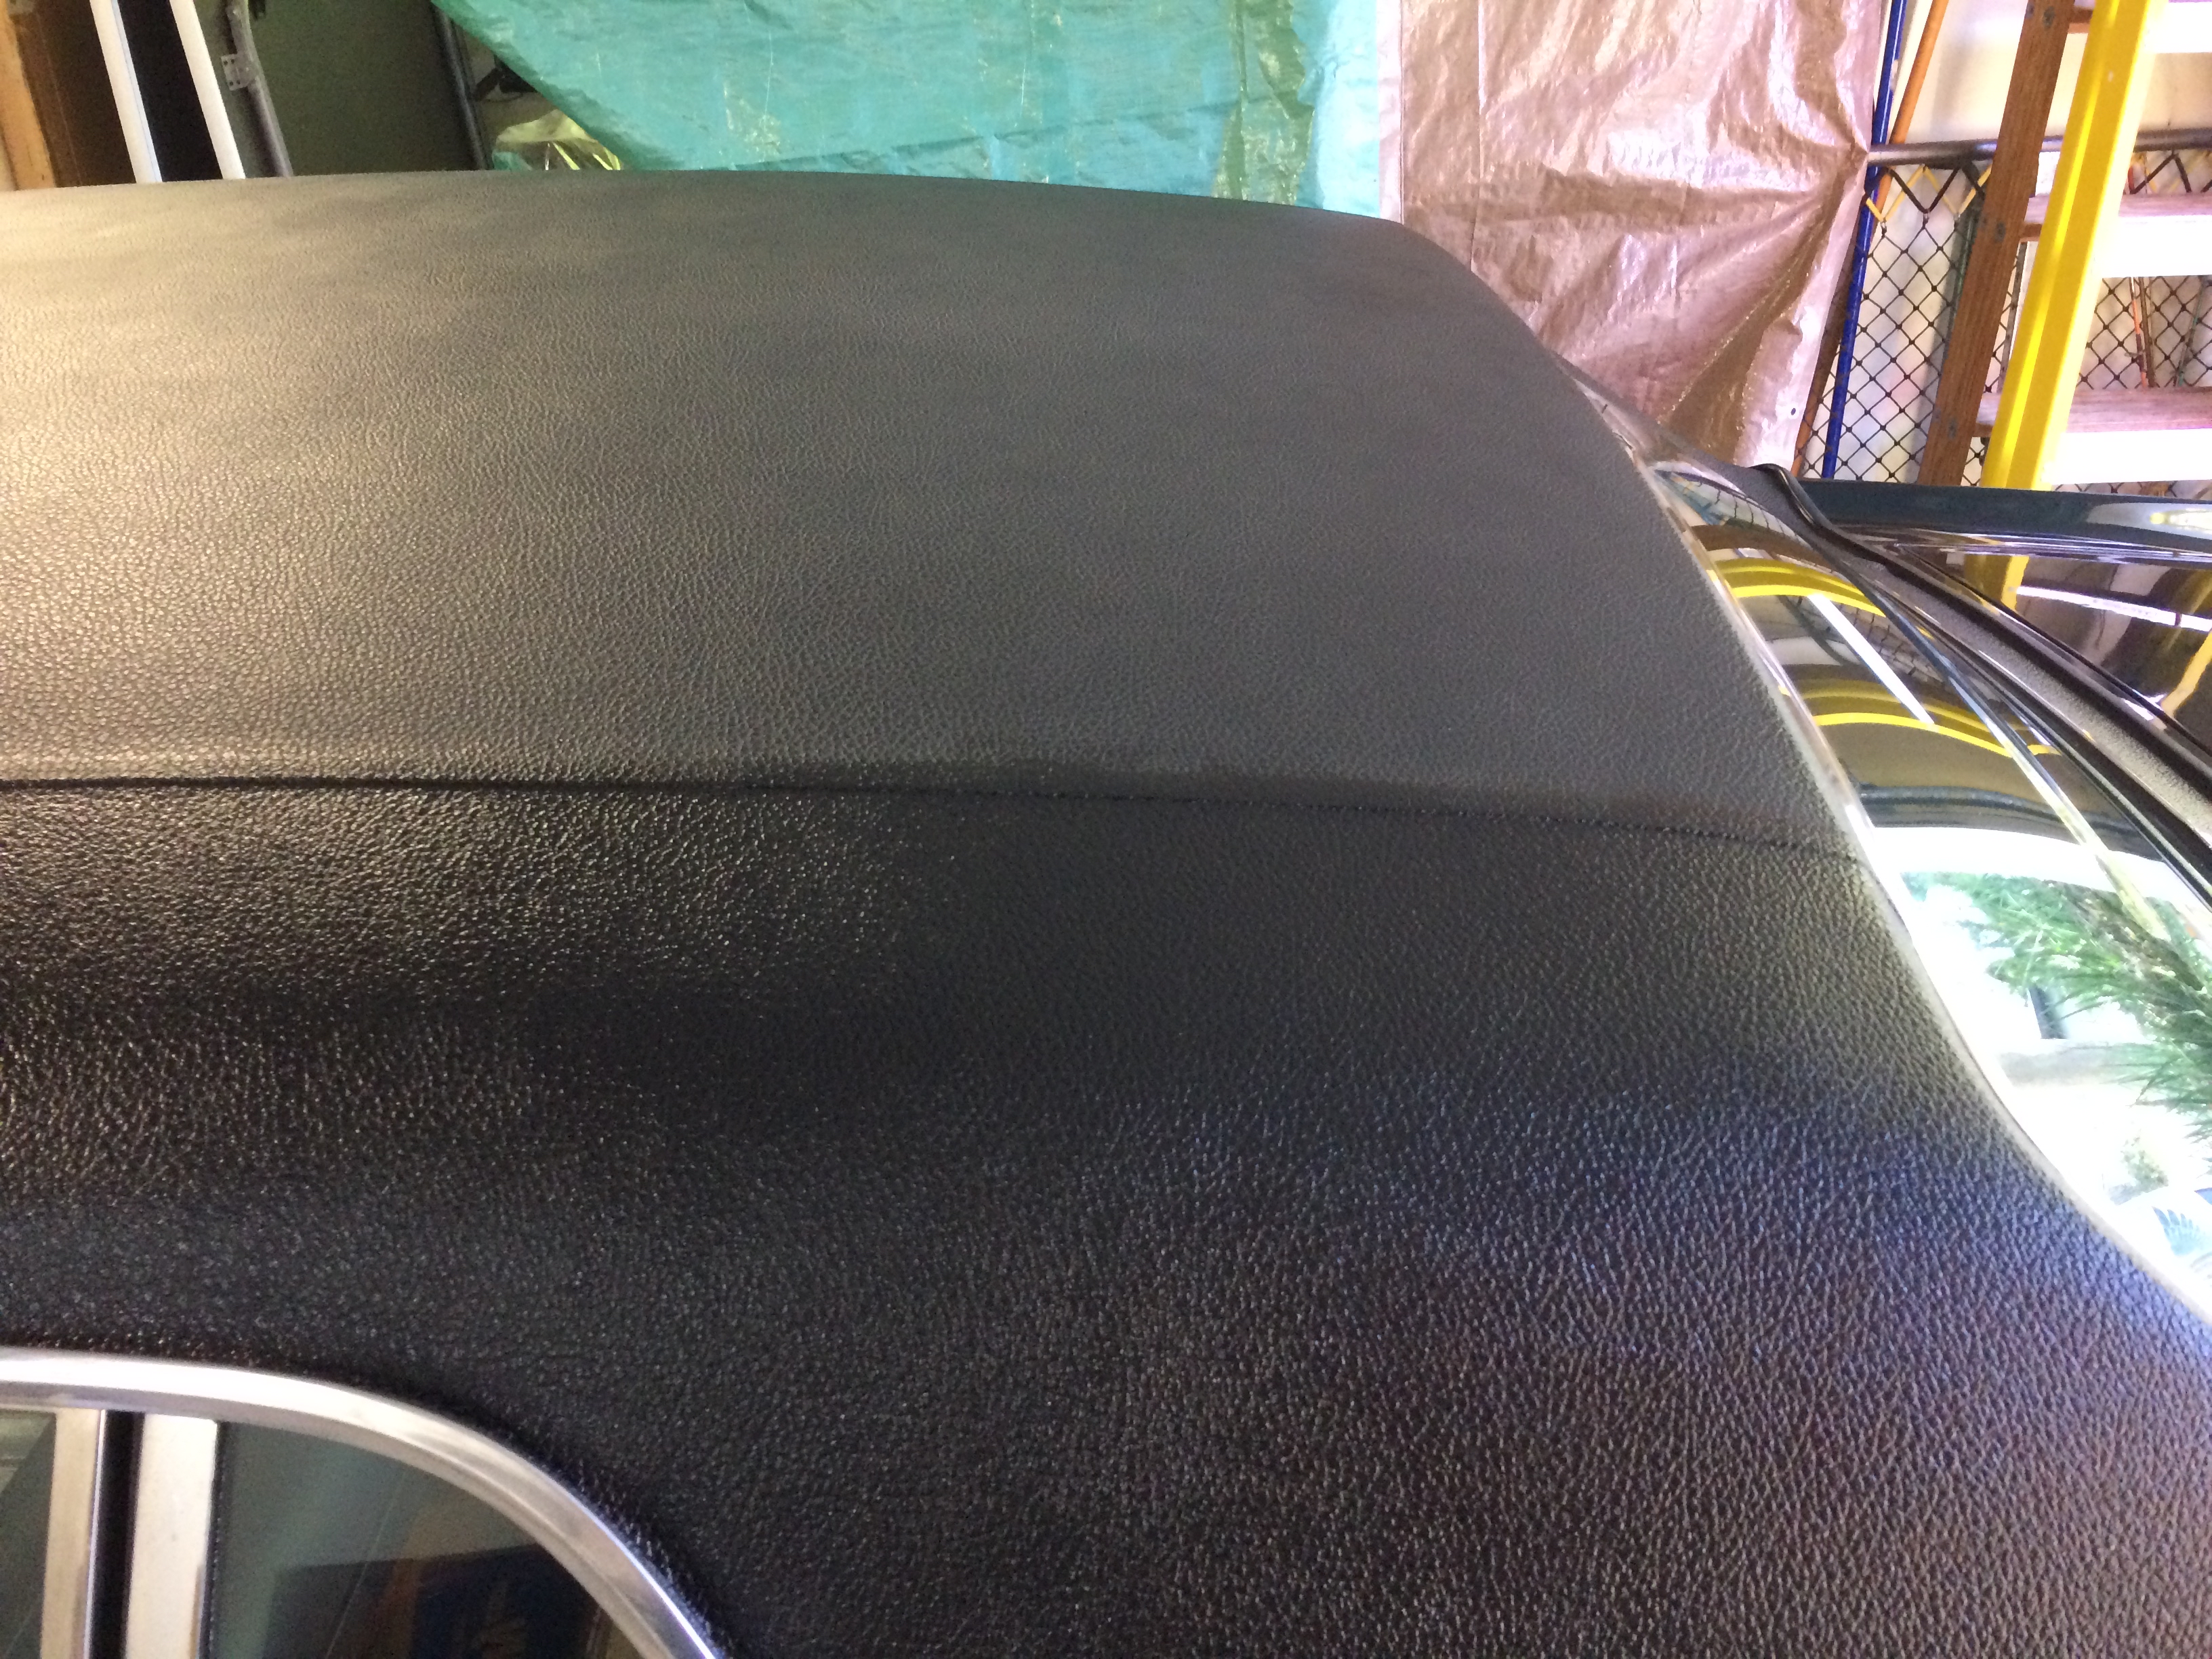
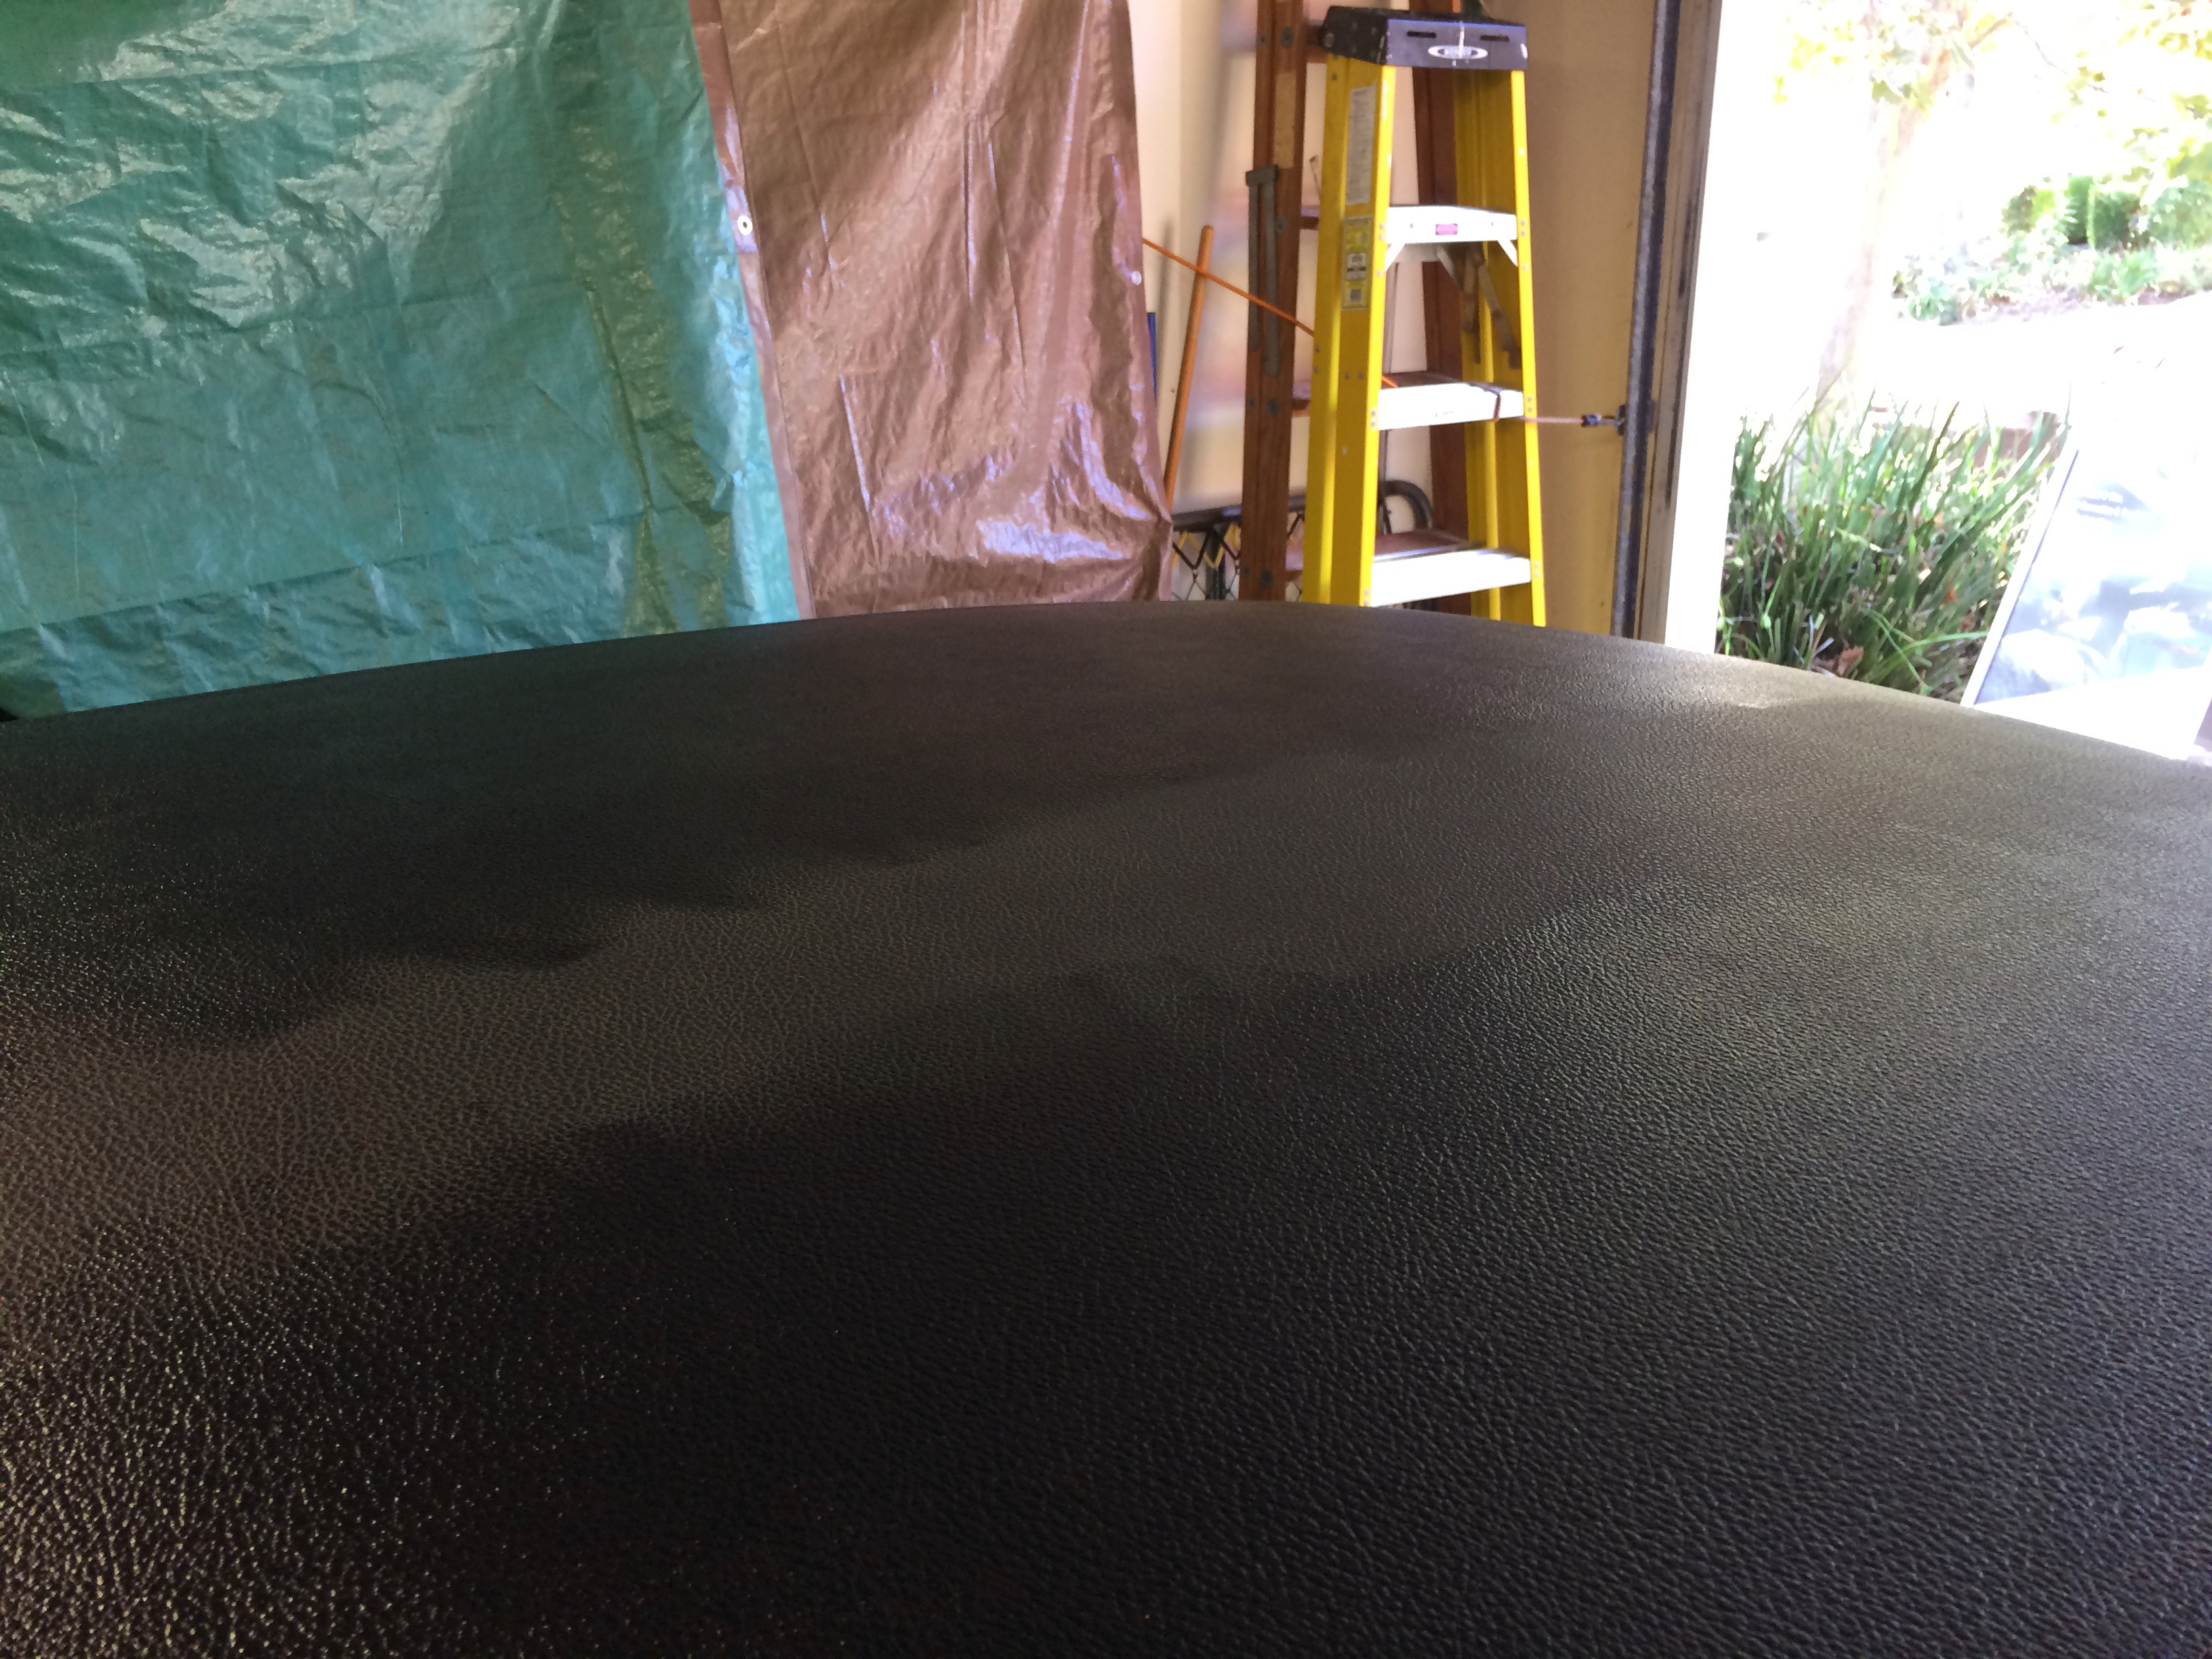
The Q2 Trim gave the vinyl a rich glossy black appearance. After the coating had fully cured 24 hours later, I could test the hydrophobic properties.
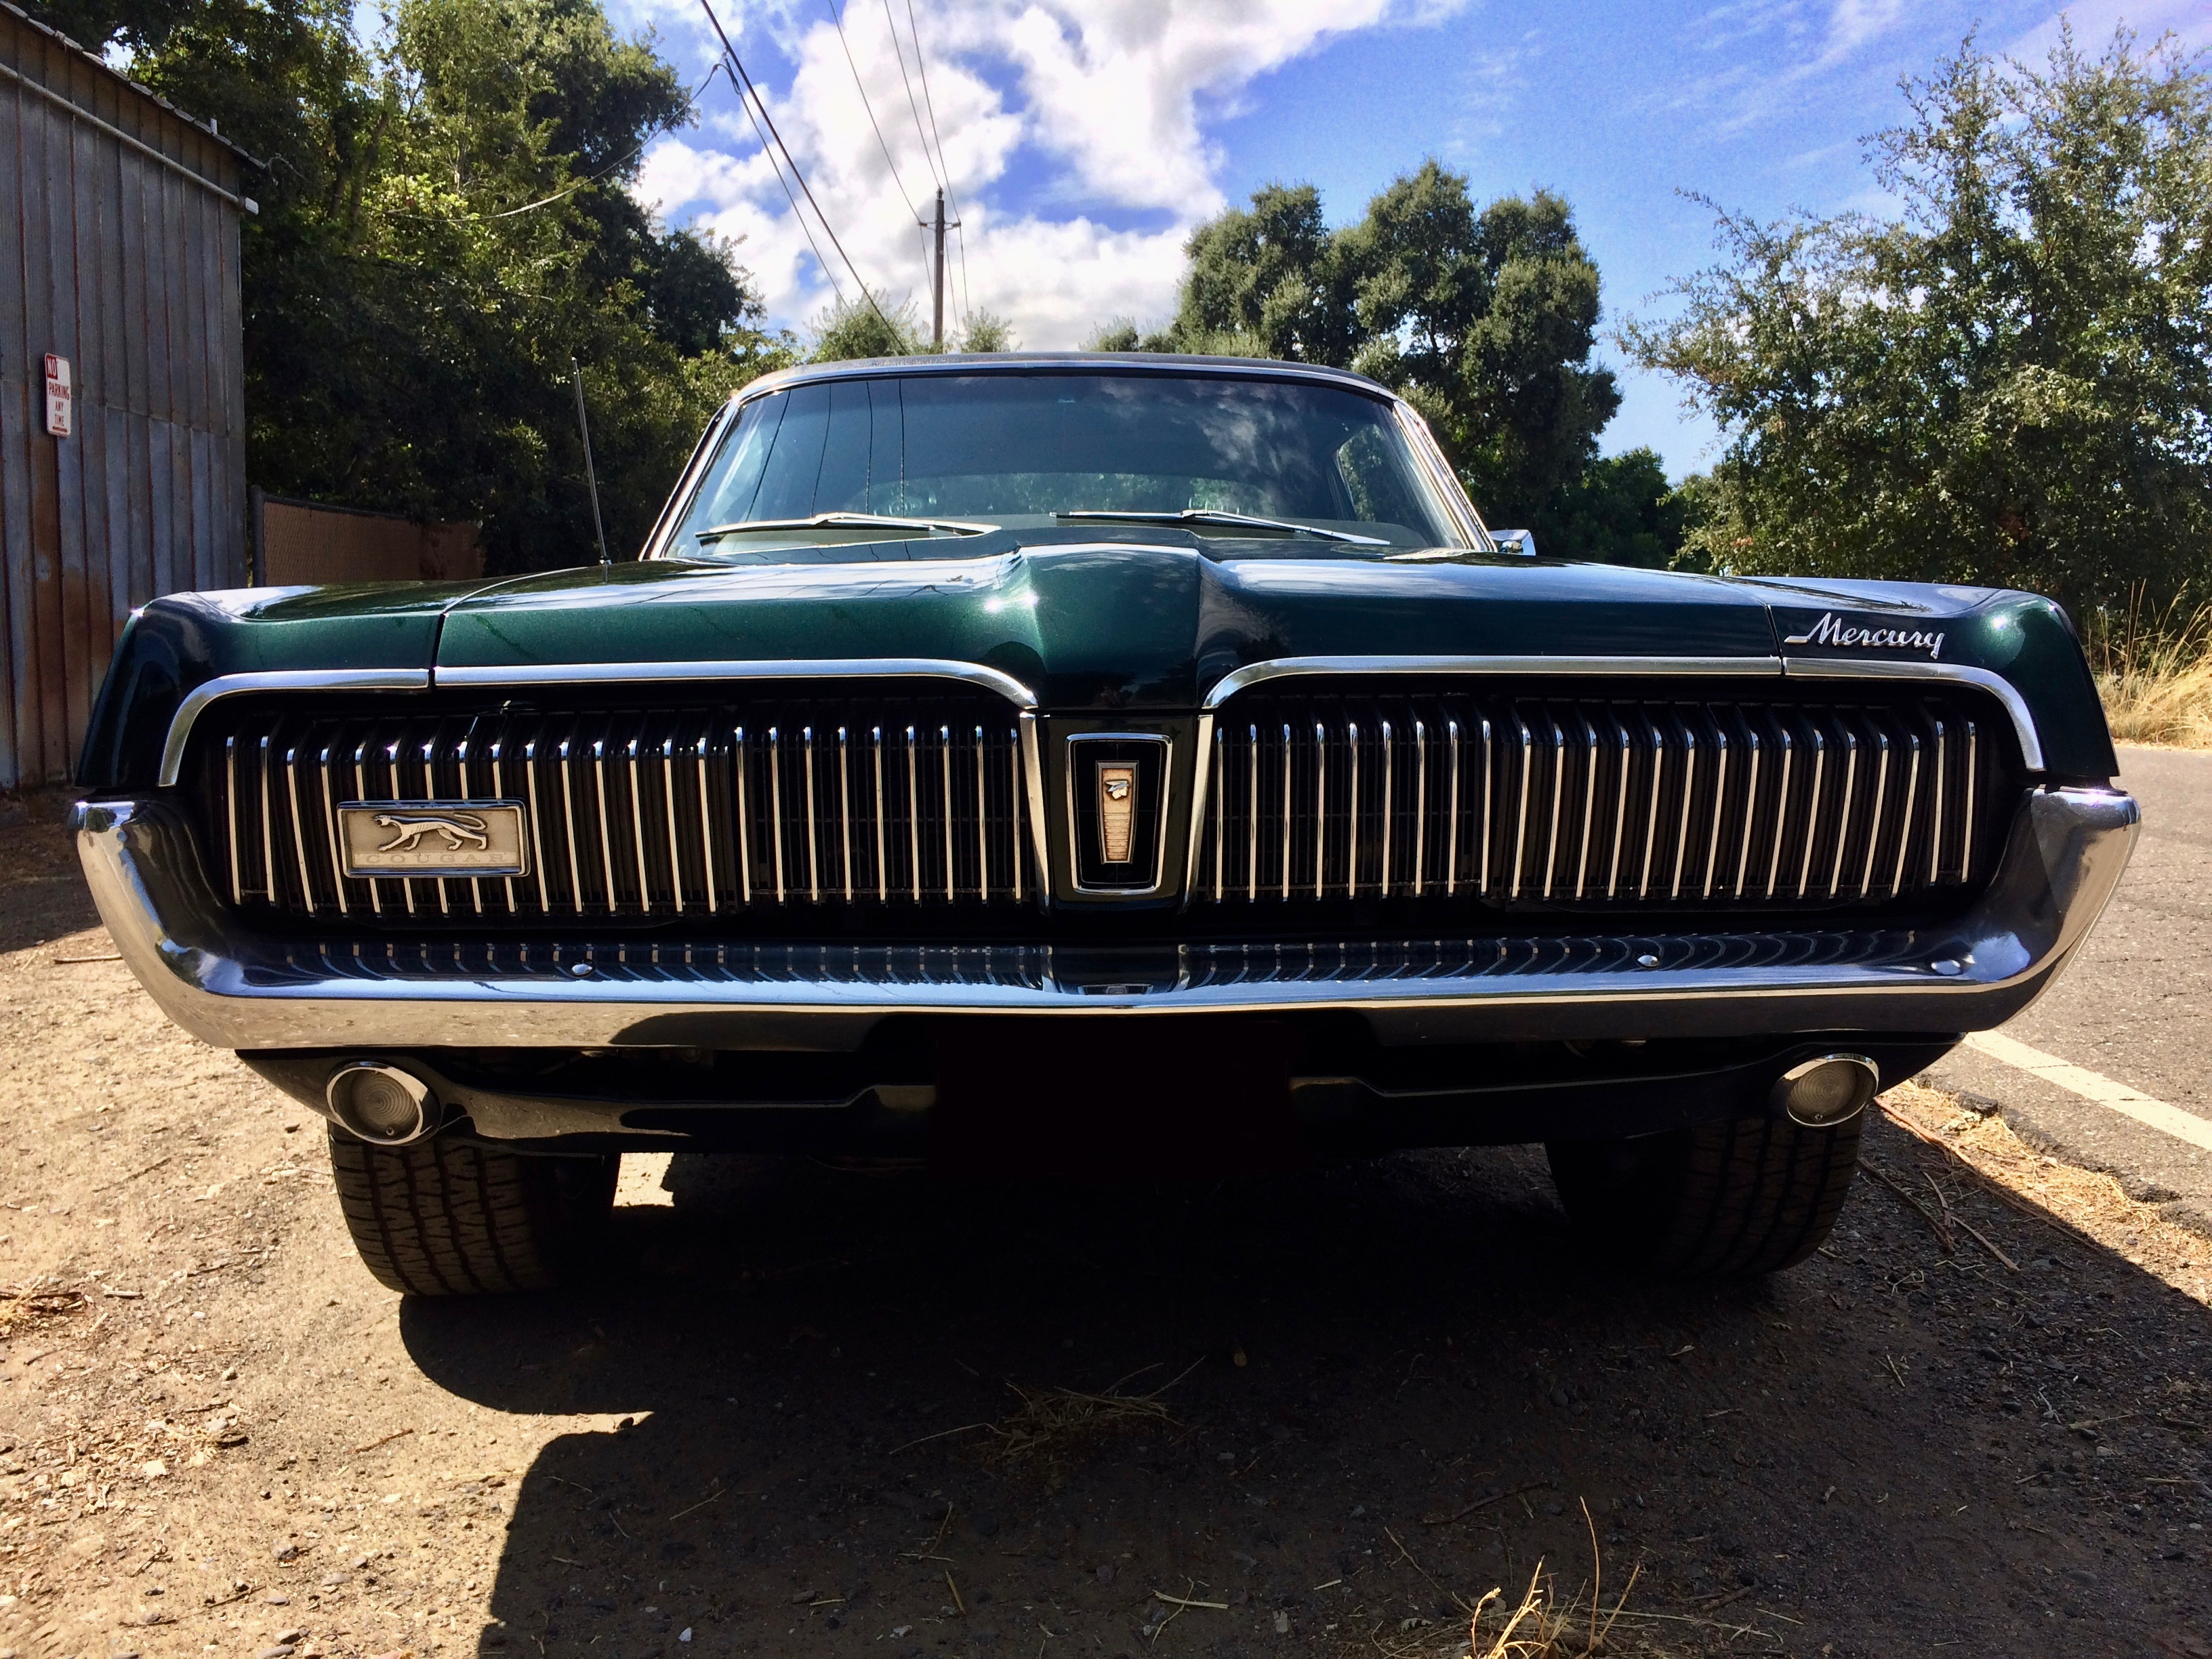
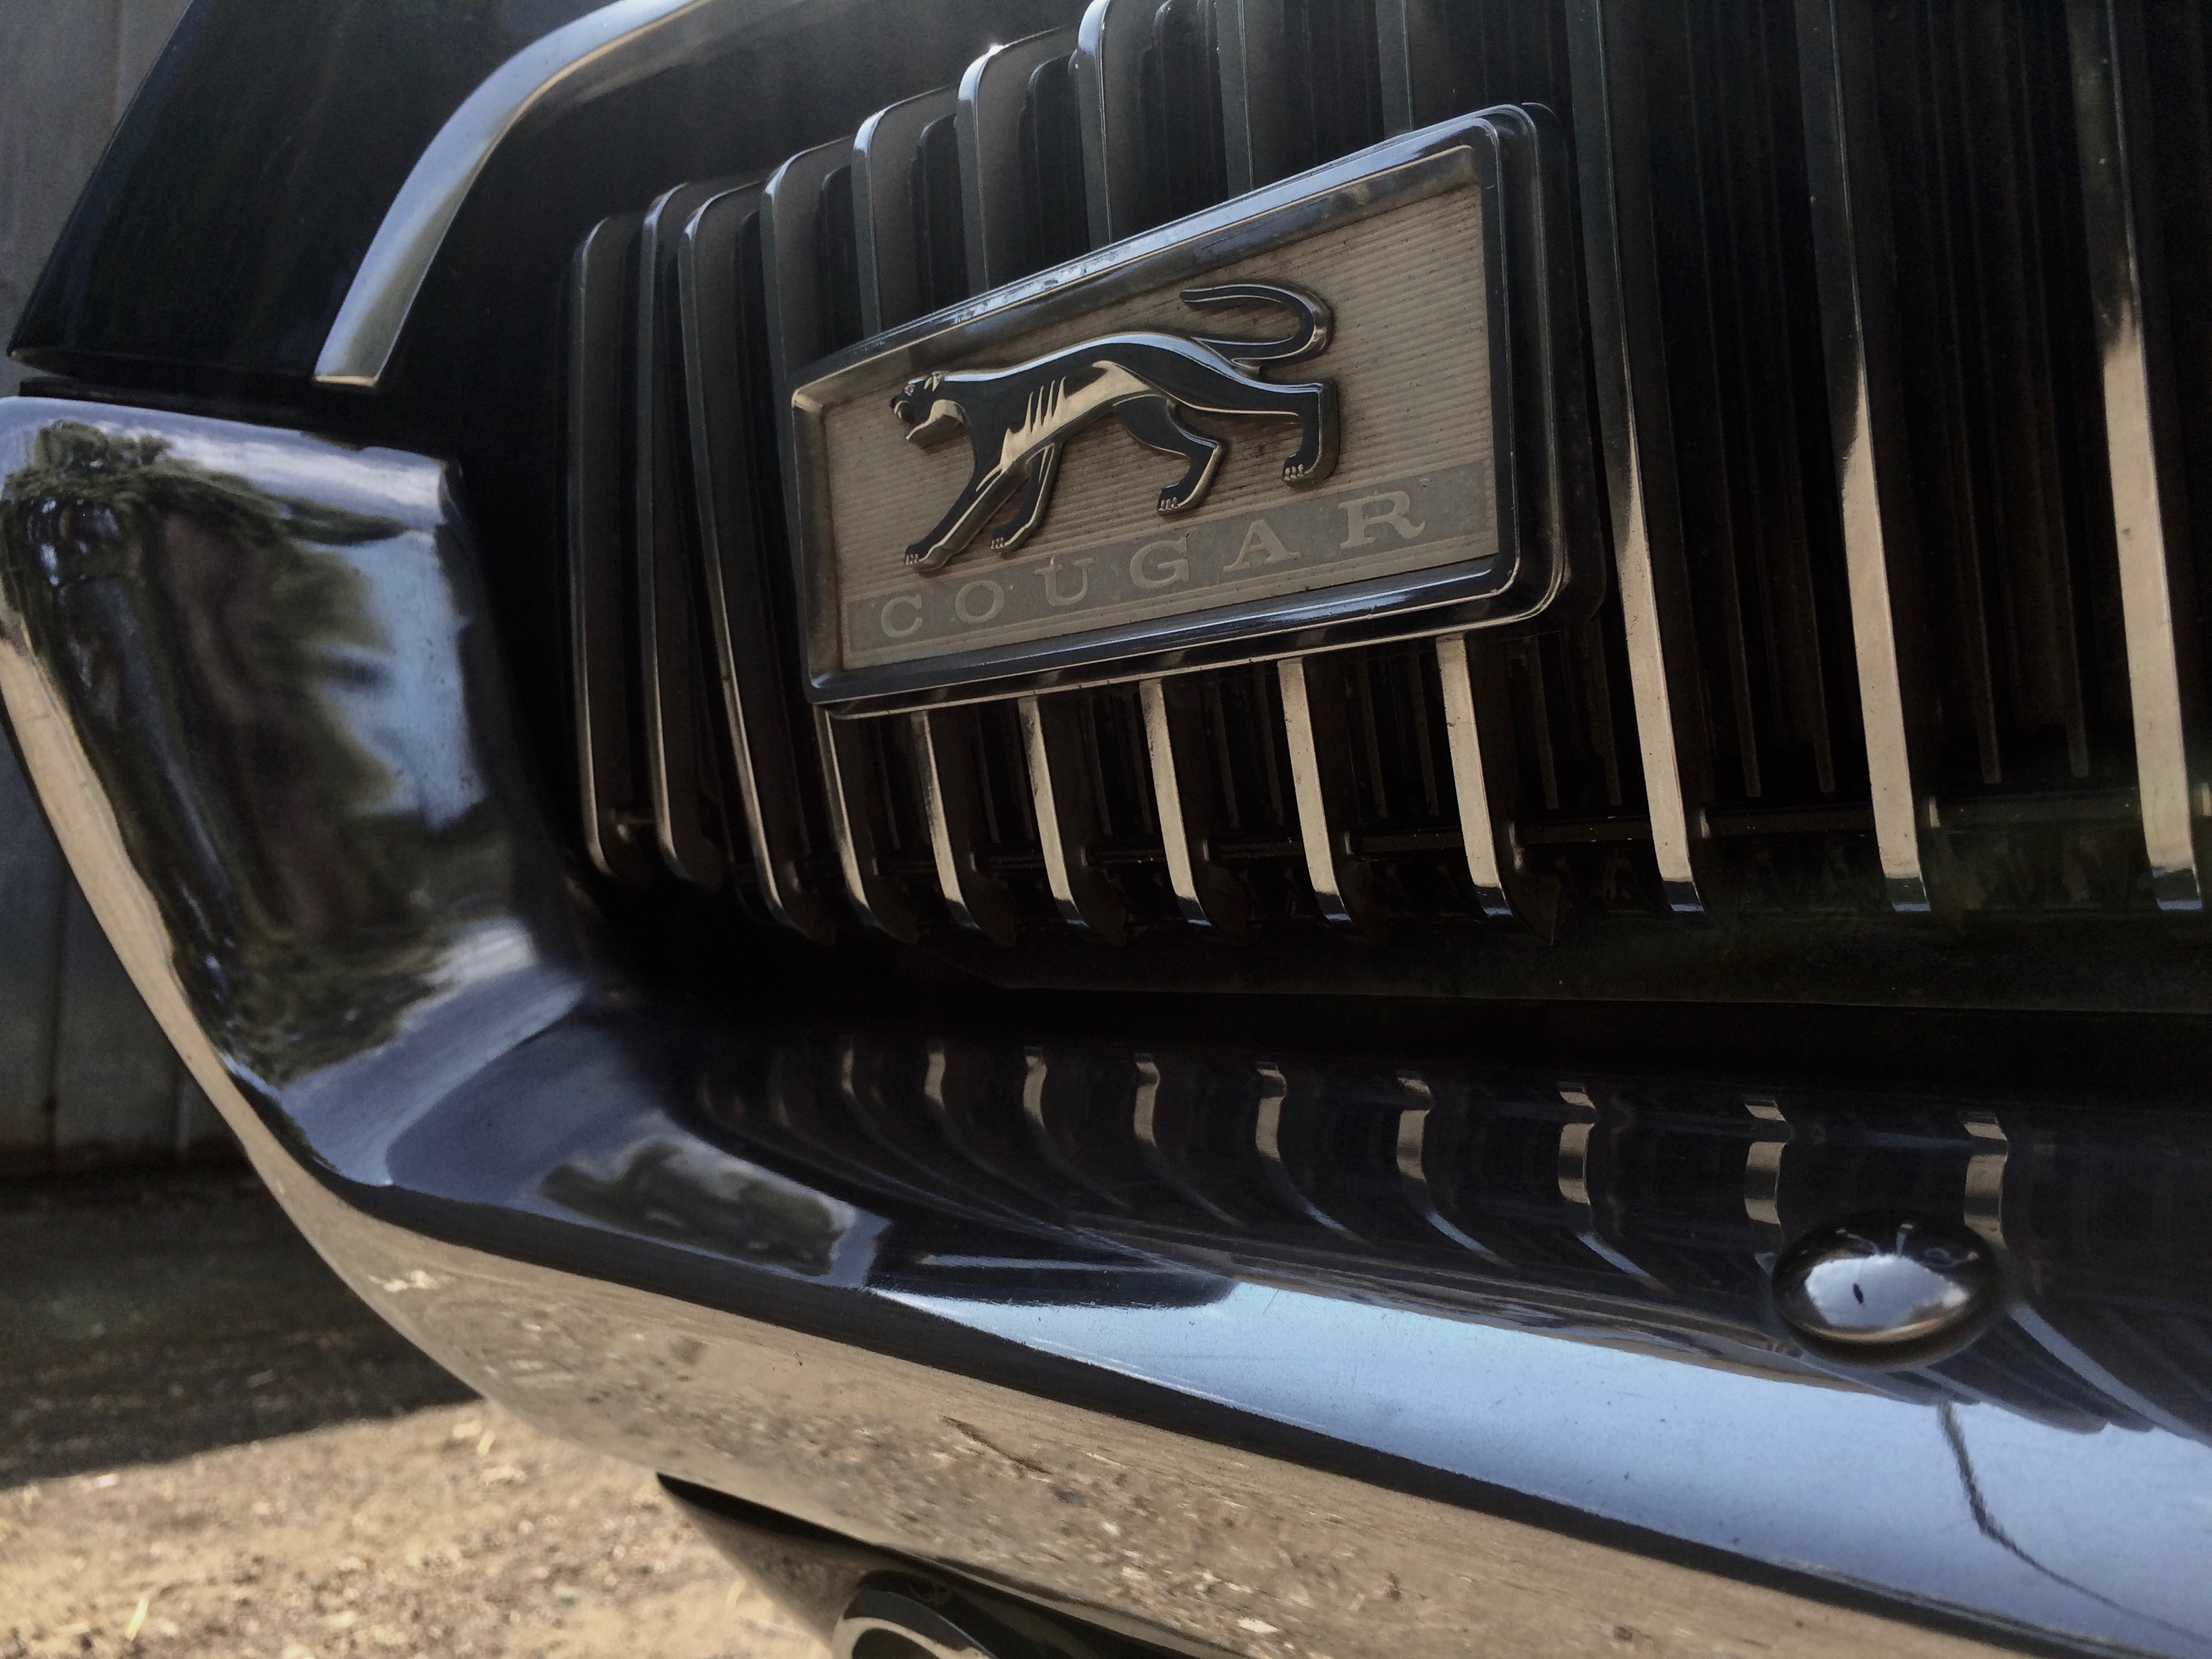
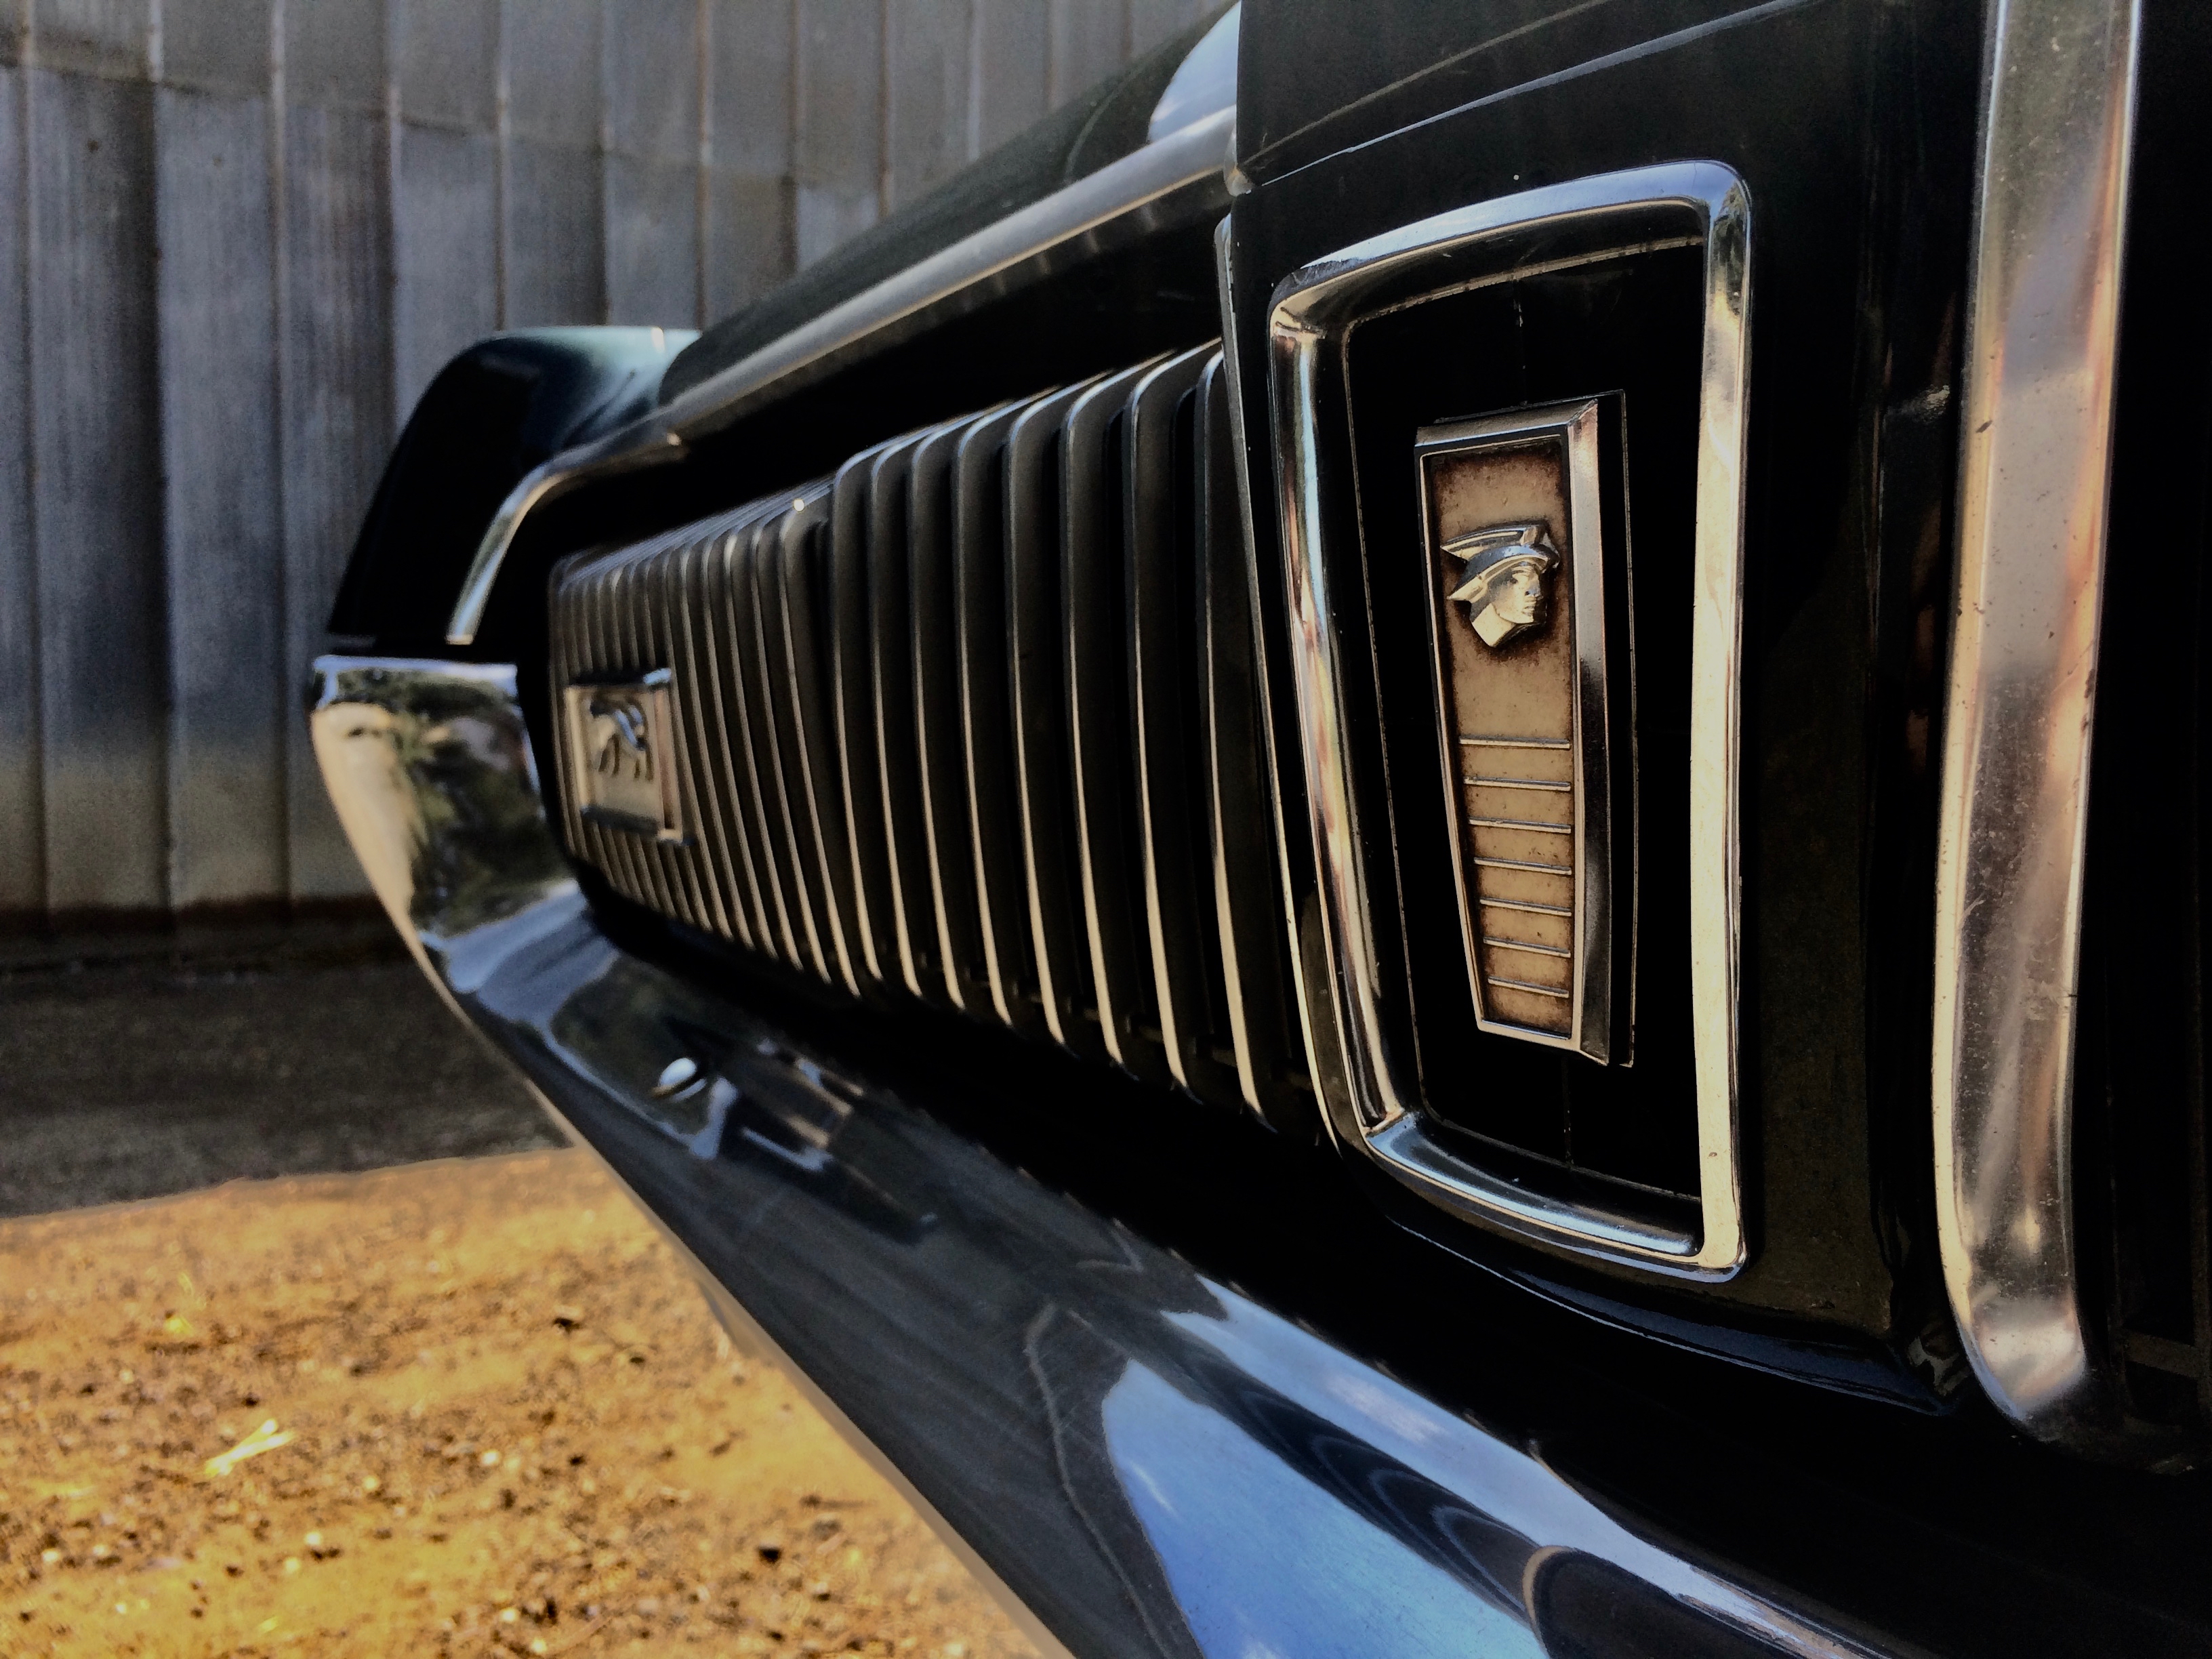
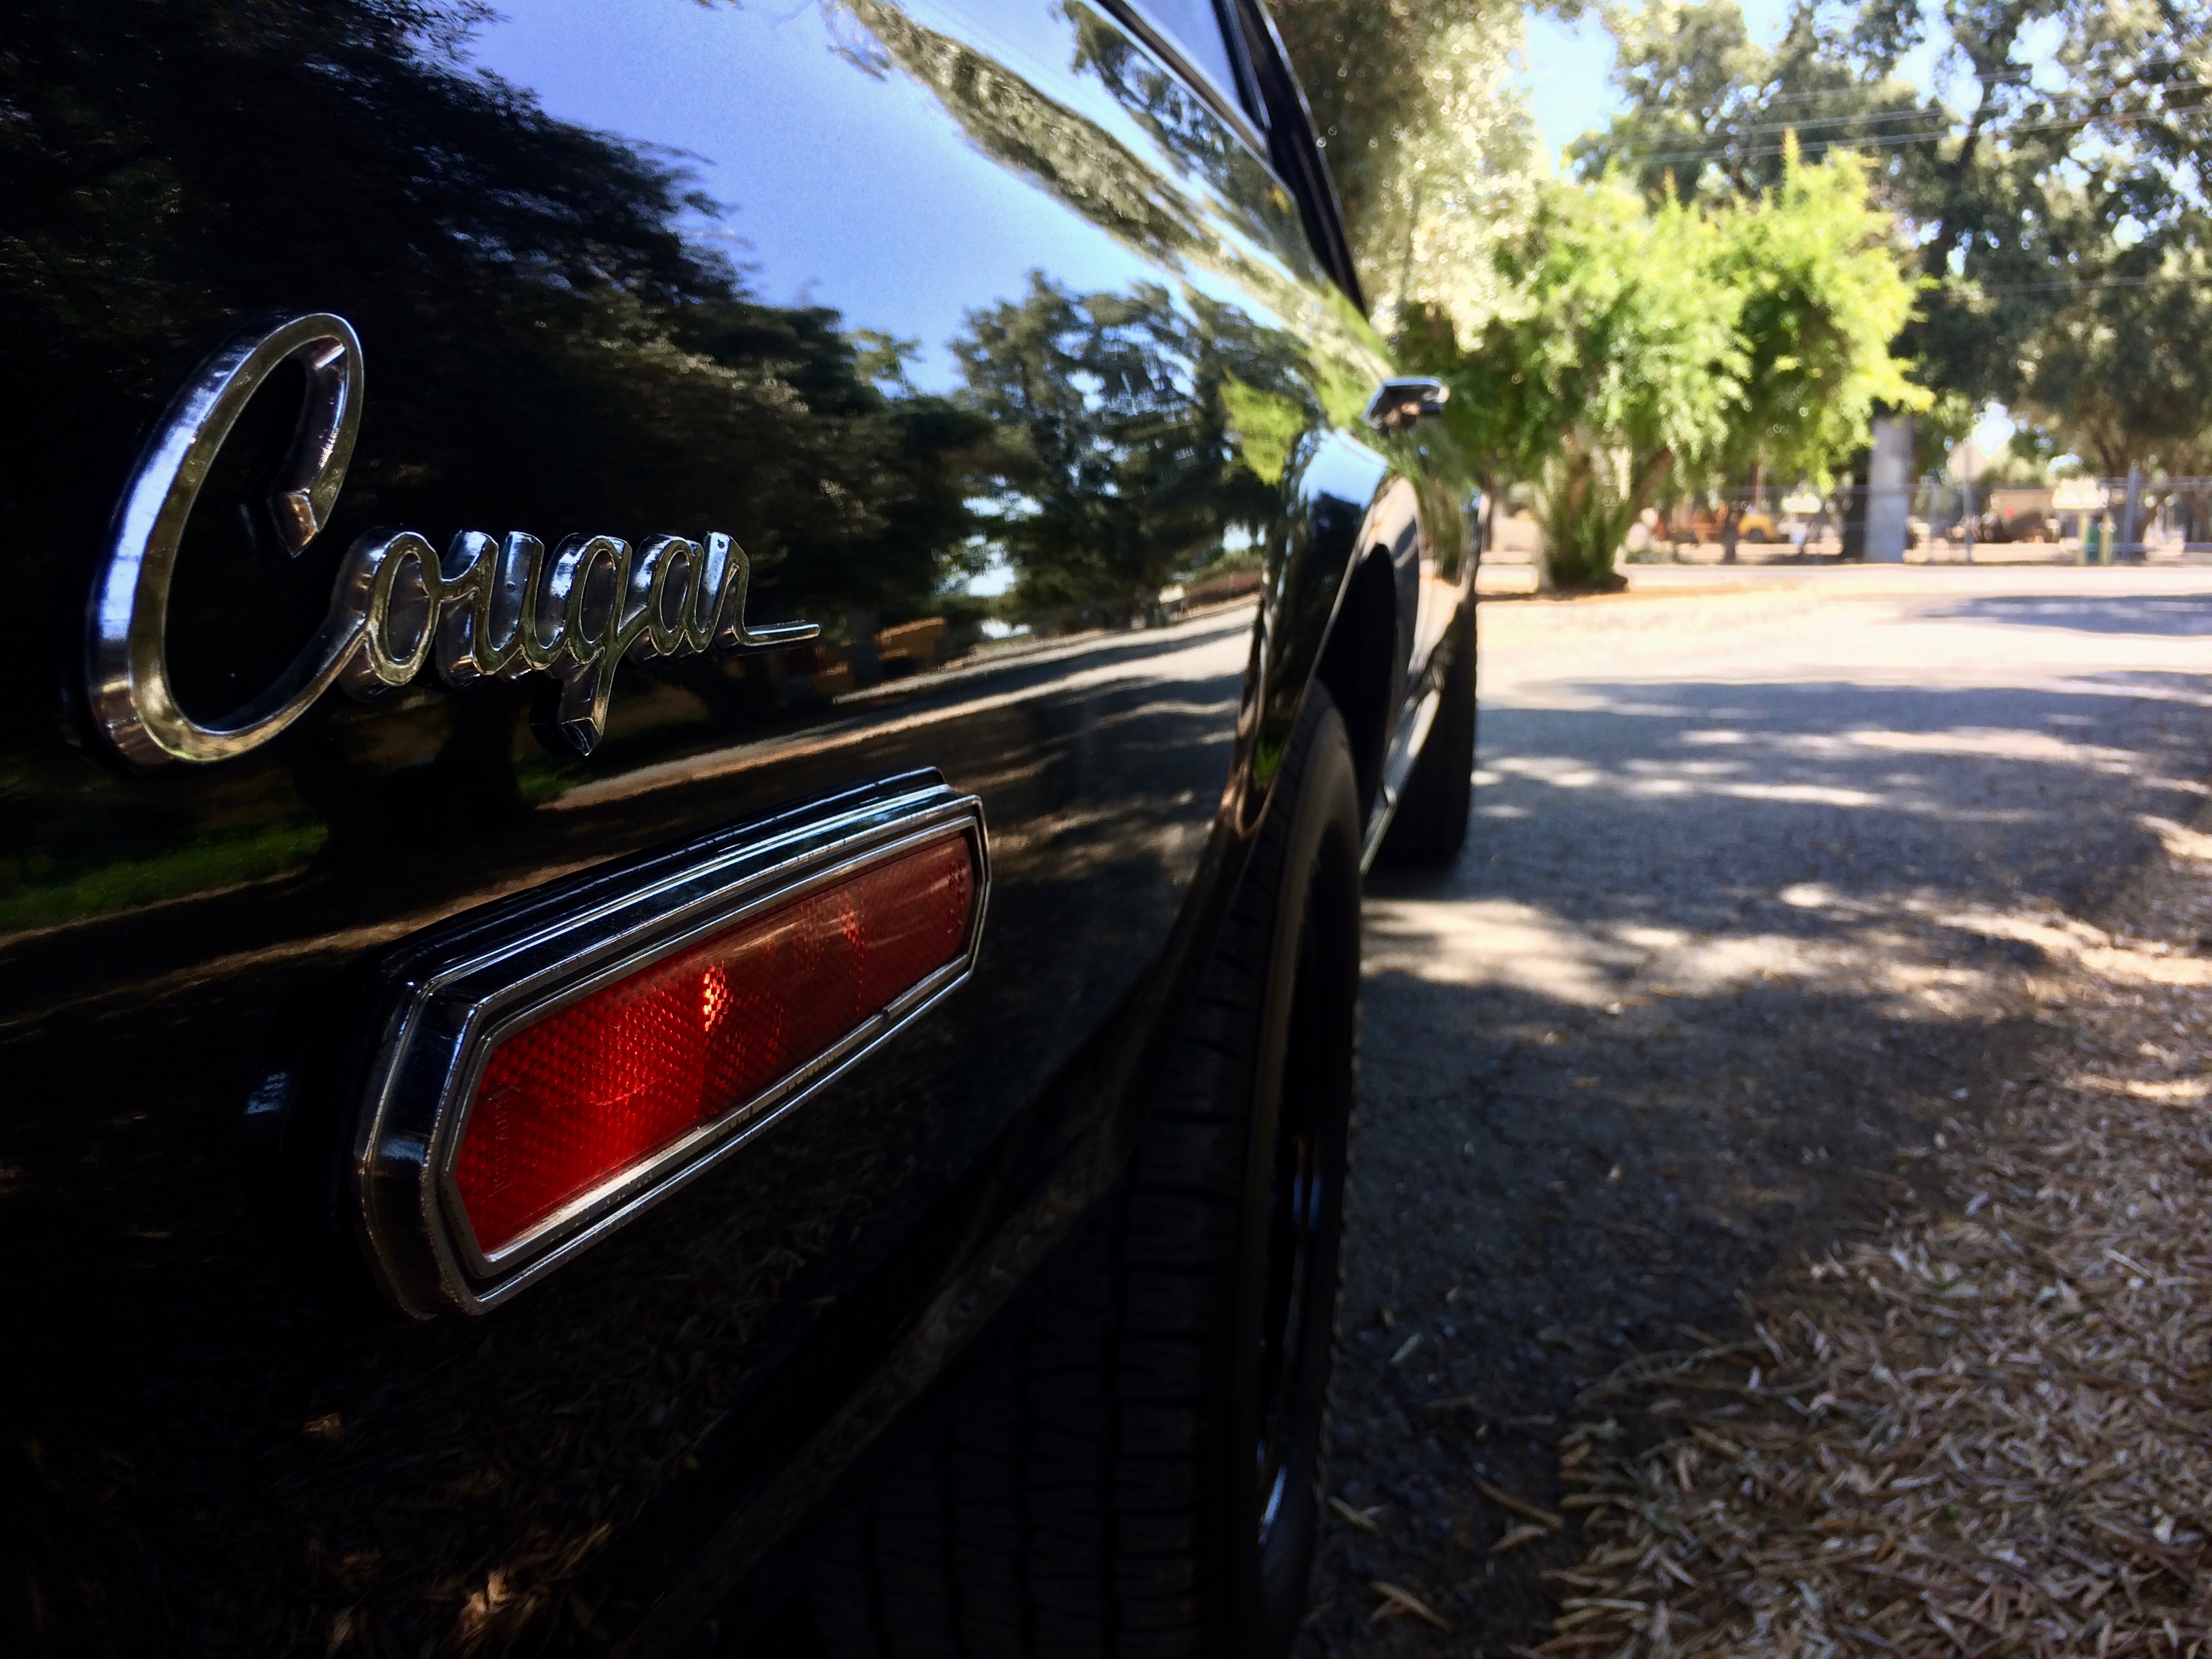
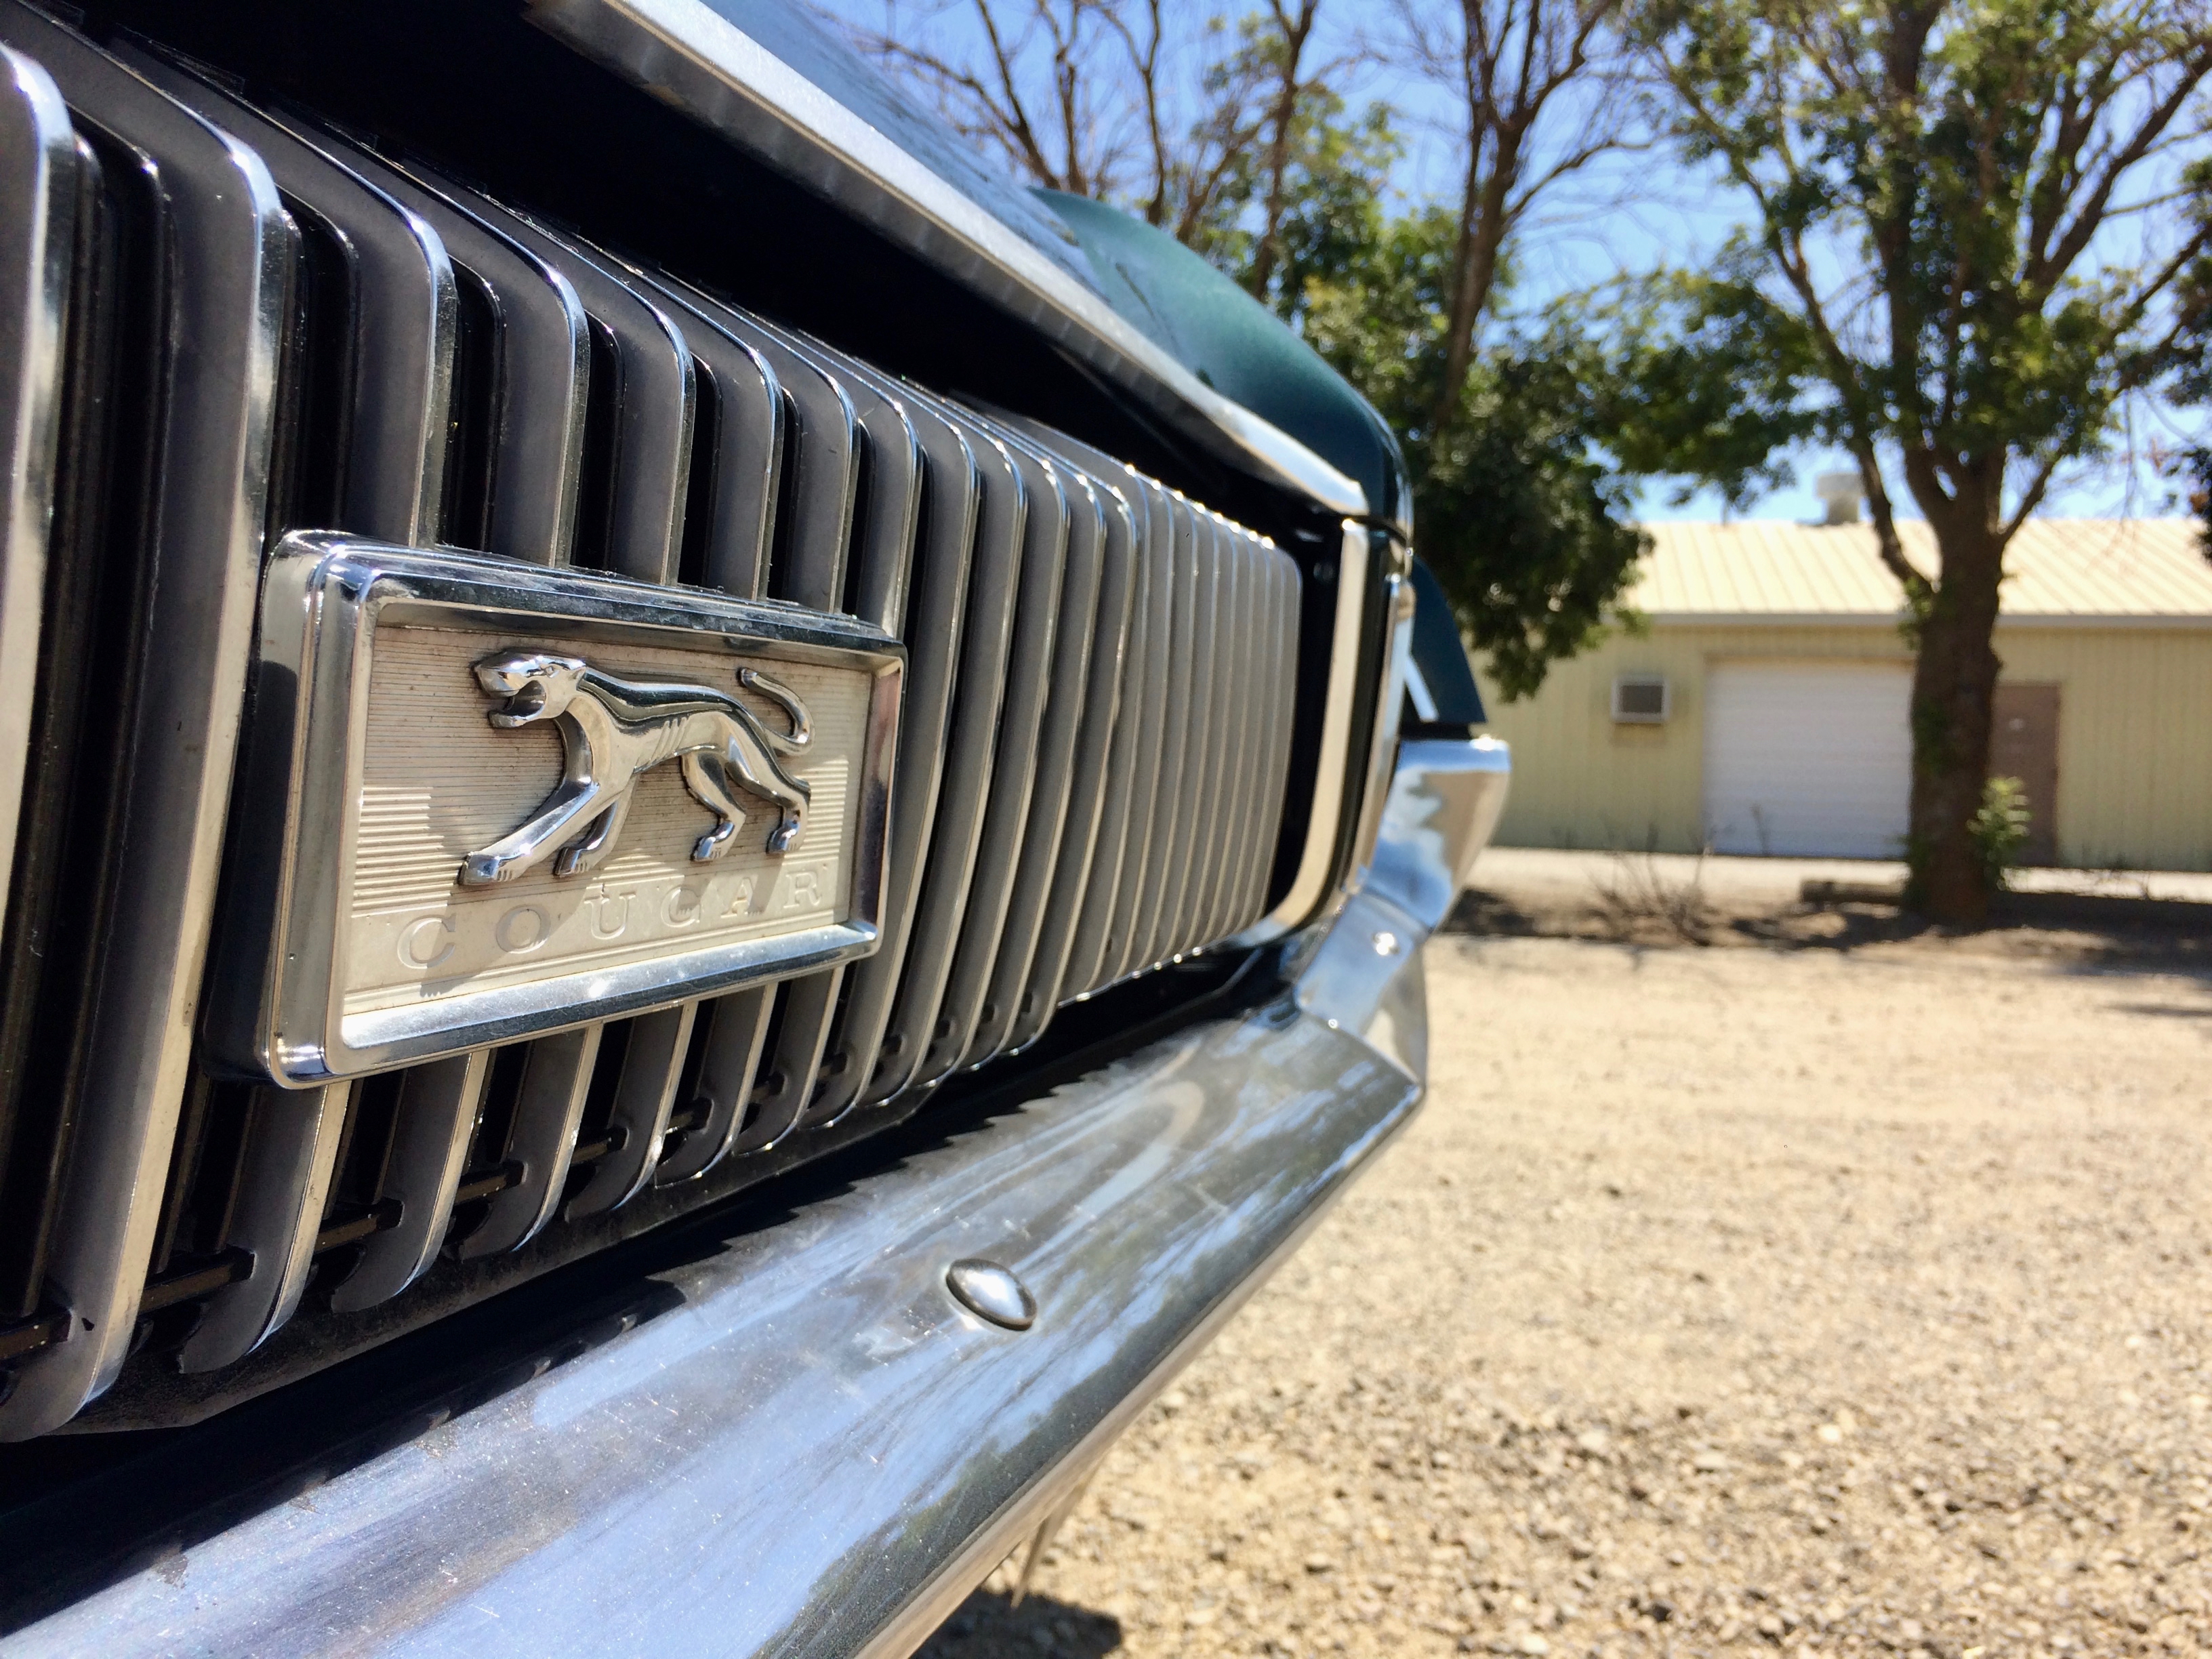
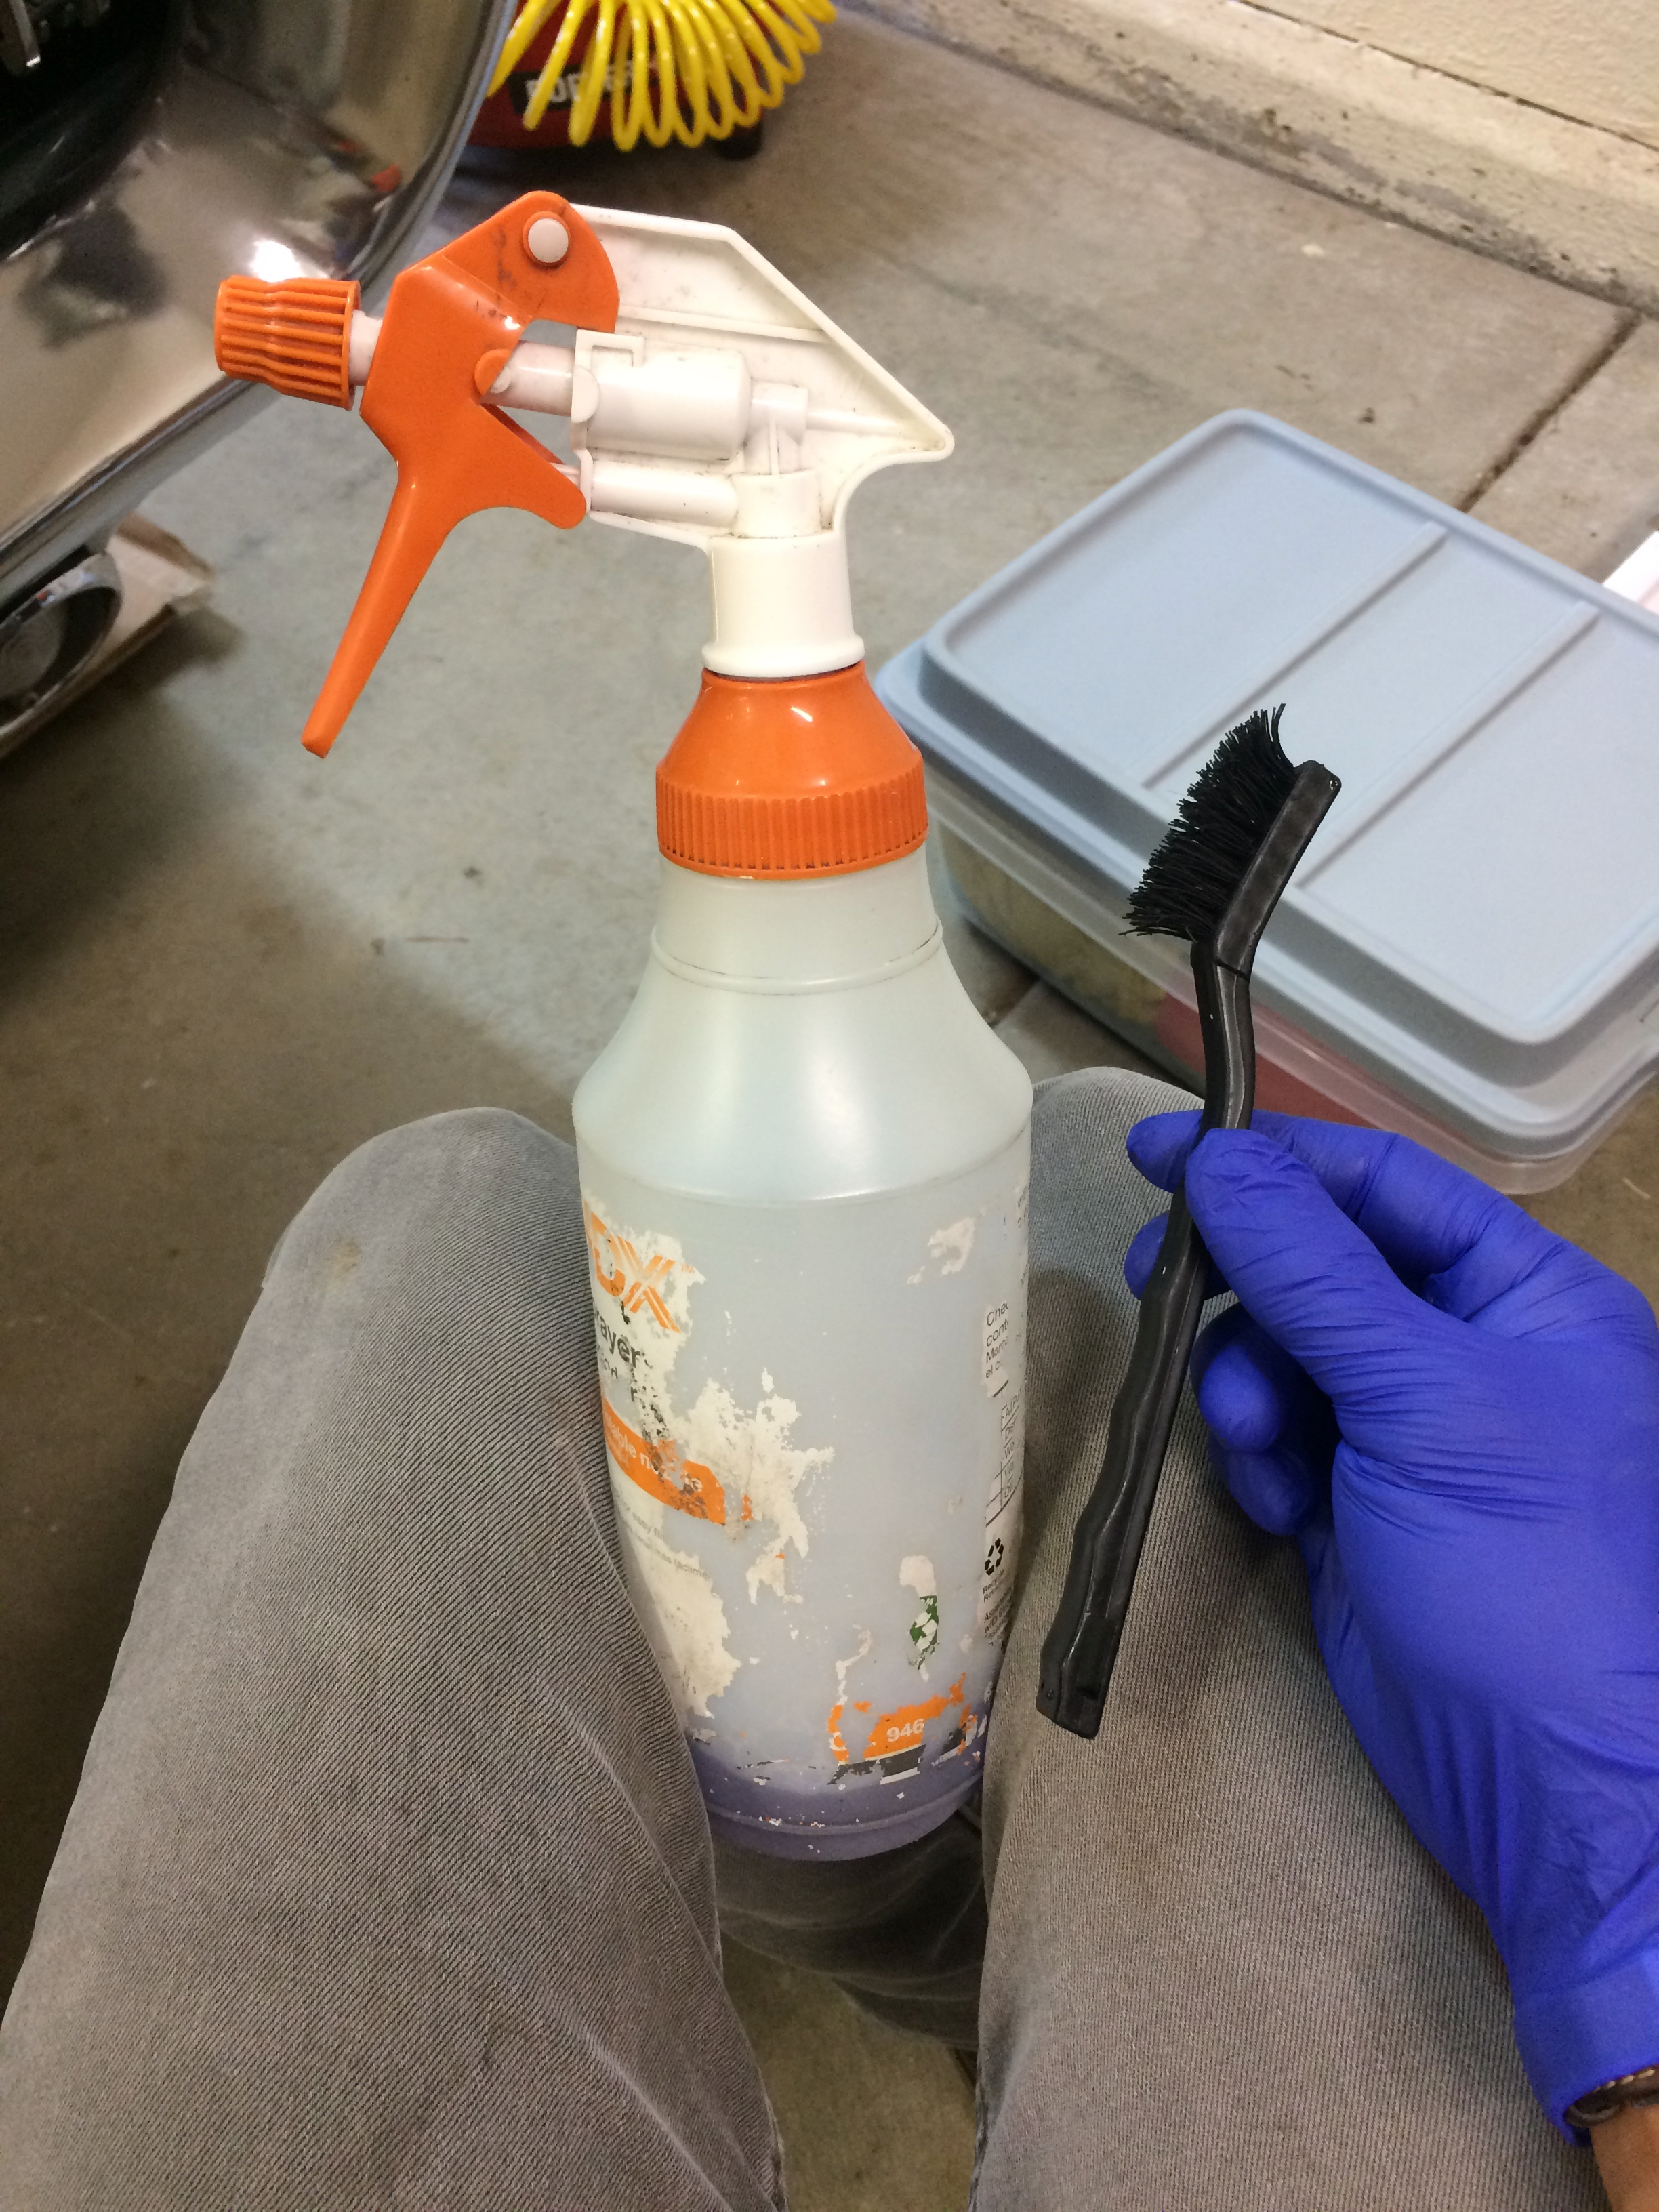
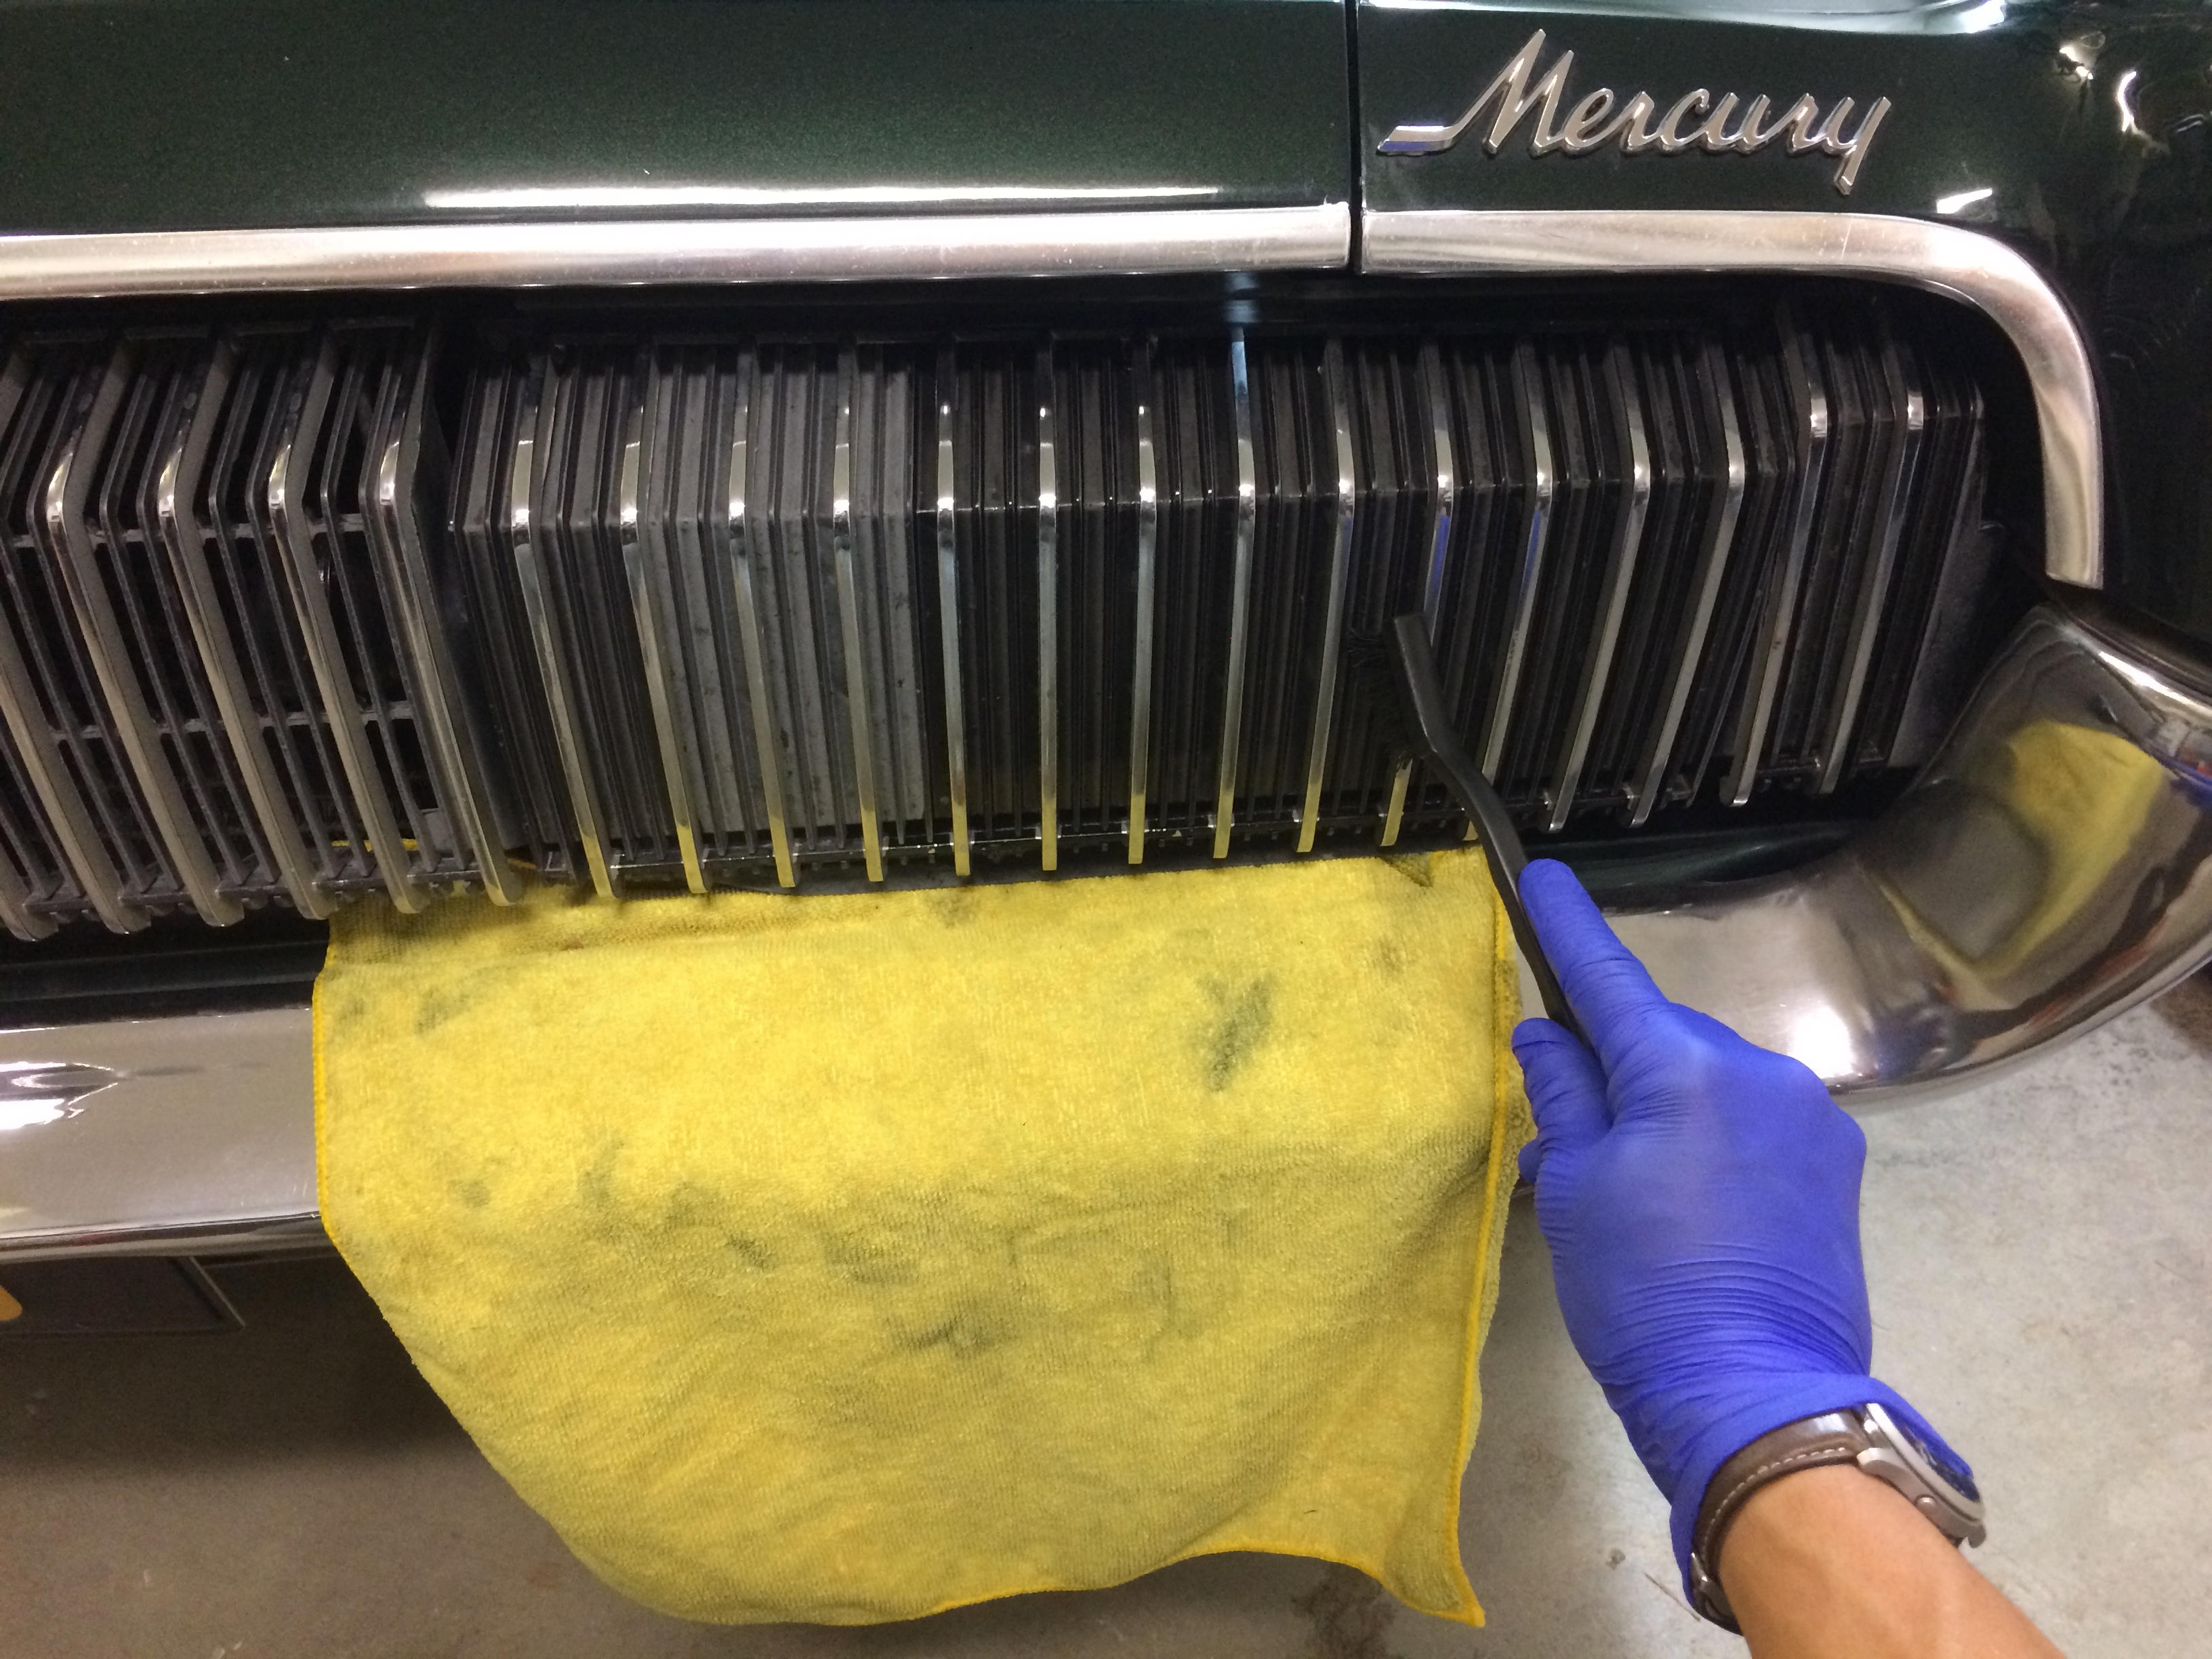
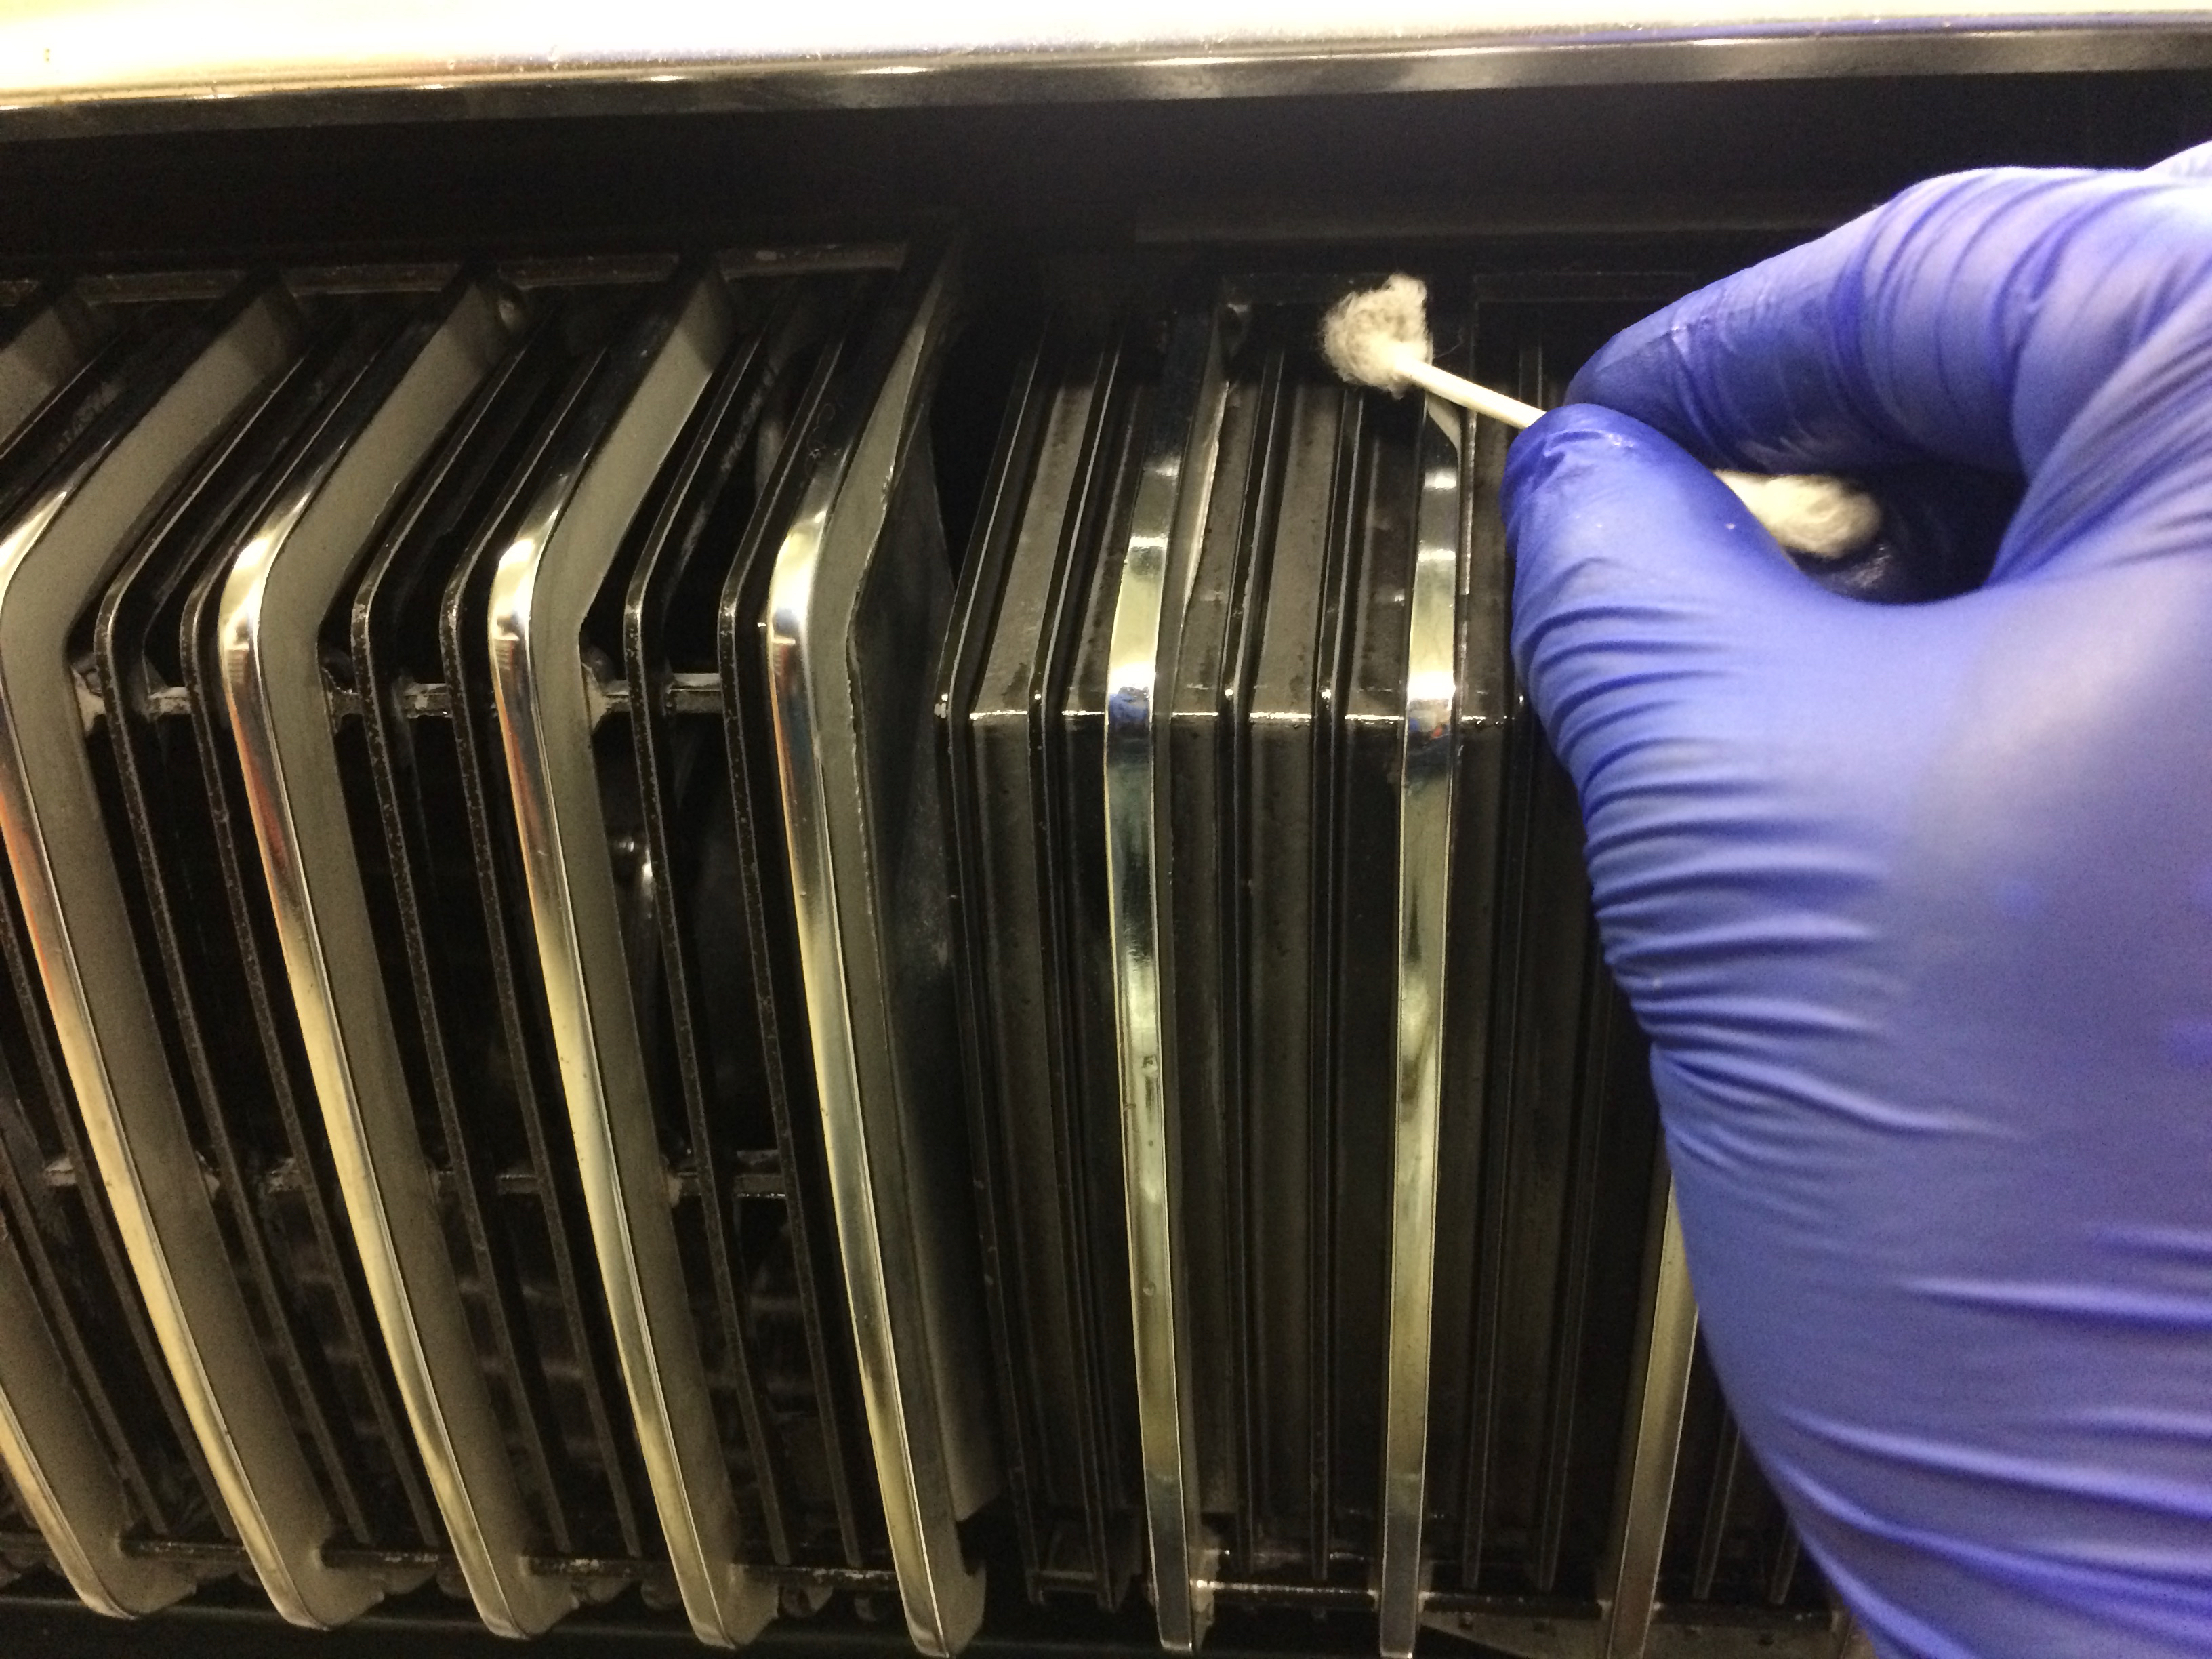
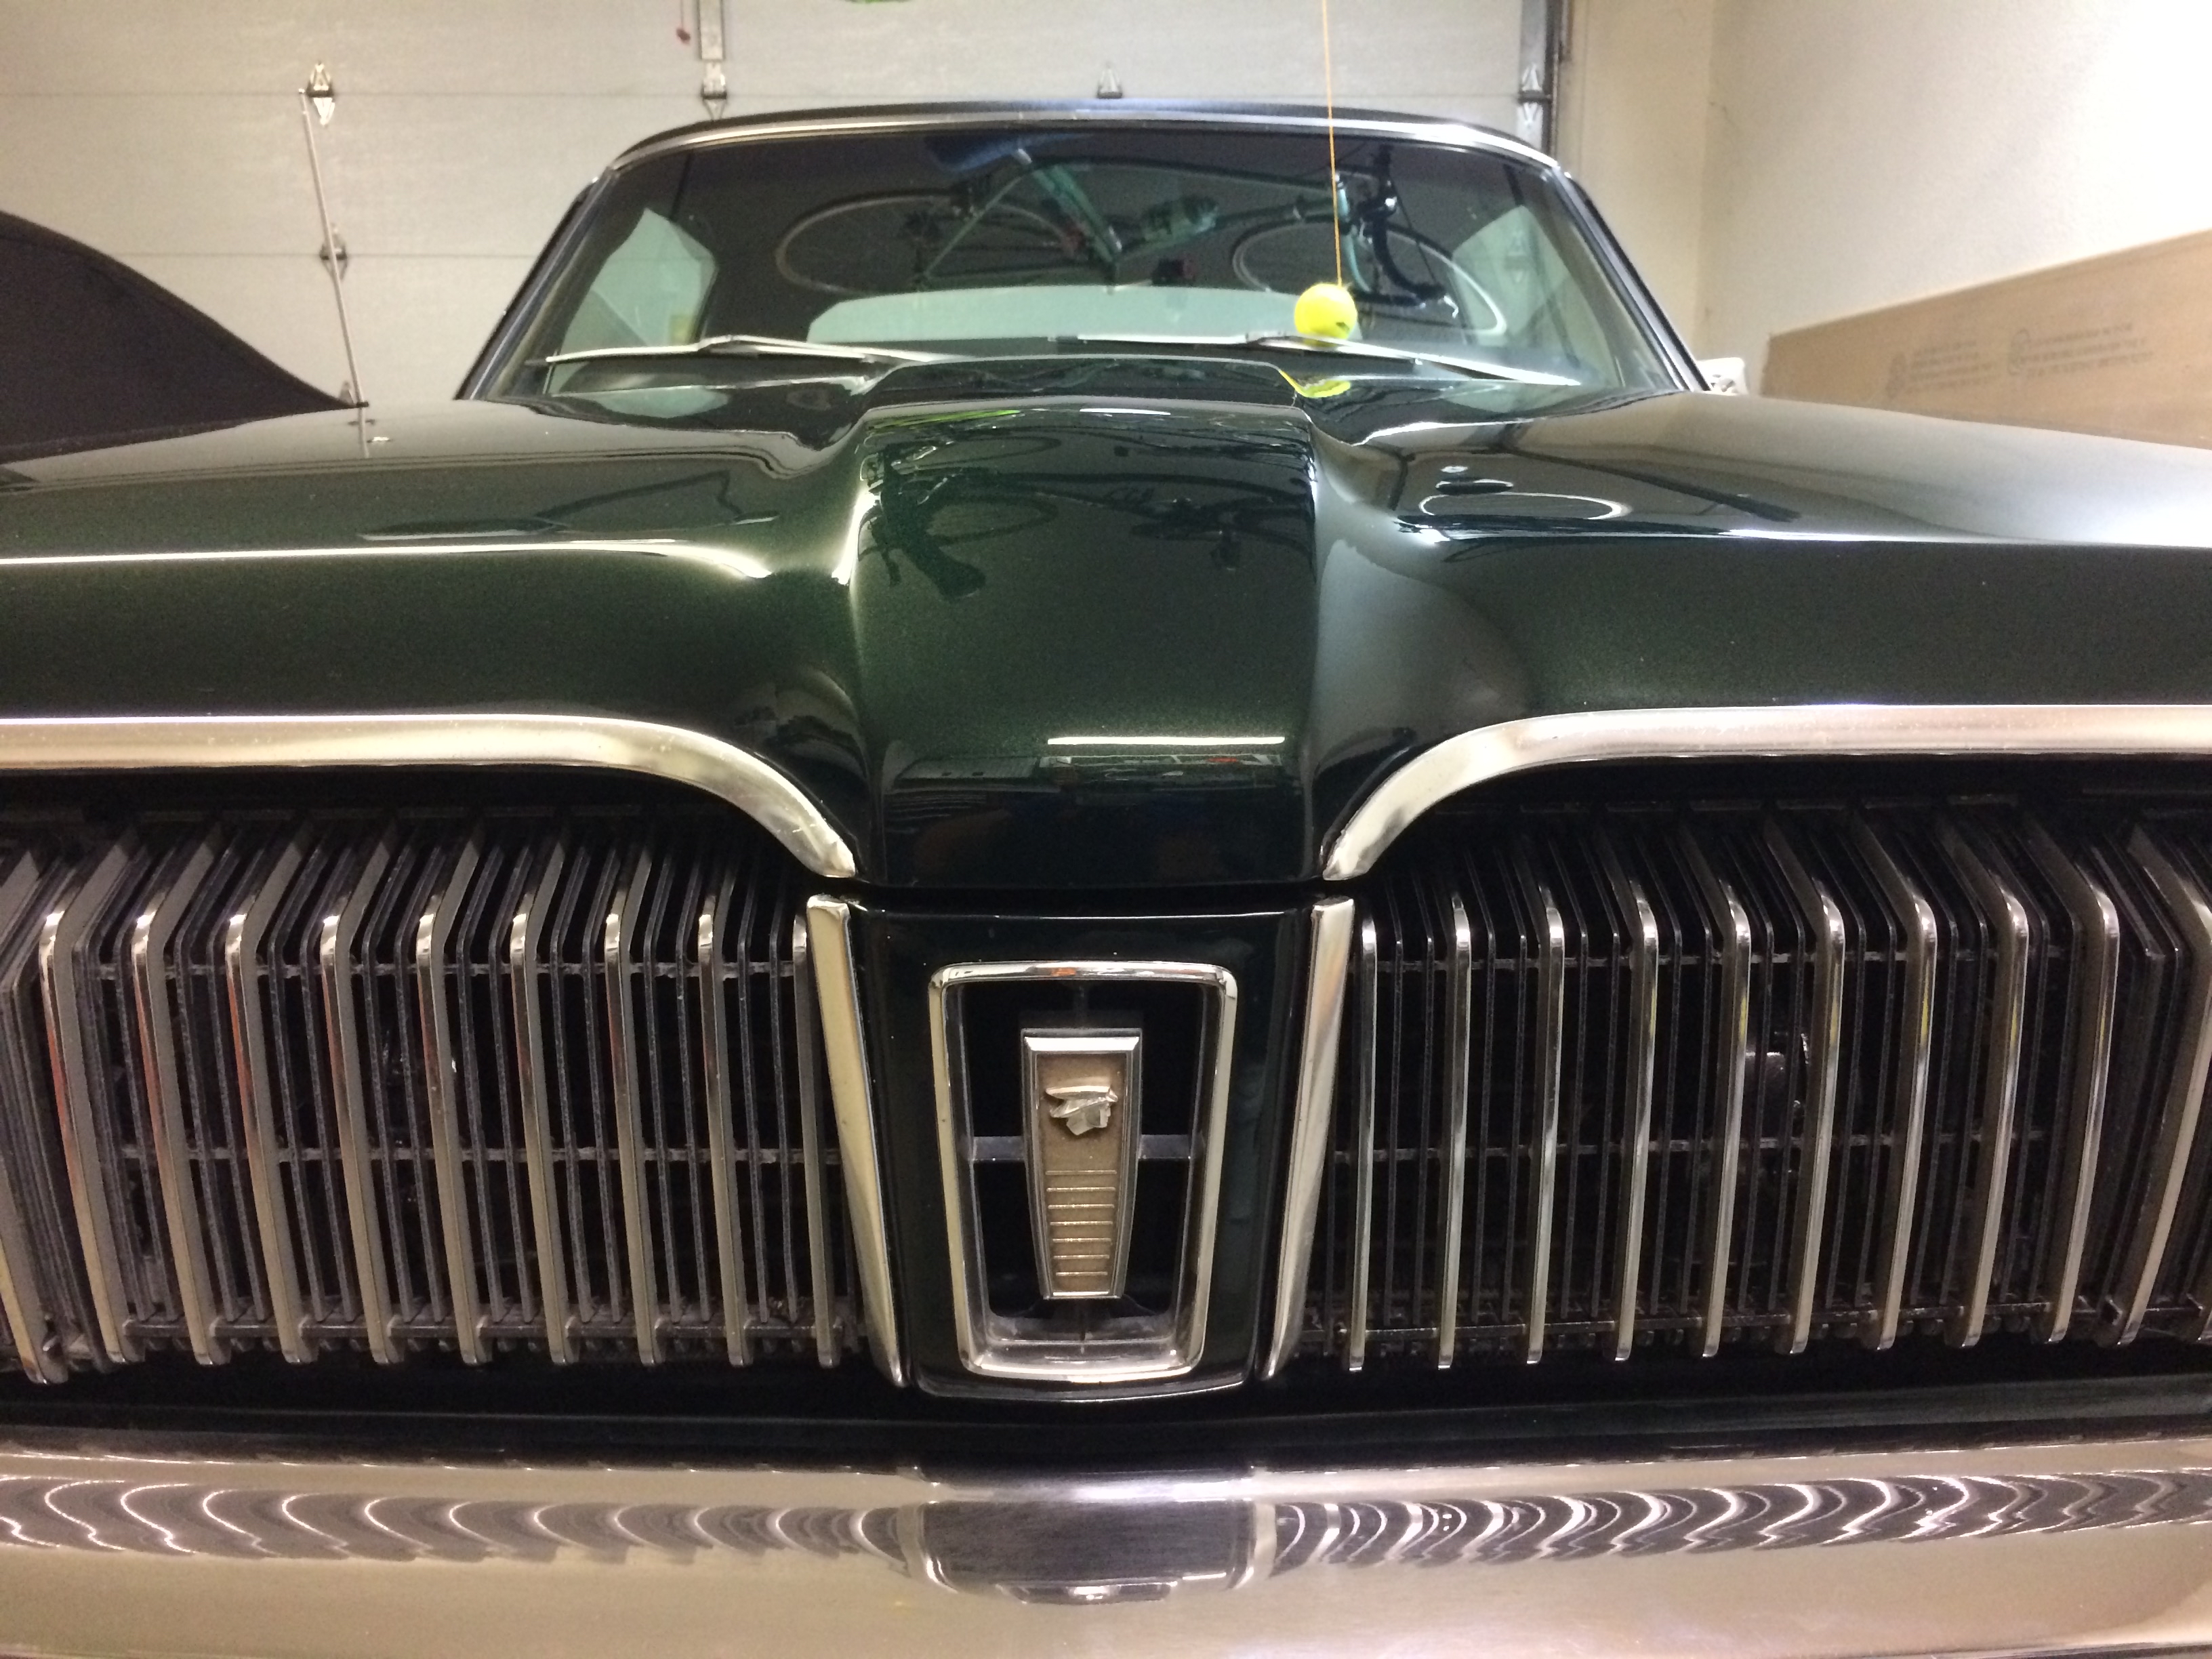
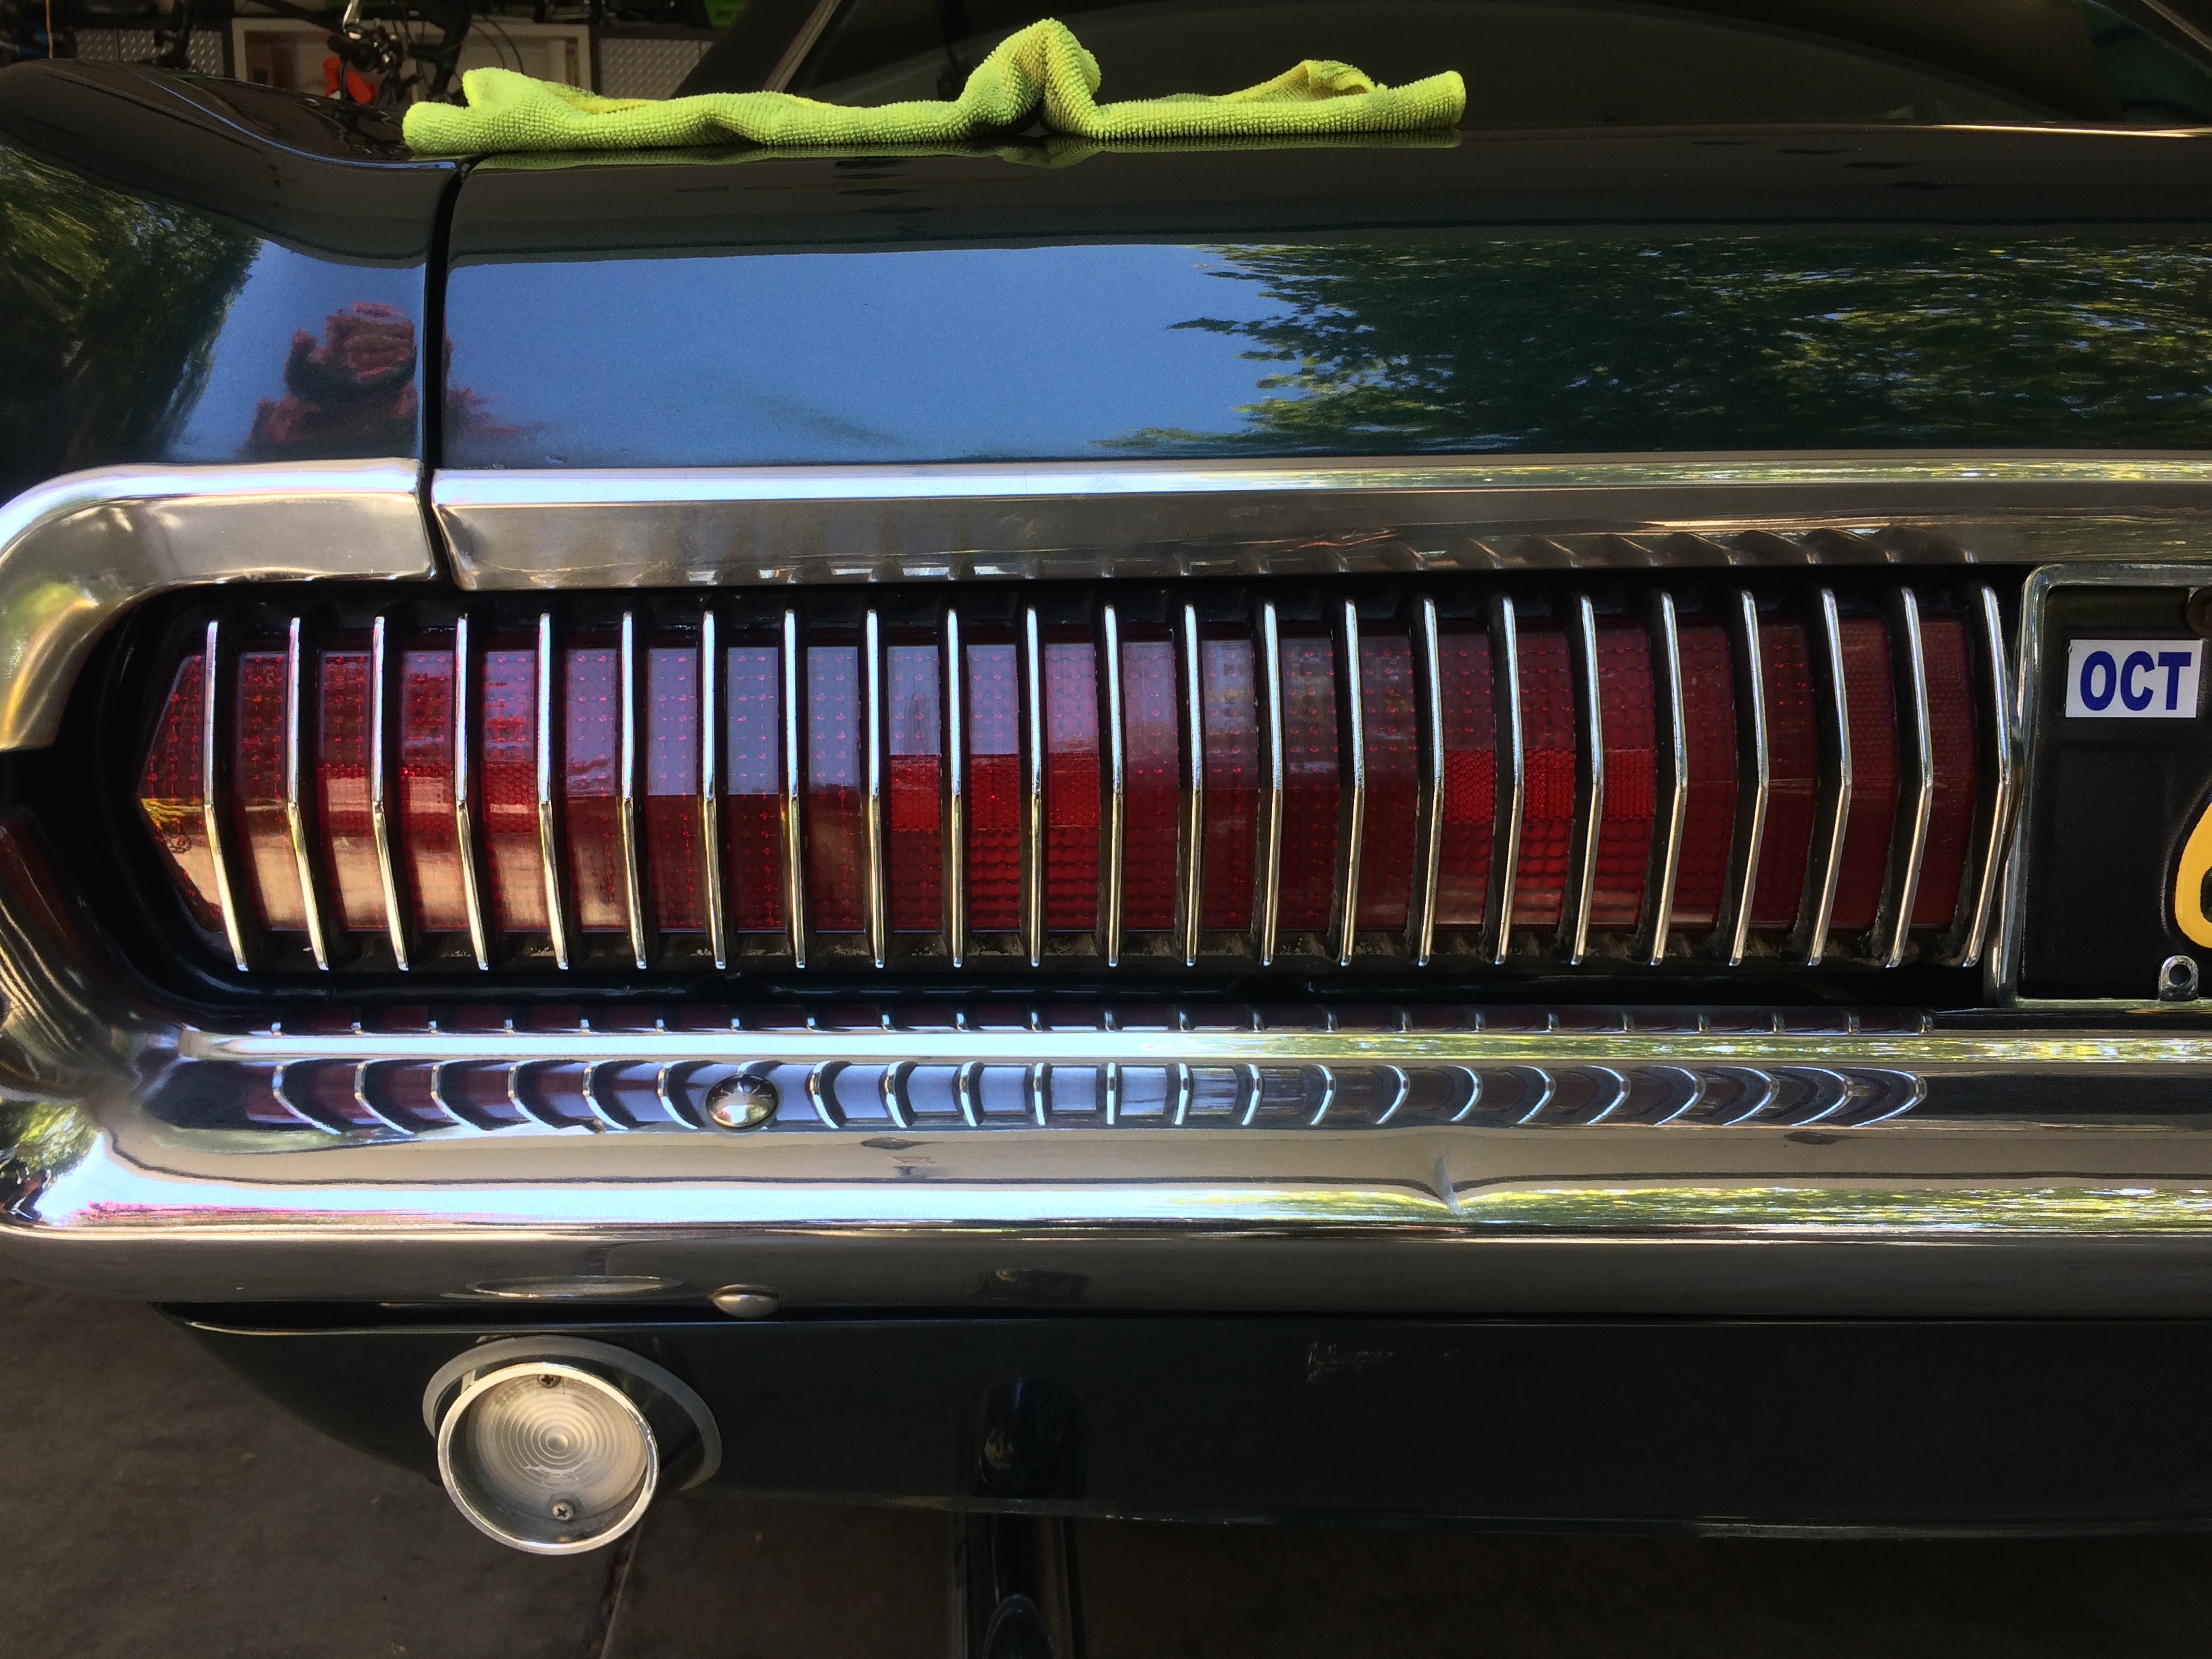
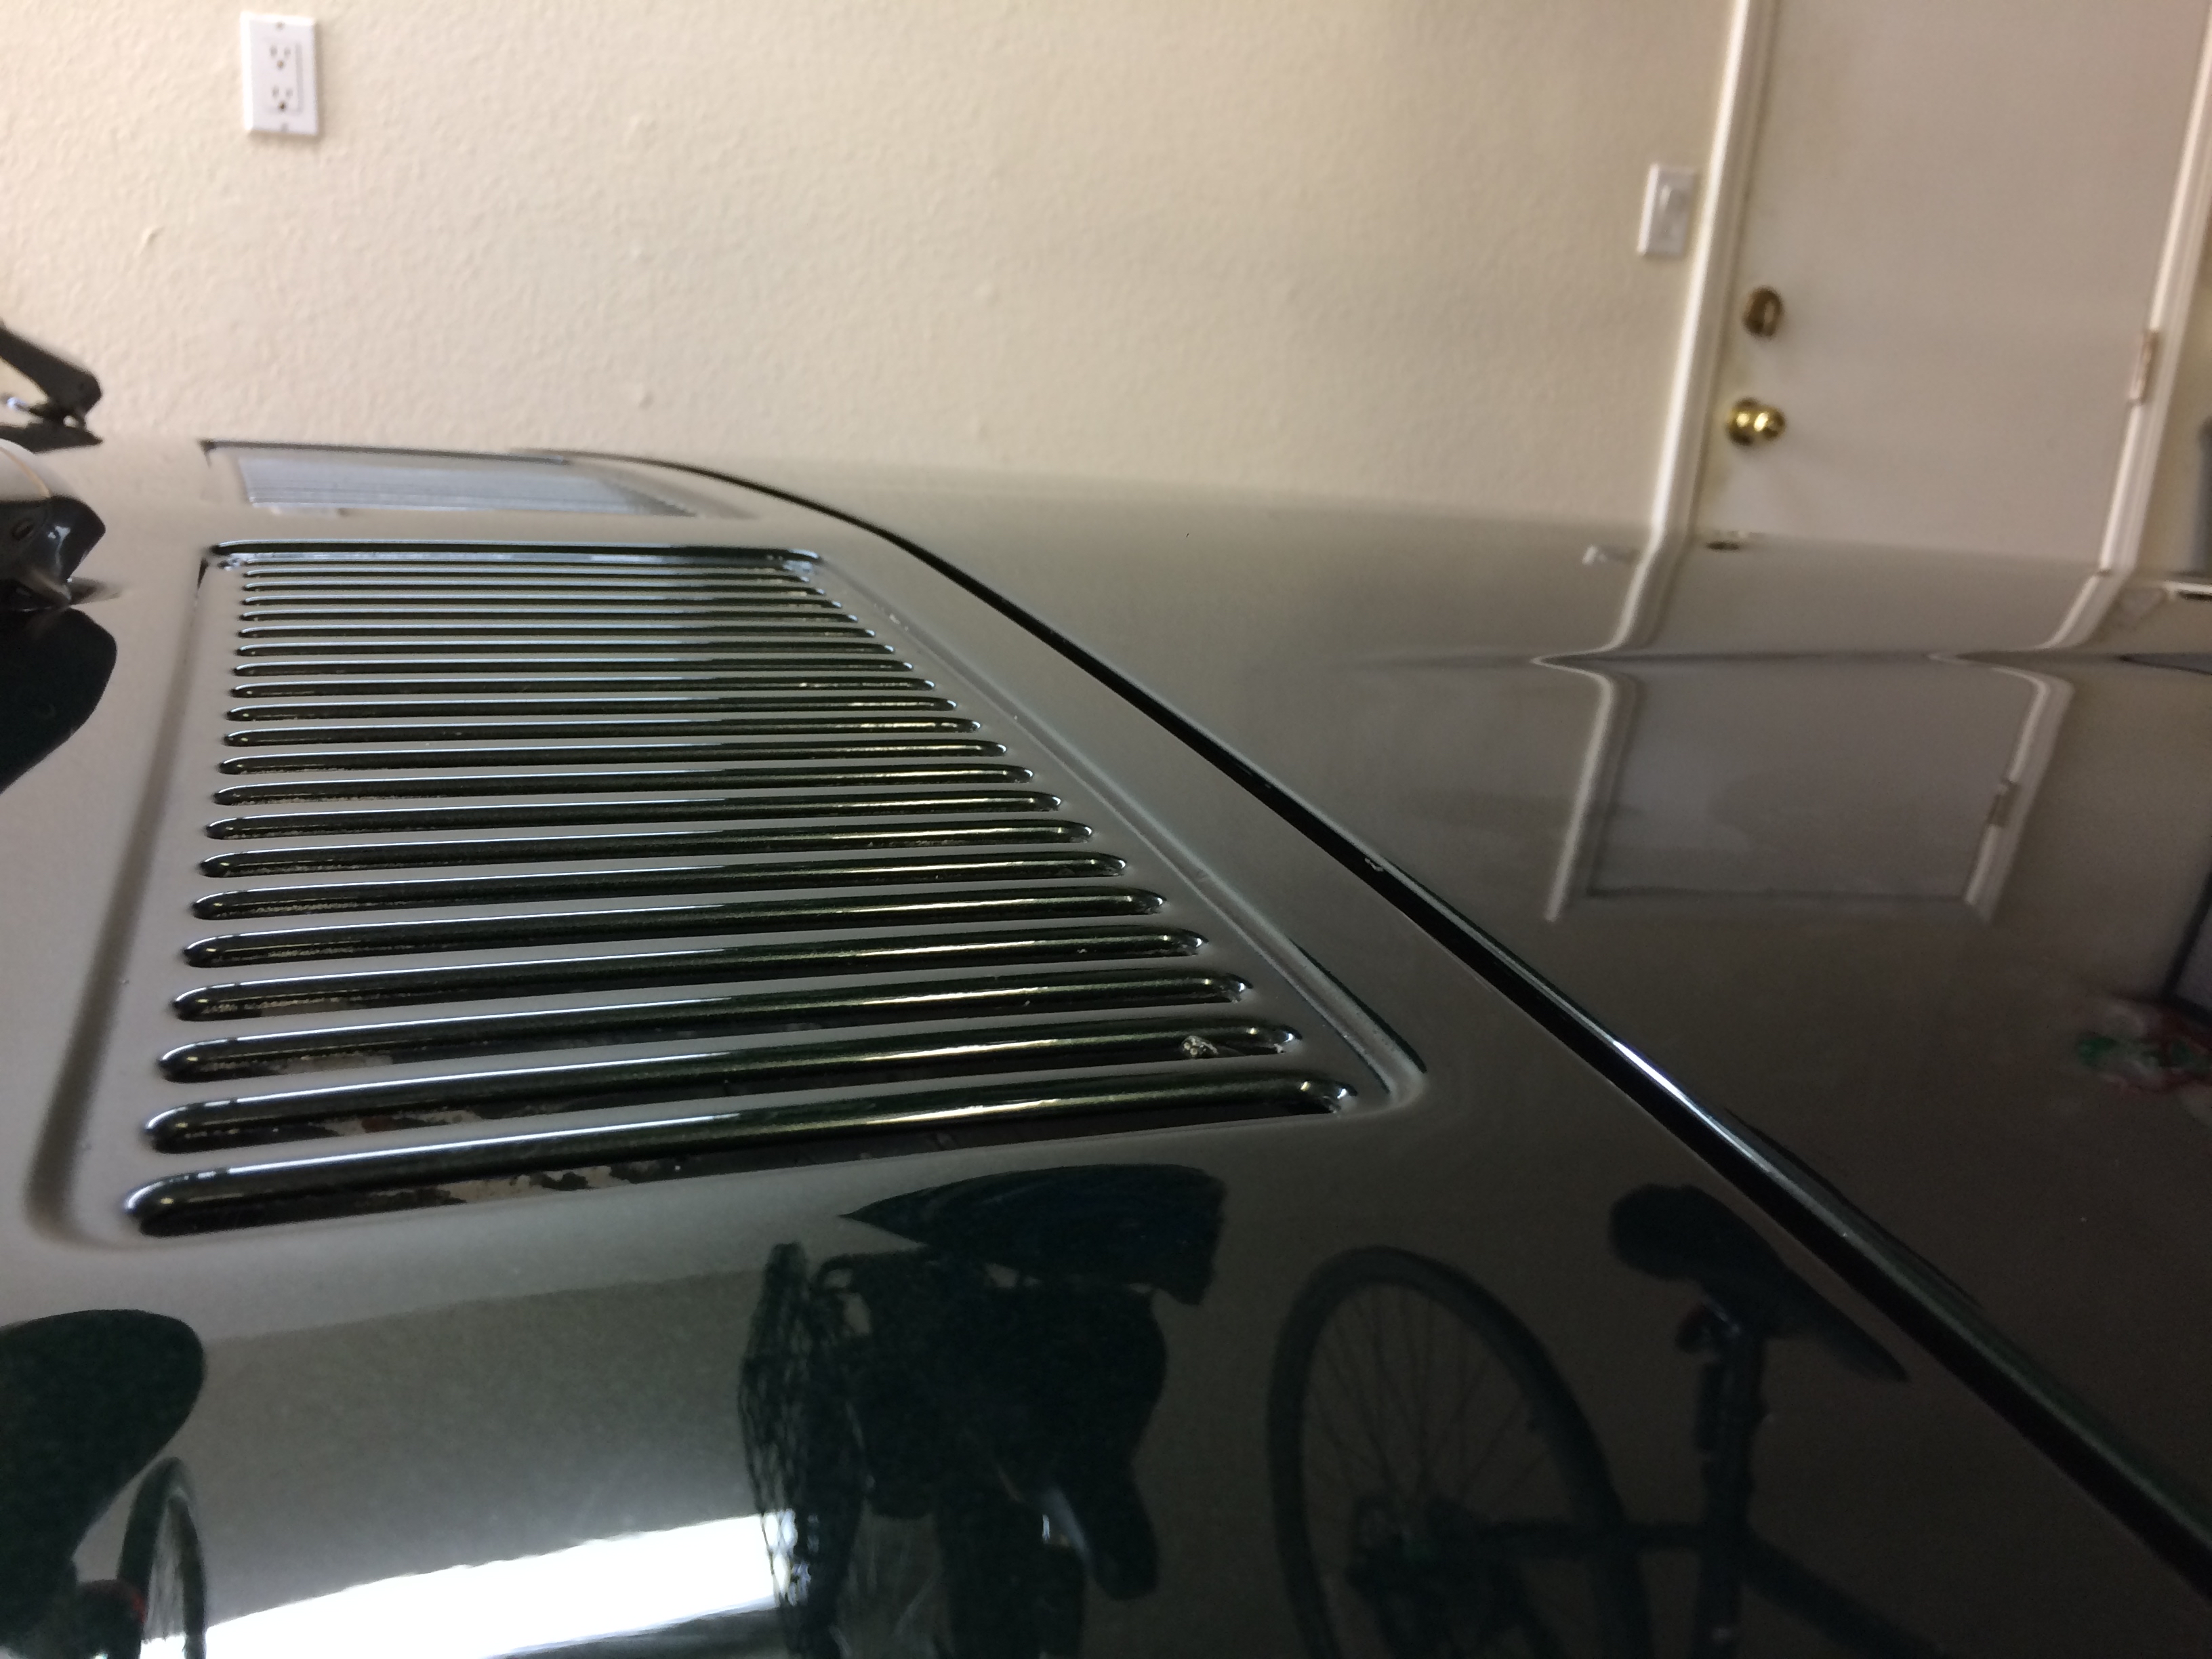
Feeling satisfied by the Q2 Trim’s performance, I looked for any other features that could use the same treatment. I turned my attention to the front grill and the similar “grill” taillights. The fins are a painted plastic material intended to look metallic.
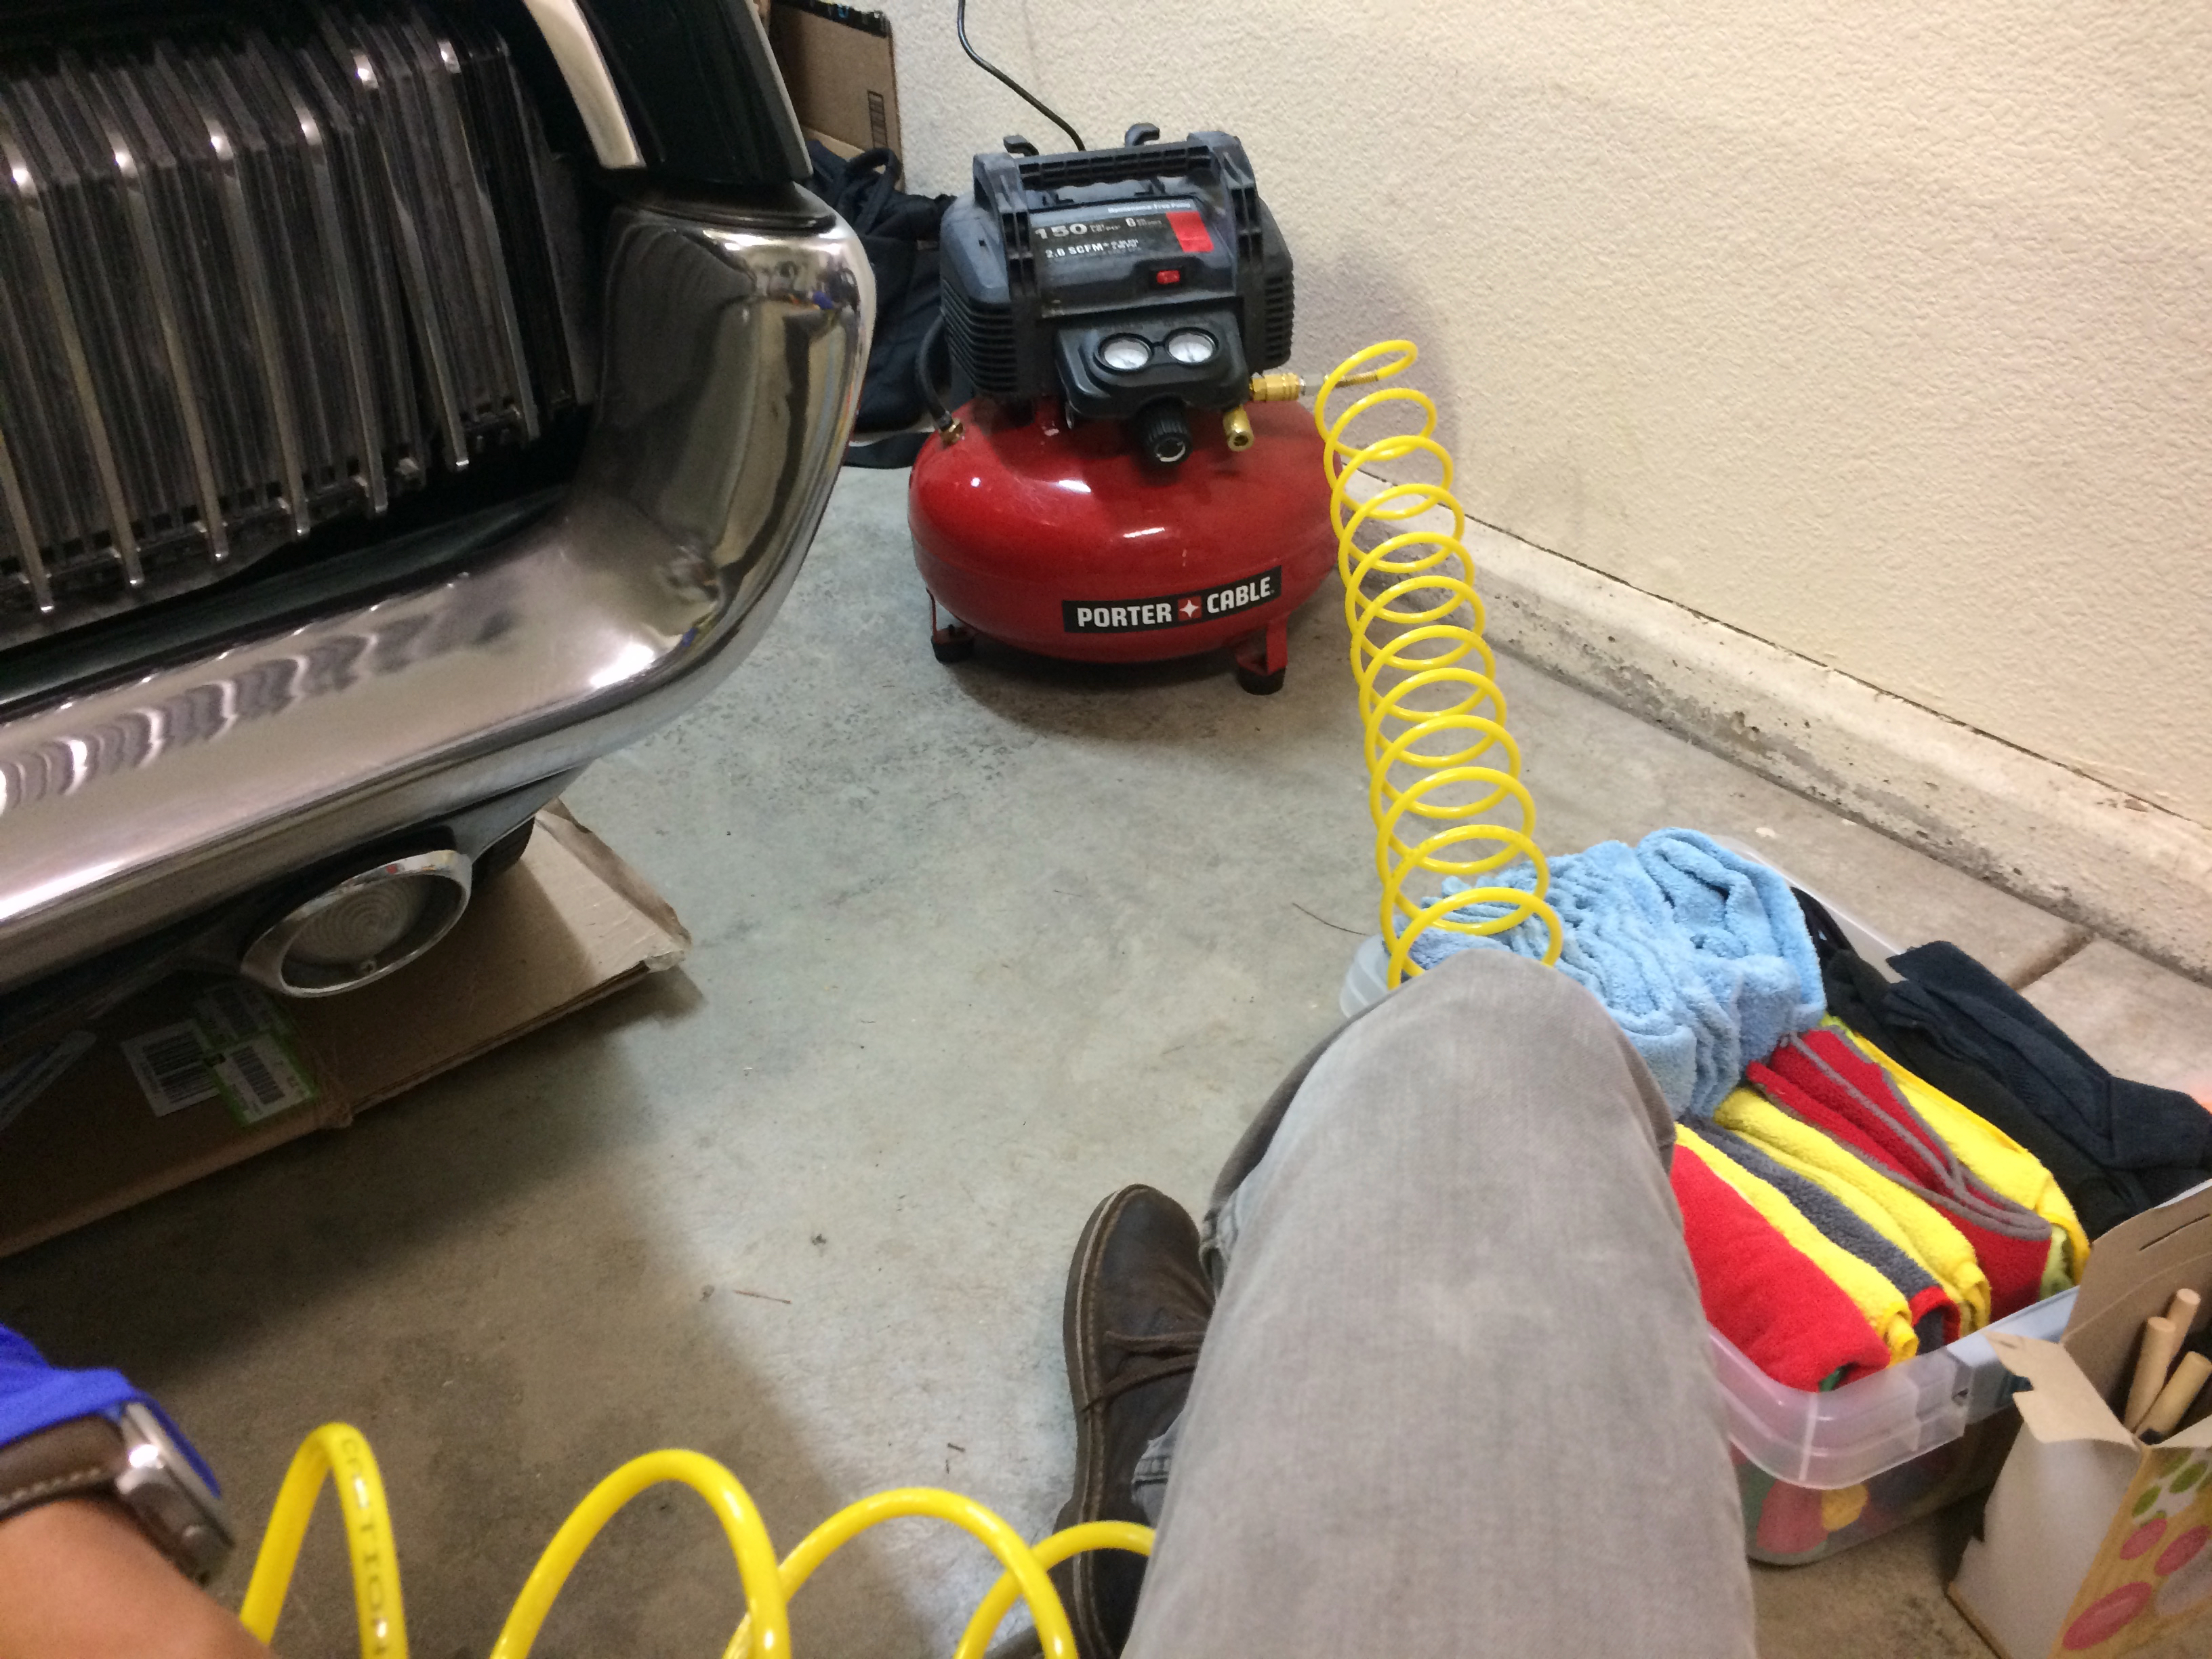
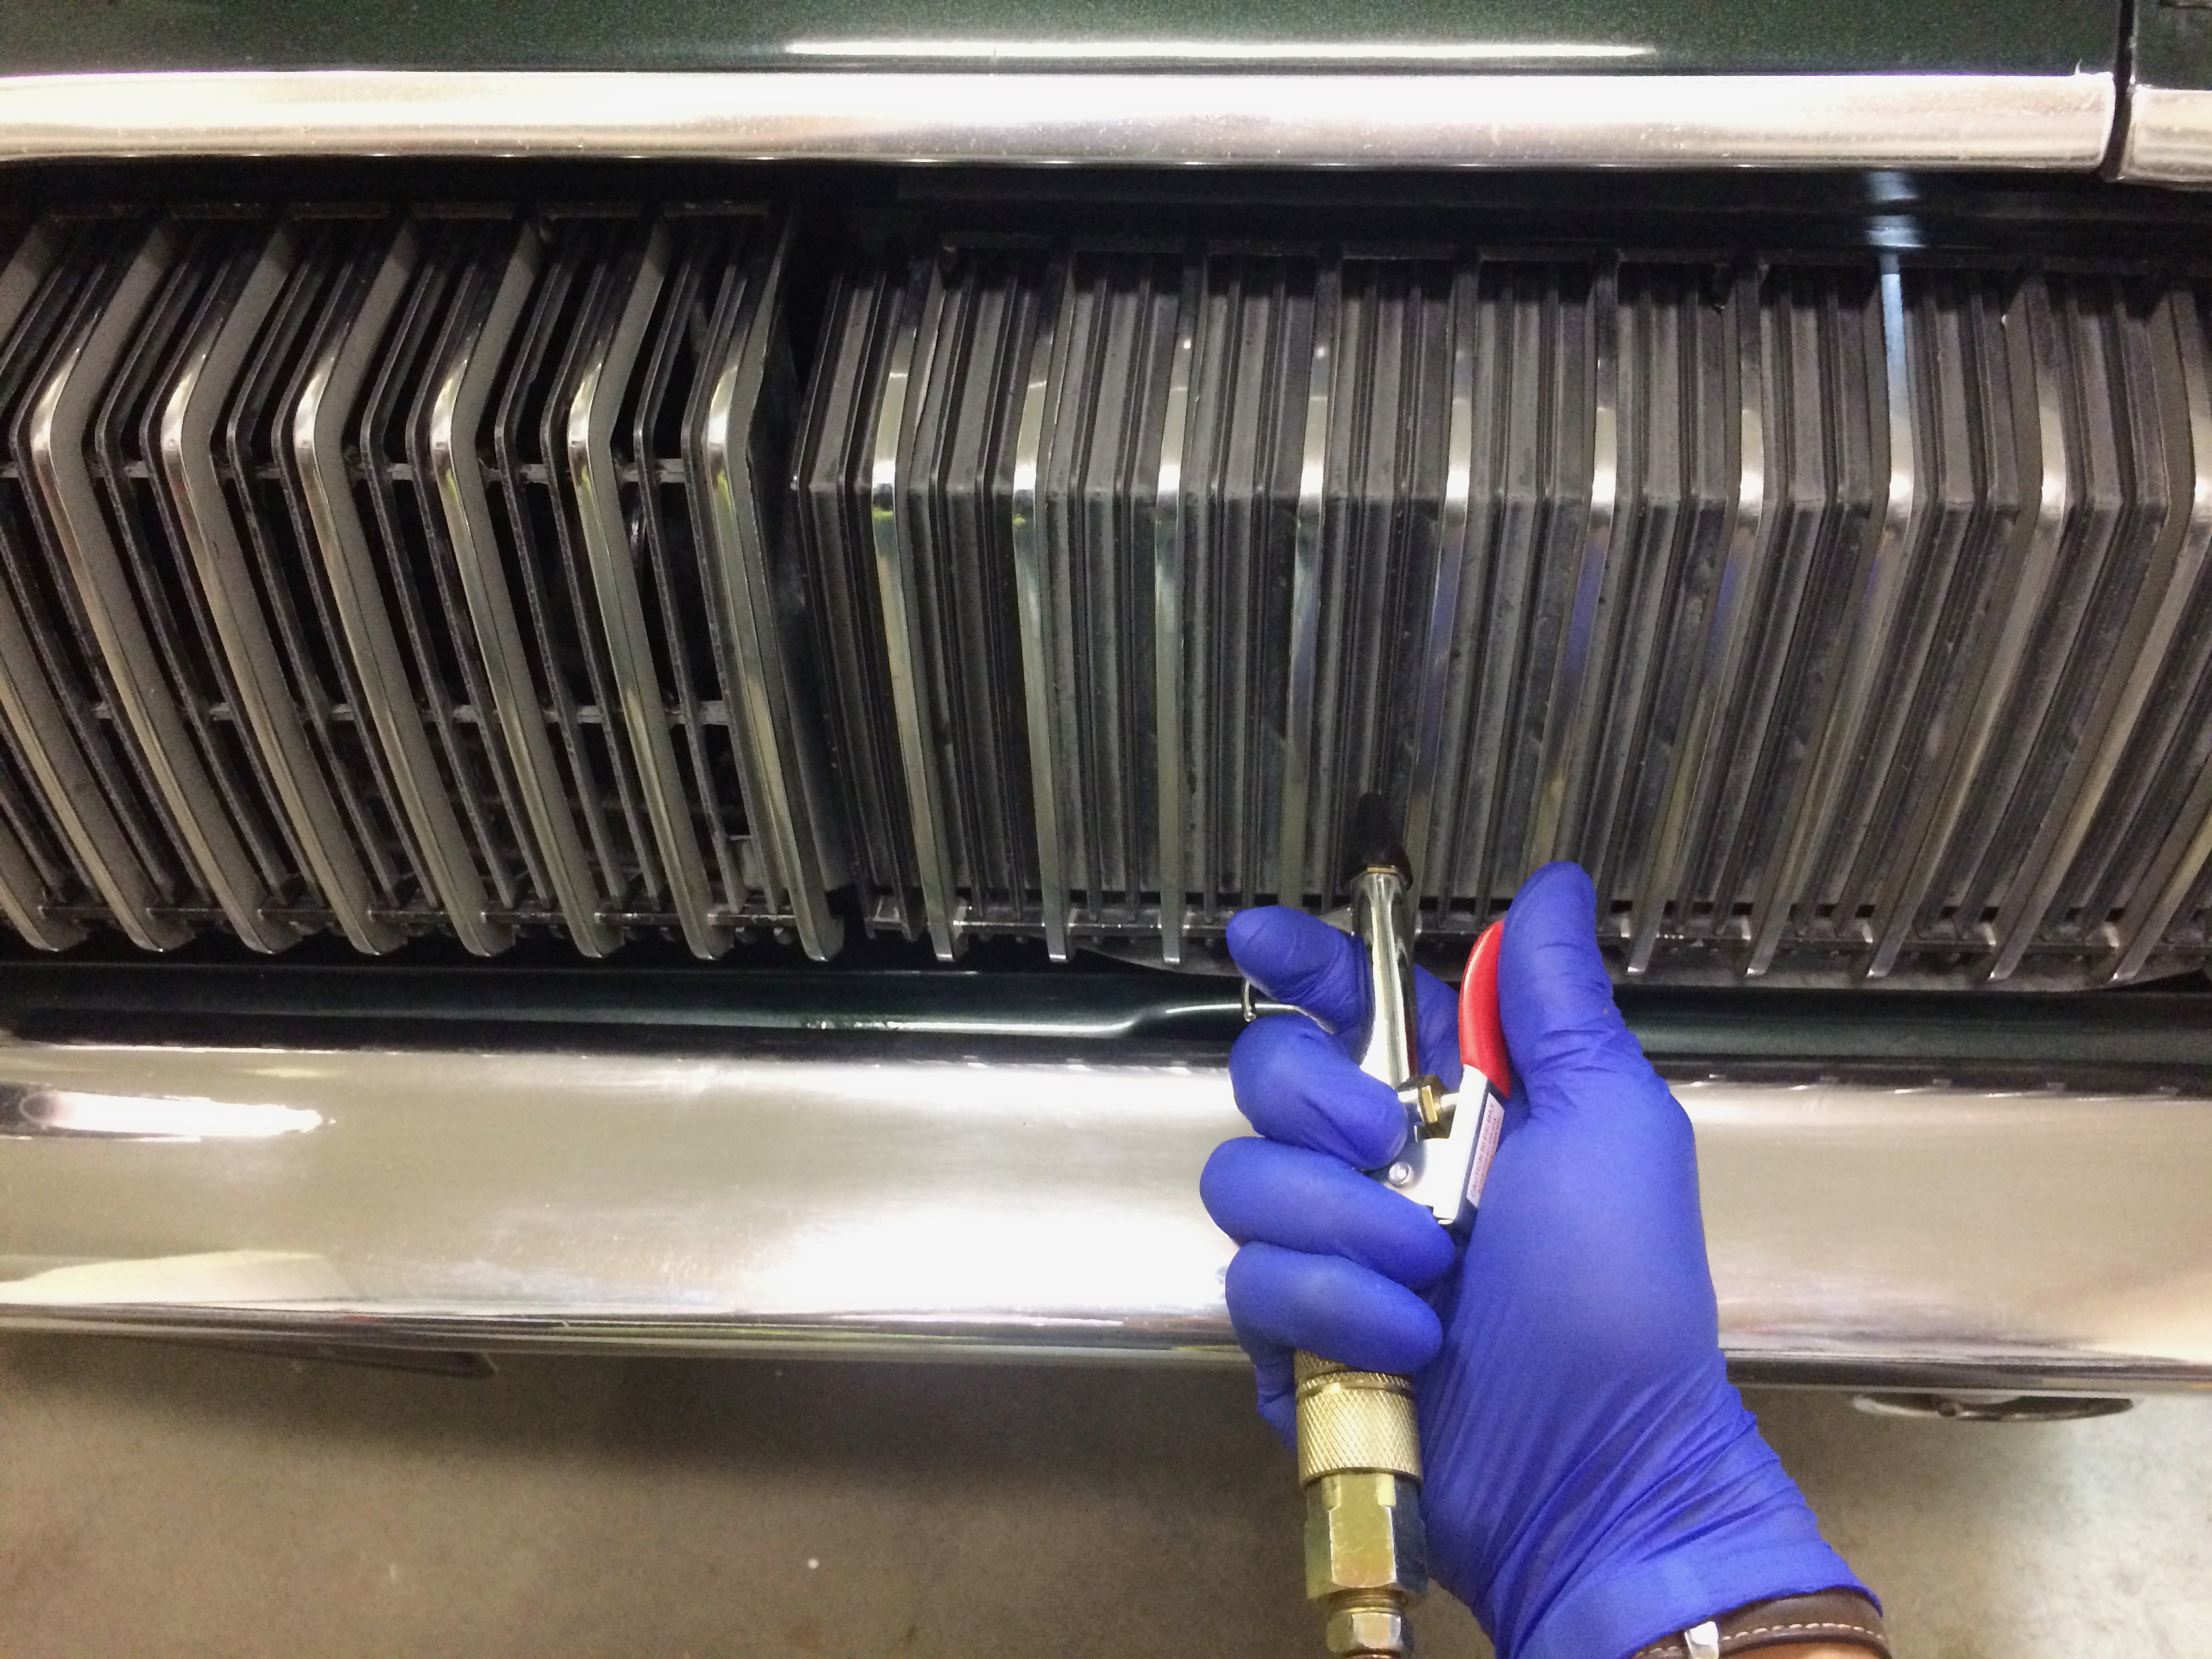
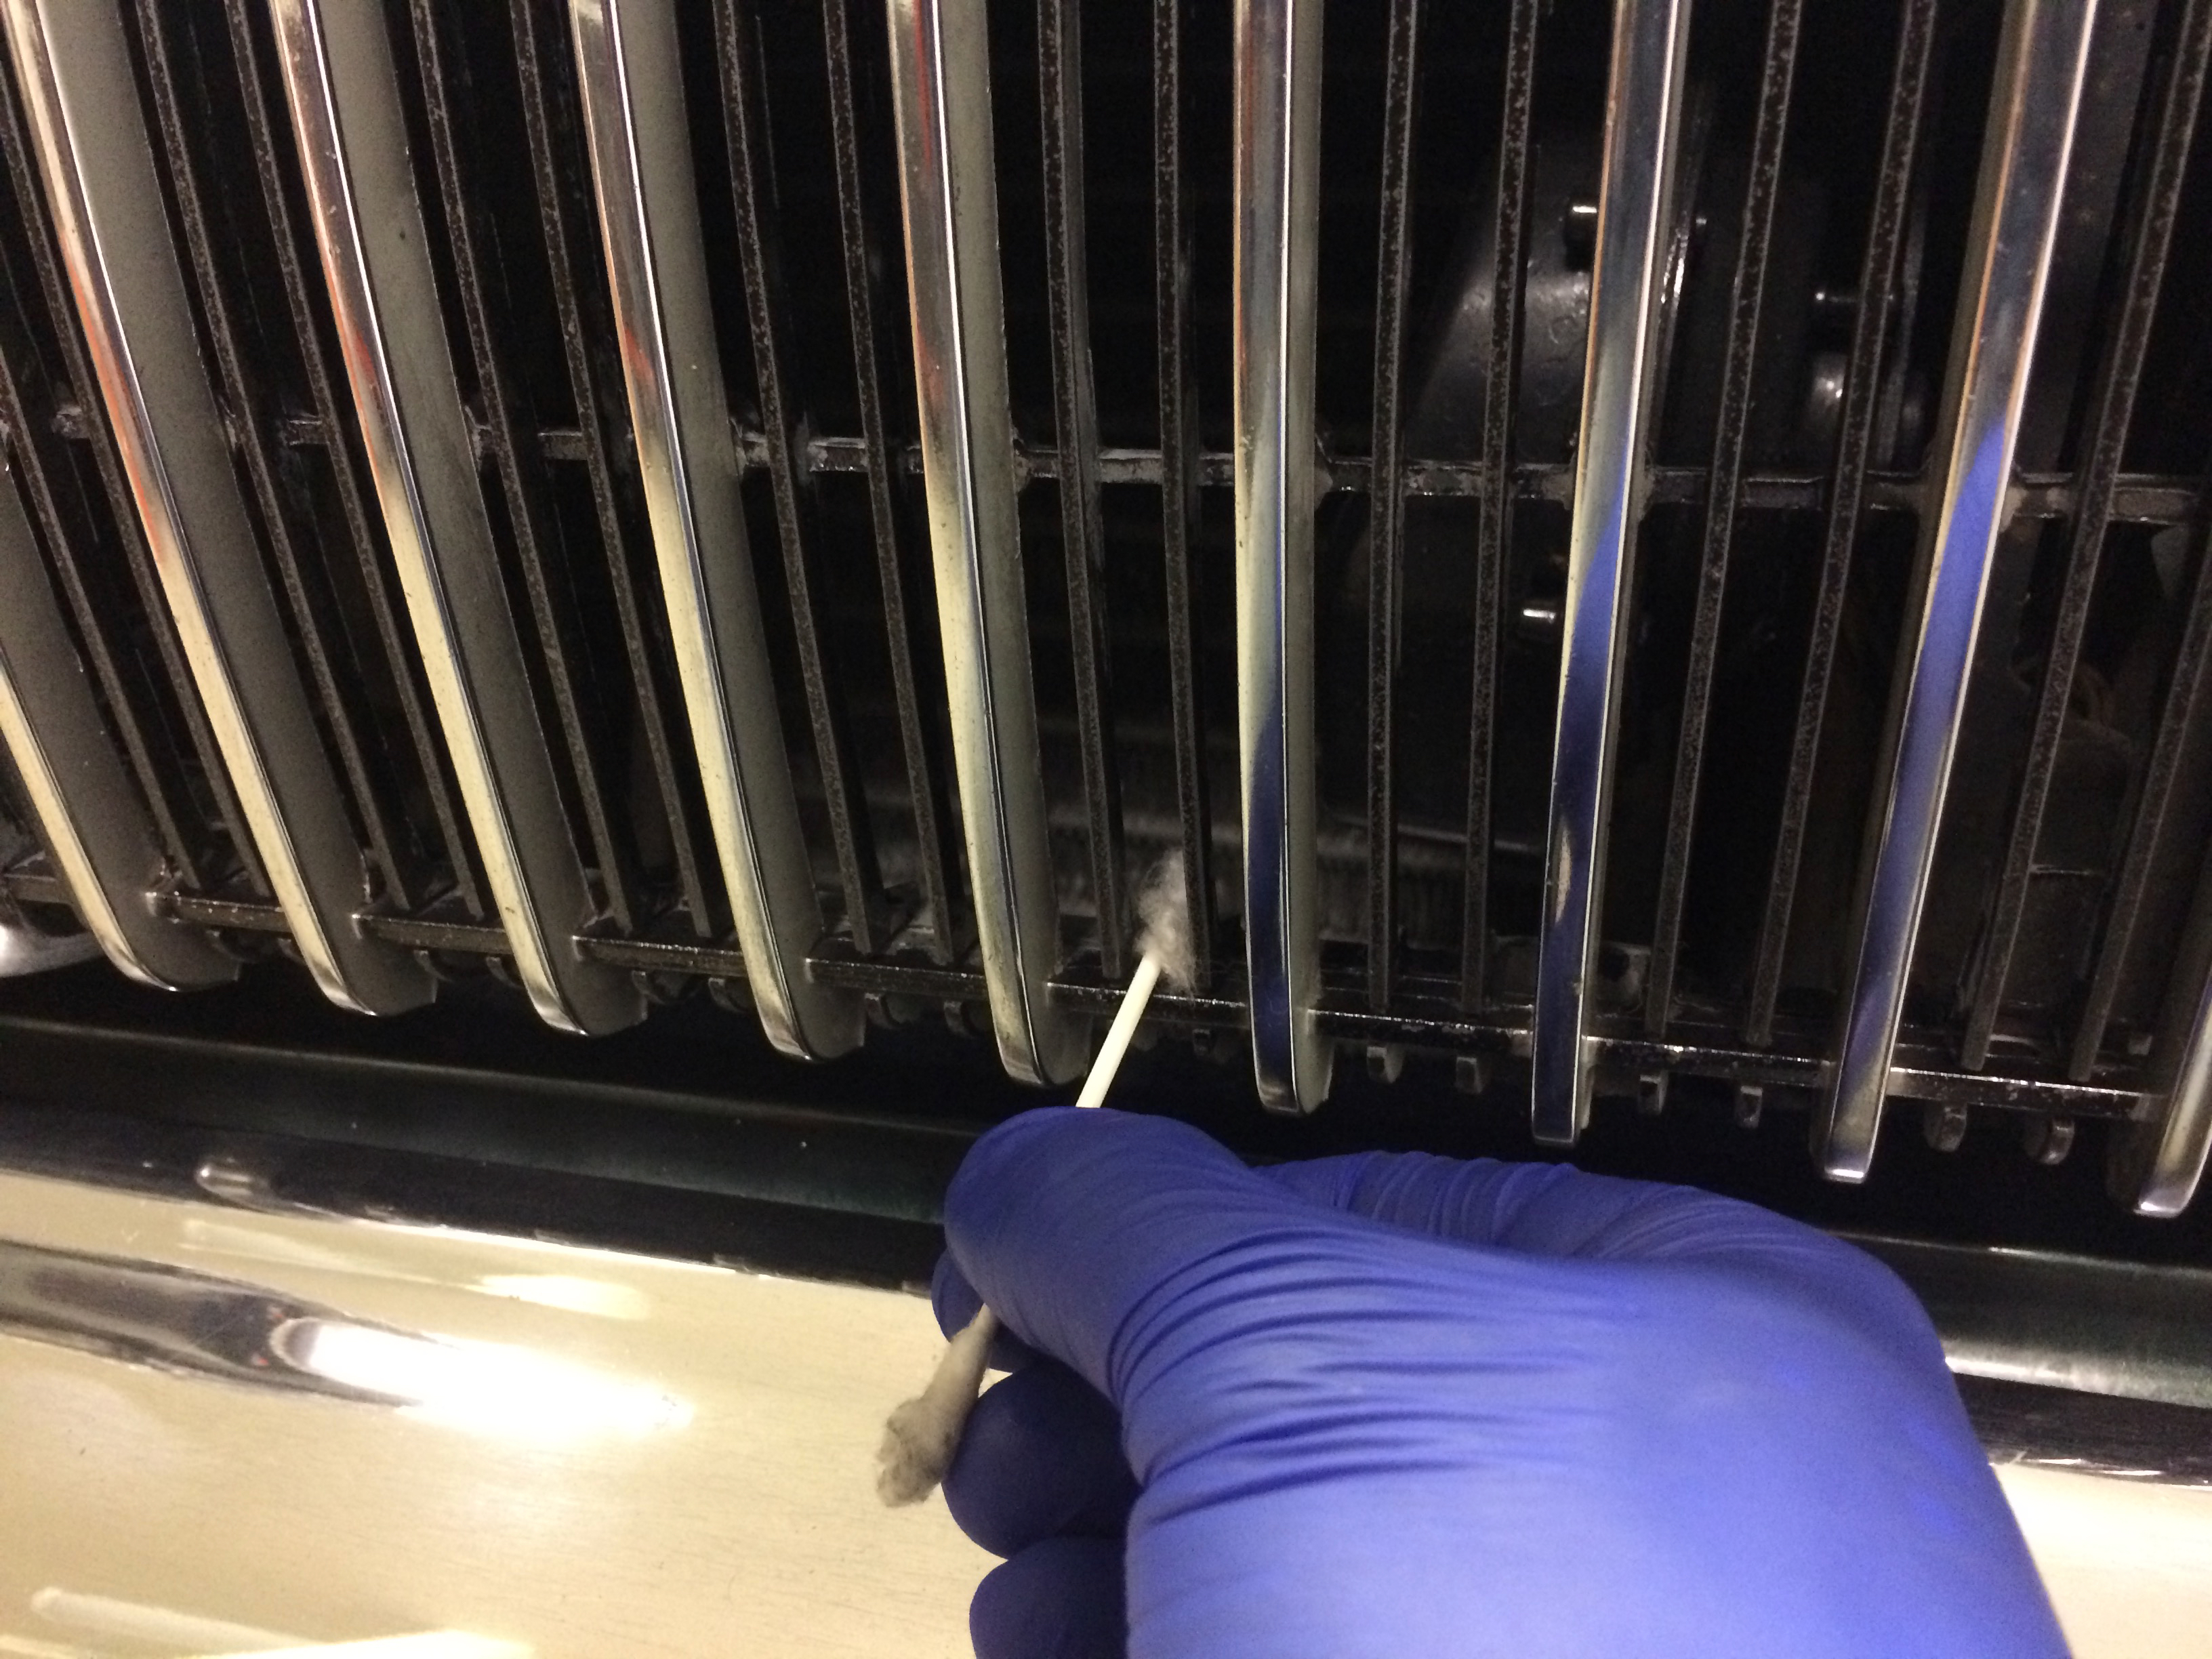
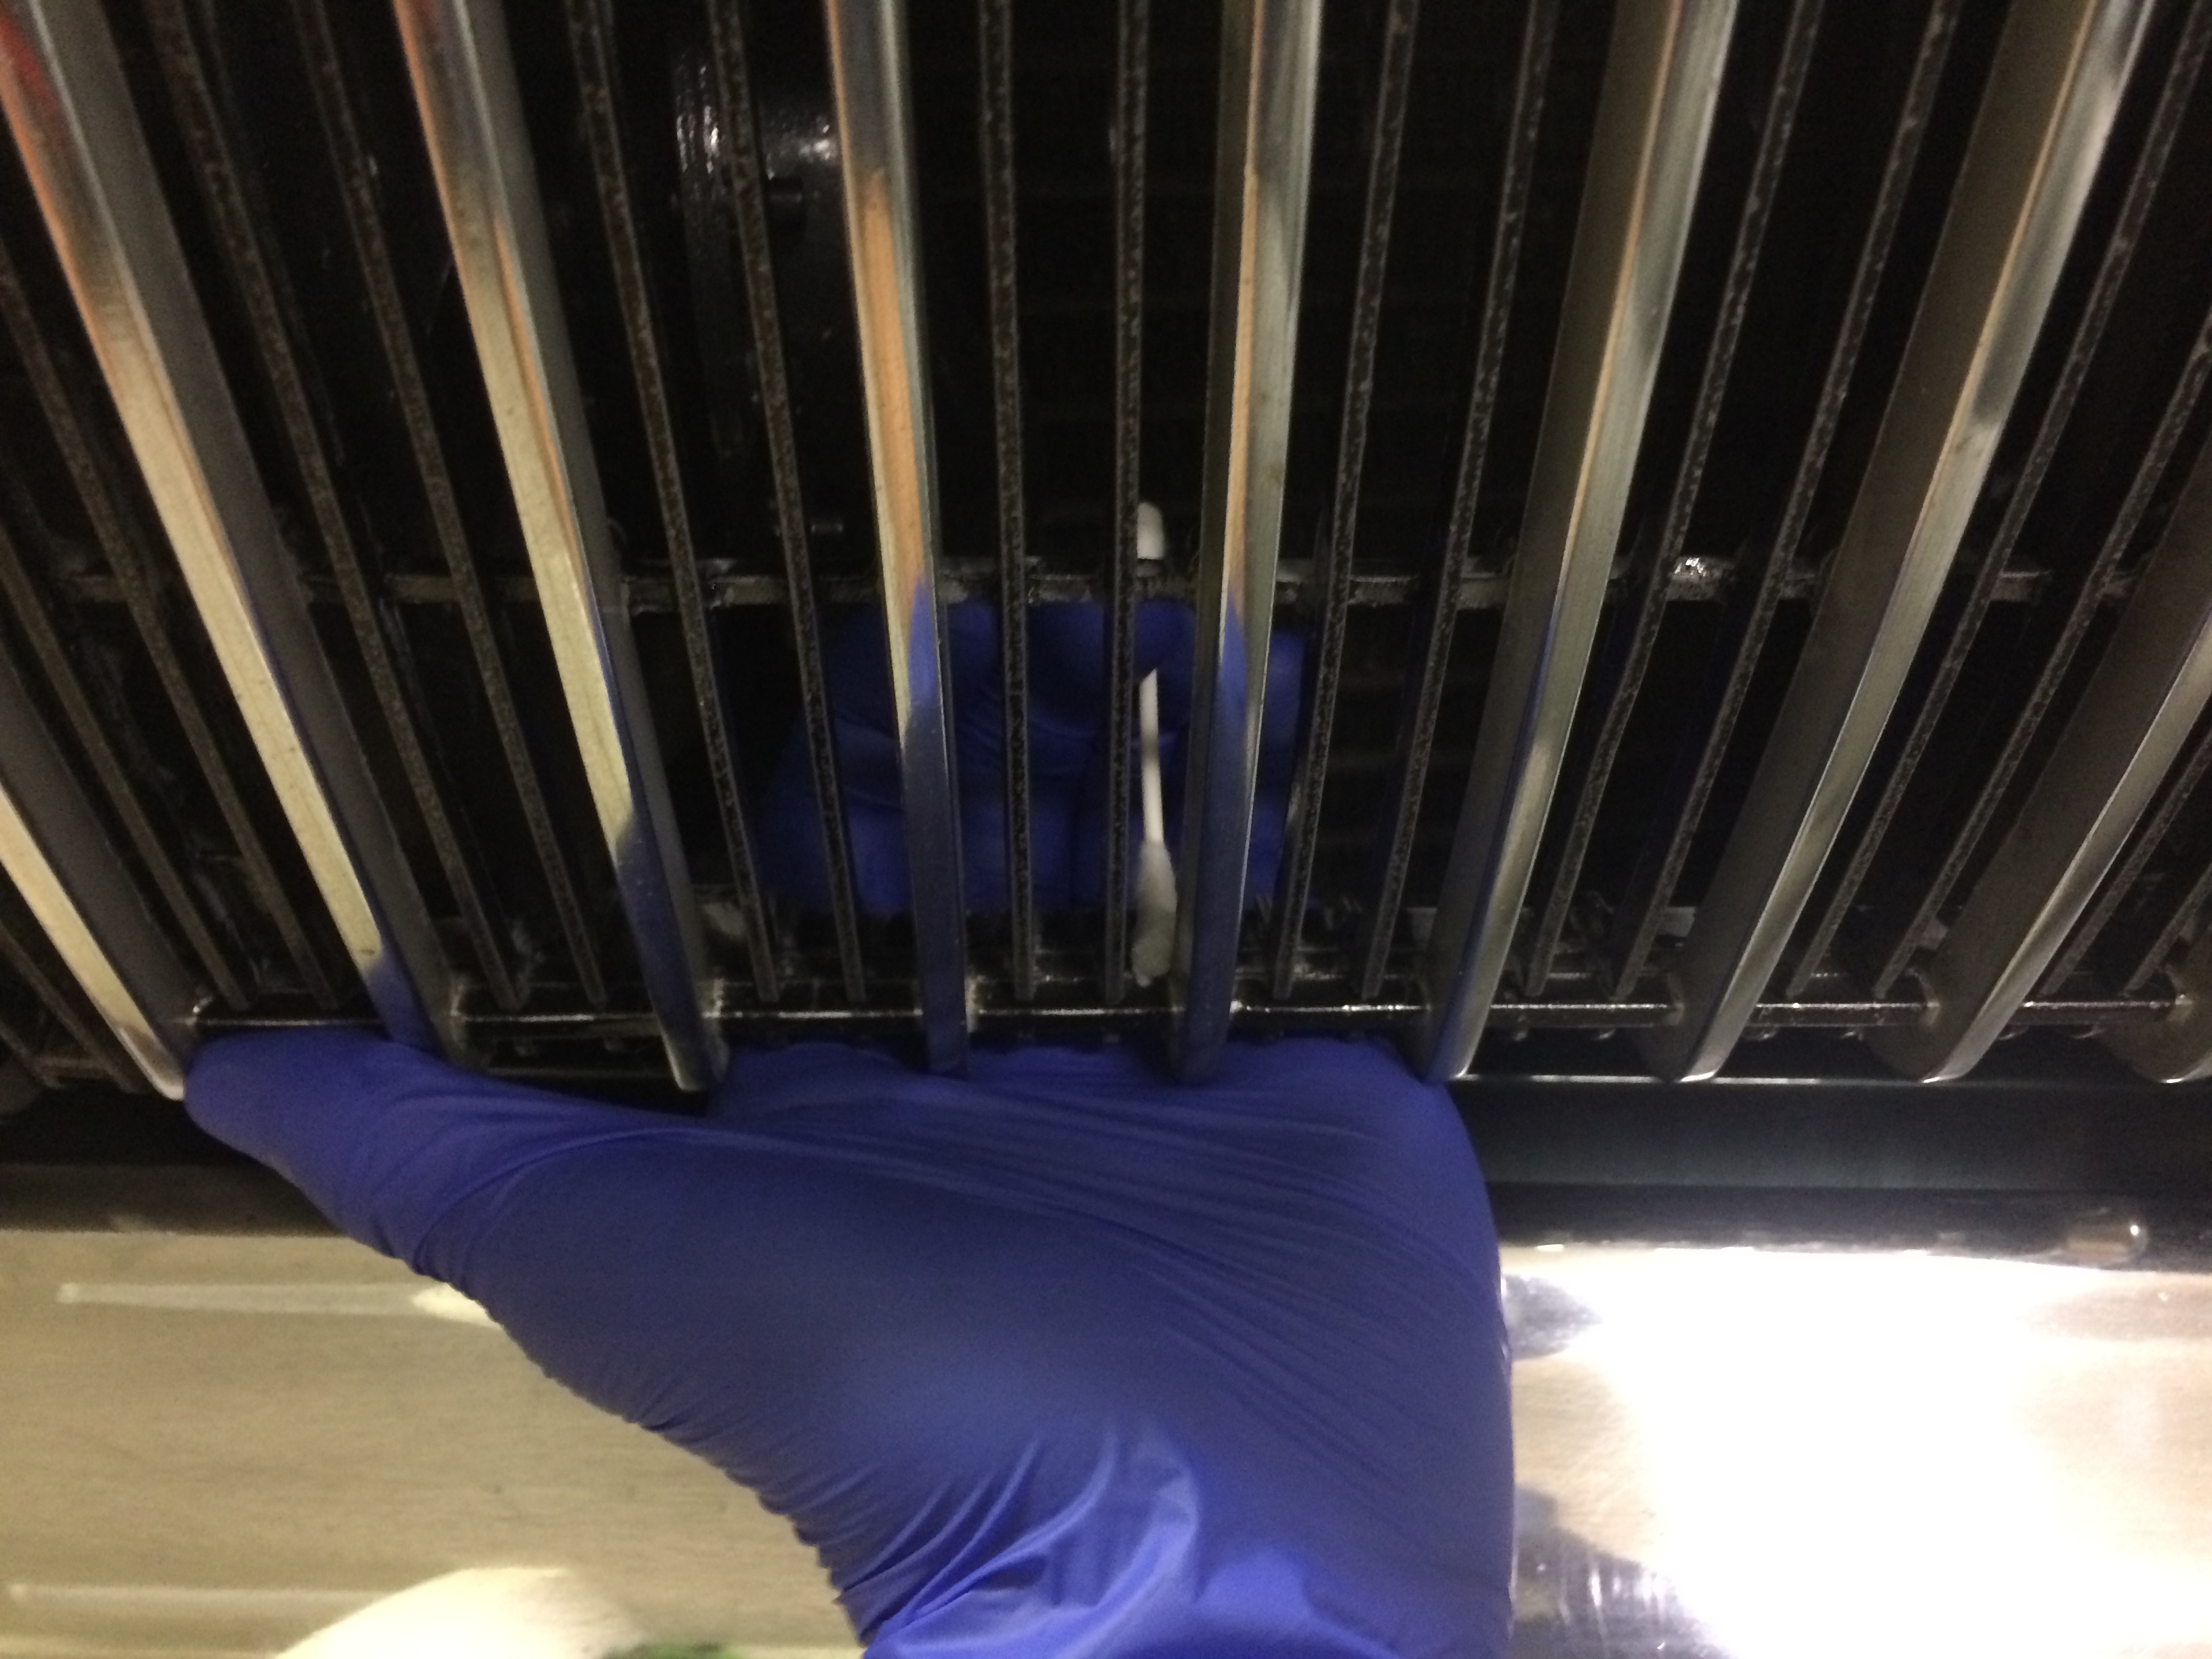
Beginning at the front, I brushed her teeth with a nylon brush and Simple Green dilution. I used an air compressor to remove debris and dry off the degreaser. Brushing alone made a difference, but once dry, the plastic was still dulled.
I applied Q2 Trim with a small foam brush and Q-Tips. The Q2 Trim greatly enriched the grill’s color and improved contrast.

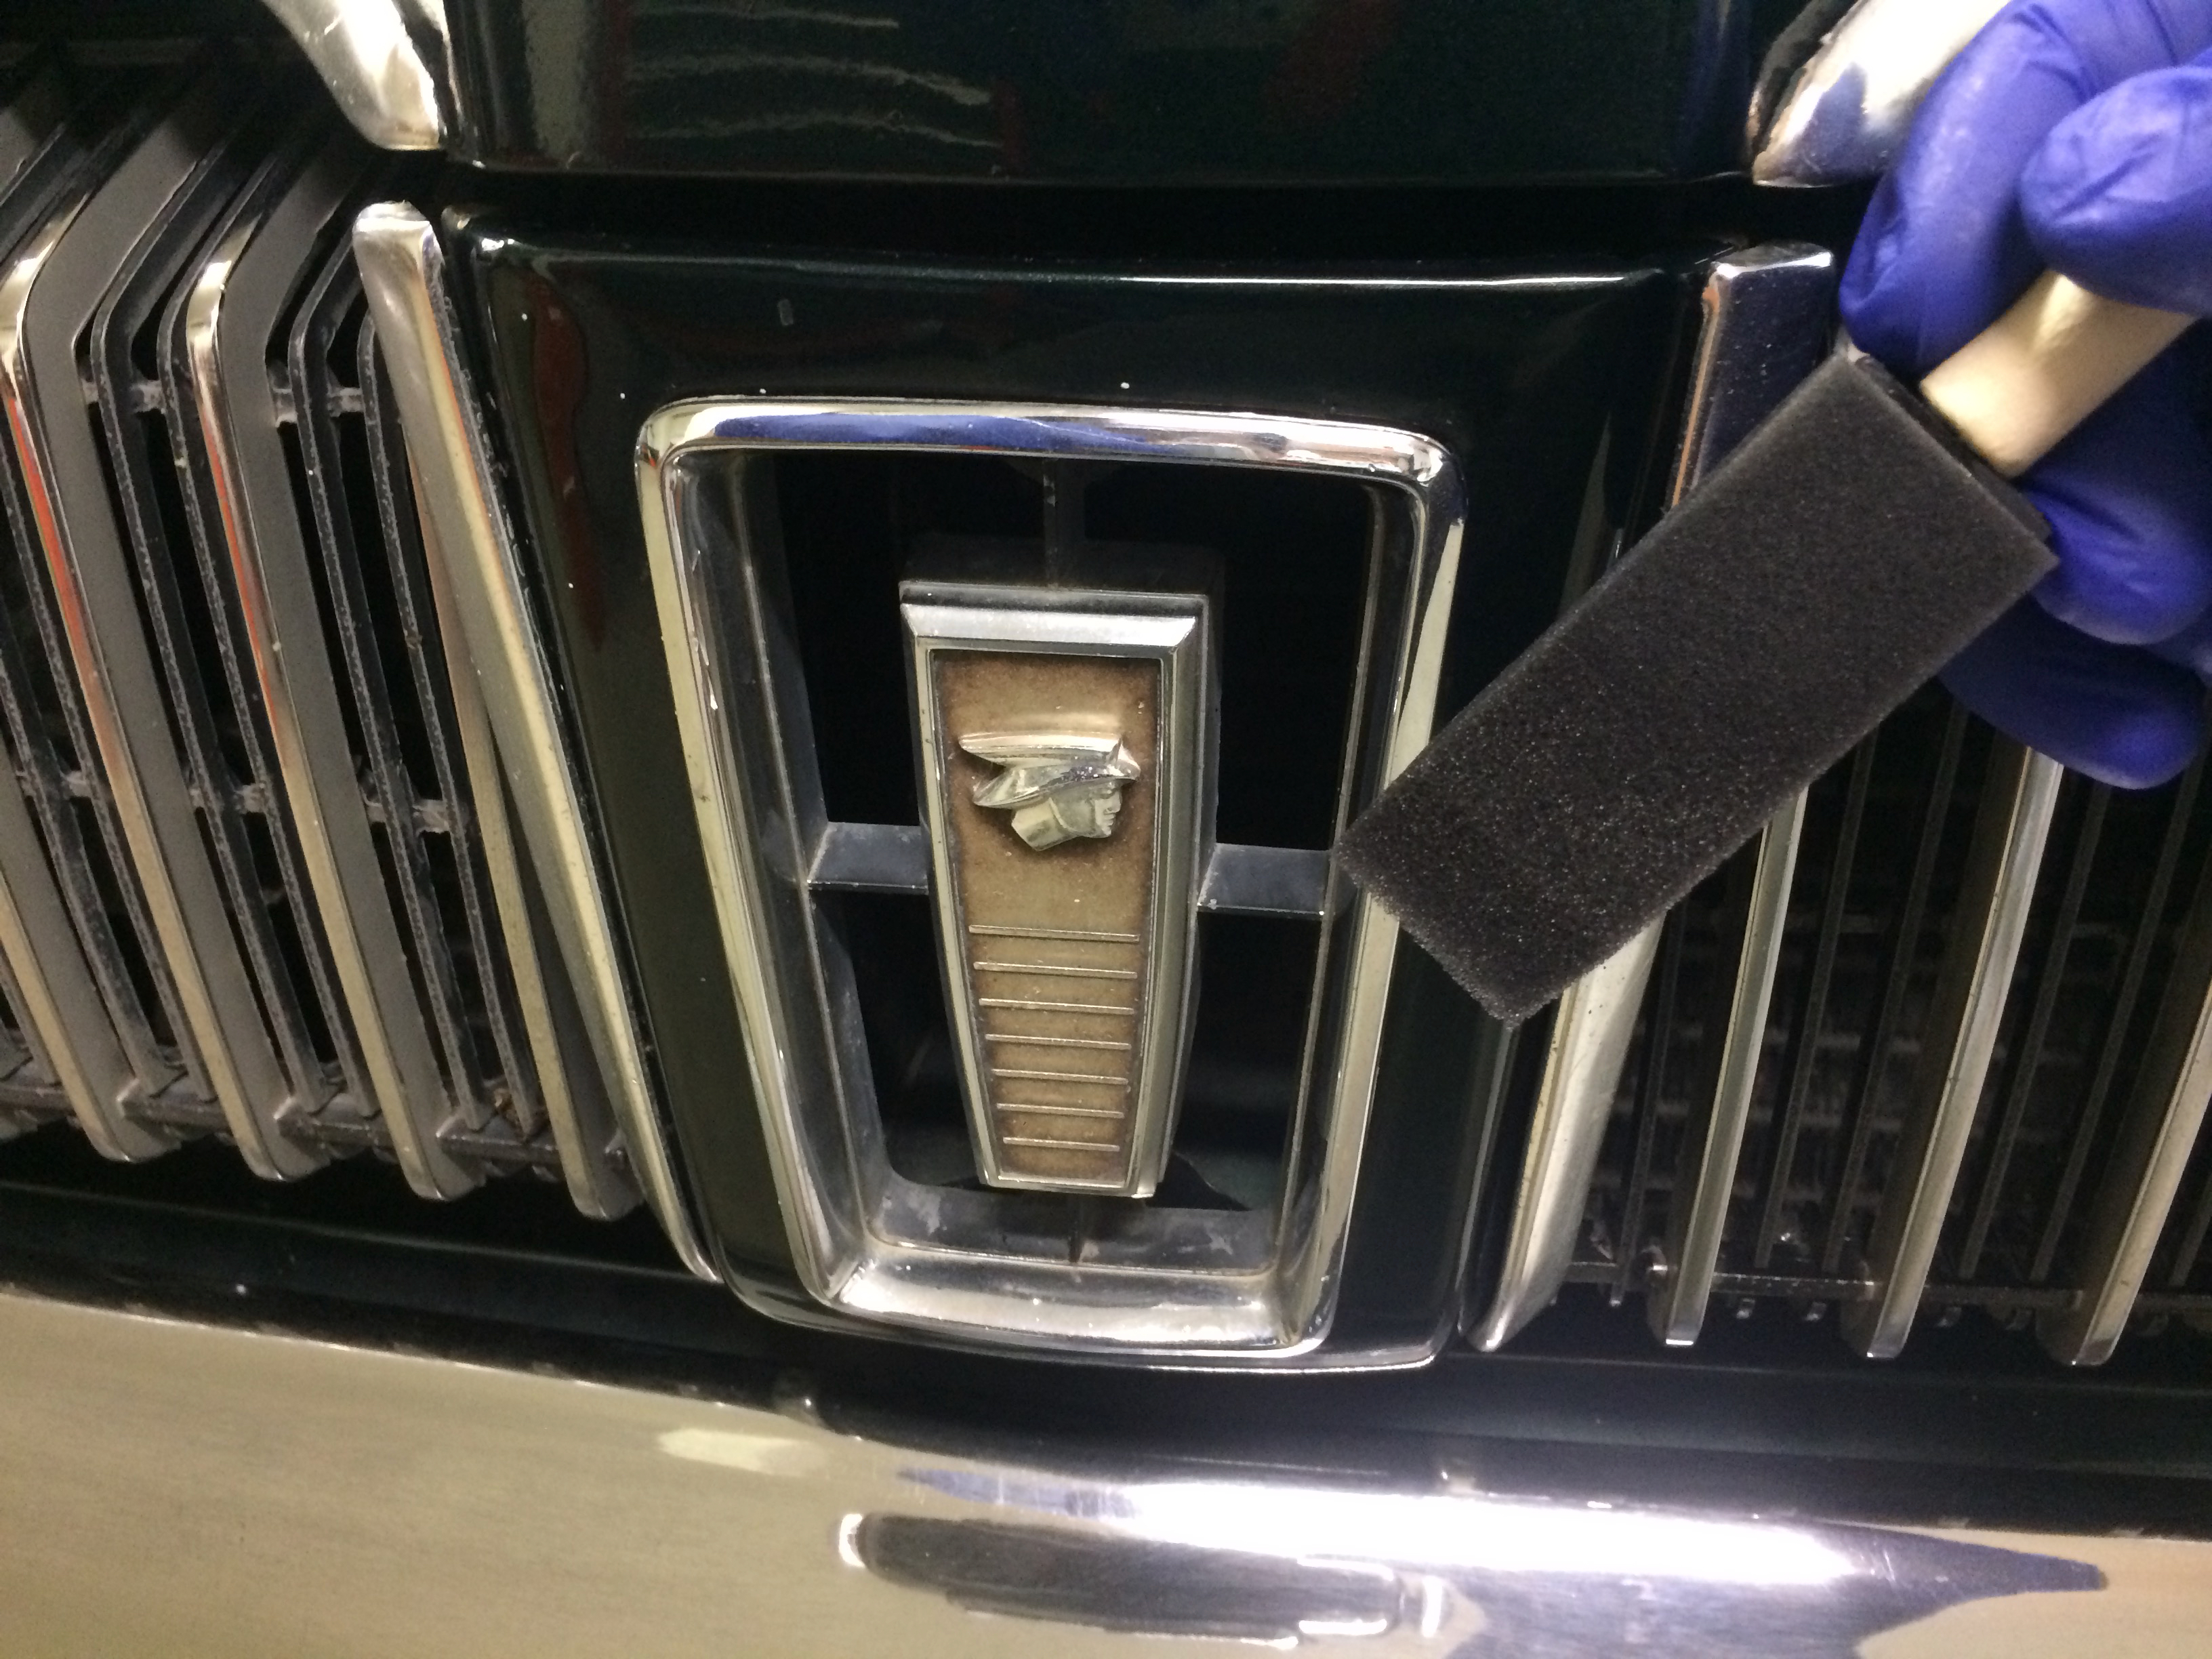

Comparison of the left side coated/uncoated:

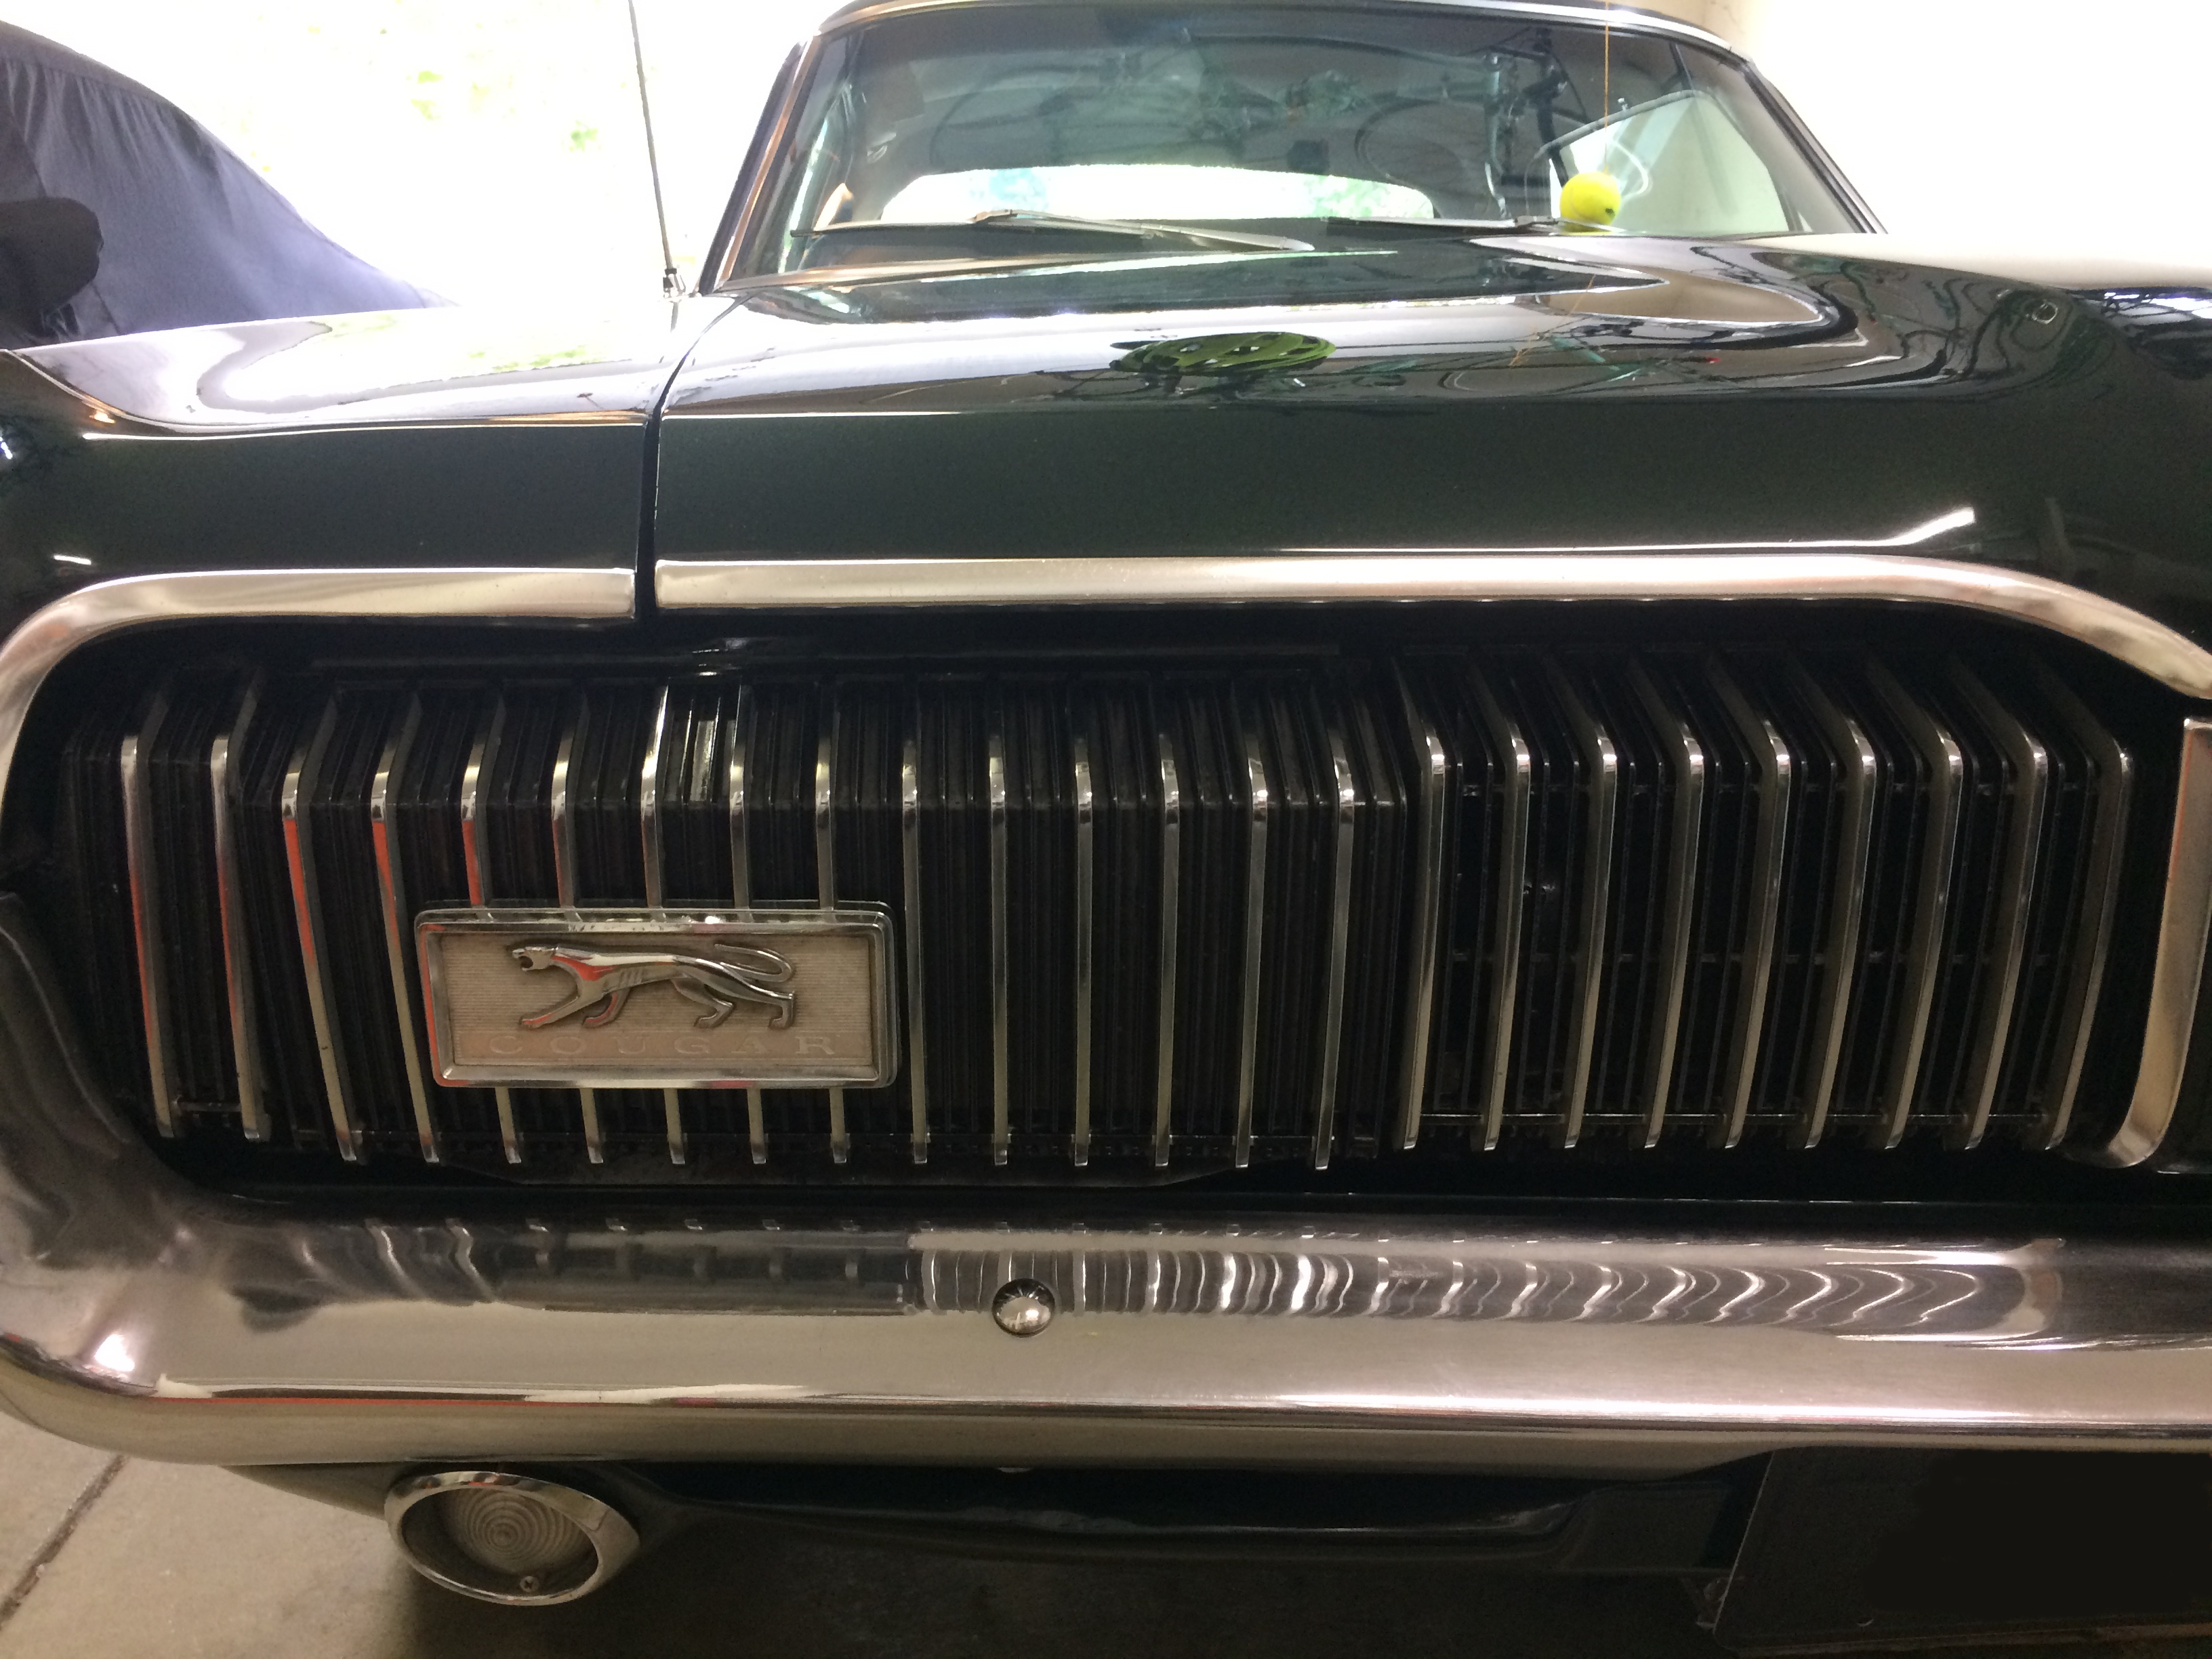
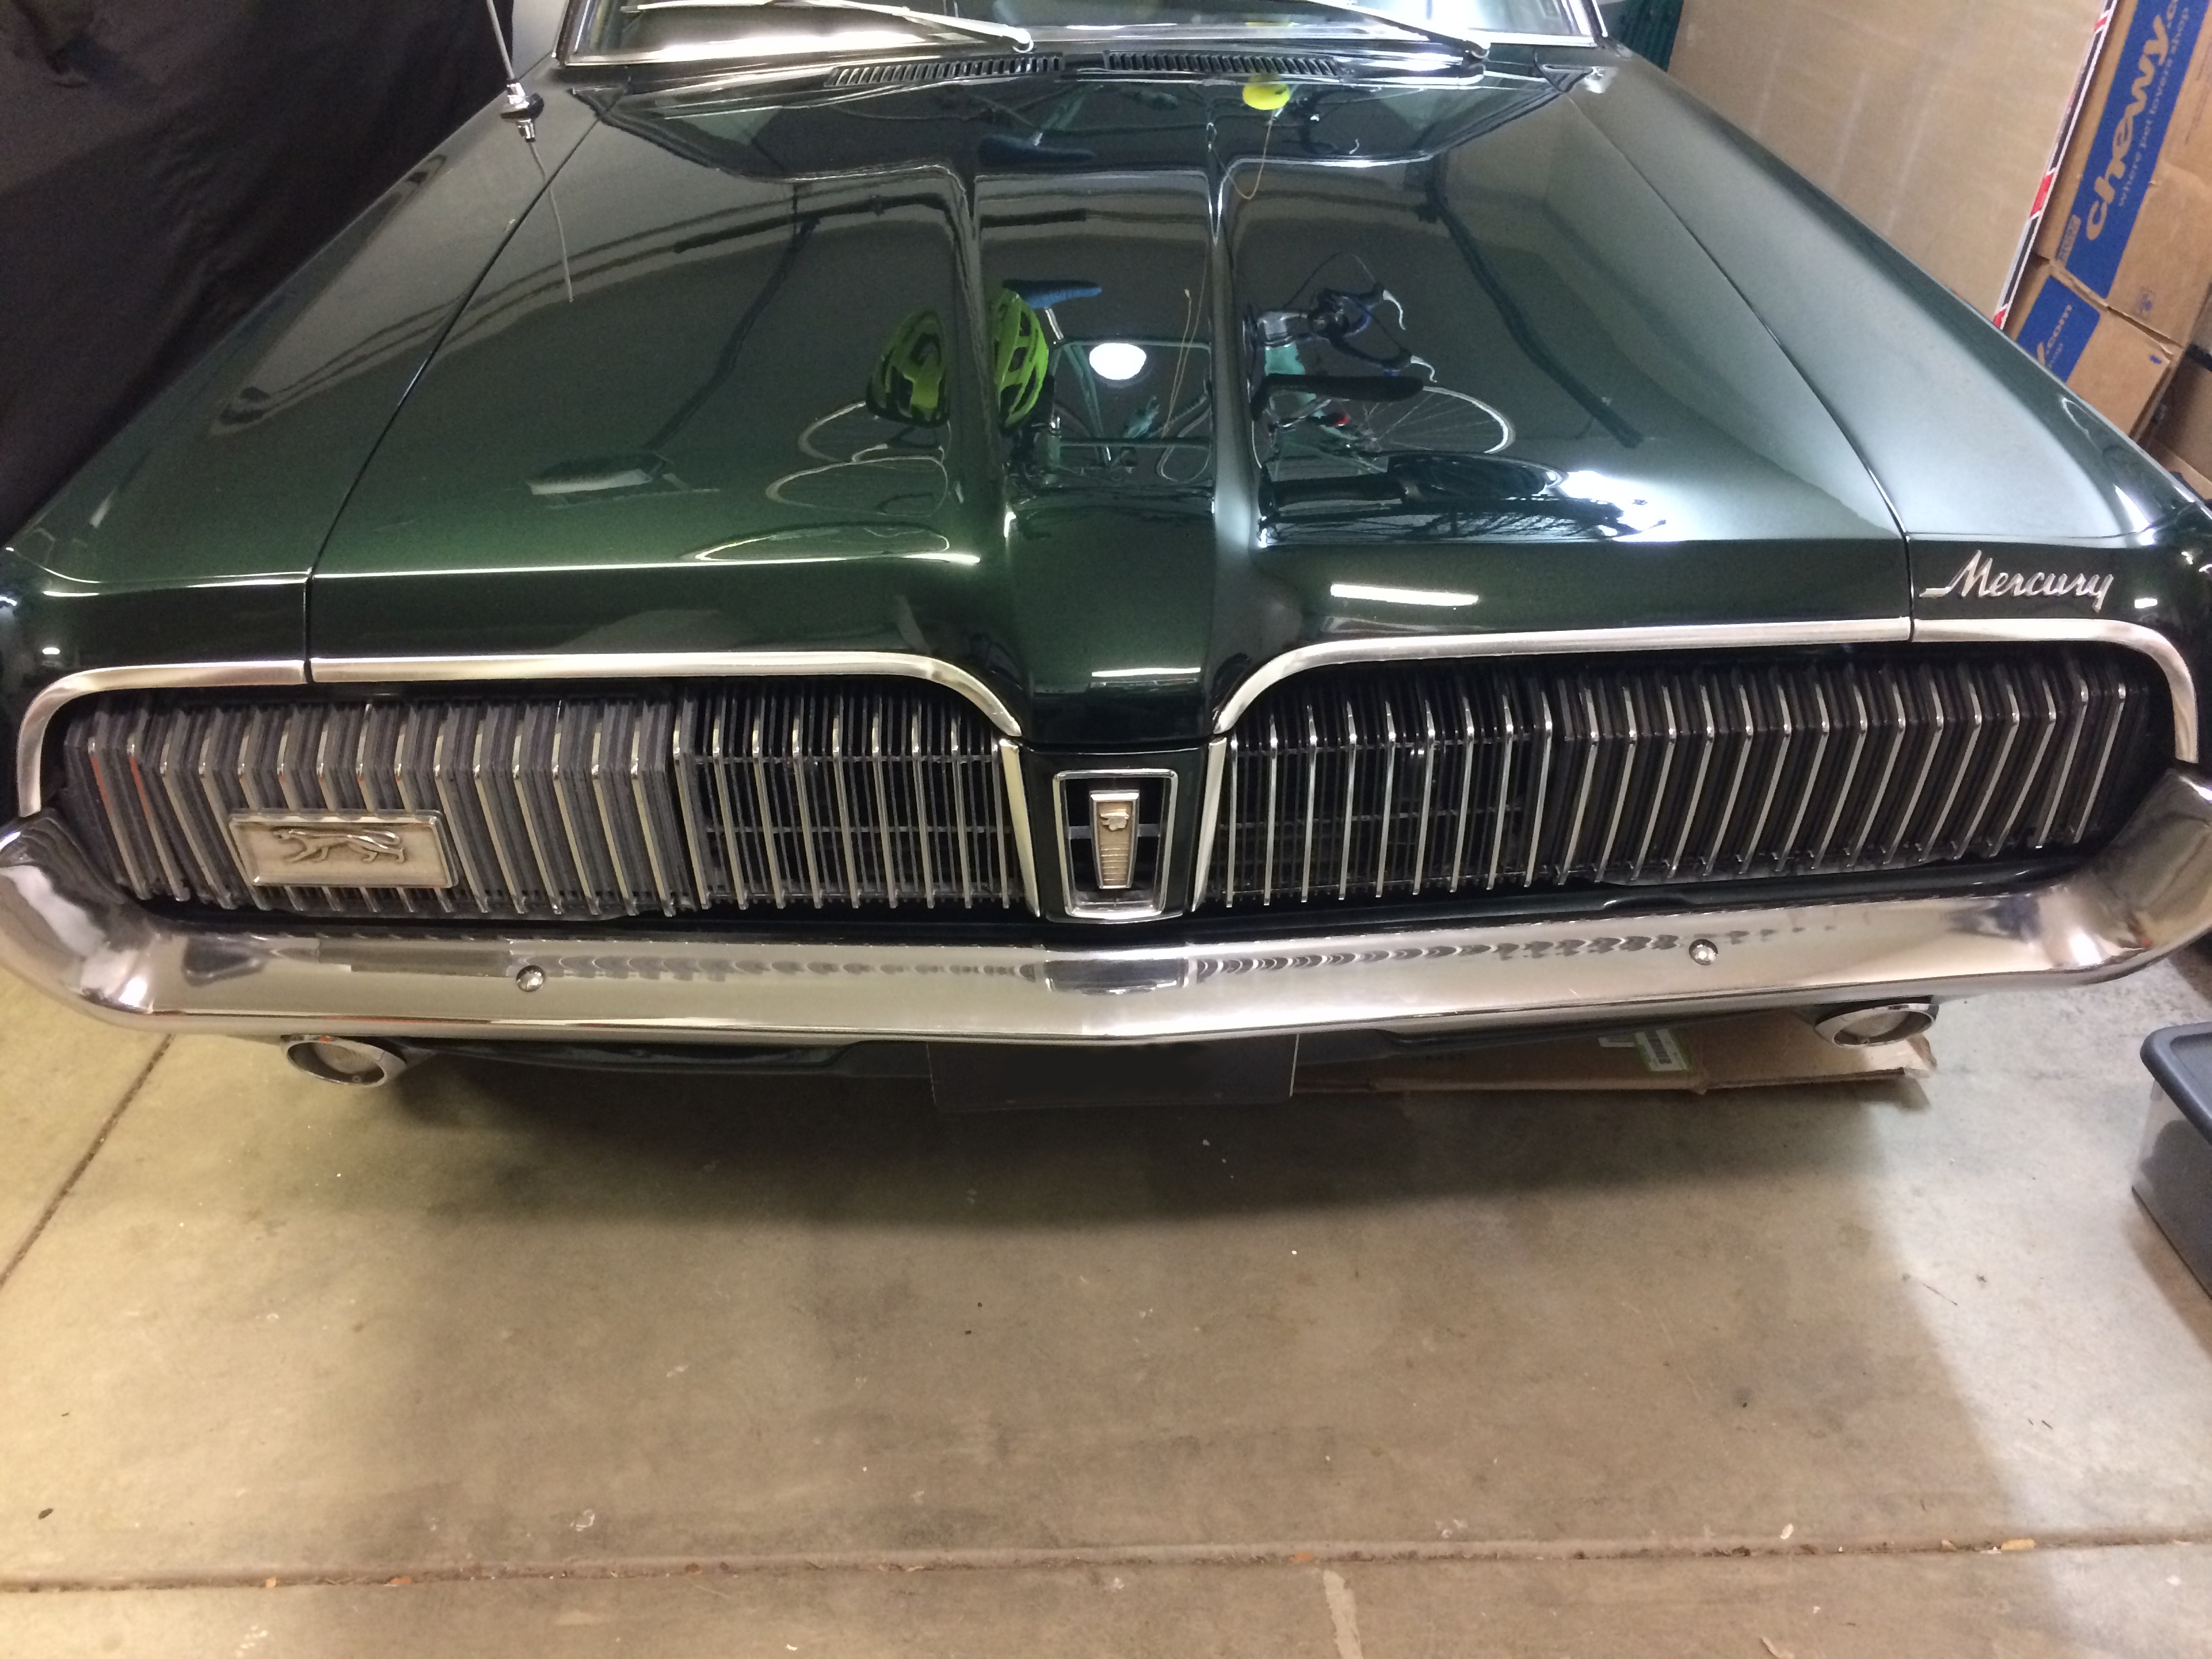
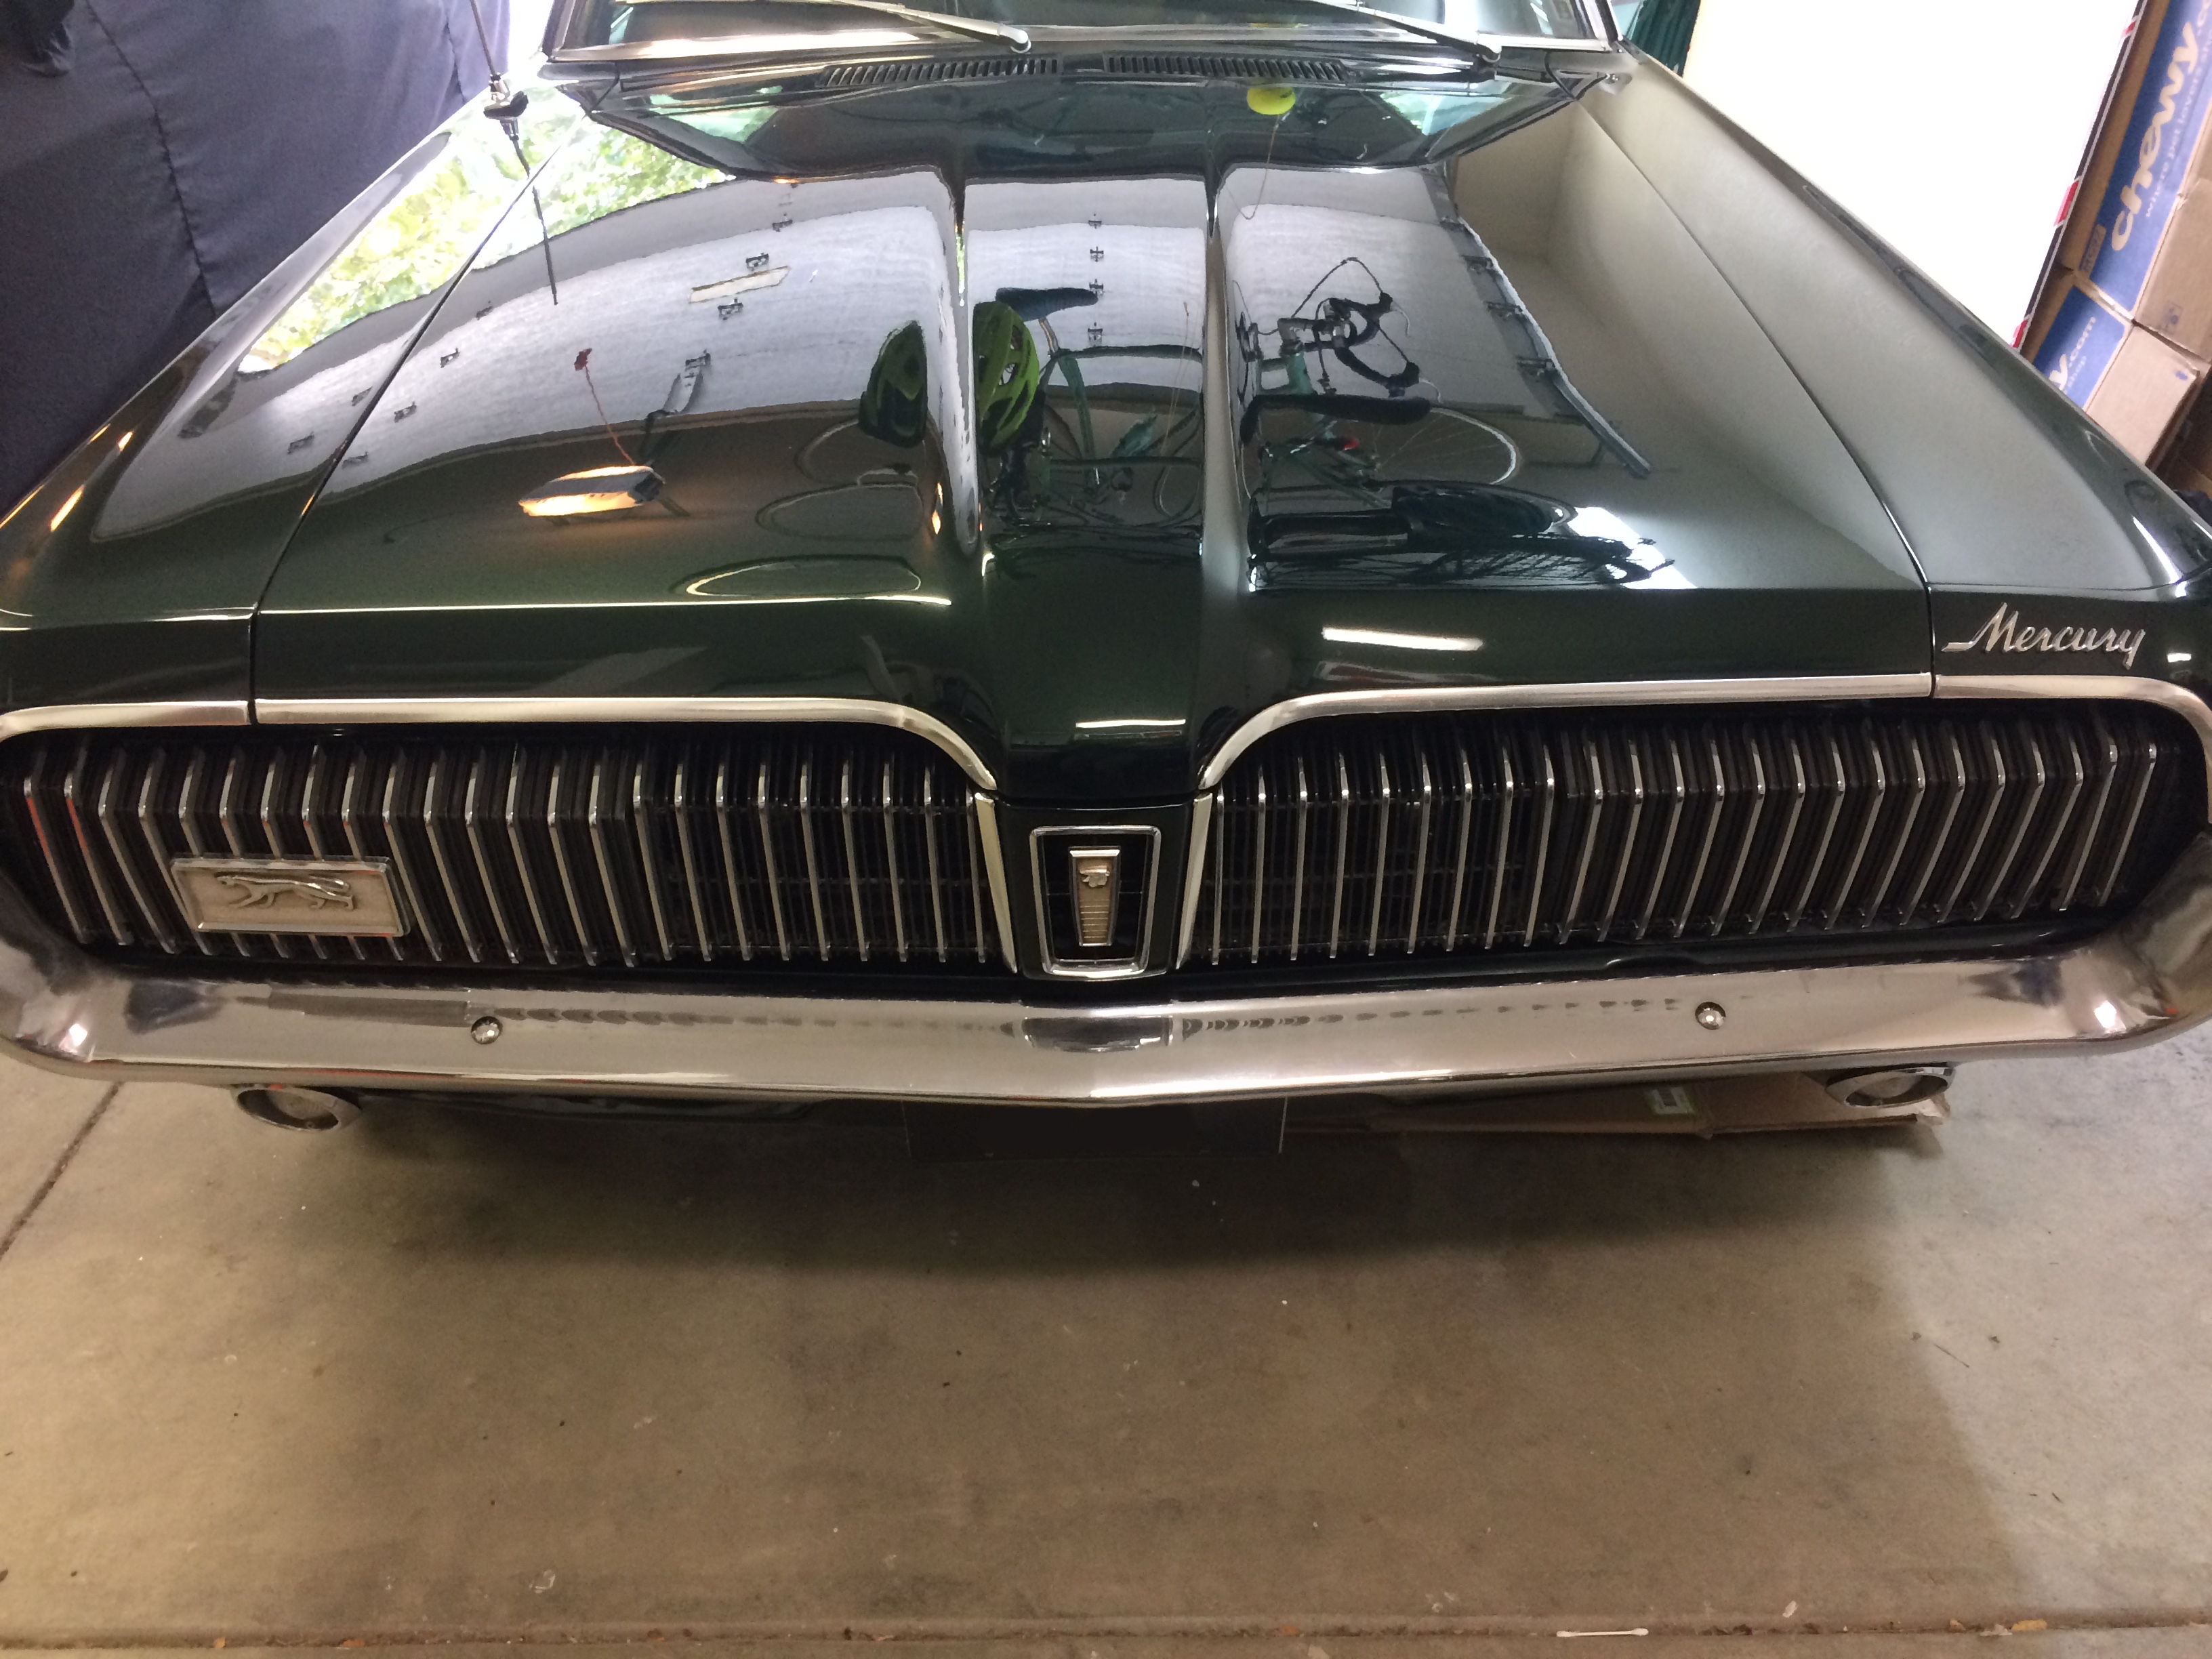
And the fully coated grill with before/after:
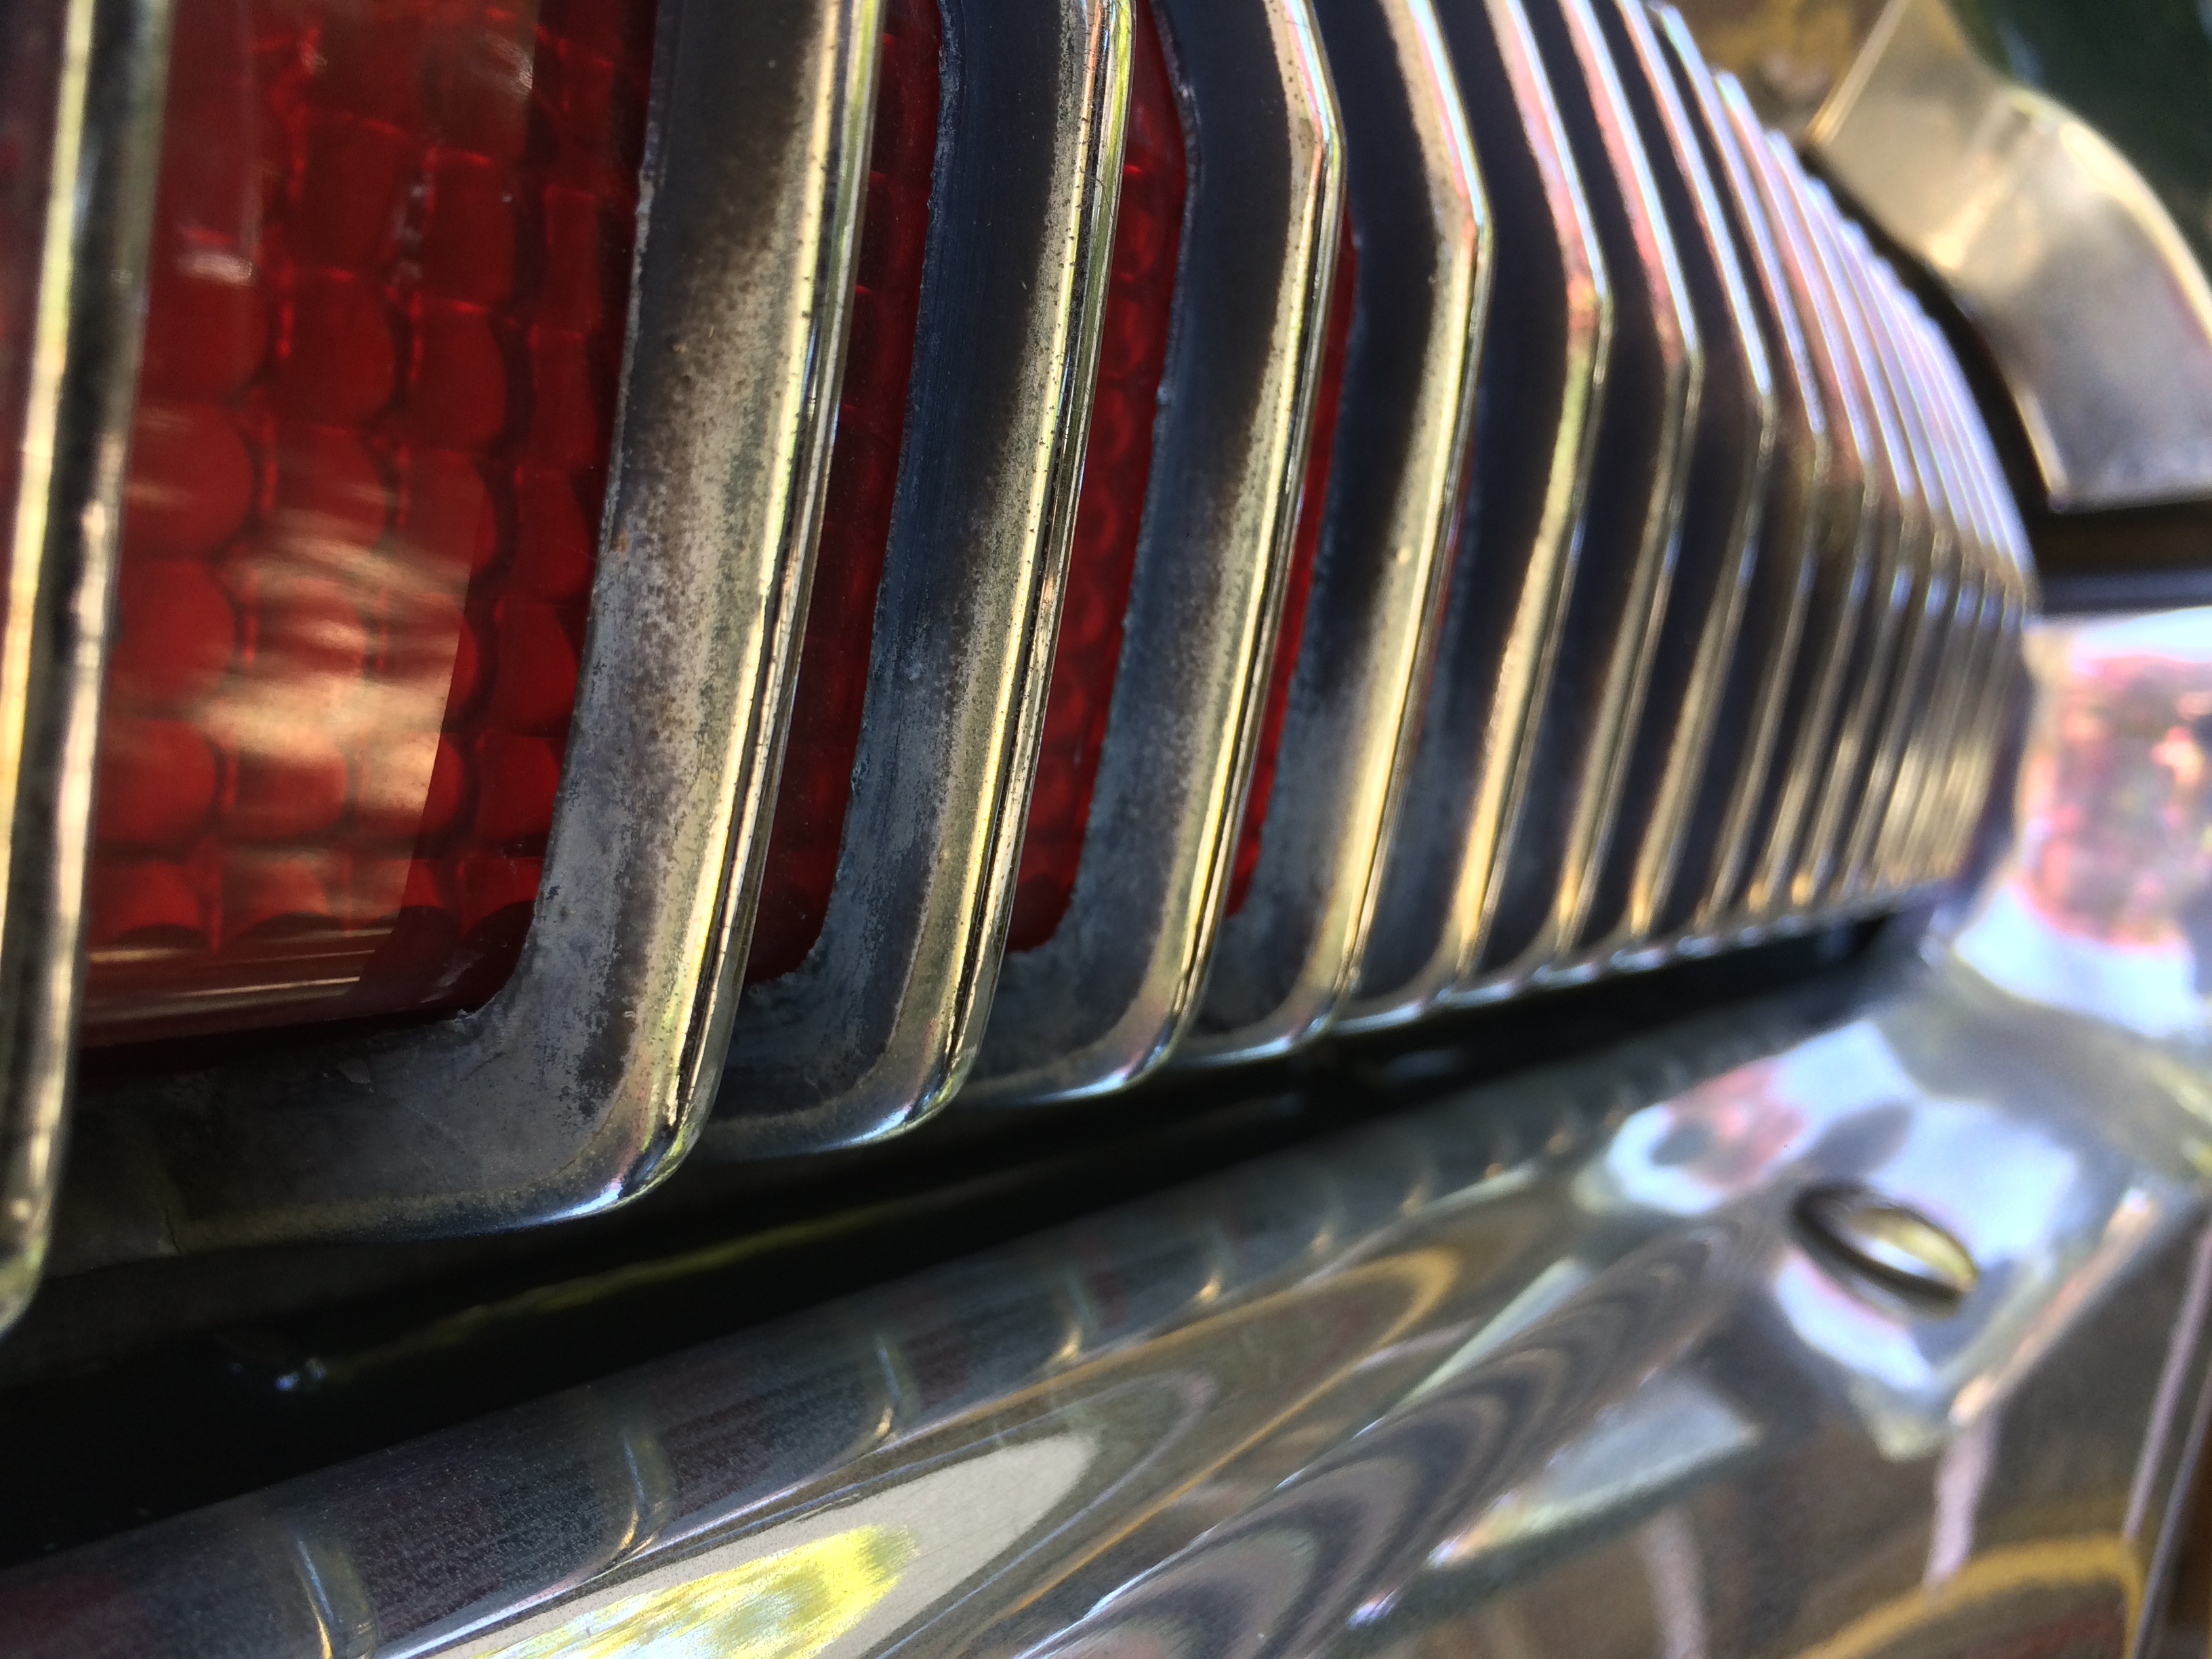
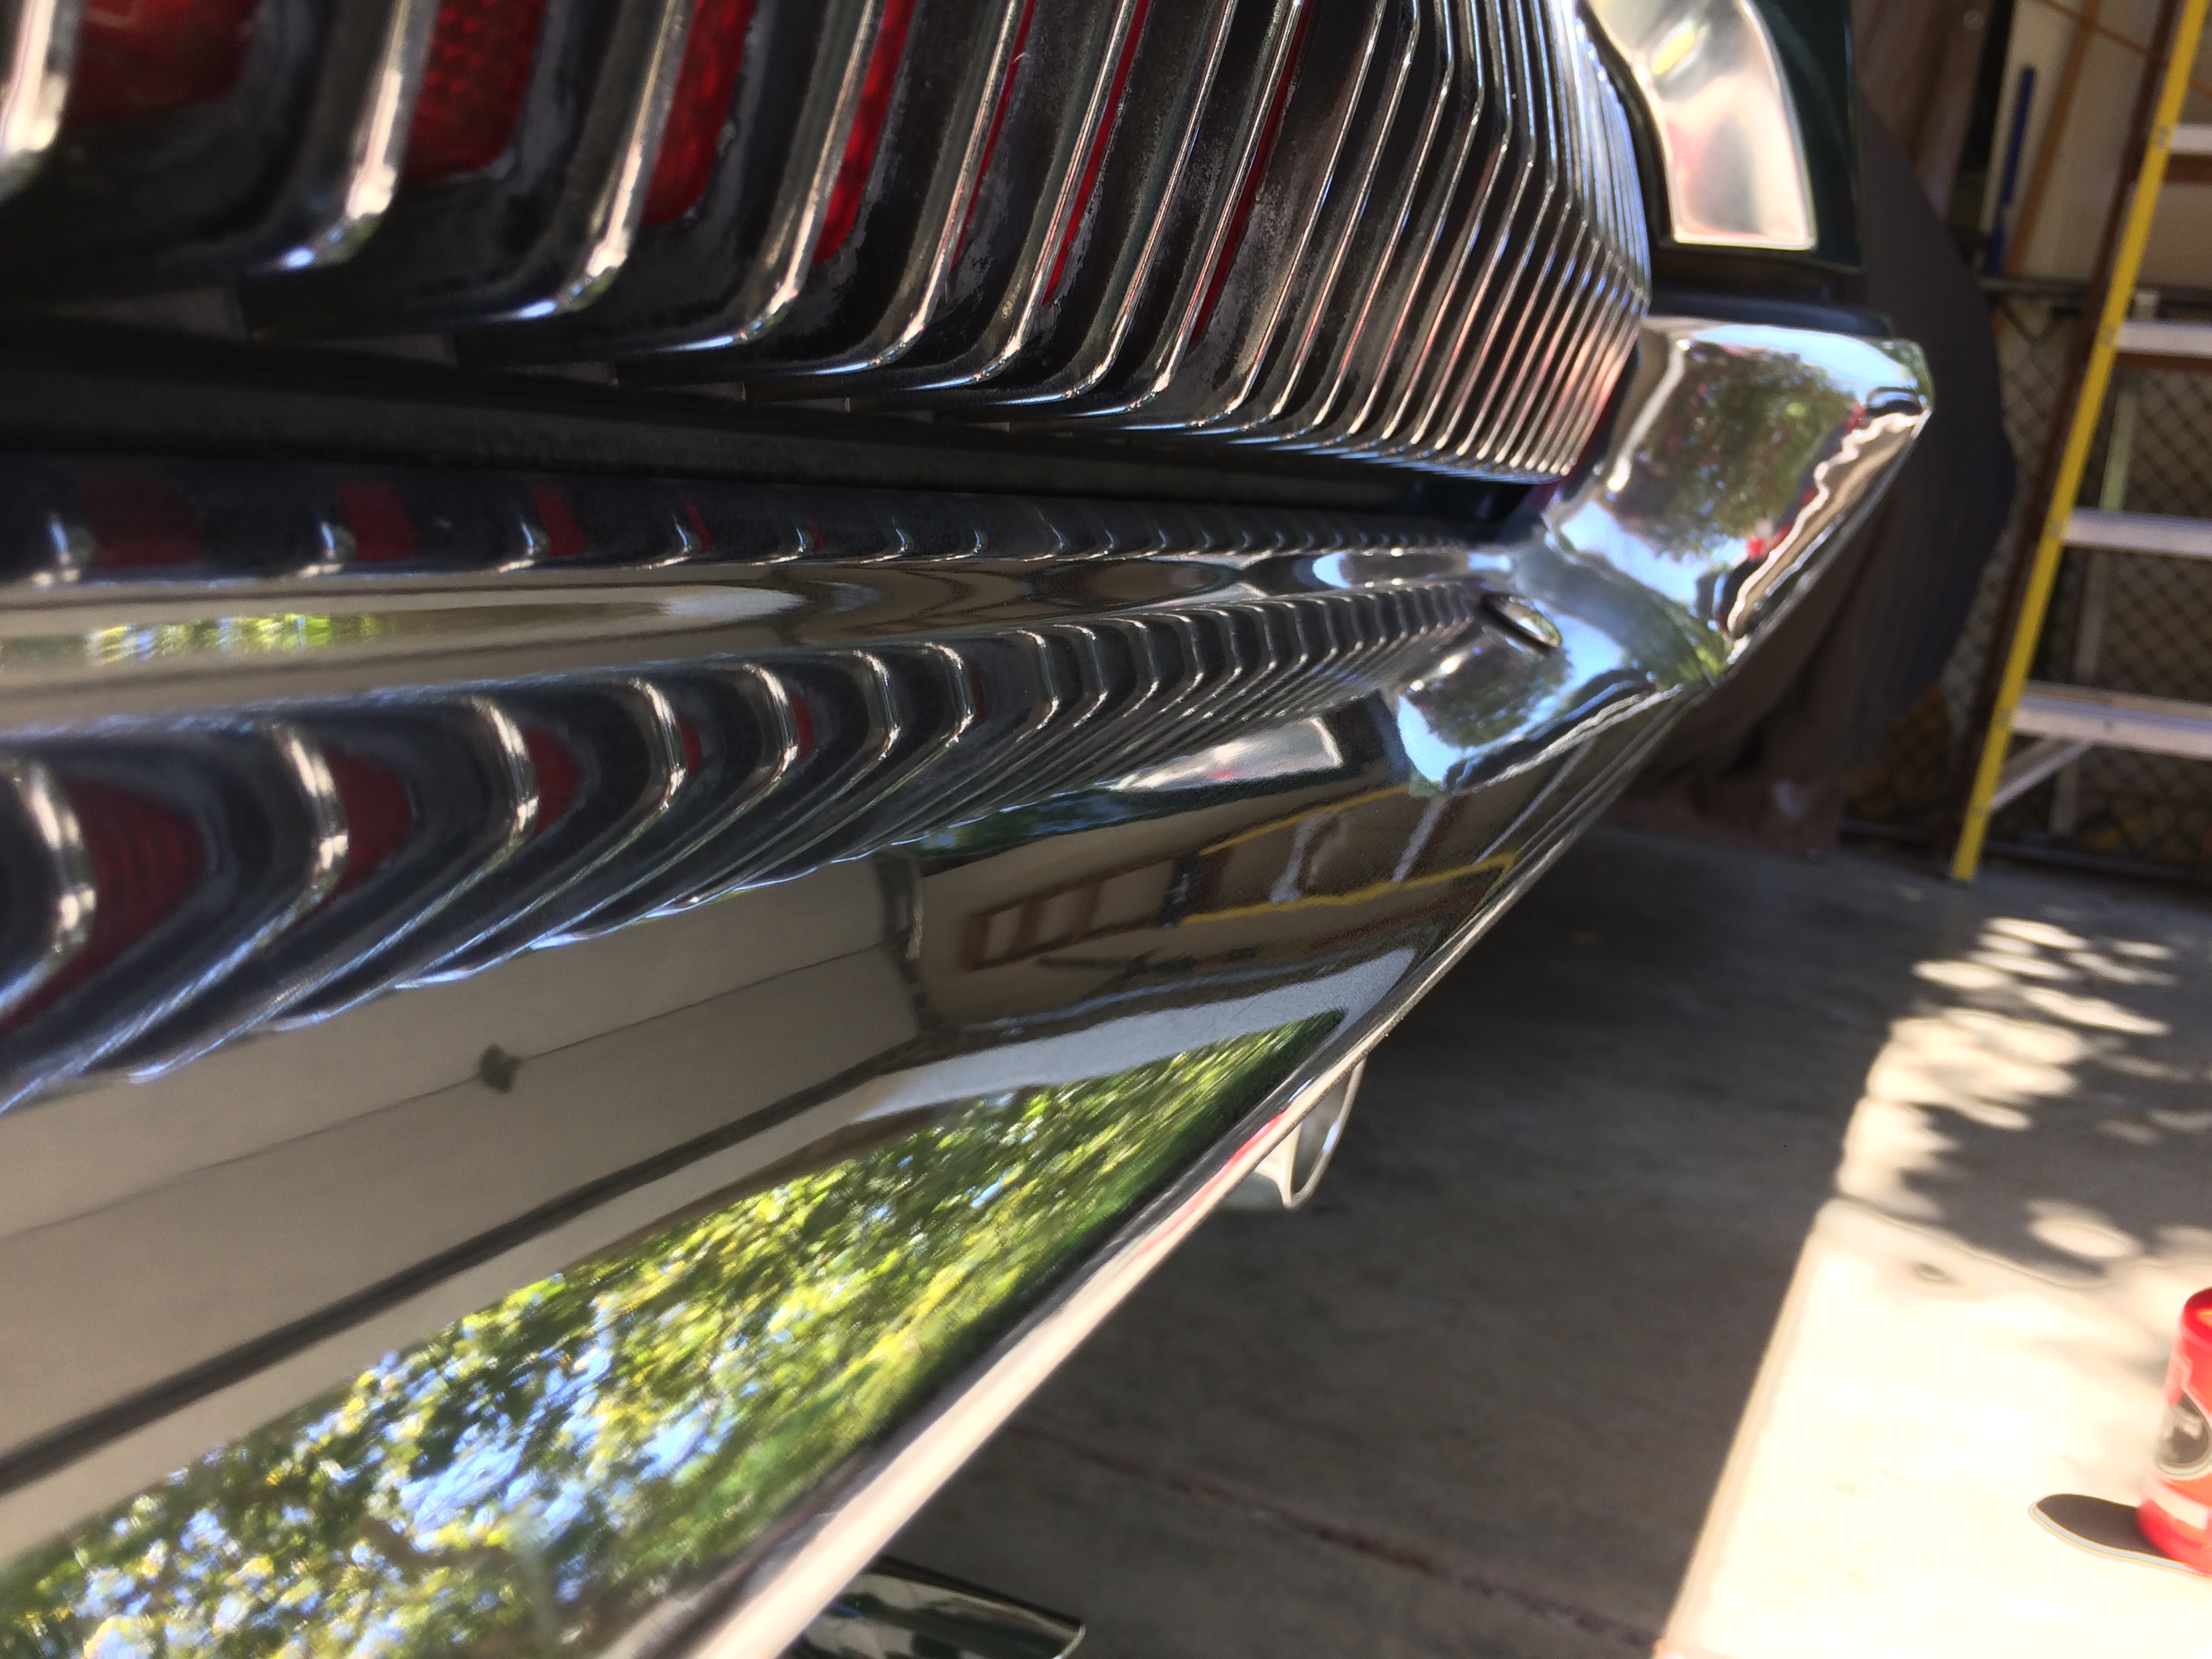
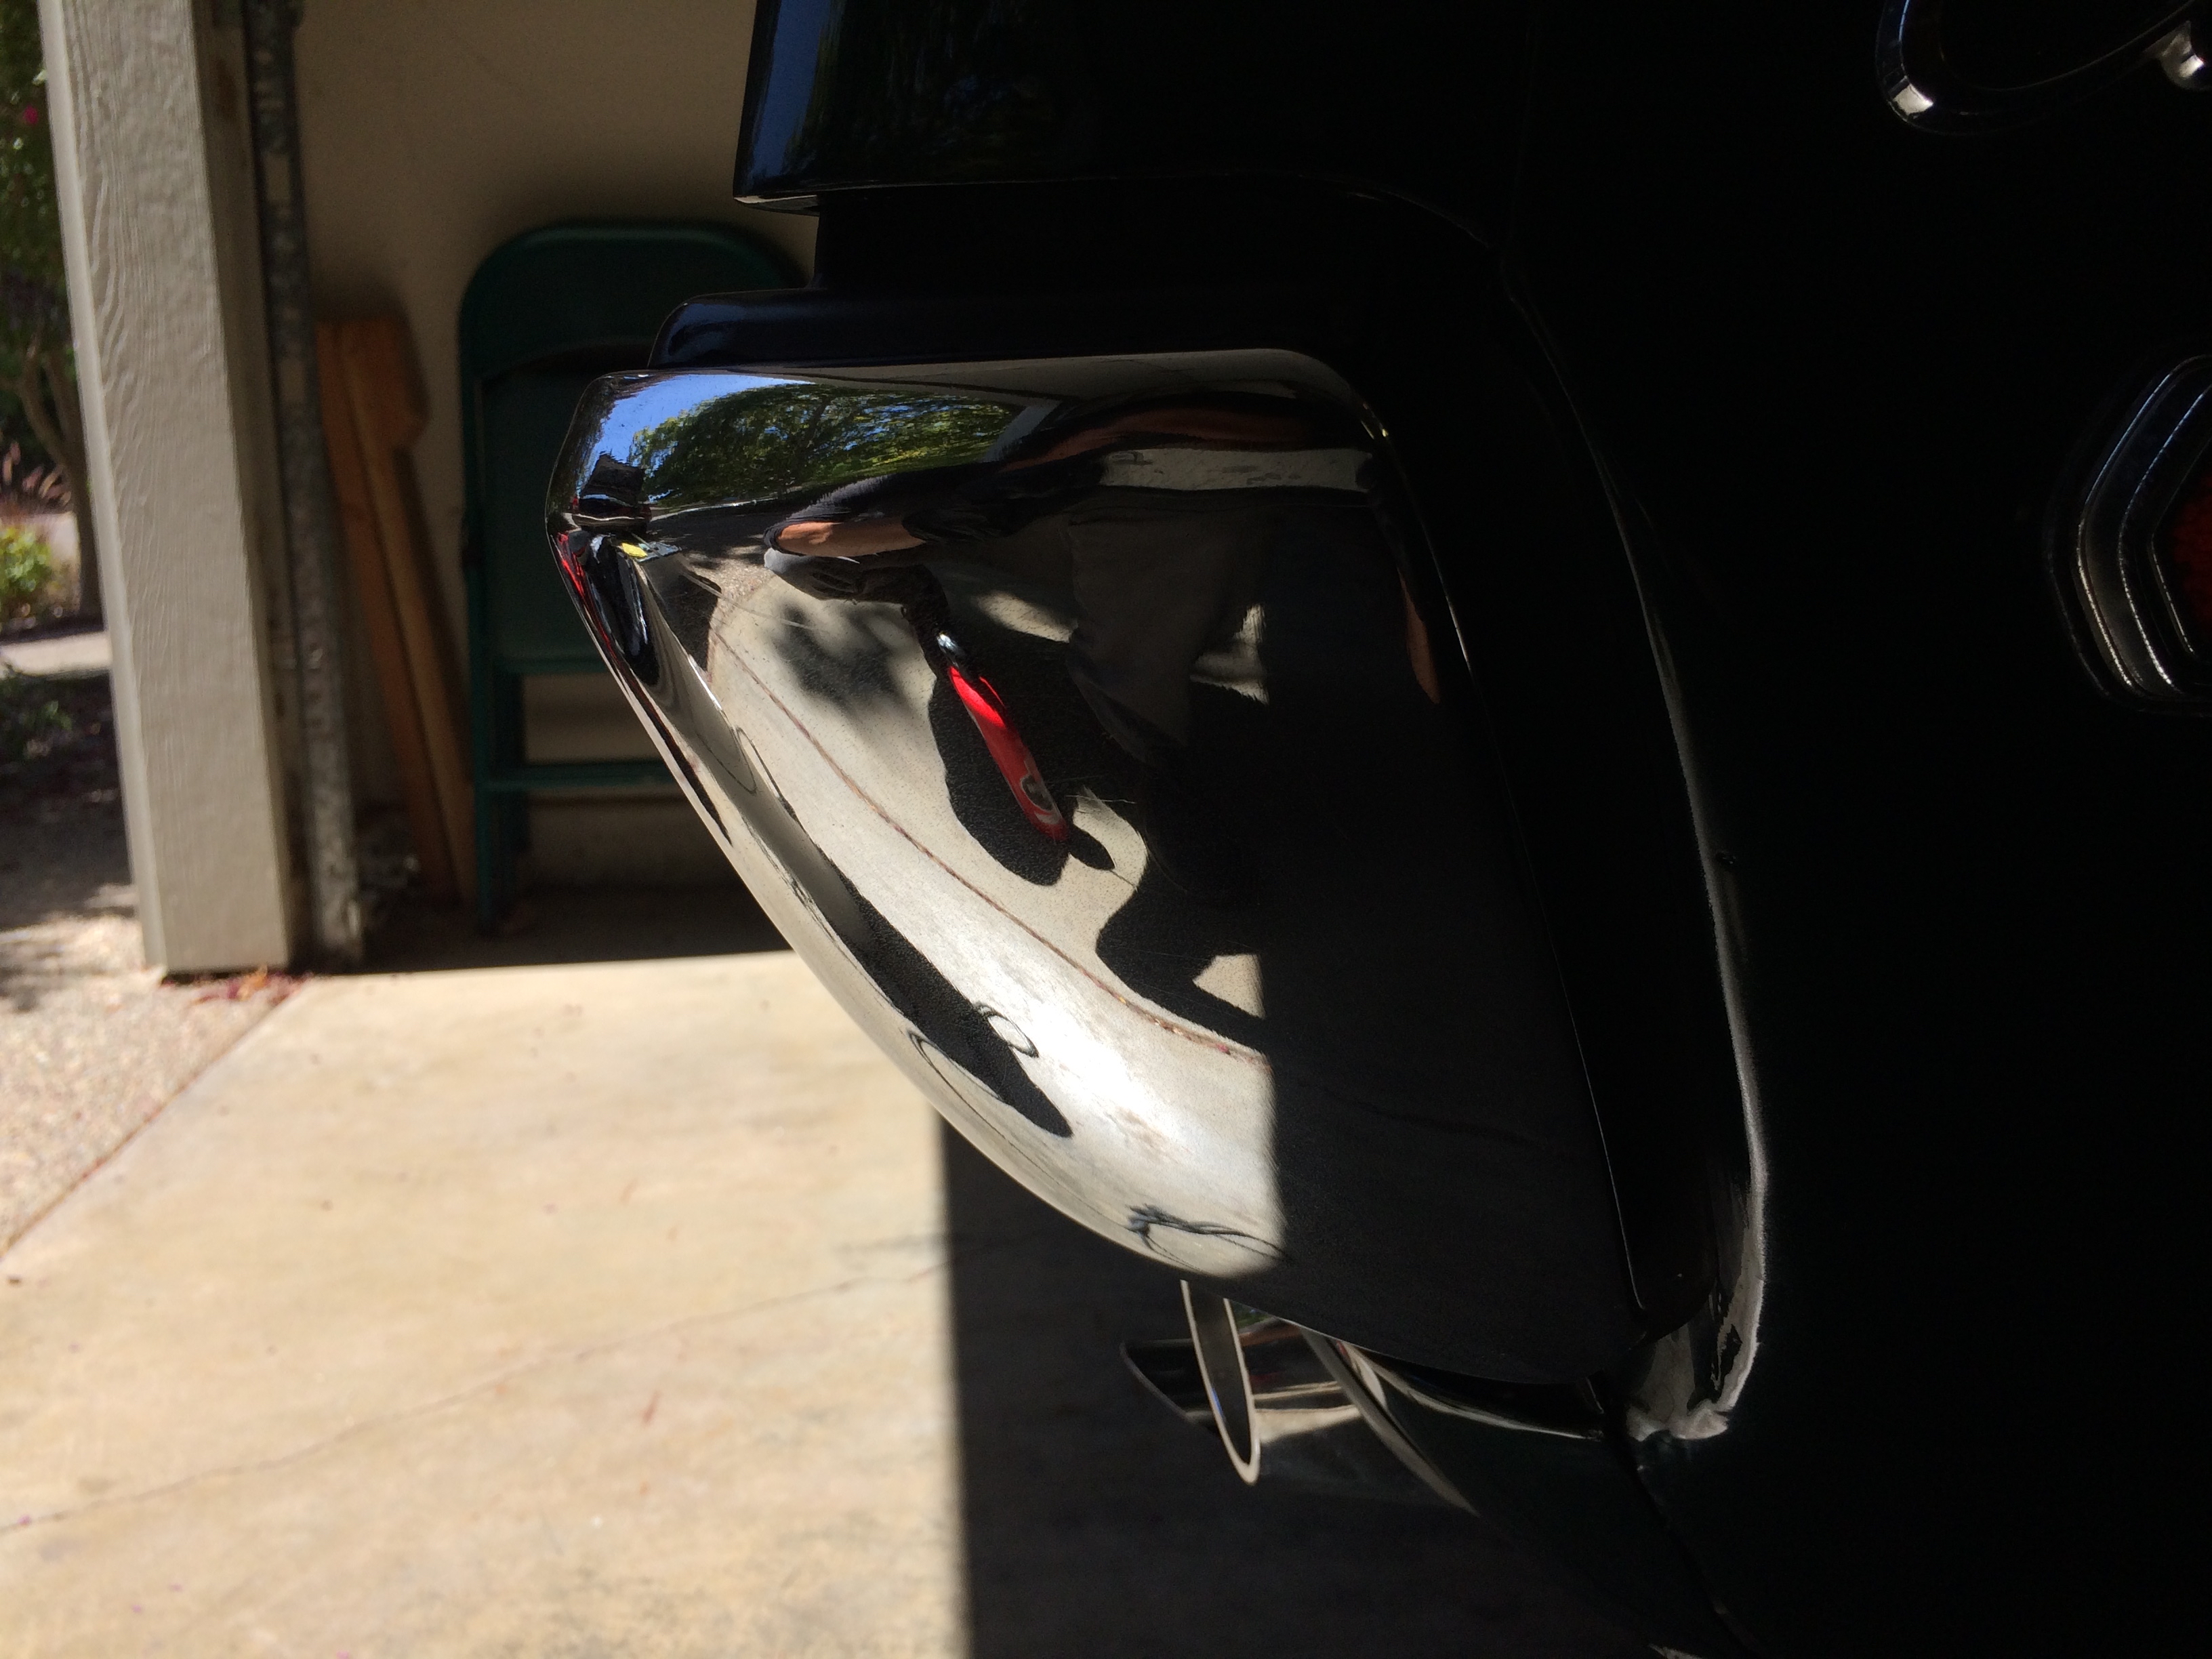
Turning to the tail end, the taillights where oxidized and the fins appeared to have a mineral residue. I opted for Griot’s Plastic Polish and polished by hand using a microfiber towel. I used the air compressor to remove any polish caught behind the fins.
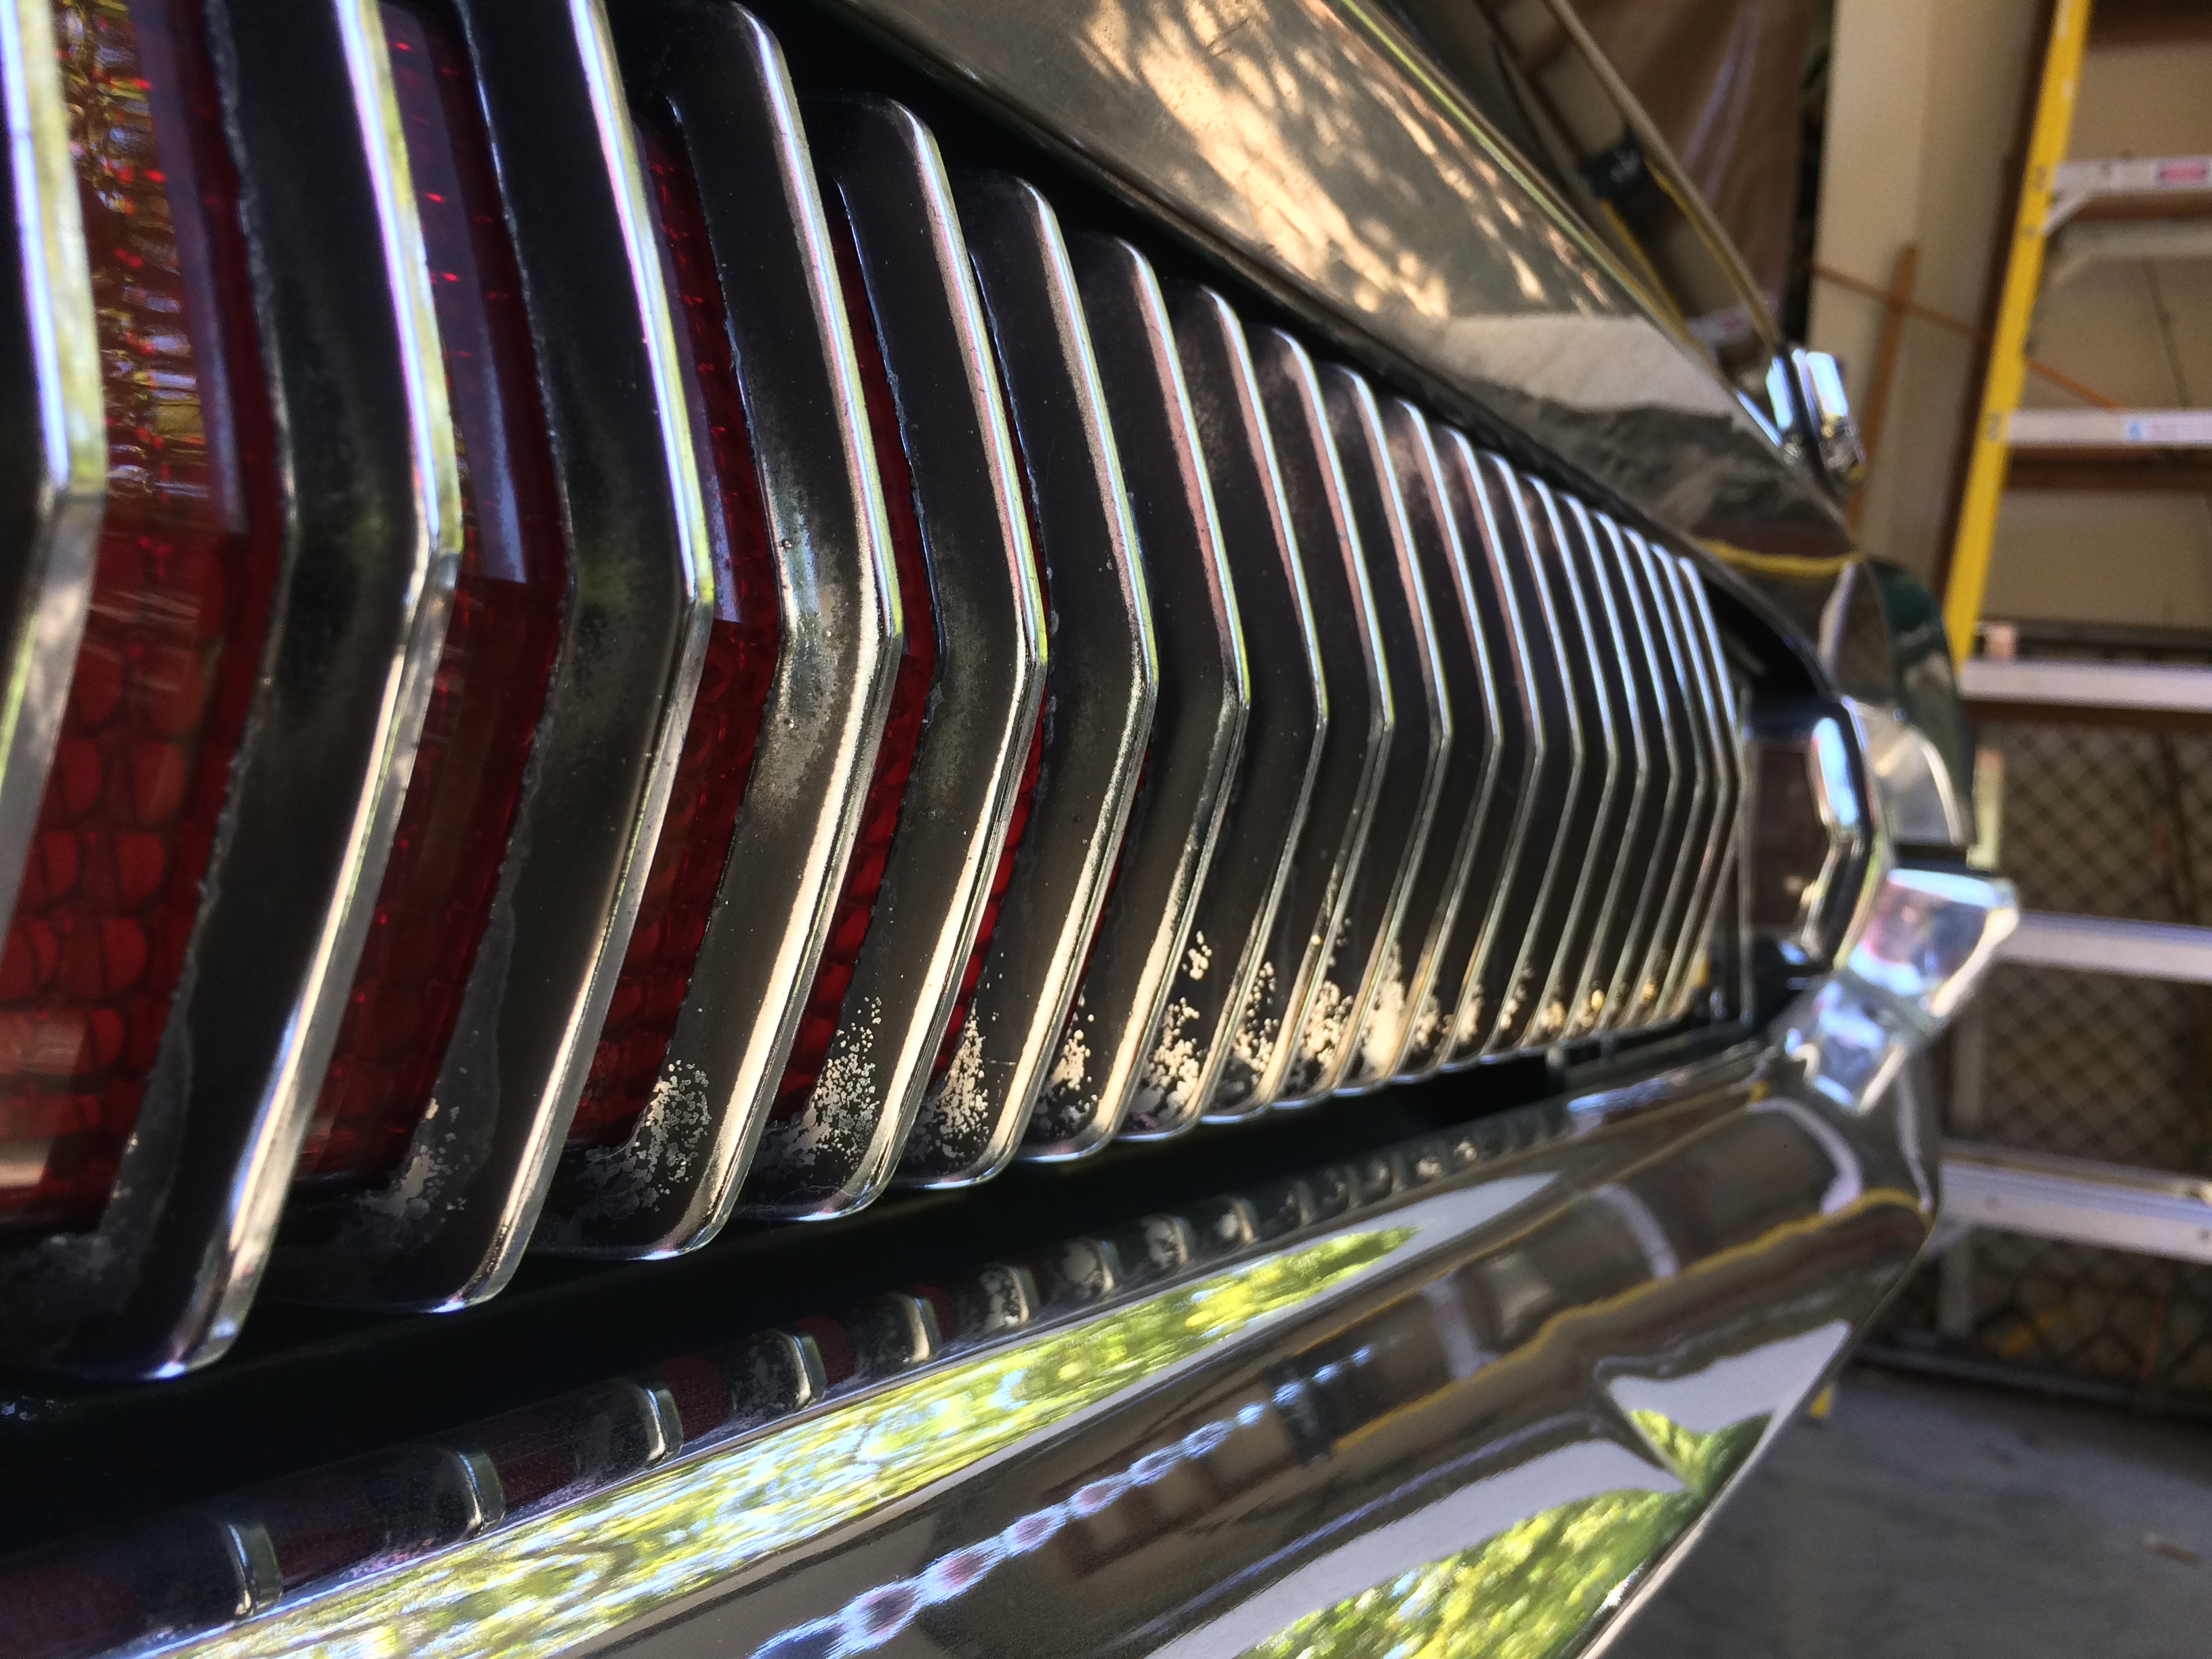
The paint on the fins was weathered, but much of the dullness was removed by the polish.
Here are the before/after results.
After:
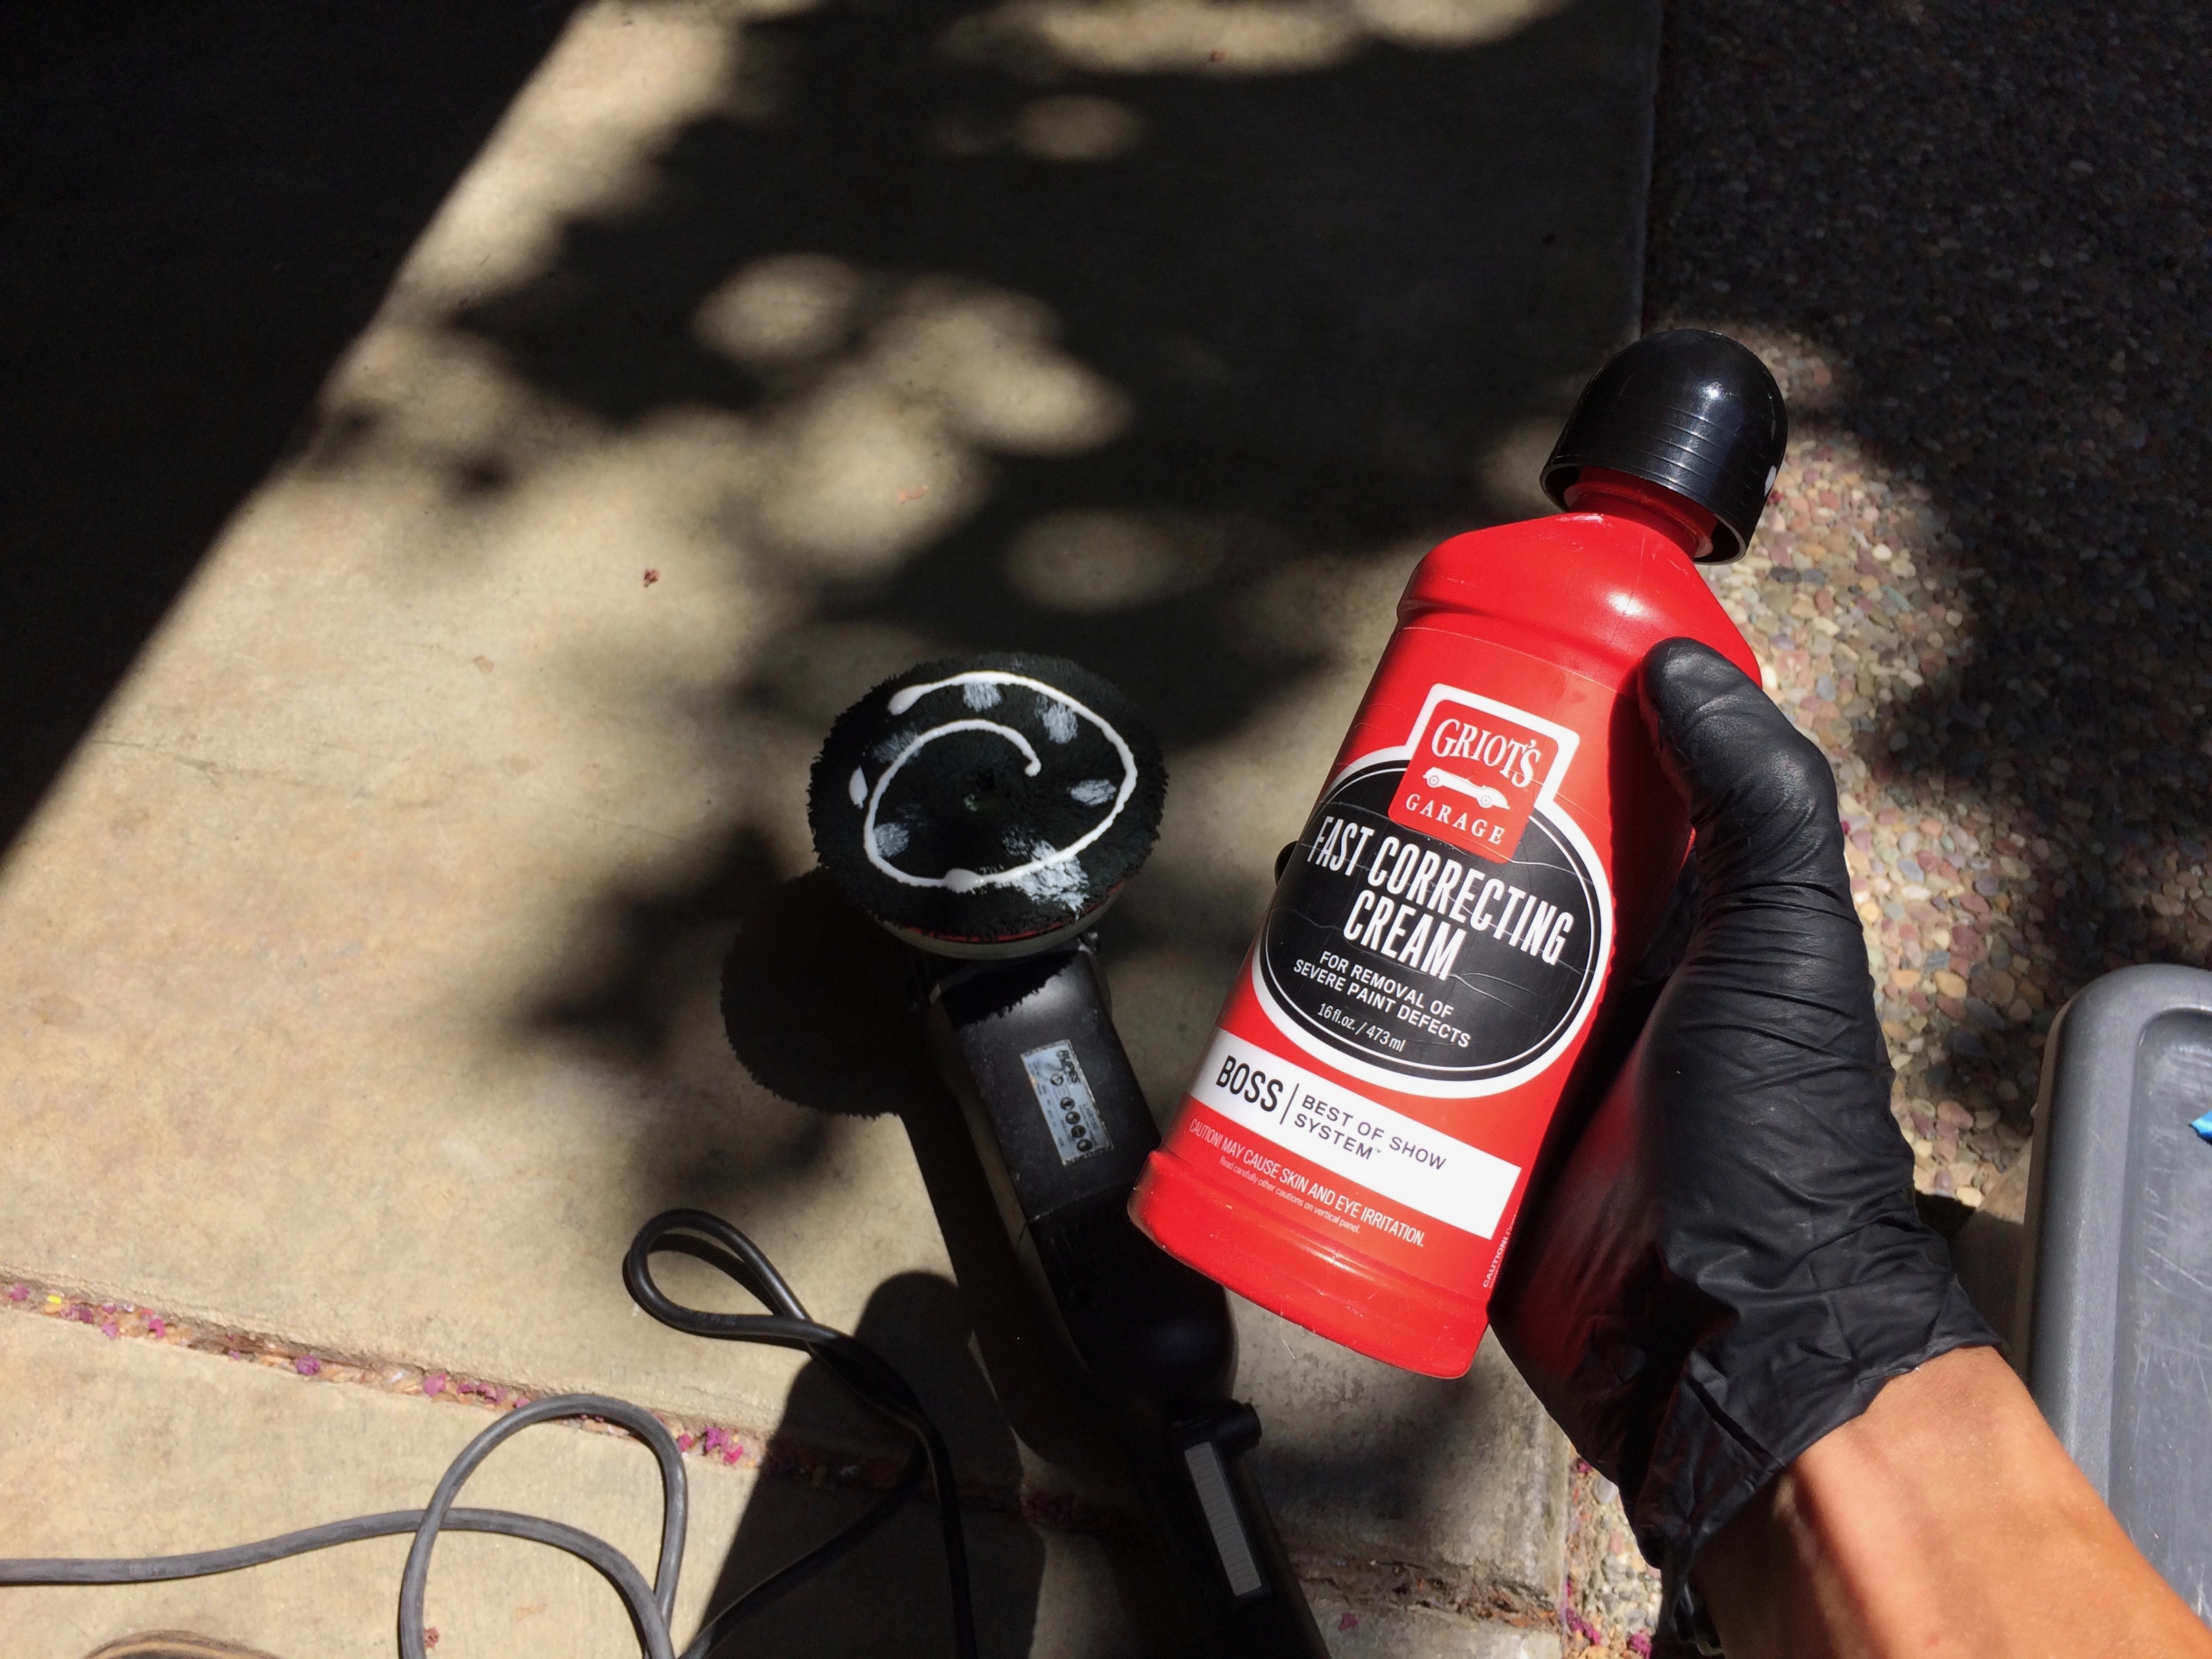
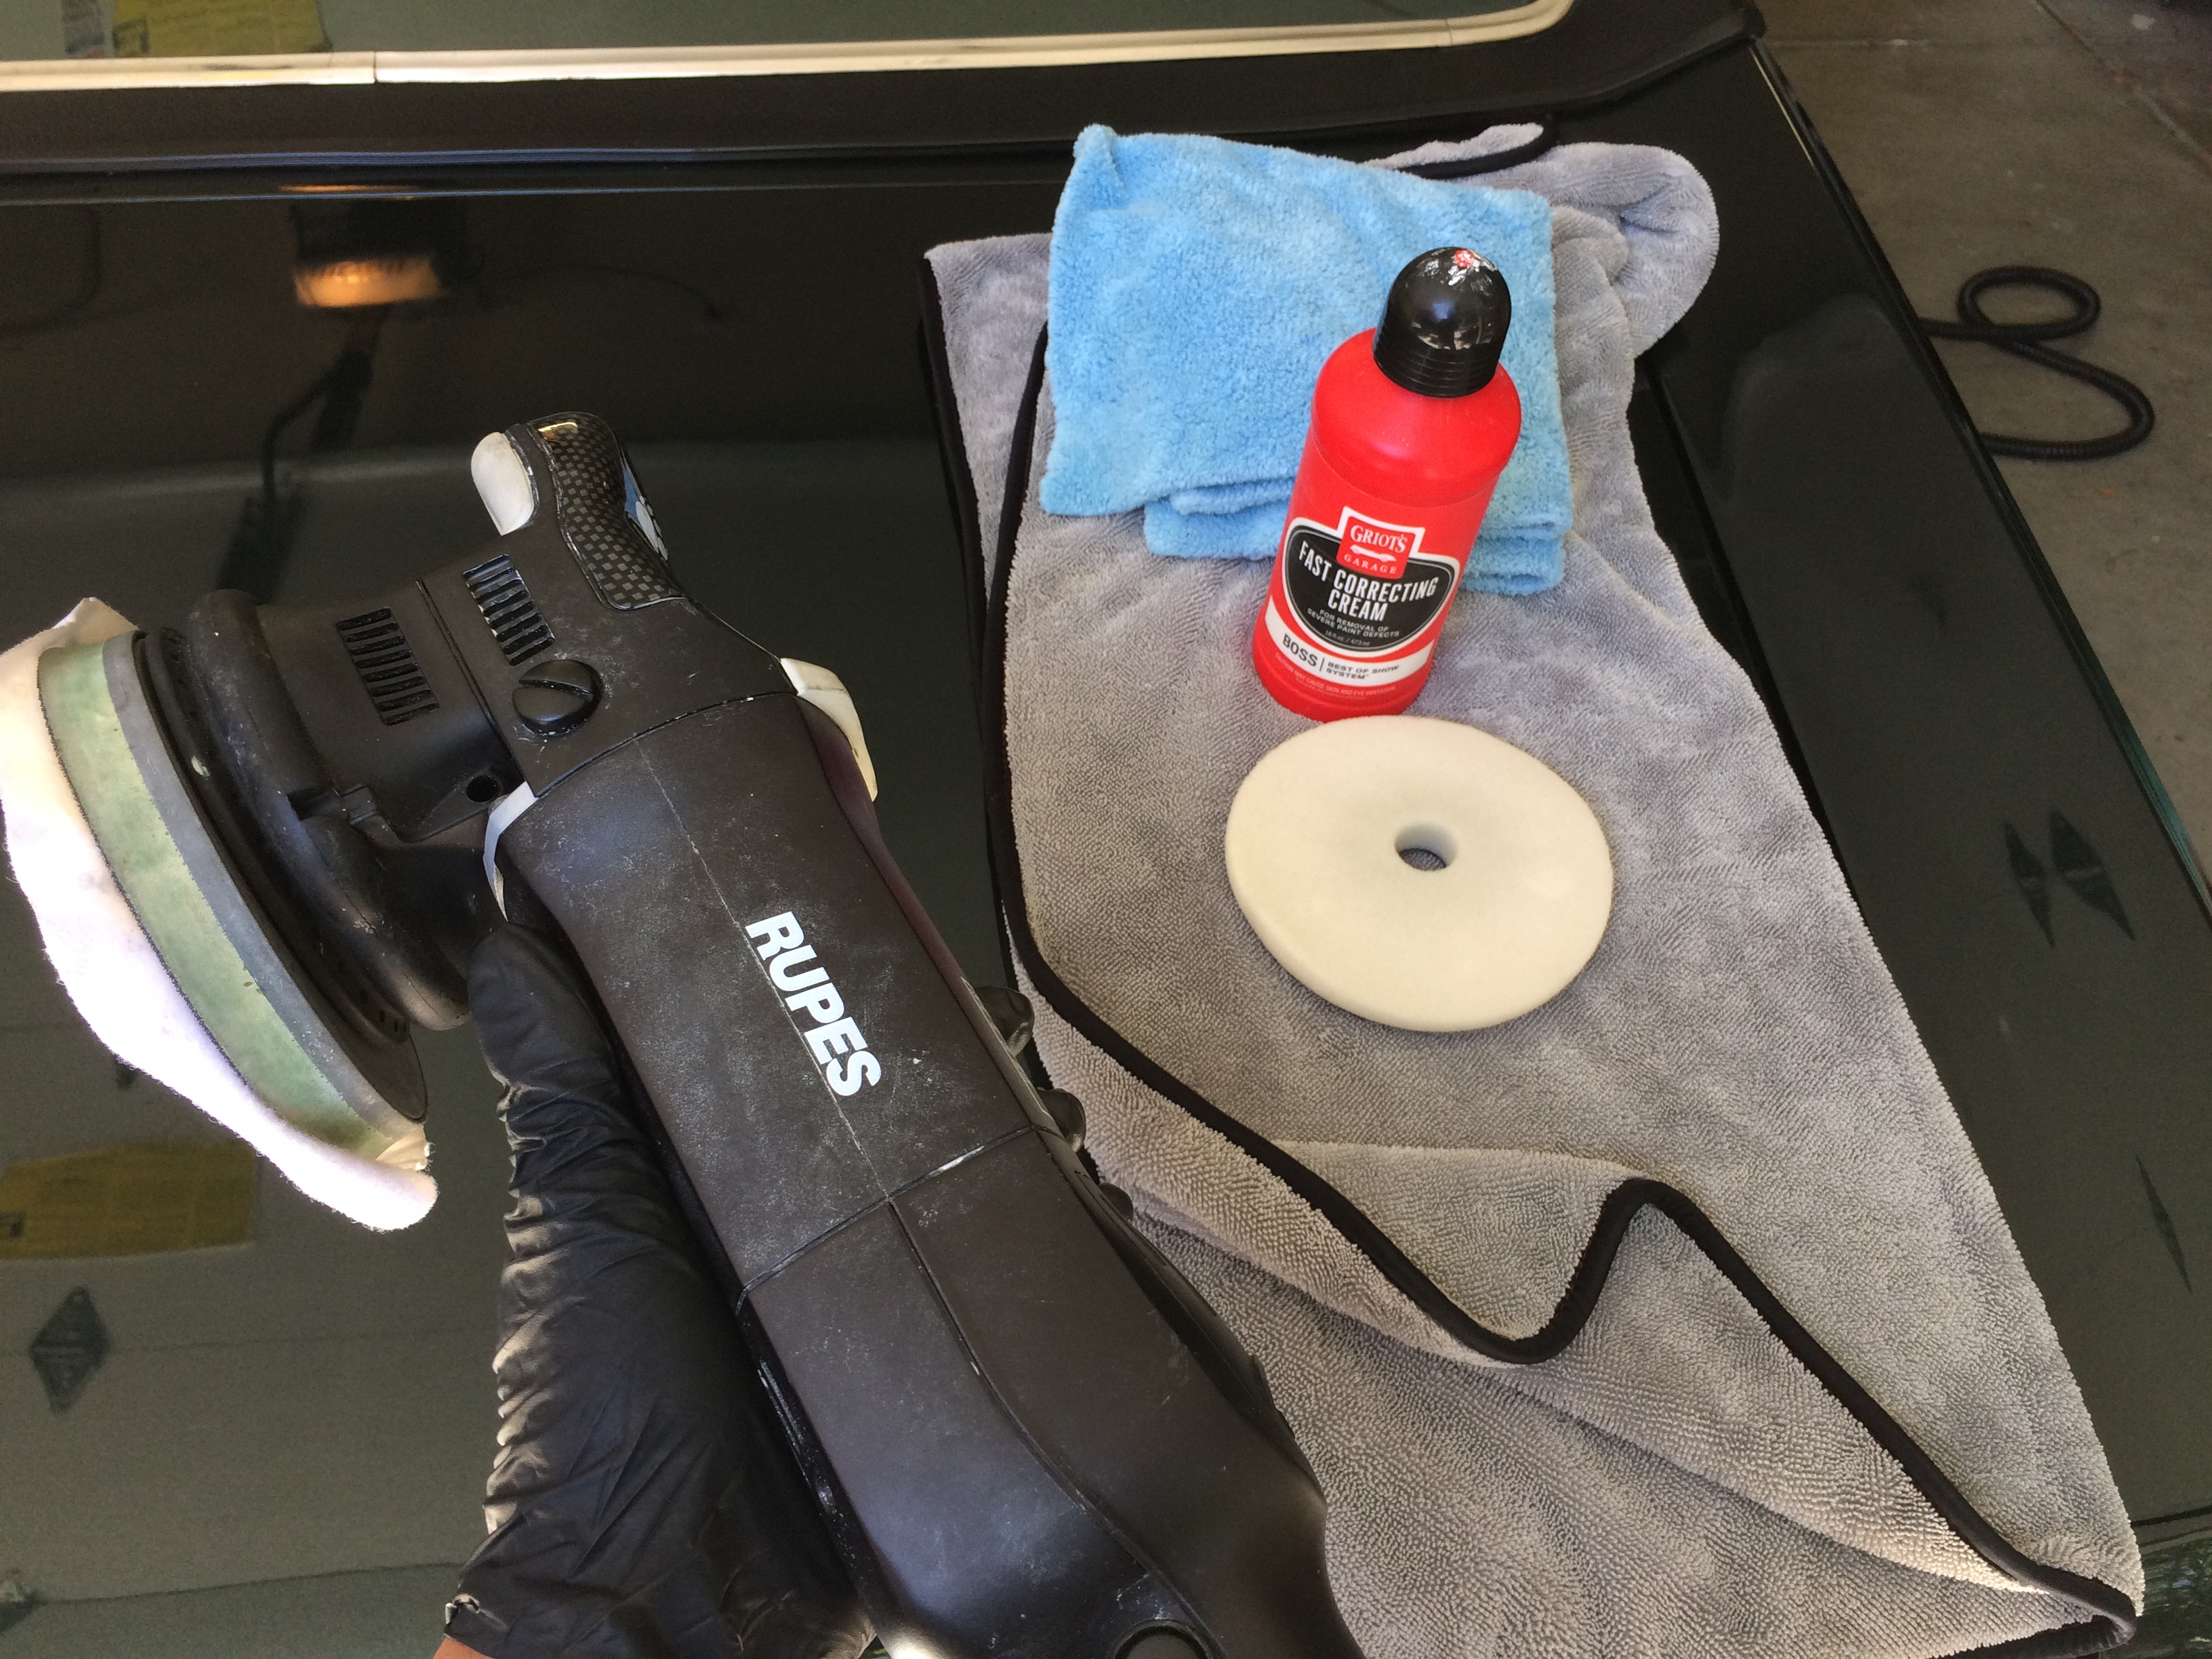
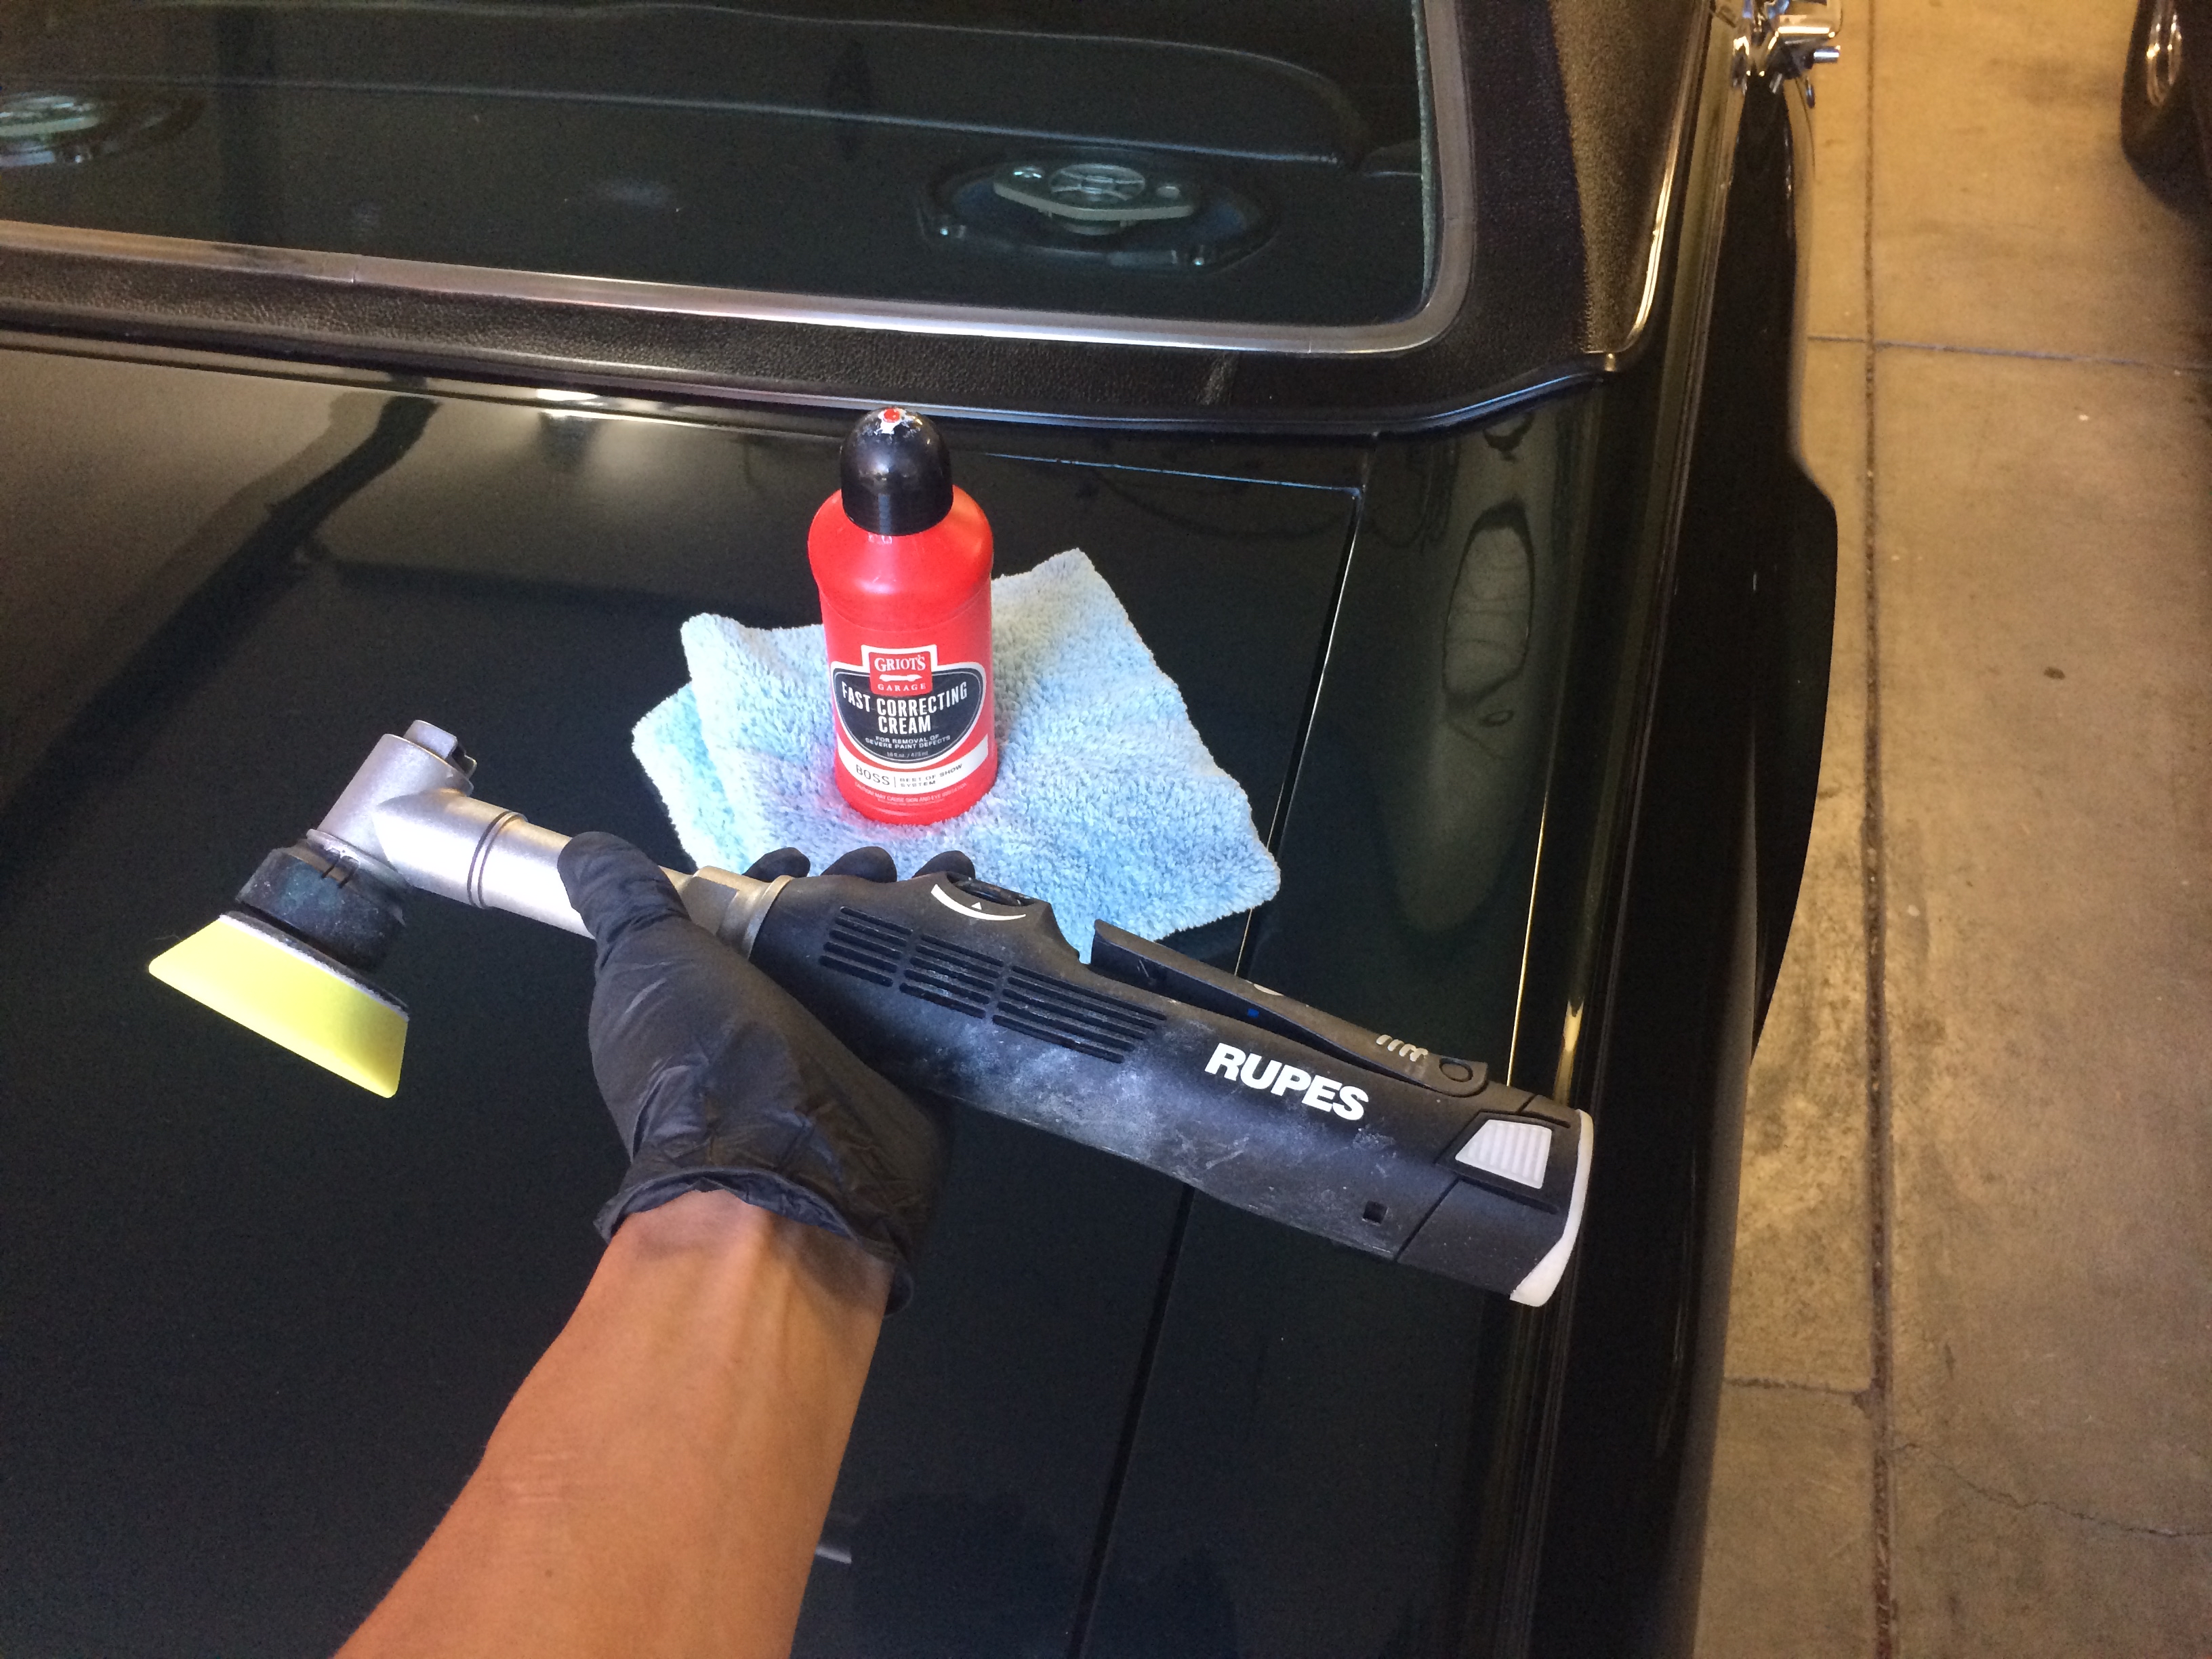
To polish the bumpers I used a Griot’s microfiber pad, primed with Griot’s Fast Correcting Cream, equipped on my Rupes LHR15 Mark II DA Polisher.
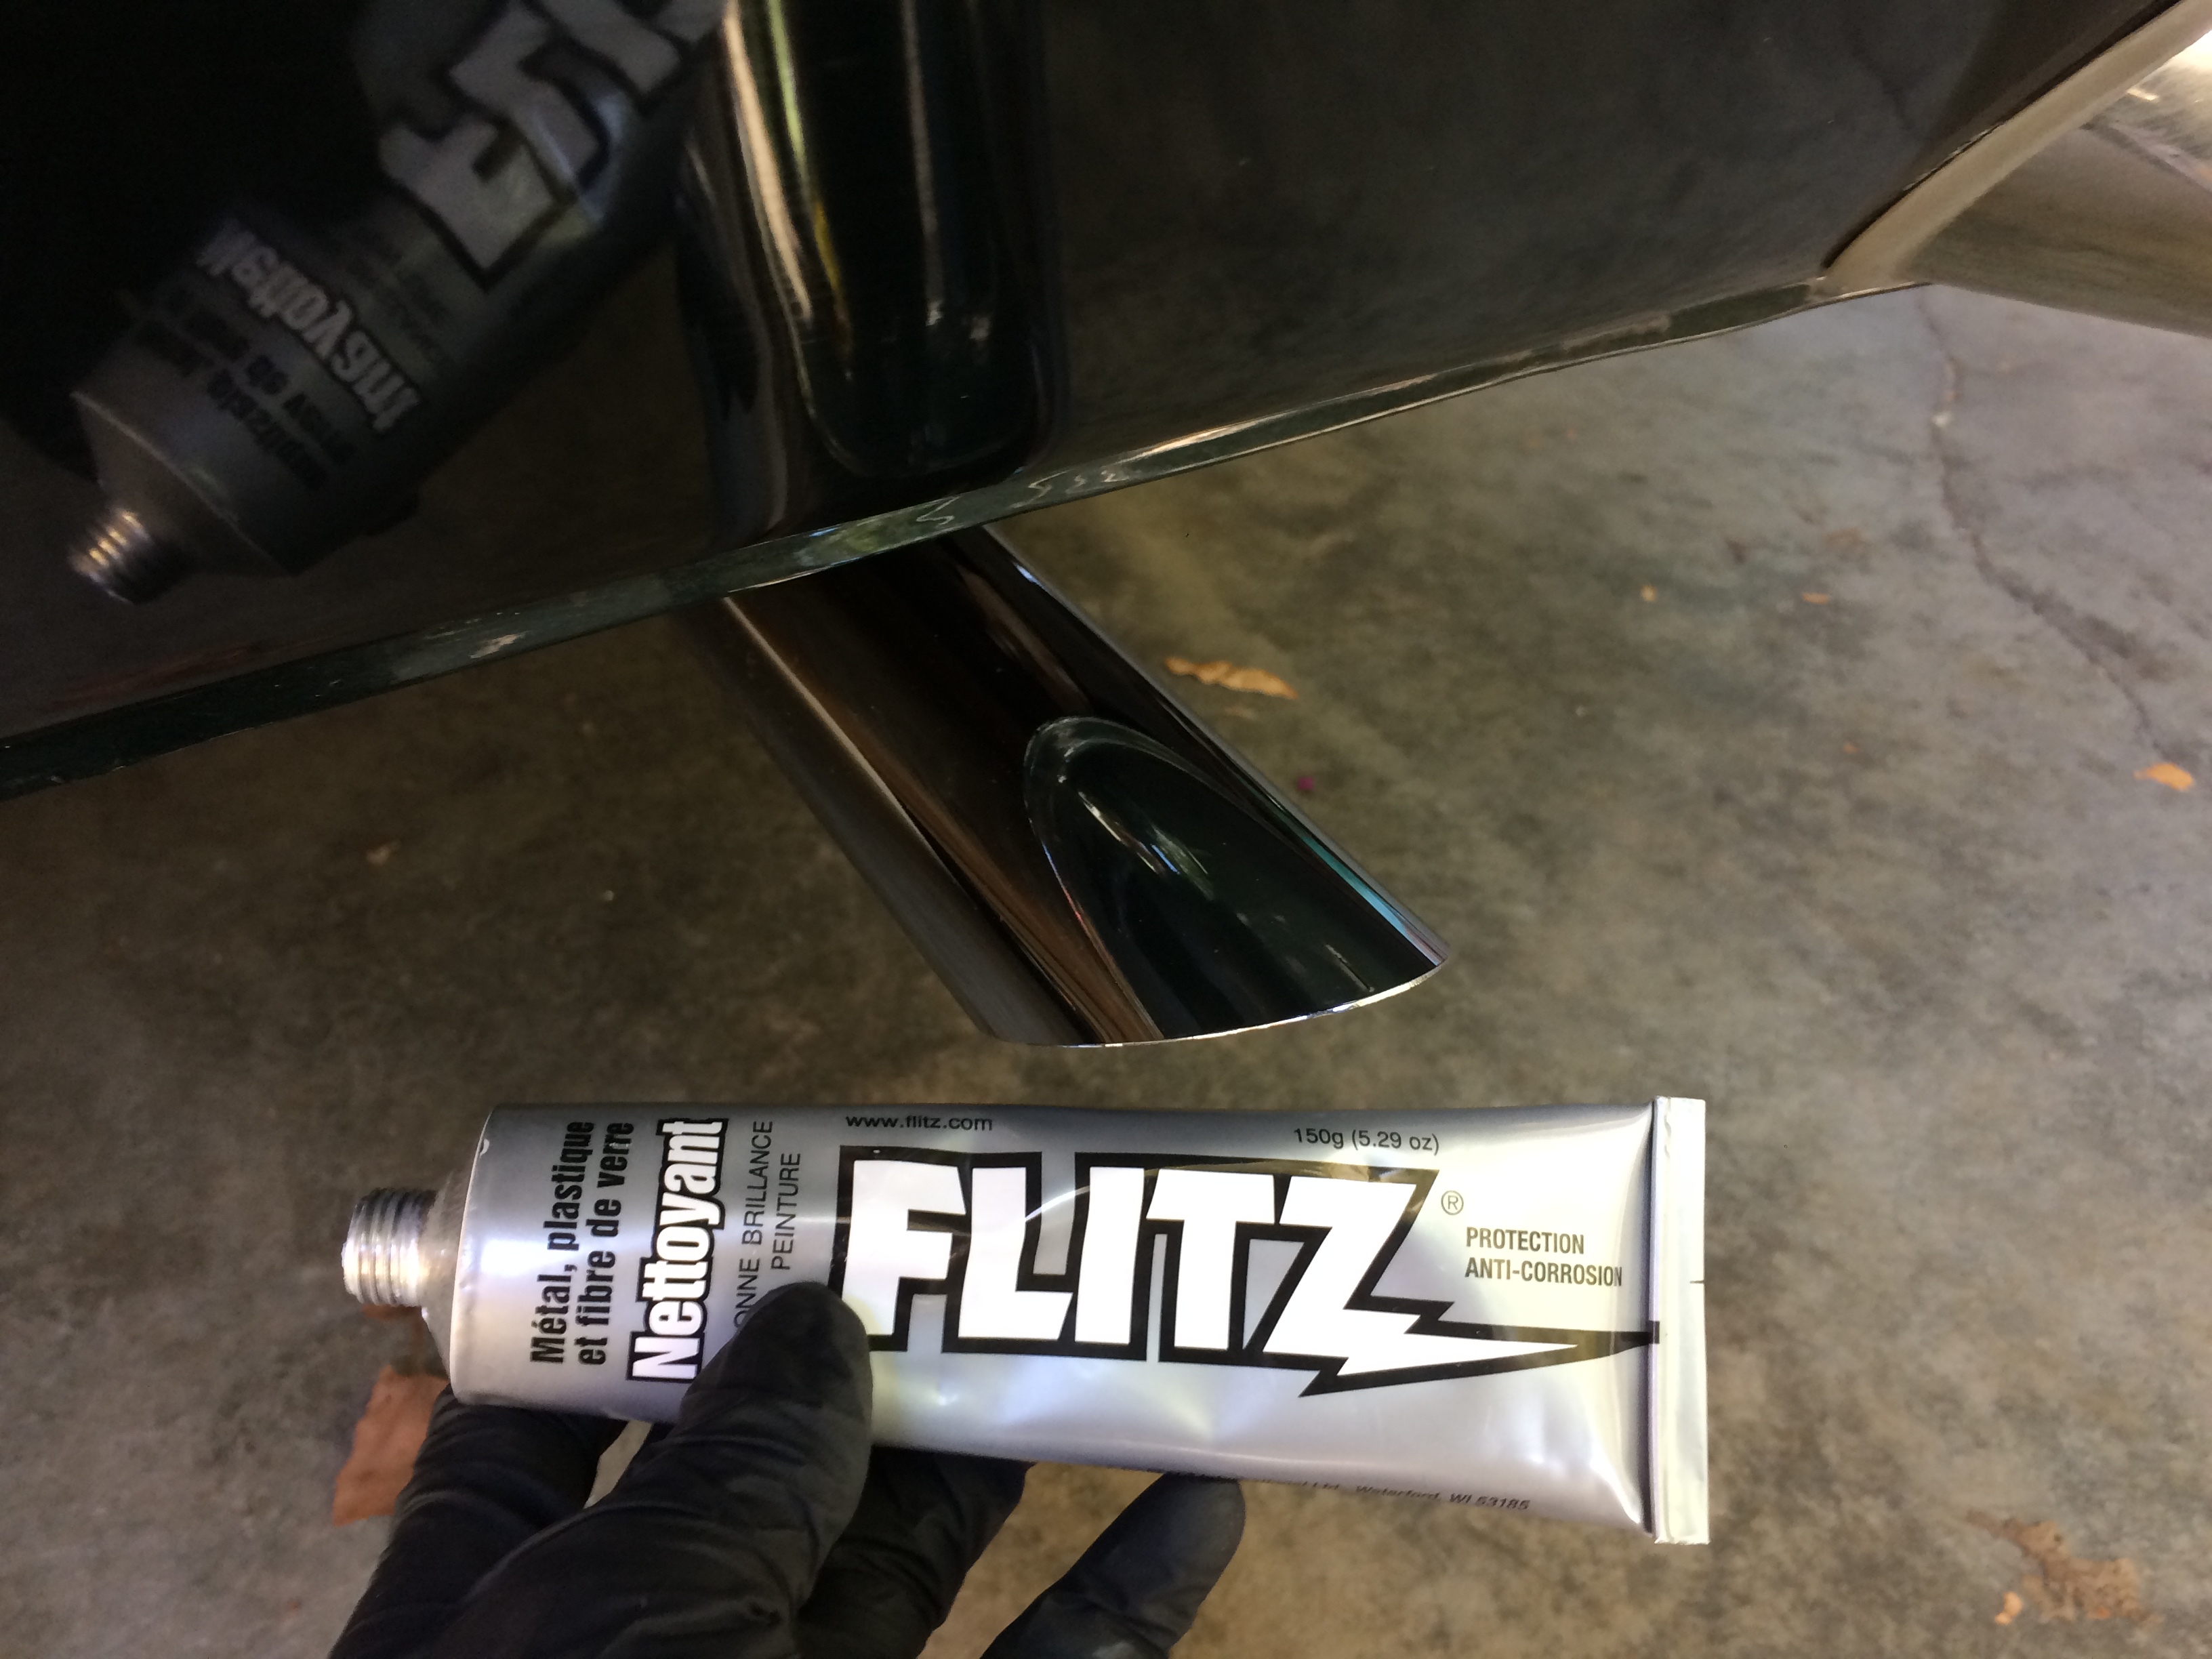
Exhaust tips were polished by hand using Flitz Metal Polish.
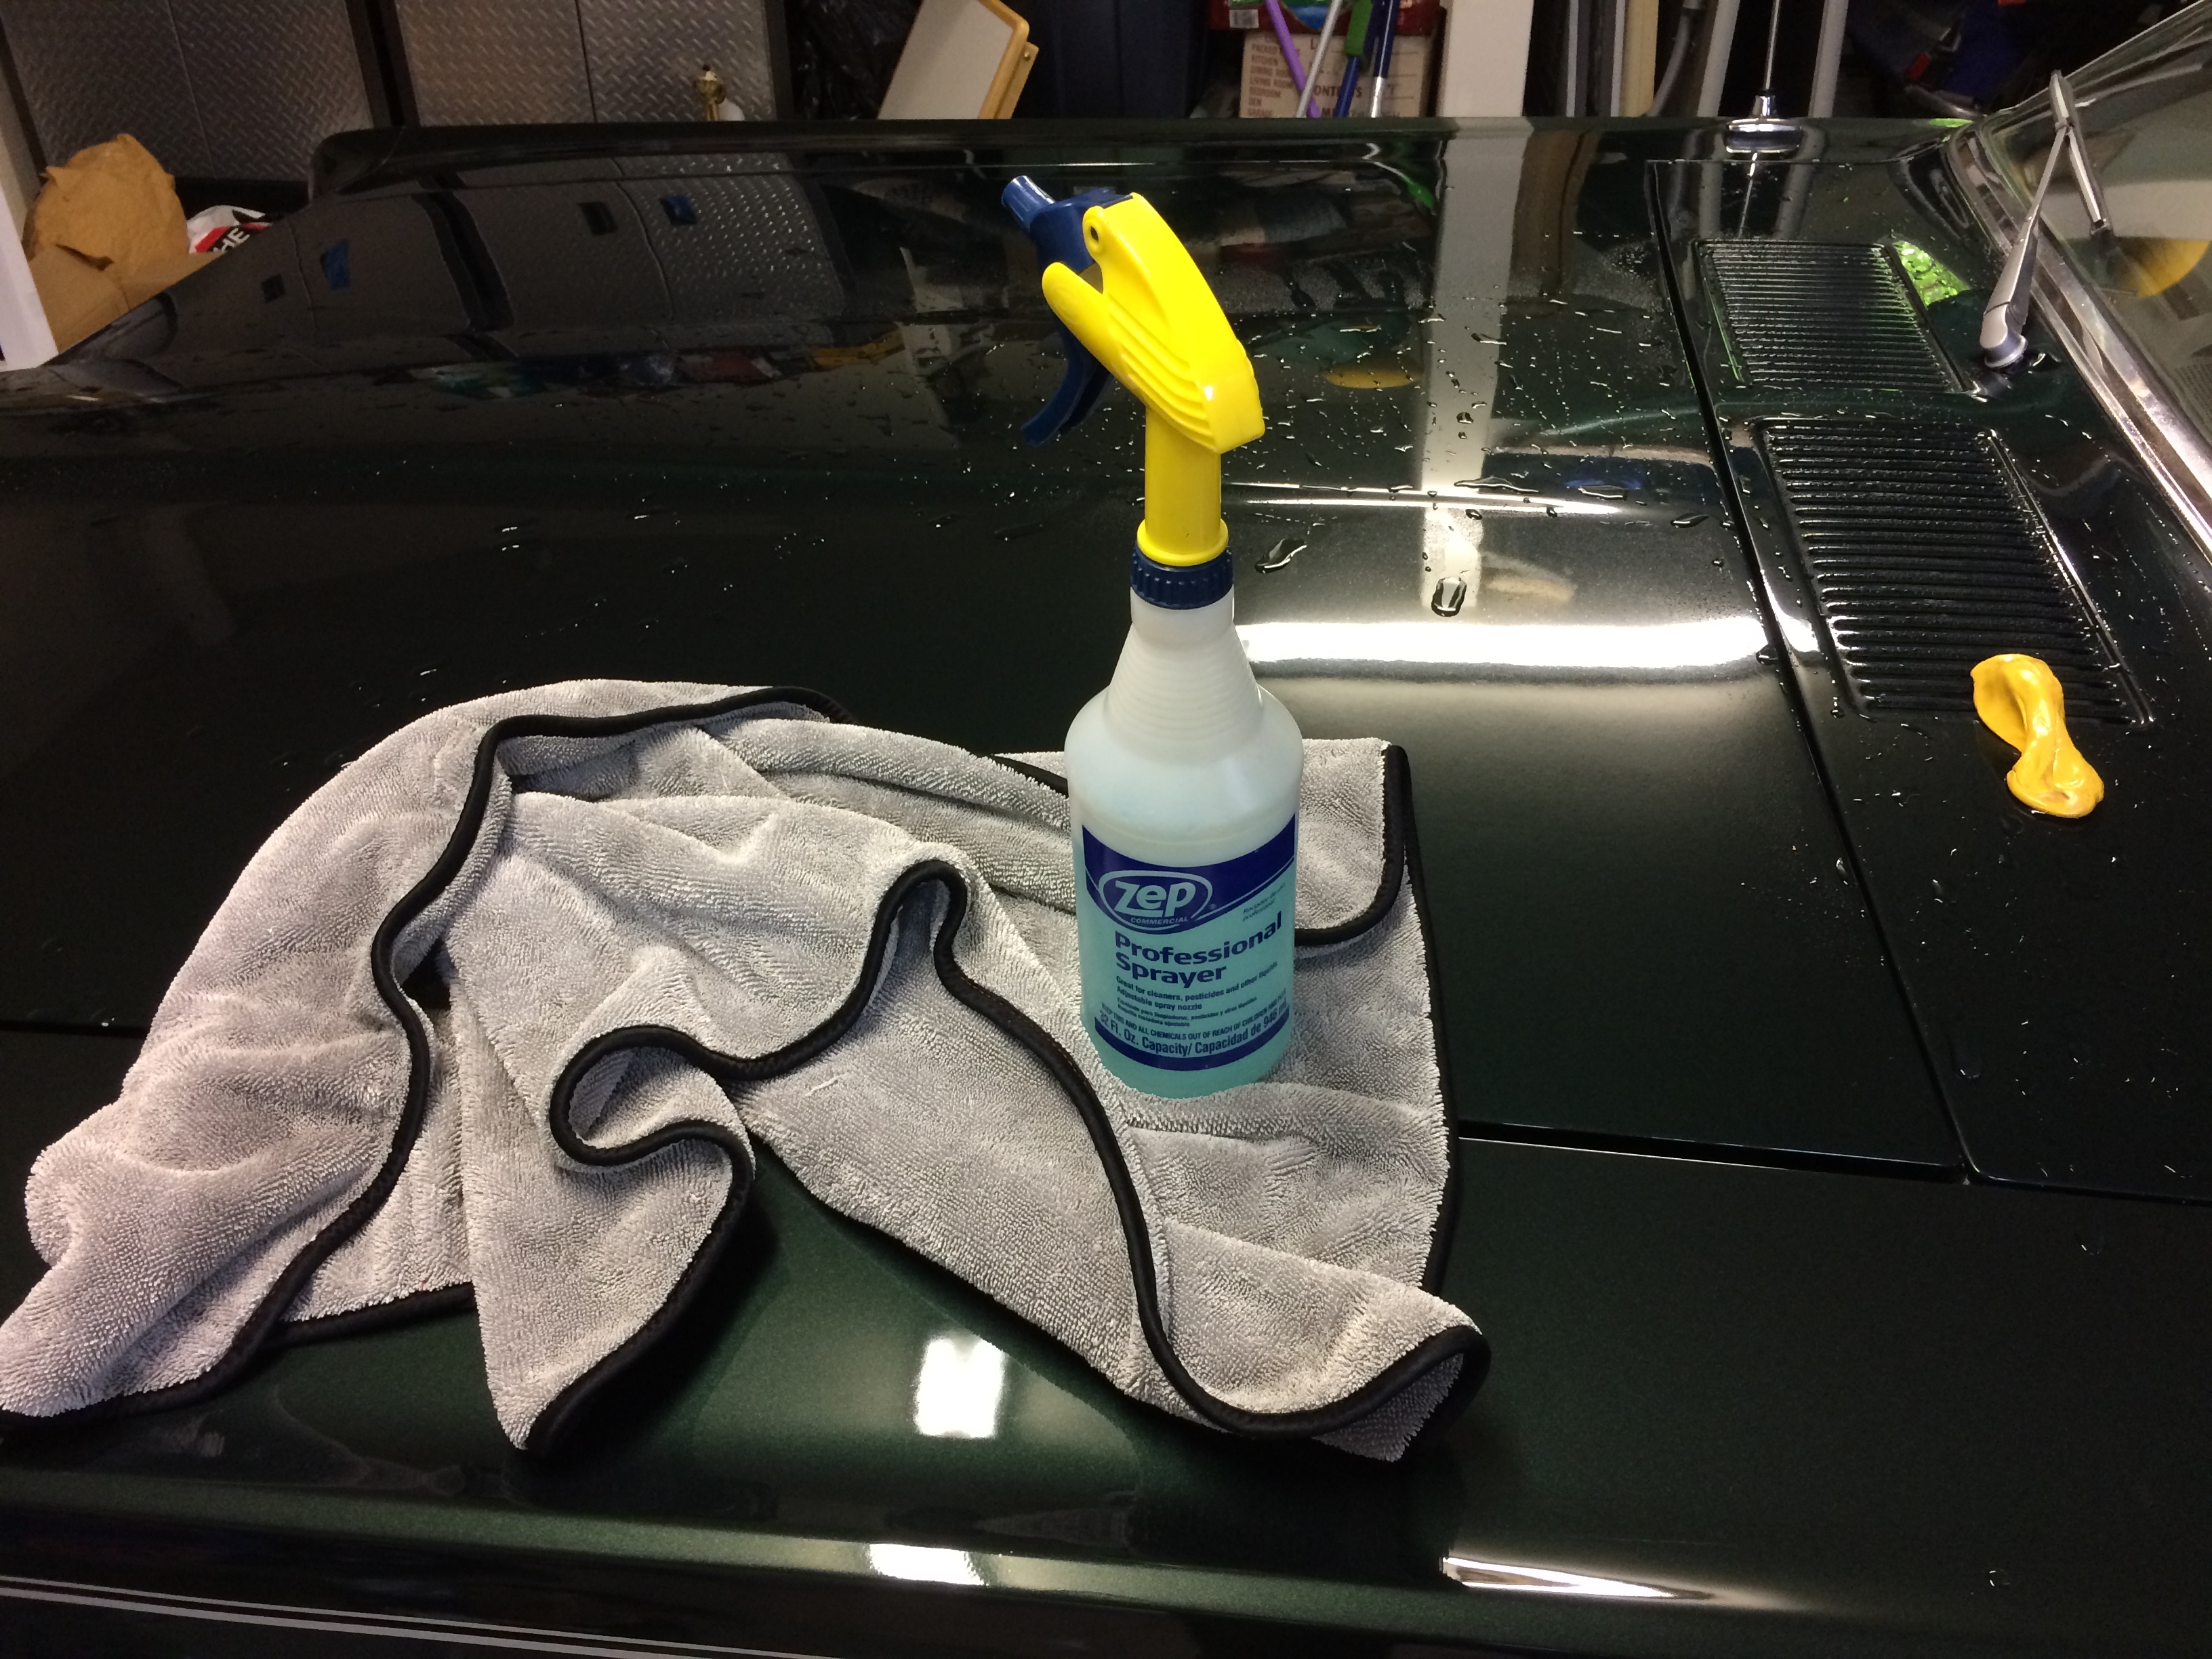
The Cougar’s paint was only dusty and did not require a full wash. I used a Griot’s Plush Edgeless Microfiber with Optimum No Rinse dilution to wipe down the paint. To prep the paint, I followed up with Griot’s Paint Claybar and Optimum No Rinse as a clay lubricant.
The drying towel used is a Griot’s PFM Drying Towel.
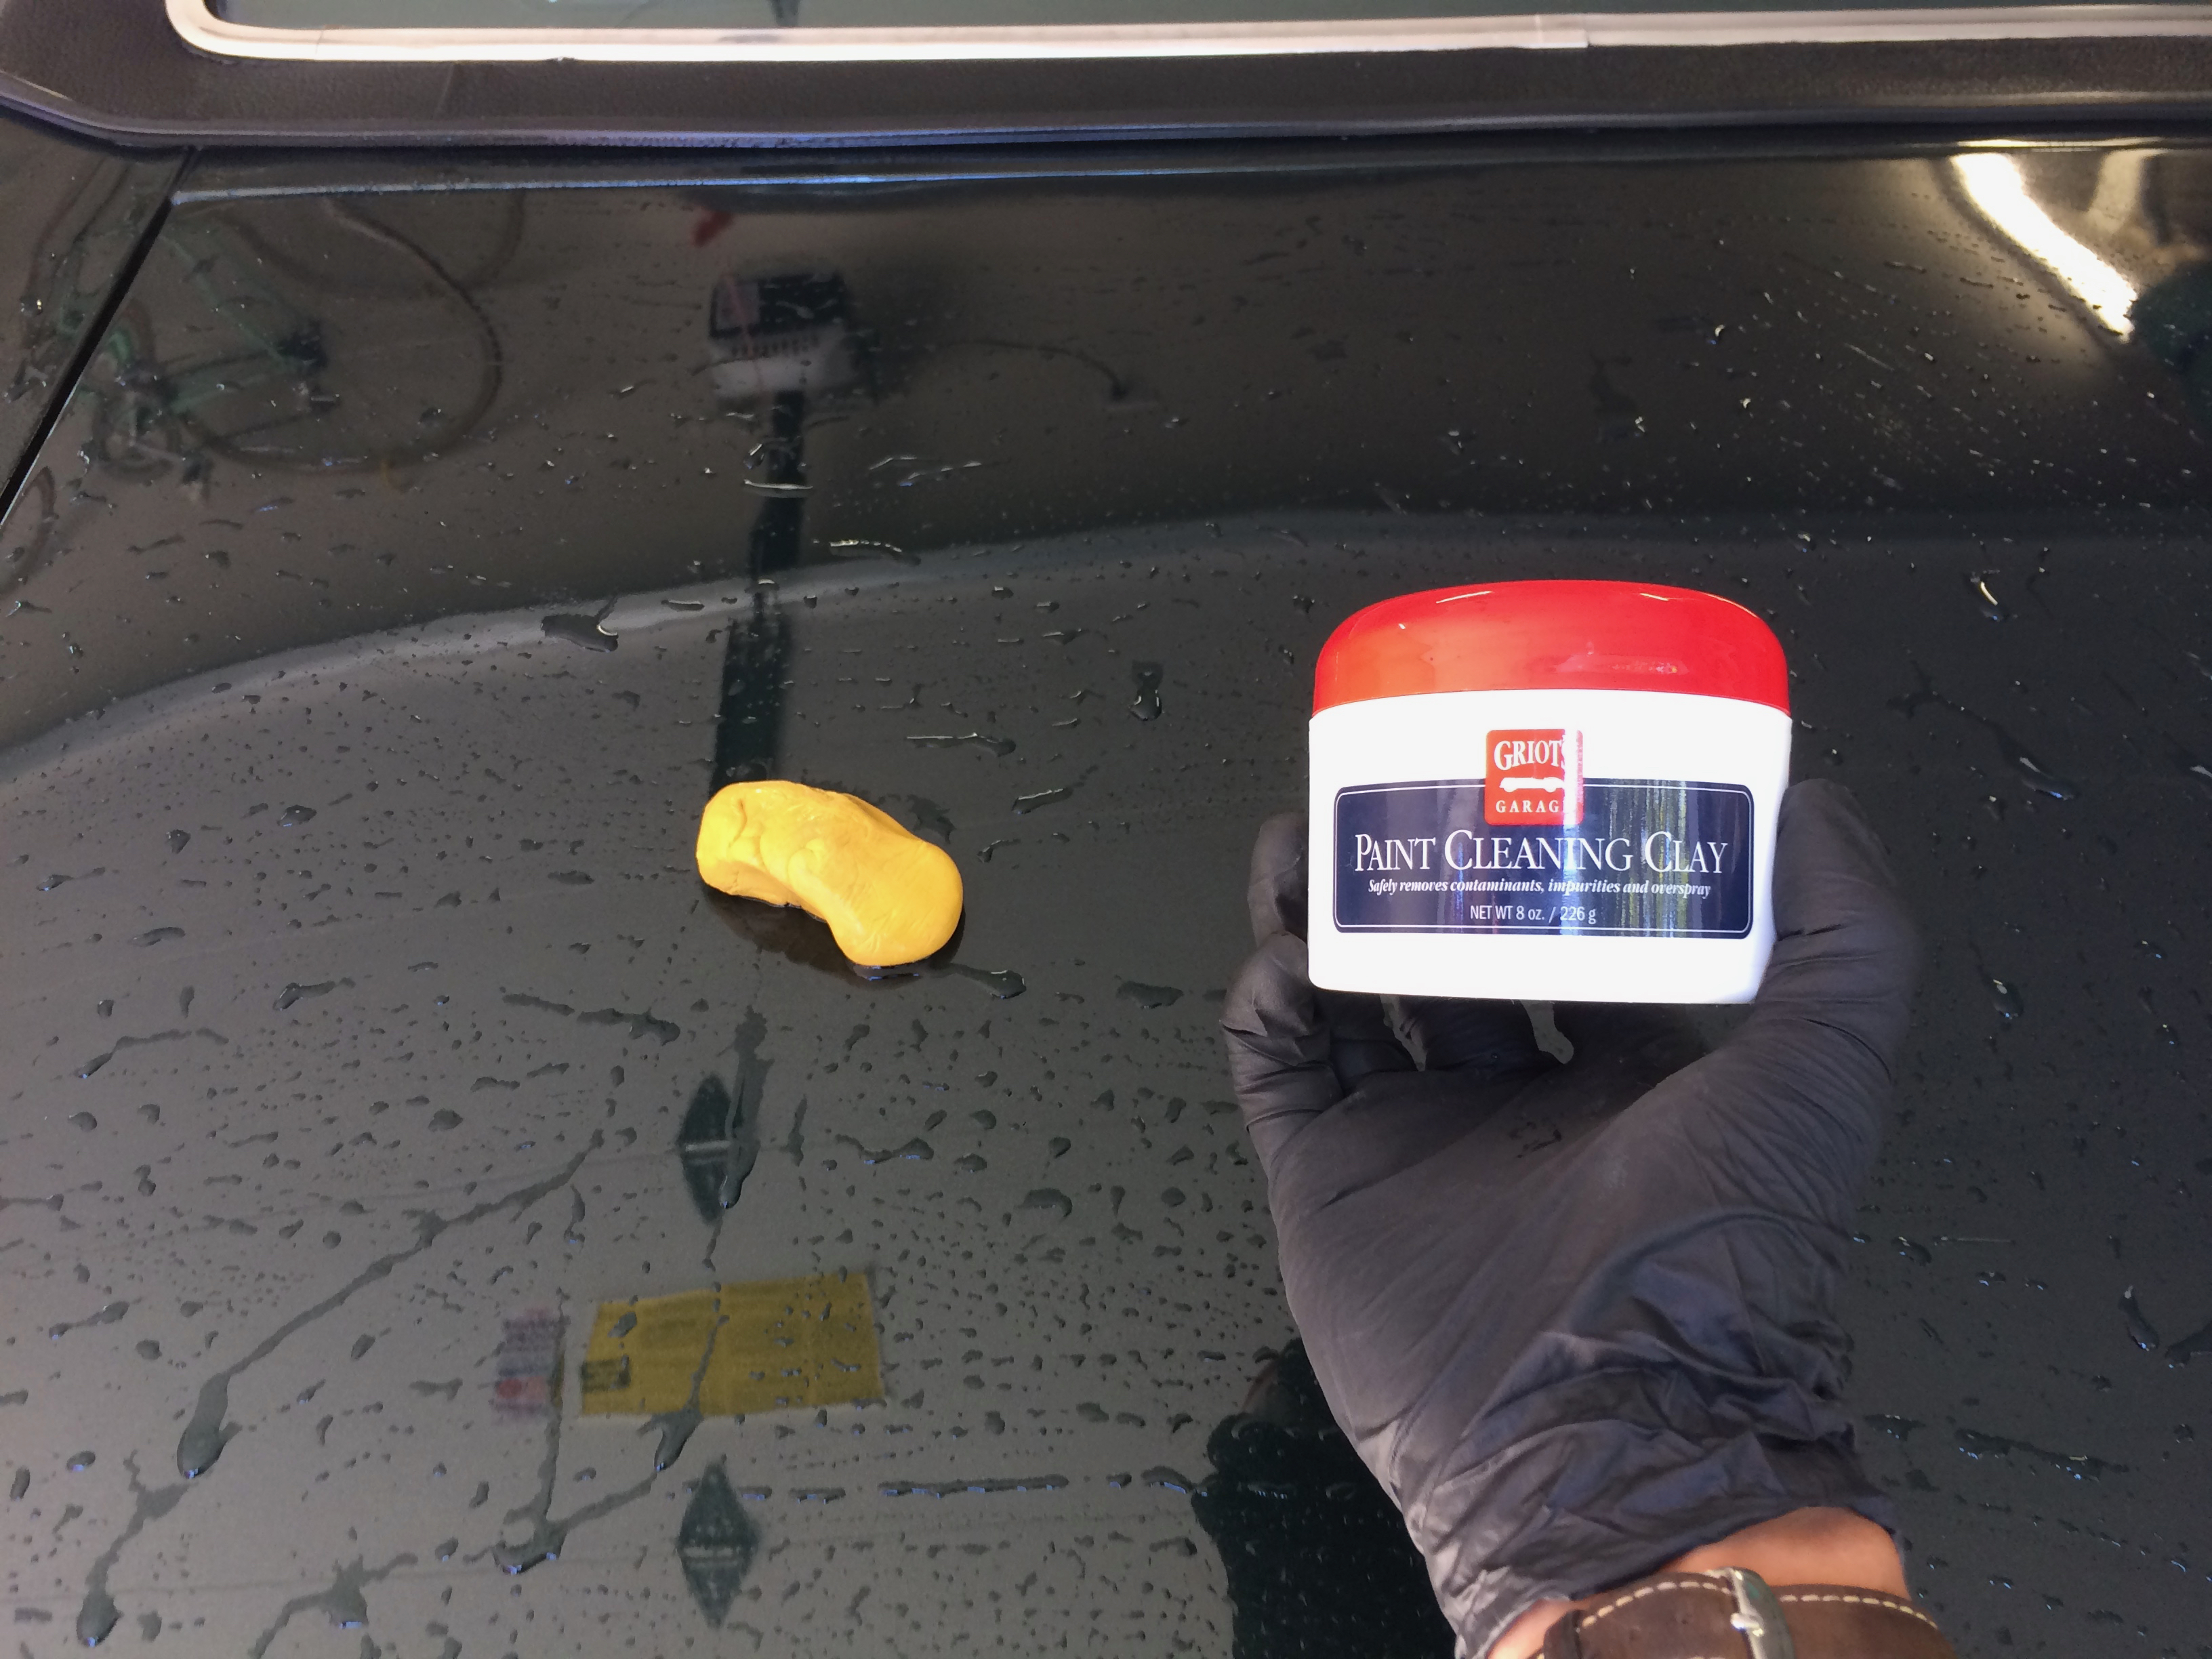
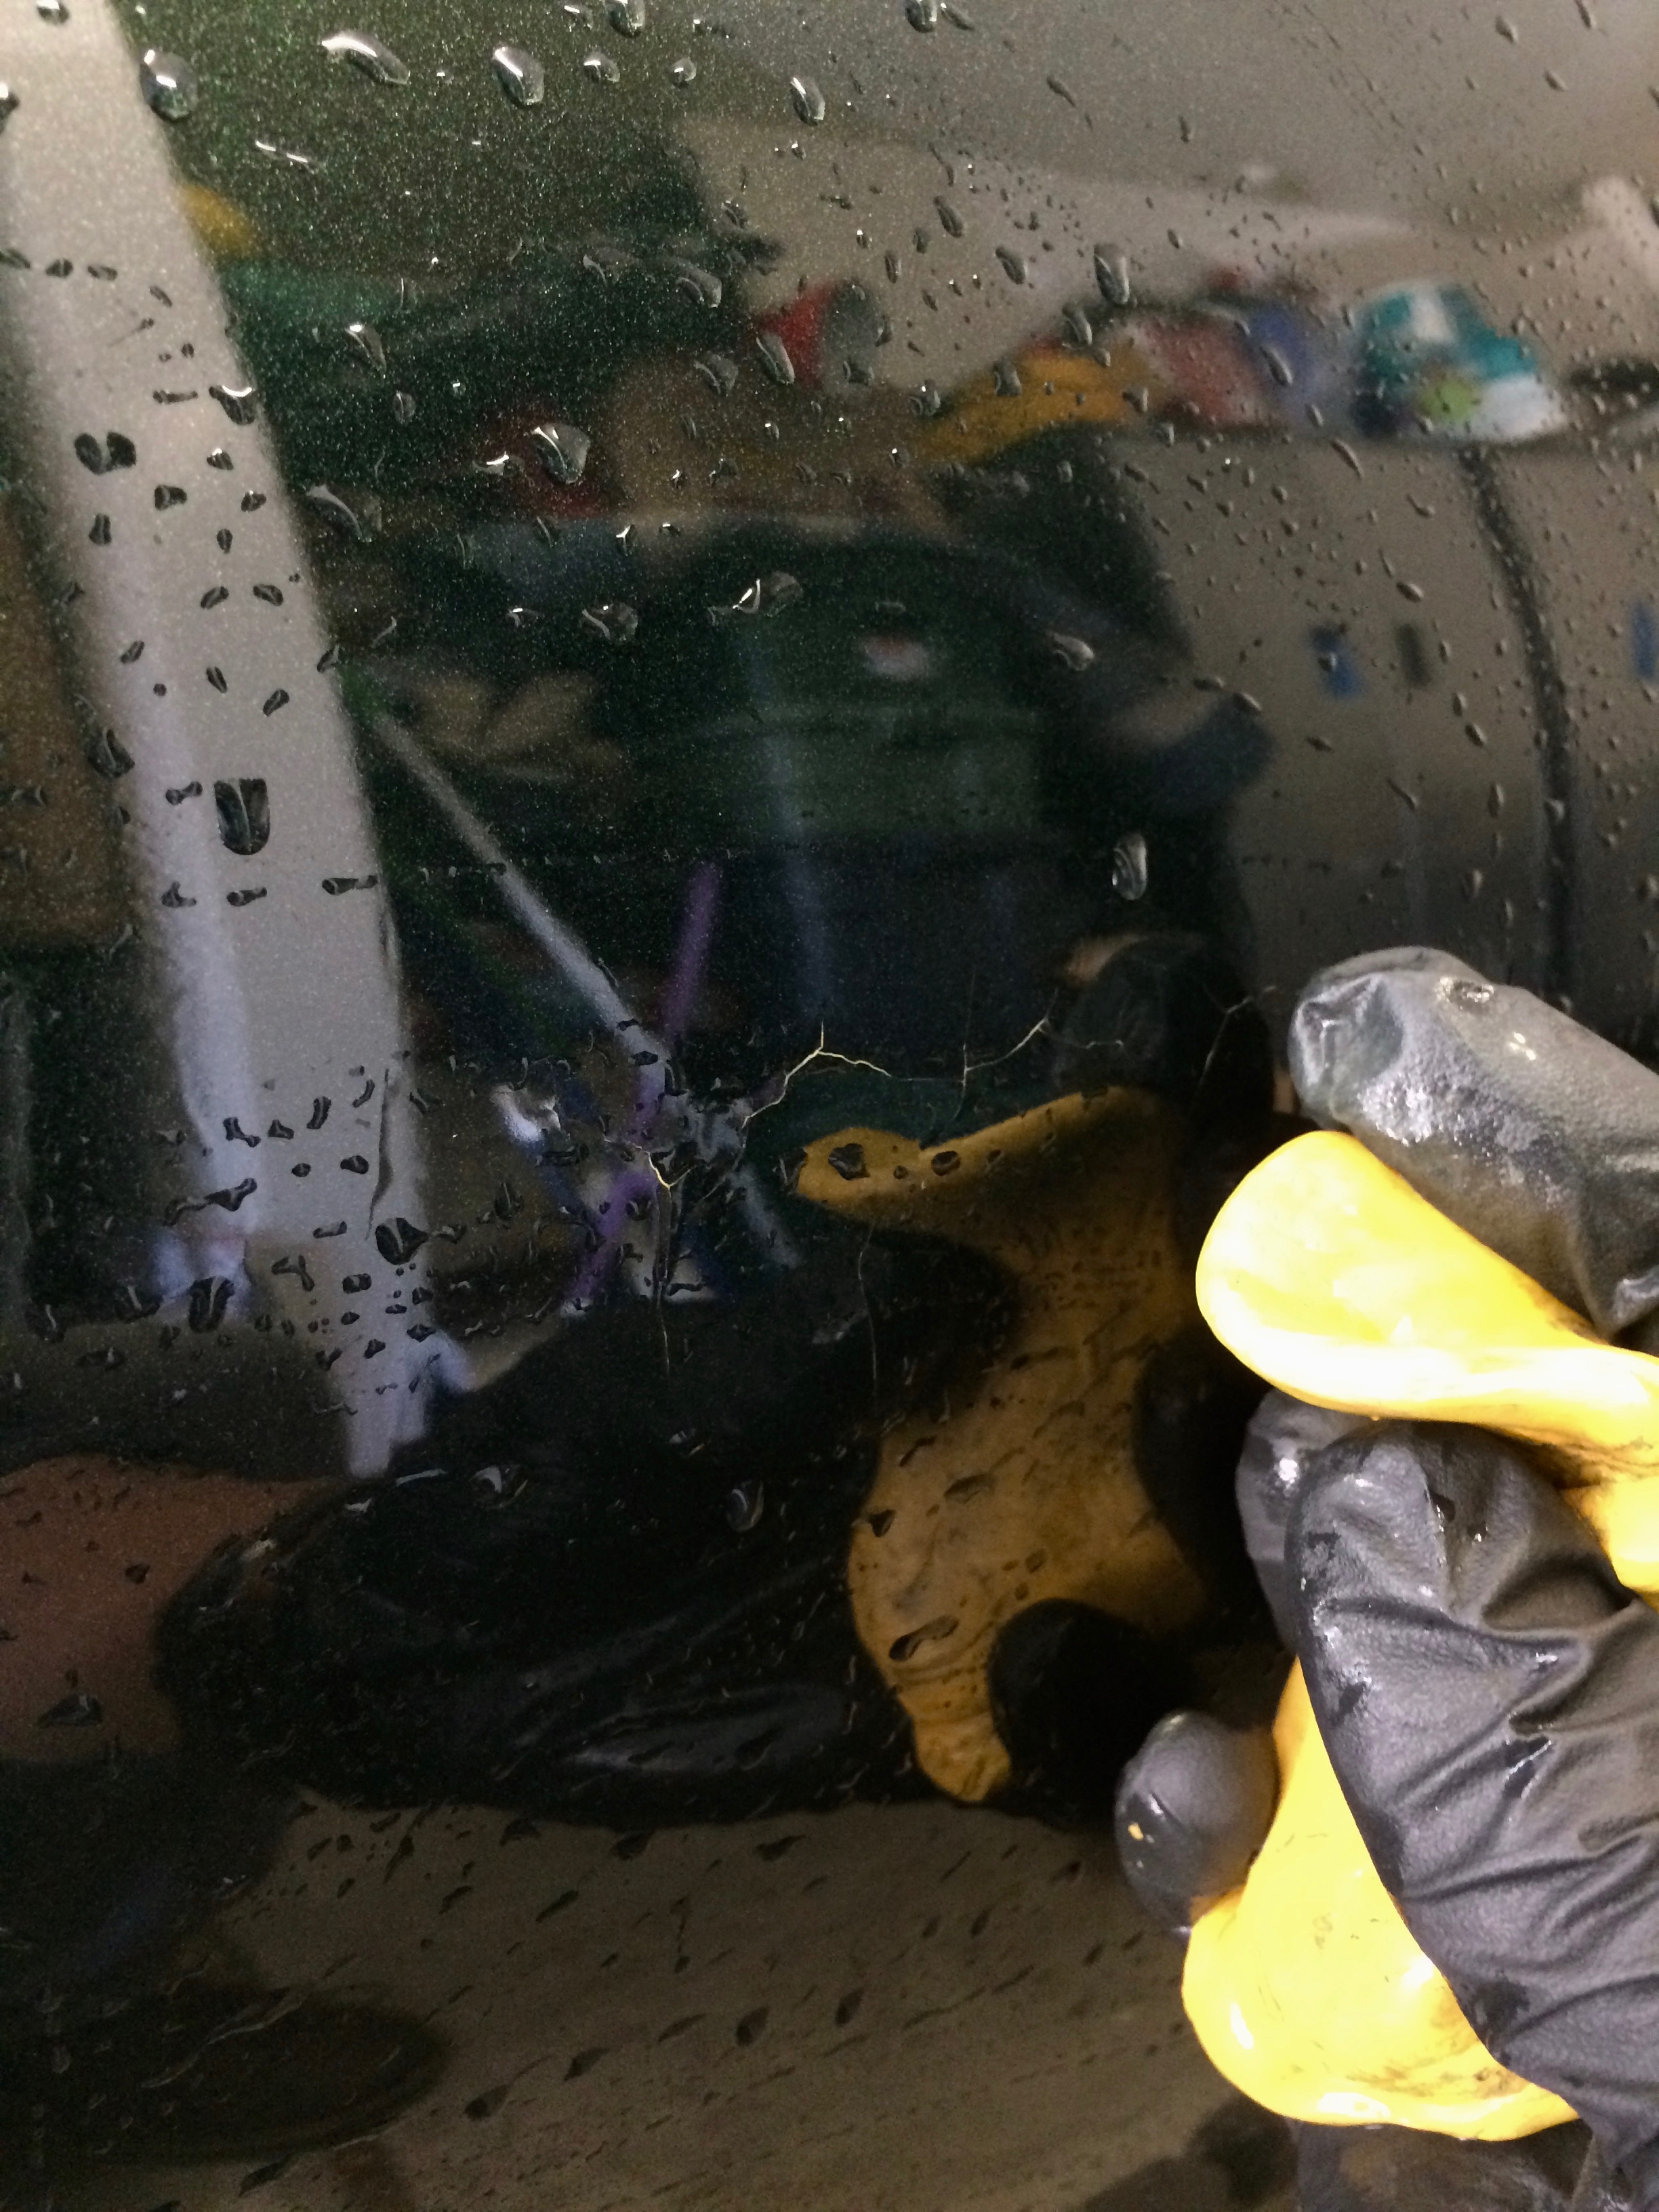
Care was needed not to get any clay in the cracked paint. Any caught clay was removed with a softened toothpick.
I started the first stage of paint correction using a Griot’s Fast Correcting Foam Pad, primed with Griot’s Fast Correcting Cream, equipped on the Rupes DA.
Here is my test section on the trunk after both compounding and polish. Left side is uncorrected.
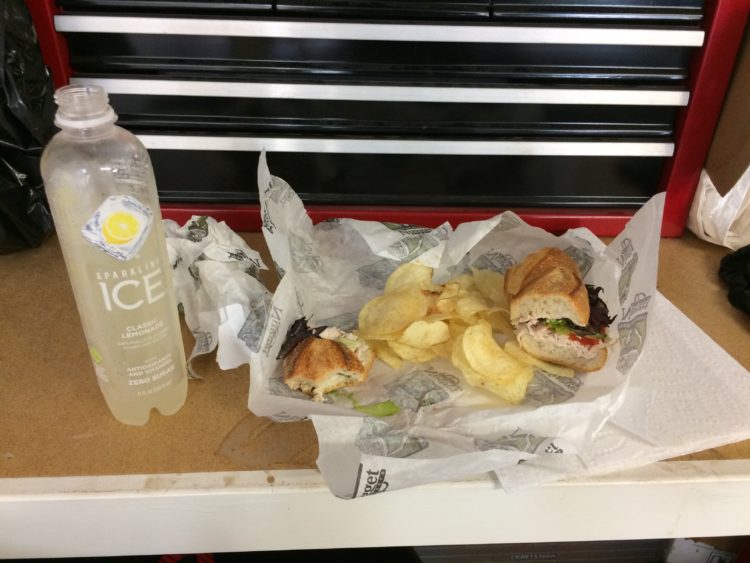
The owners interrupted to provide me with a delicious sandwich and cold drink, complete with chips! I usually only snack during projects and so I am always delighted when I am brought a lunch. Superb clients!
Fully nourished, I finished the first stage of correction and moved on to the next.
I re-equipped the Rupes with a Griot’s Perfecting Pad primed with Meguiar’s D166 Ultra Polishing Wax, and I used a Rupes Nano with Griot’s Fast Correcting Cream on a finishing pad for tight corners around the Cougar’s shoulder line.

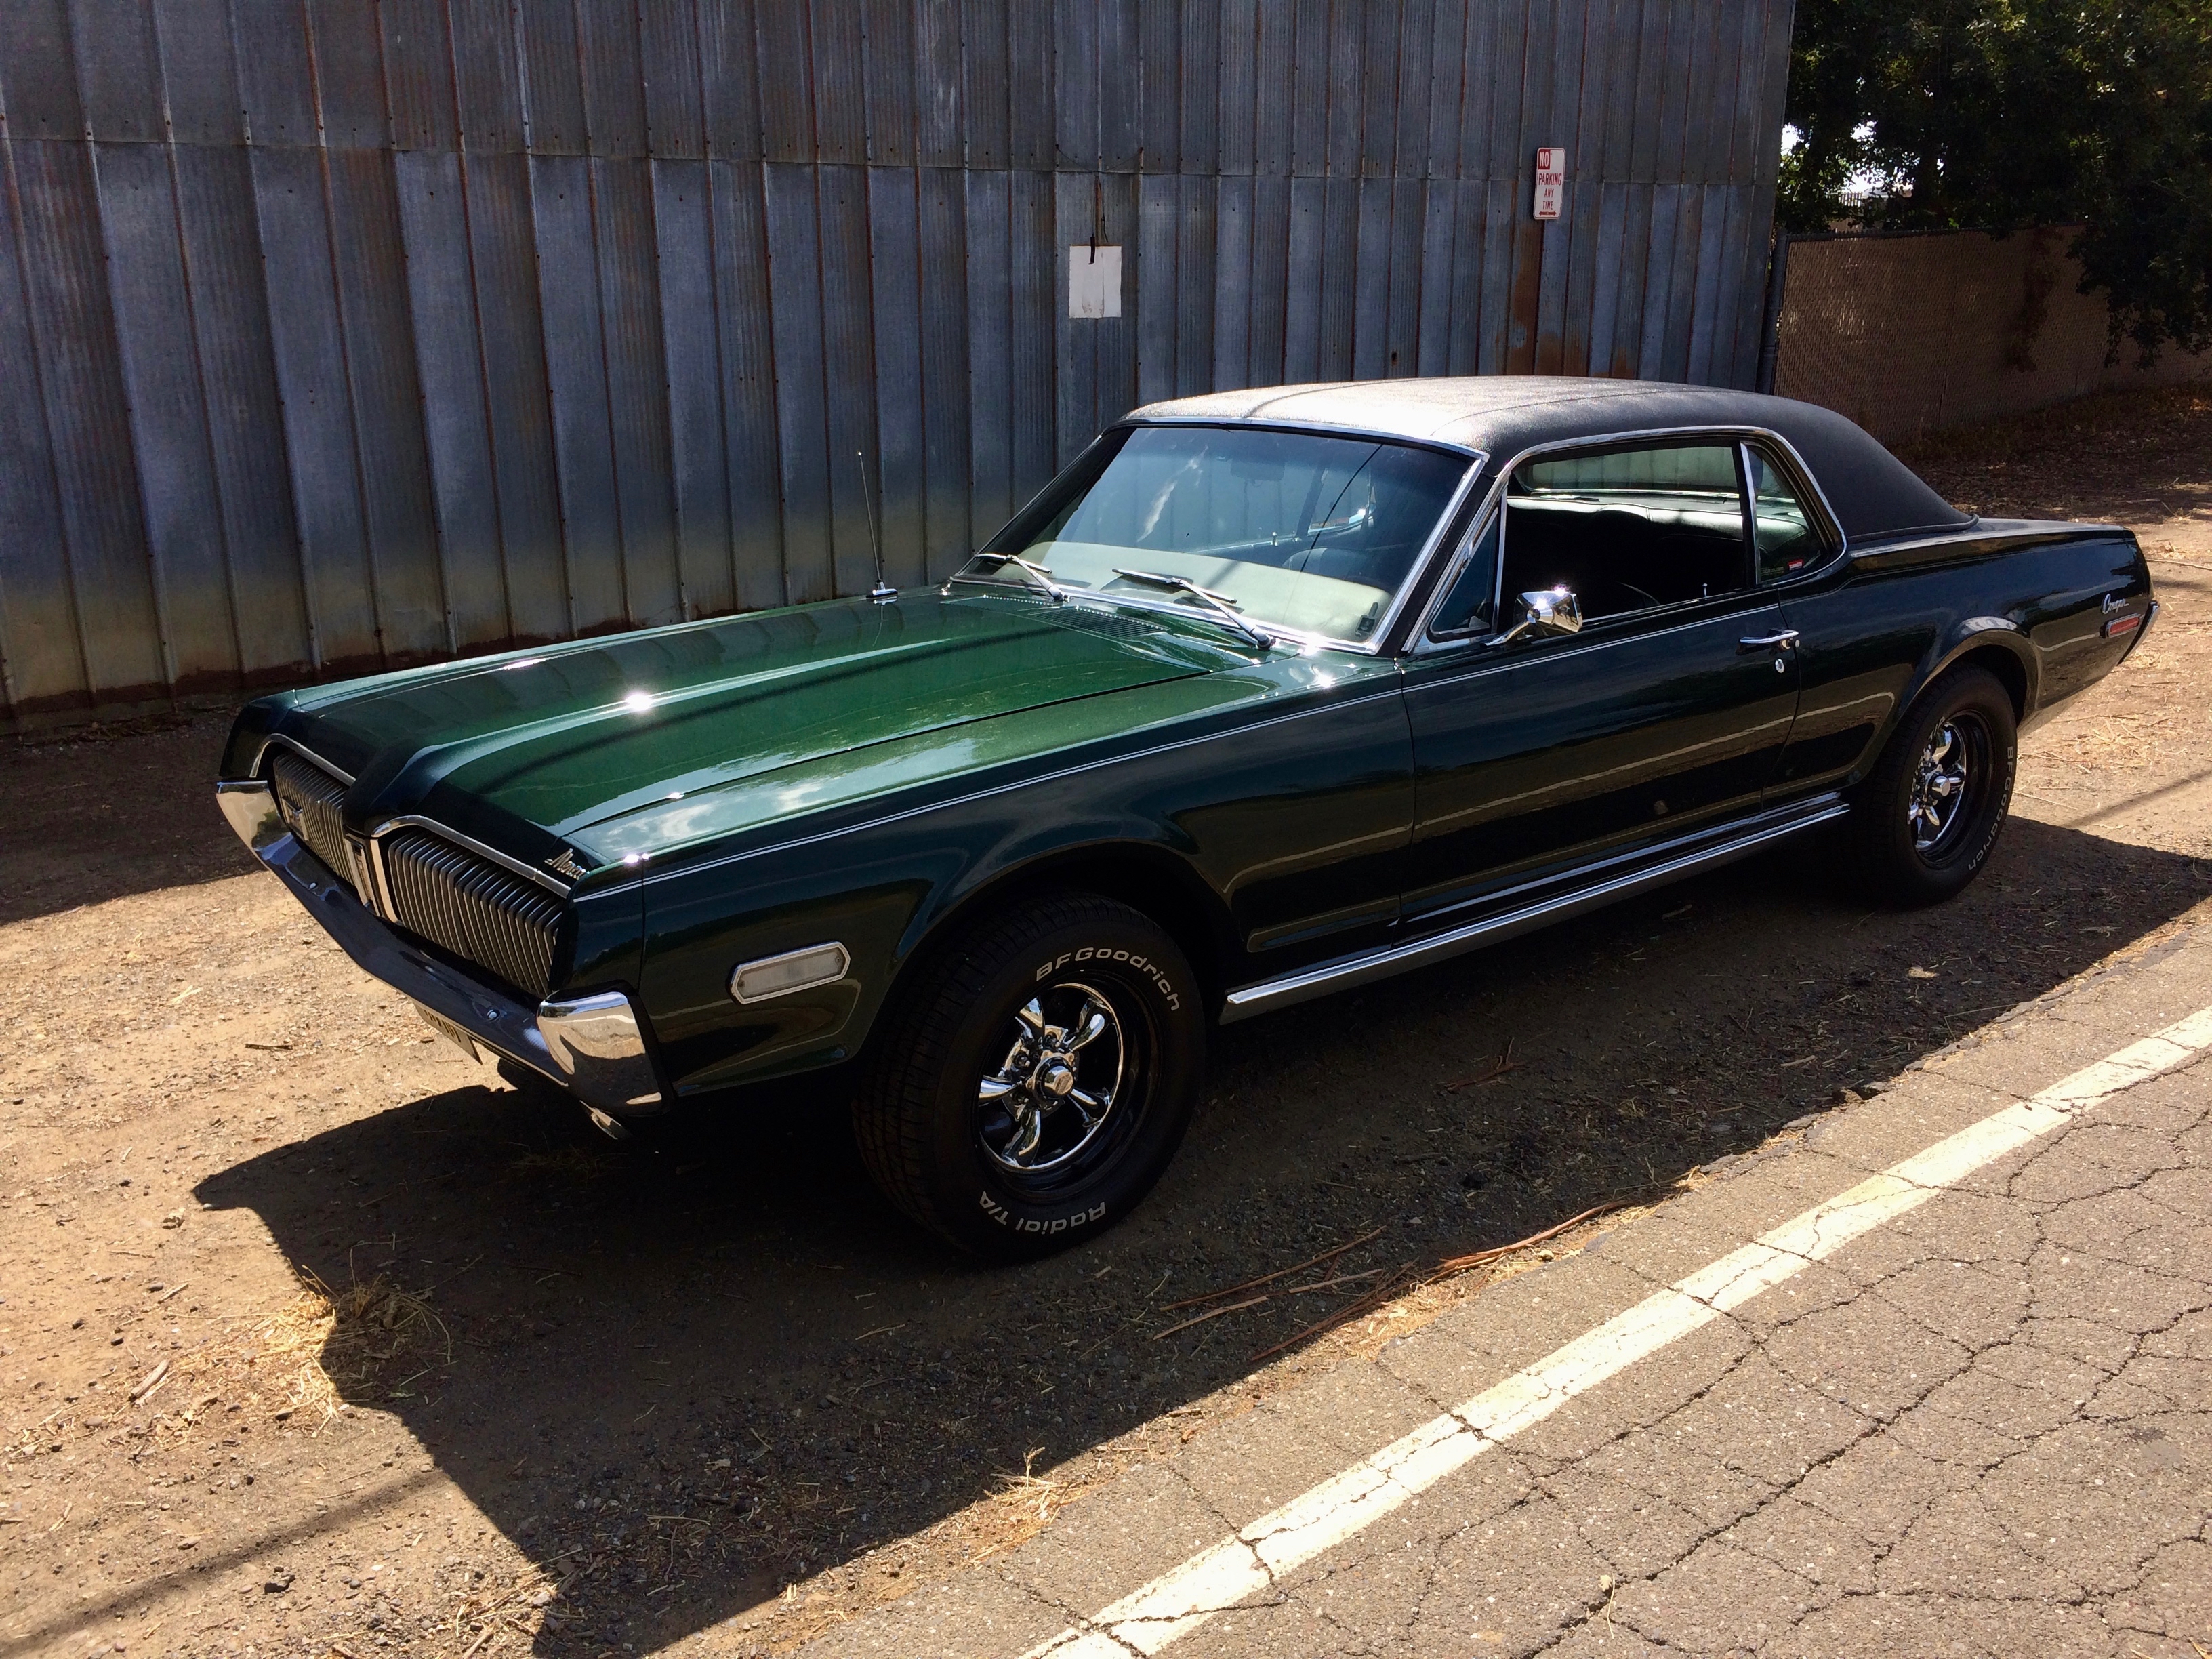
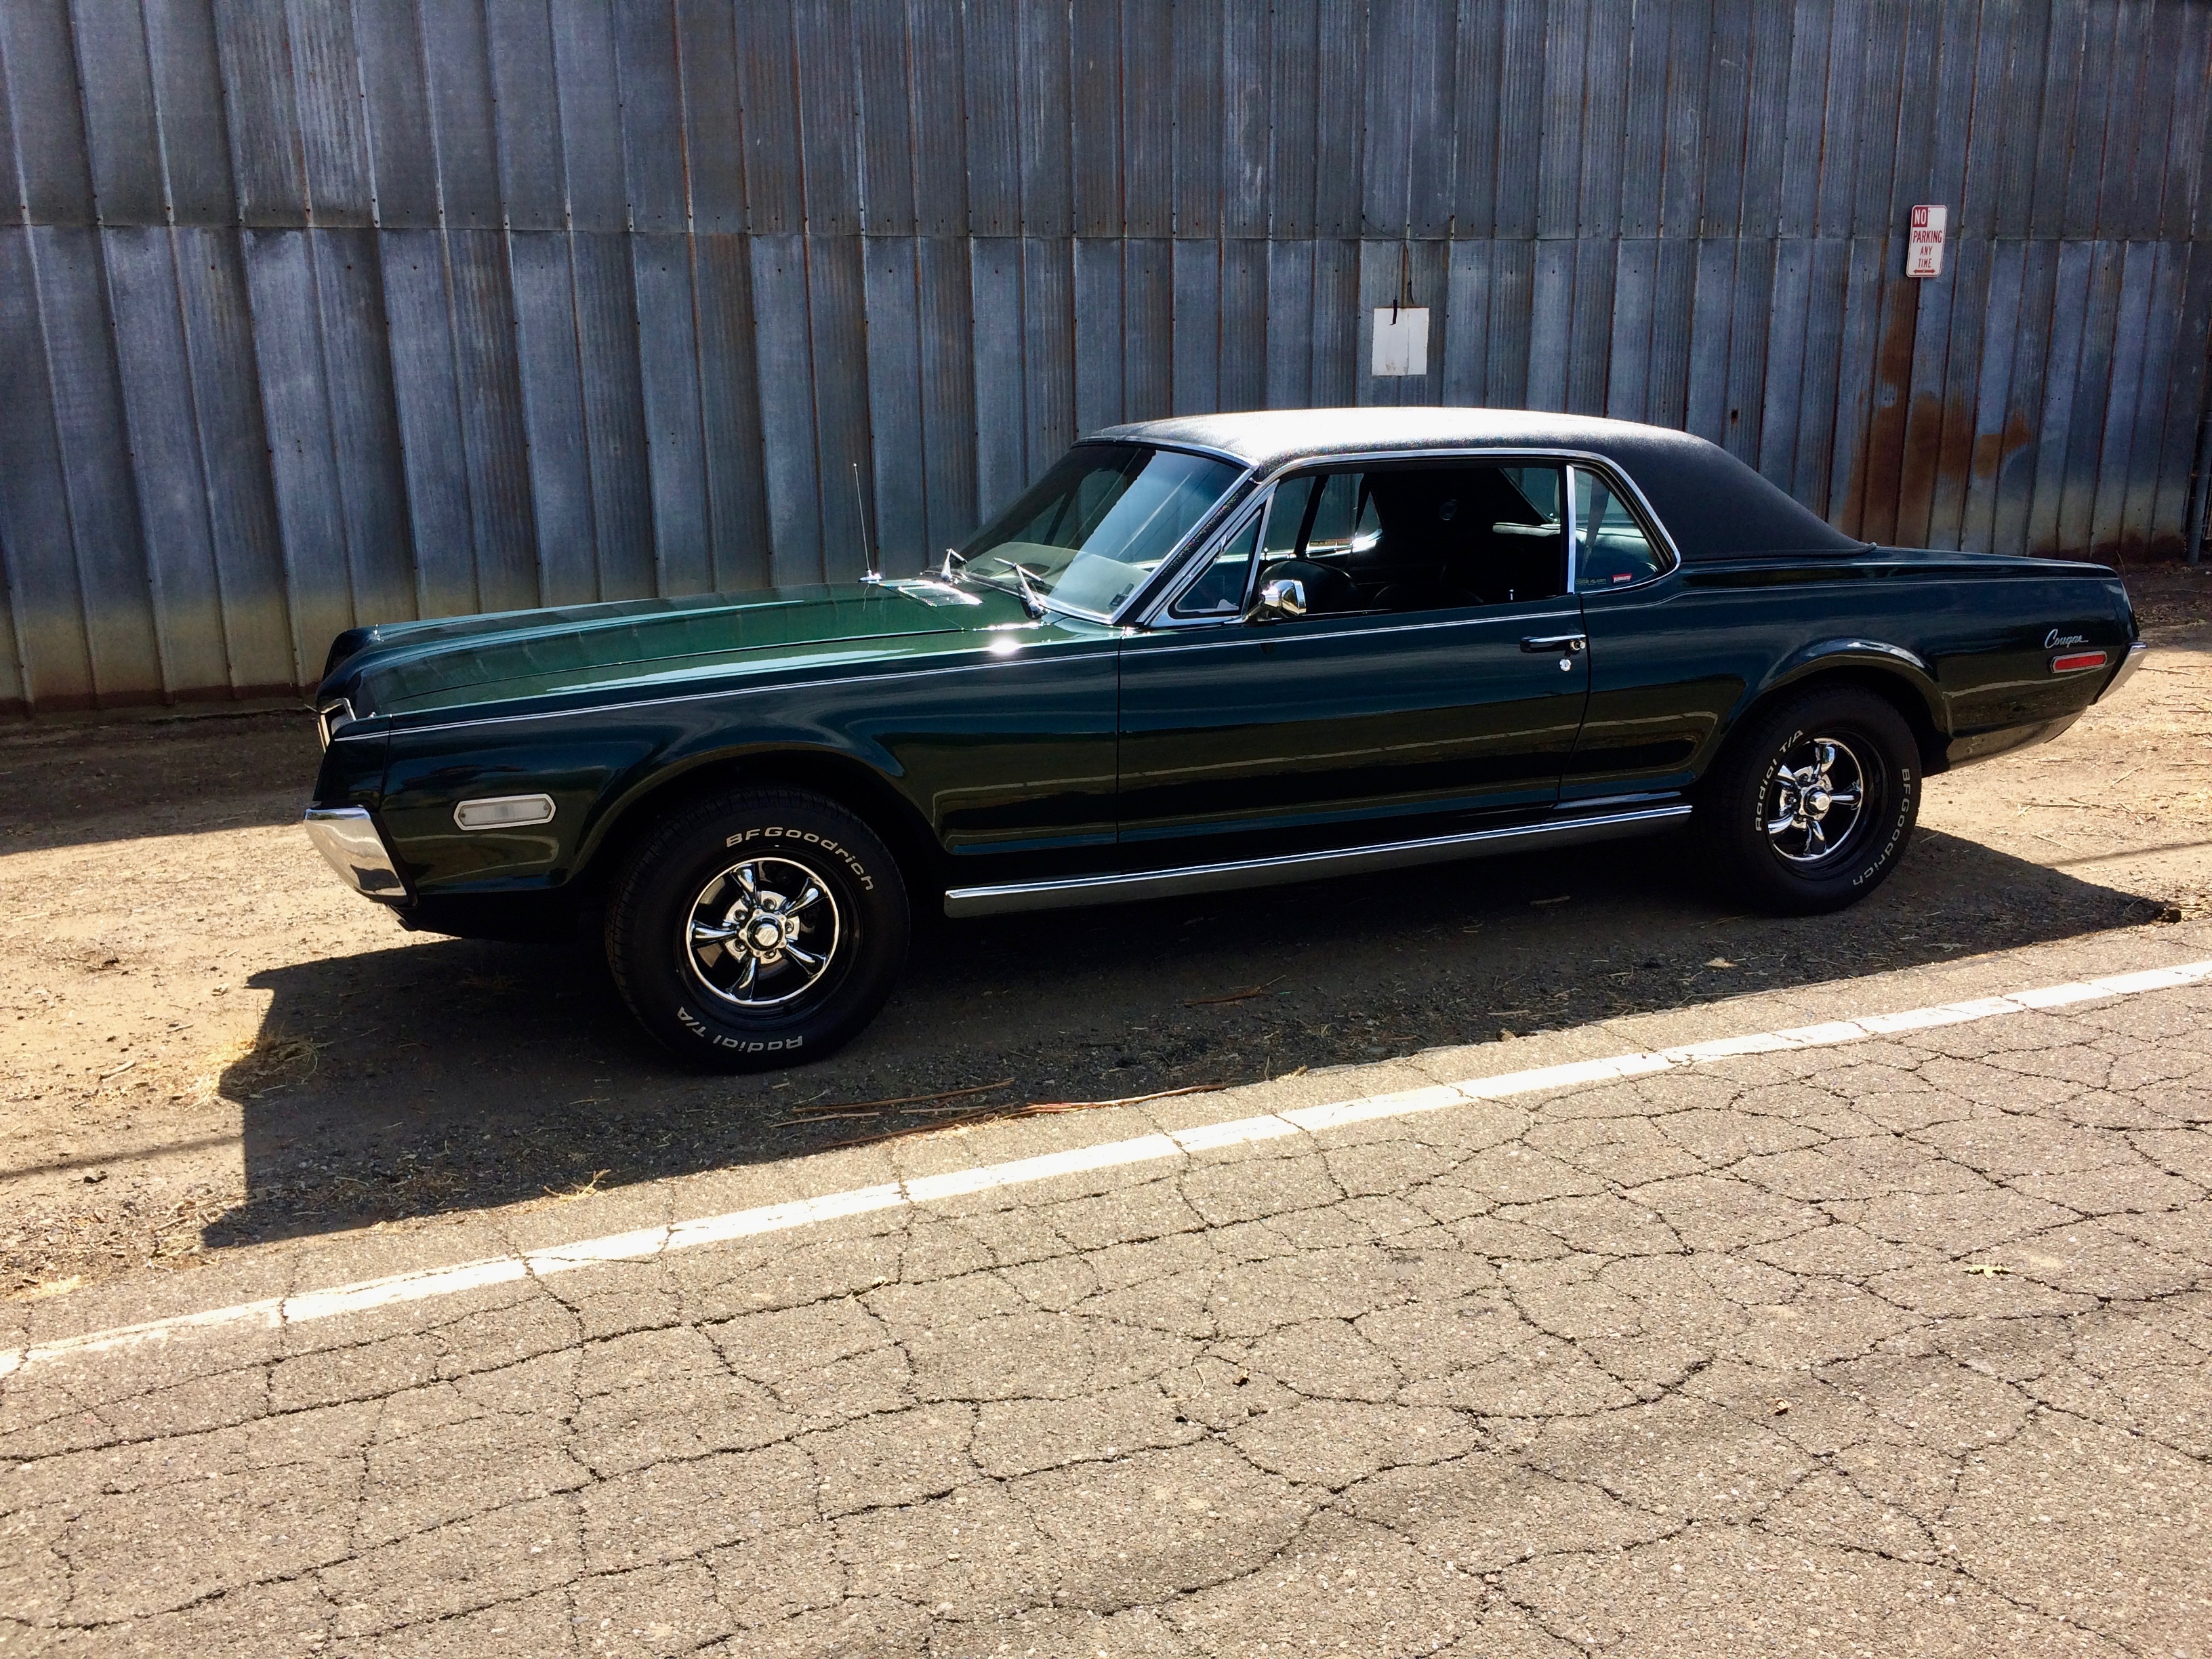
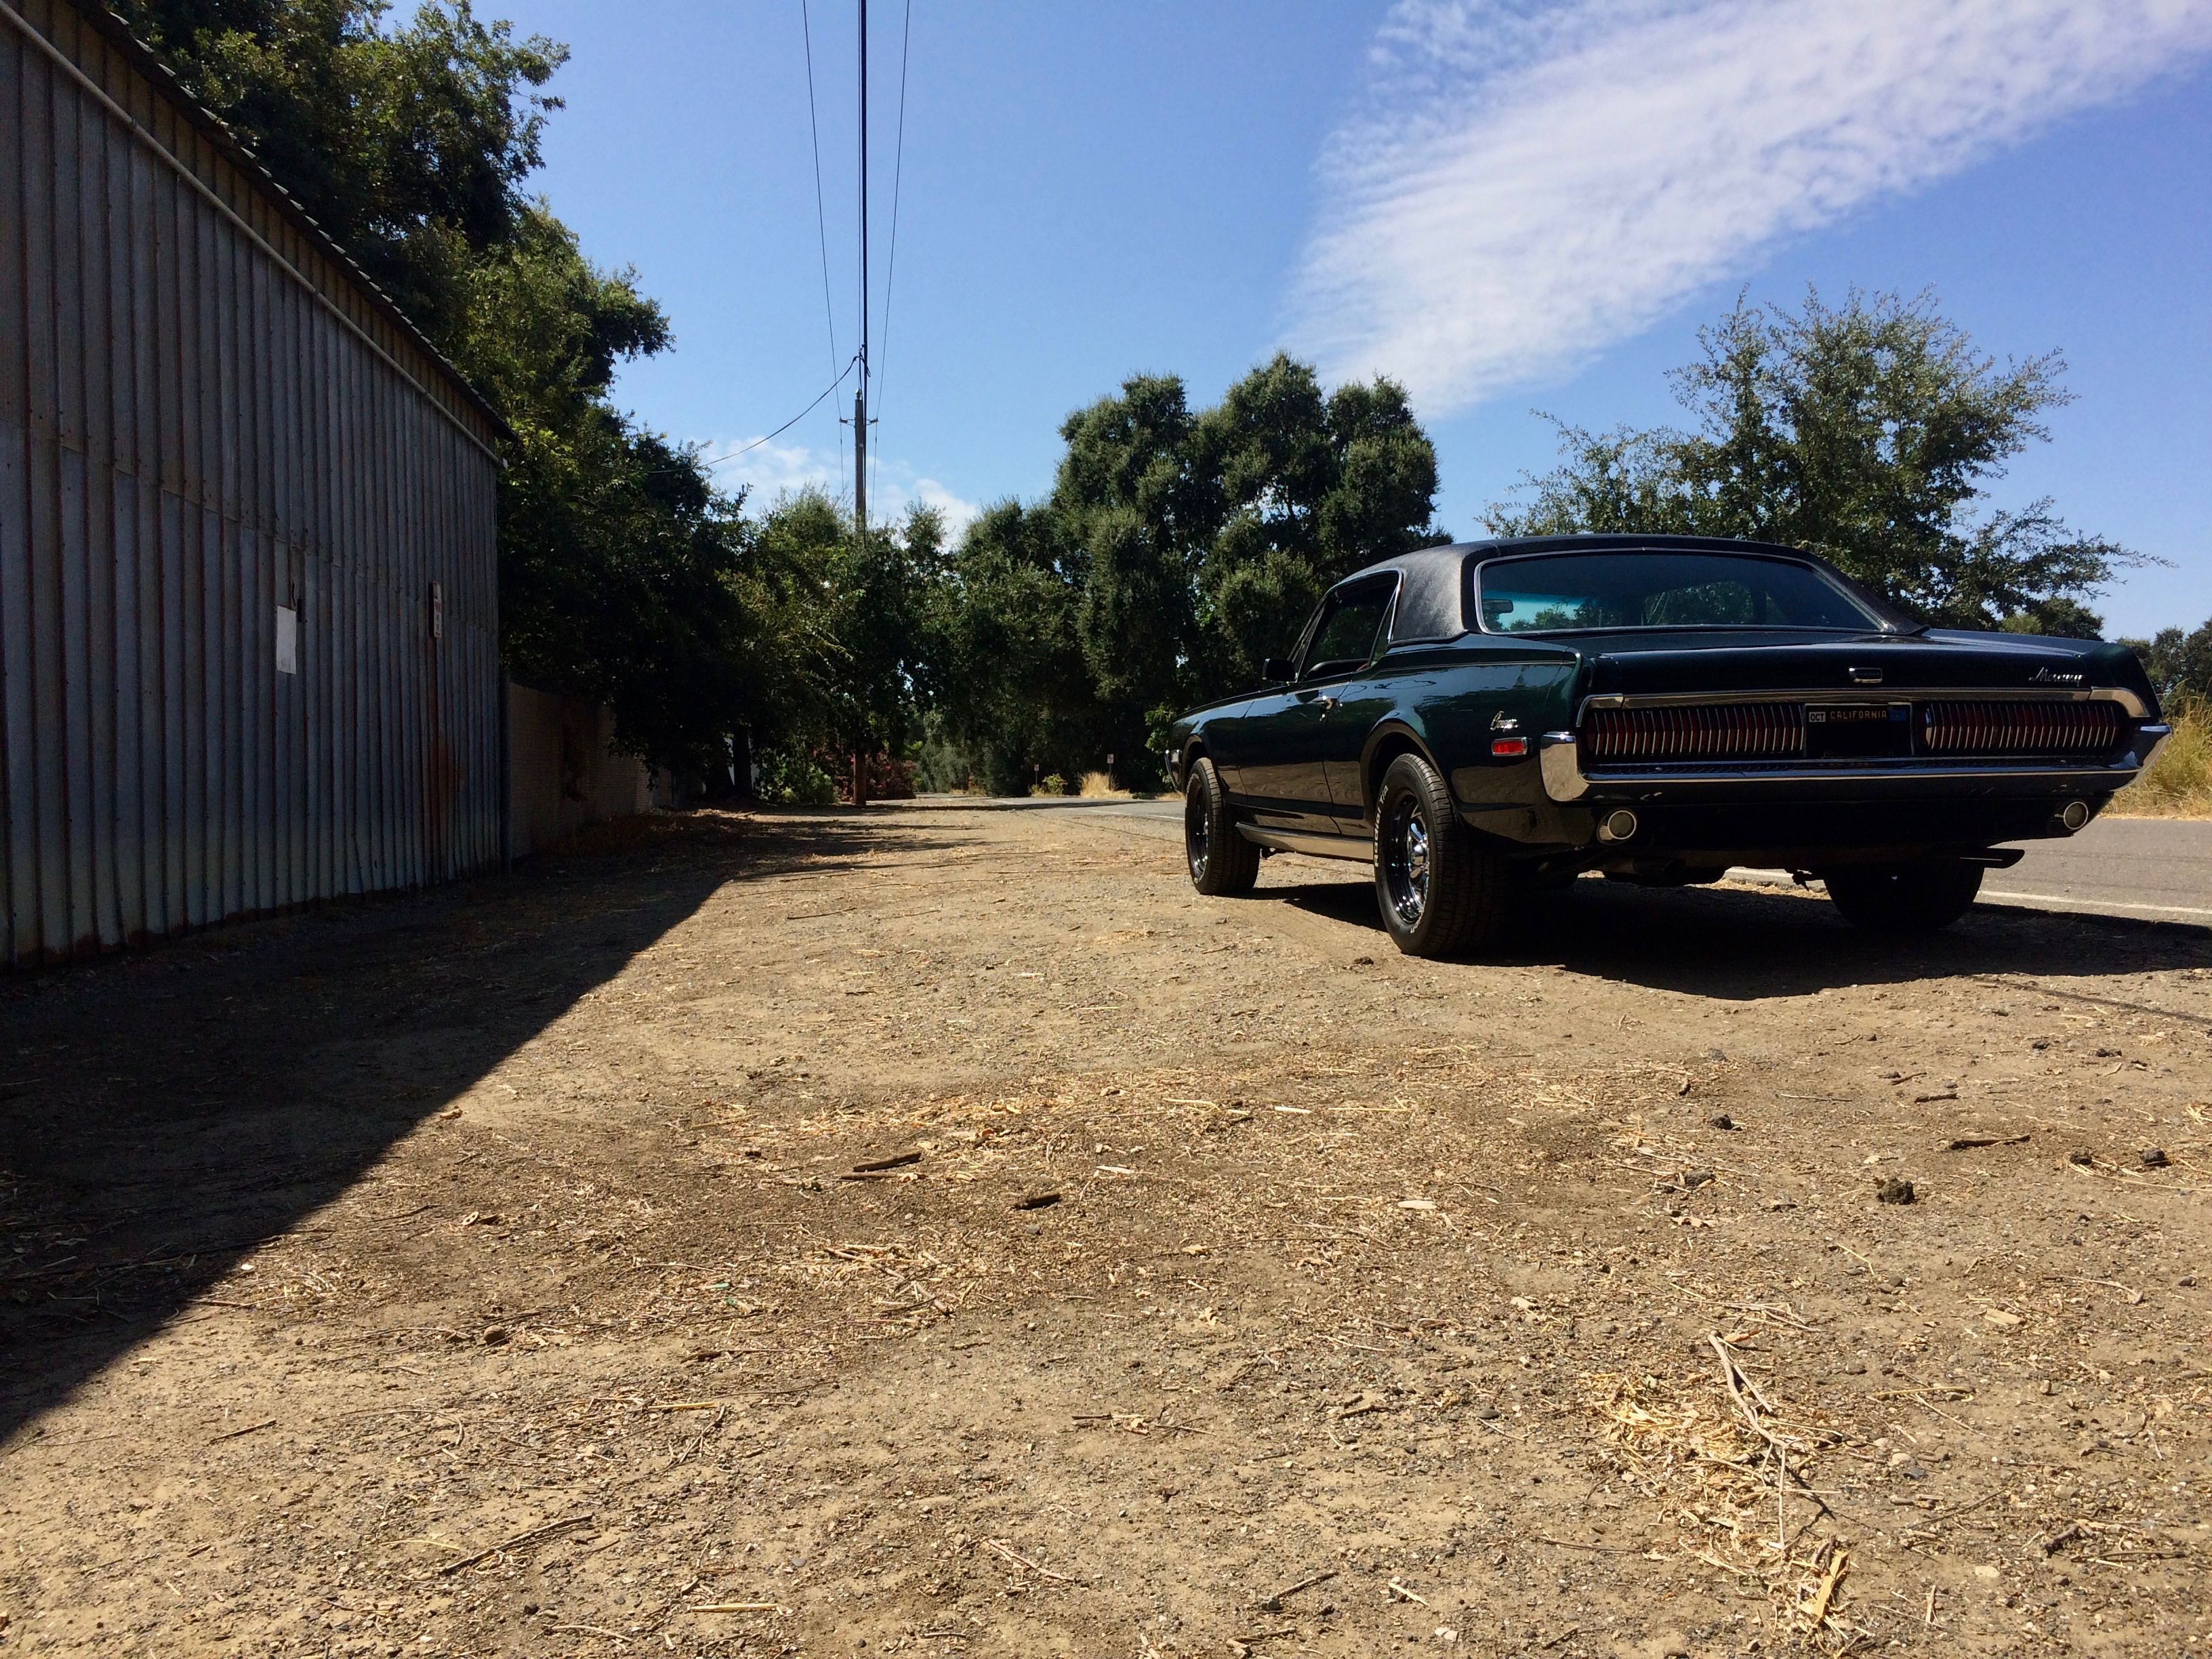
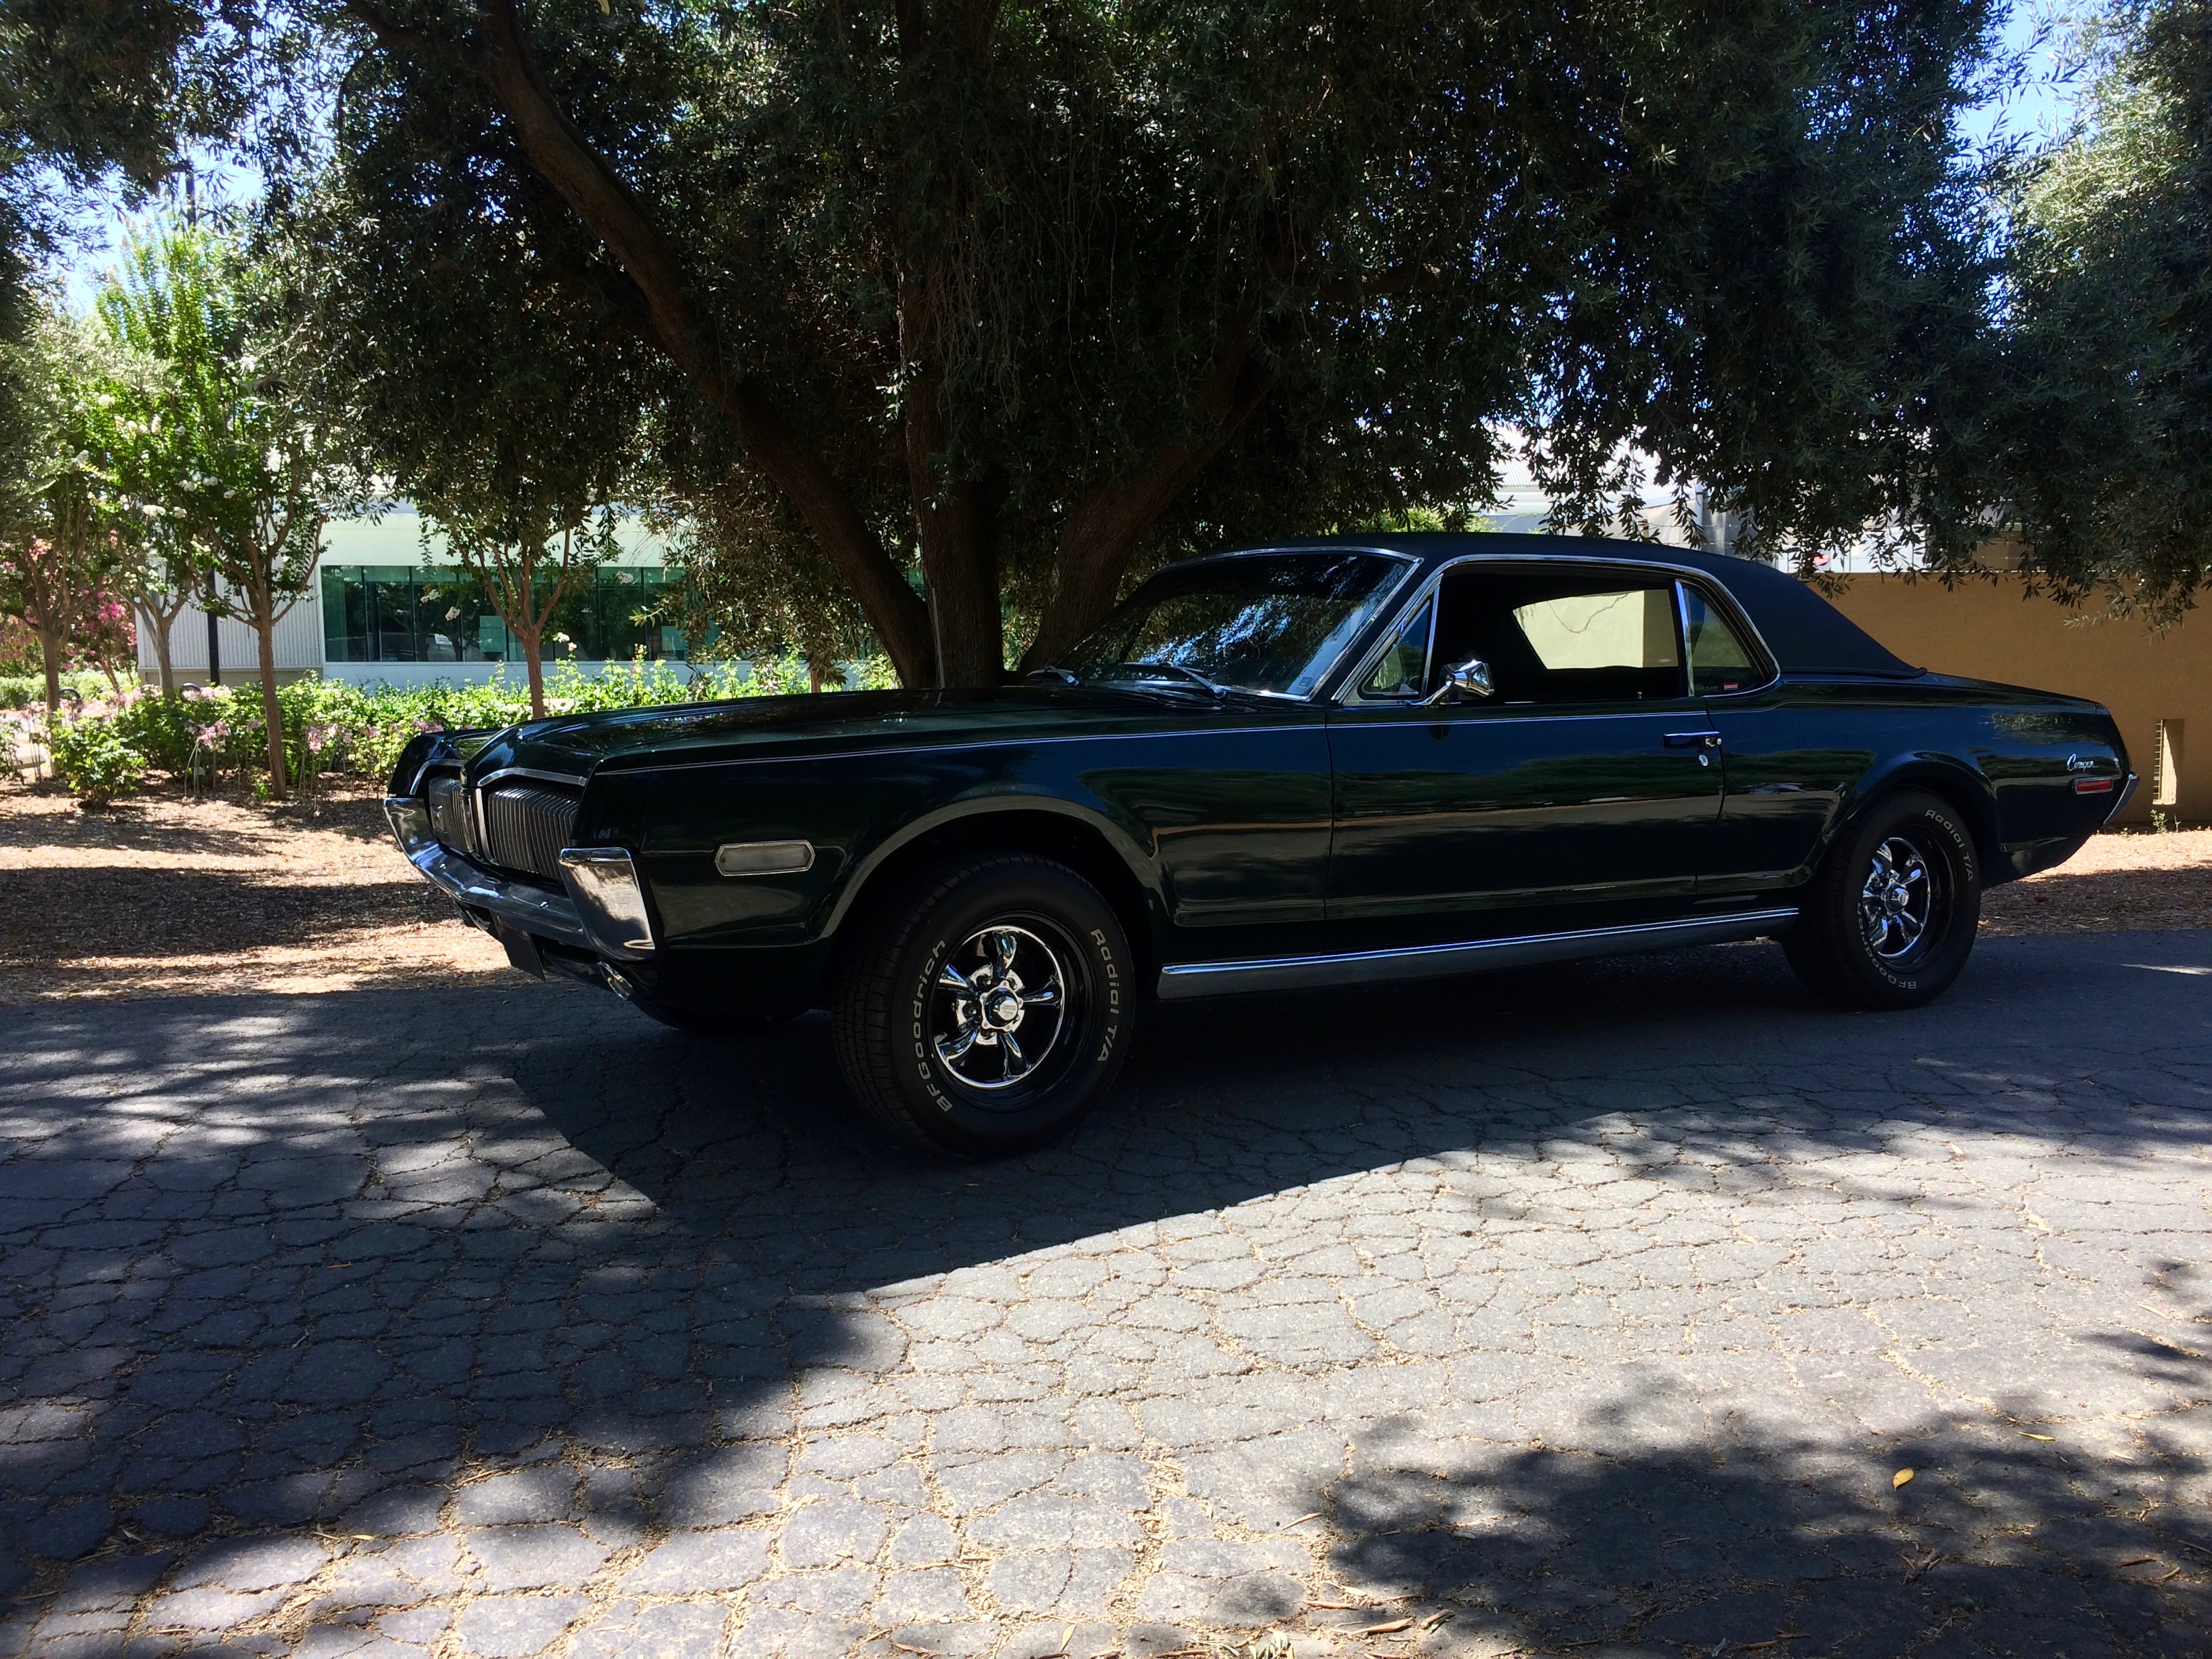
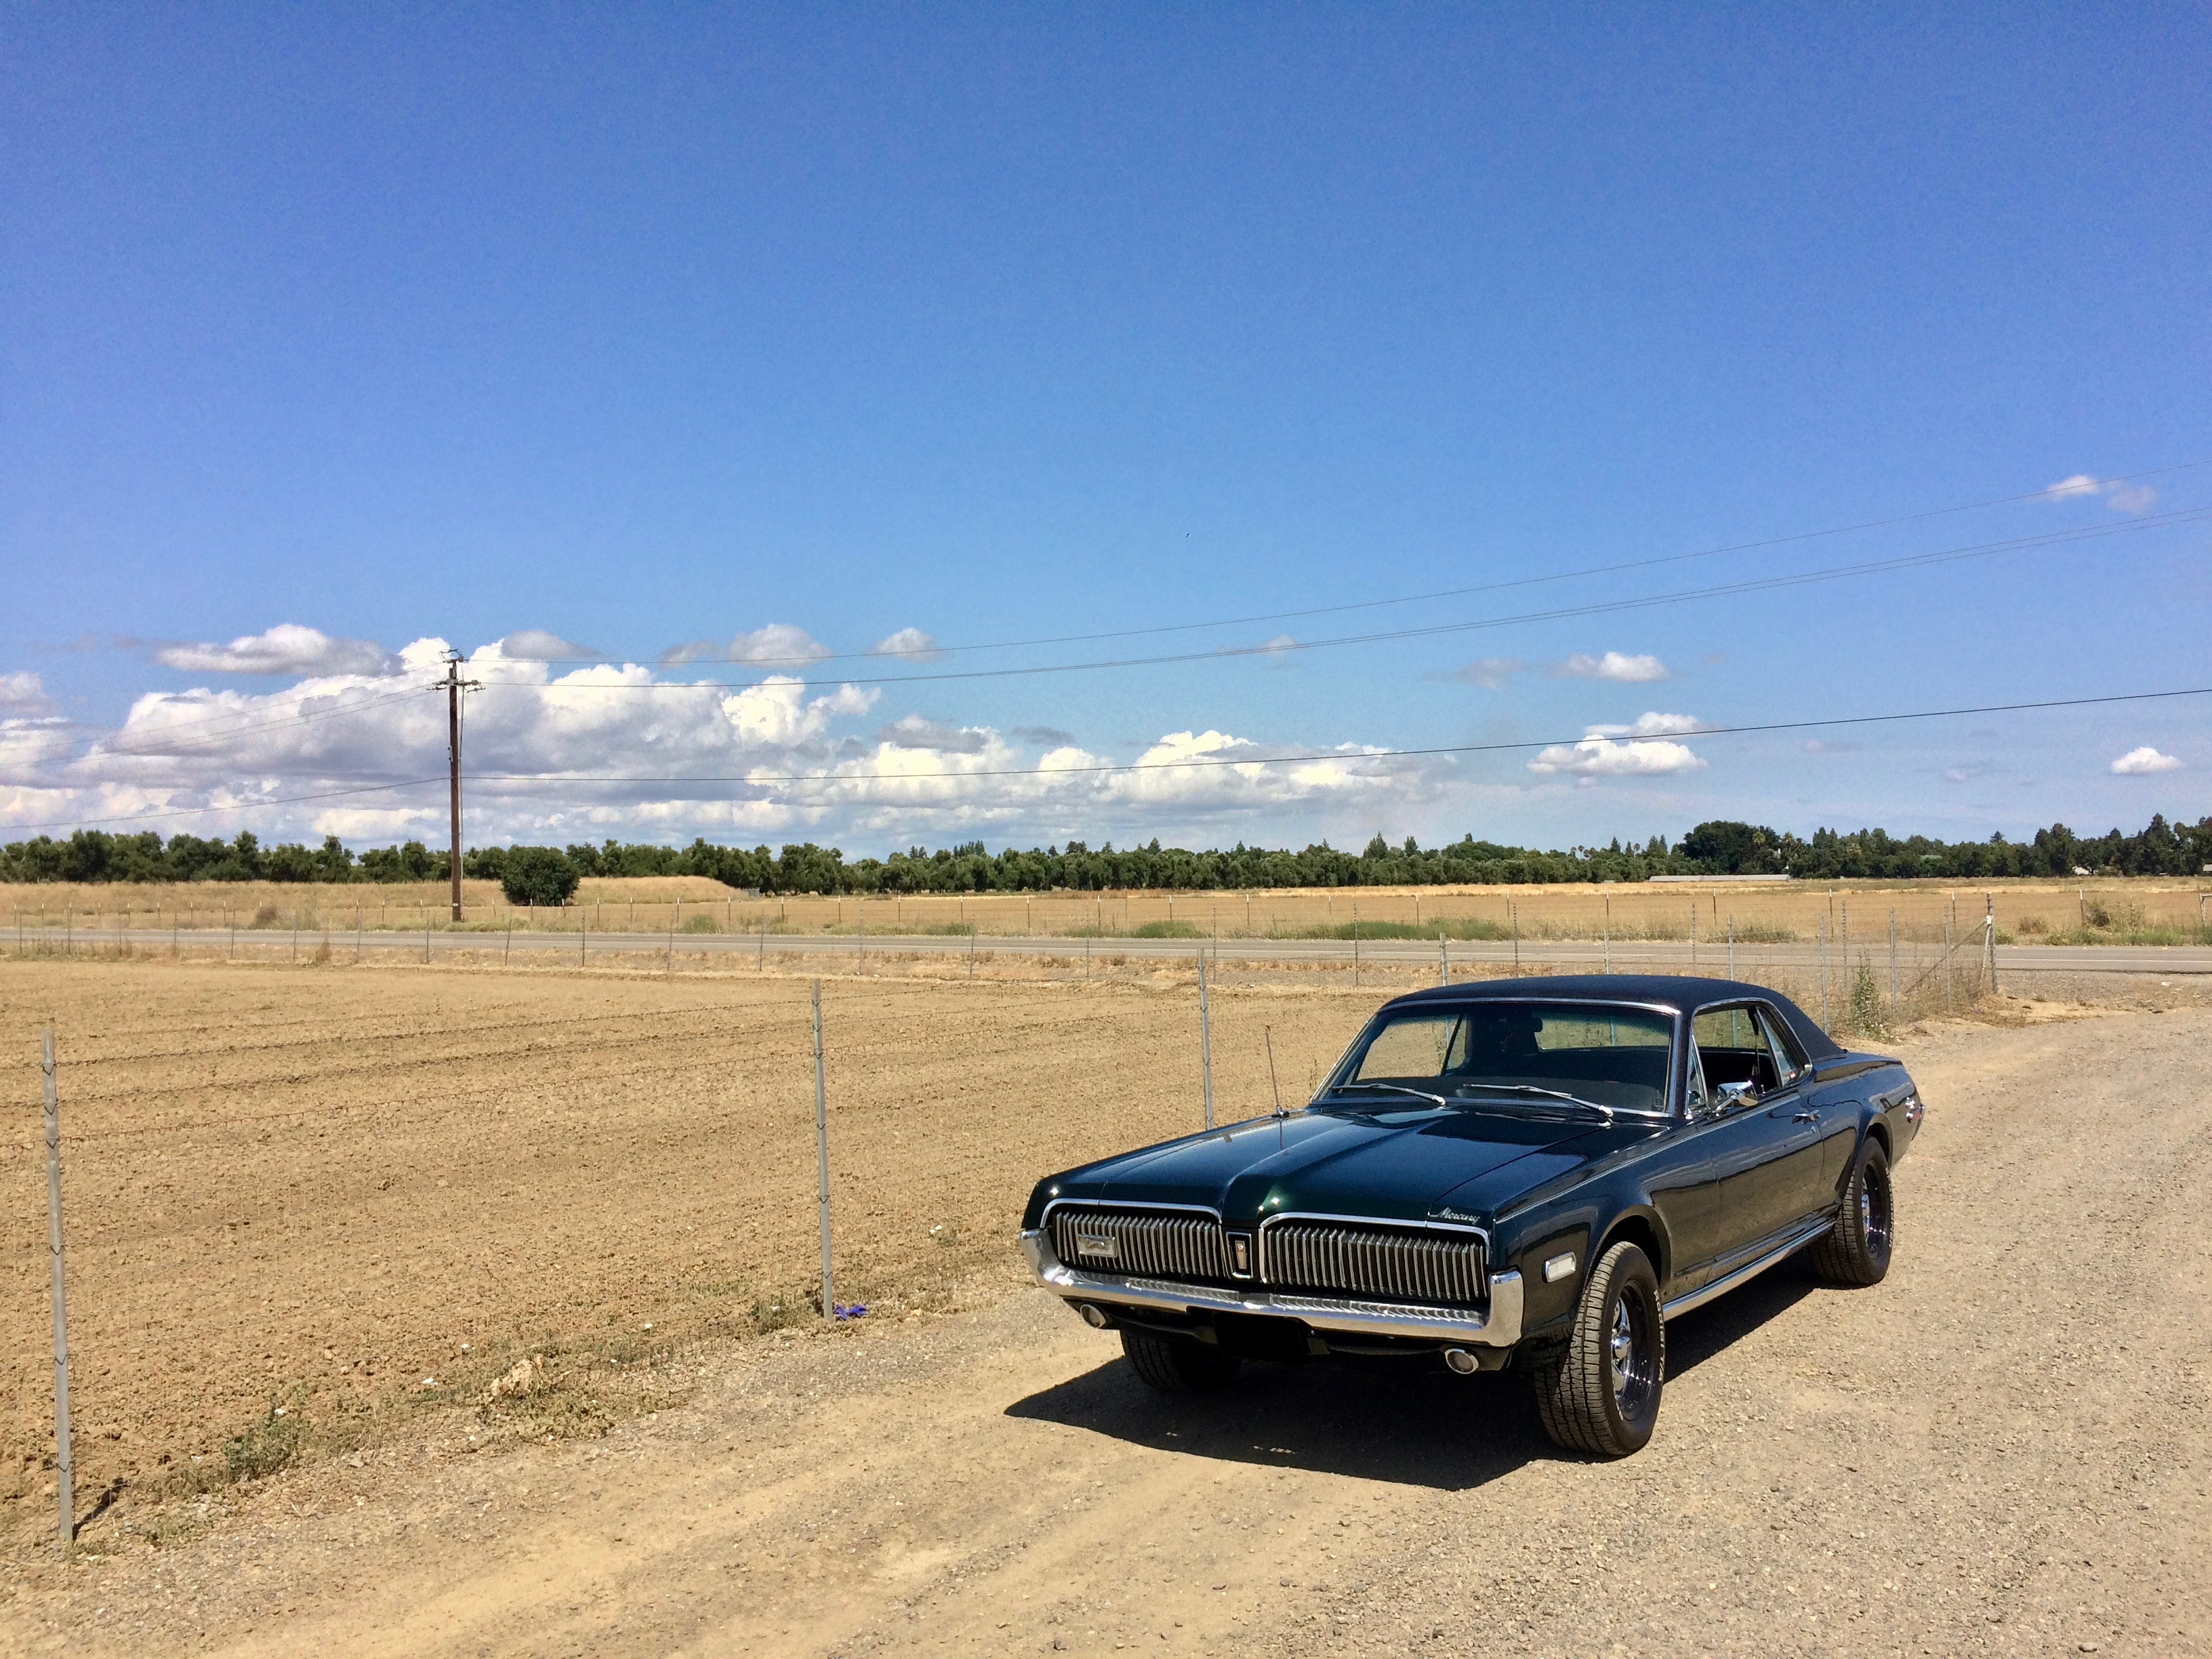
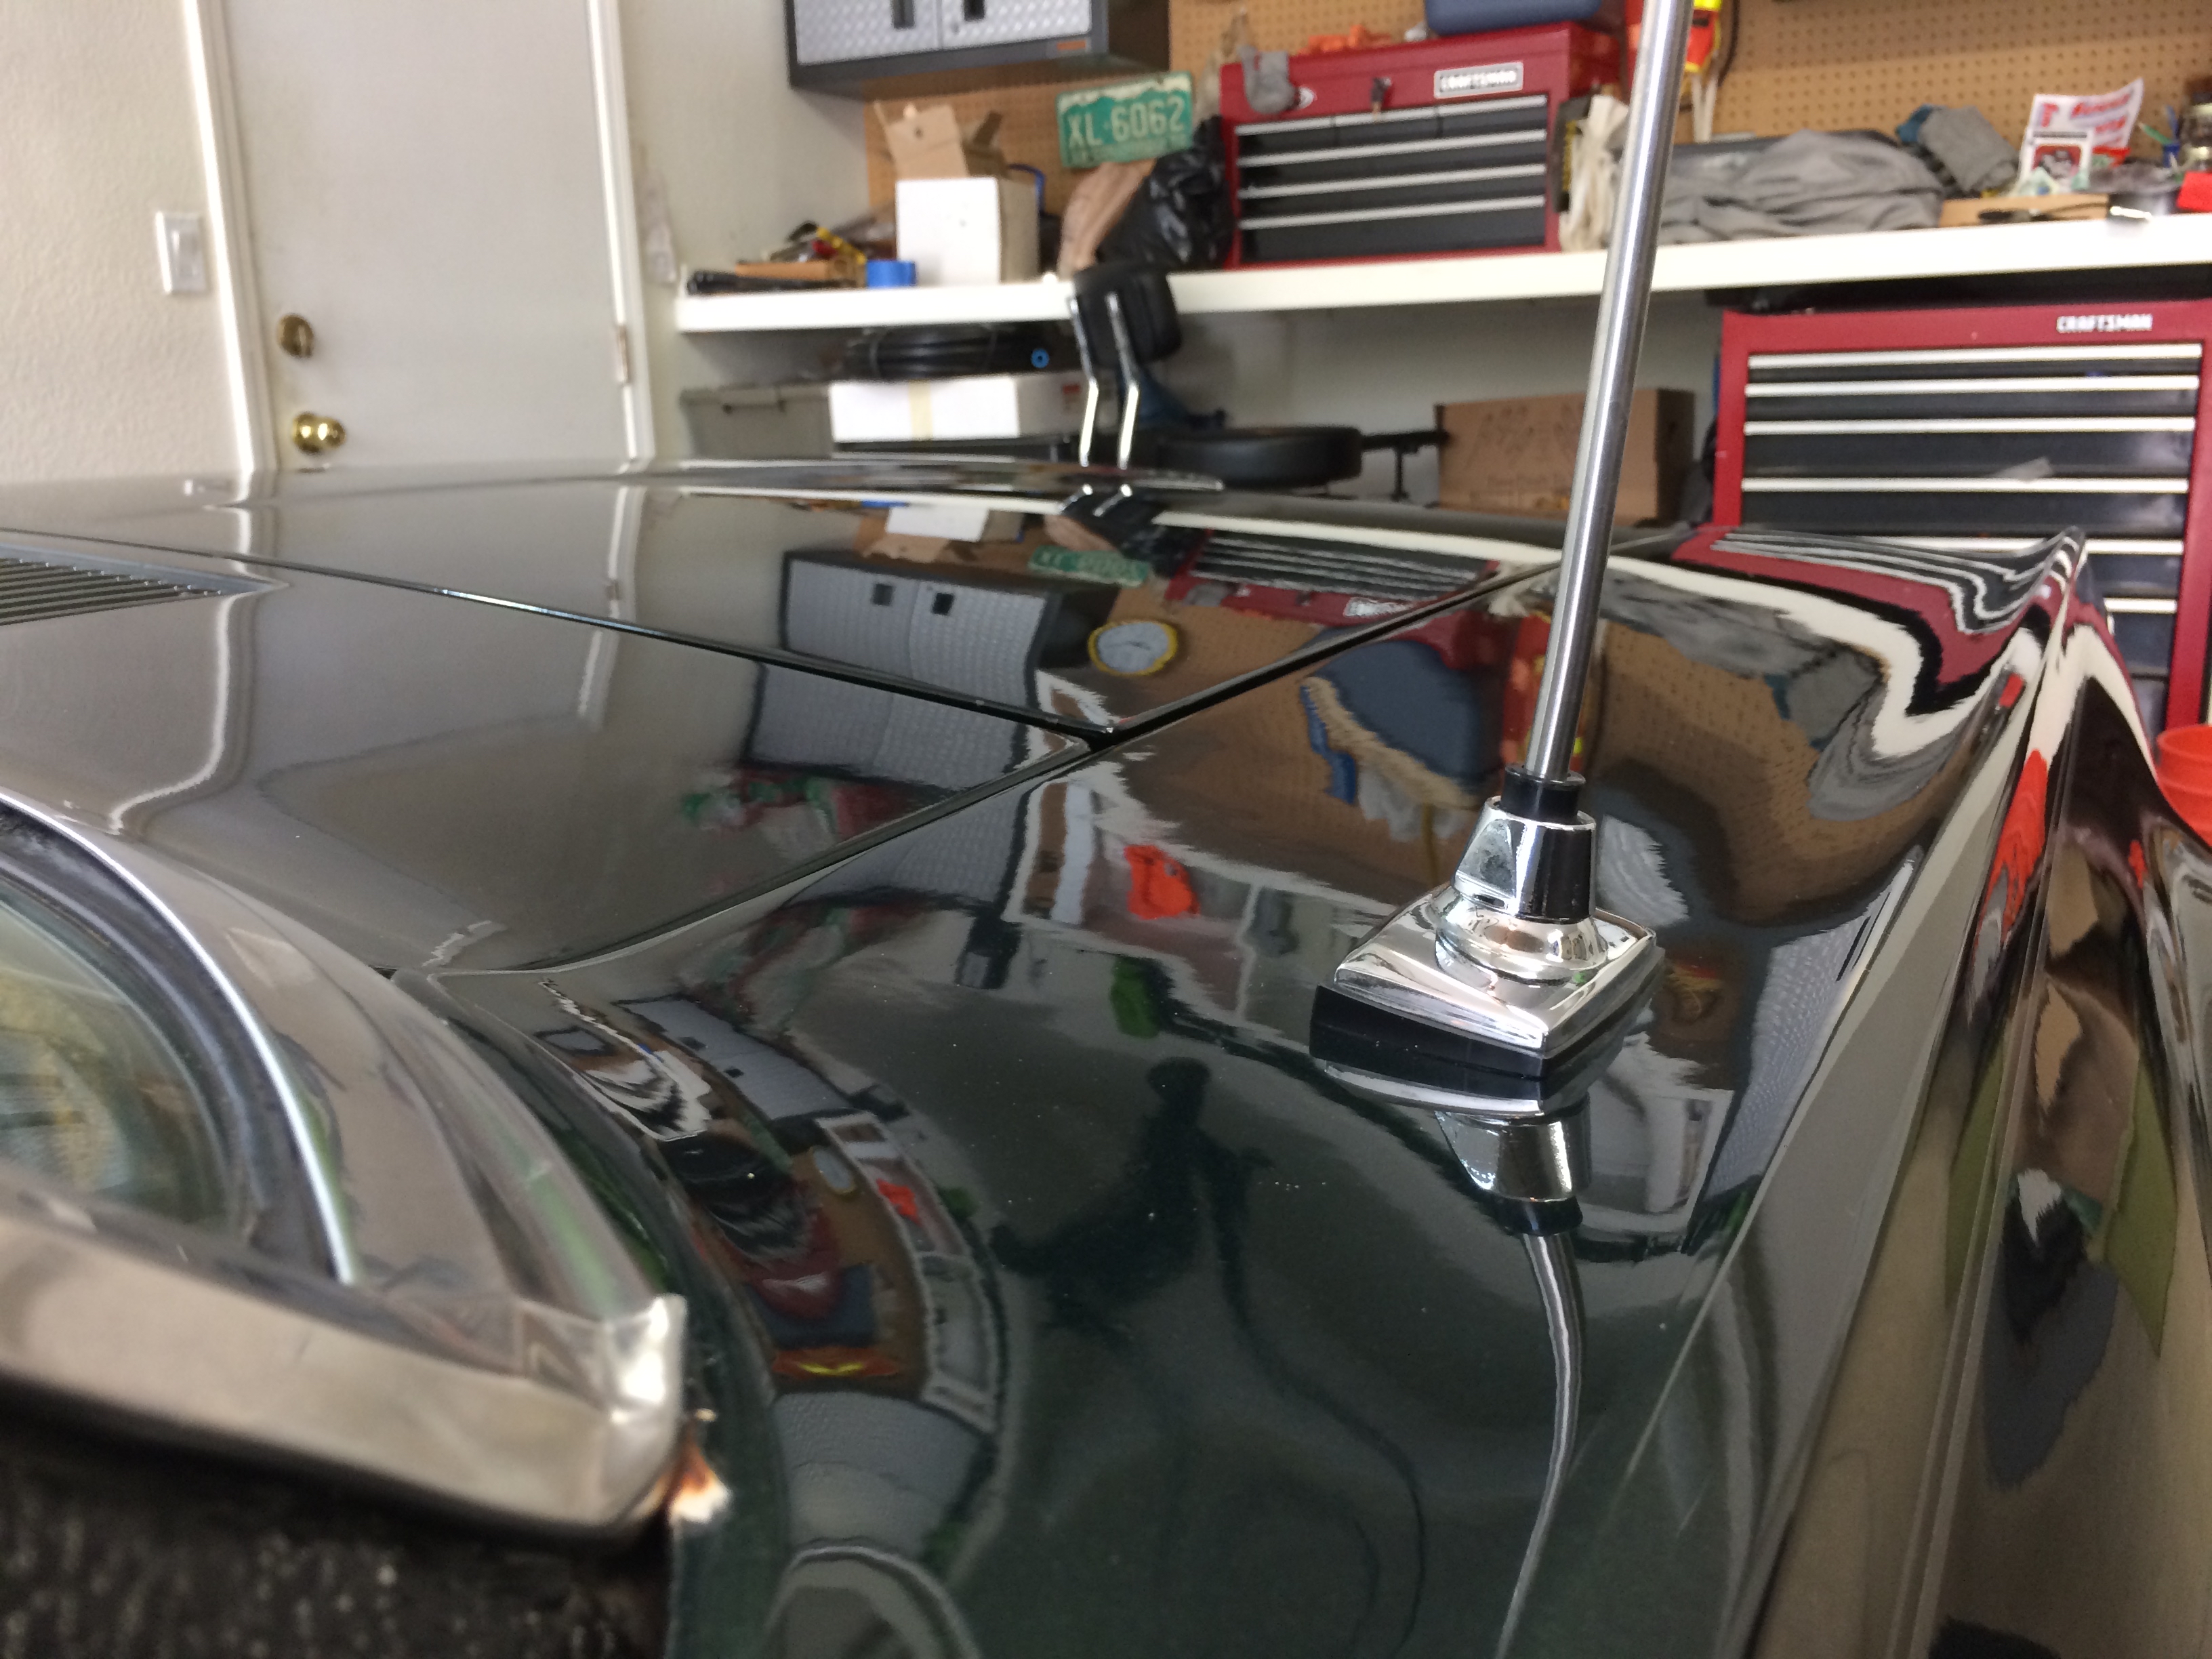
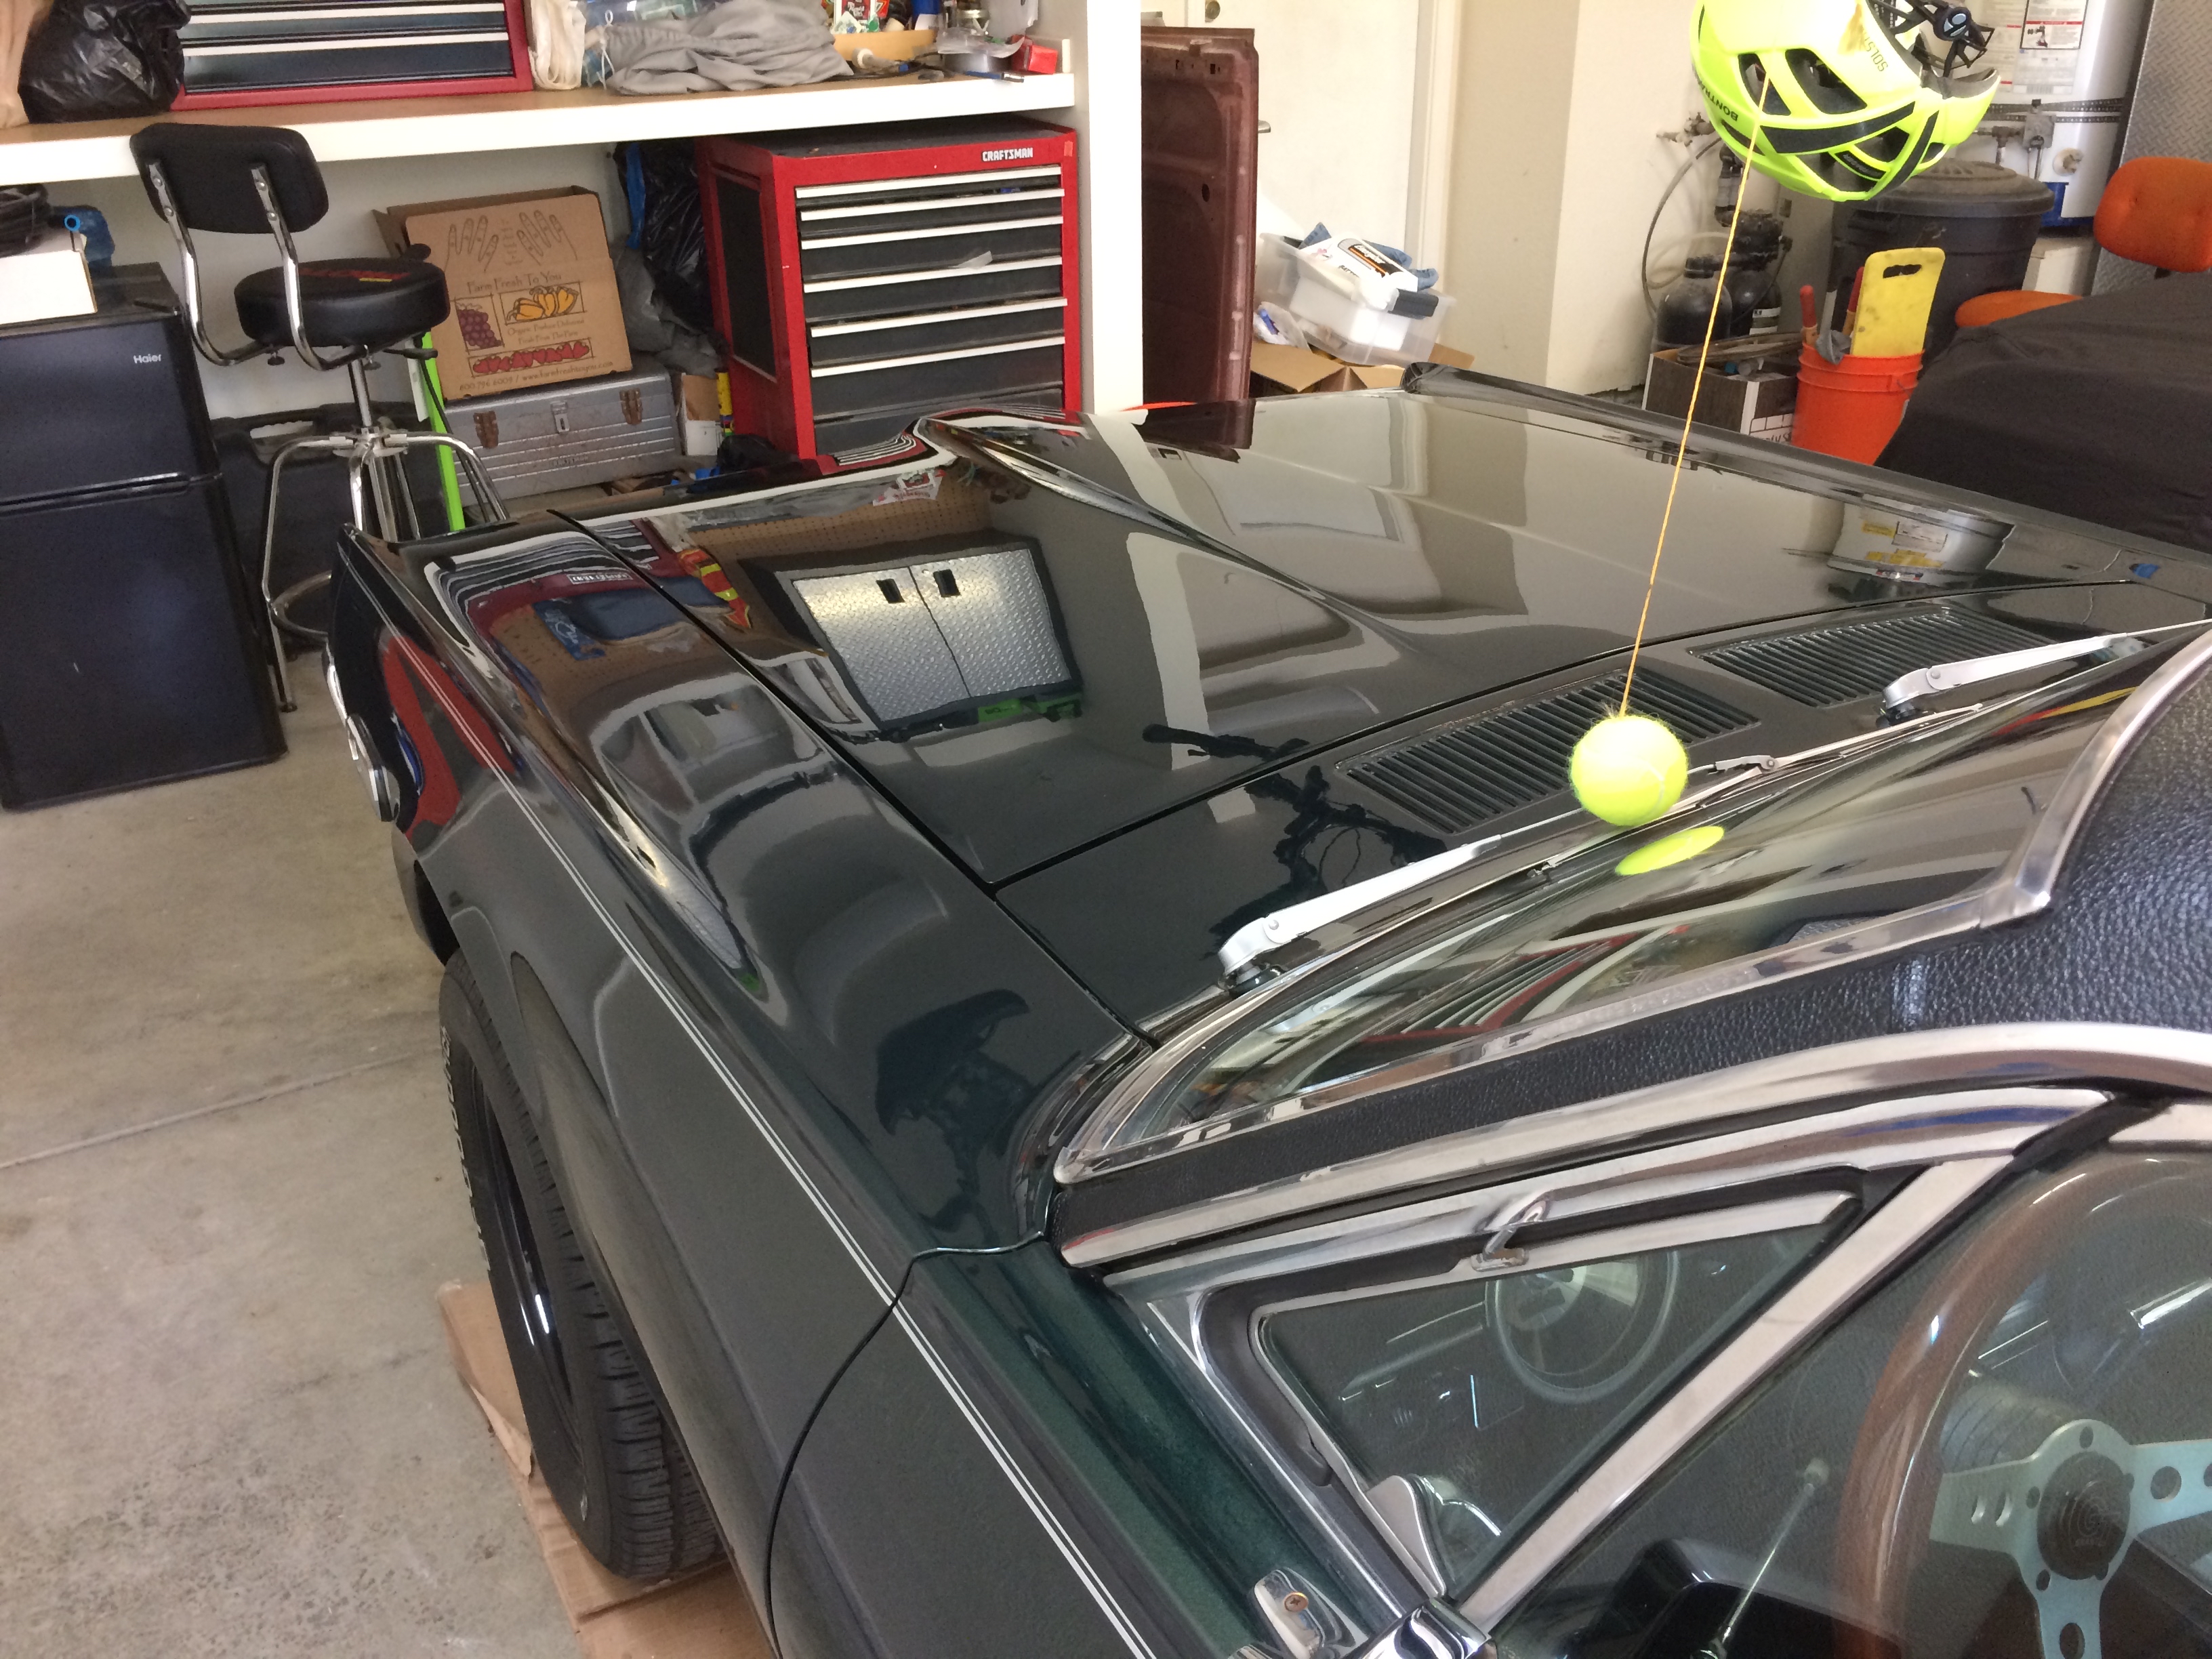
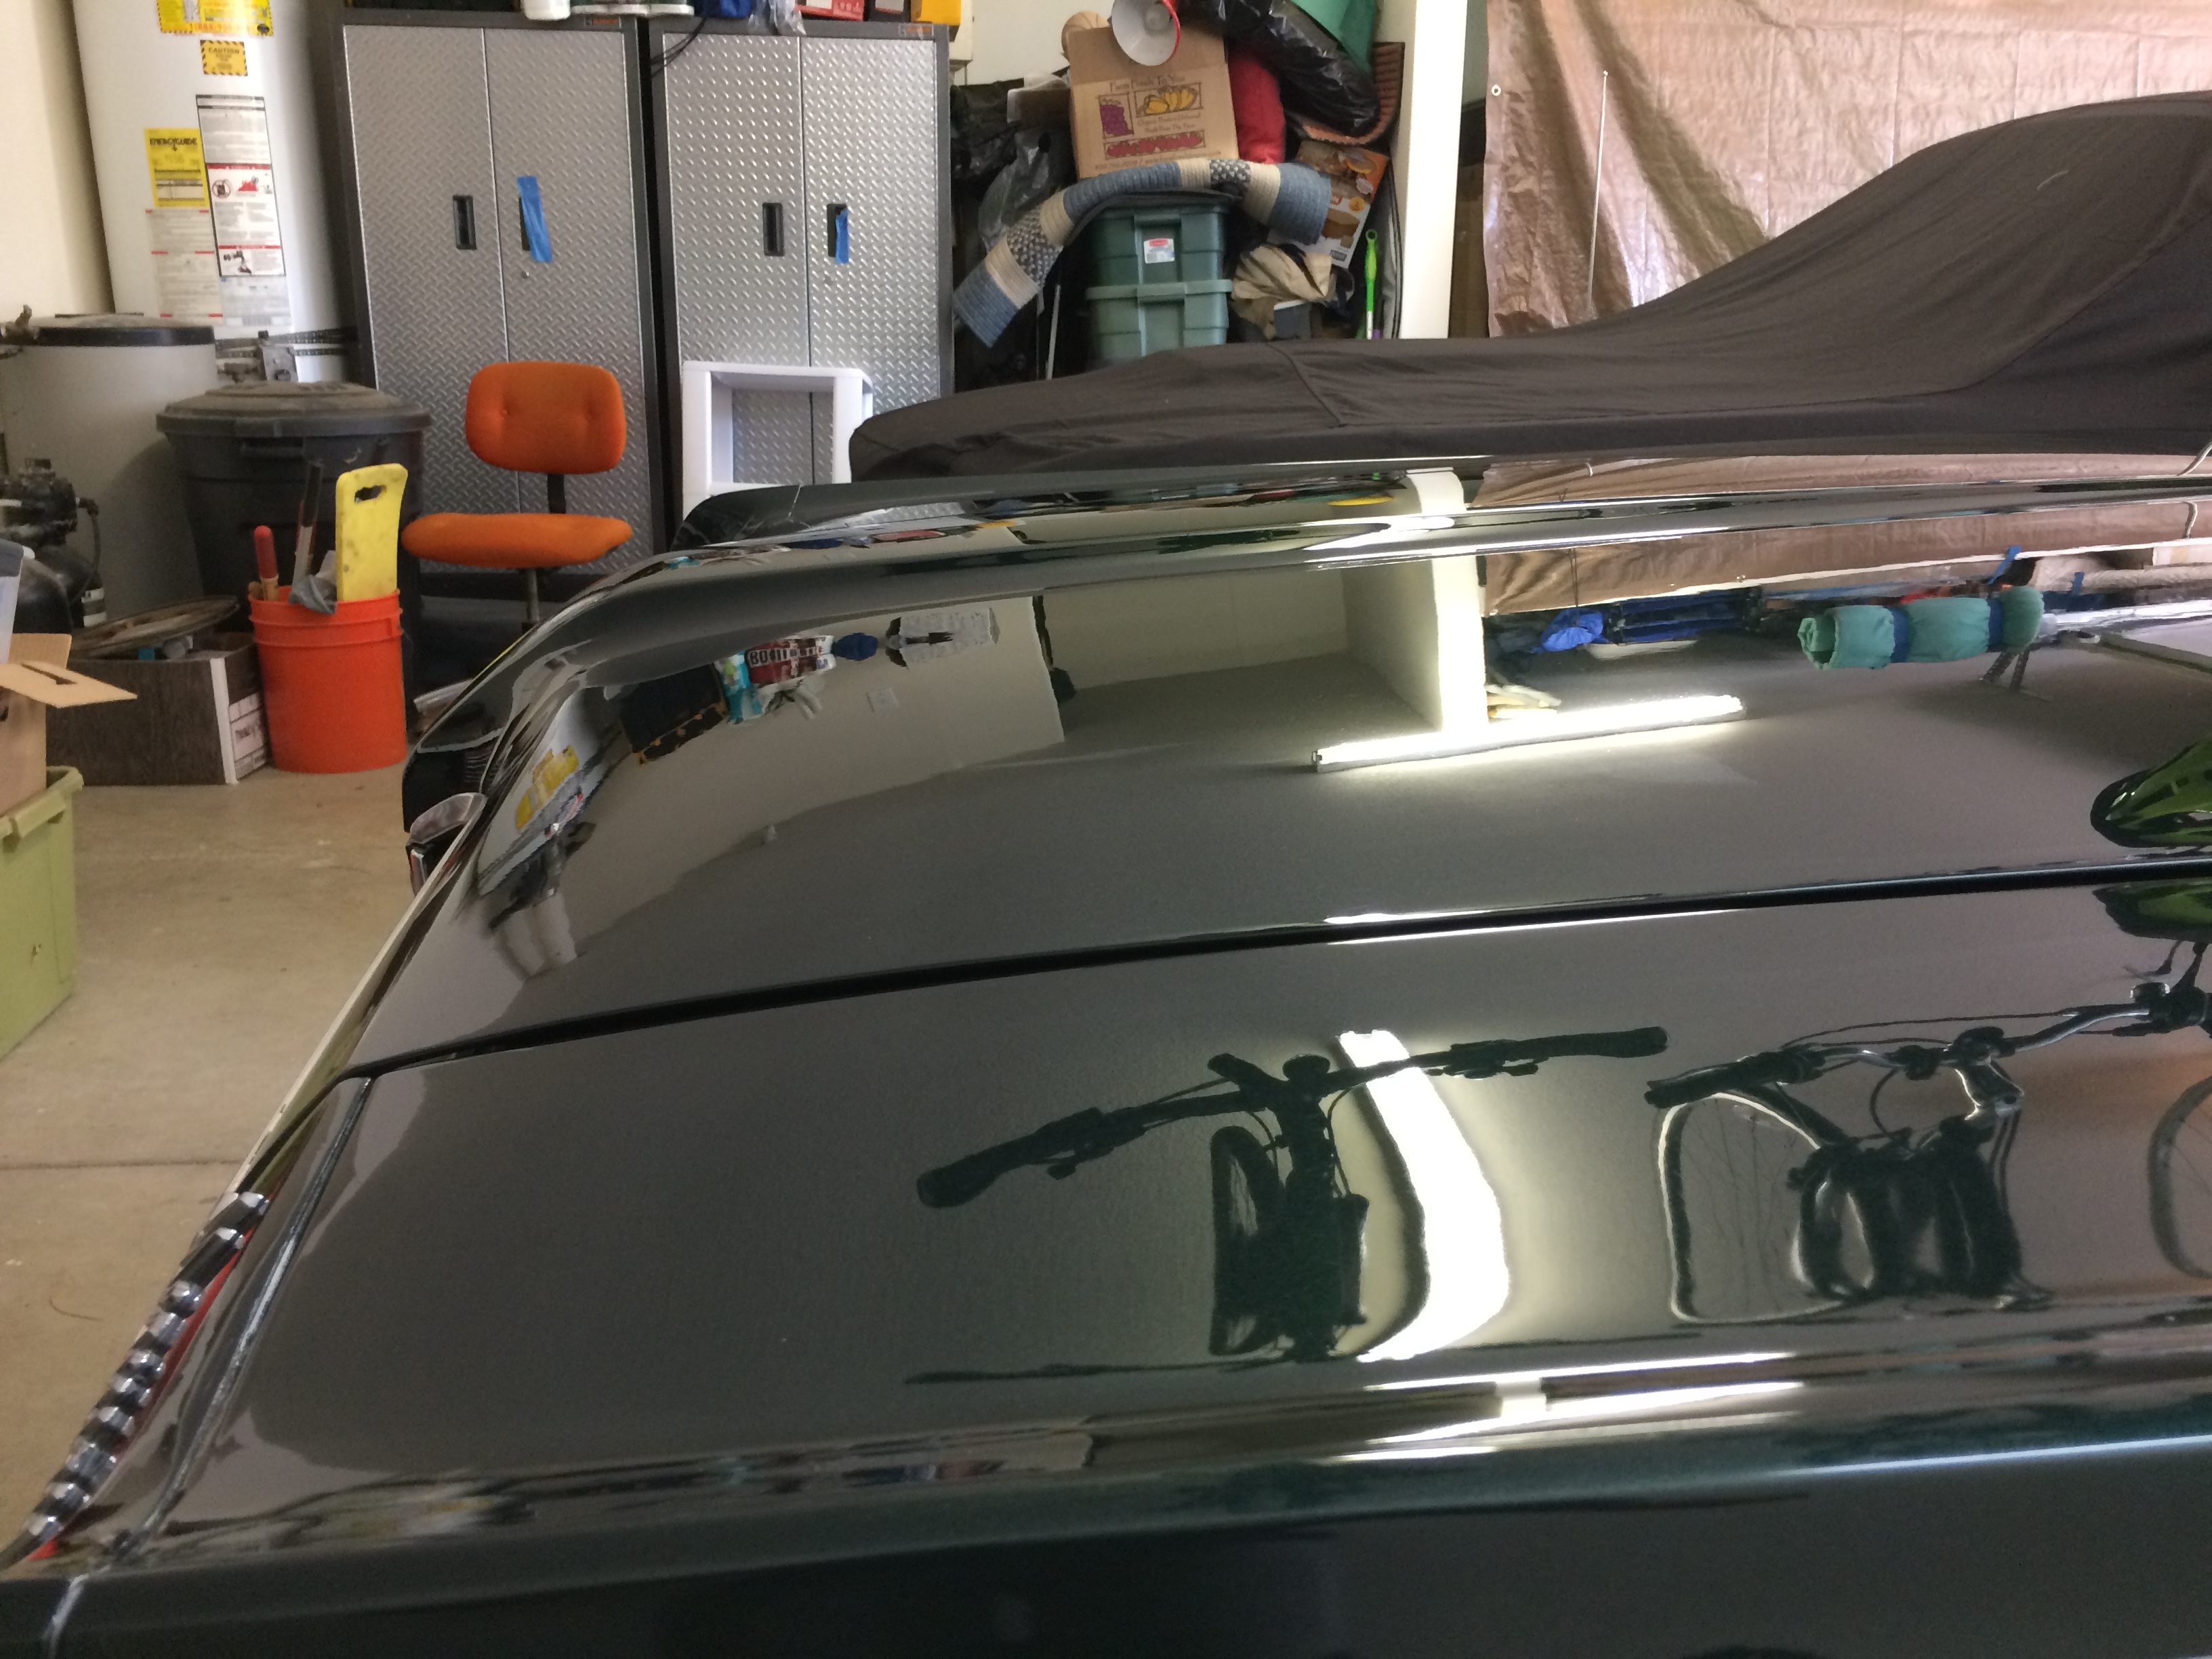
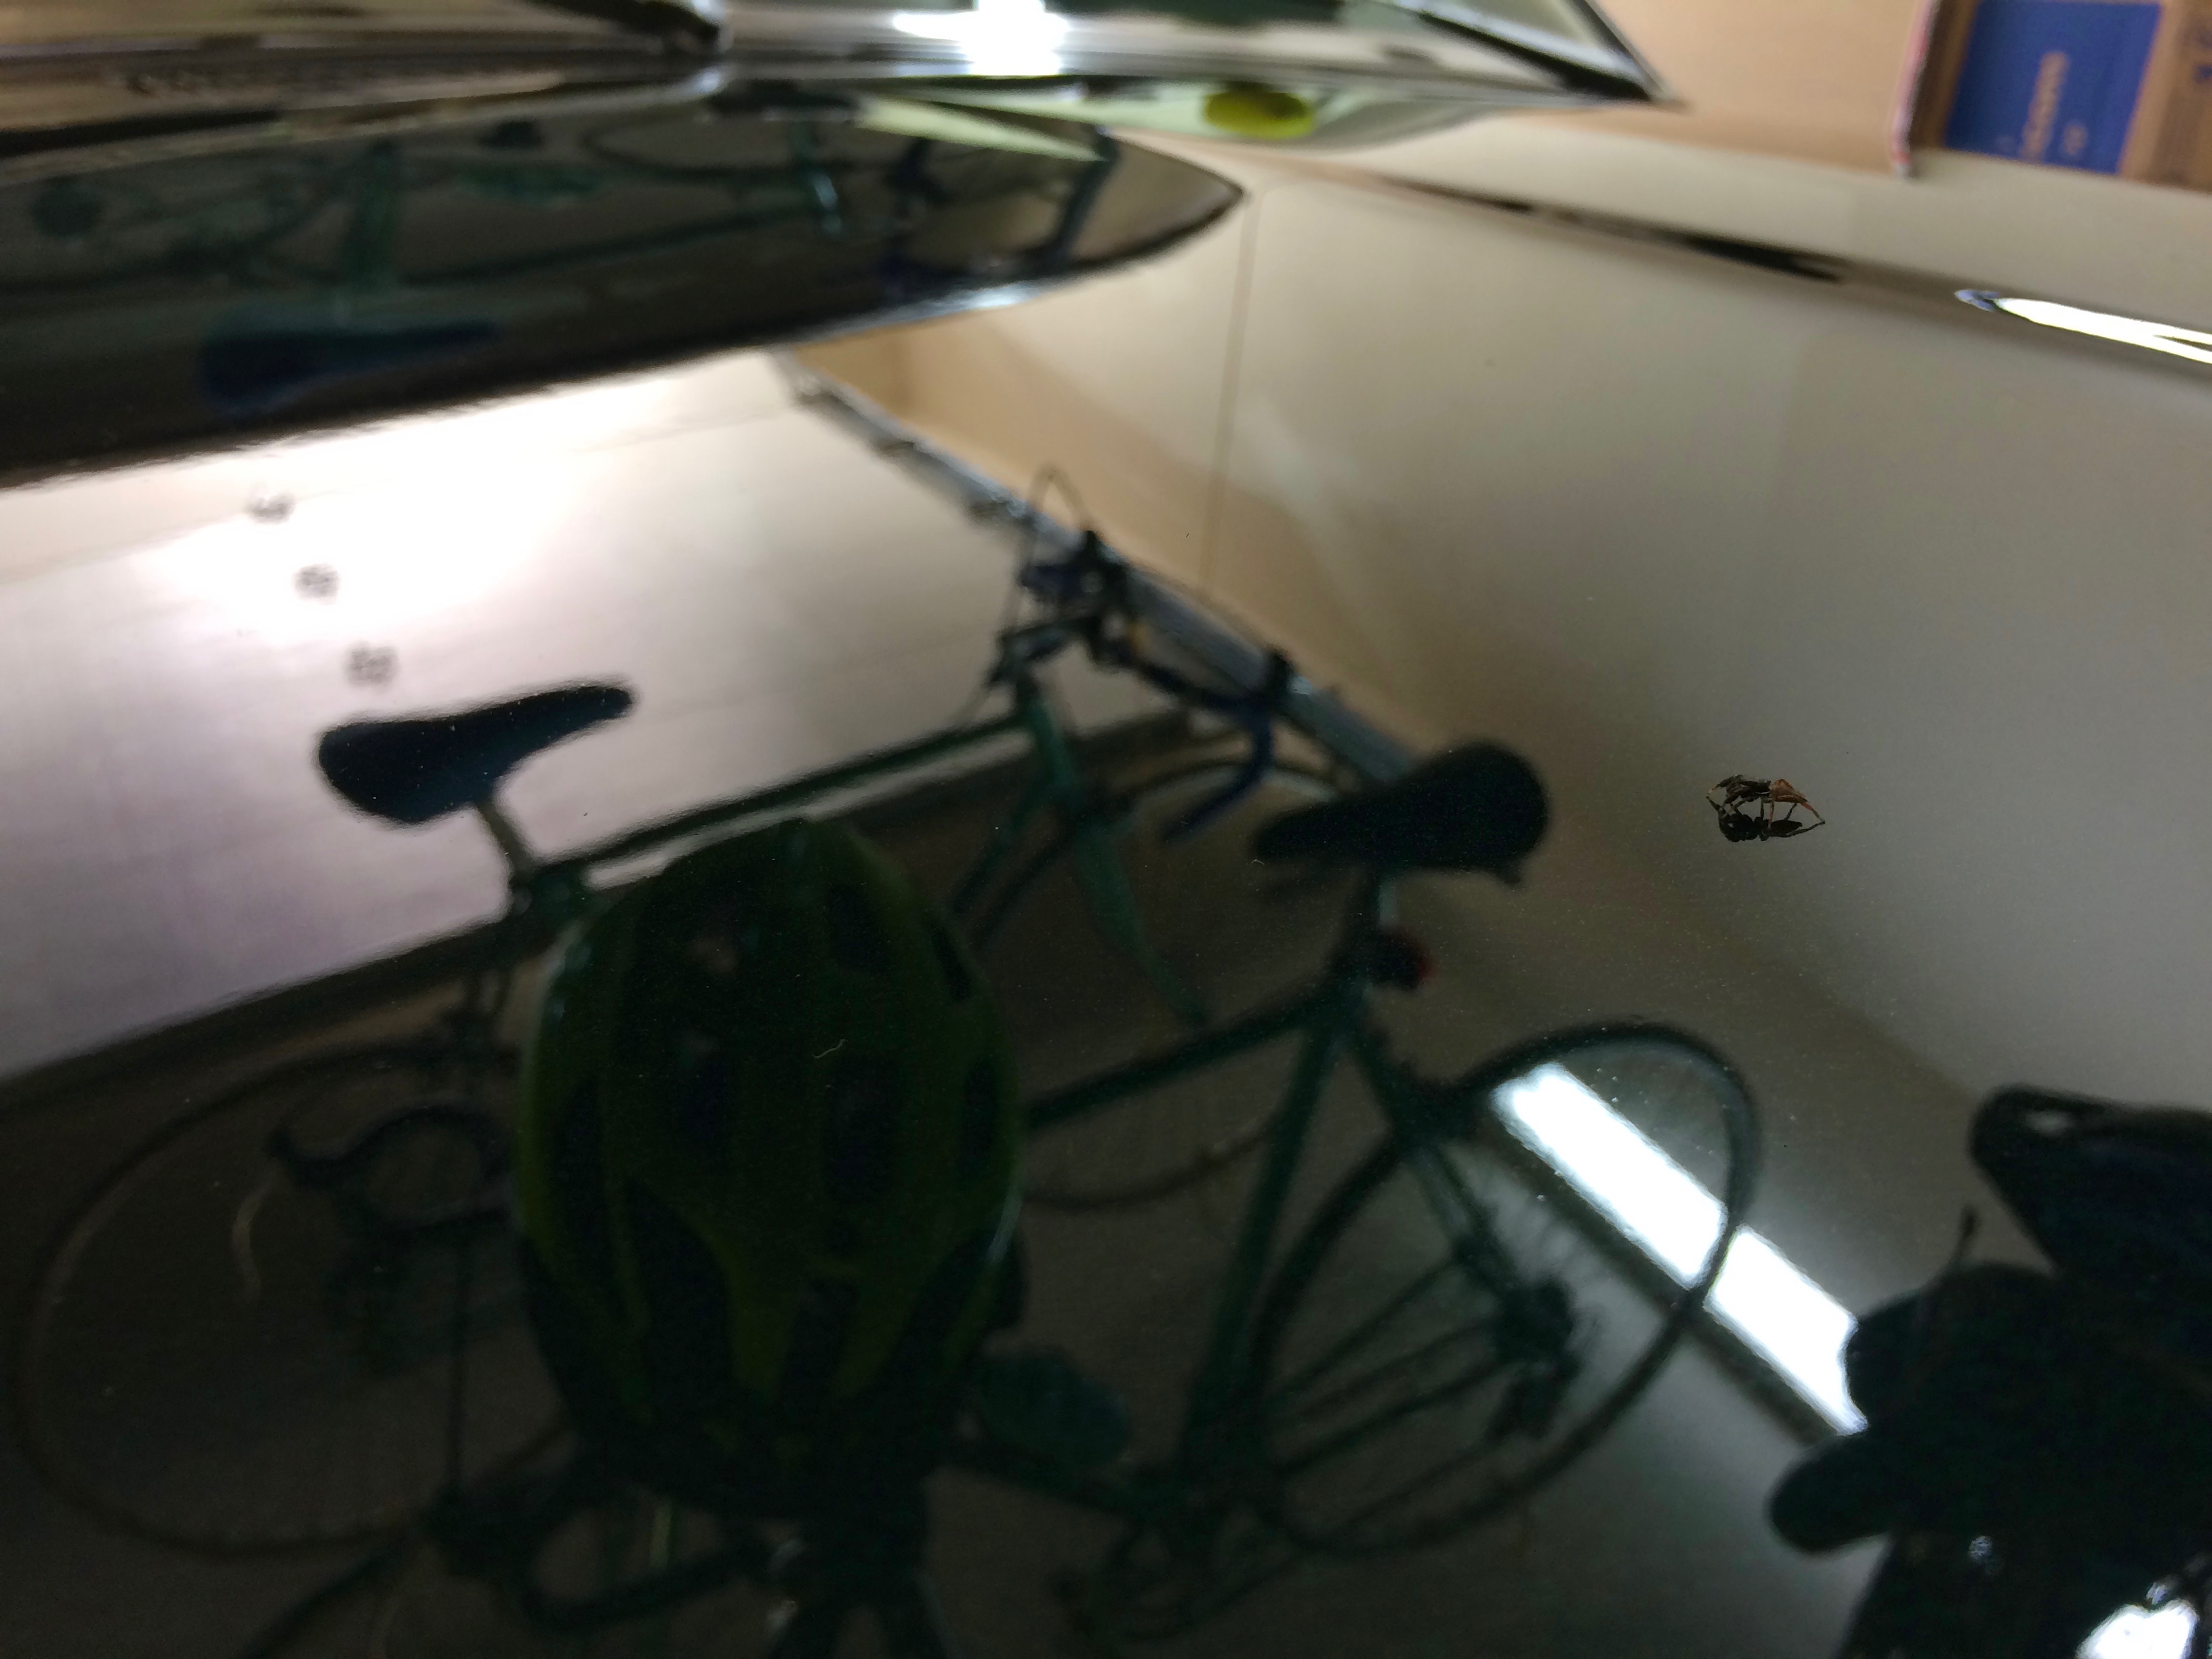
Here is a walk-around and photos of the gloss after paint correction.
A jumping spider examined my work across the hood.
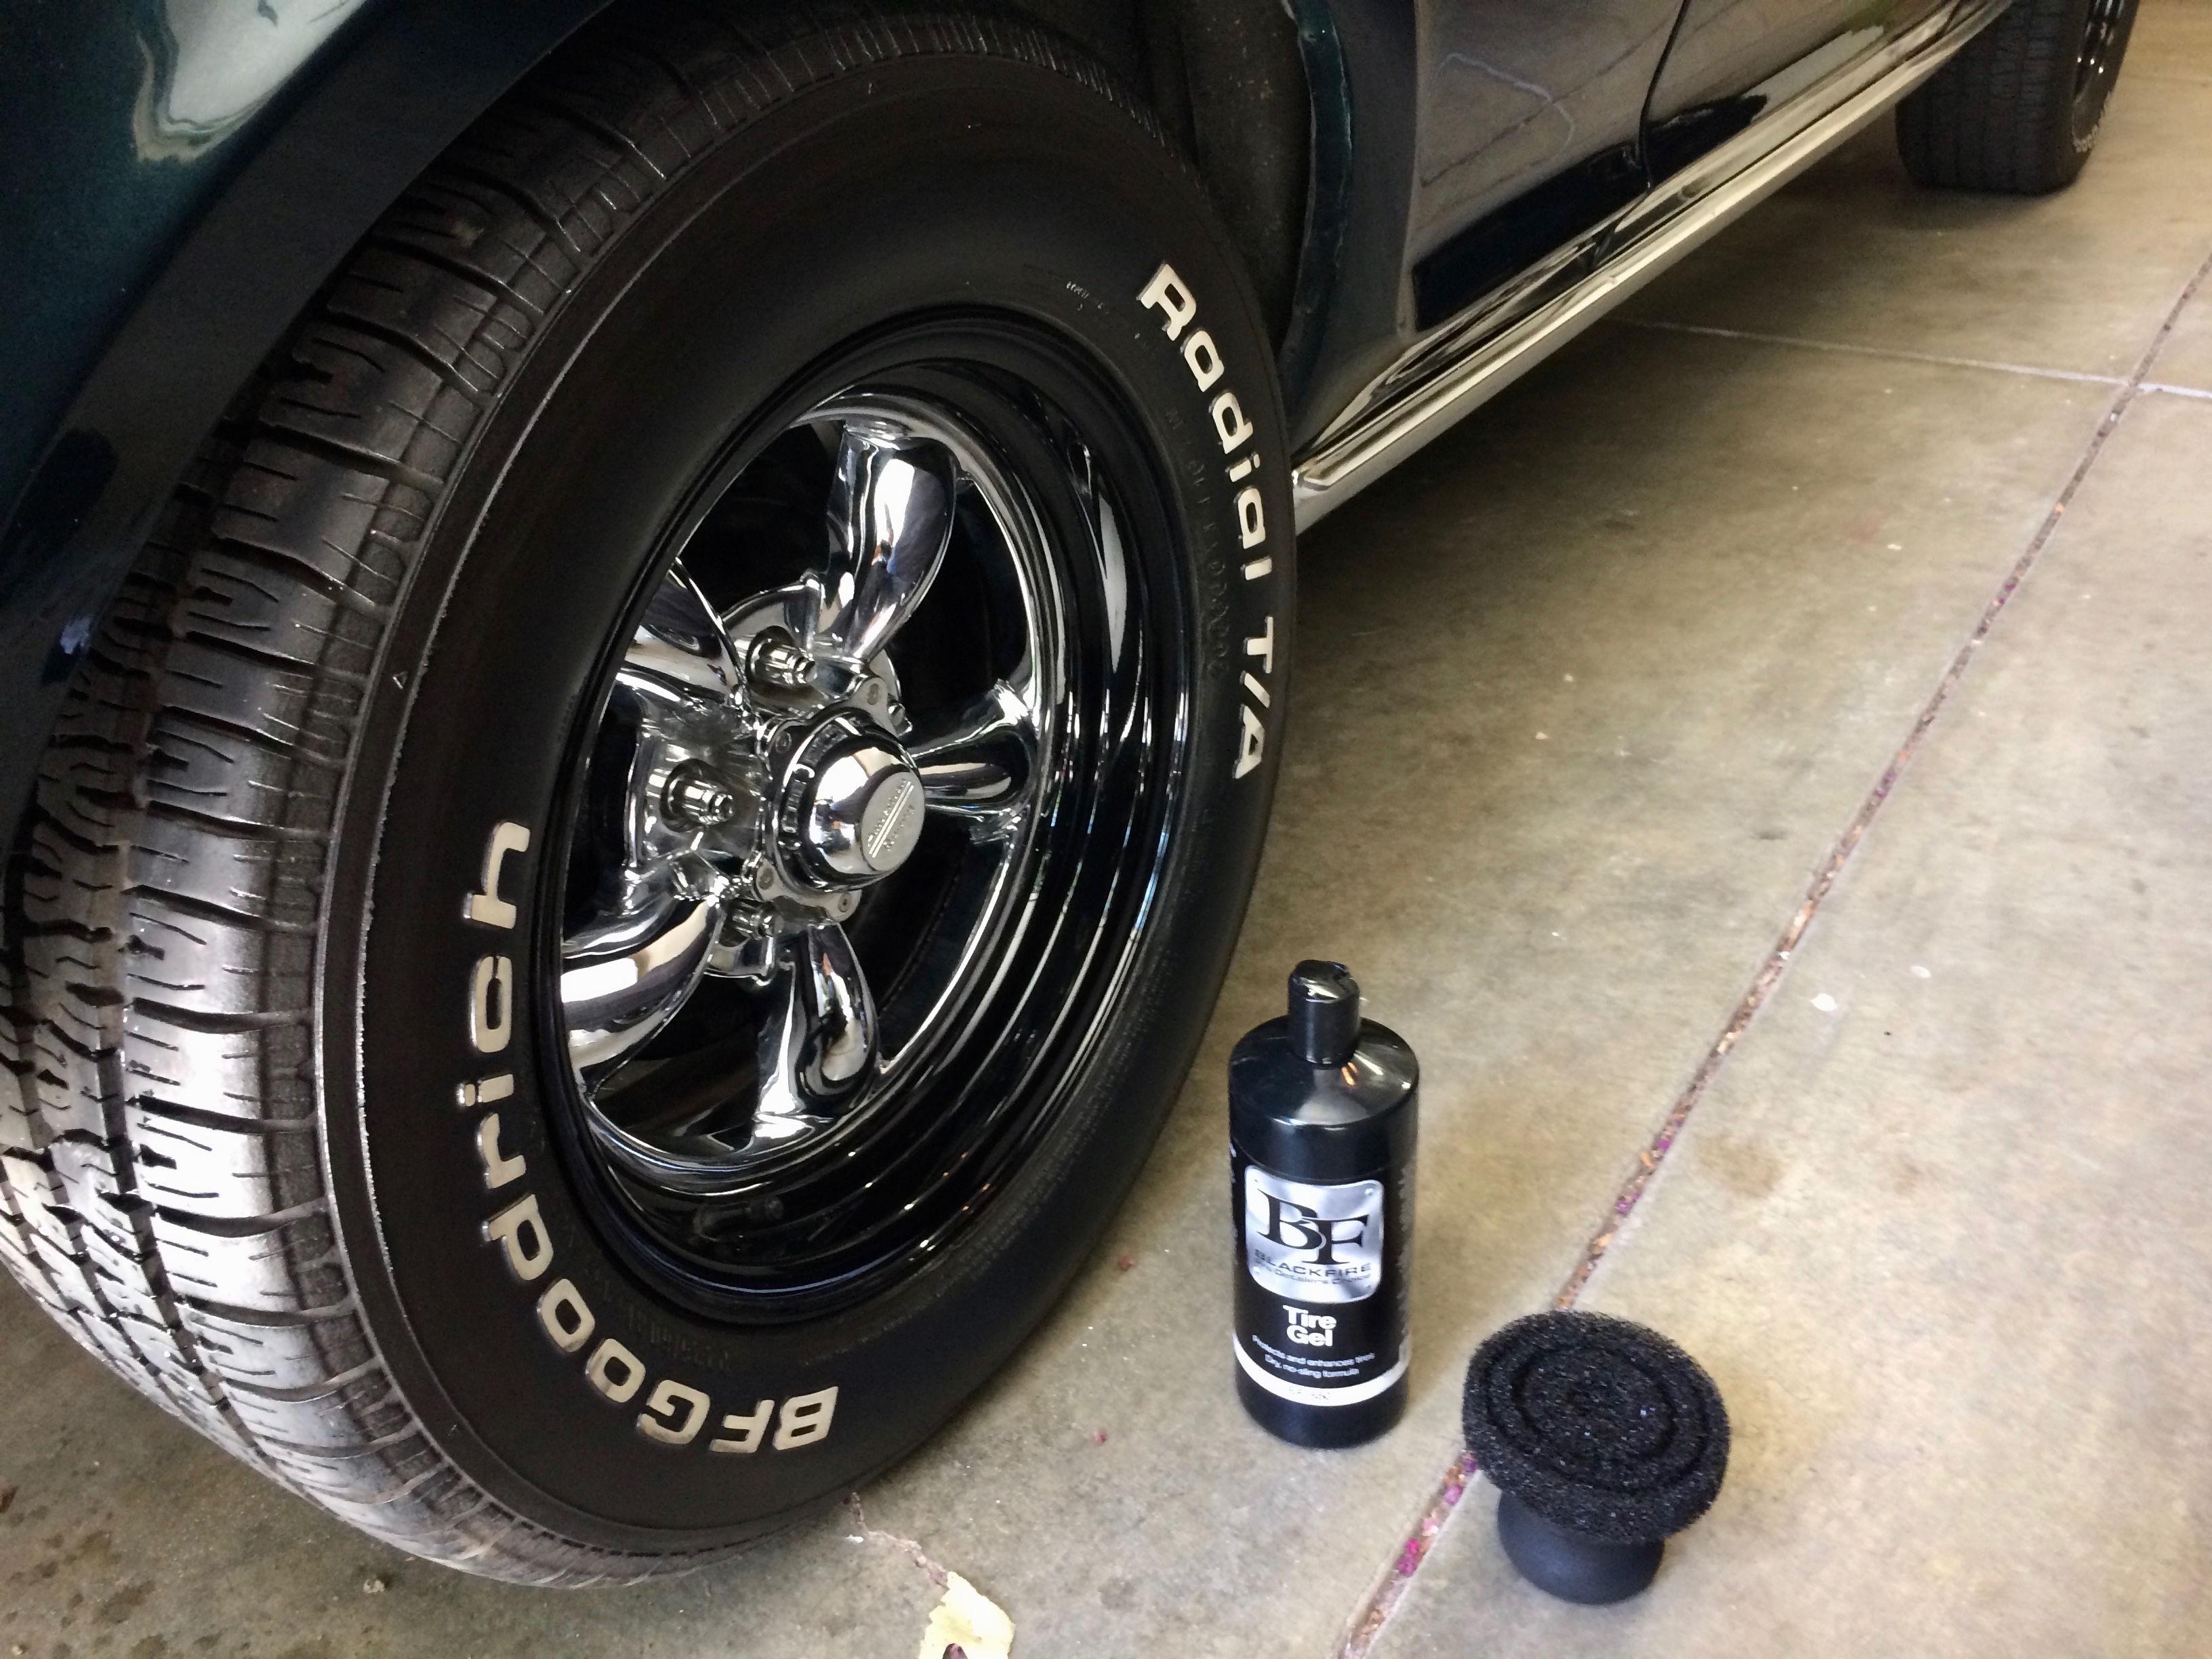
To finish the Cougar I cleaned the glass with Sprayway Glass Cleaner paired with Griot’s PFM Glass towels, and the tires were dressed using Blackfire Tire Gel on a Griot’s Tire Gel Applicator. Excess gel was wiped off of the white text with a microfiber towel.
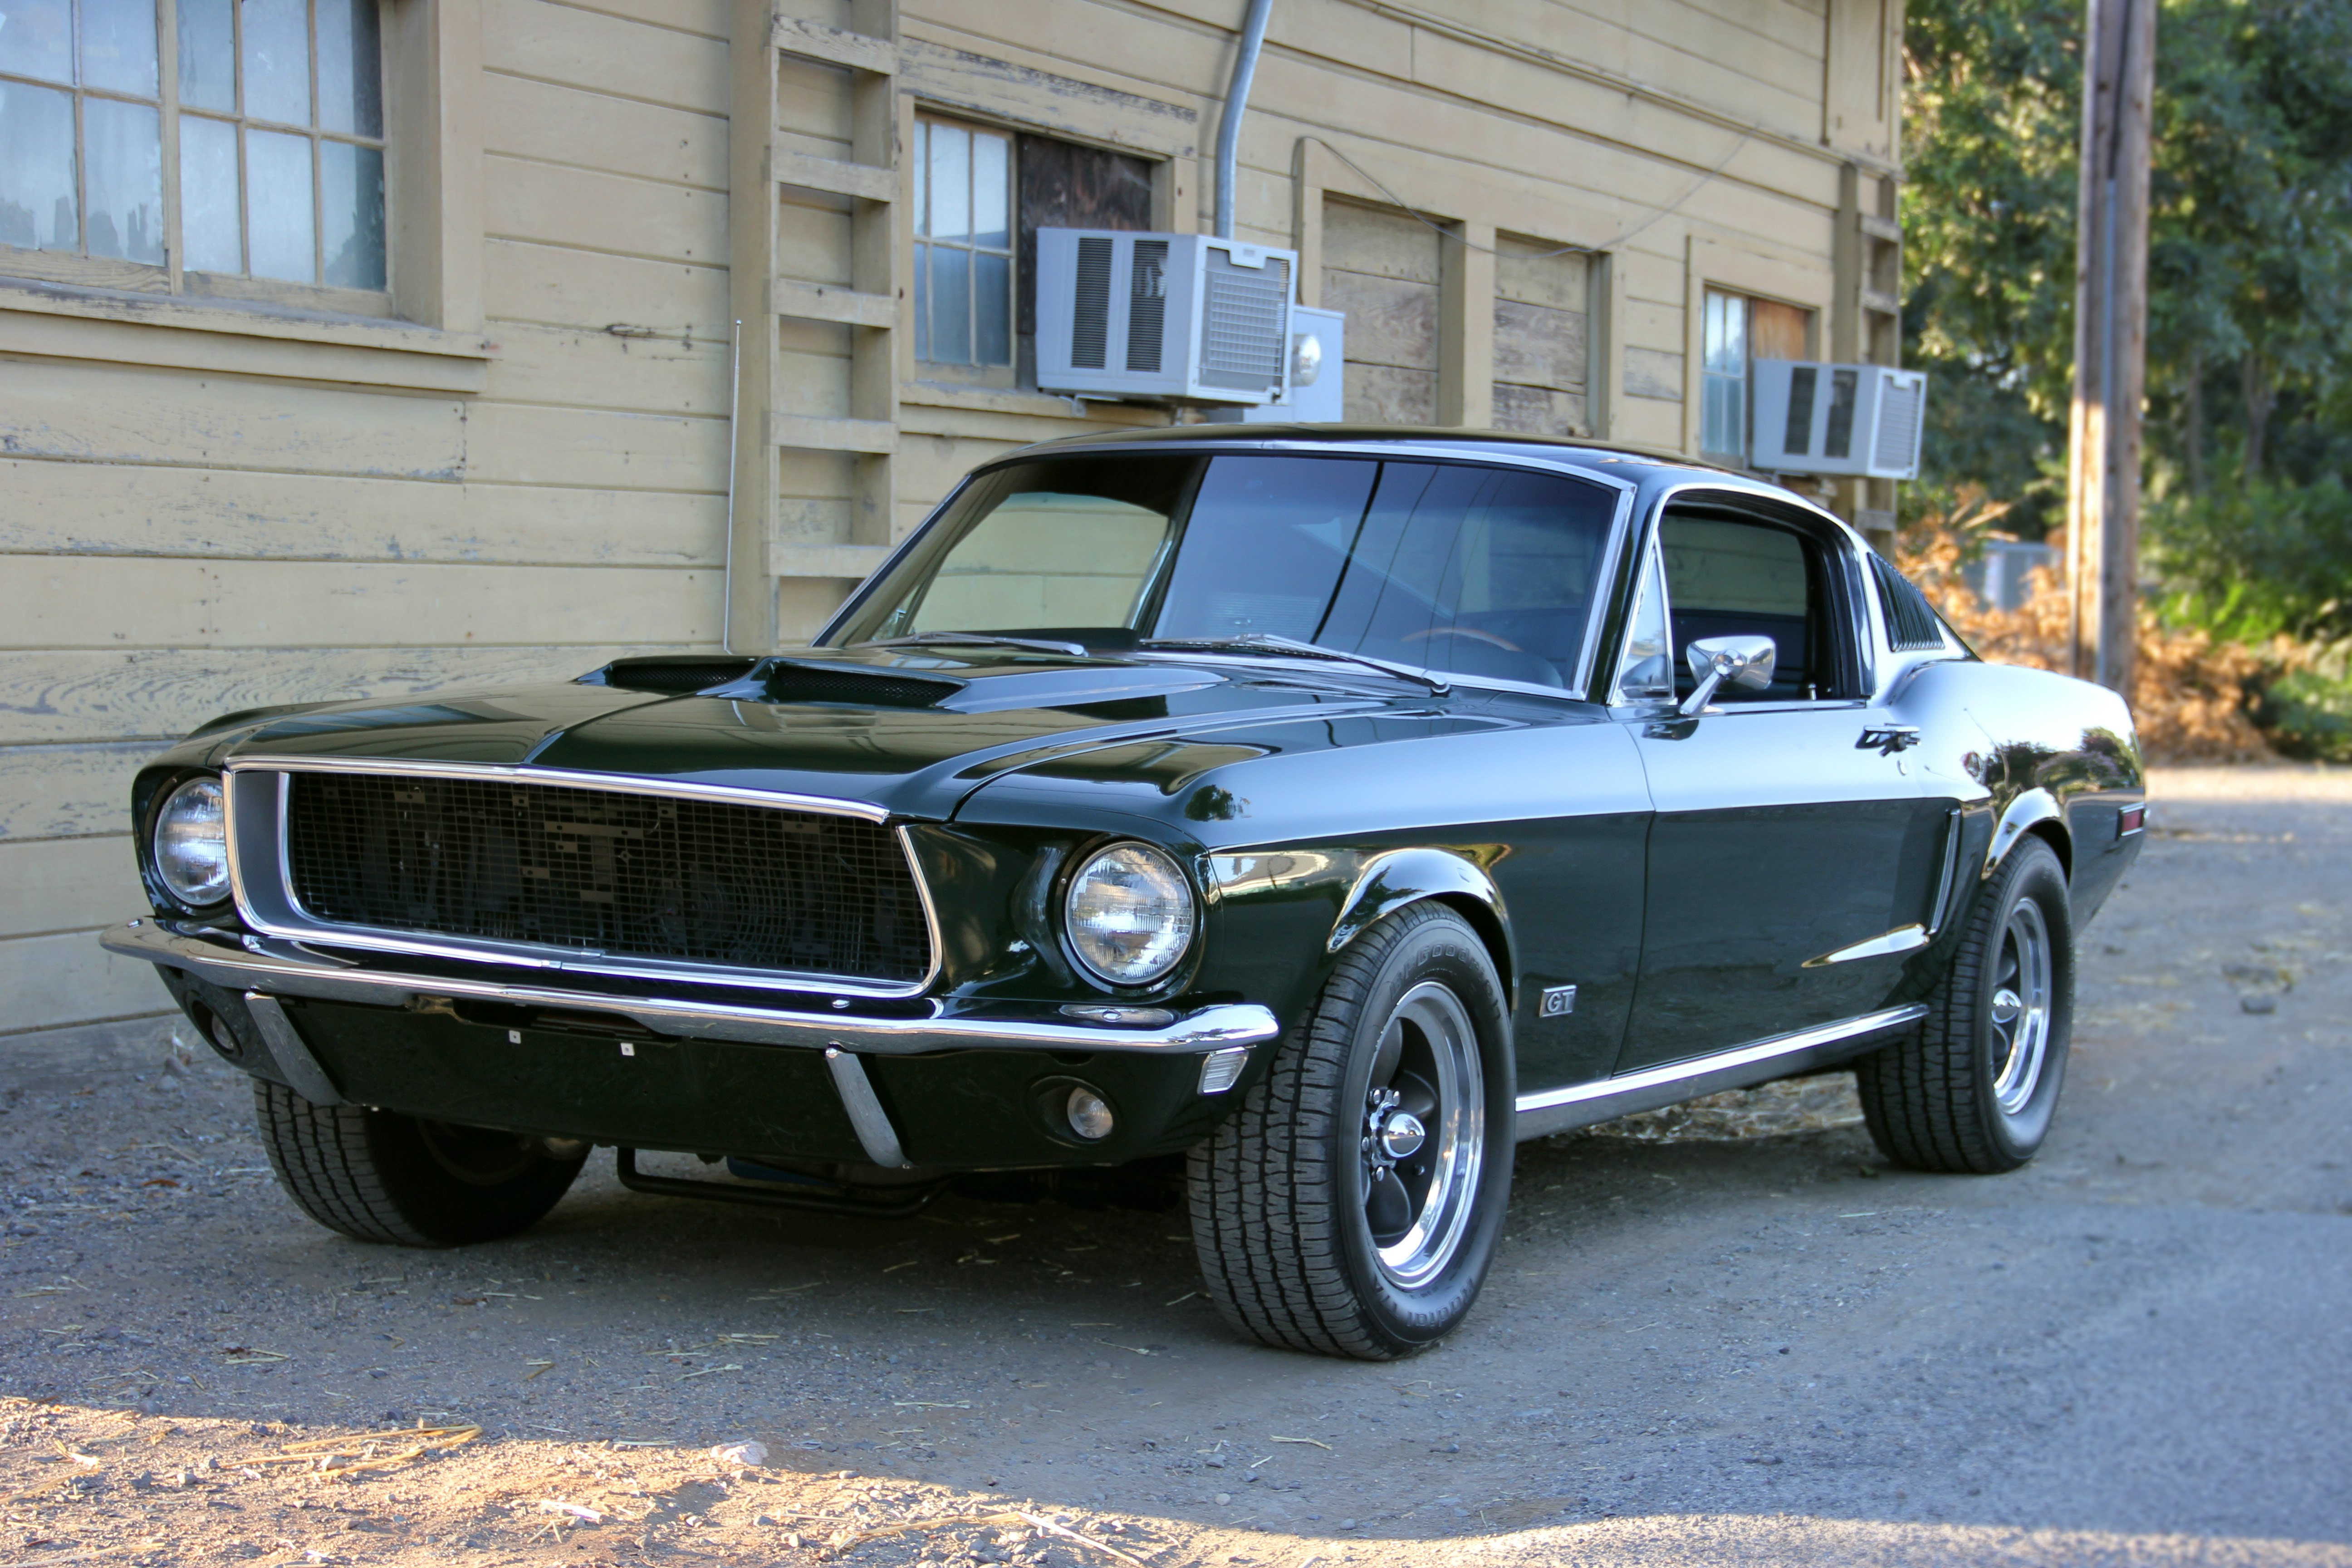
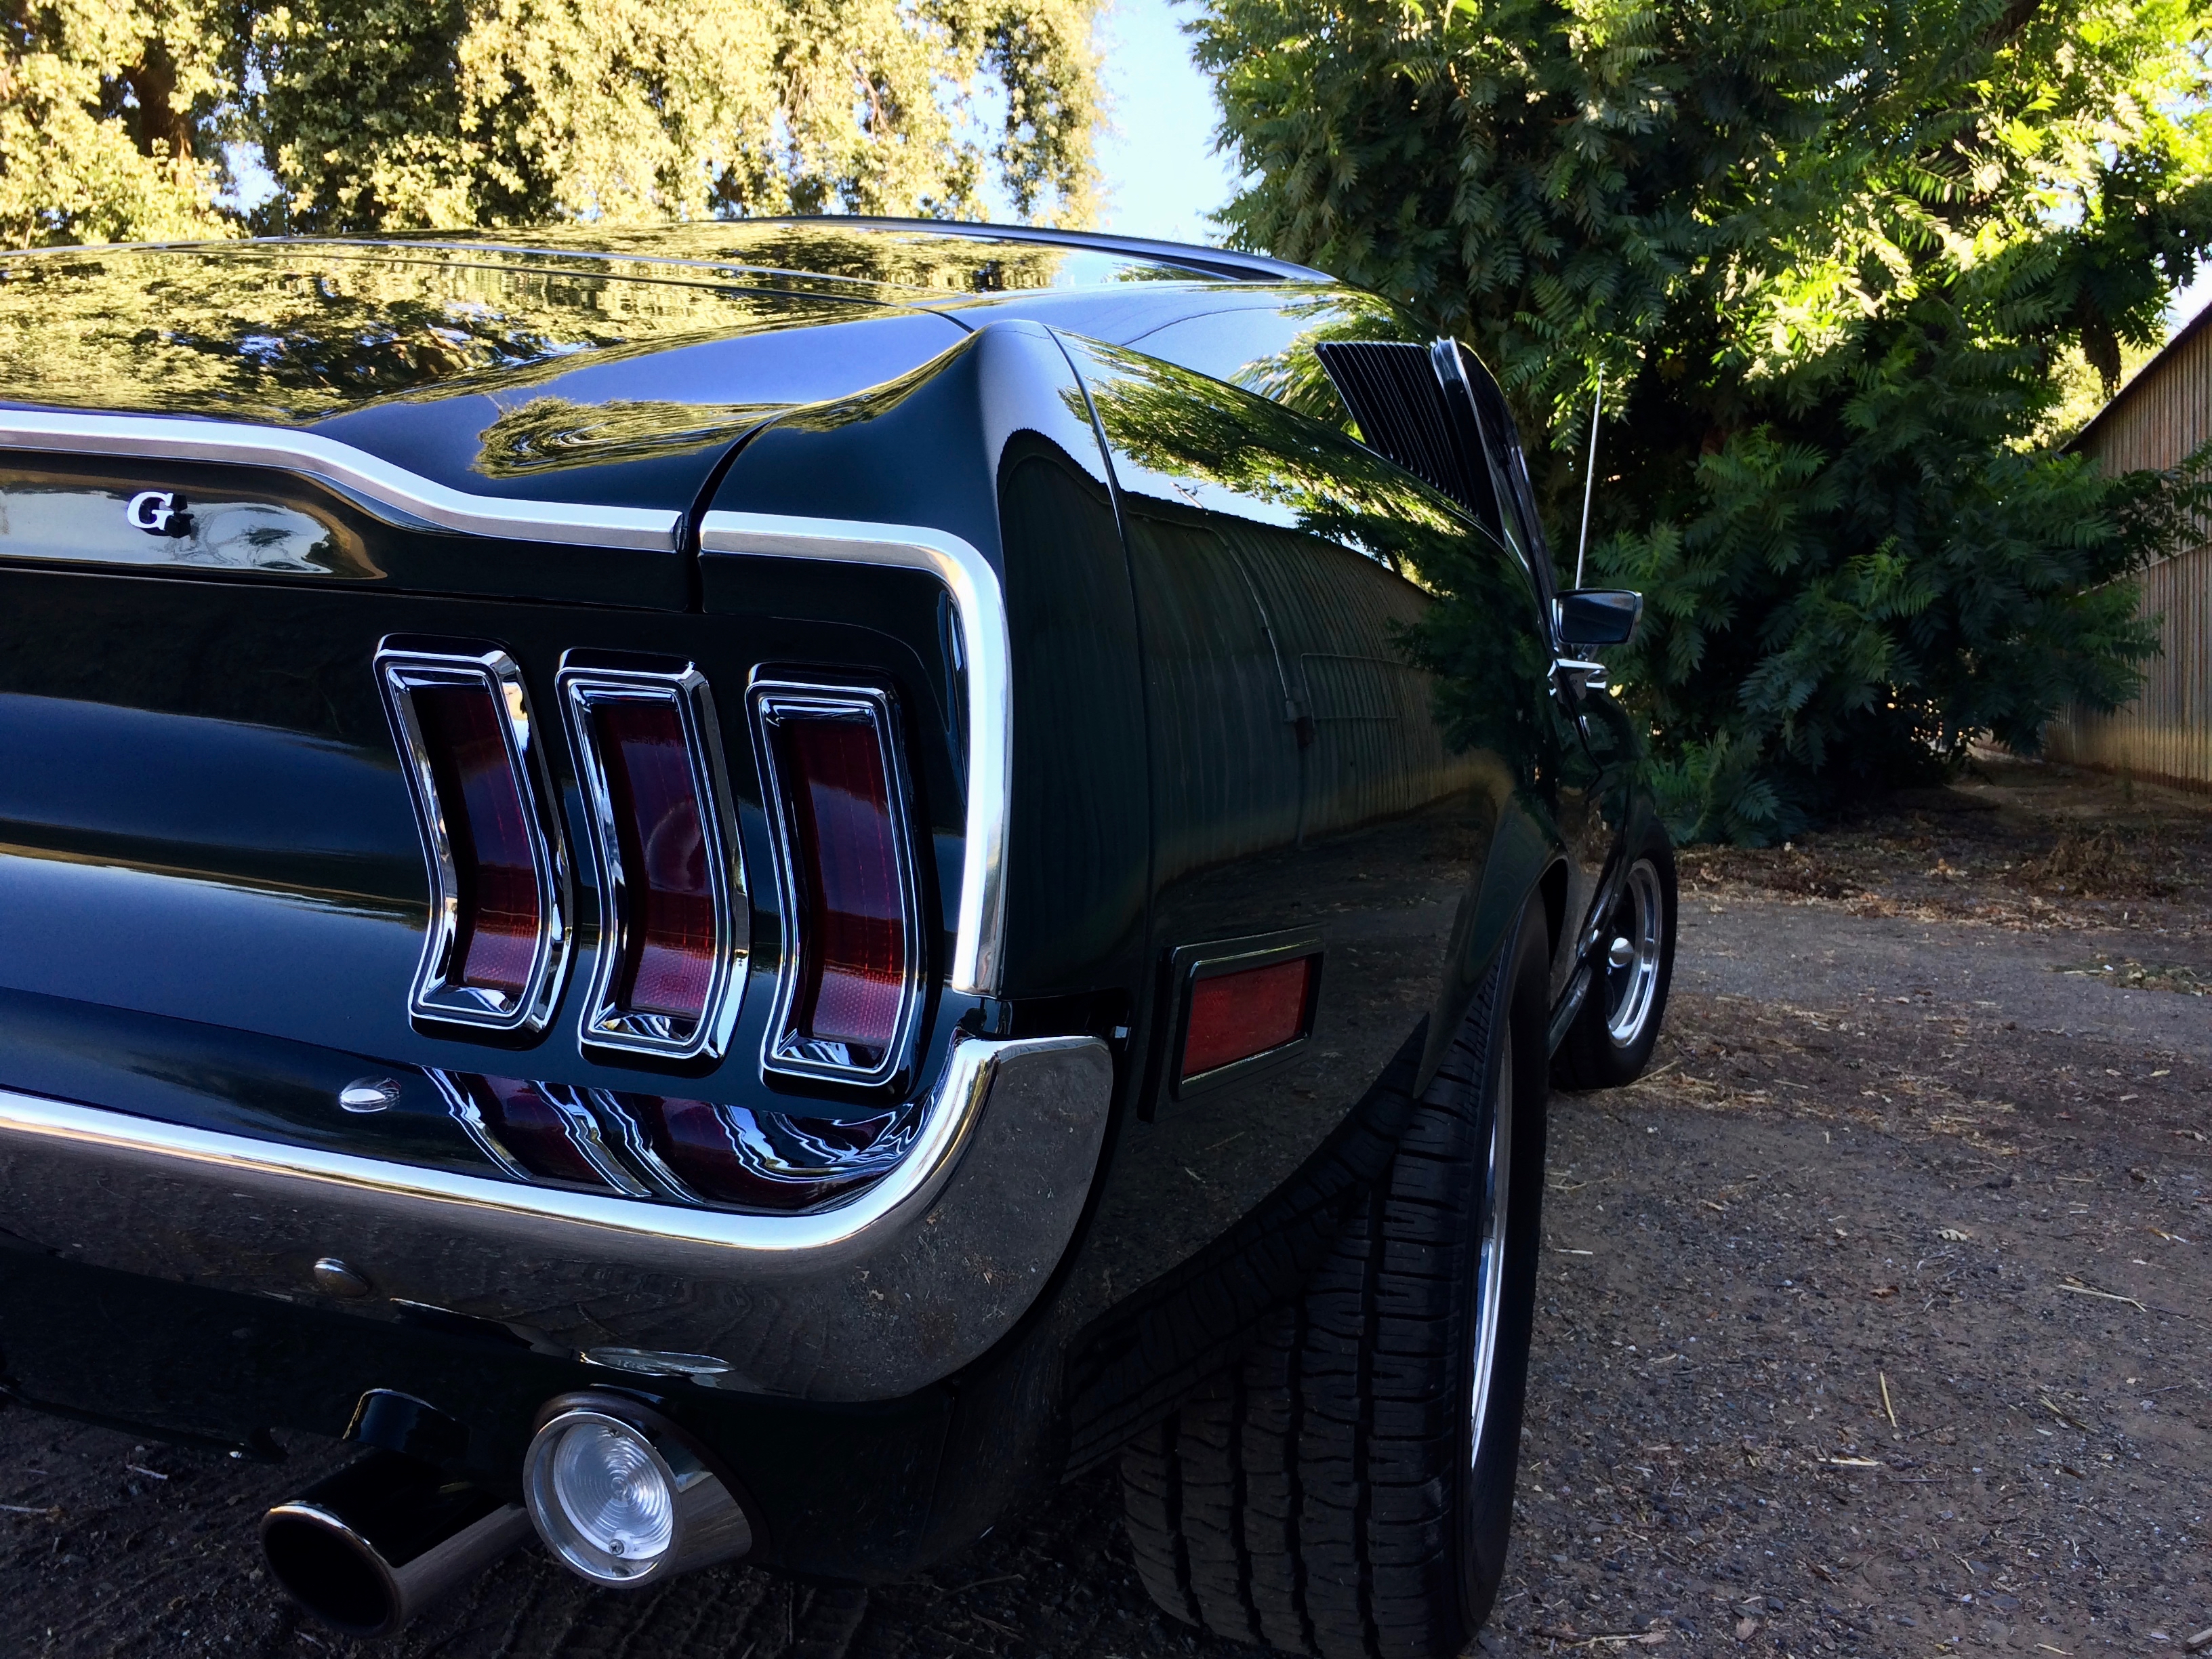
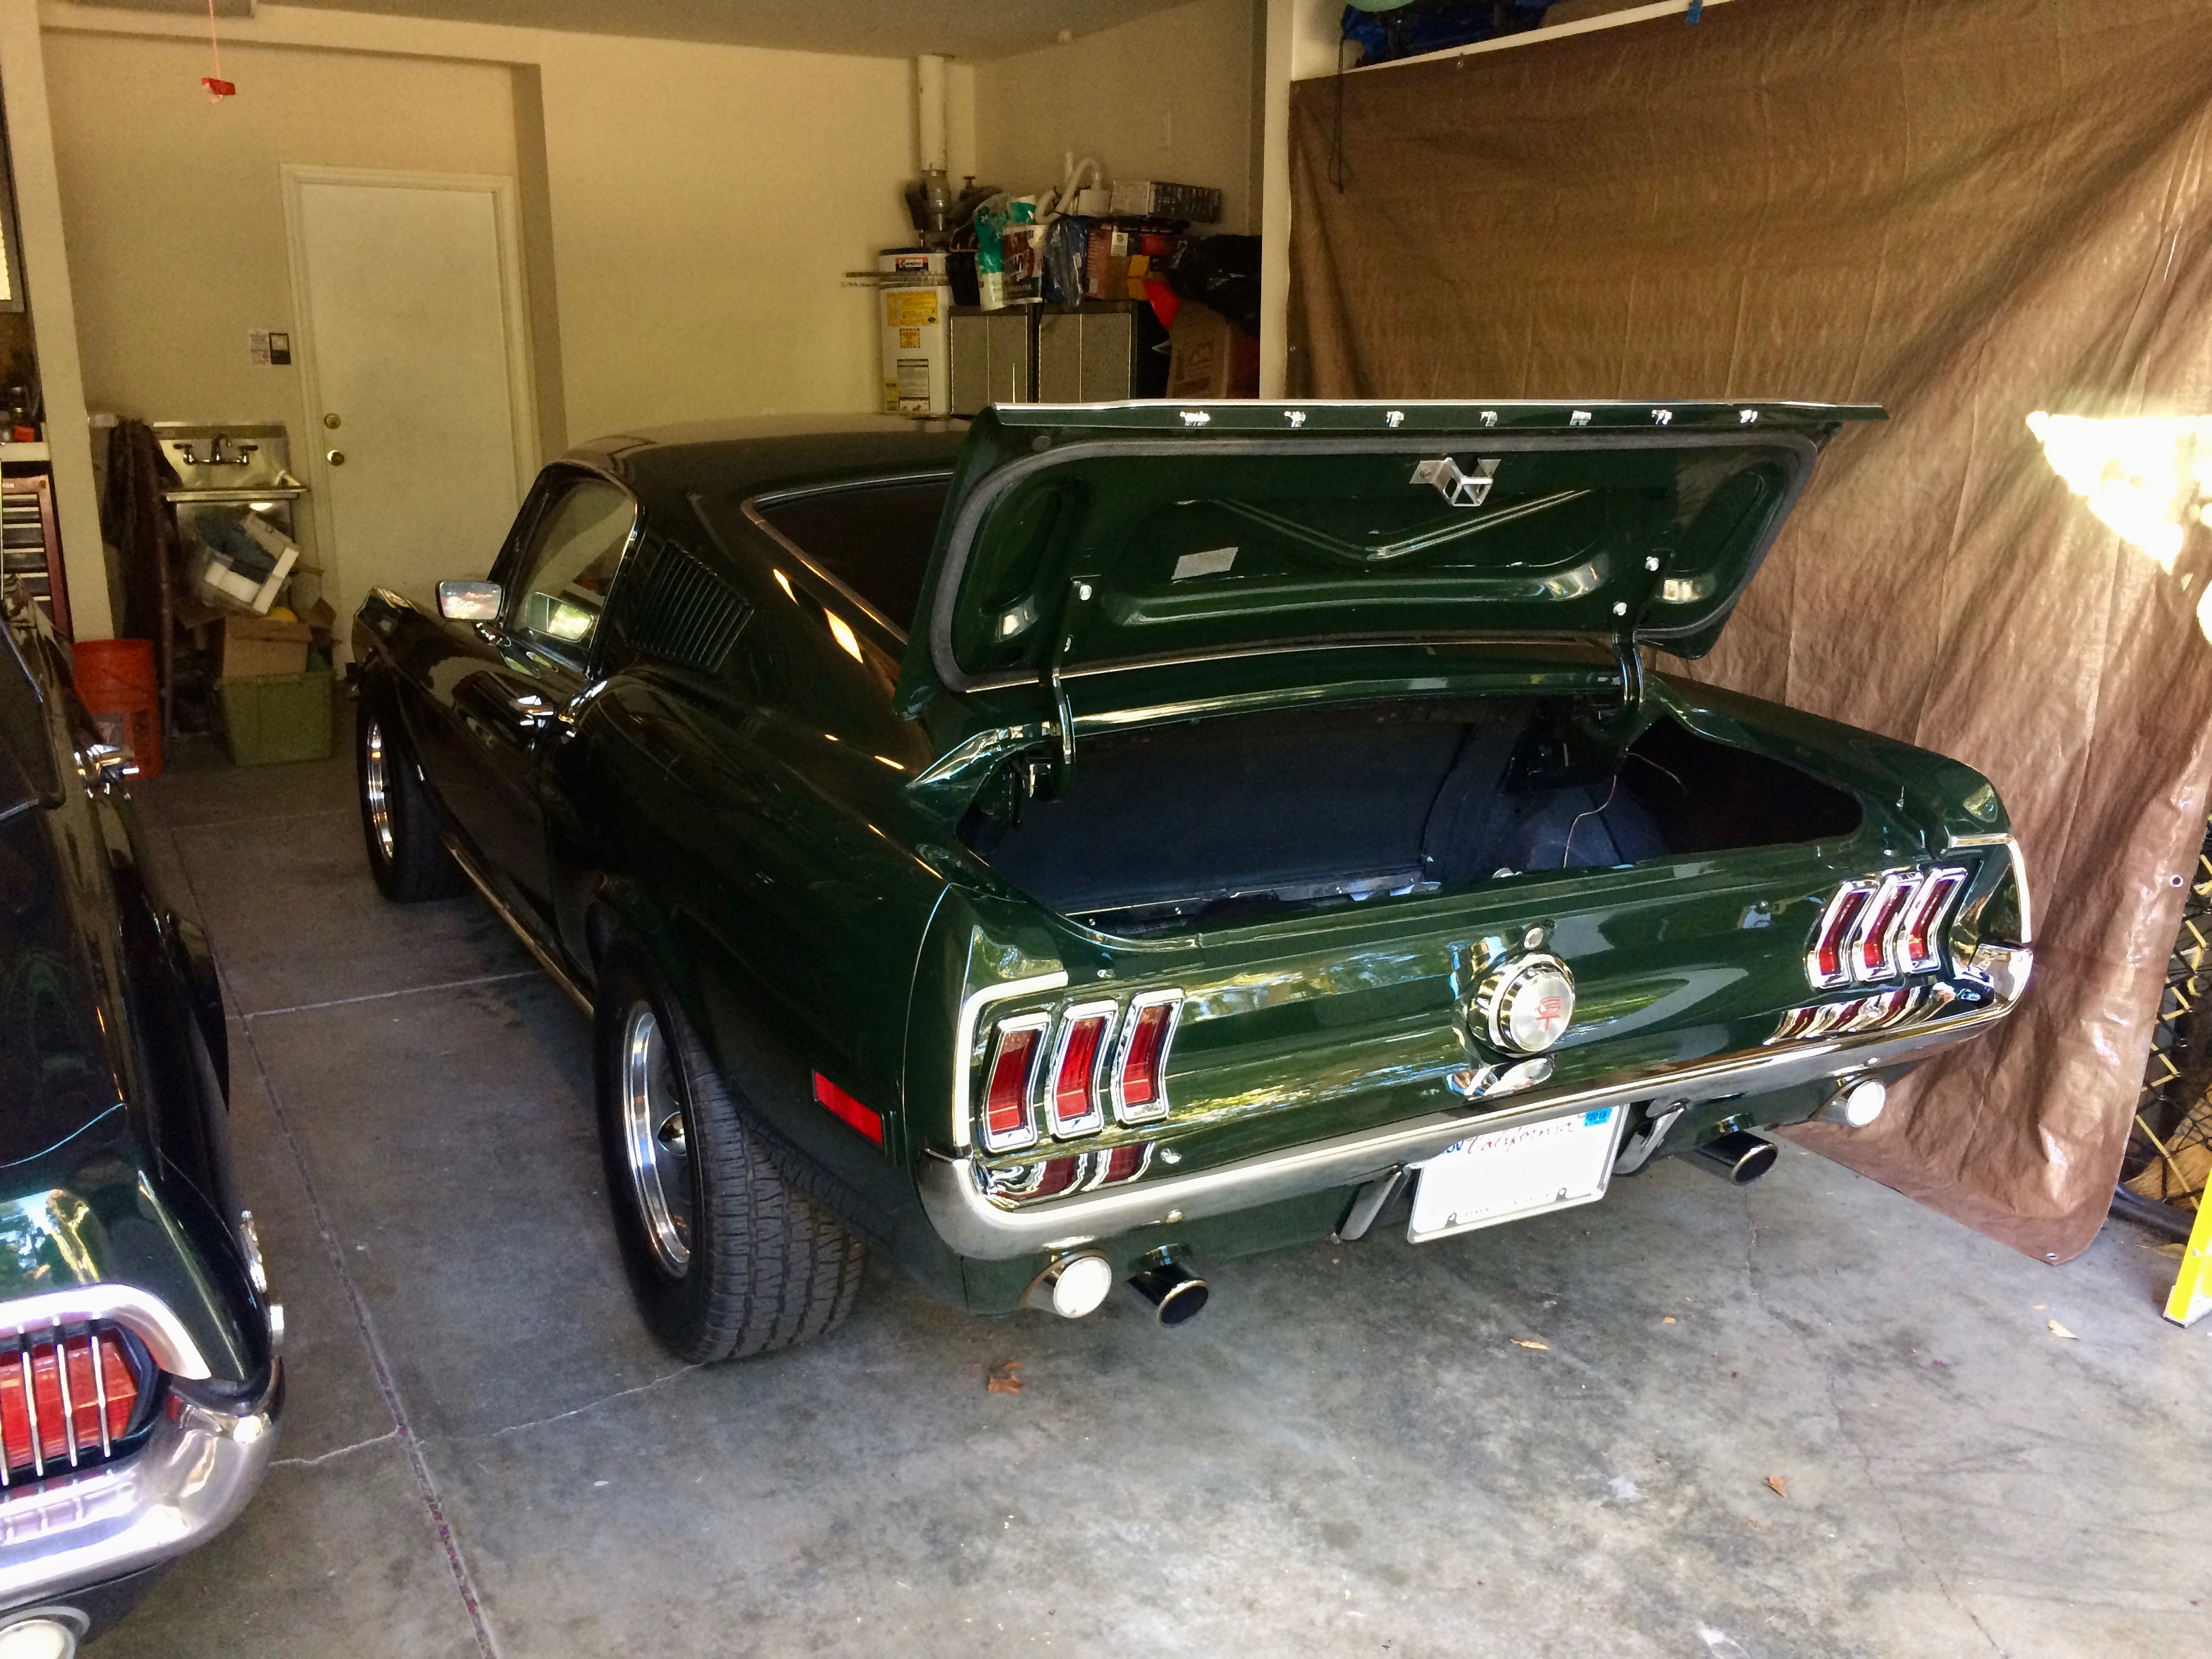
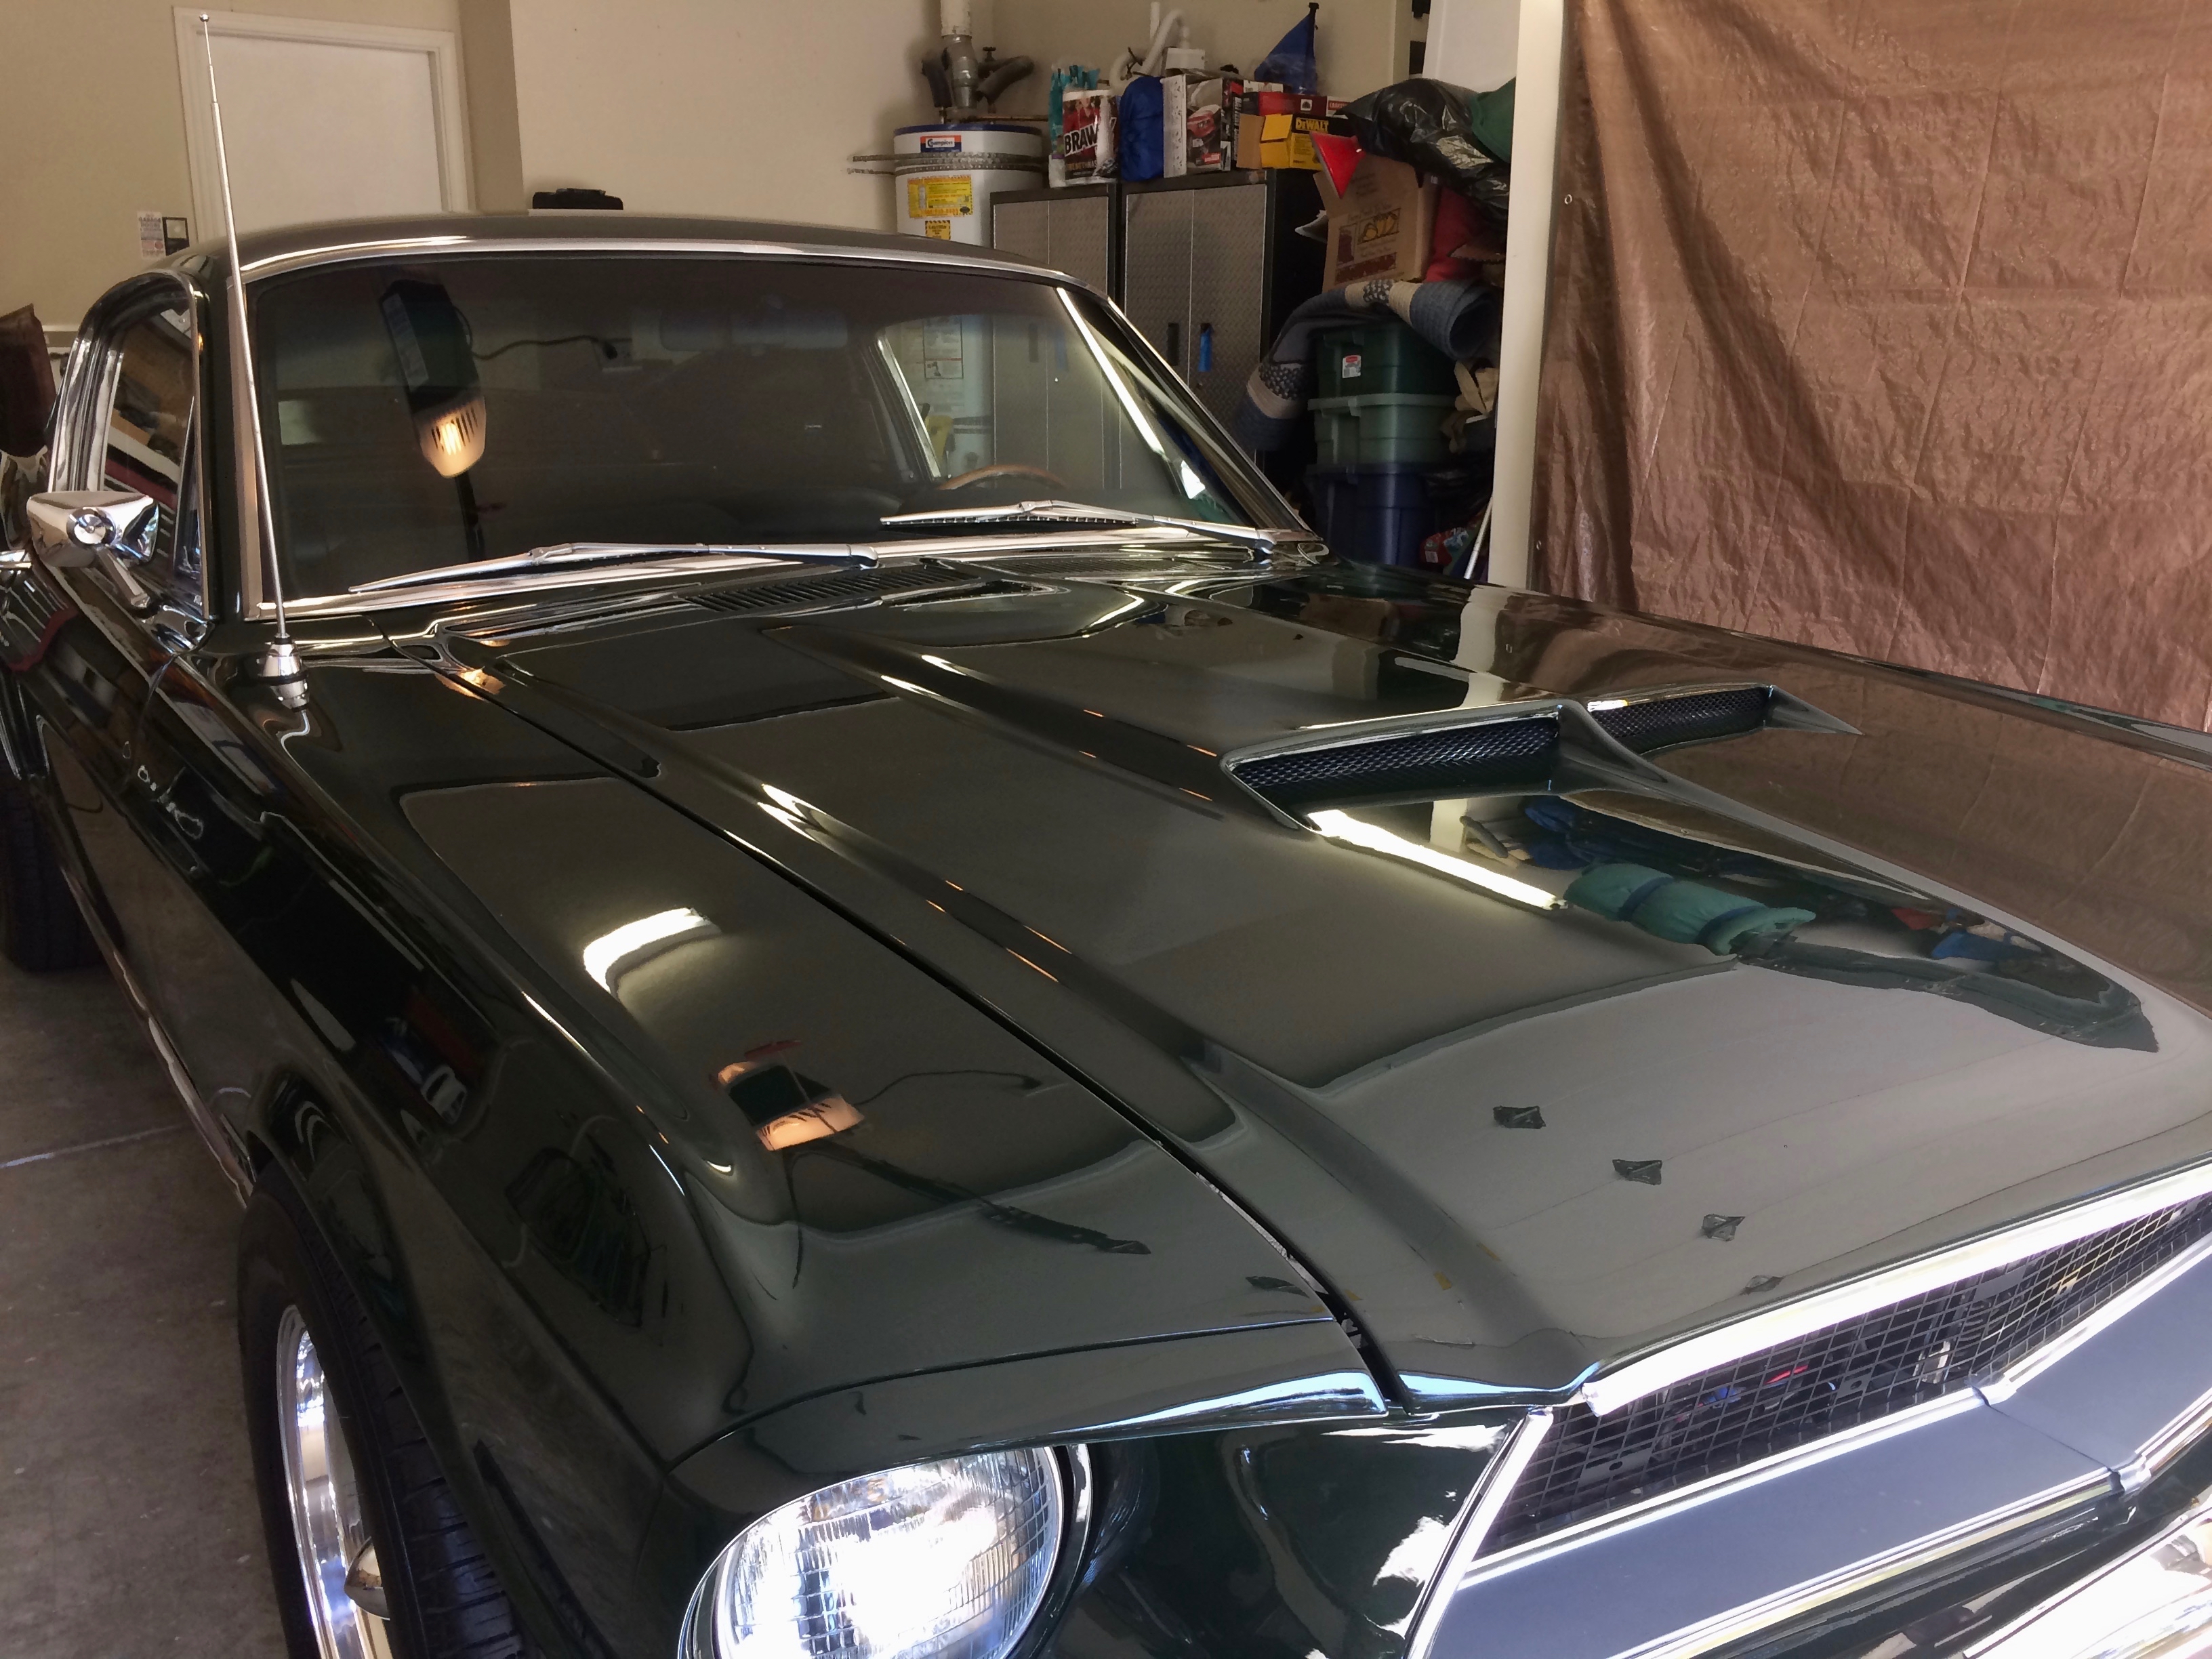
With the Cougar sitting pretty I could now give the Mustang the attention she had been patiently waiting for.
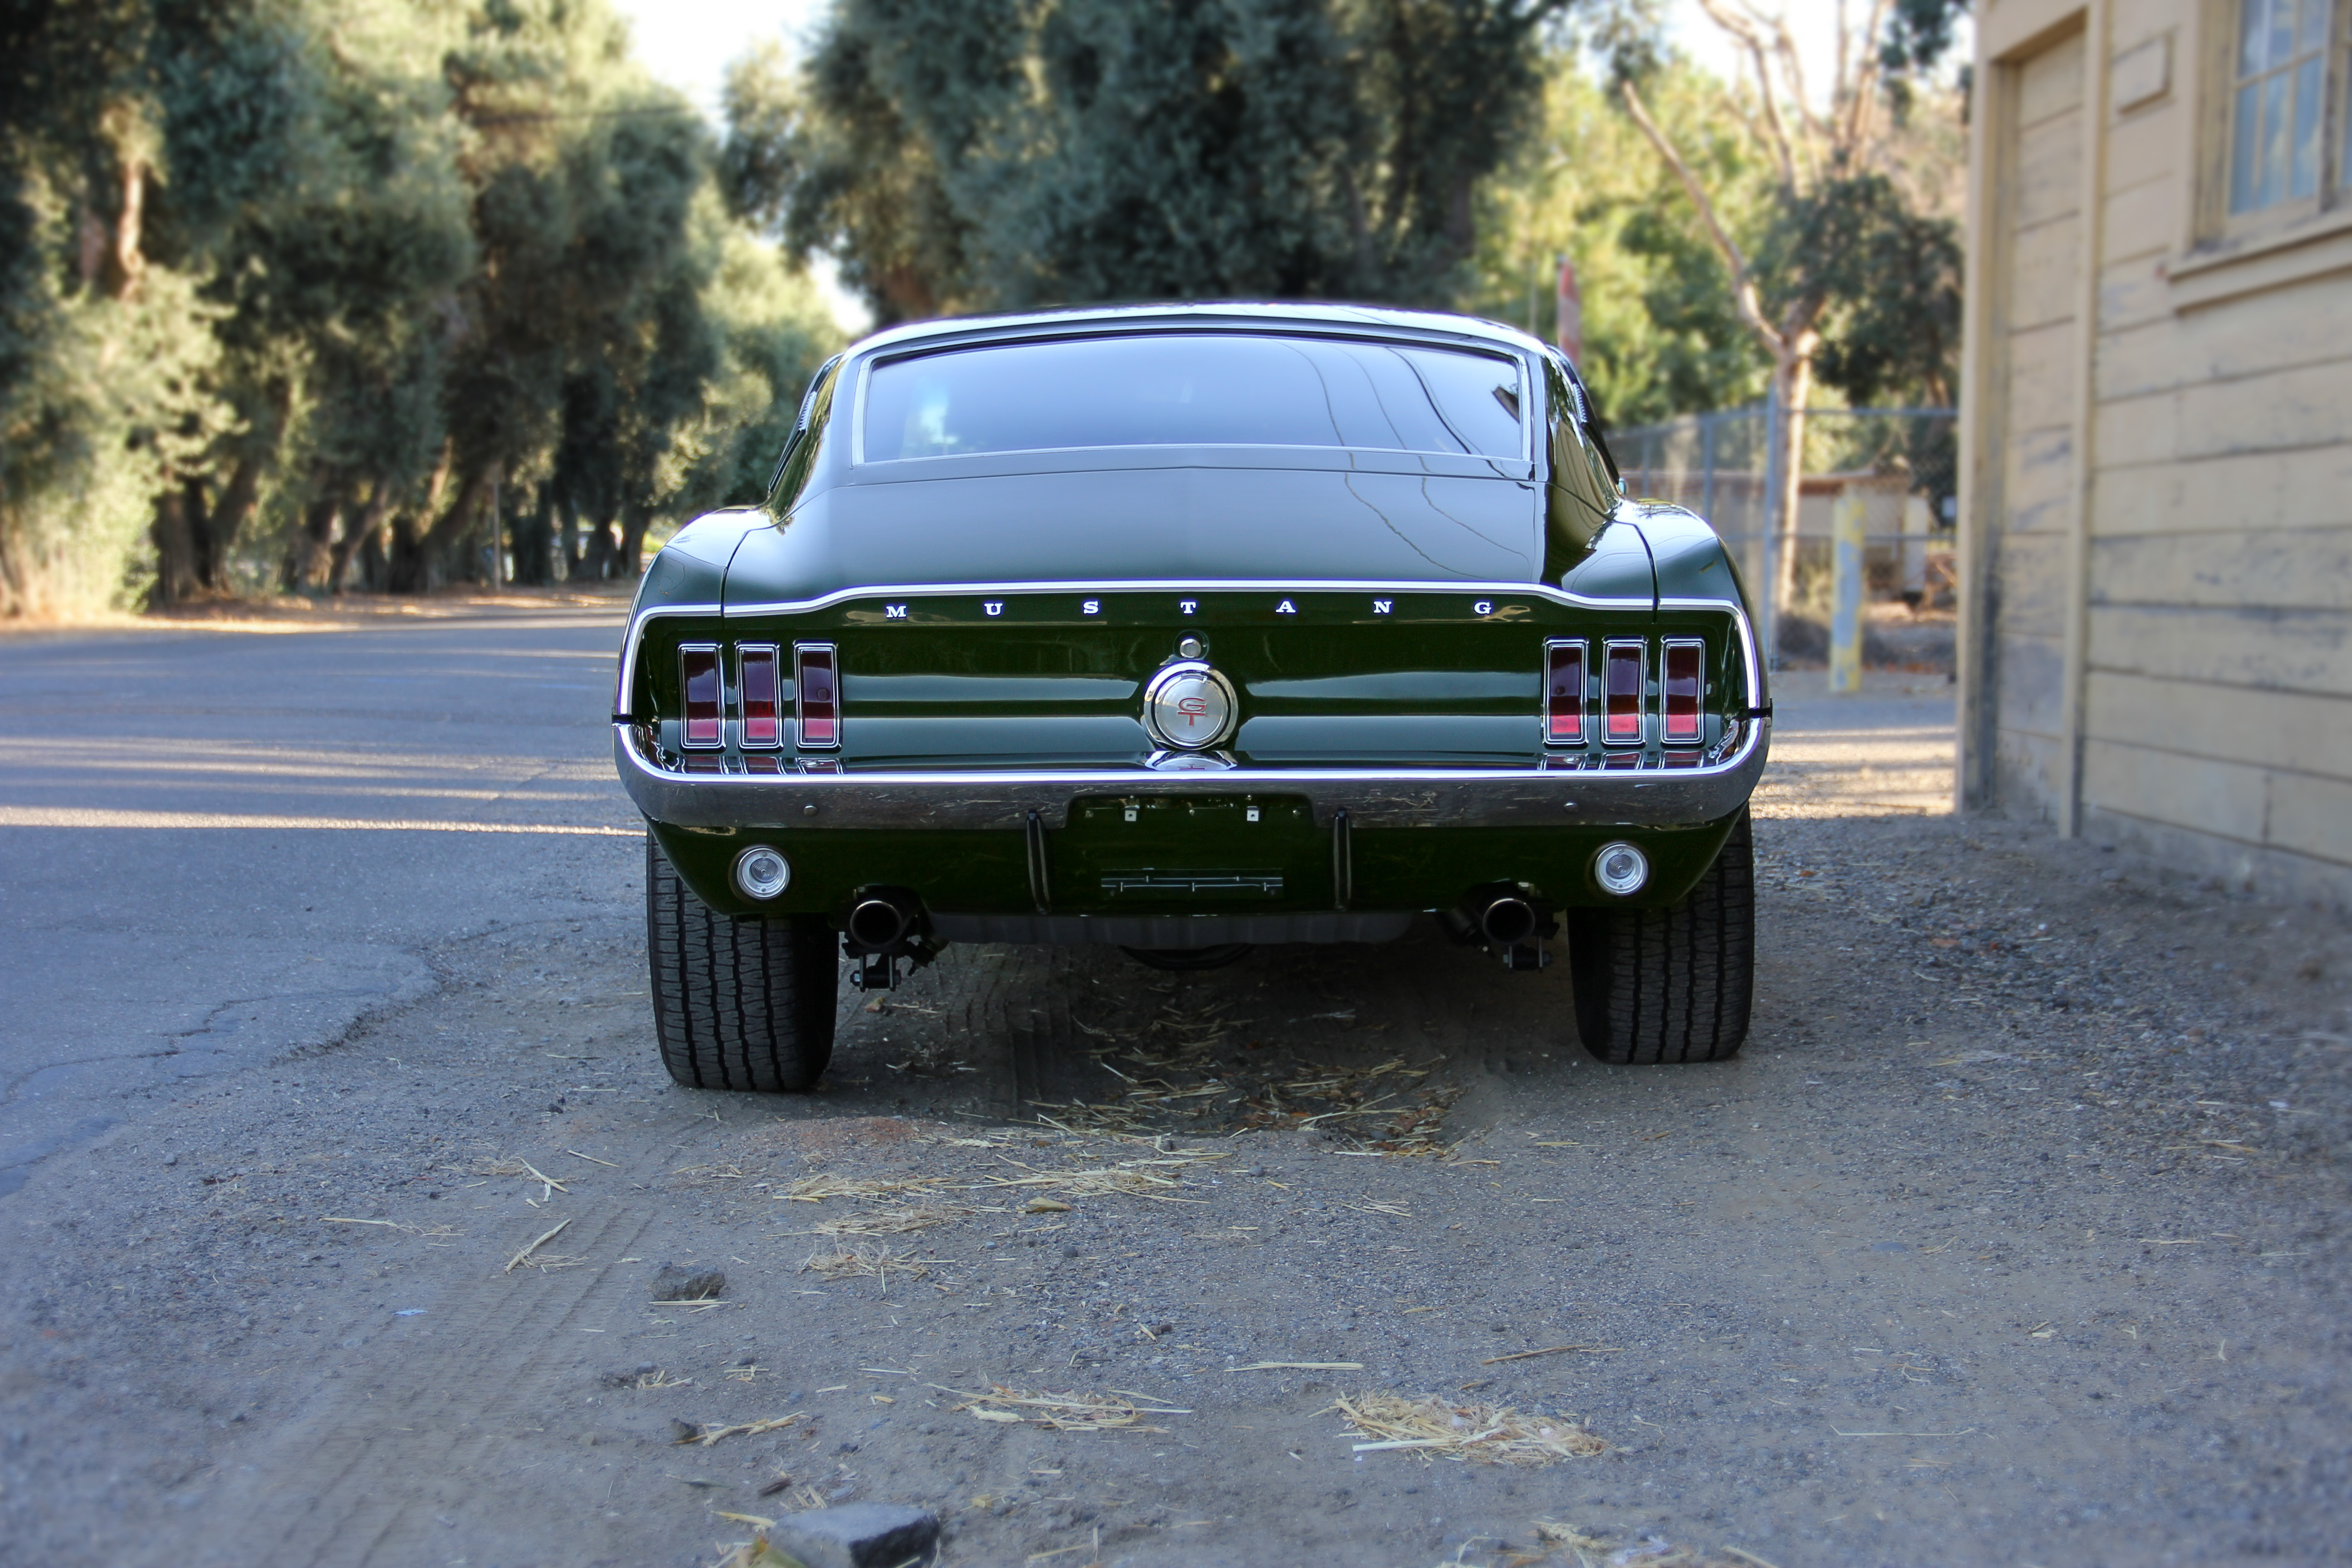
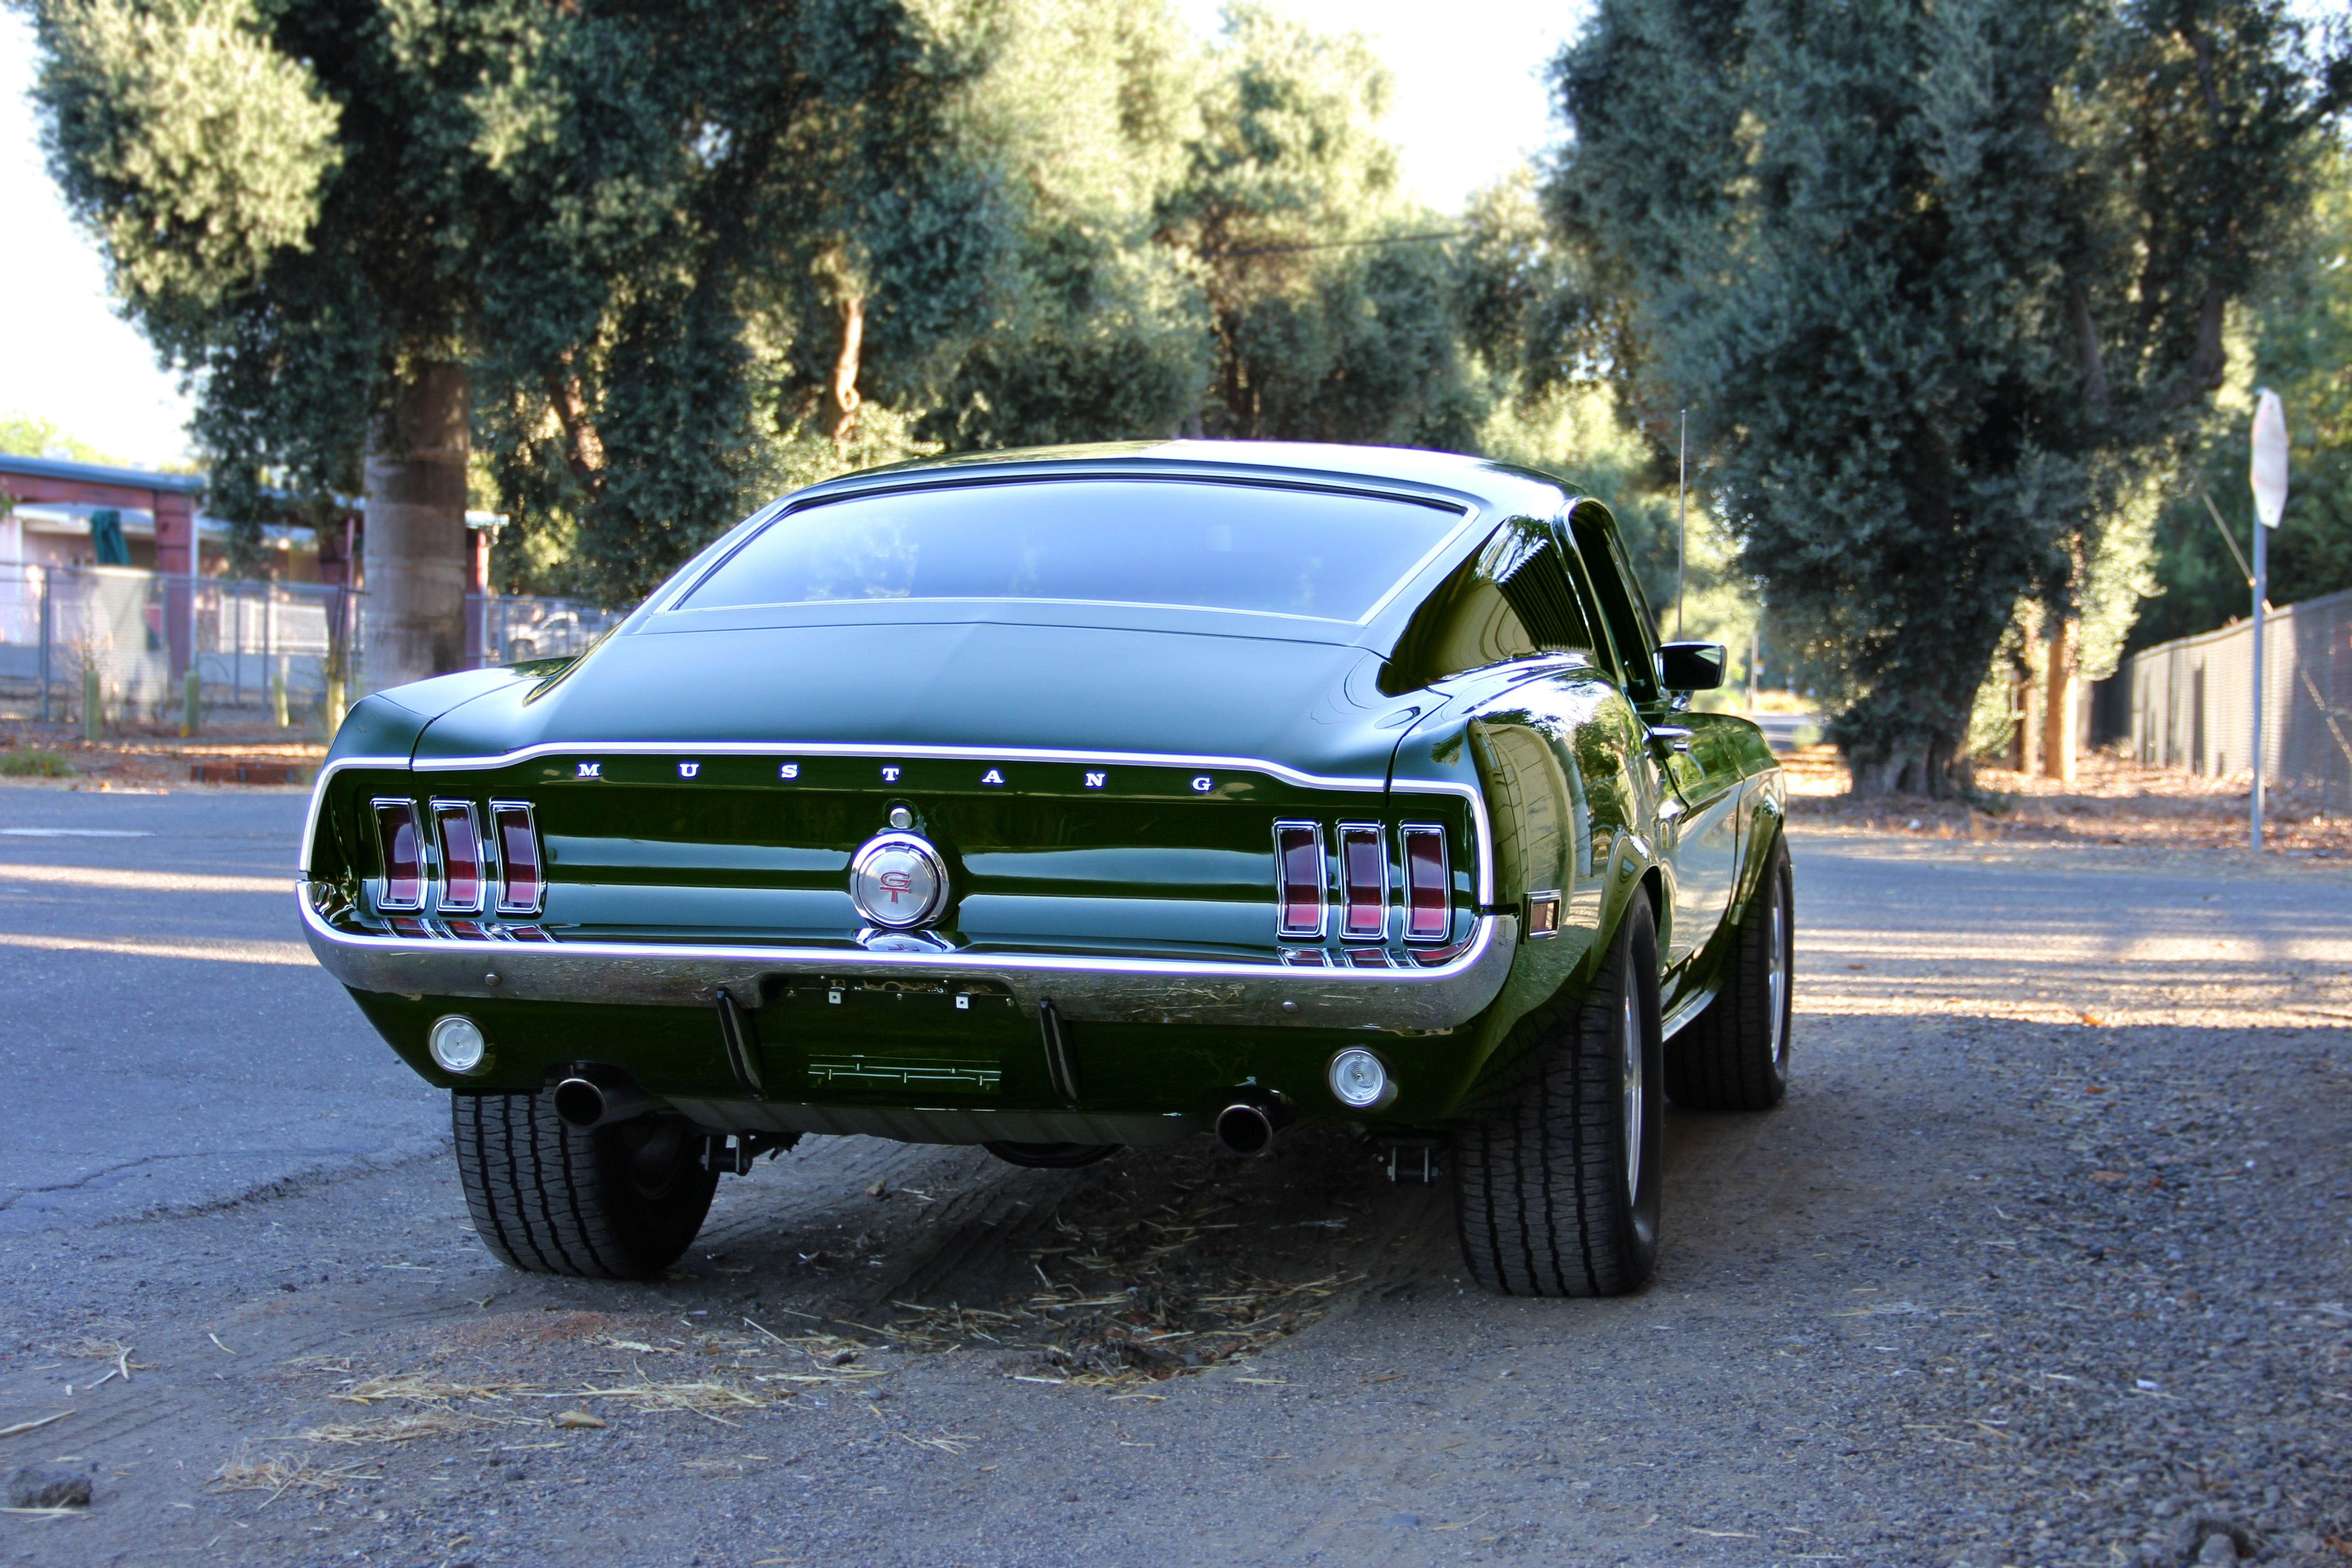
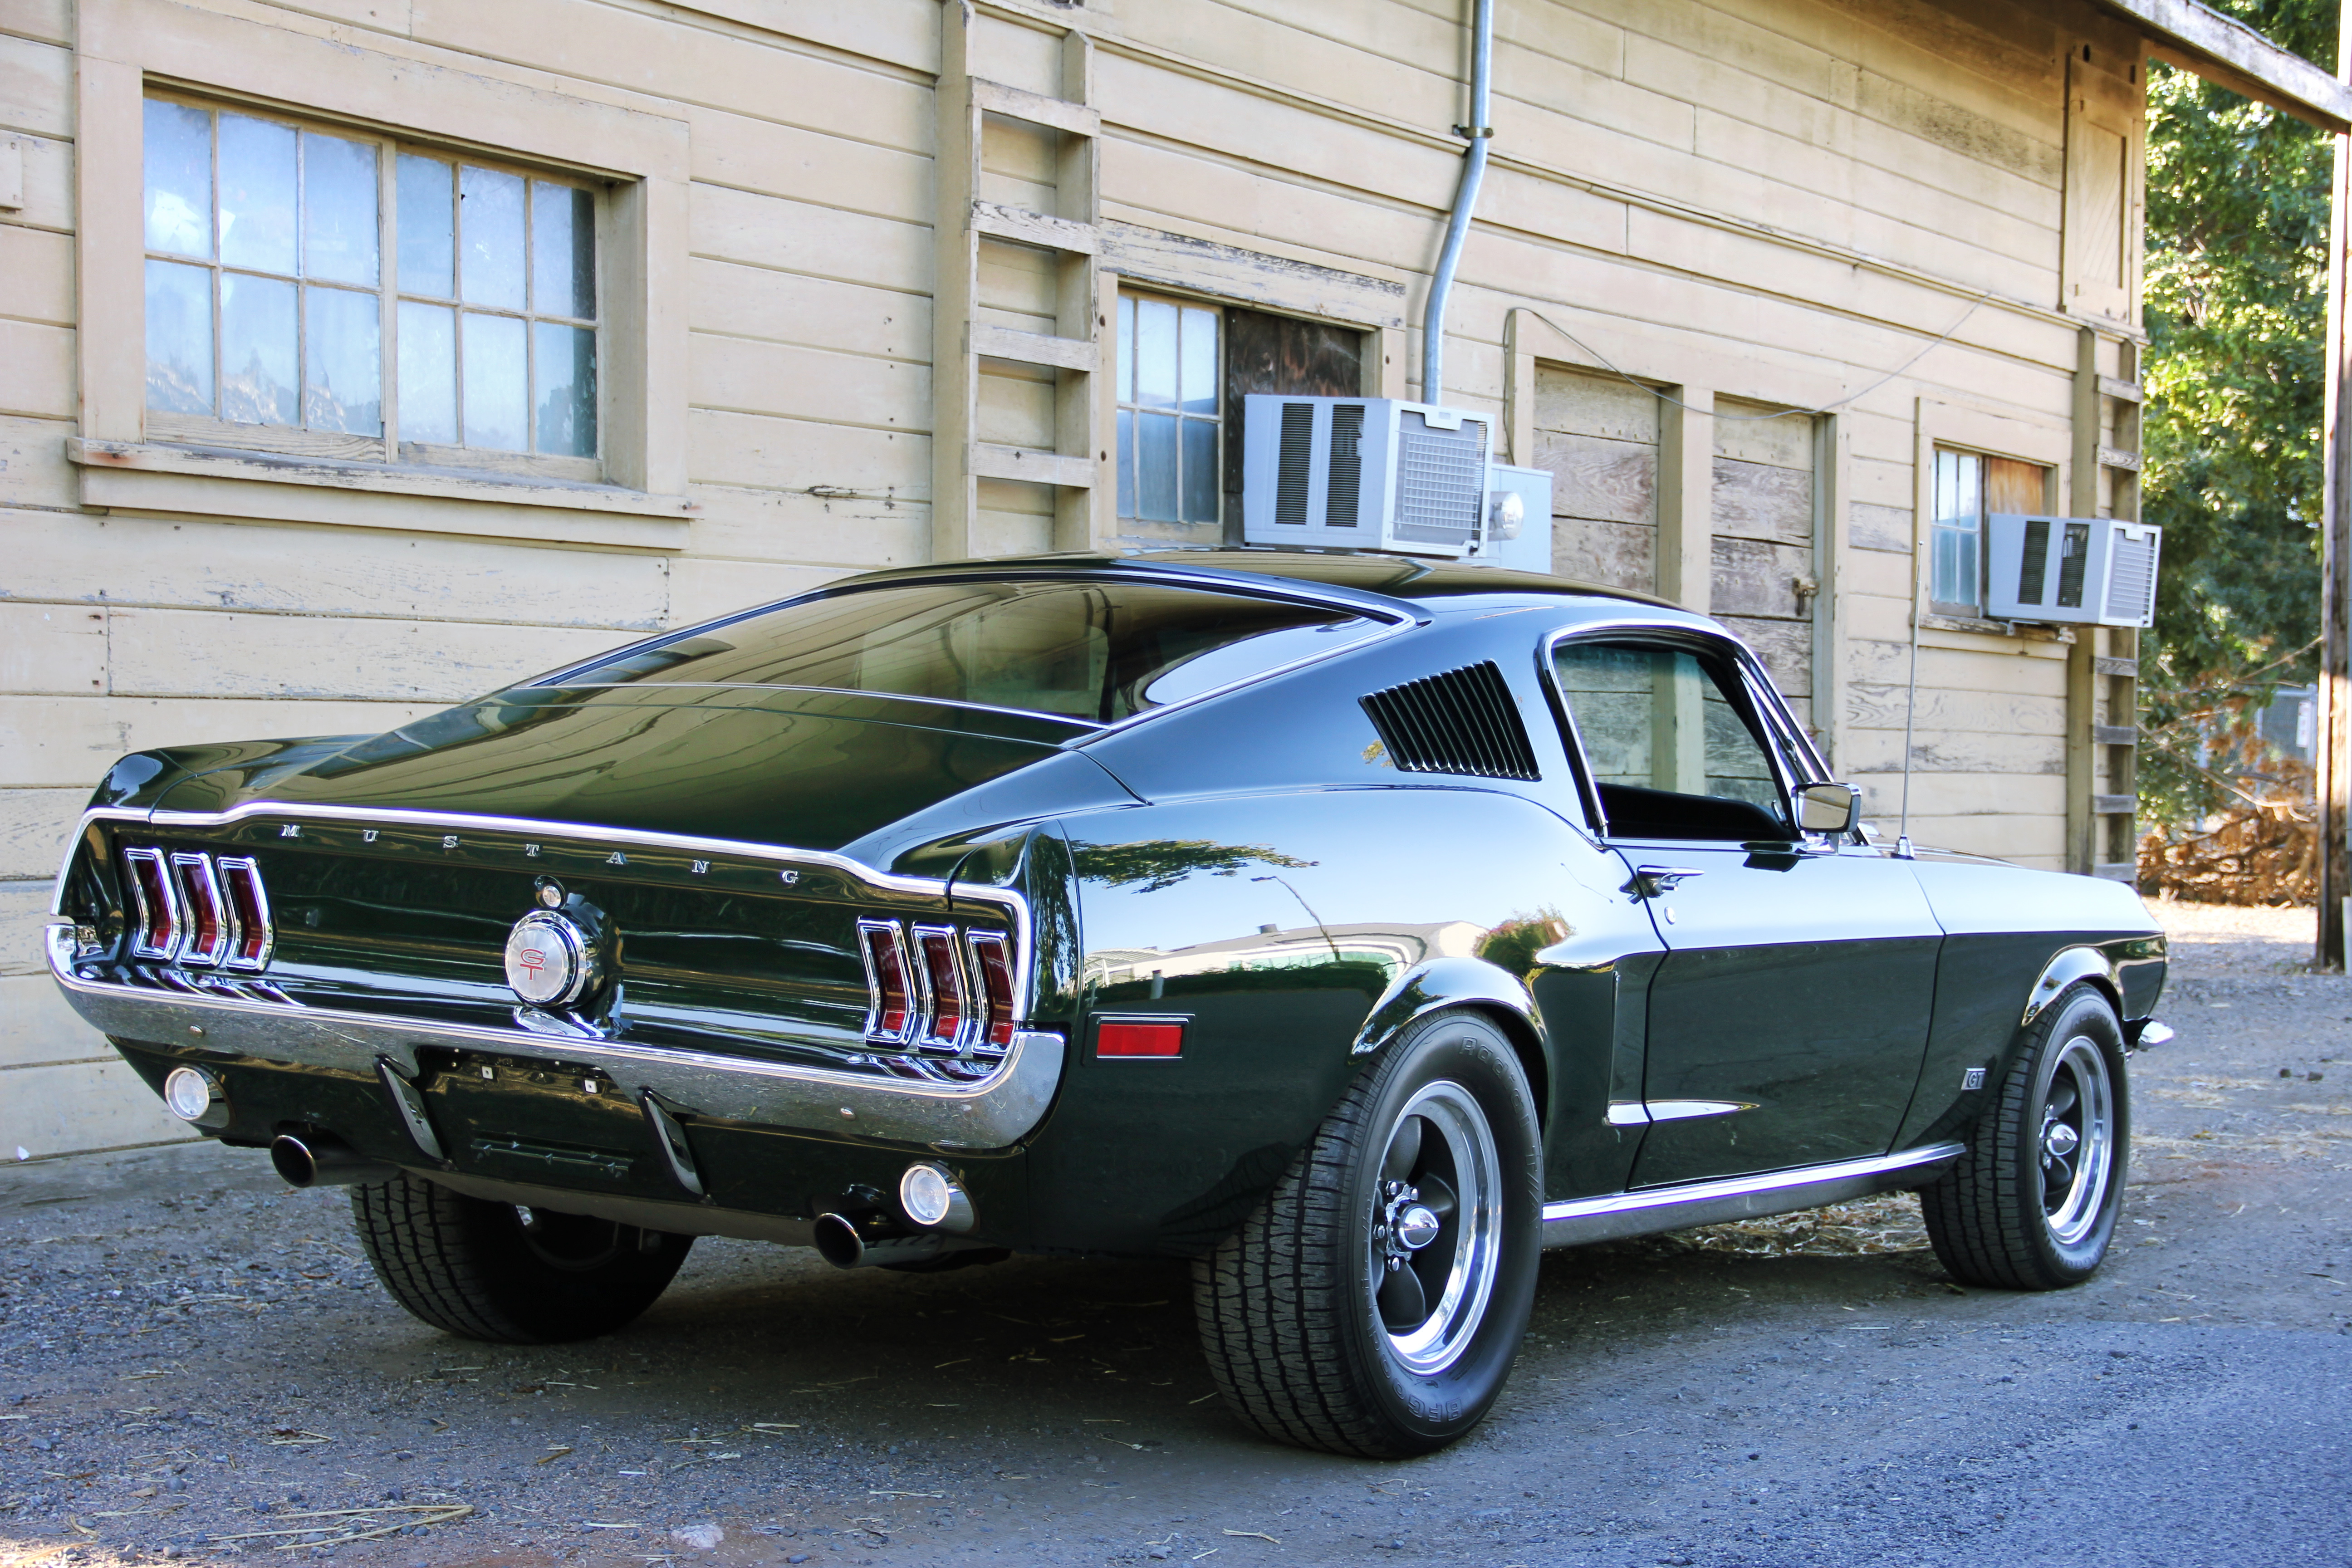
Her fresh paint was still in good condition and didn’t need very much work, although, there was a problem area around the tail section as oxidation was setting in.
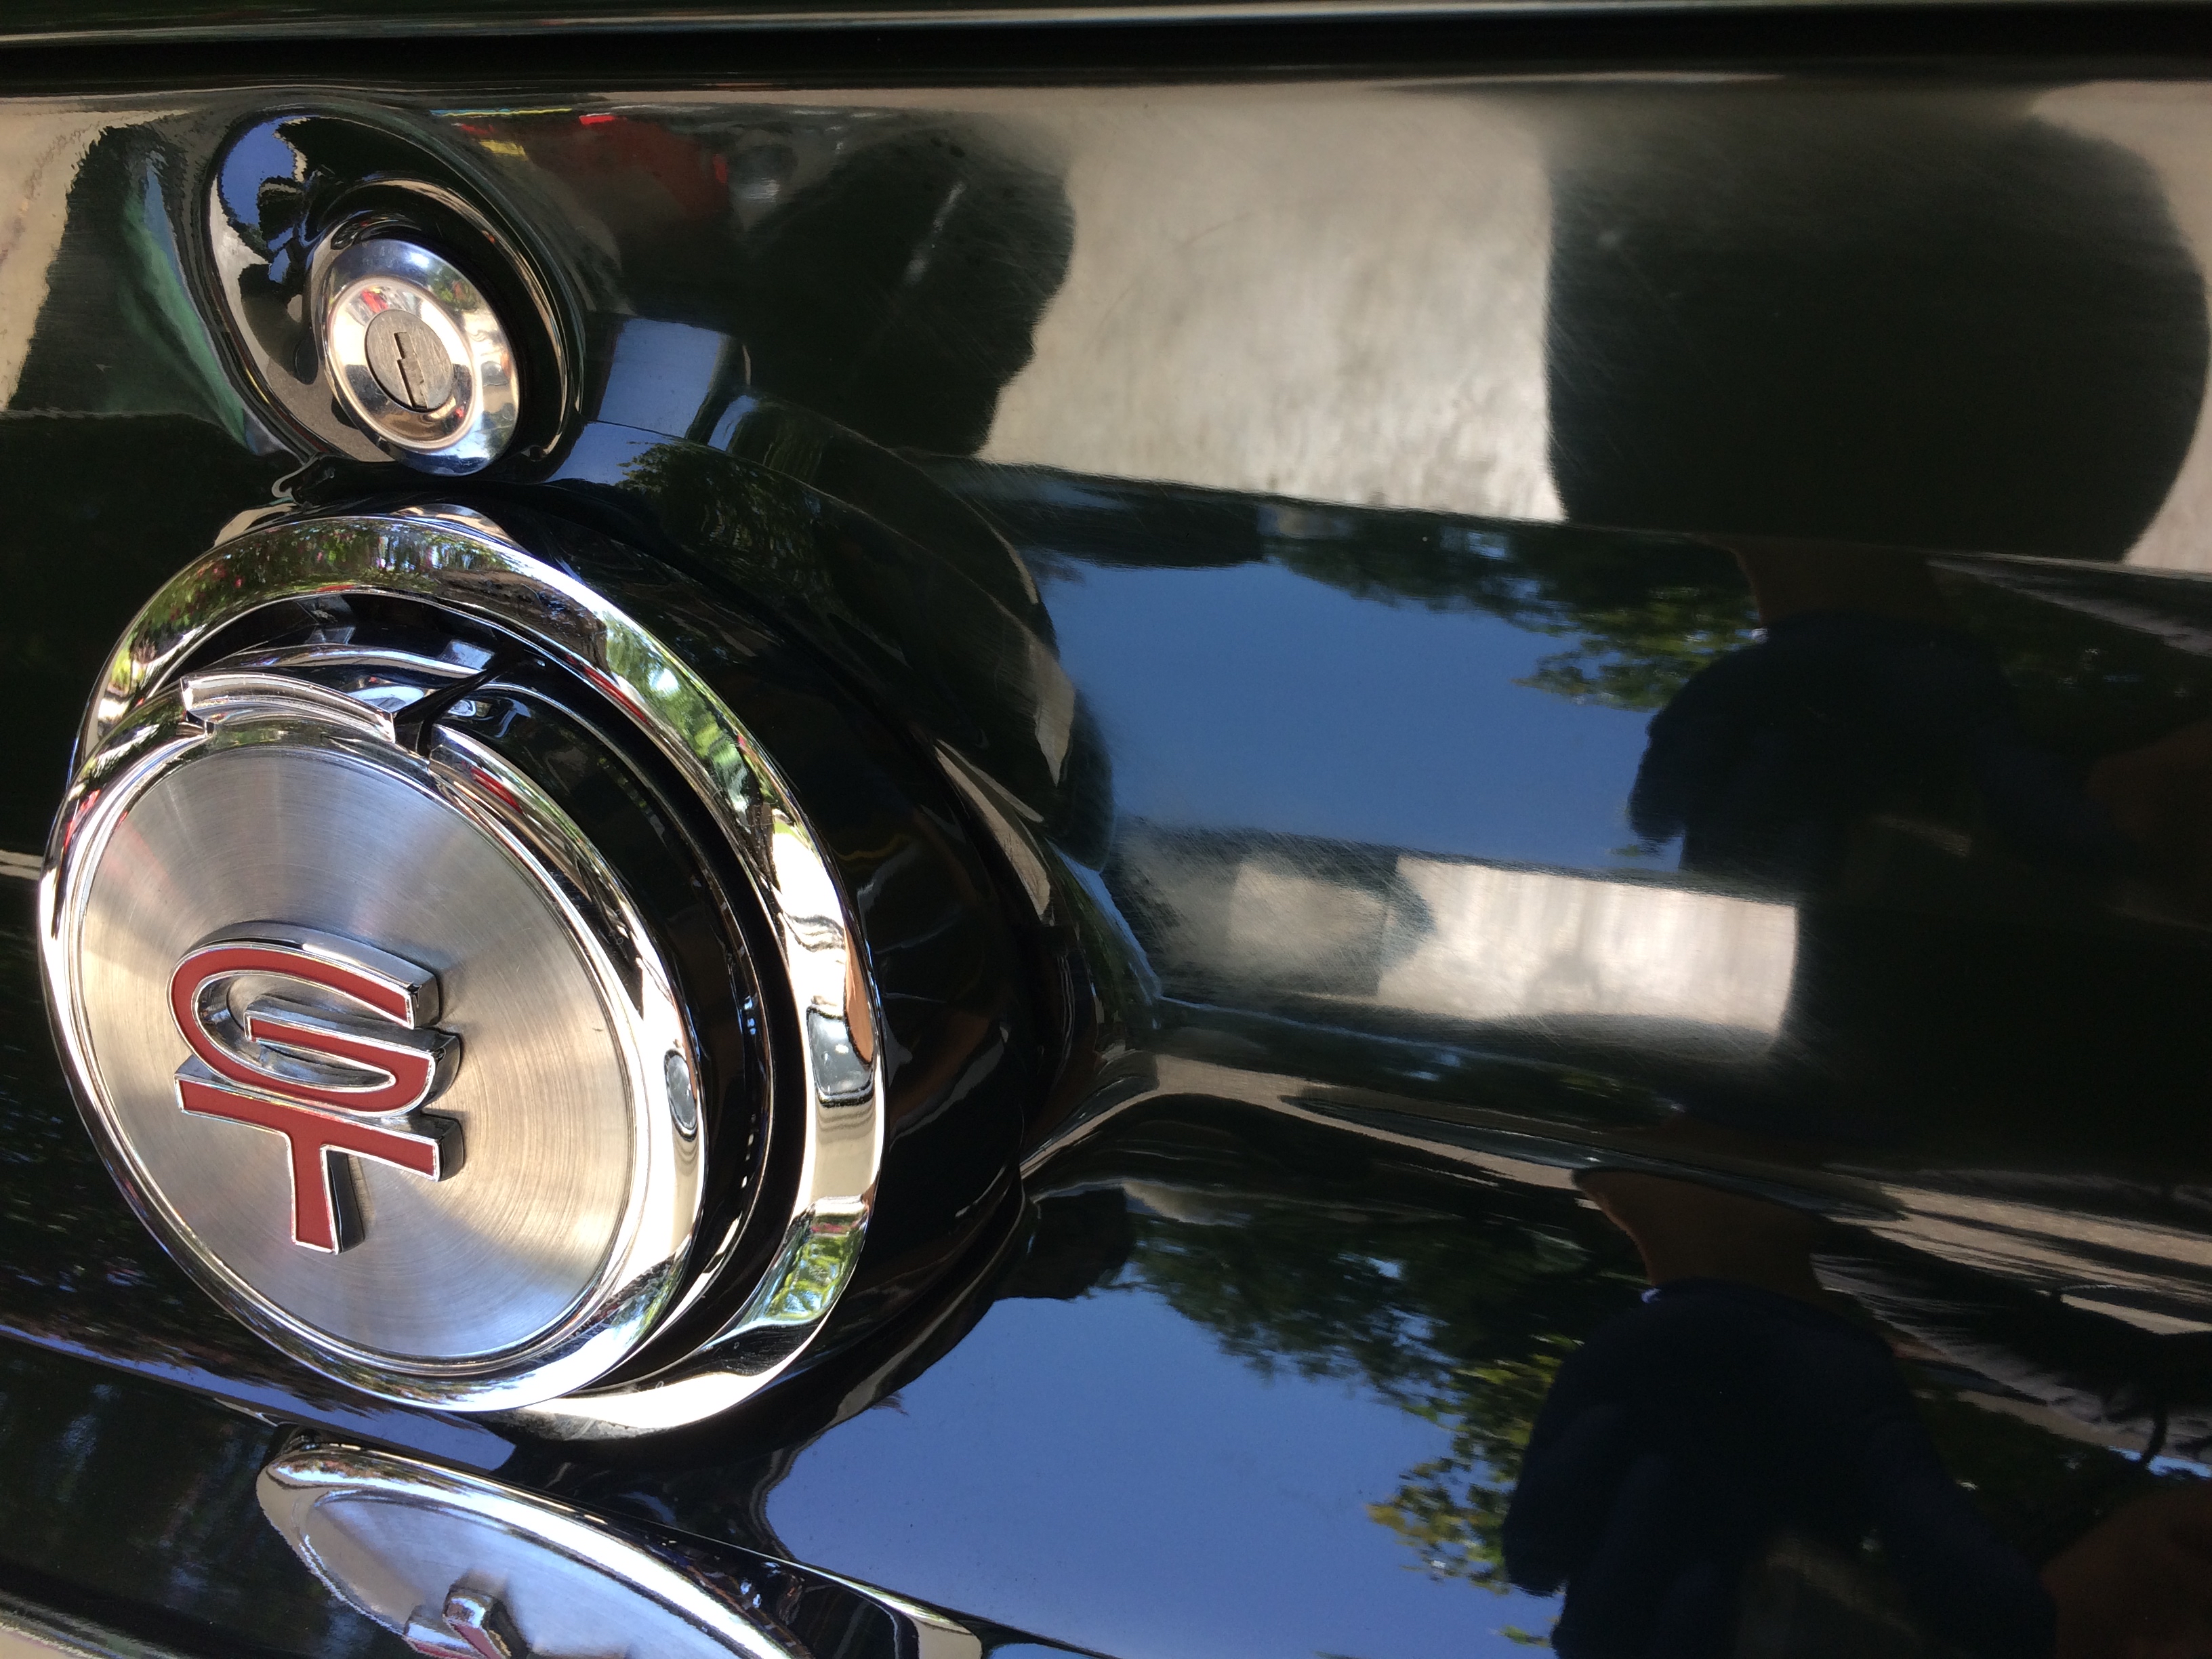
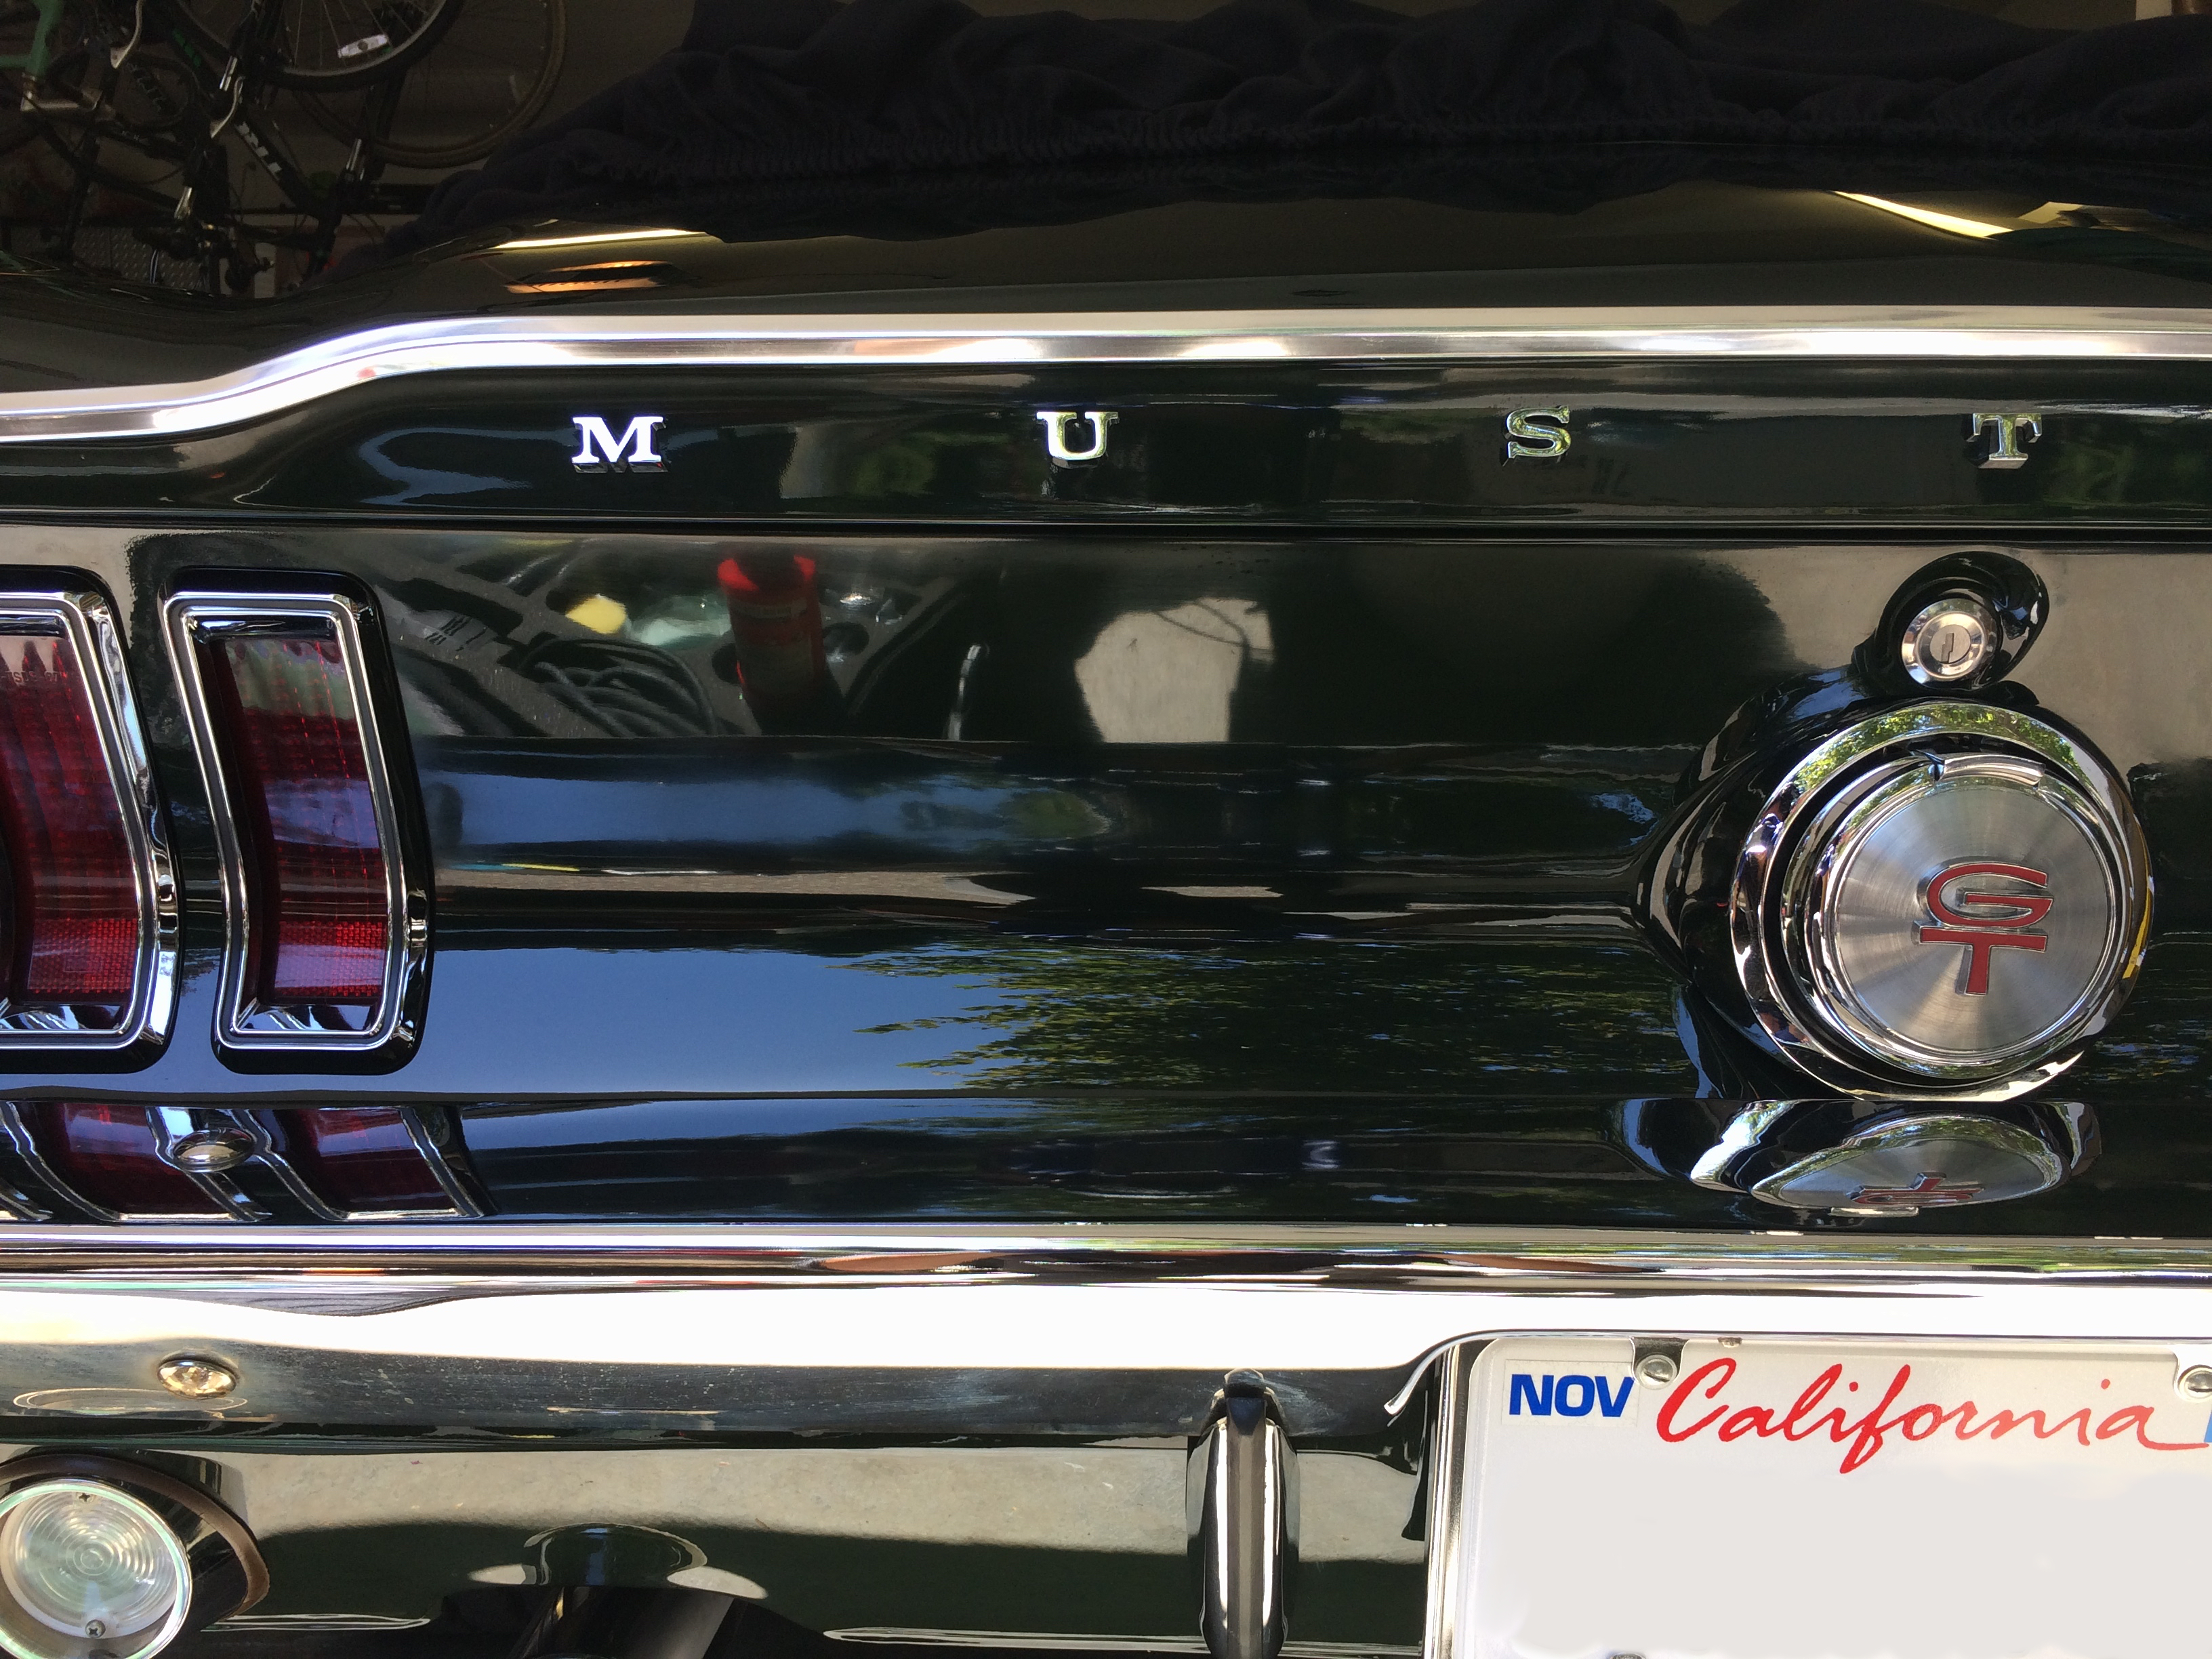
I equipped the Rupes Nano with finishing pads primed with Meguiar’s D166 and removed the oxidation.
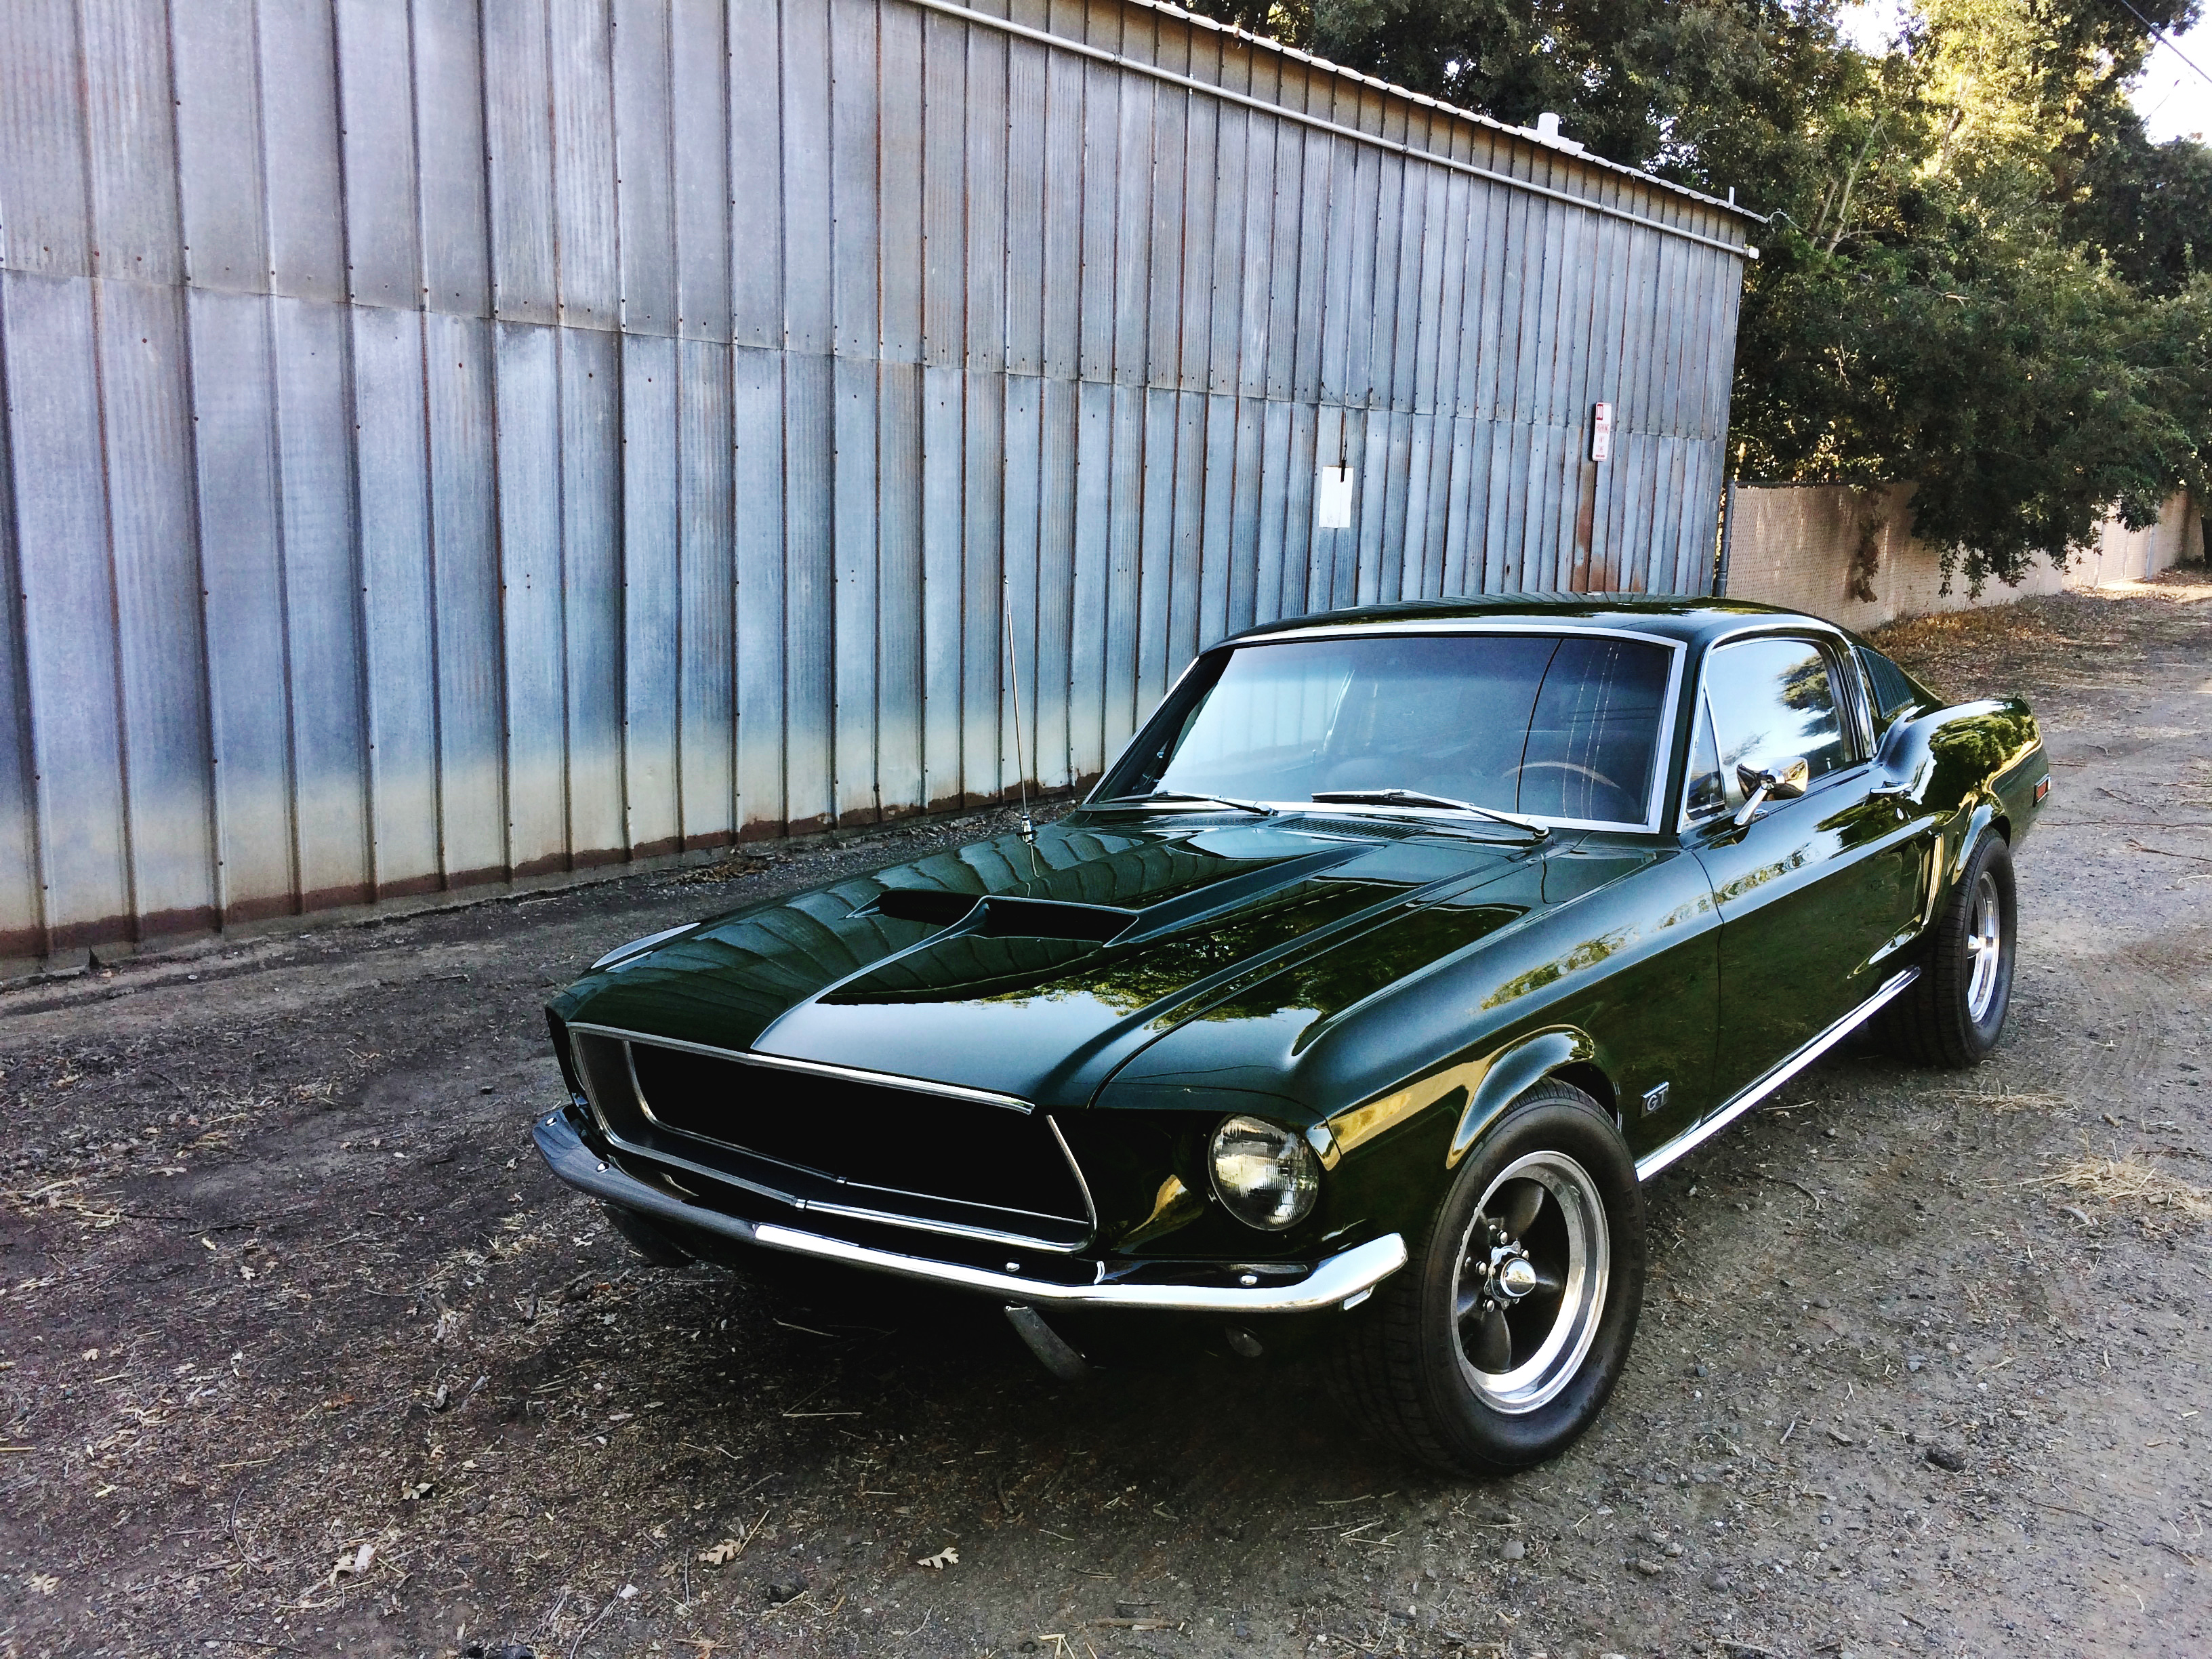
There were deep scratches present around the gas cap as if a previous owner may have scrubbed with something abrasive in the corners. Similar scratches were present around the scoop corners on the Shelby style hood. These were so deep that I could see their depth within the clear coat. I could not fully remove them so I tried to fill these as much as possible.
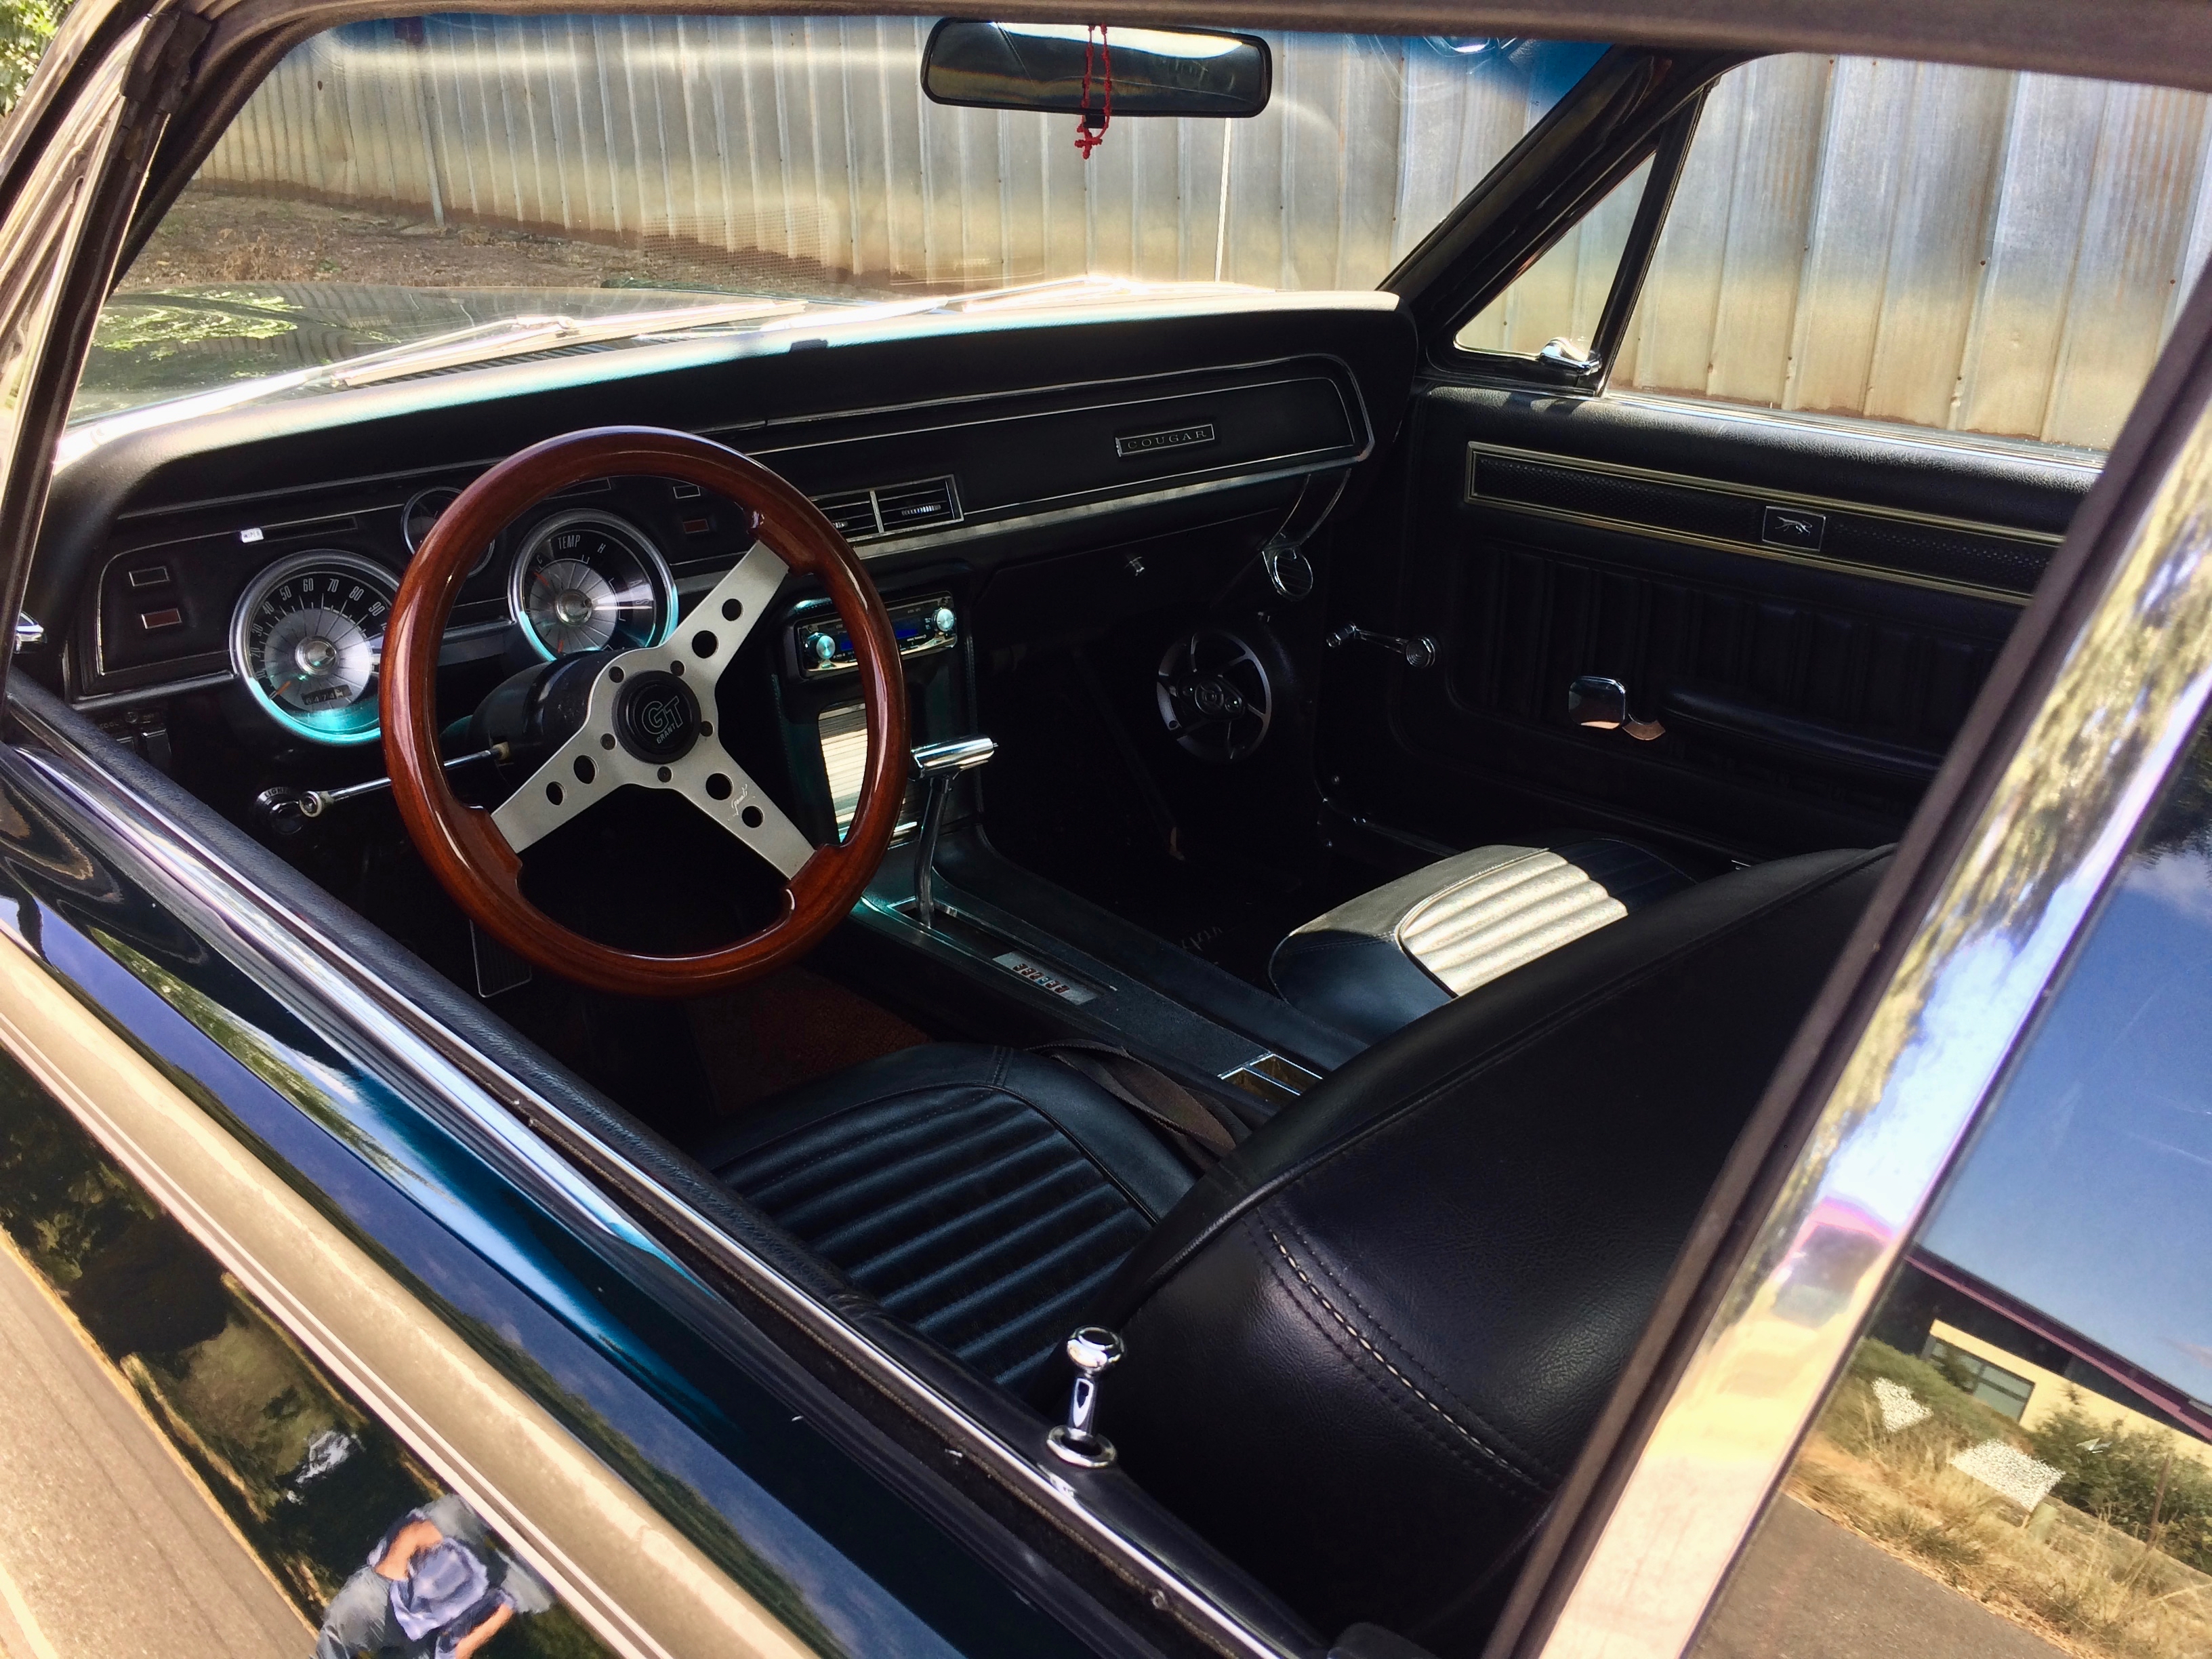
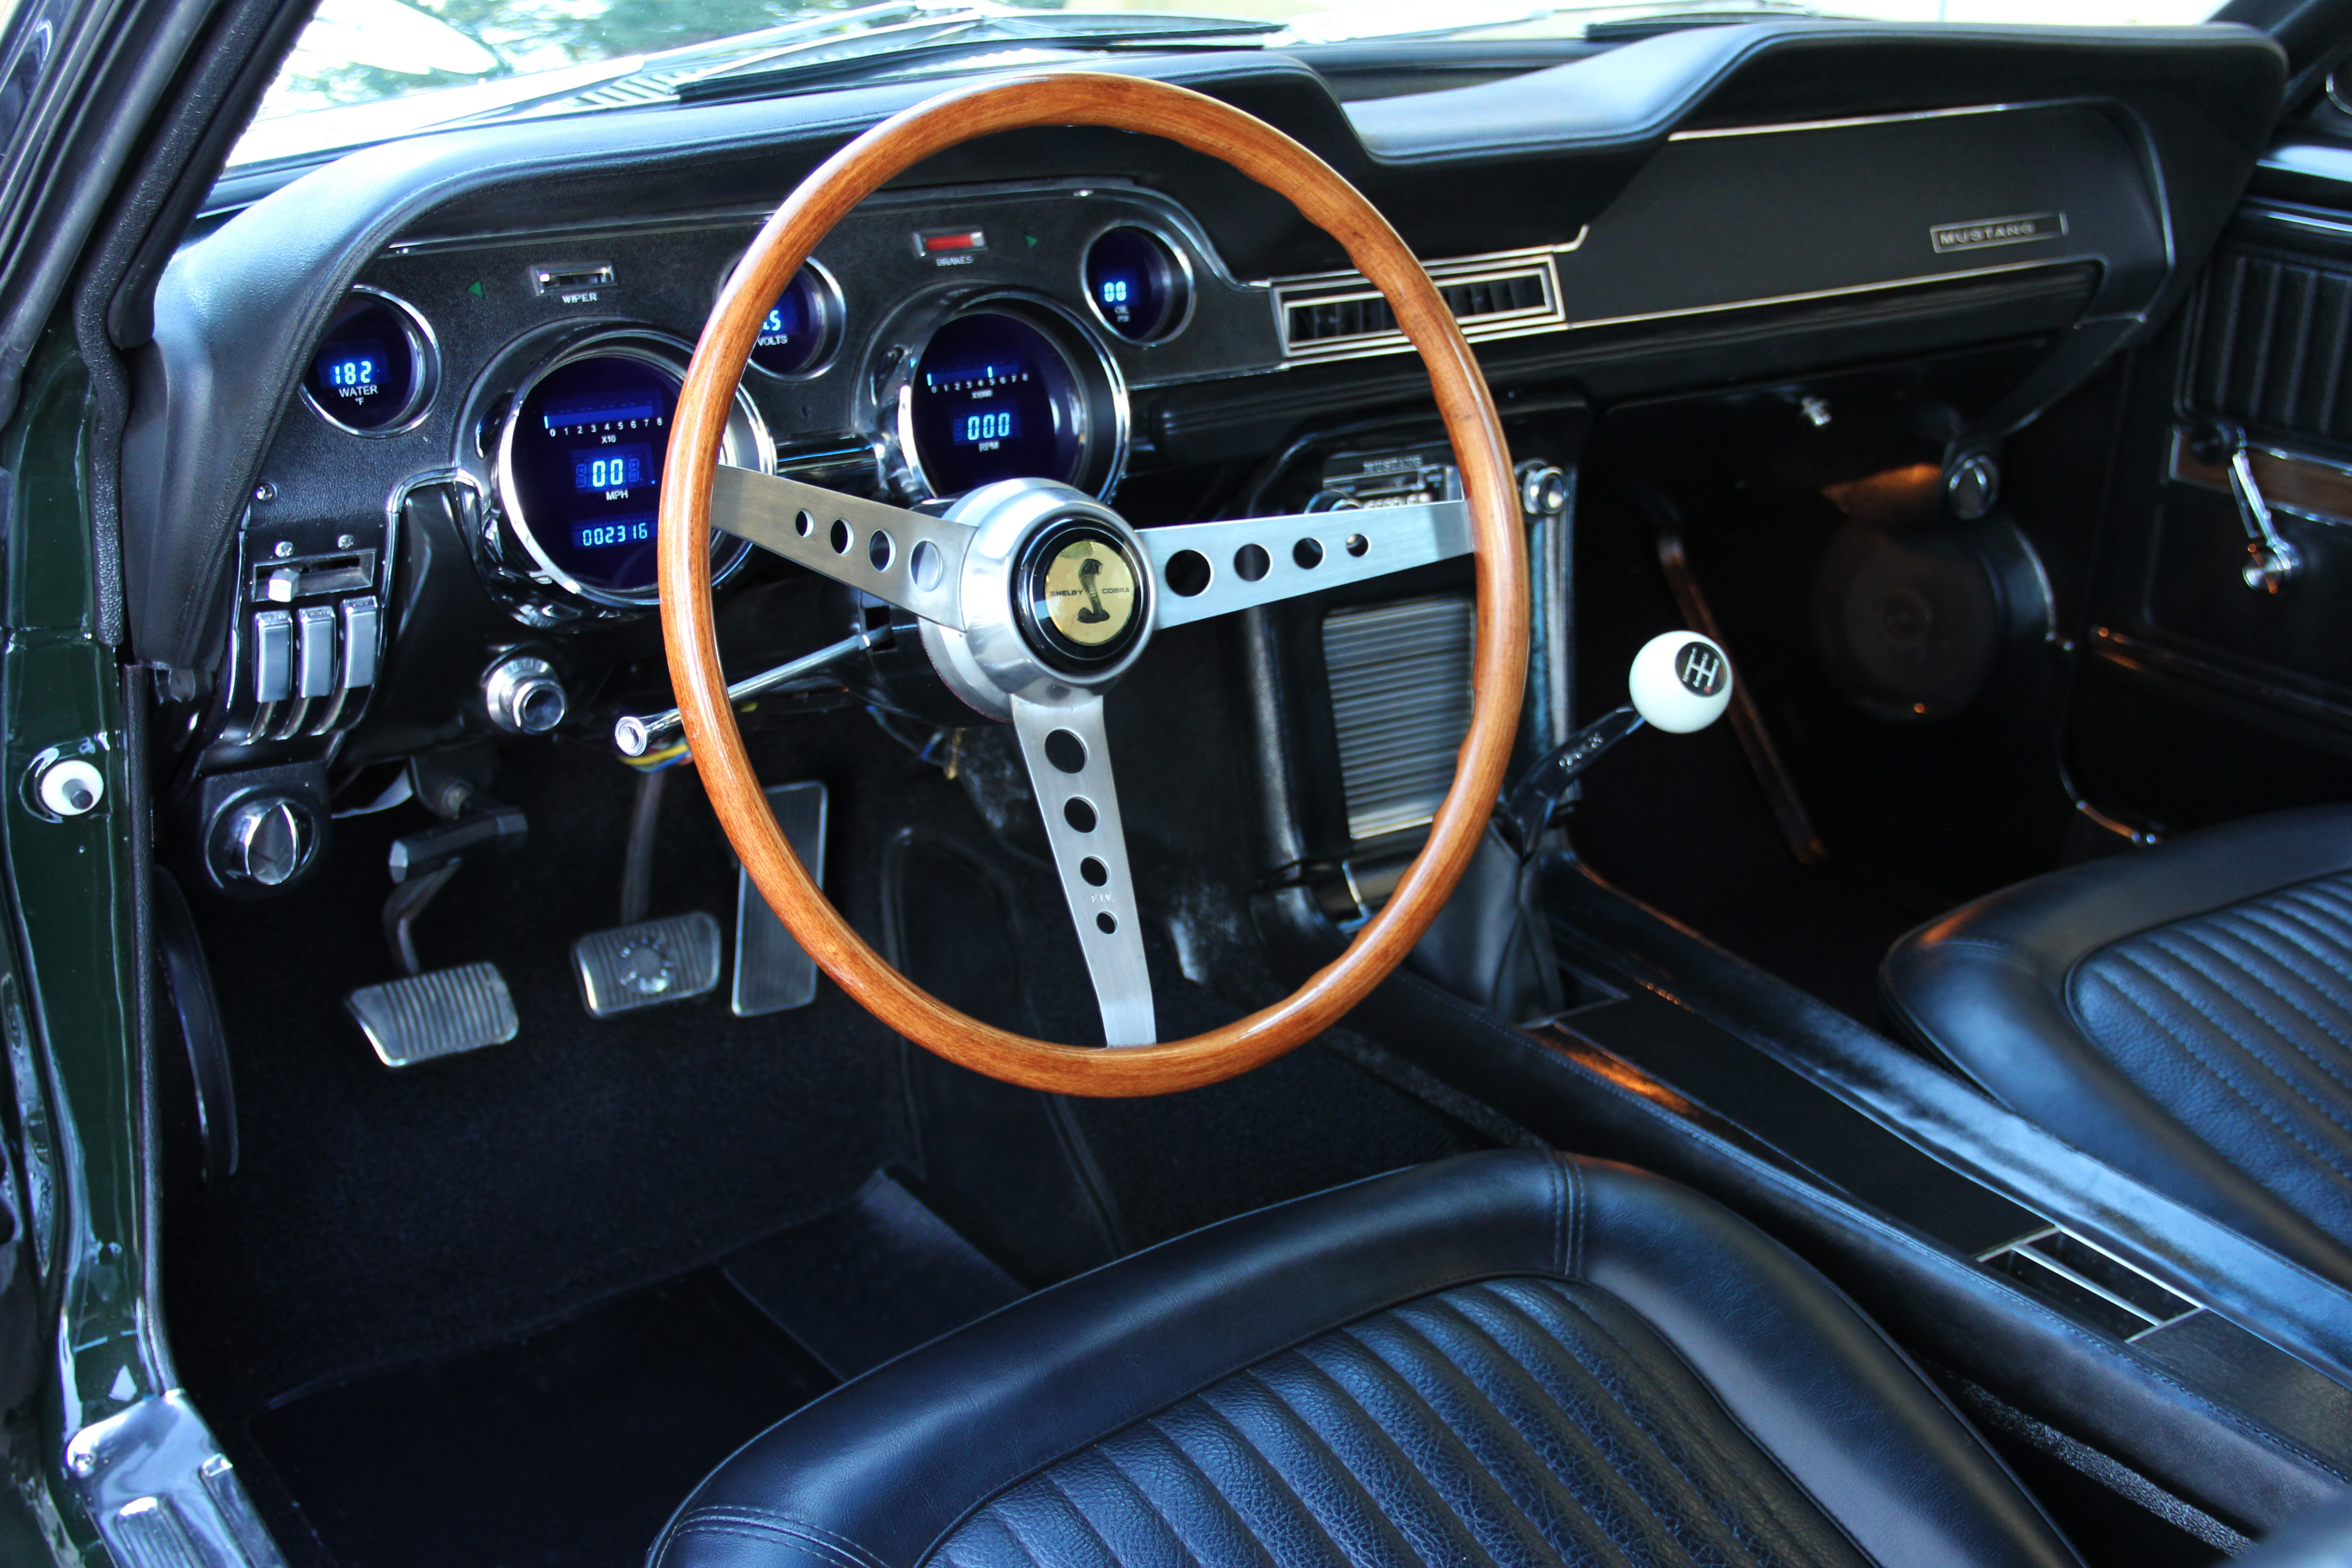
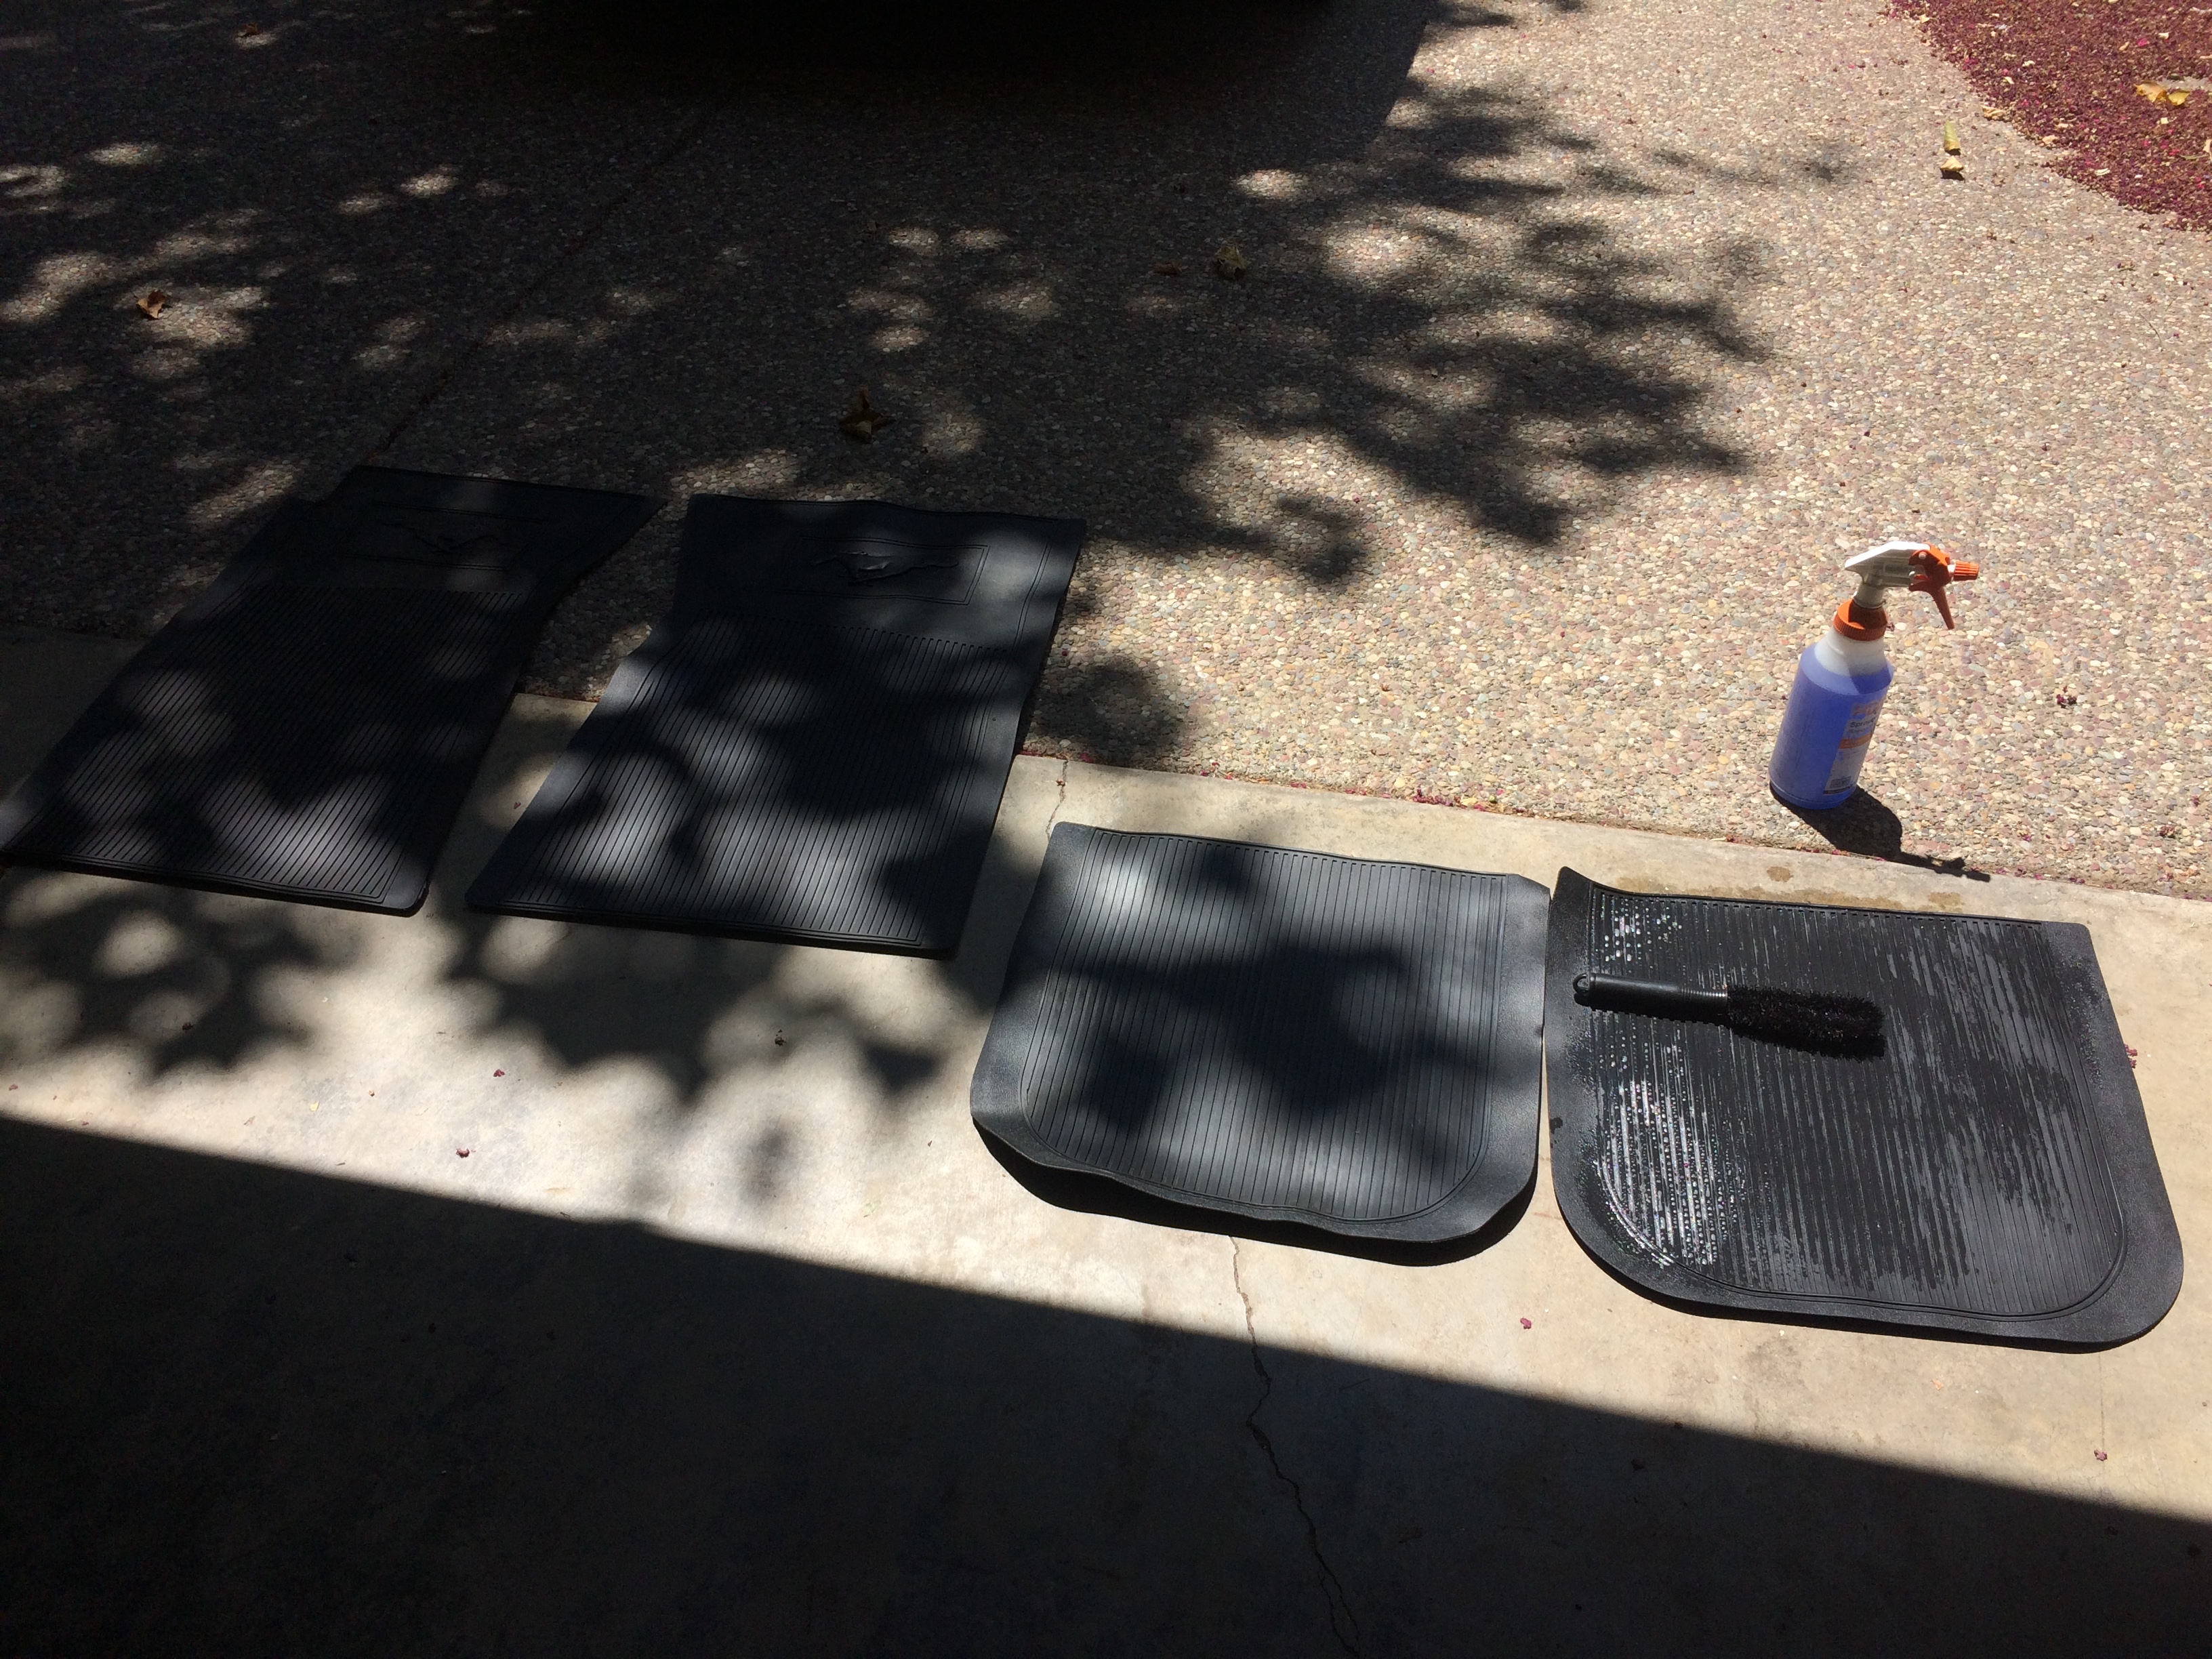
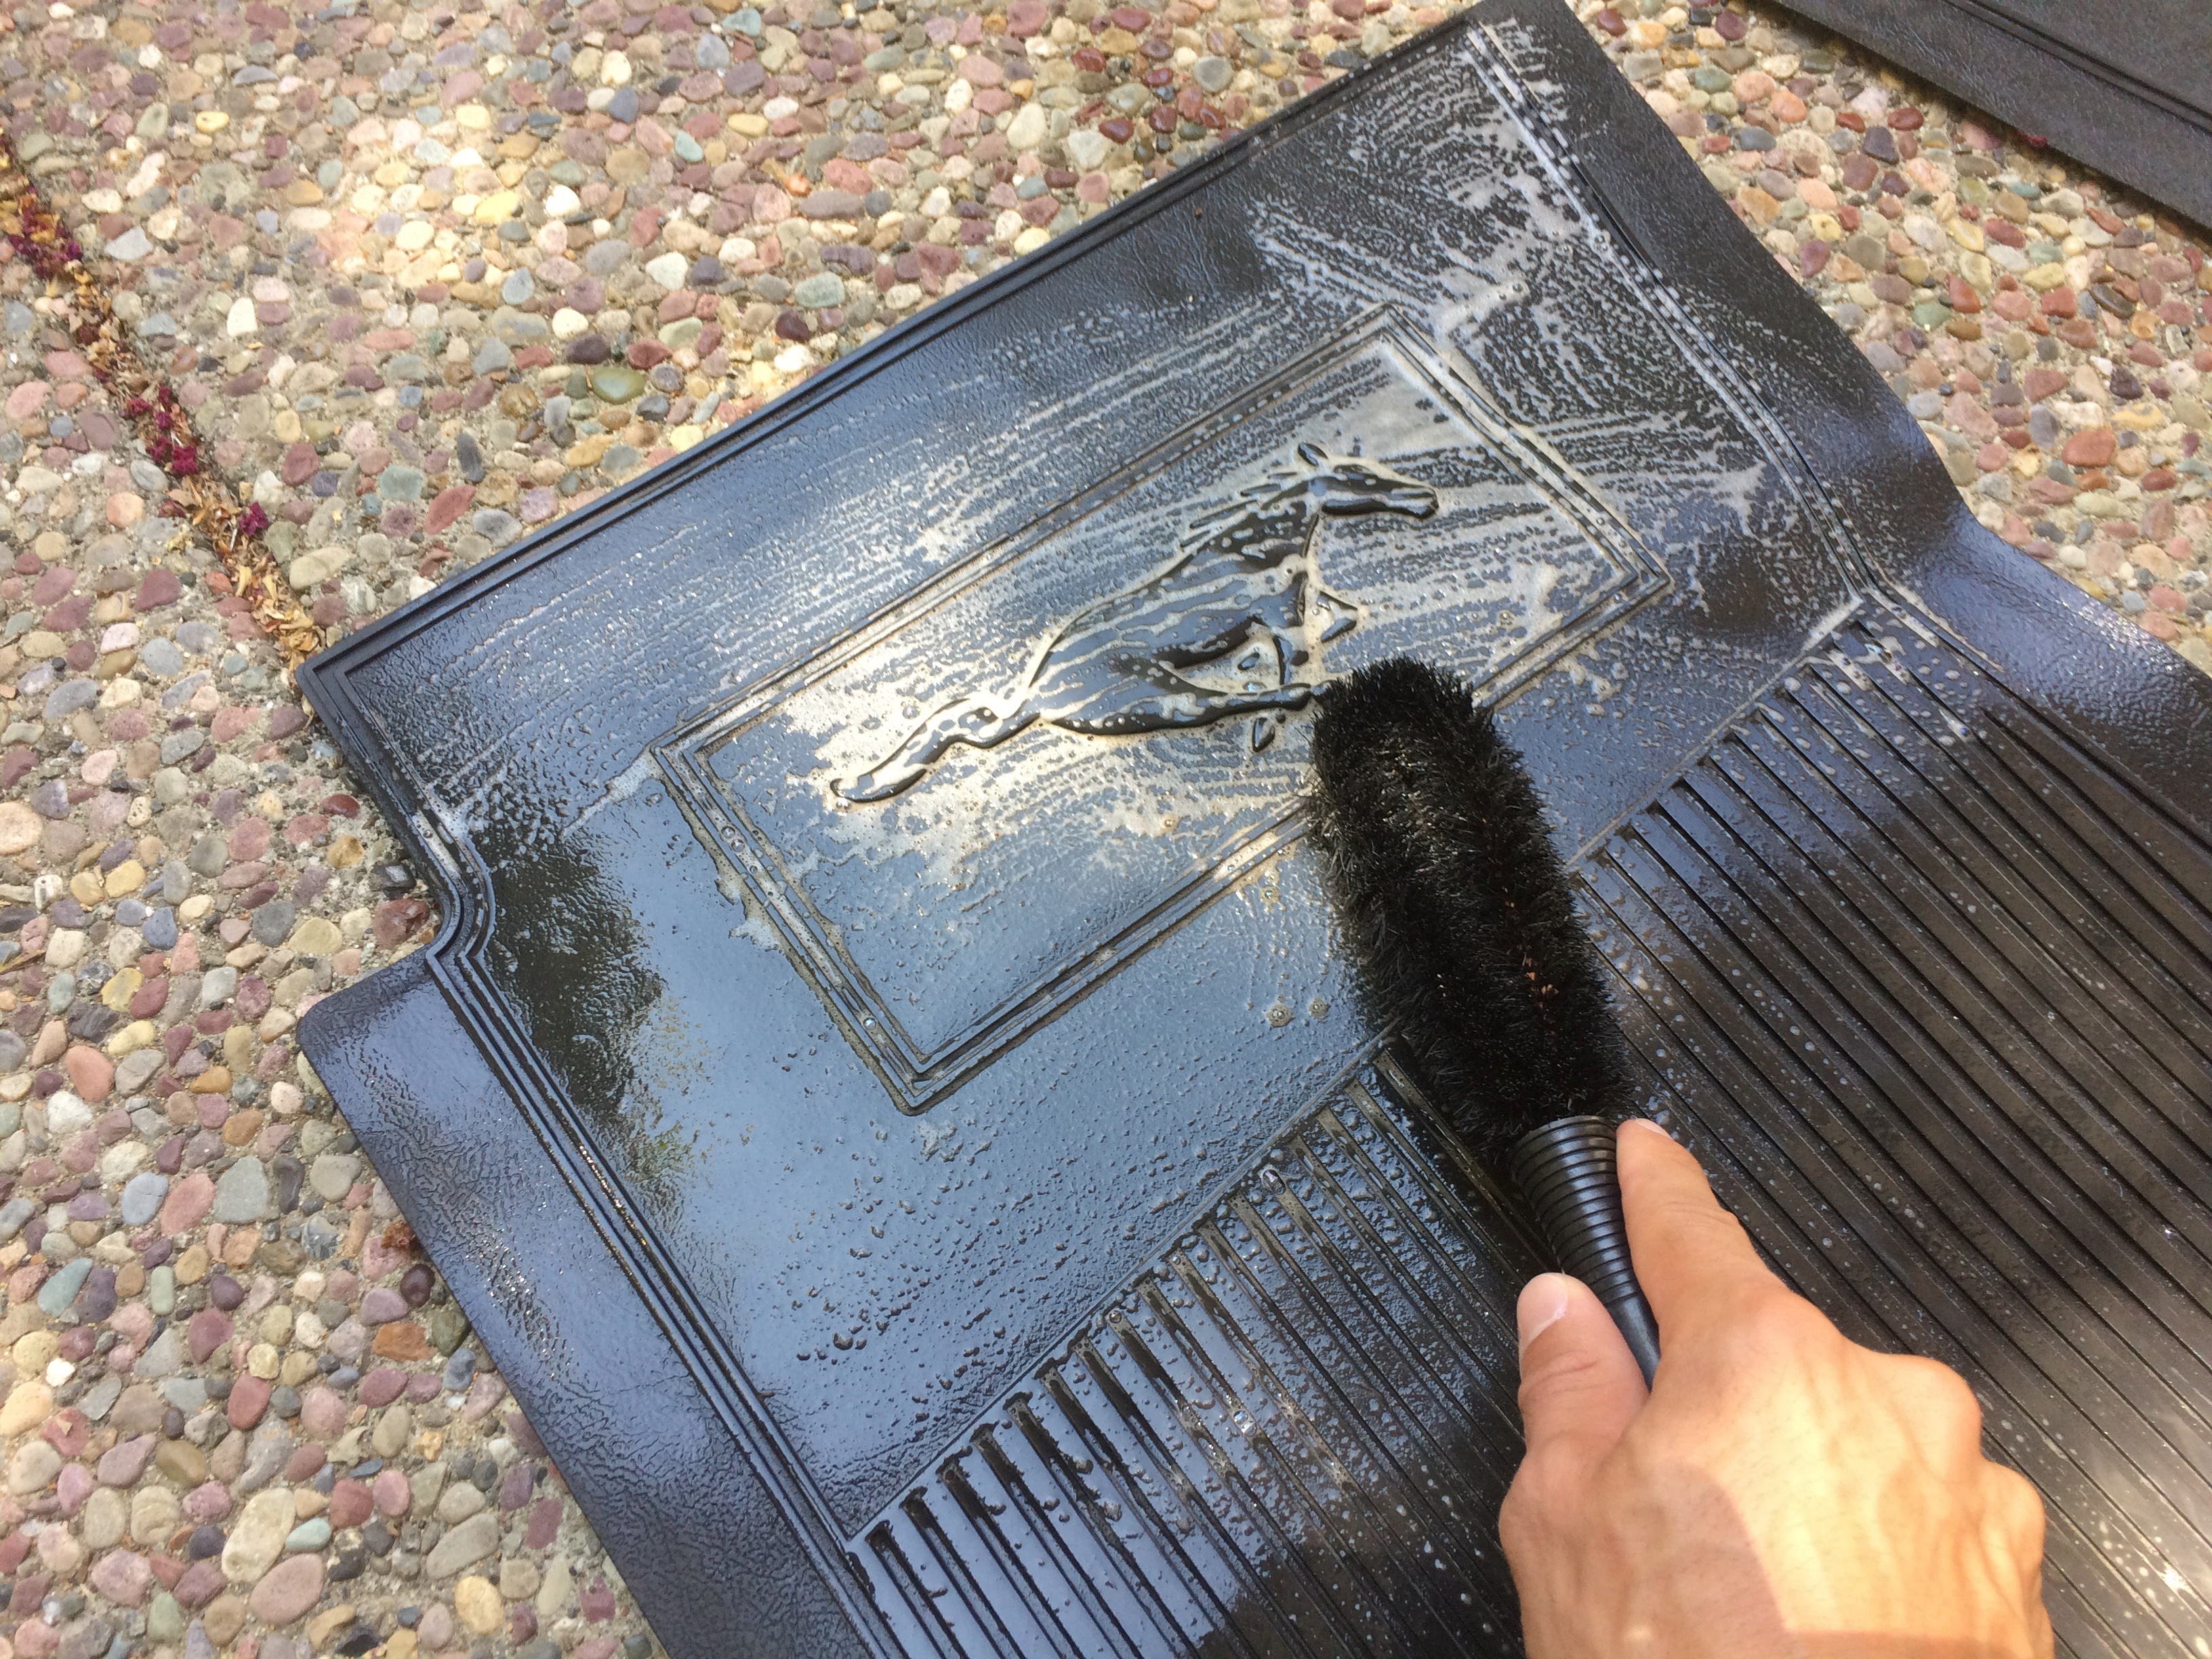
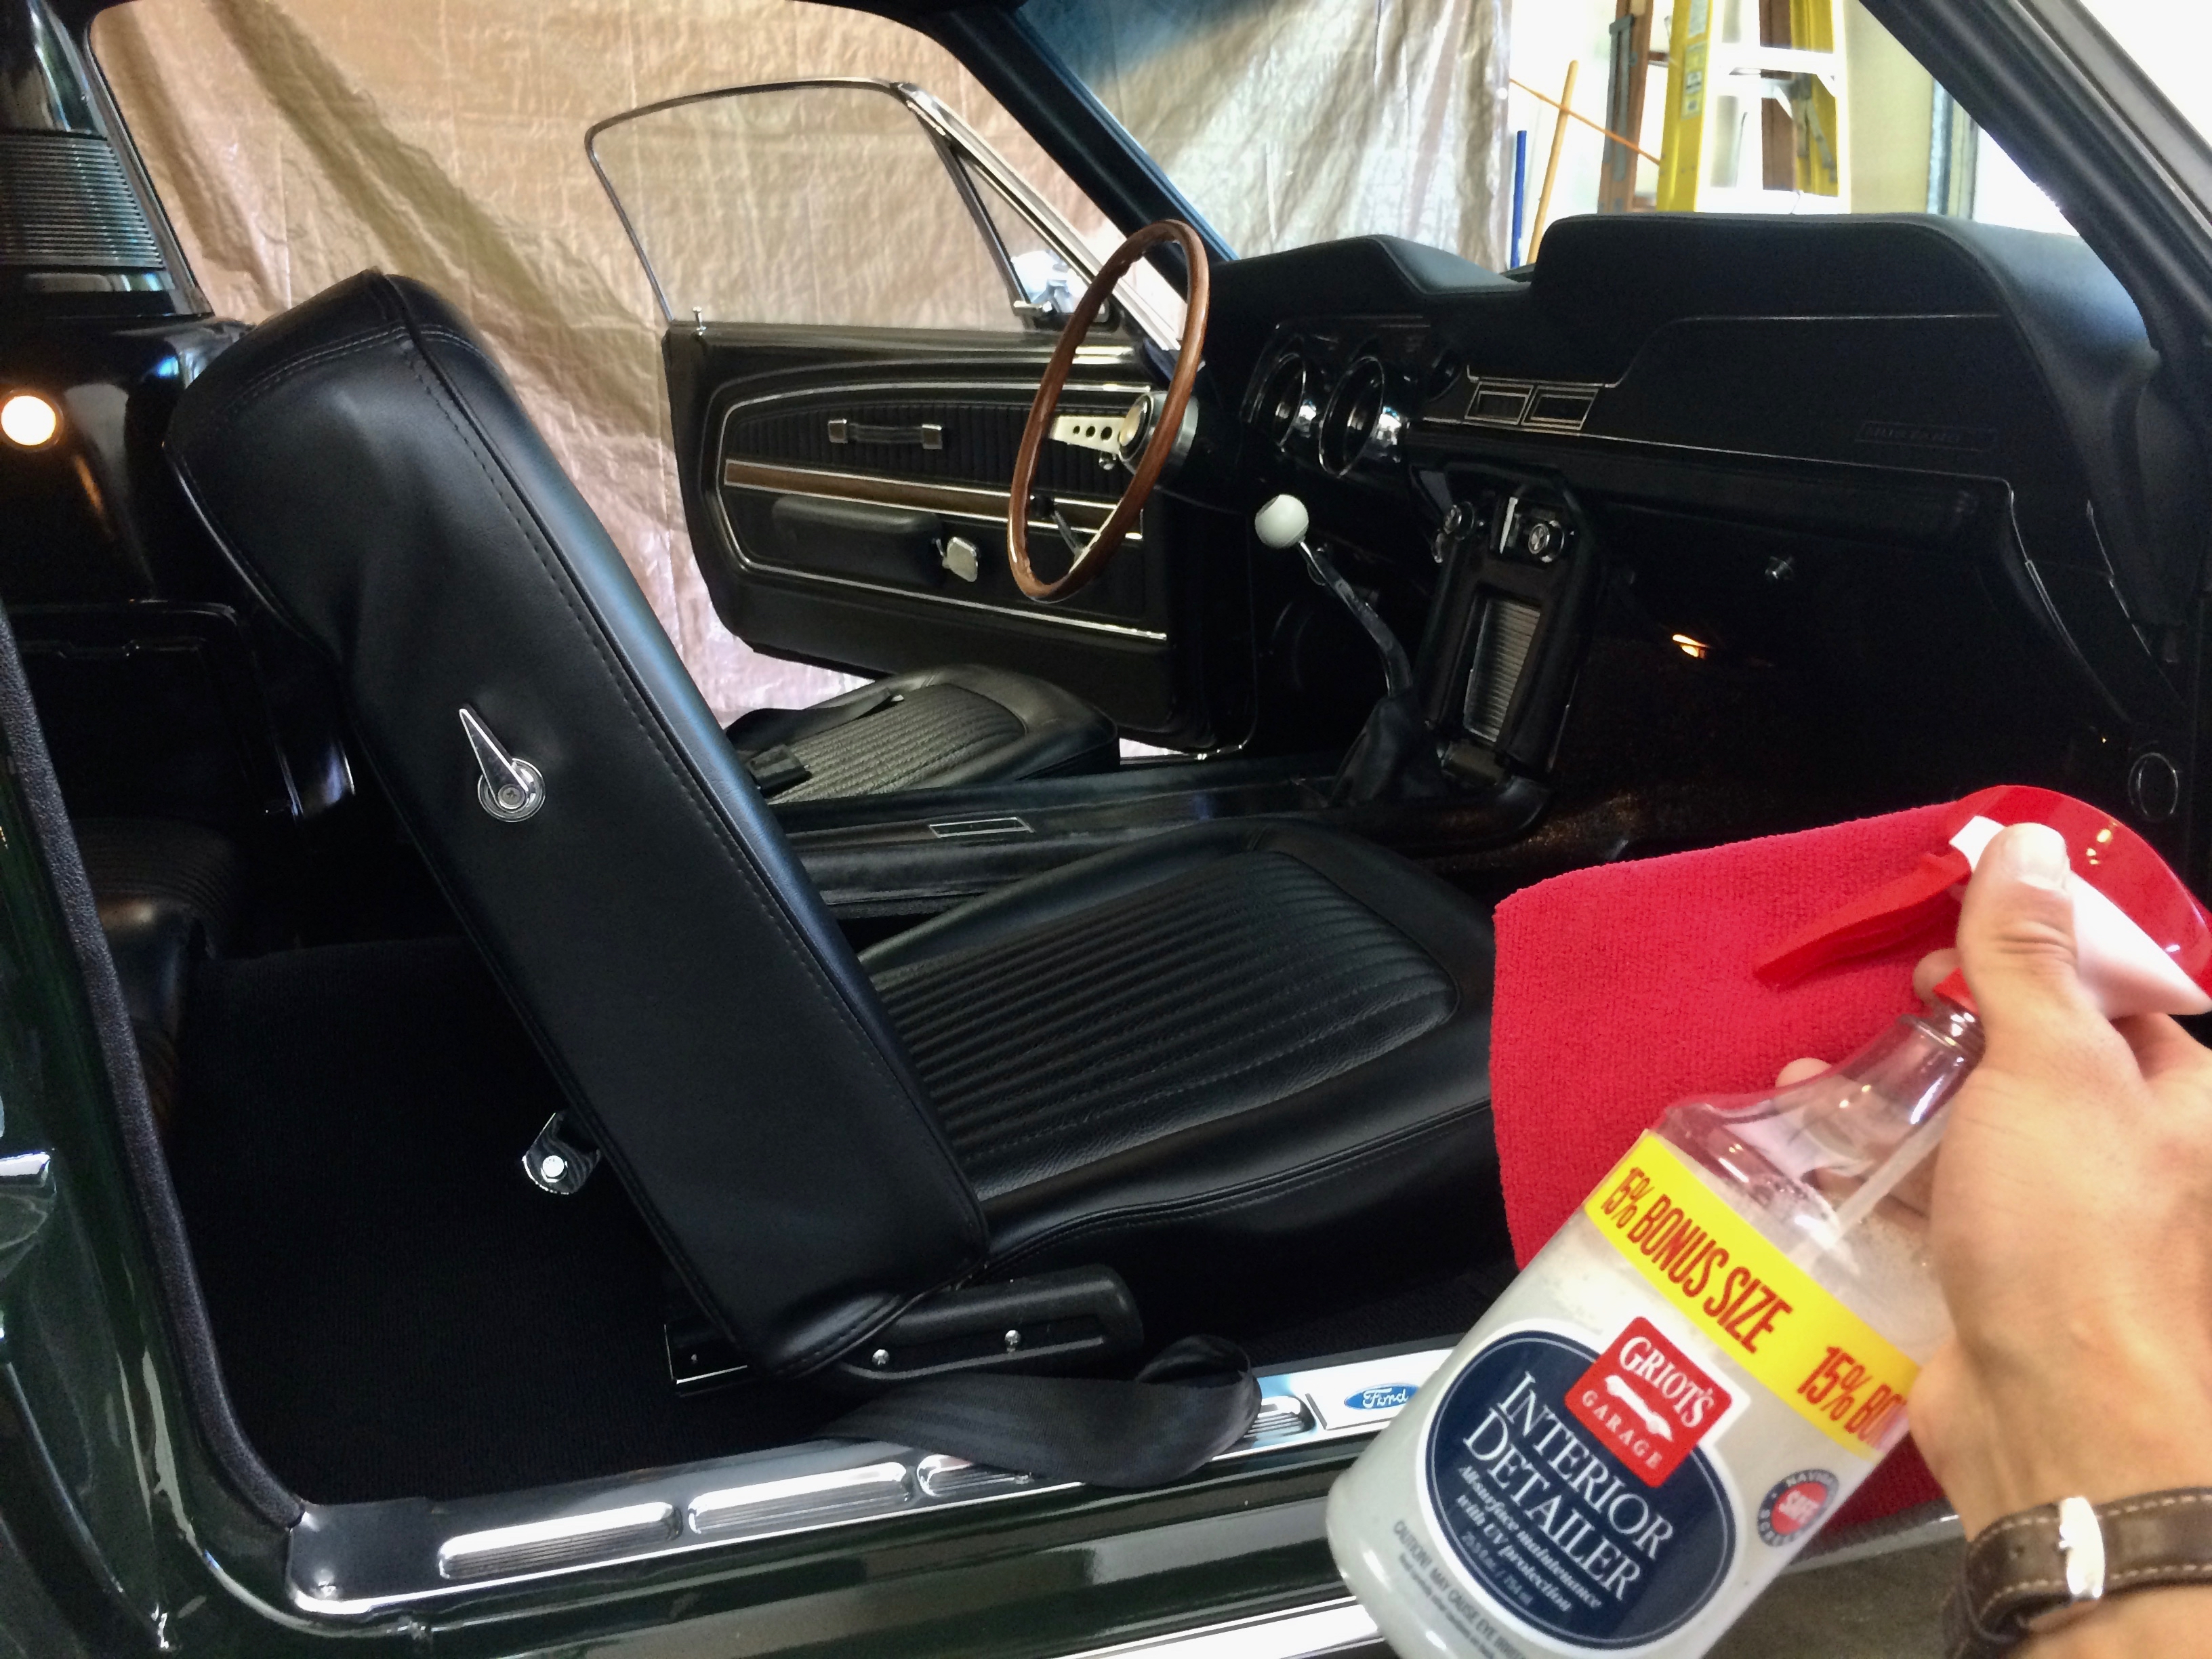
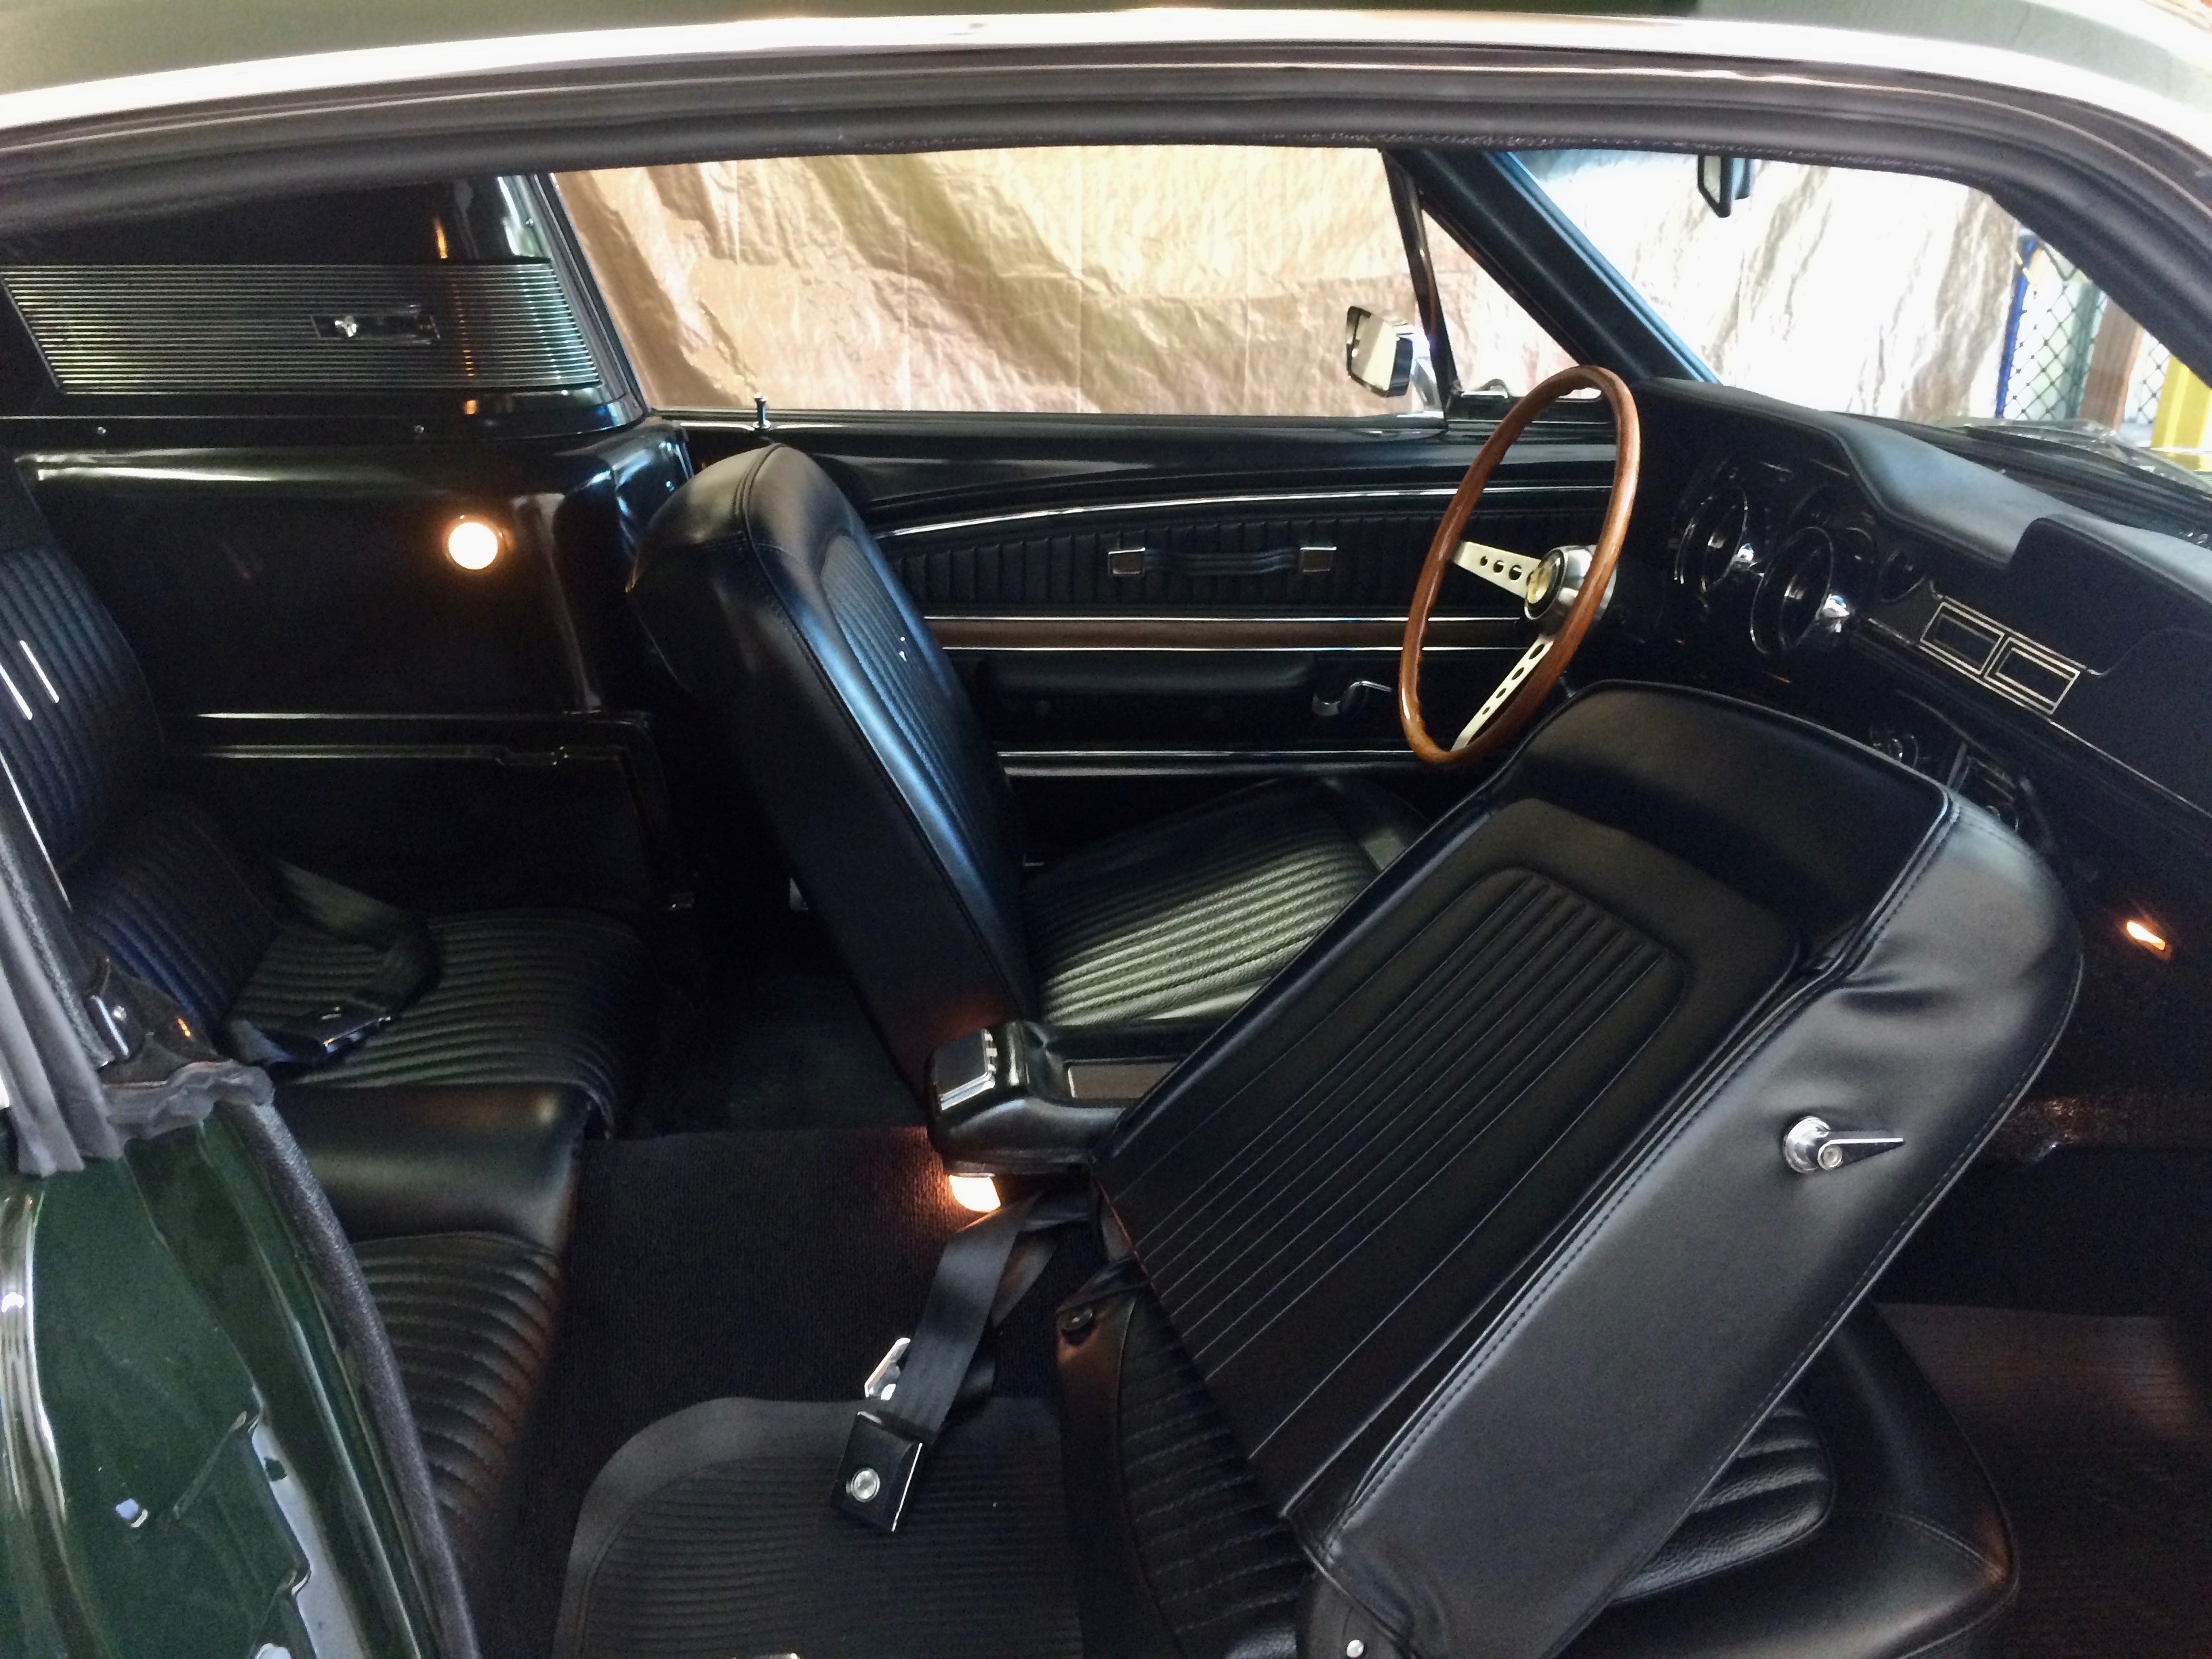
I pulled out the floor mats to spray down with Simple Green dilution and brush them. I wiped the mats clean with a microfiber and left them to dry while I continued.

I vacuumed the interior and wiped down surfaces using Griot’s Interior Detailer.
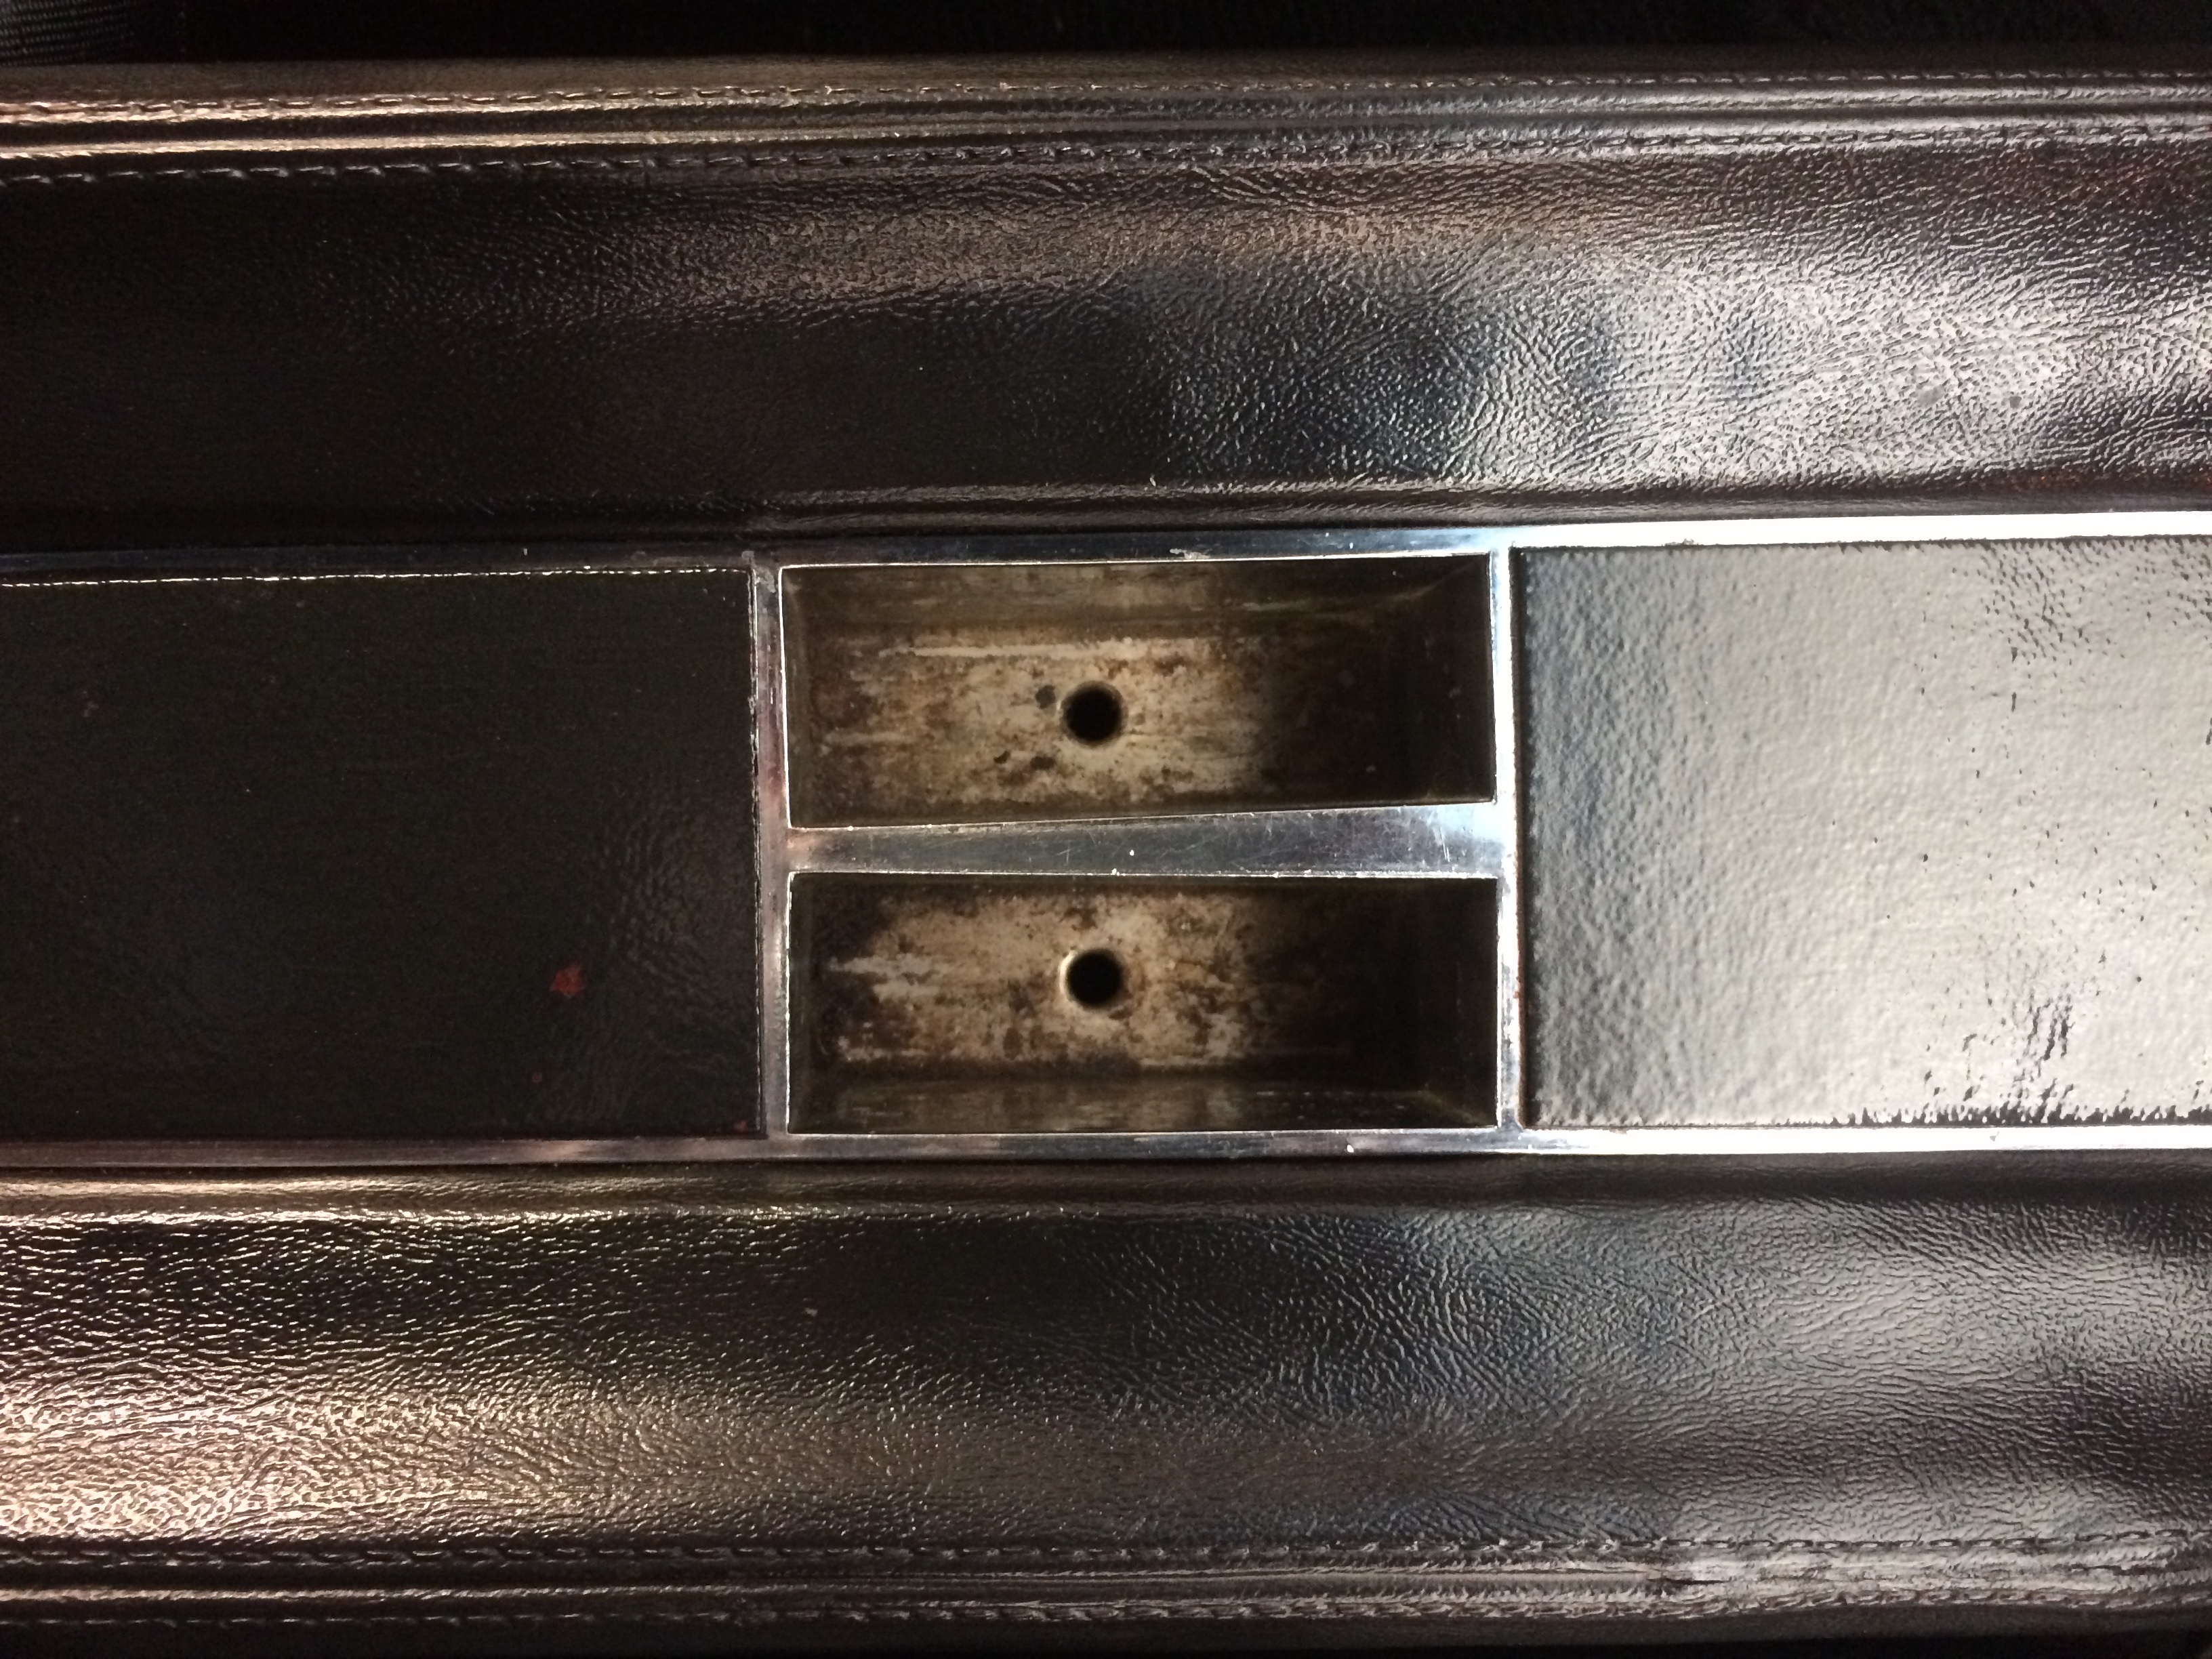
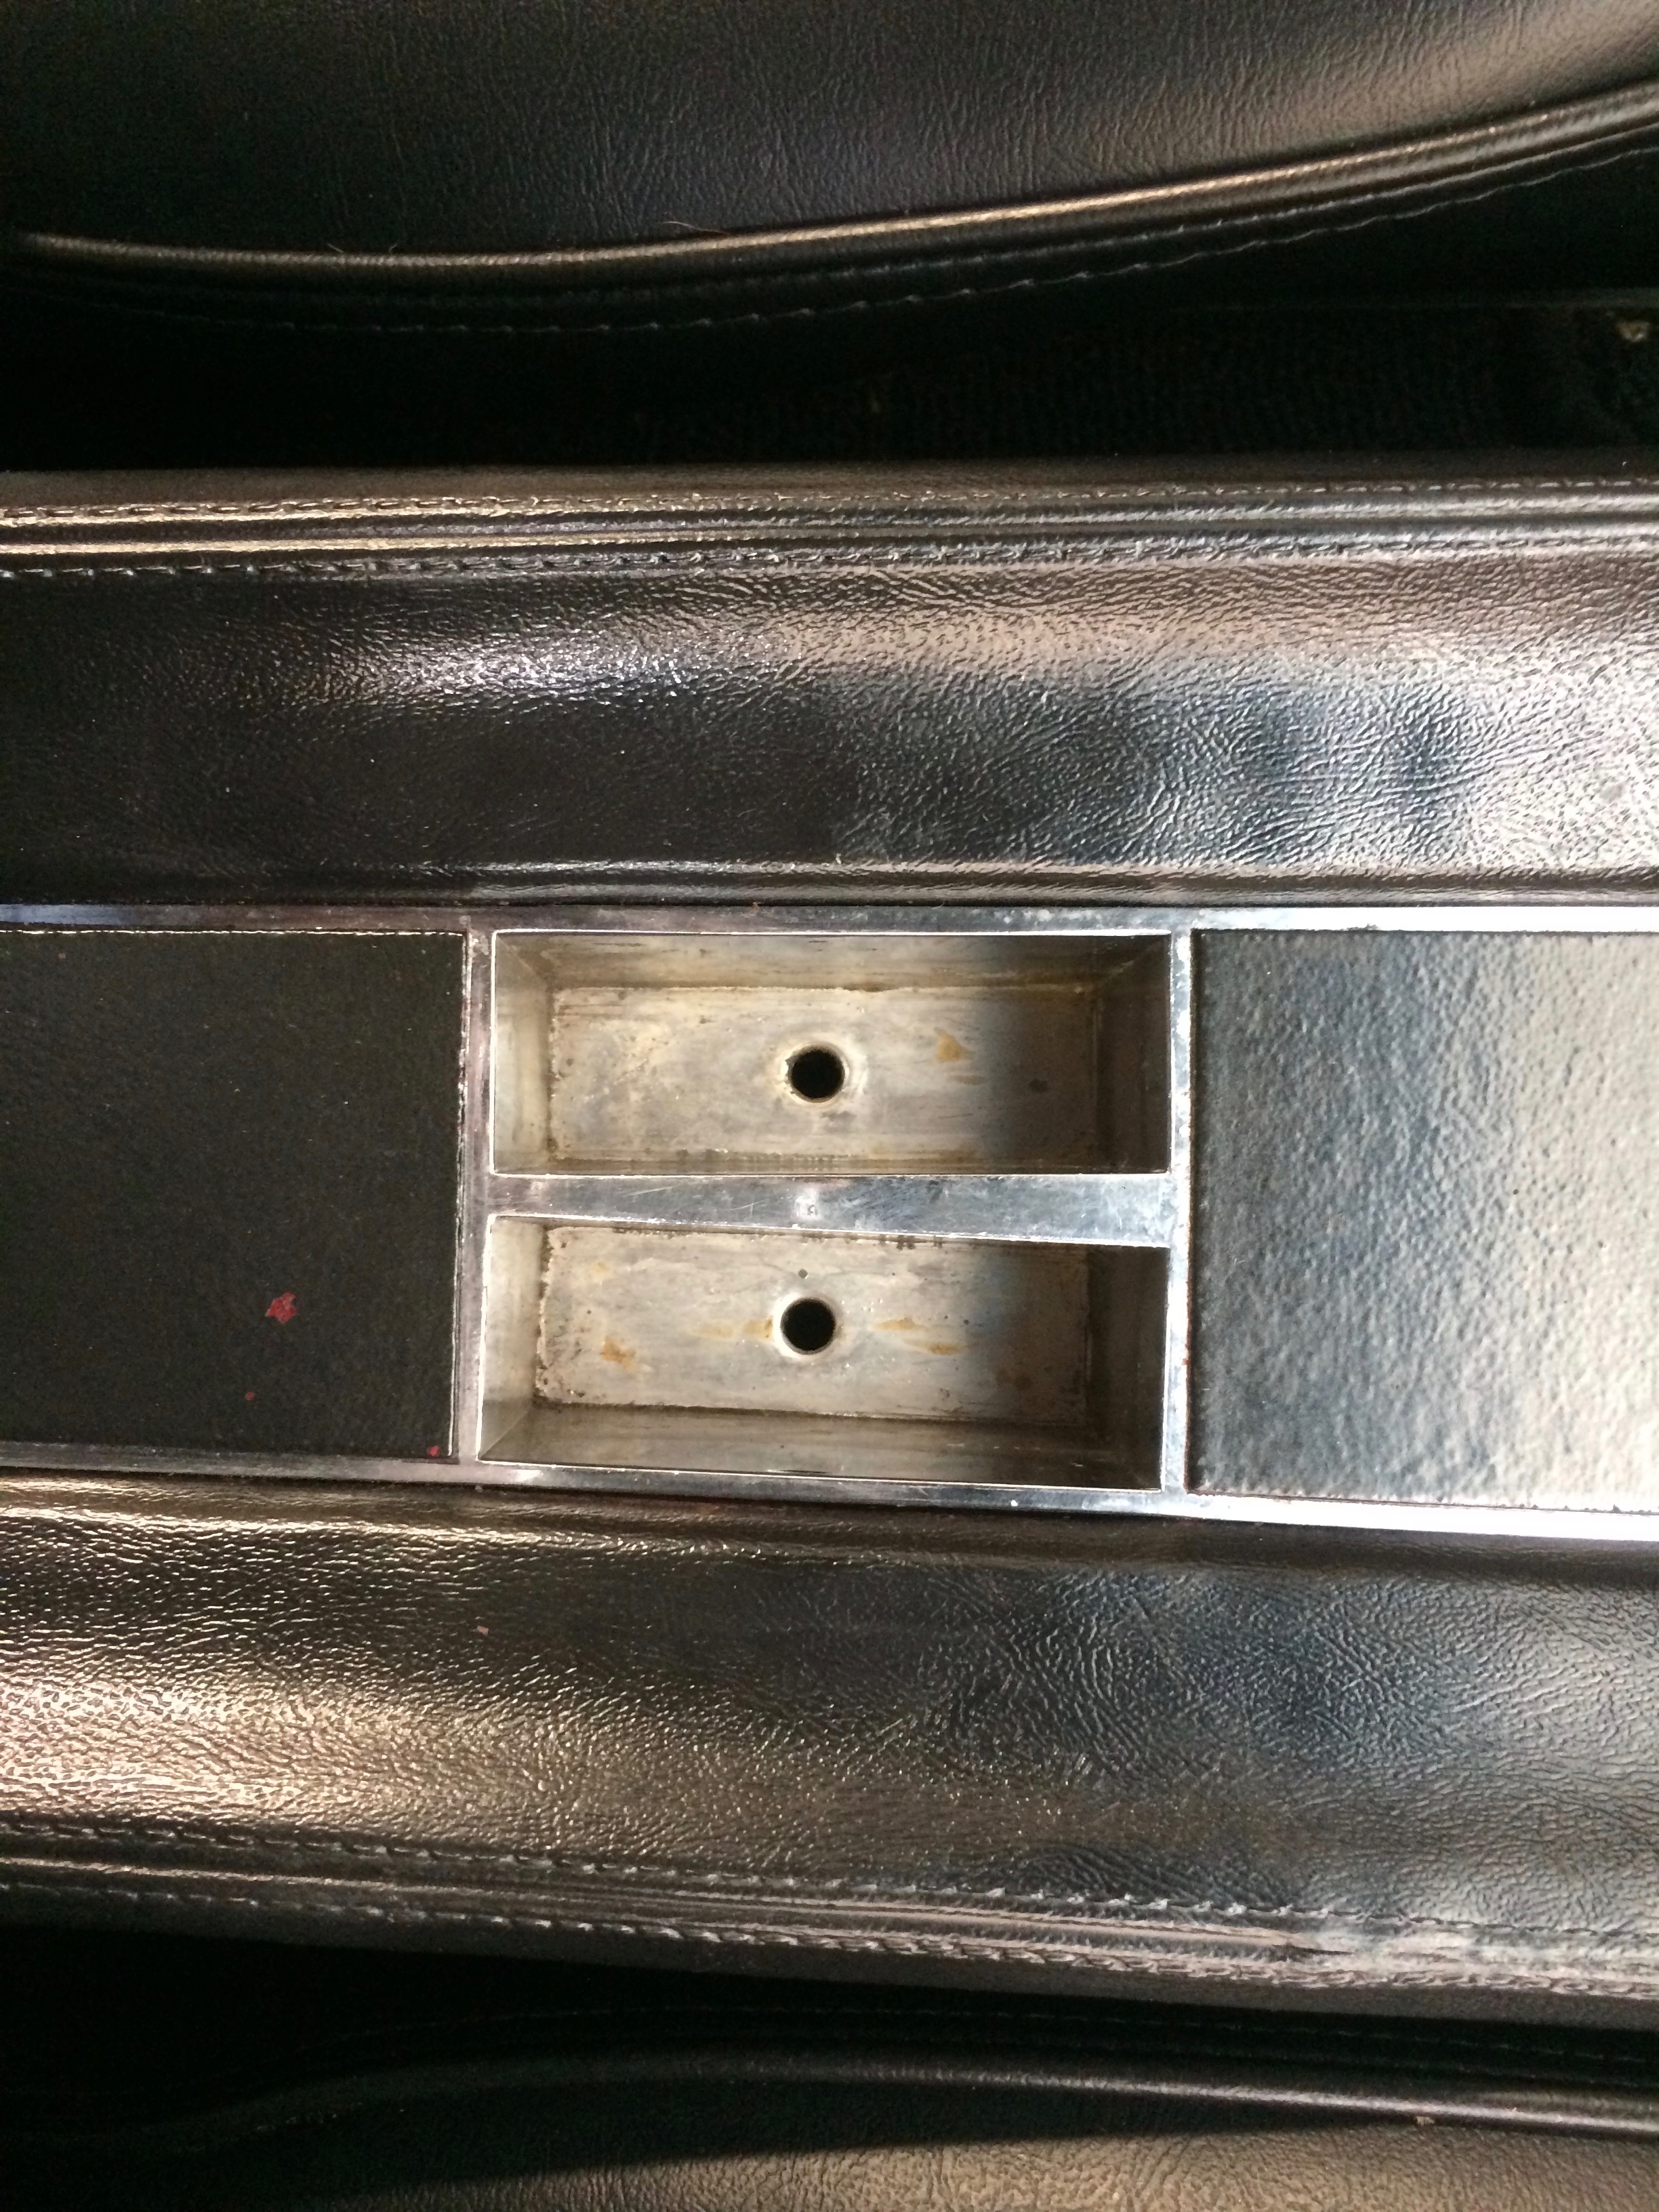
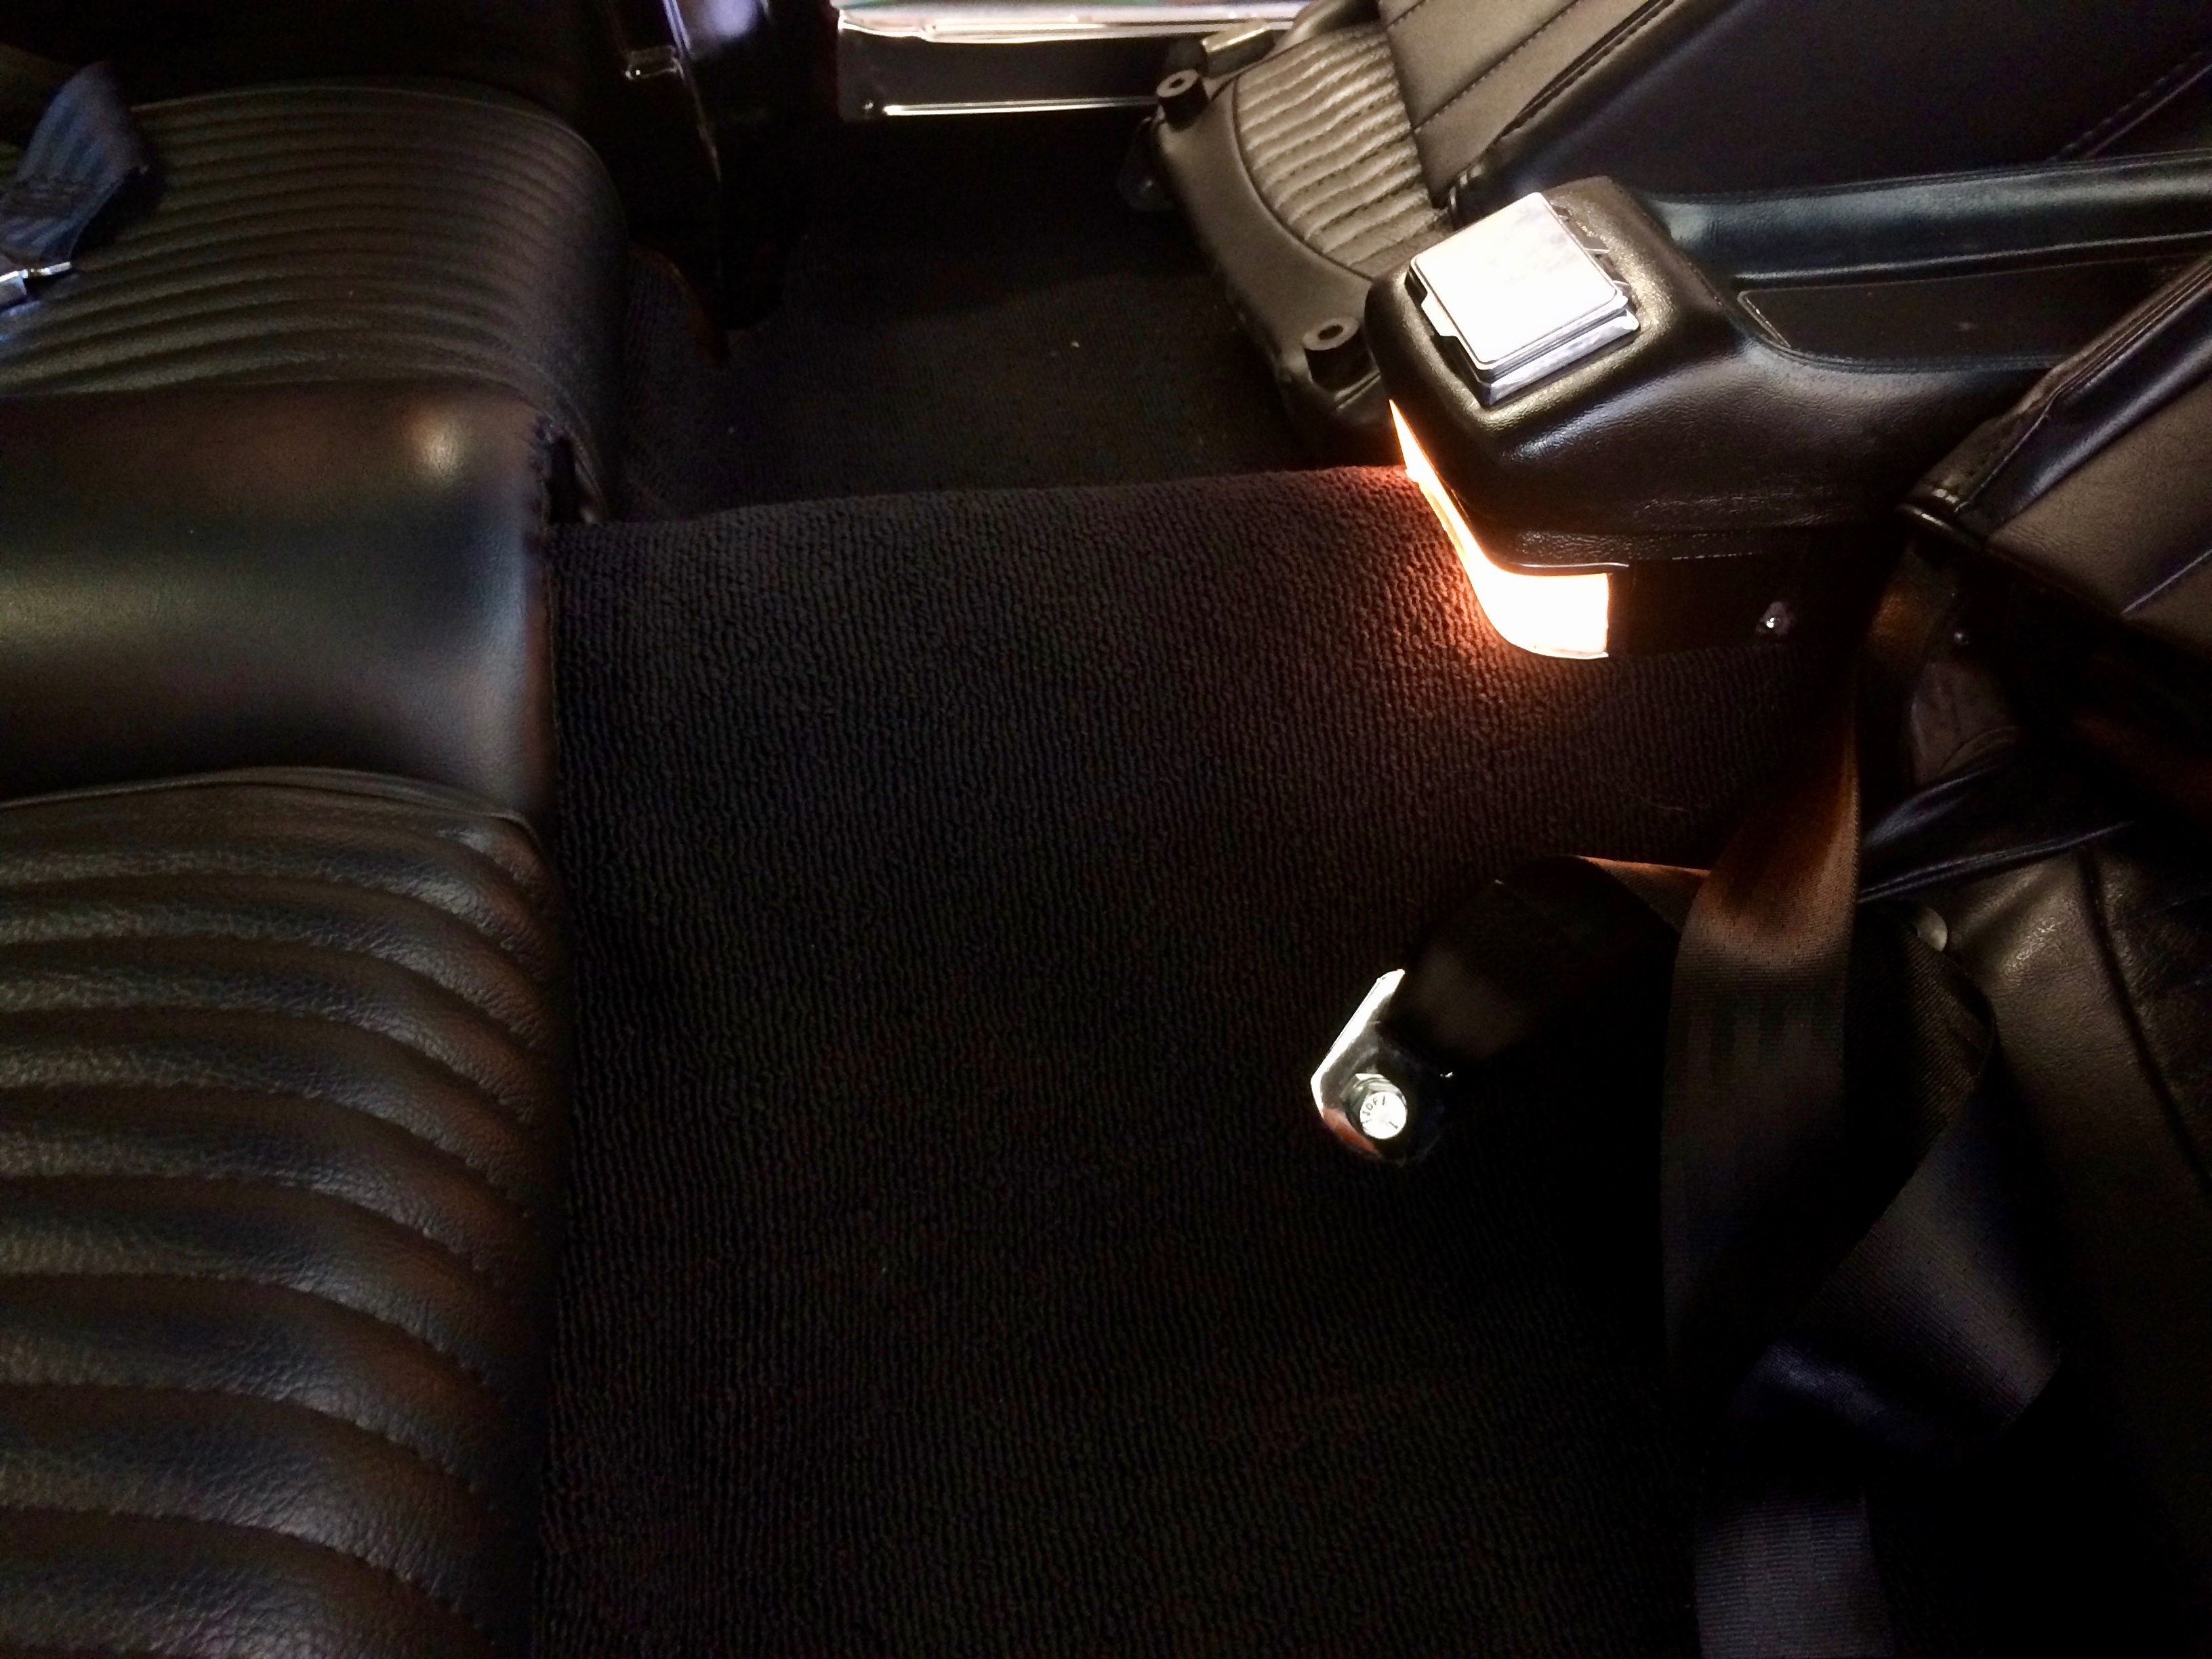
I noted grease in the belt buckle holders and used Simple Green dilution with a microfiber and a lug nut brush to loosen it. There are no cup holders in the Mustang, just a place to neatly store your buckle.
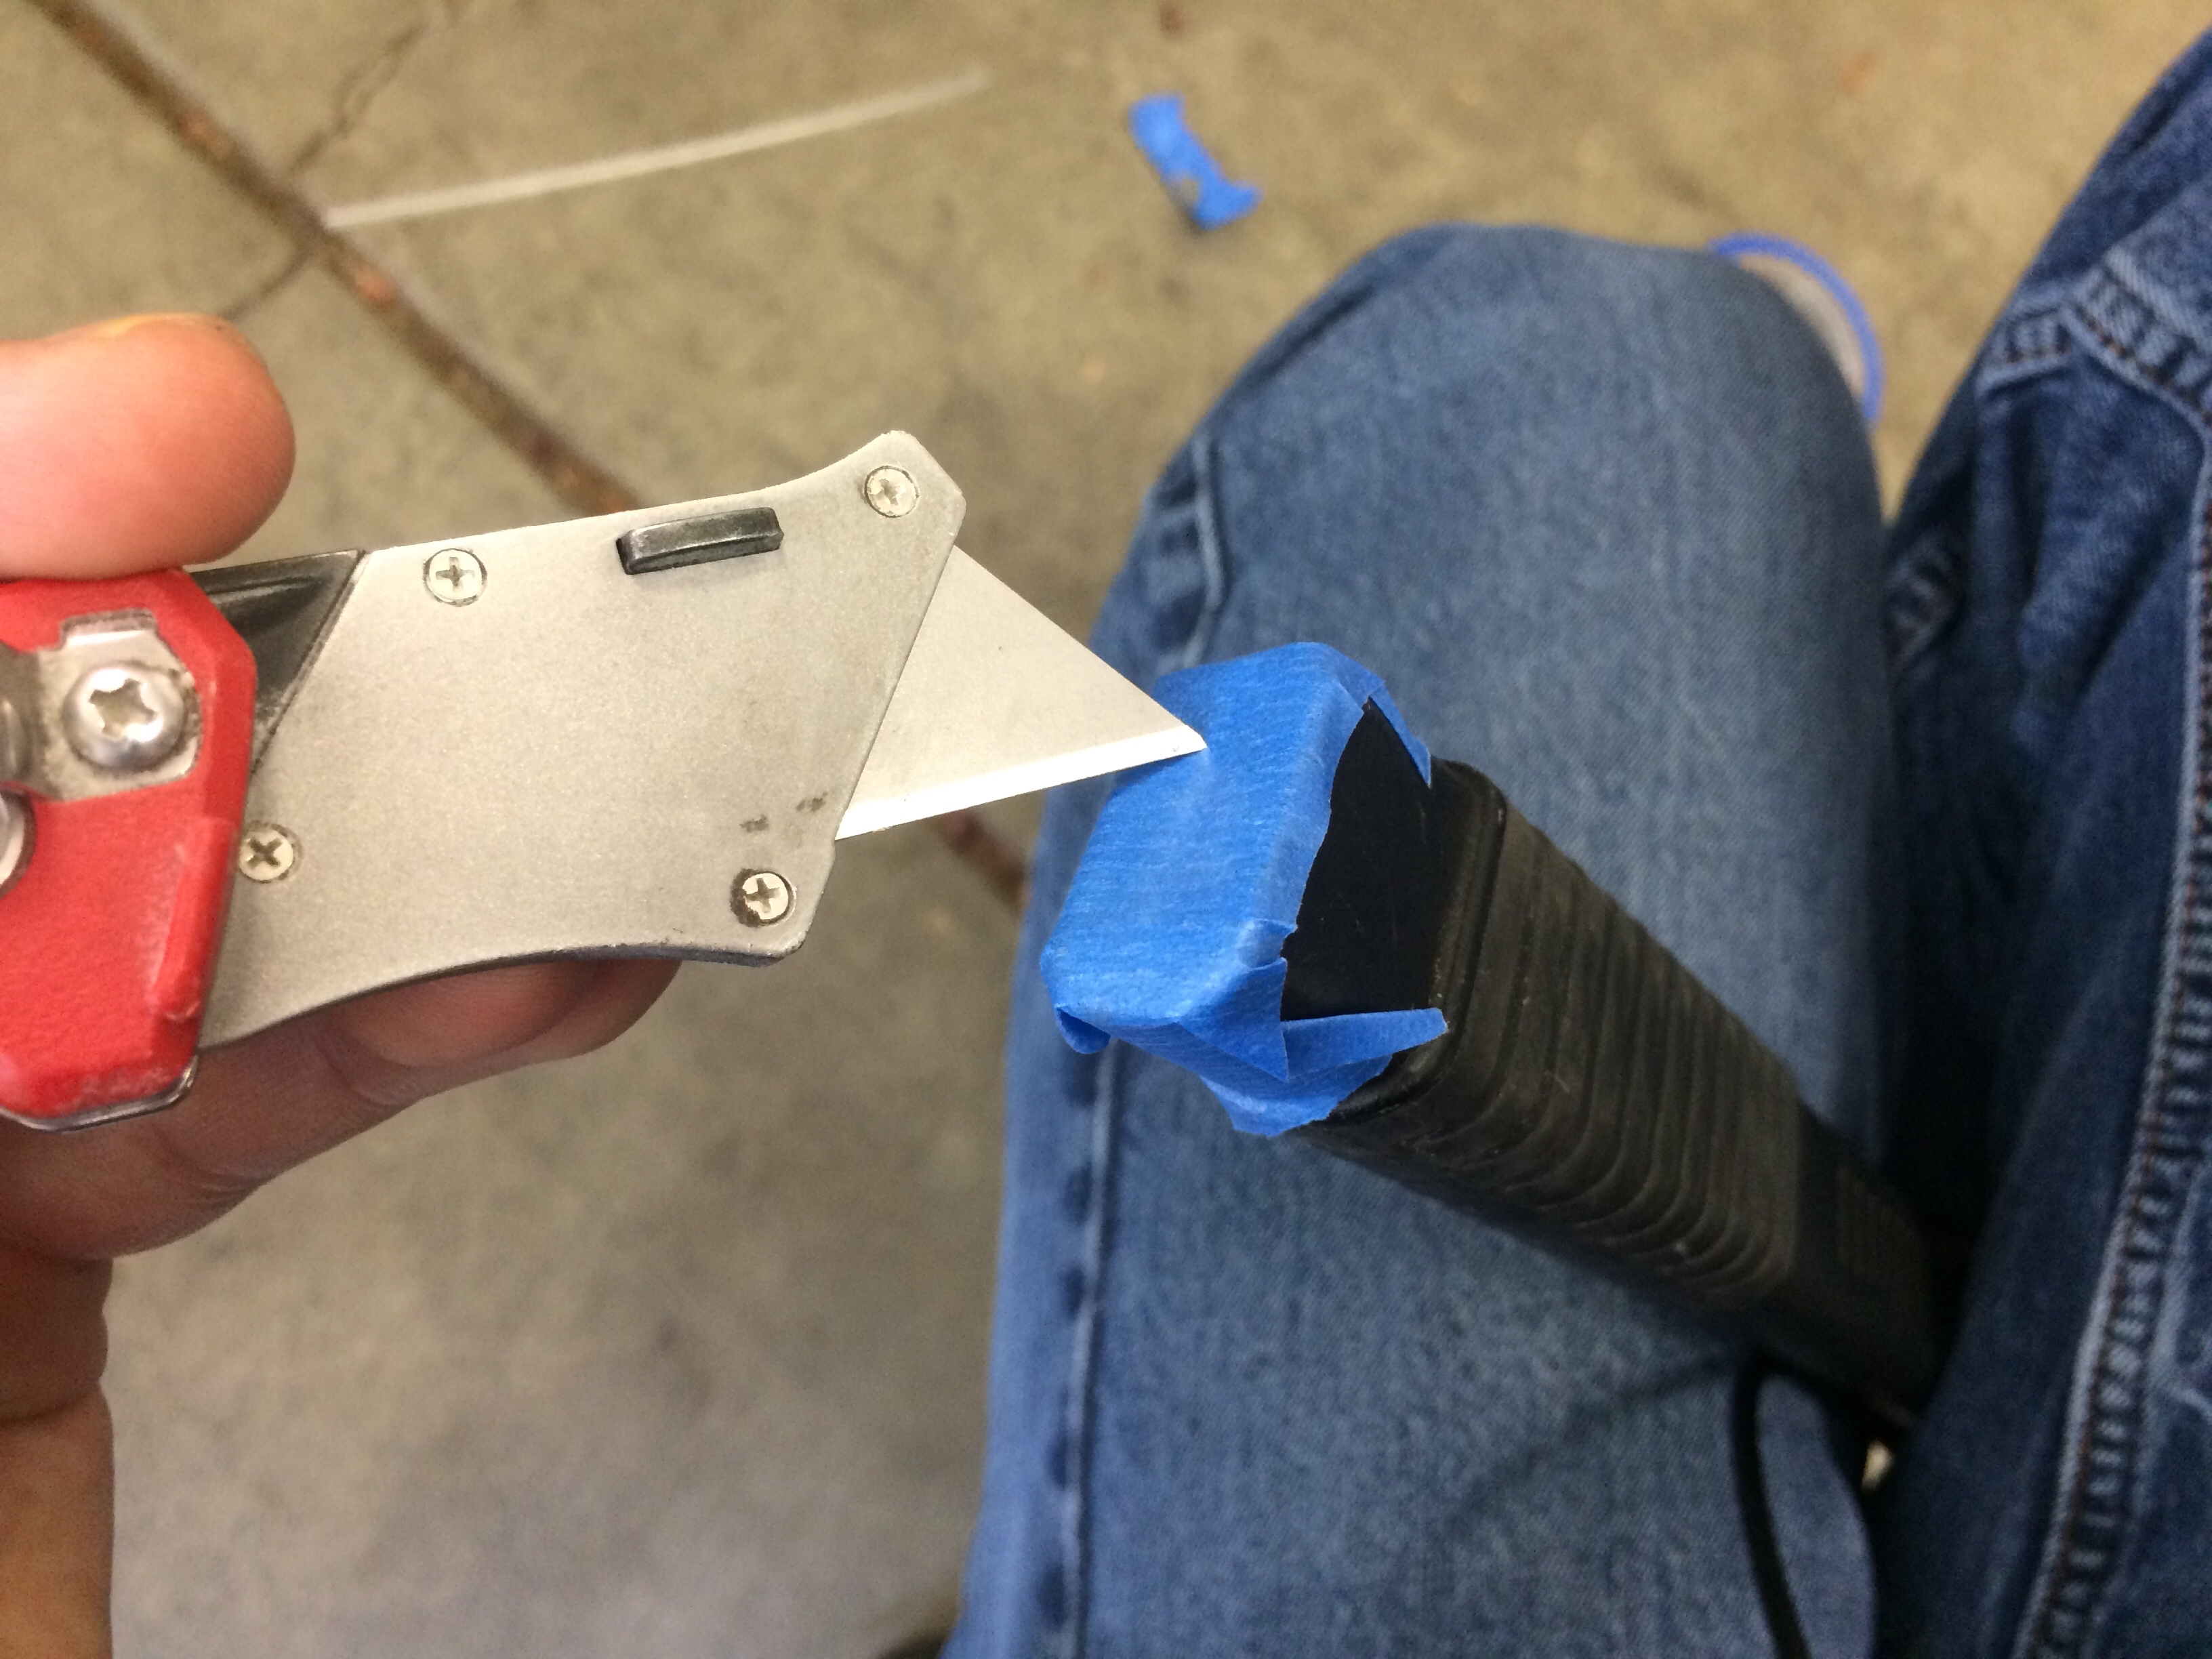
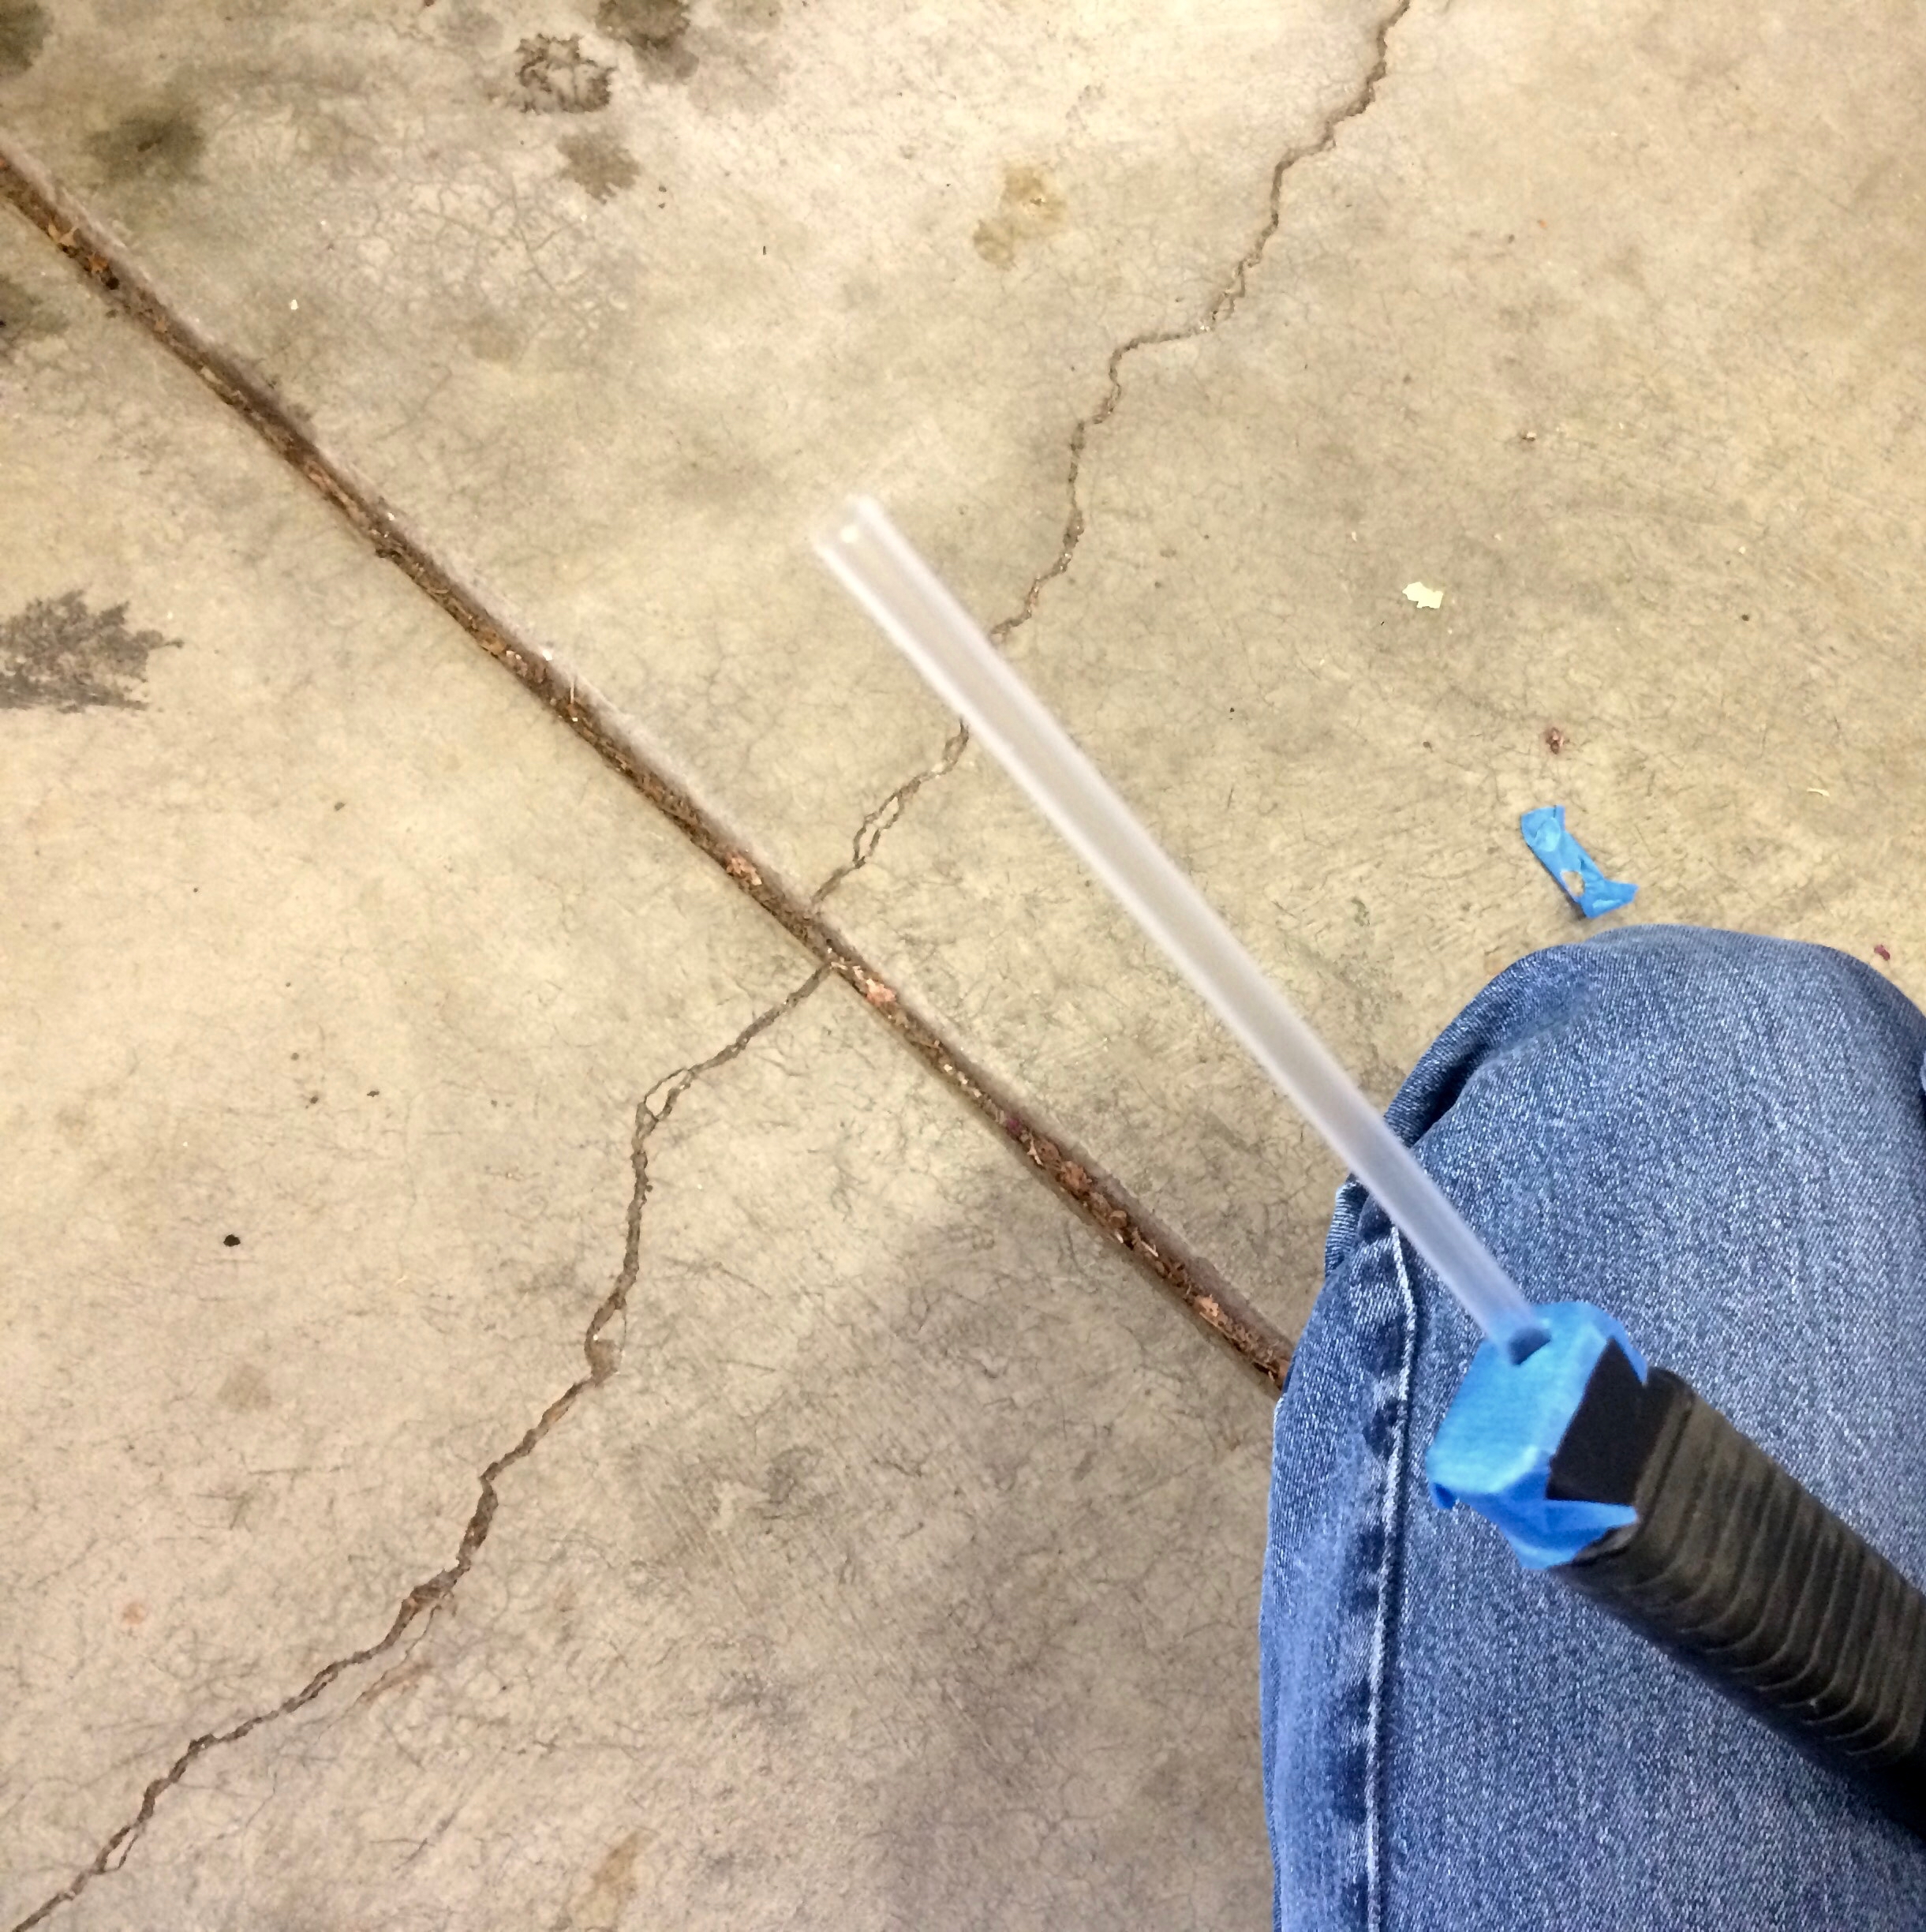
This called for a trick of mine to help remove debris in tight spaces. I place tape over my vacuum nozzle and cut a small hole for a straw, giving you a micro vacuum nozzle.
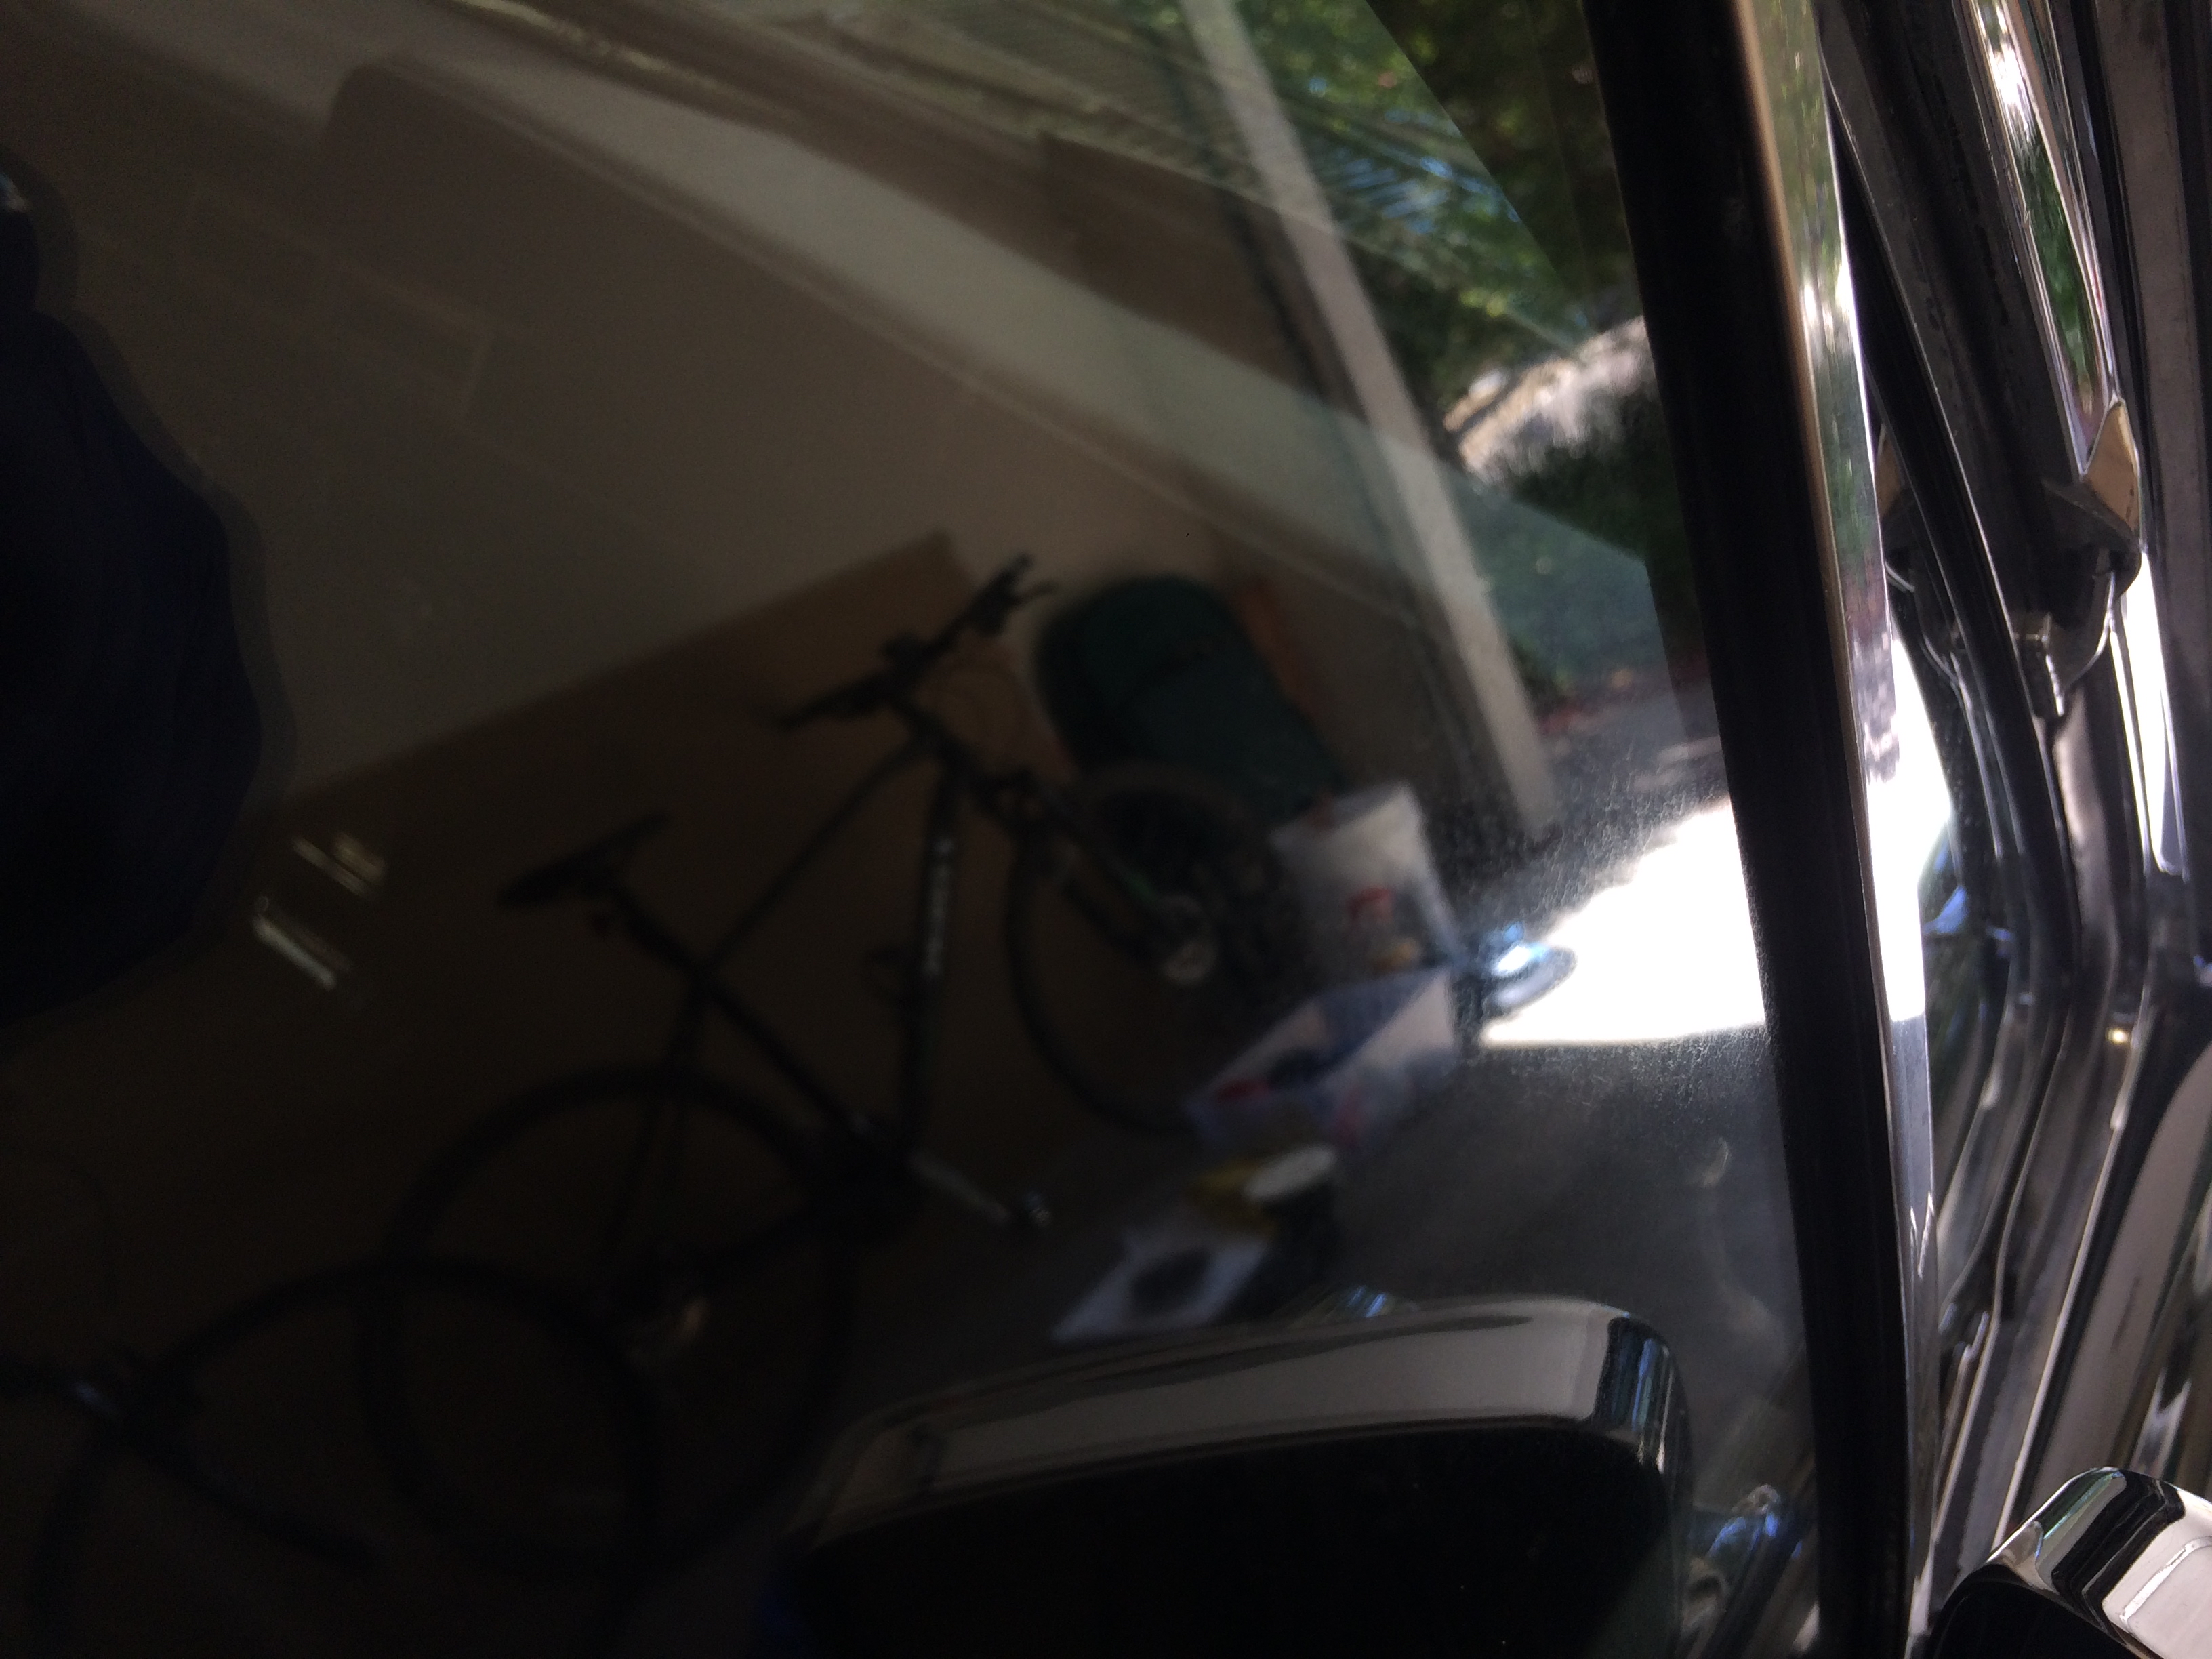
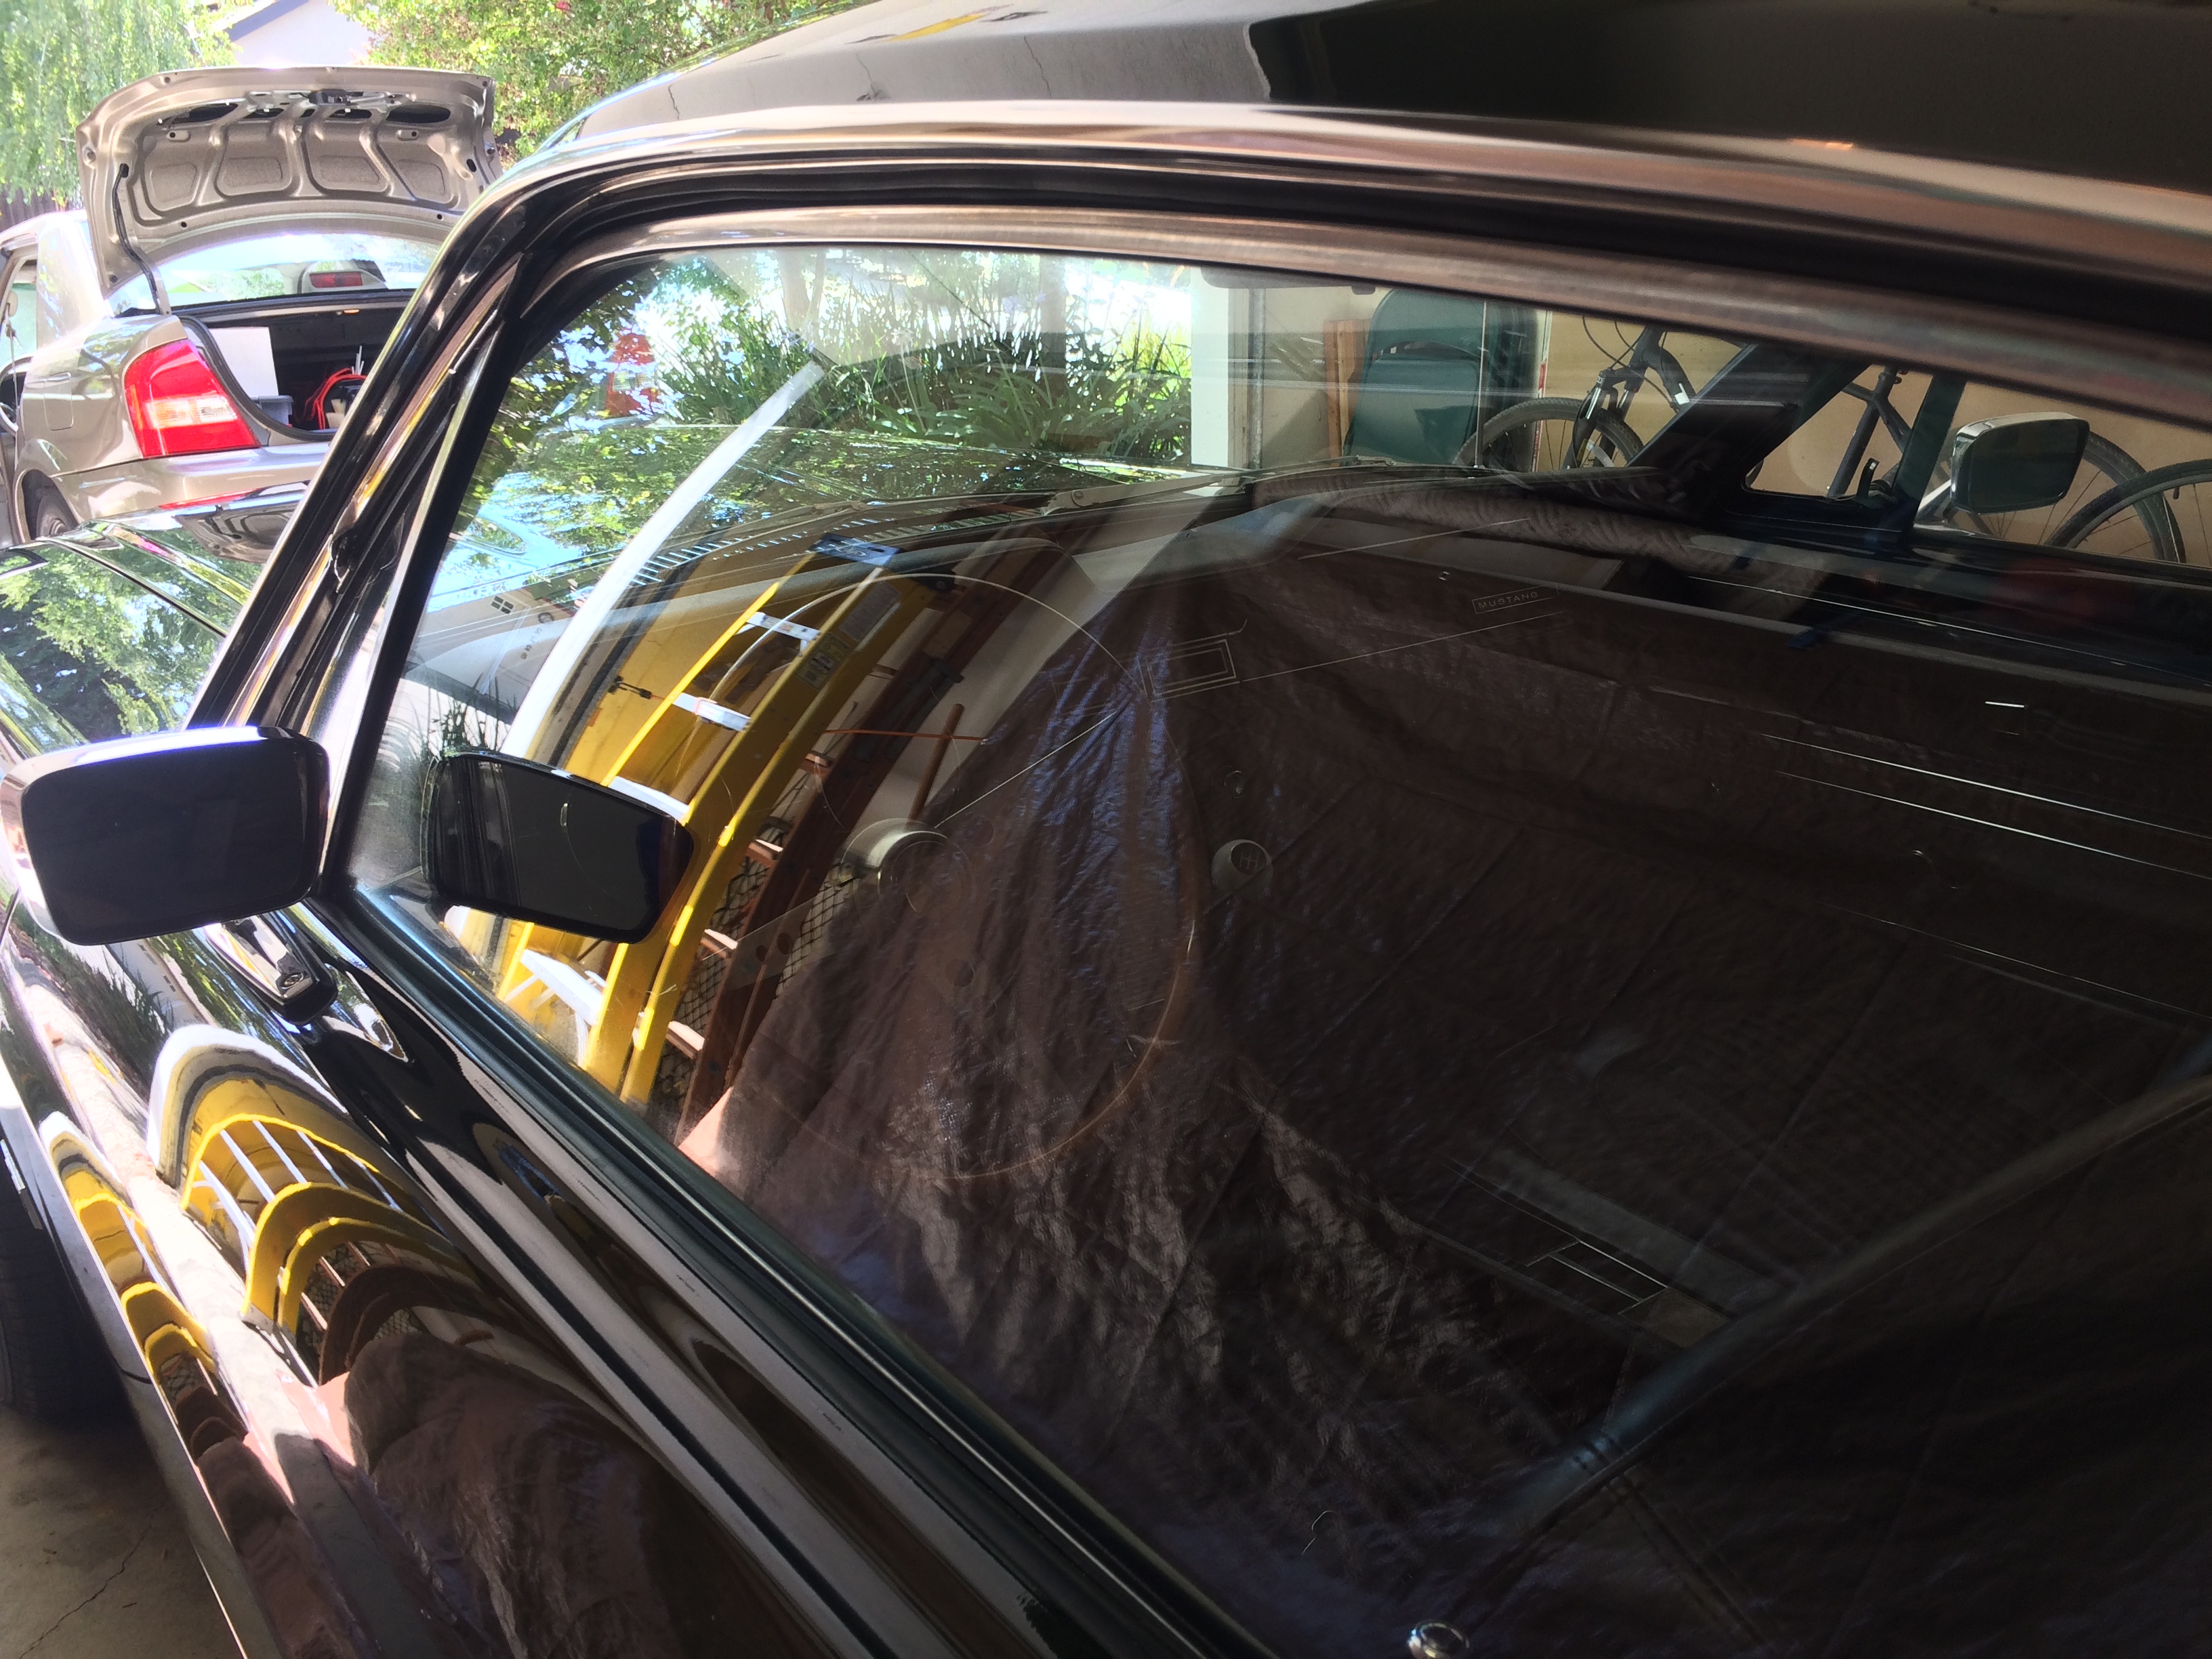
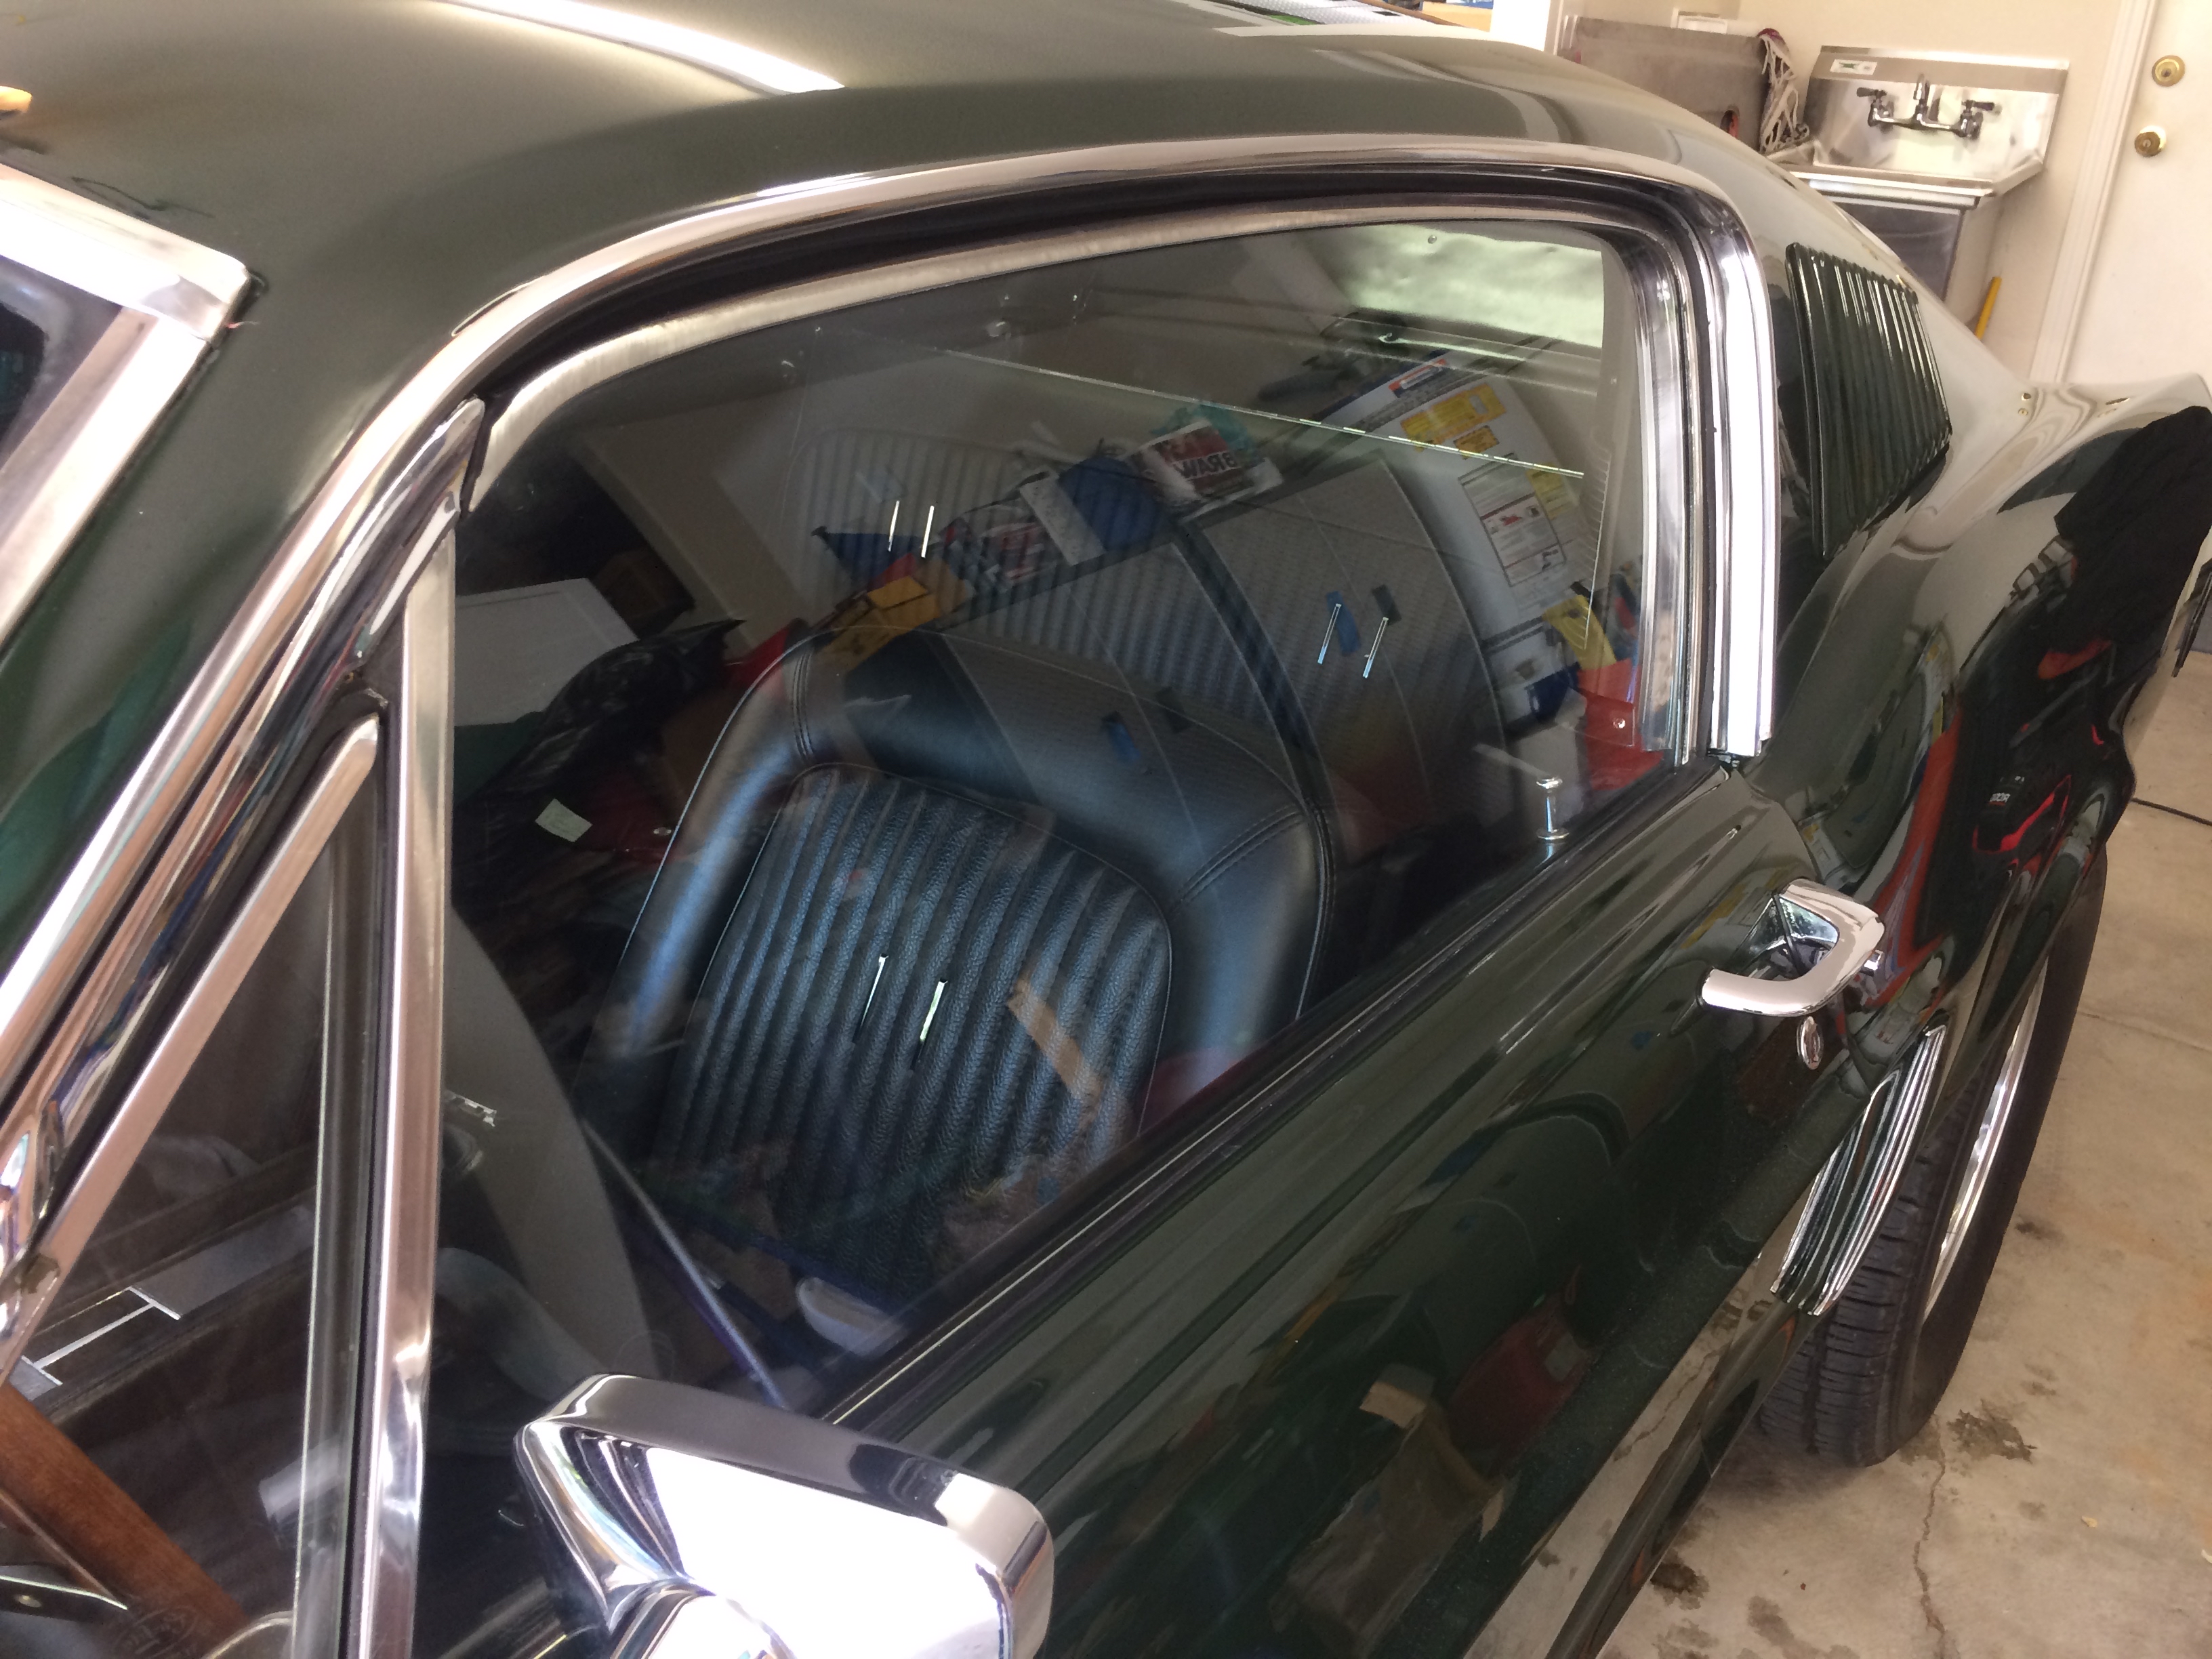
I took notice of hard mineral deposits on the Mustang’s side windows, so I equipped the Rupes with CarPro Rayon Pads primed with CarPro CeriGlass Polish.
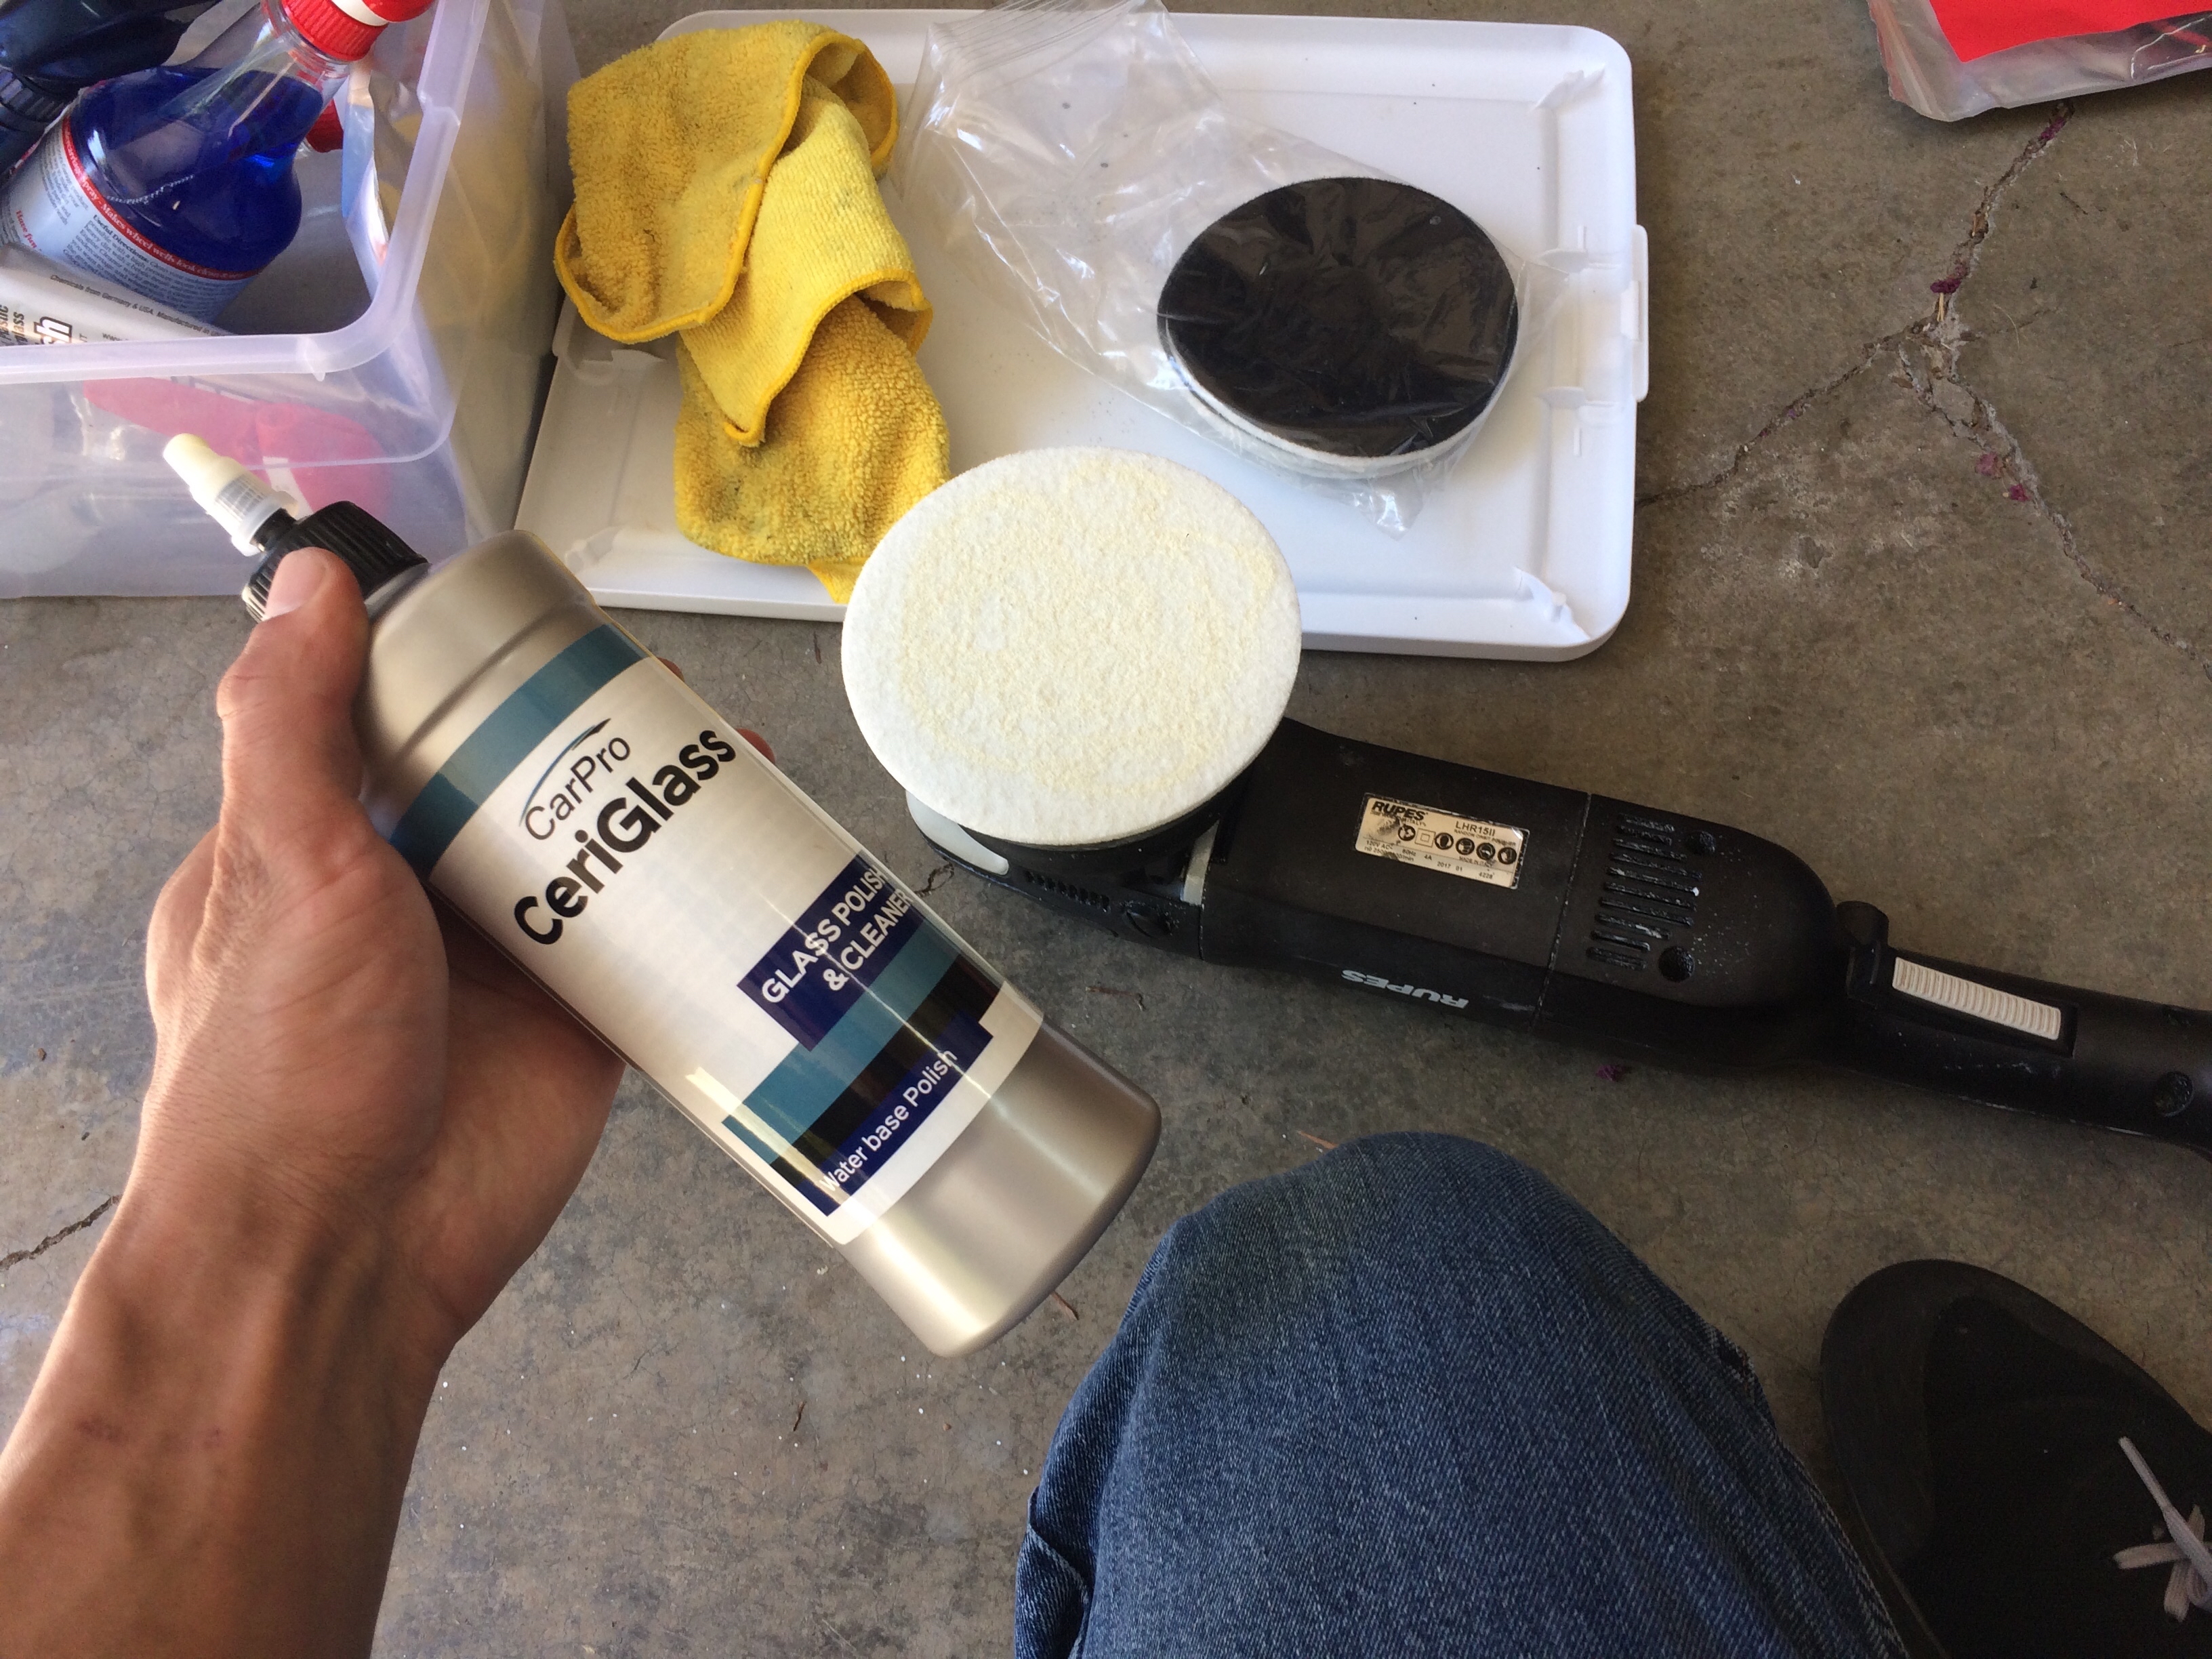
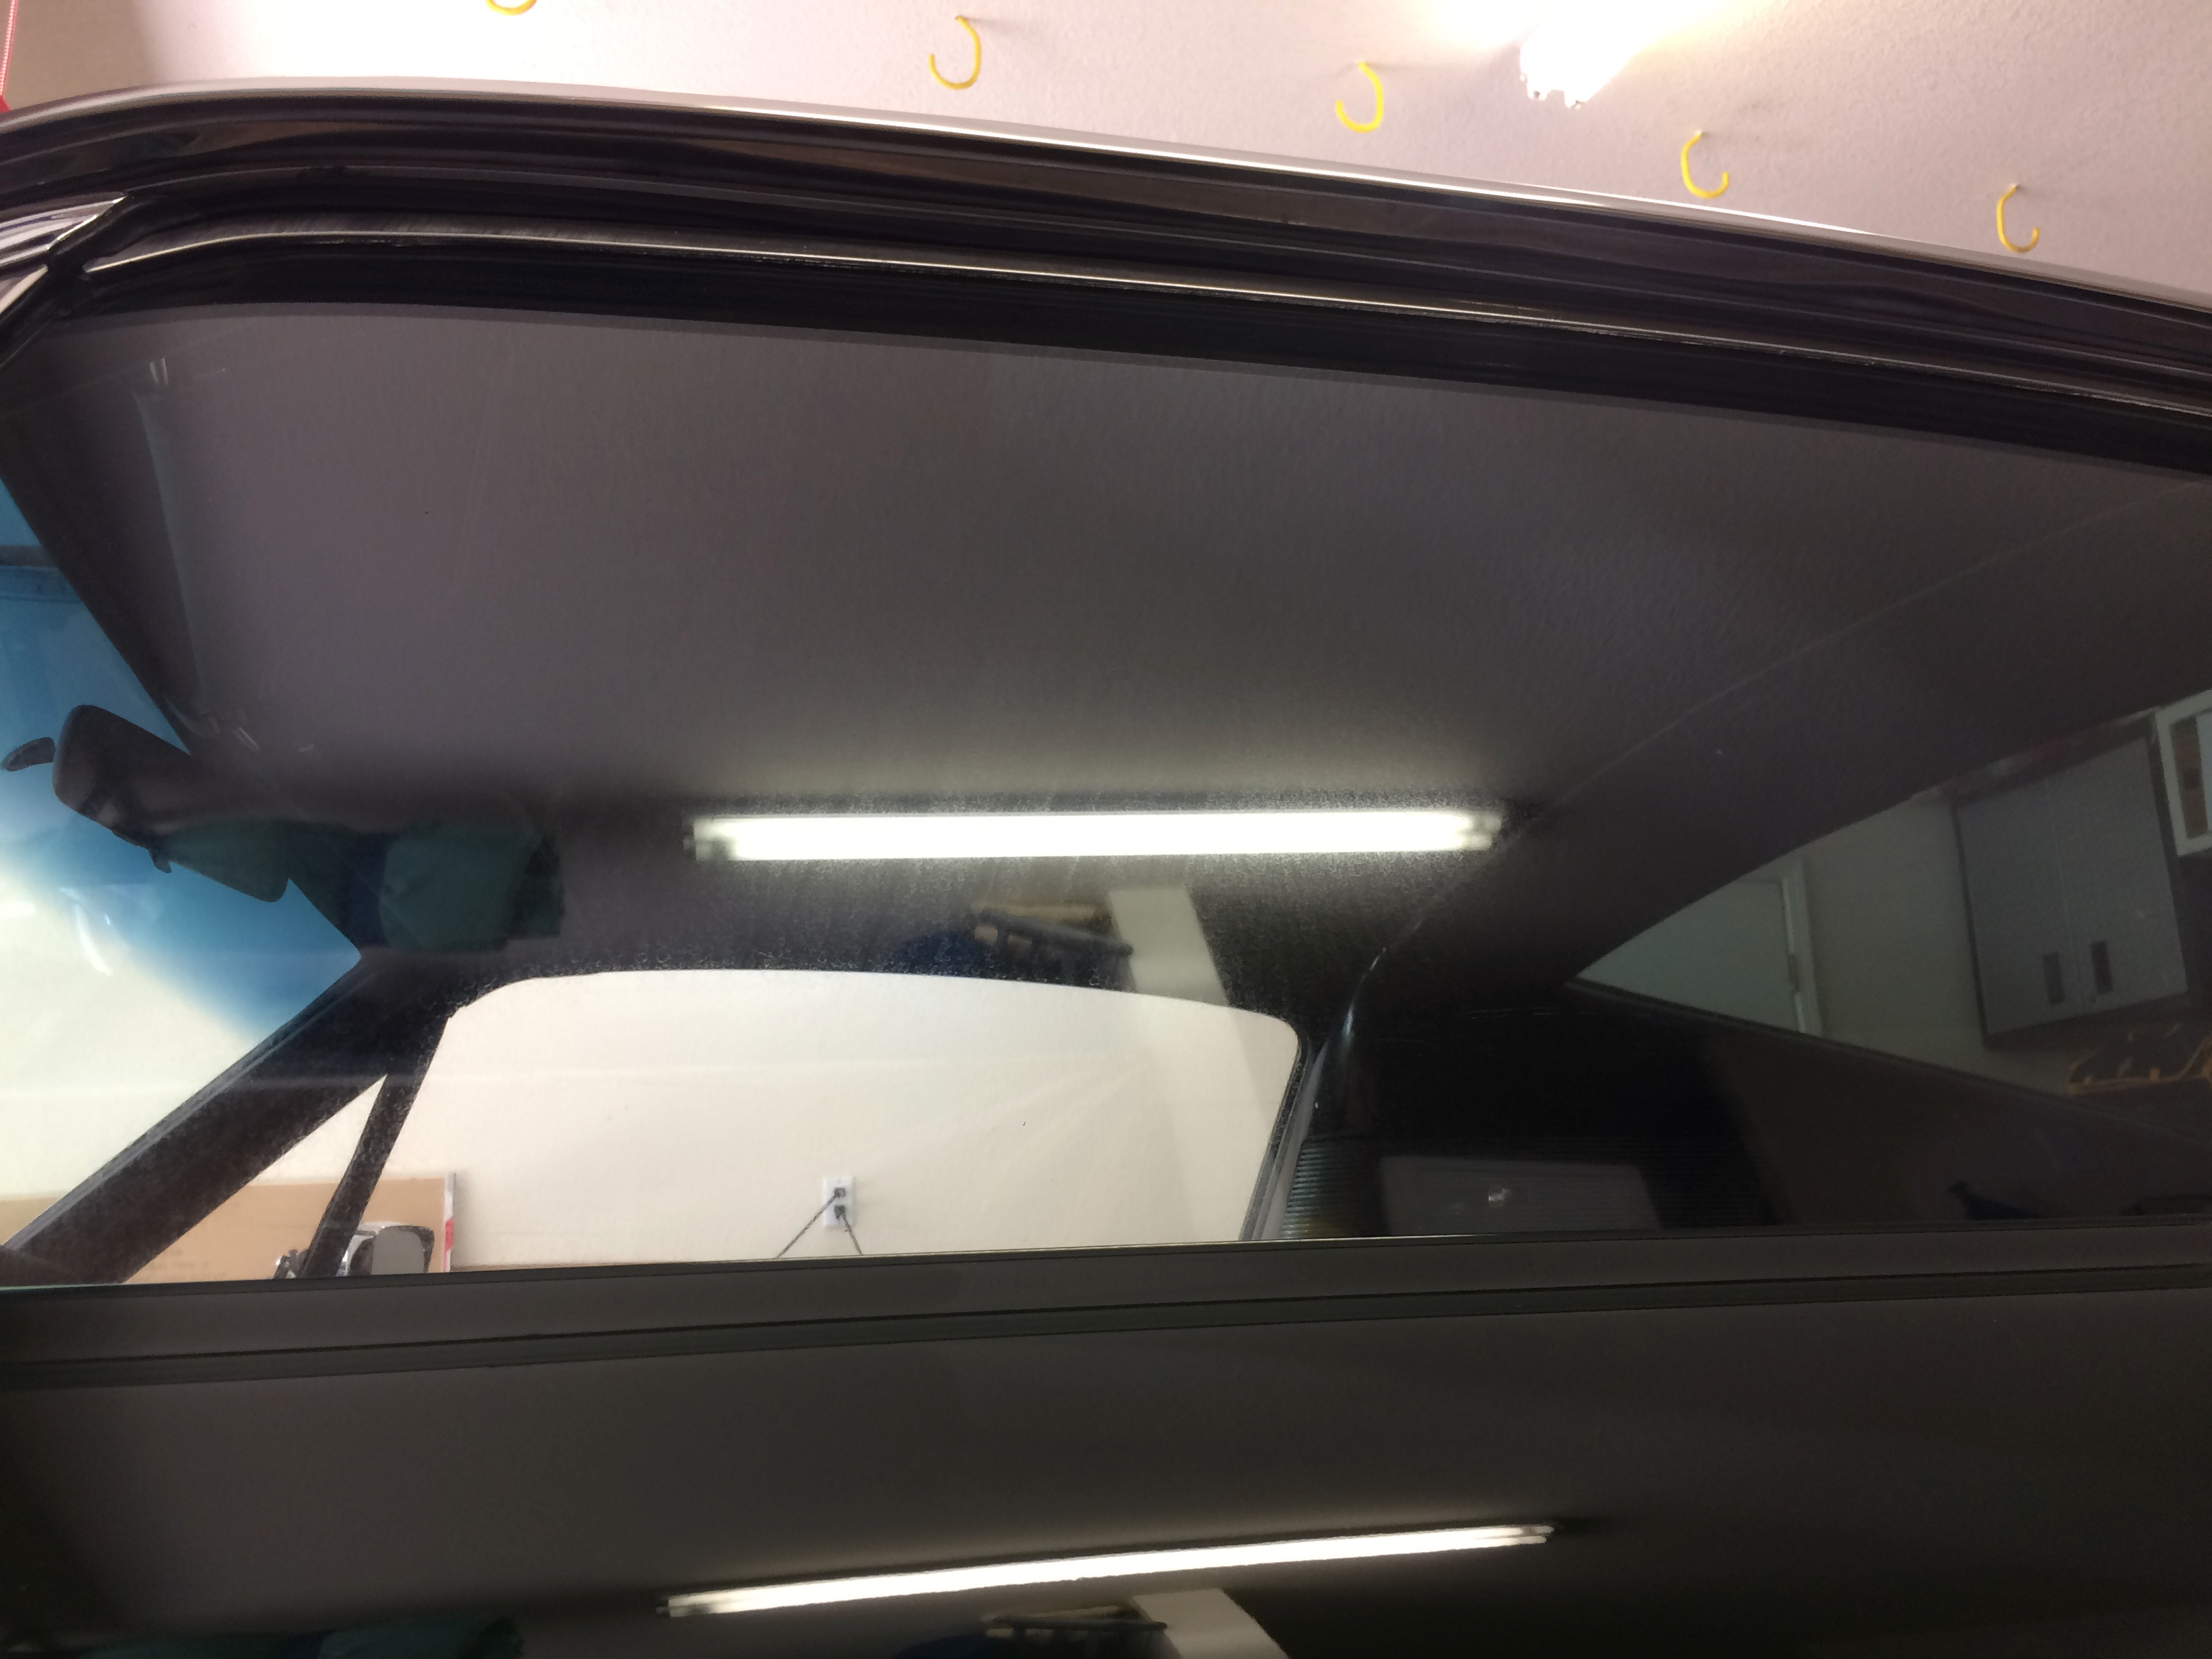
The mineral is tricky to capture in photos but it was to the point of blurring vision through the glass. The polish was effective and brought back clarity.
Here are two photos before correction:
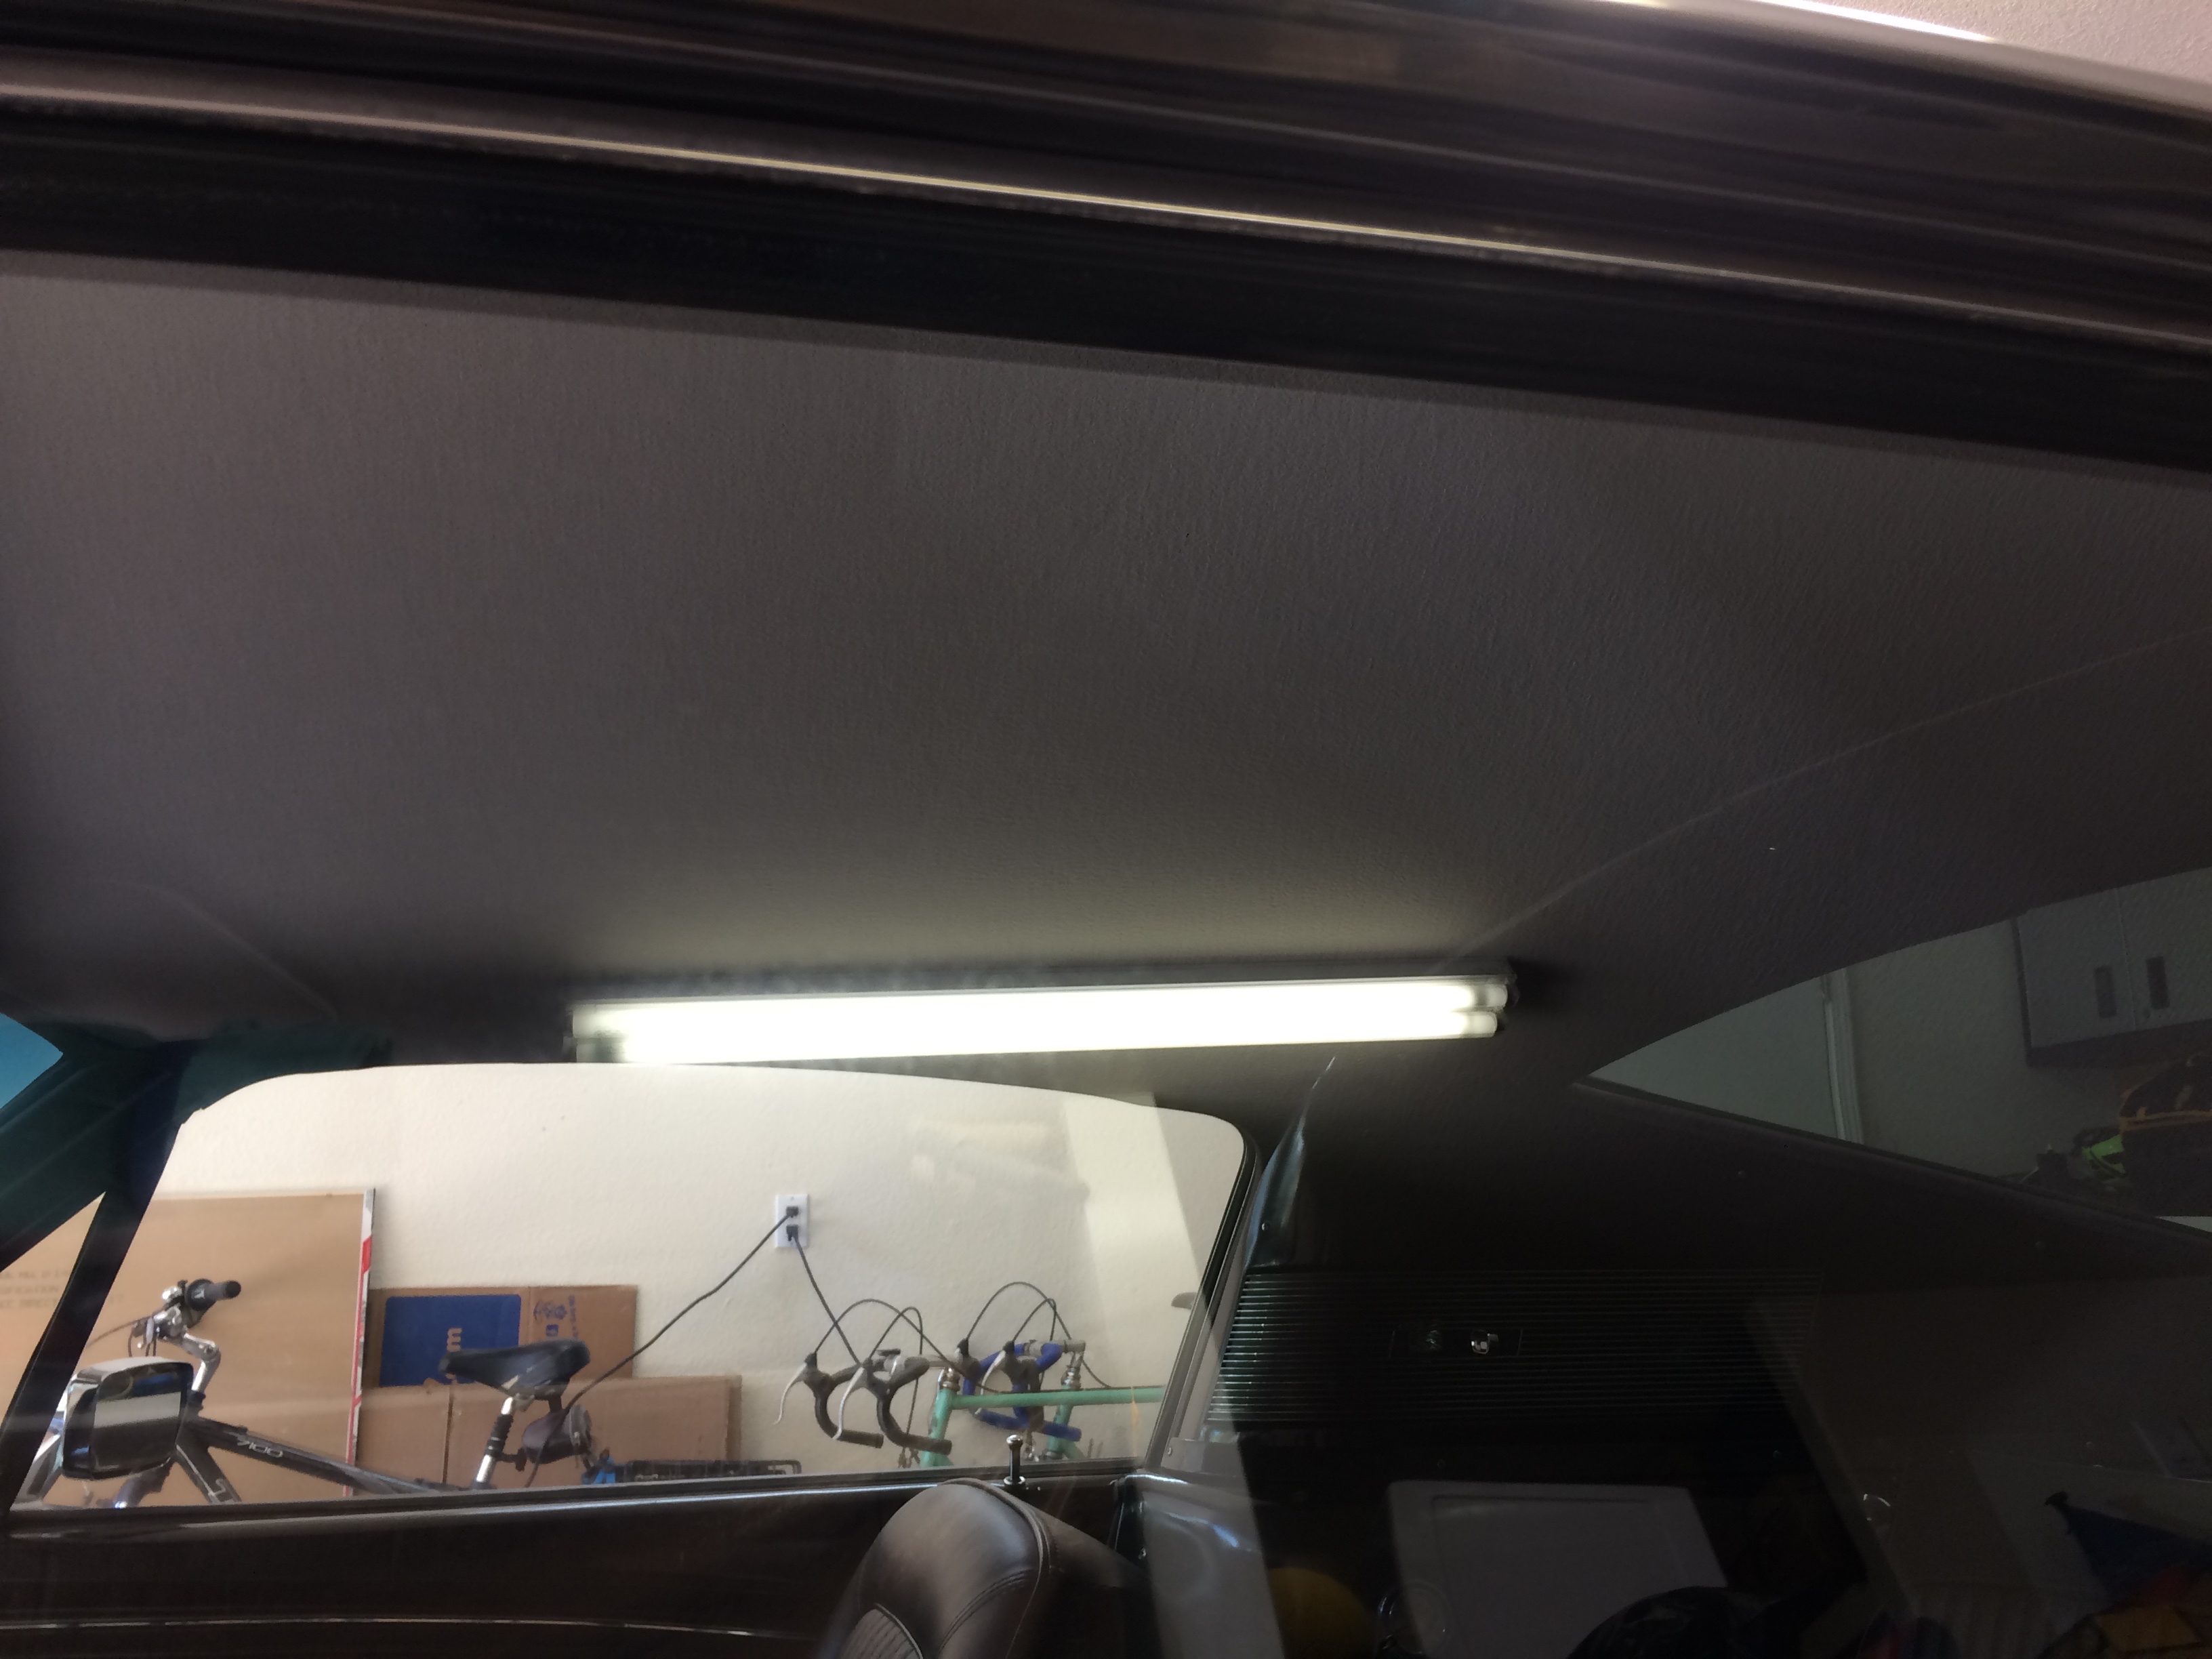
Here is a before/after using the ceiling light reflection.
Right side corrected:
And the fully corrected glass:
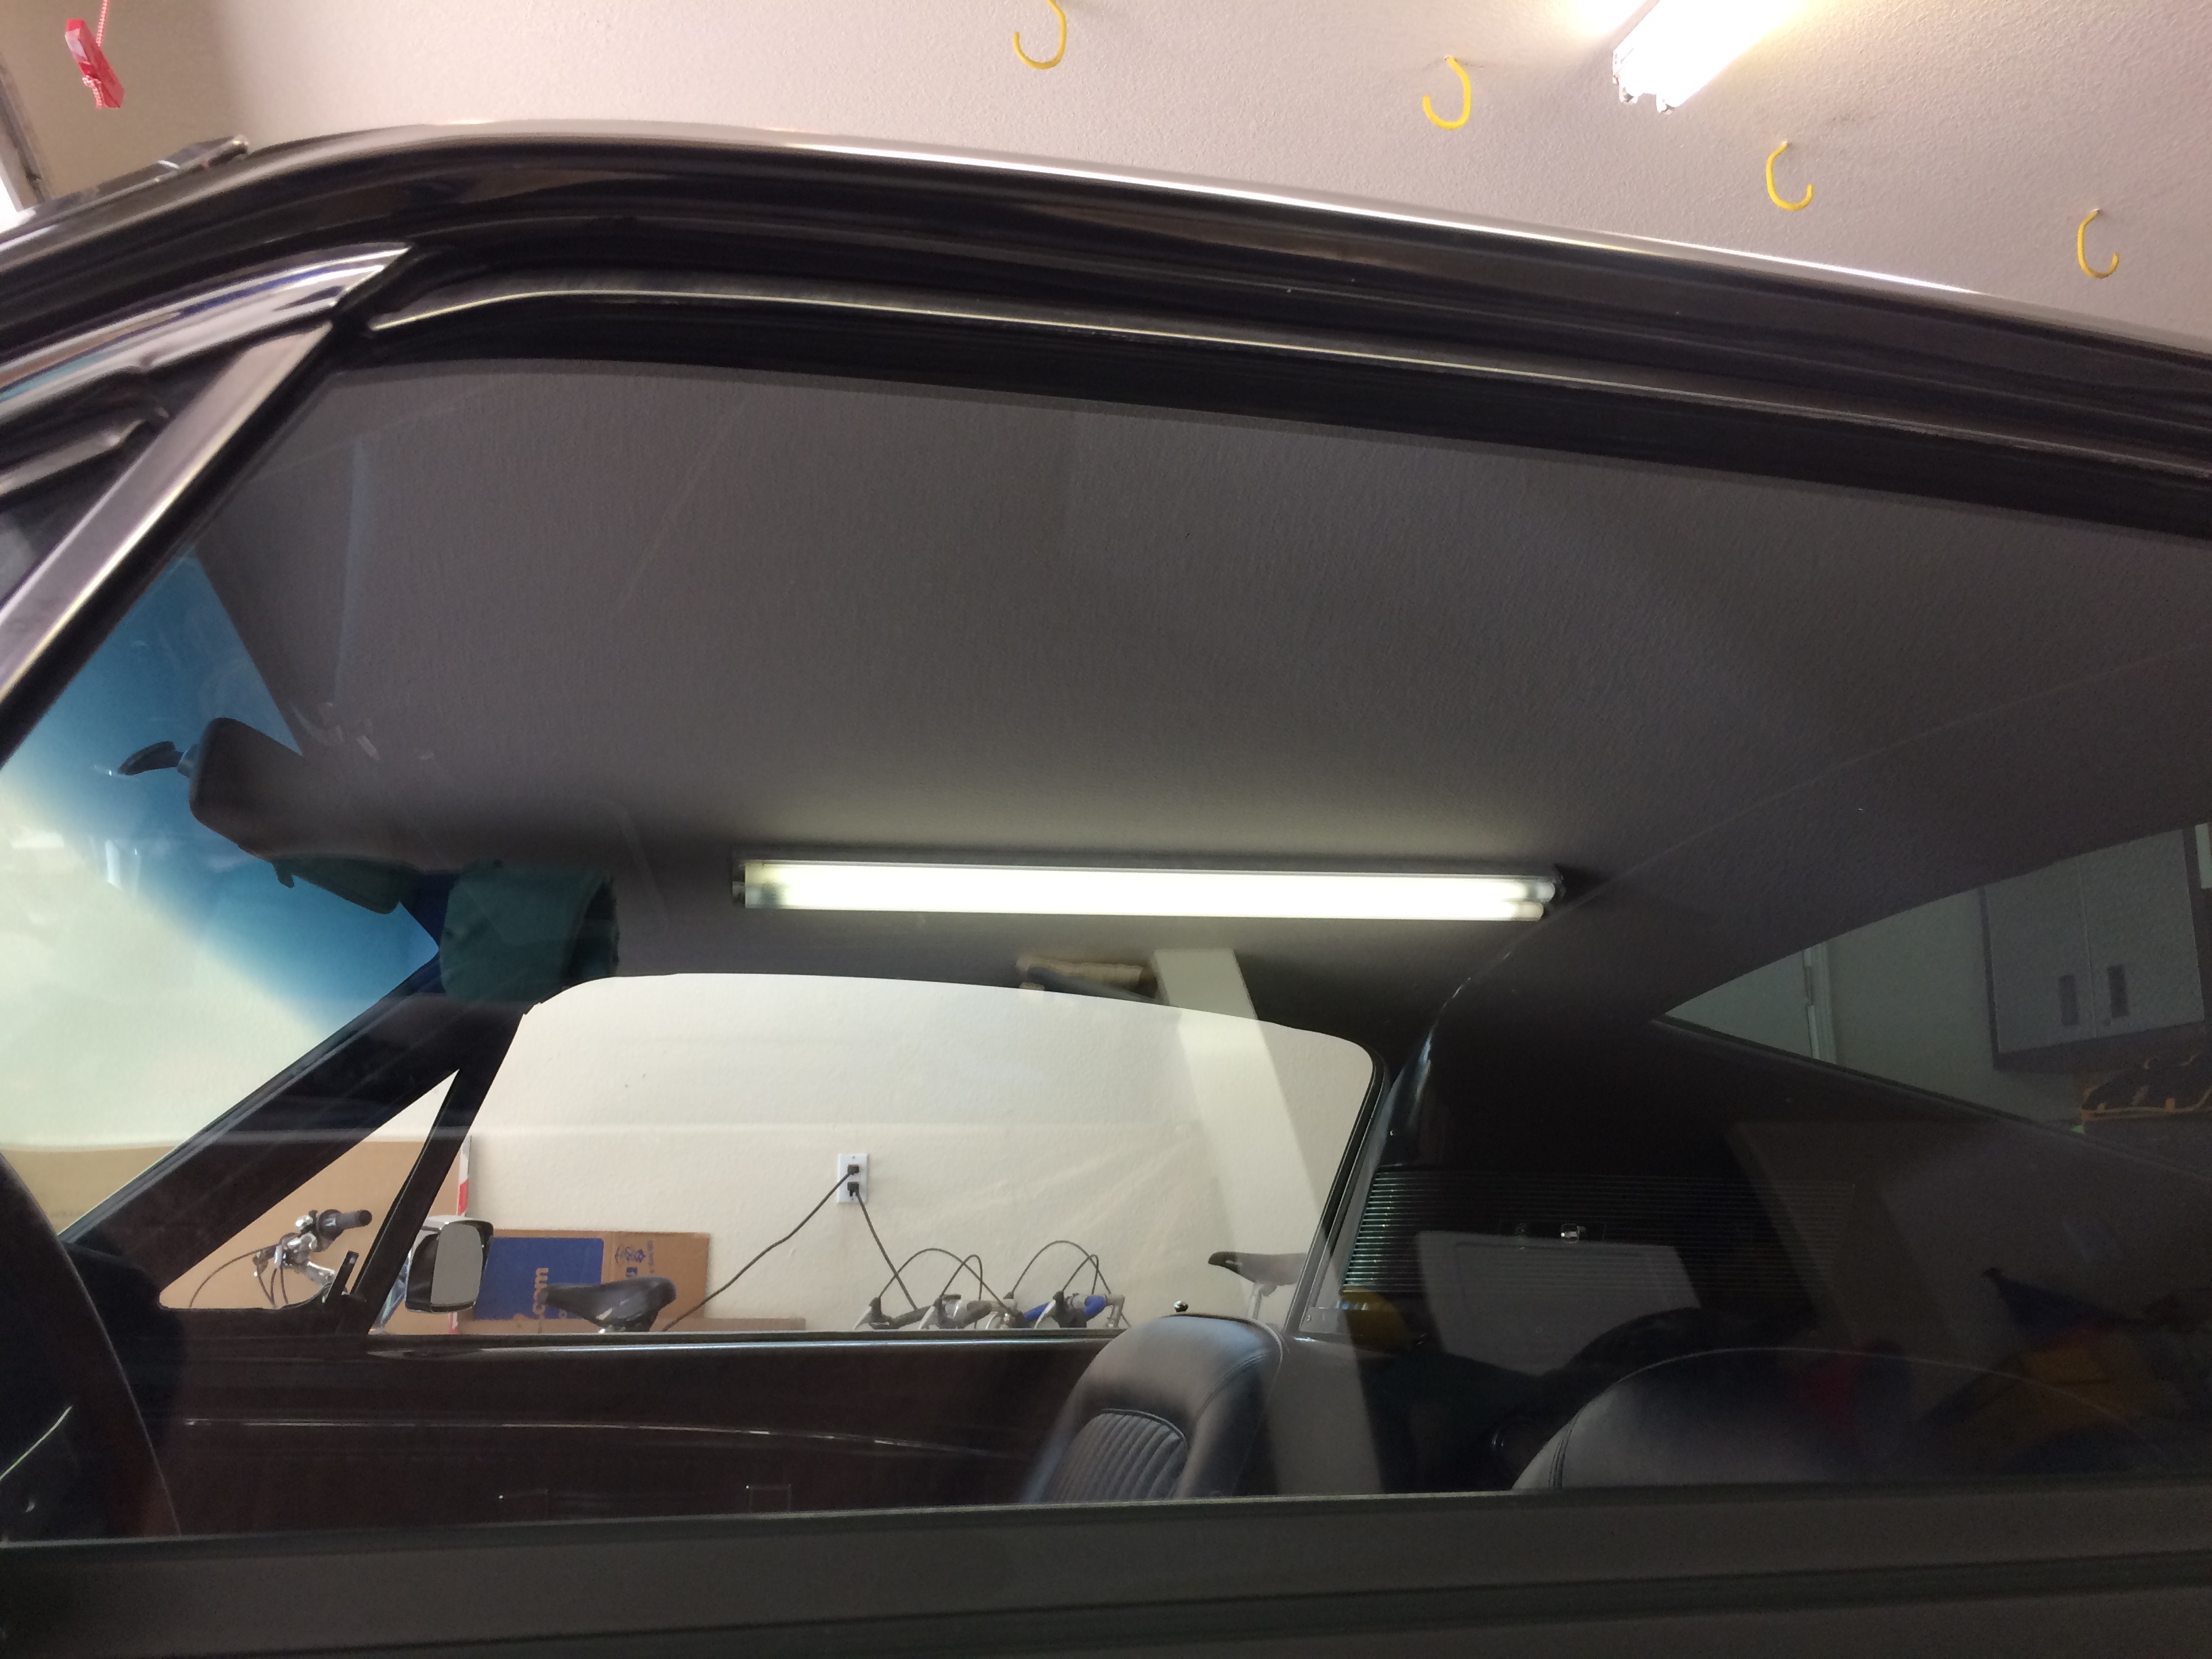
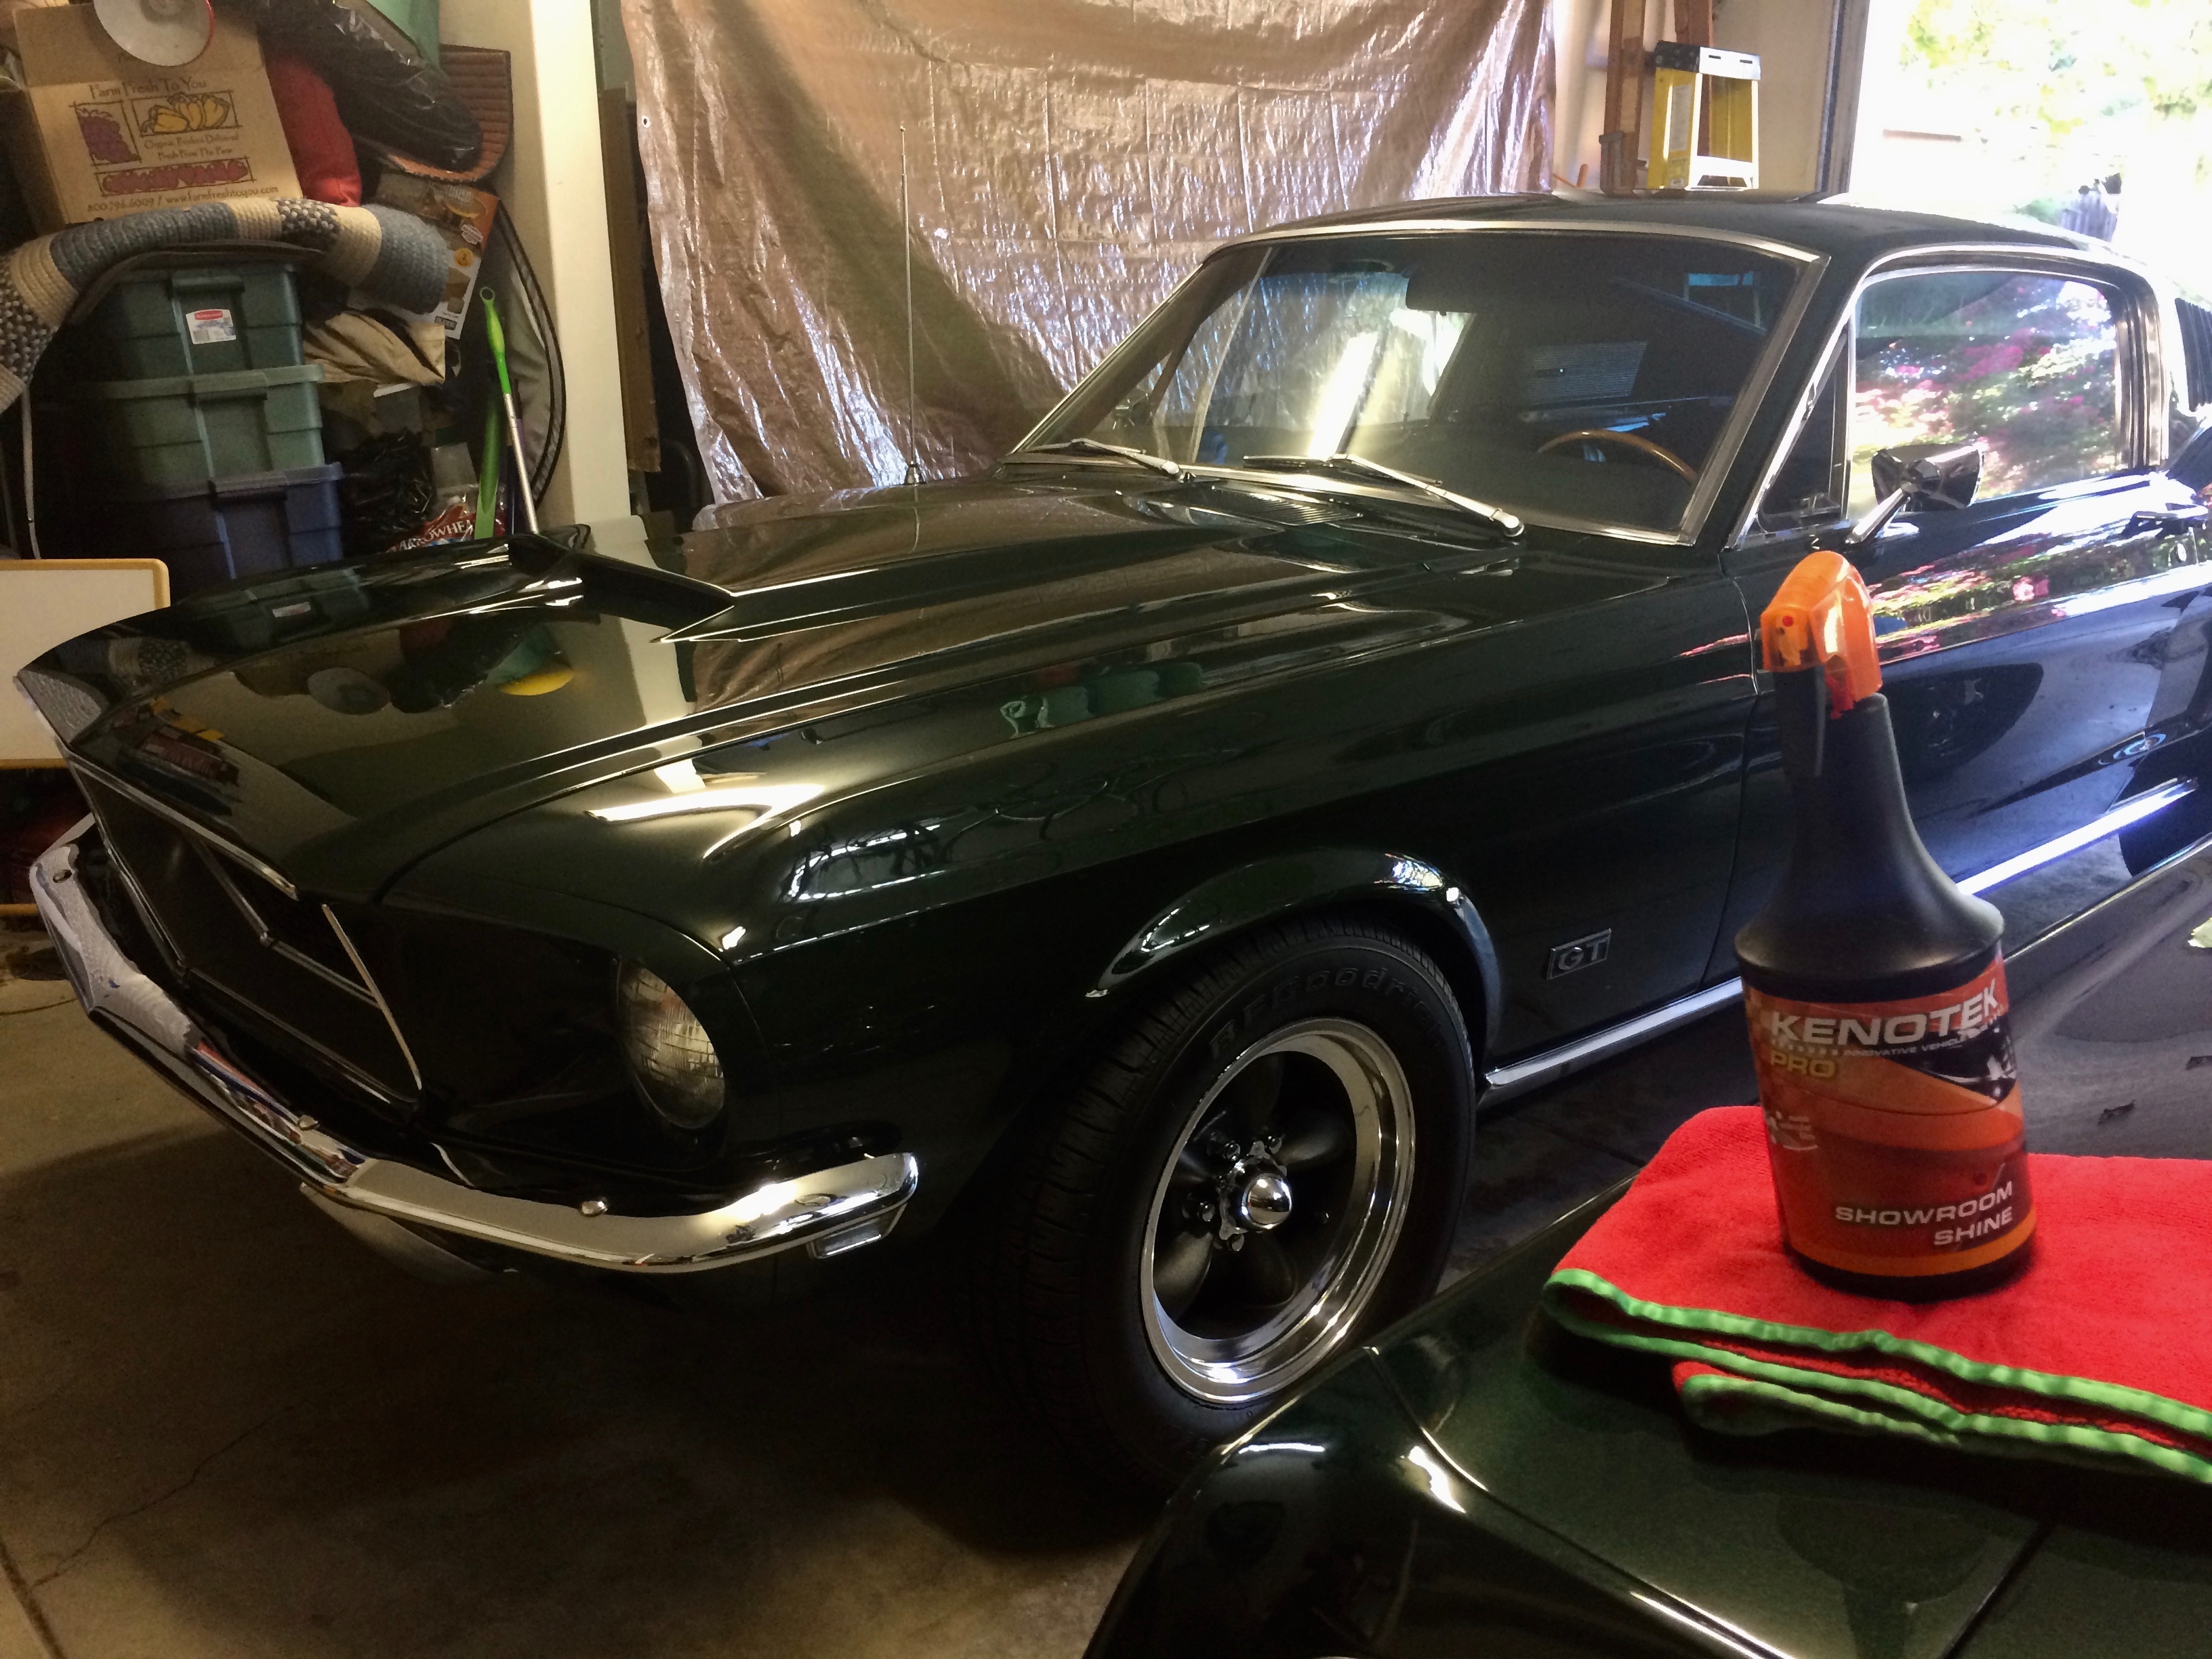
The CeriGlass residue was removed with Optimum No Rinse and Carpro Eraser. I then wiped down the window with Kenotek Showroom Shine.
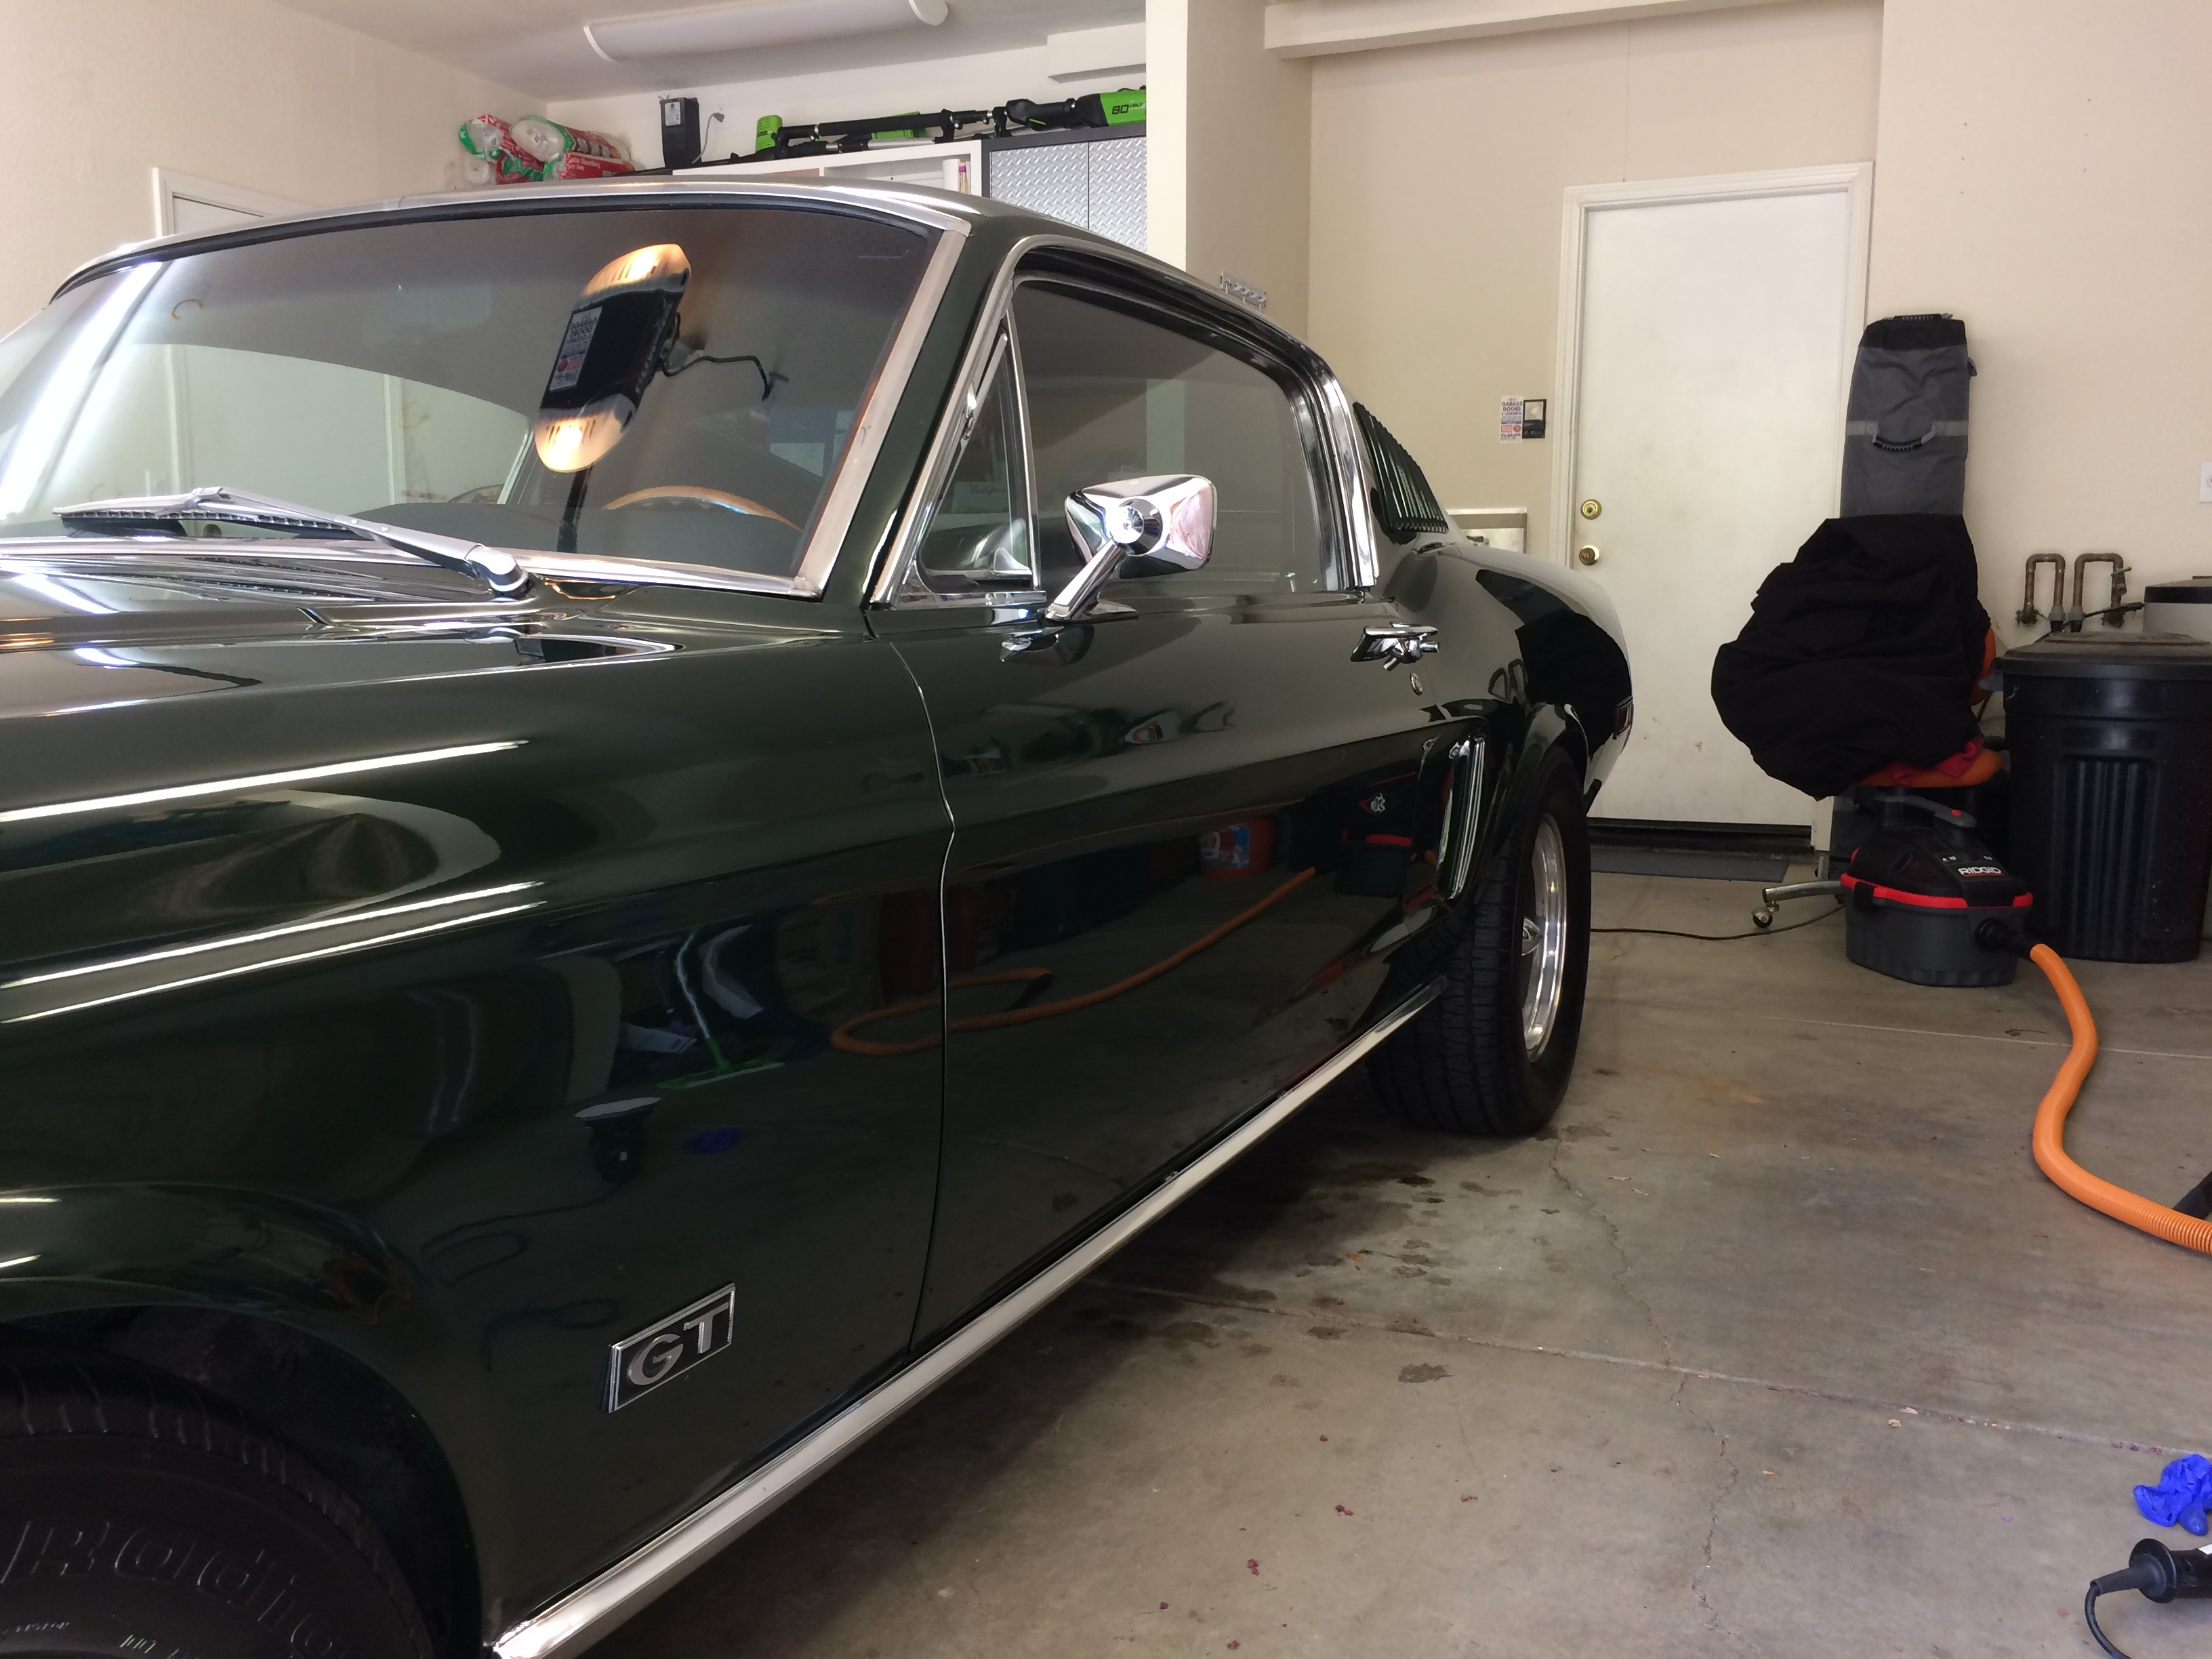
The rest of the Mustang was also wiped down with Kenotek Showroom Shine.

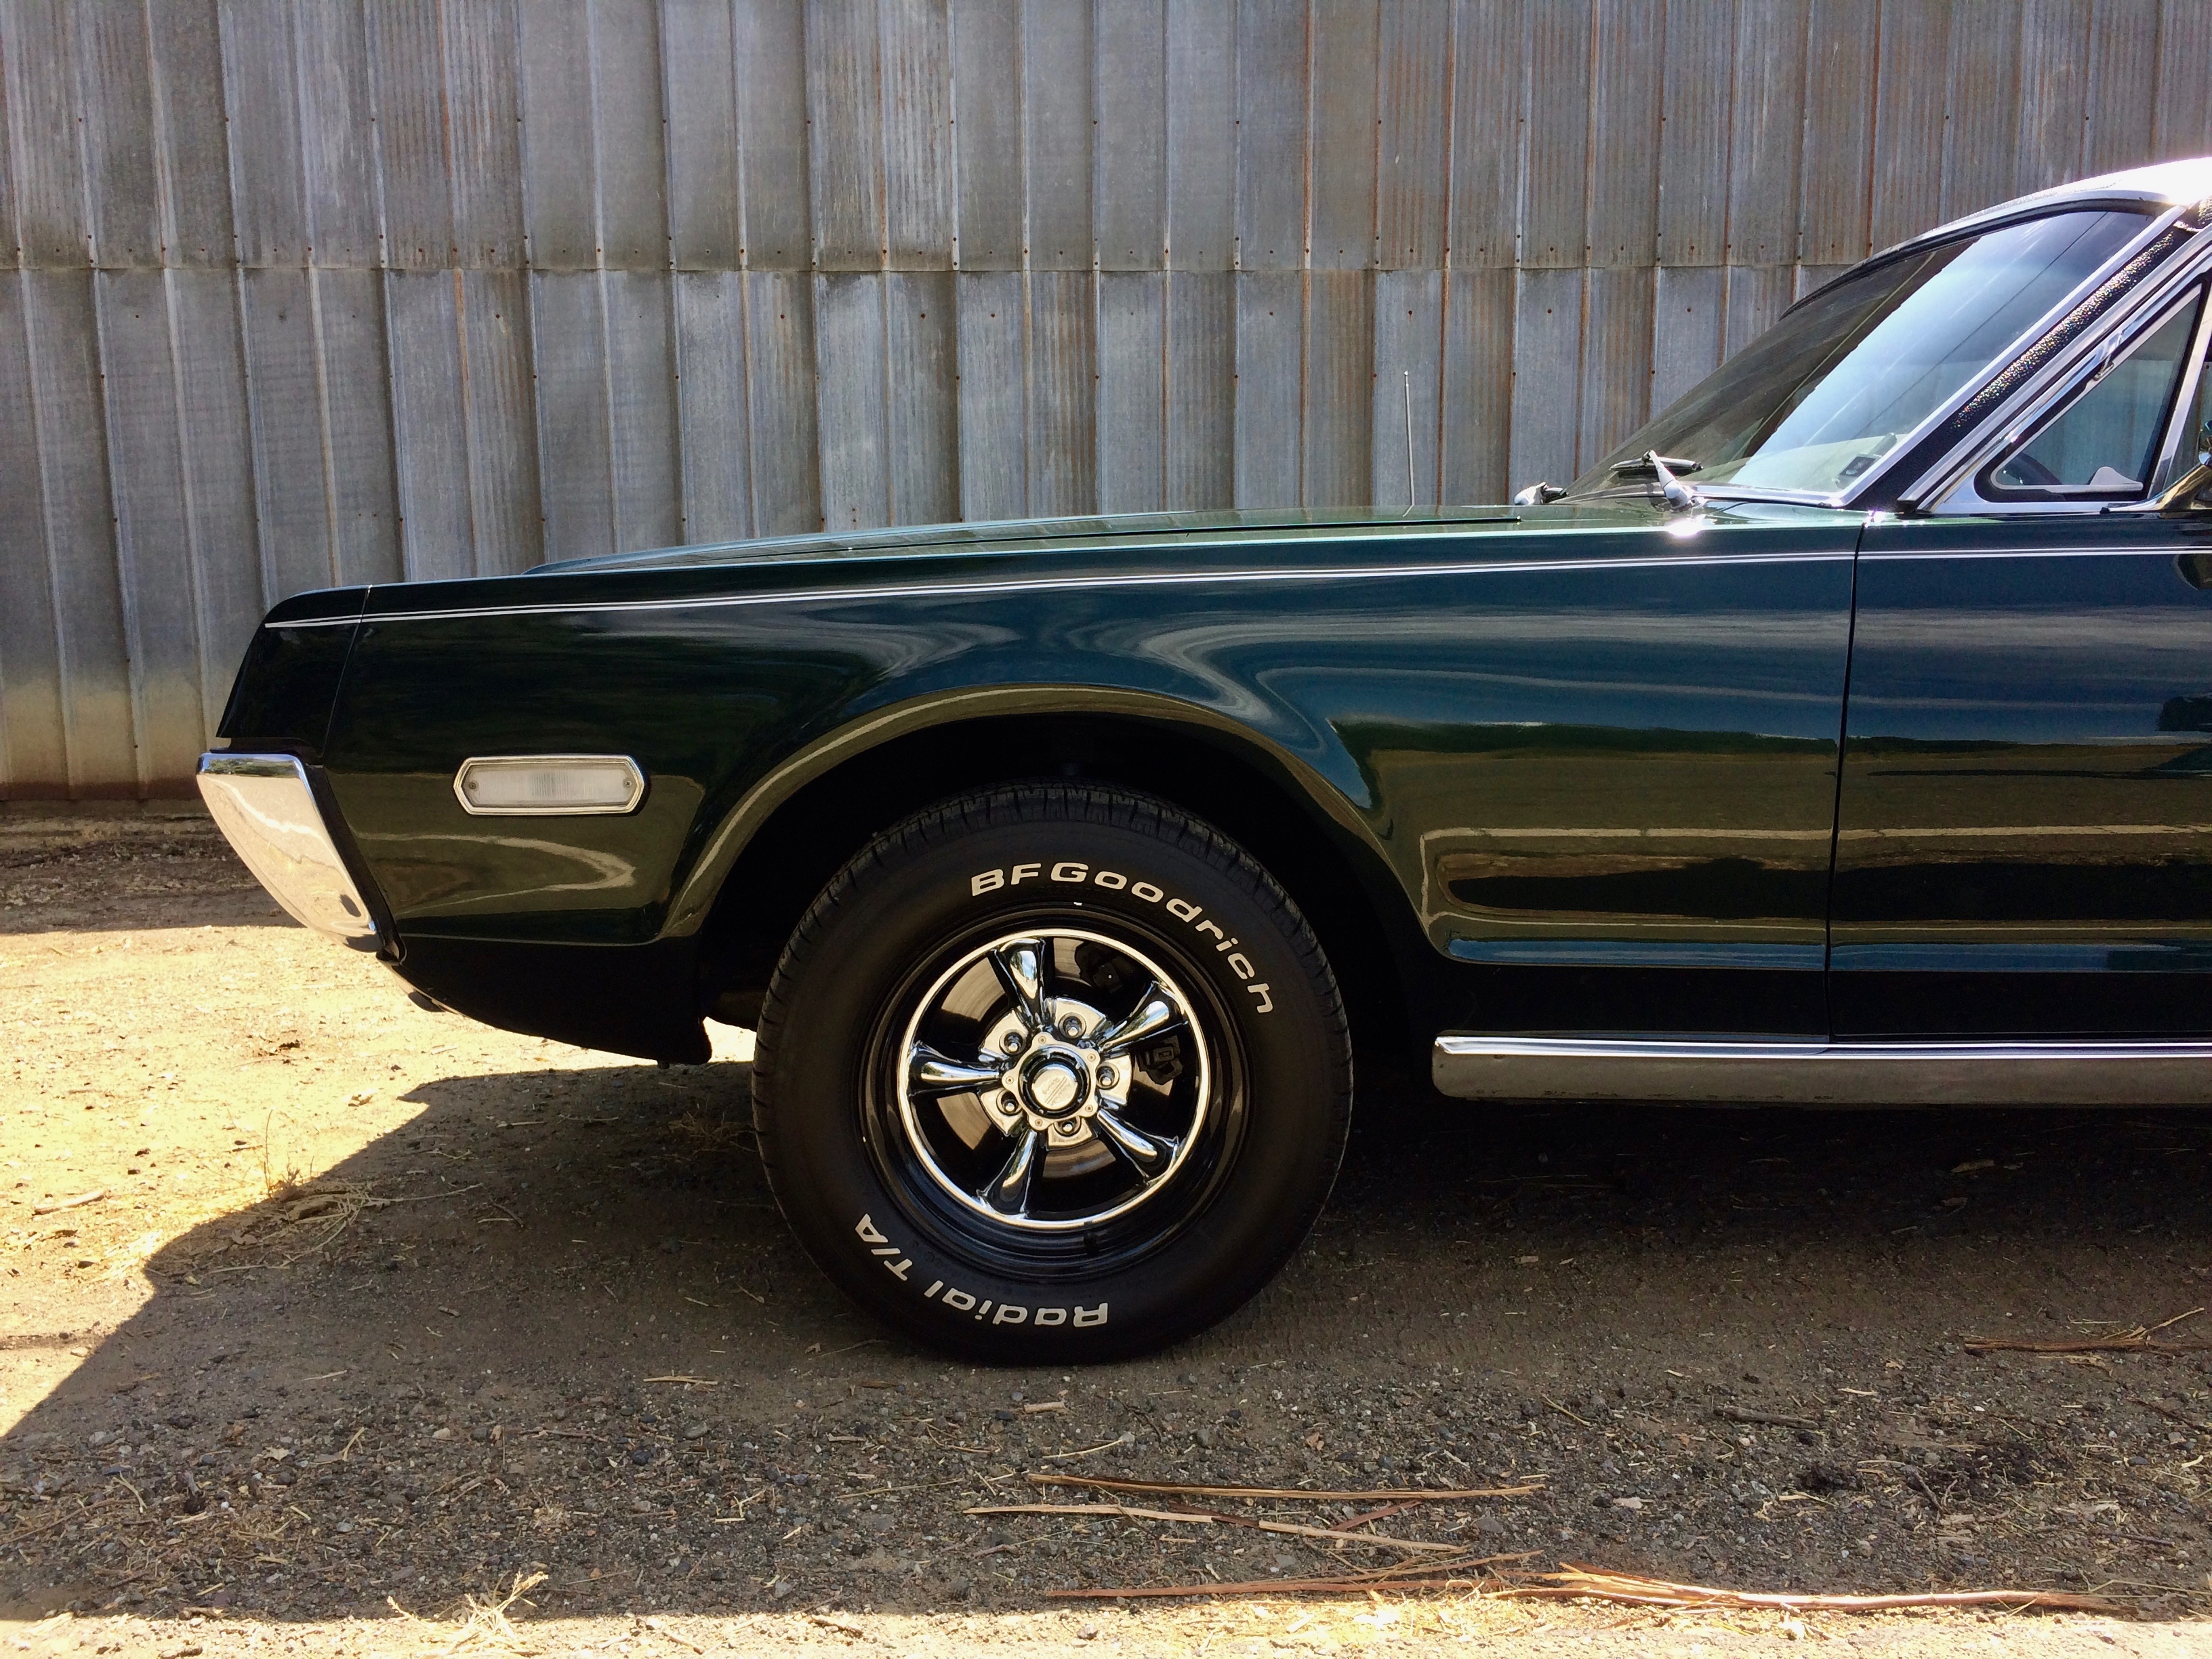
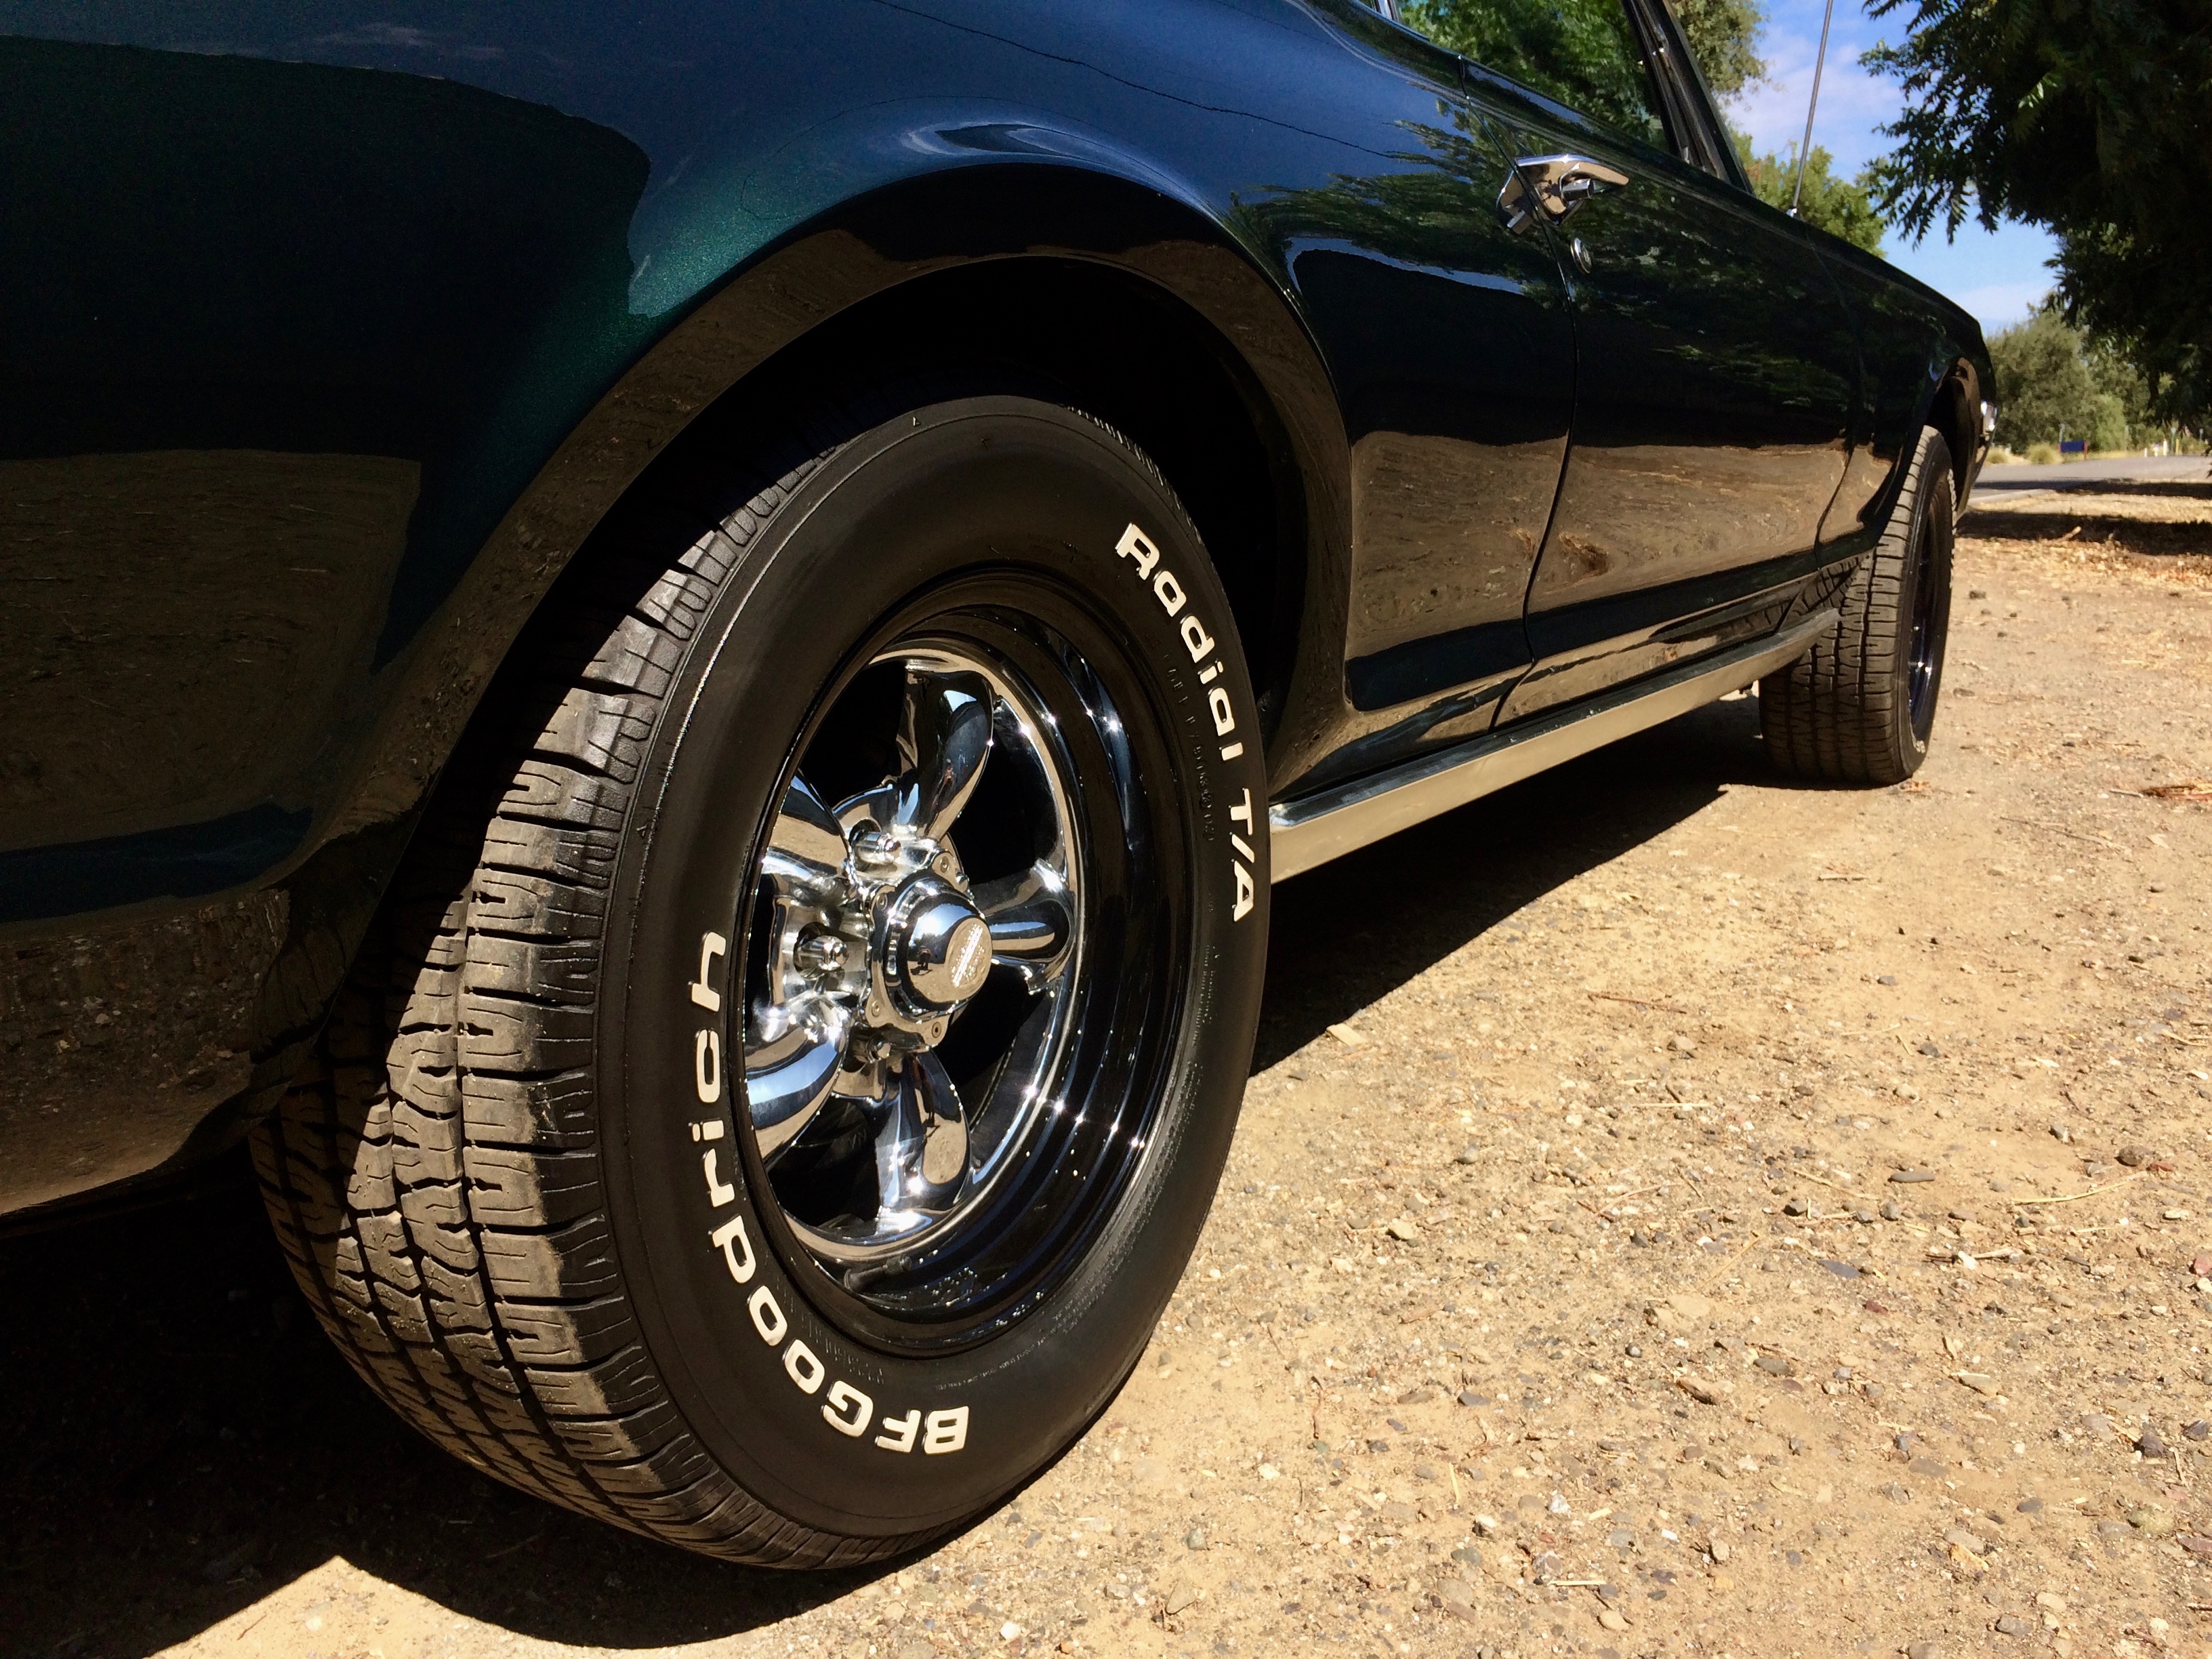
Tires were coated the same as the Cougar. I wanted to preserve the vintage look of both vehicle’s wheels, and one coat of Blackfire Tire Gel provides a subtle gloss that paired nicely.


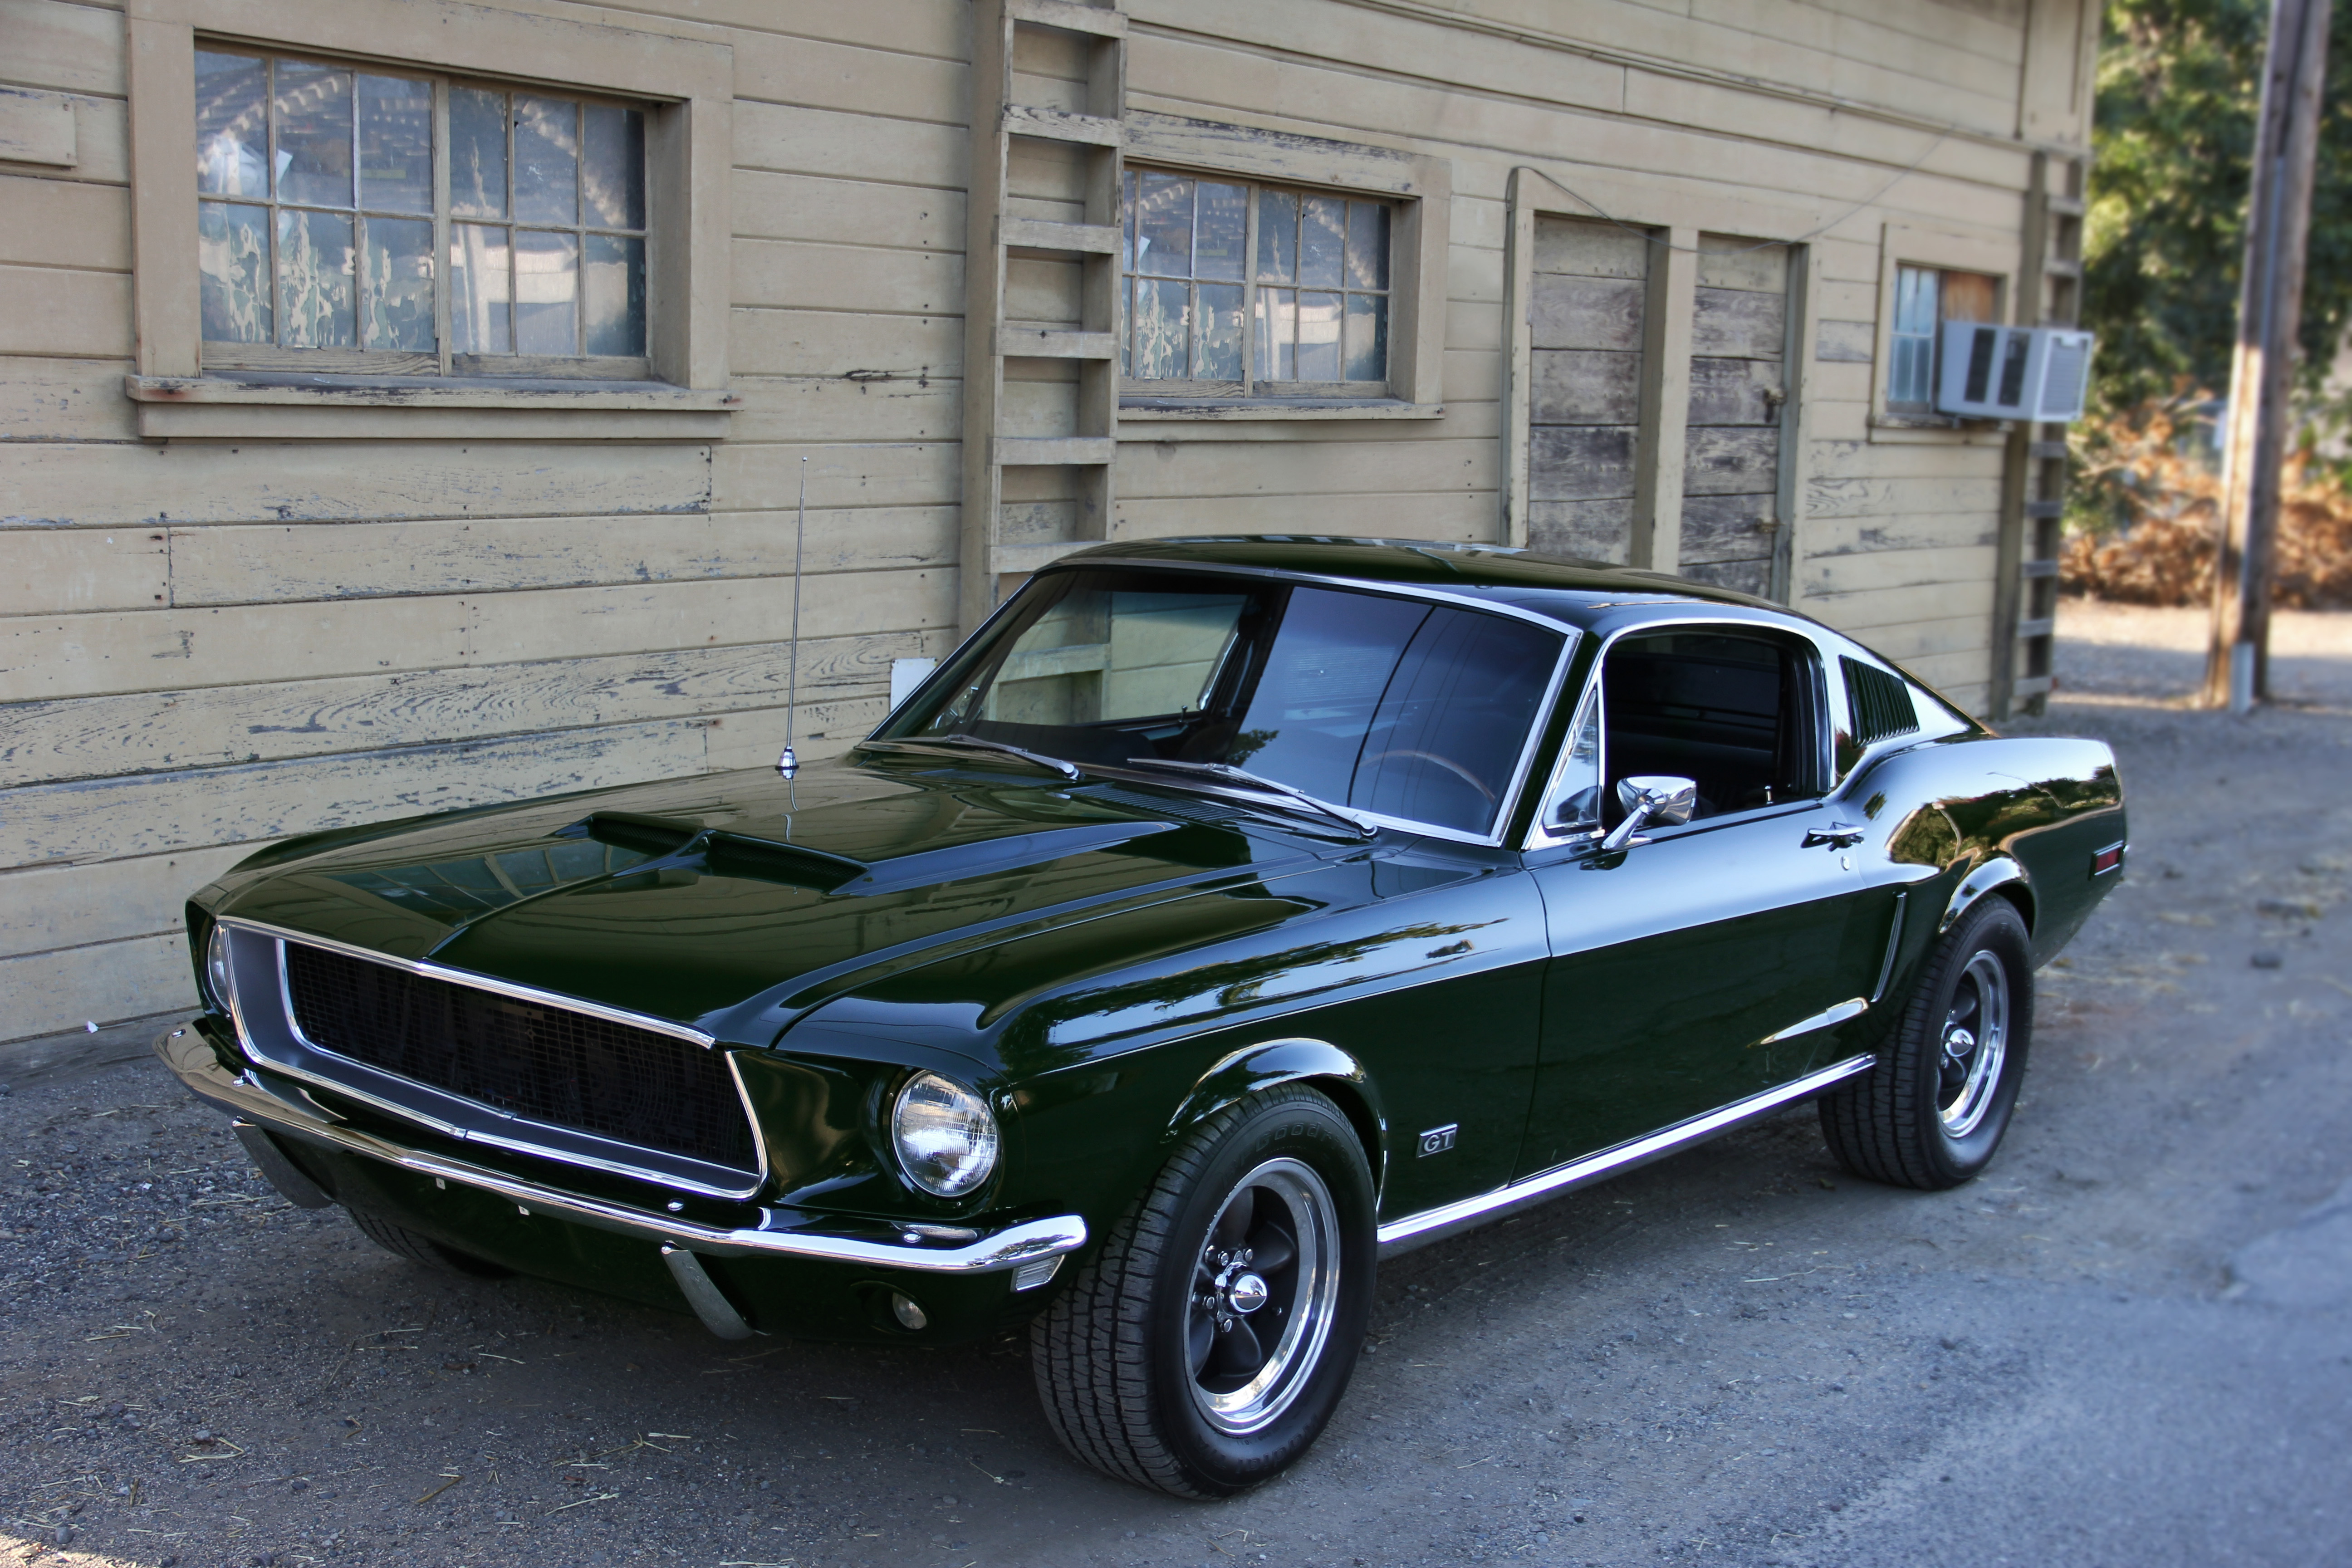
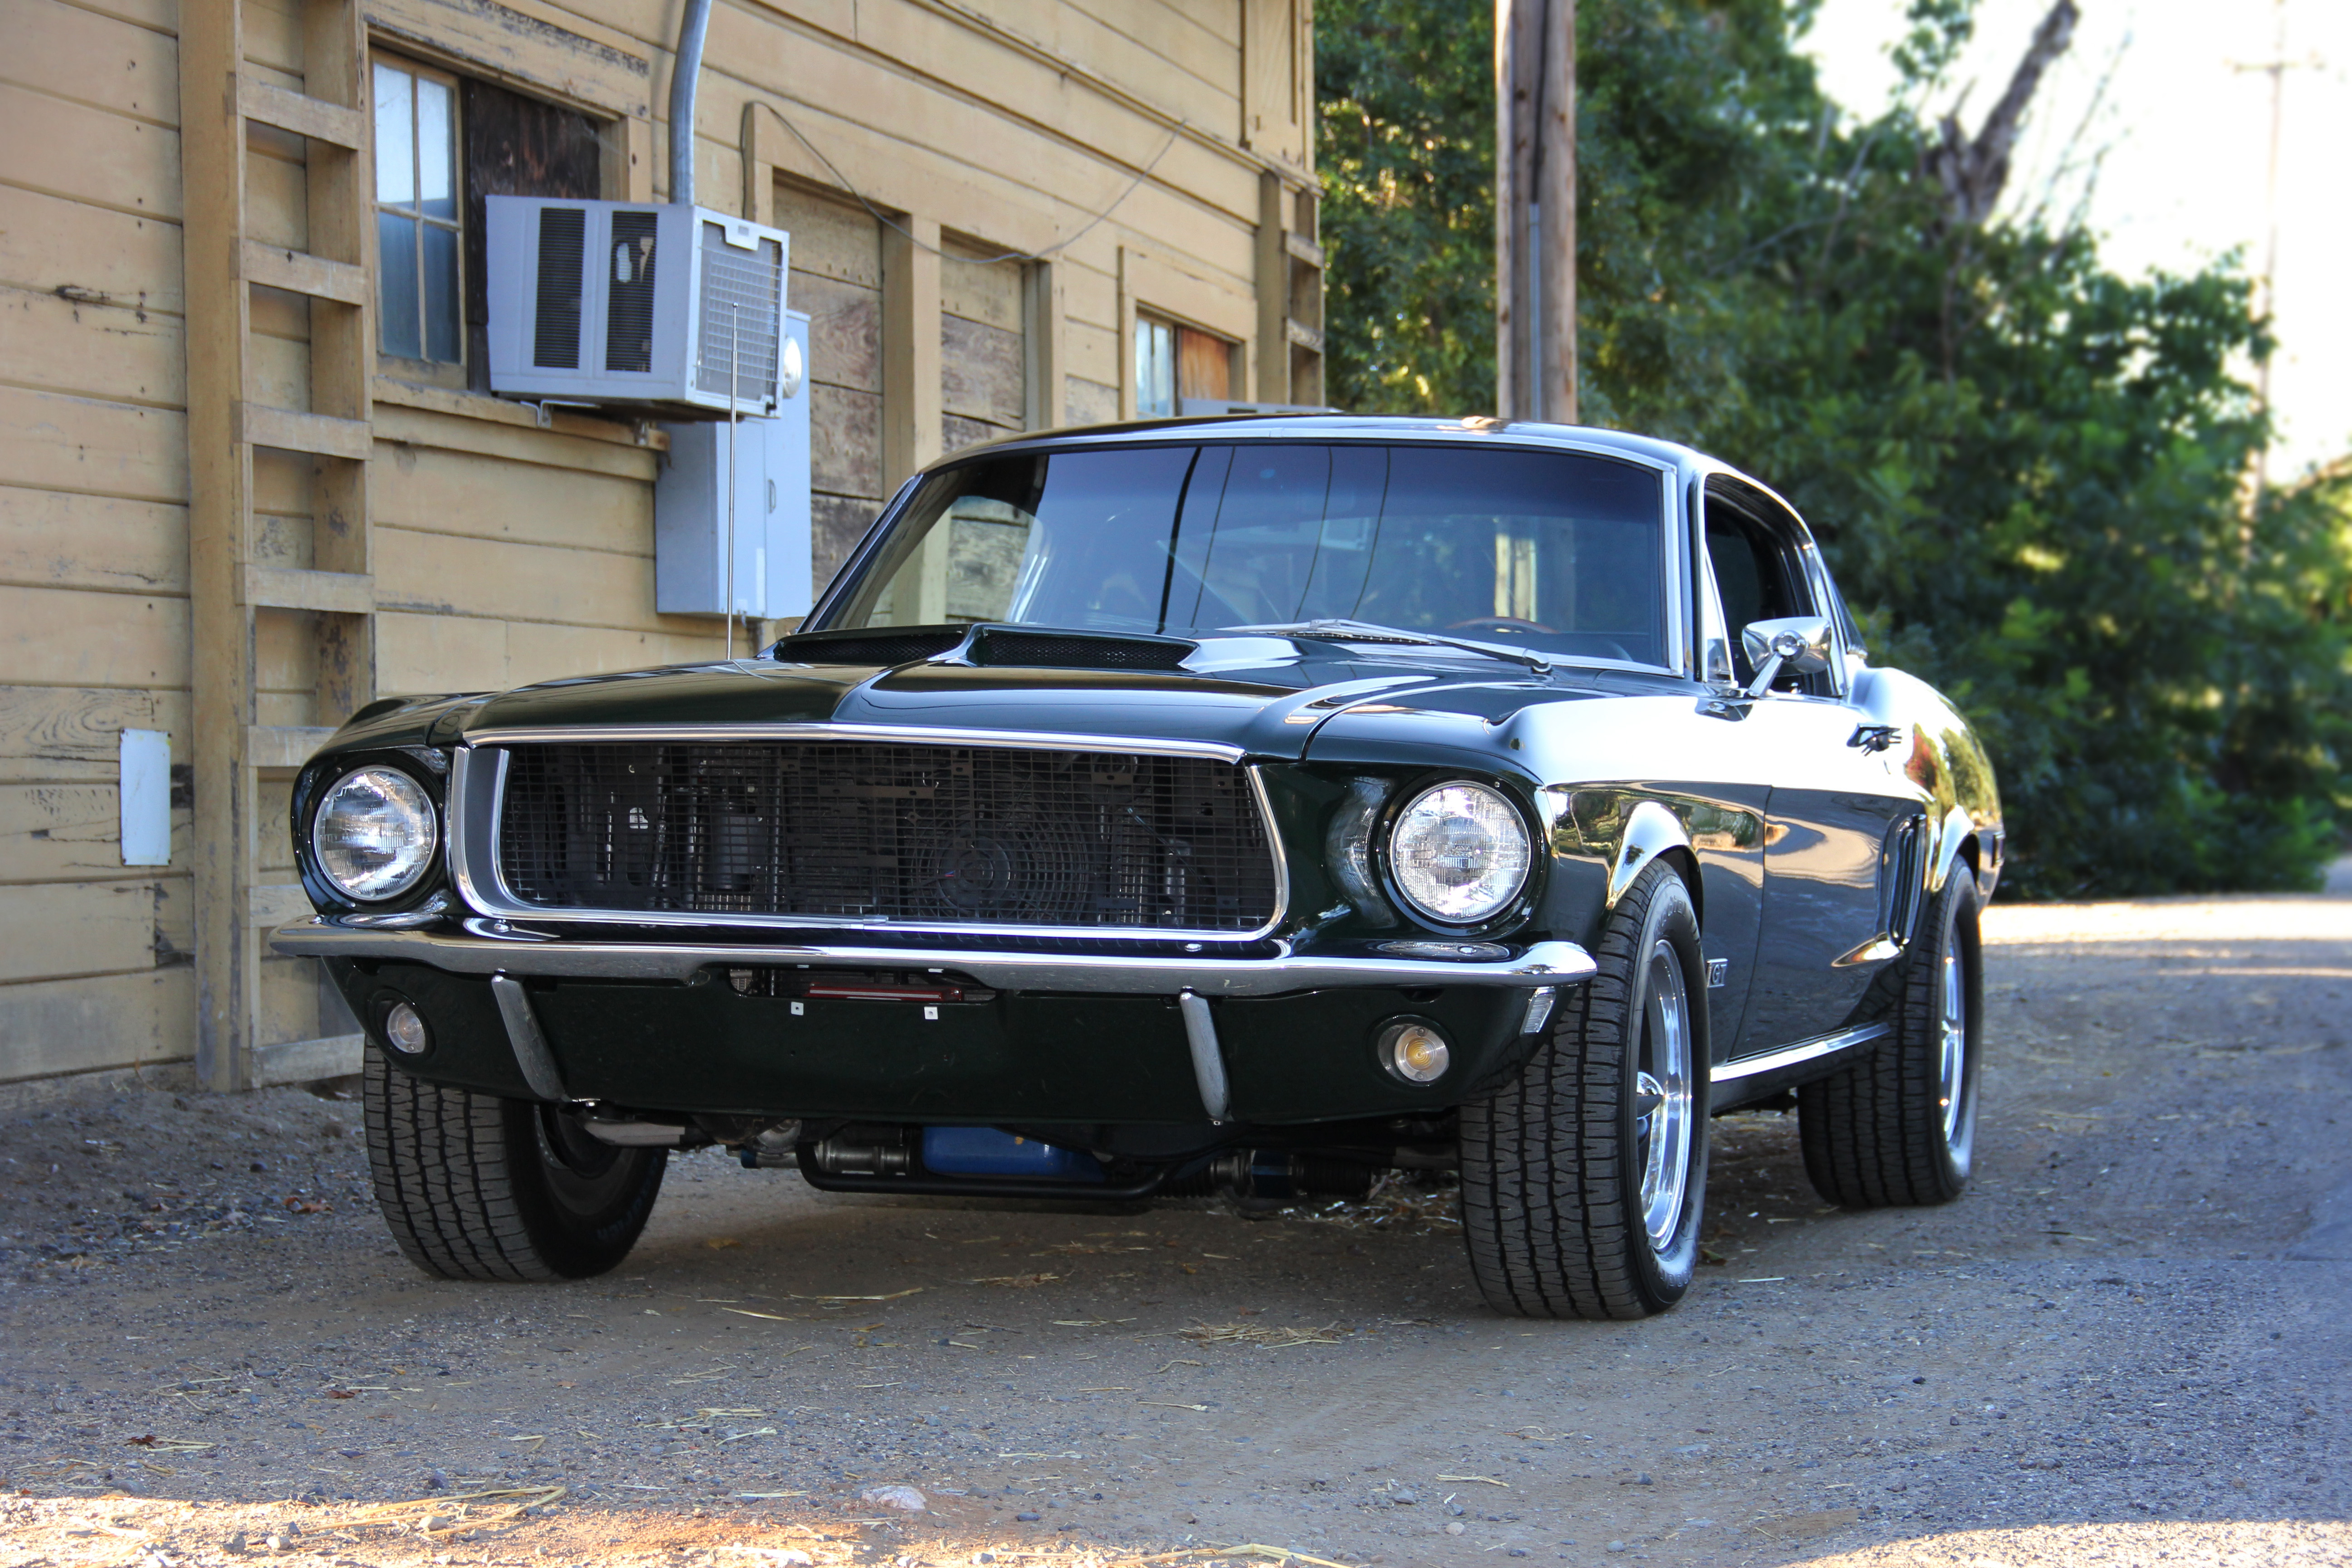
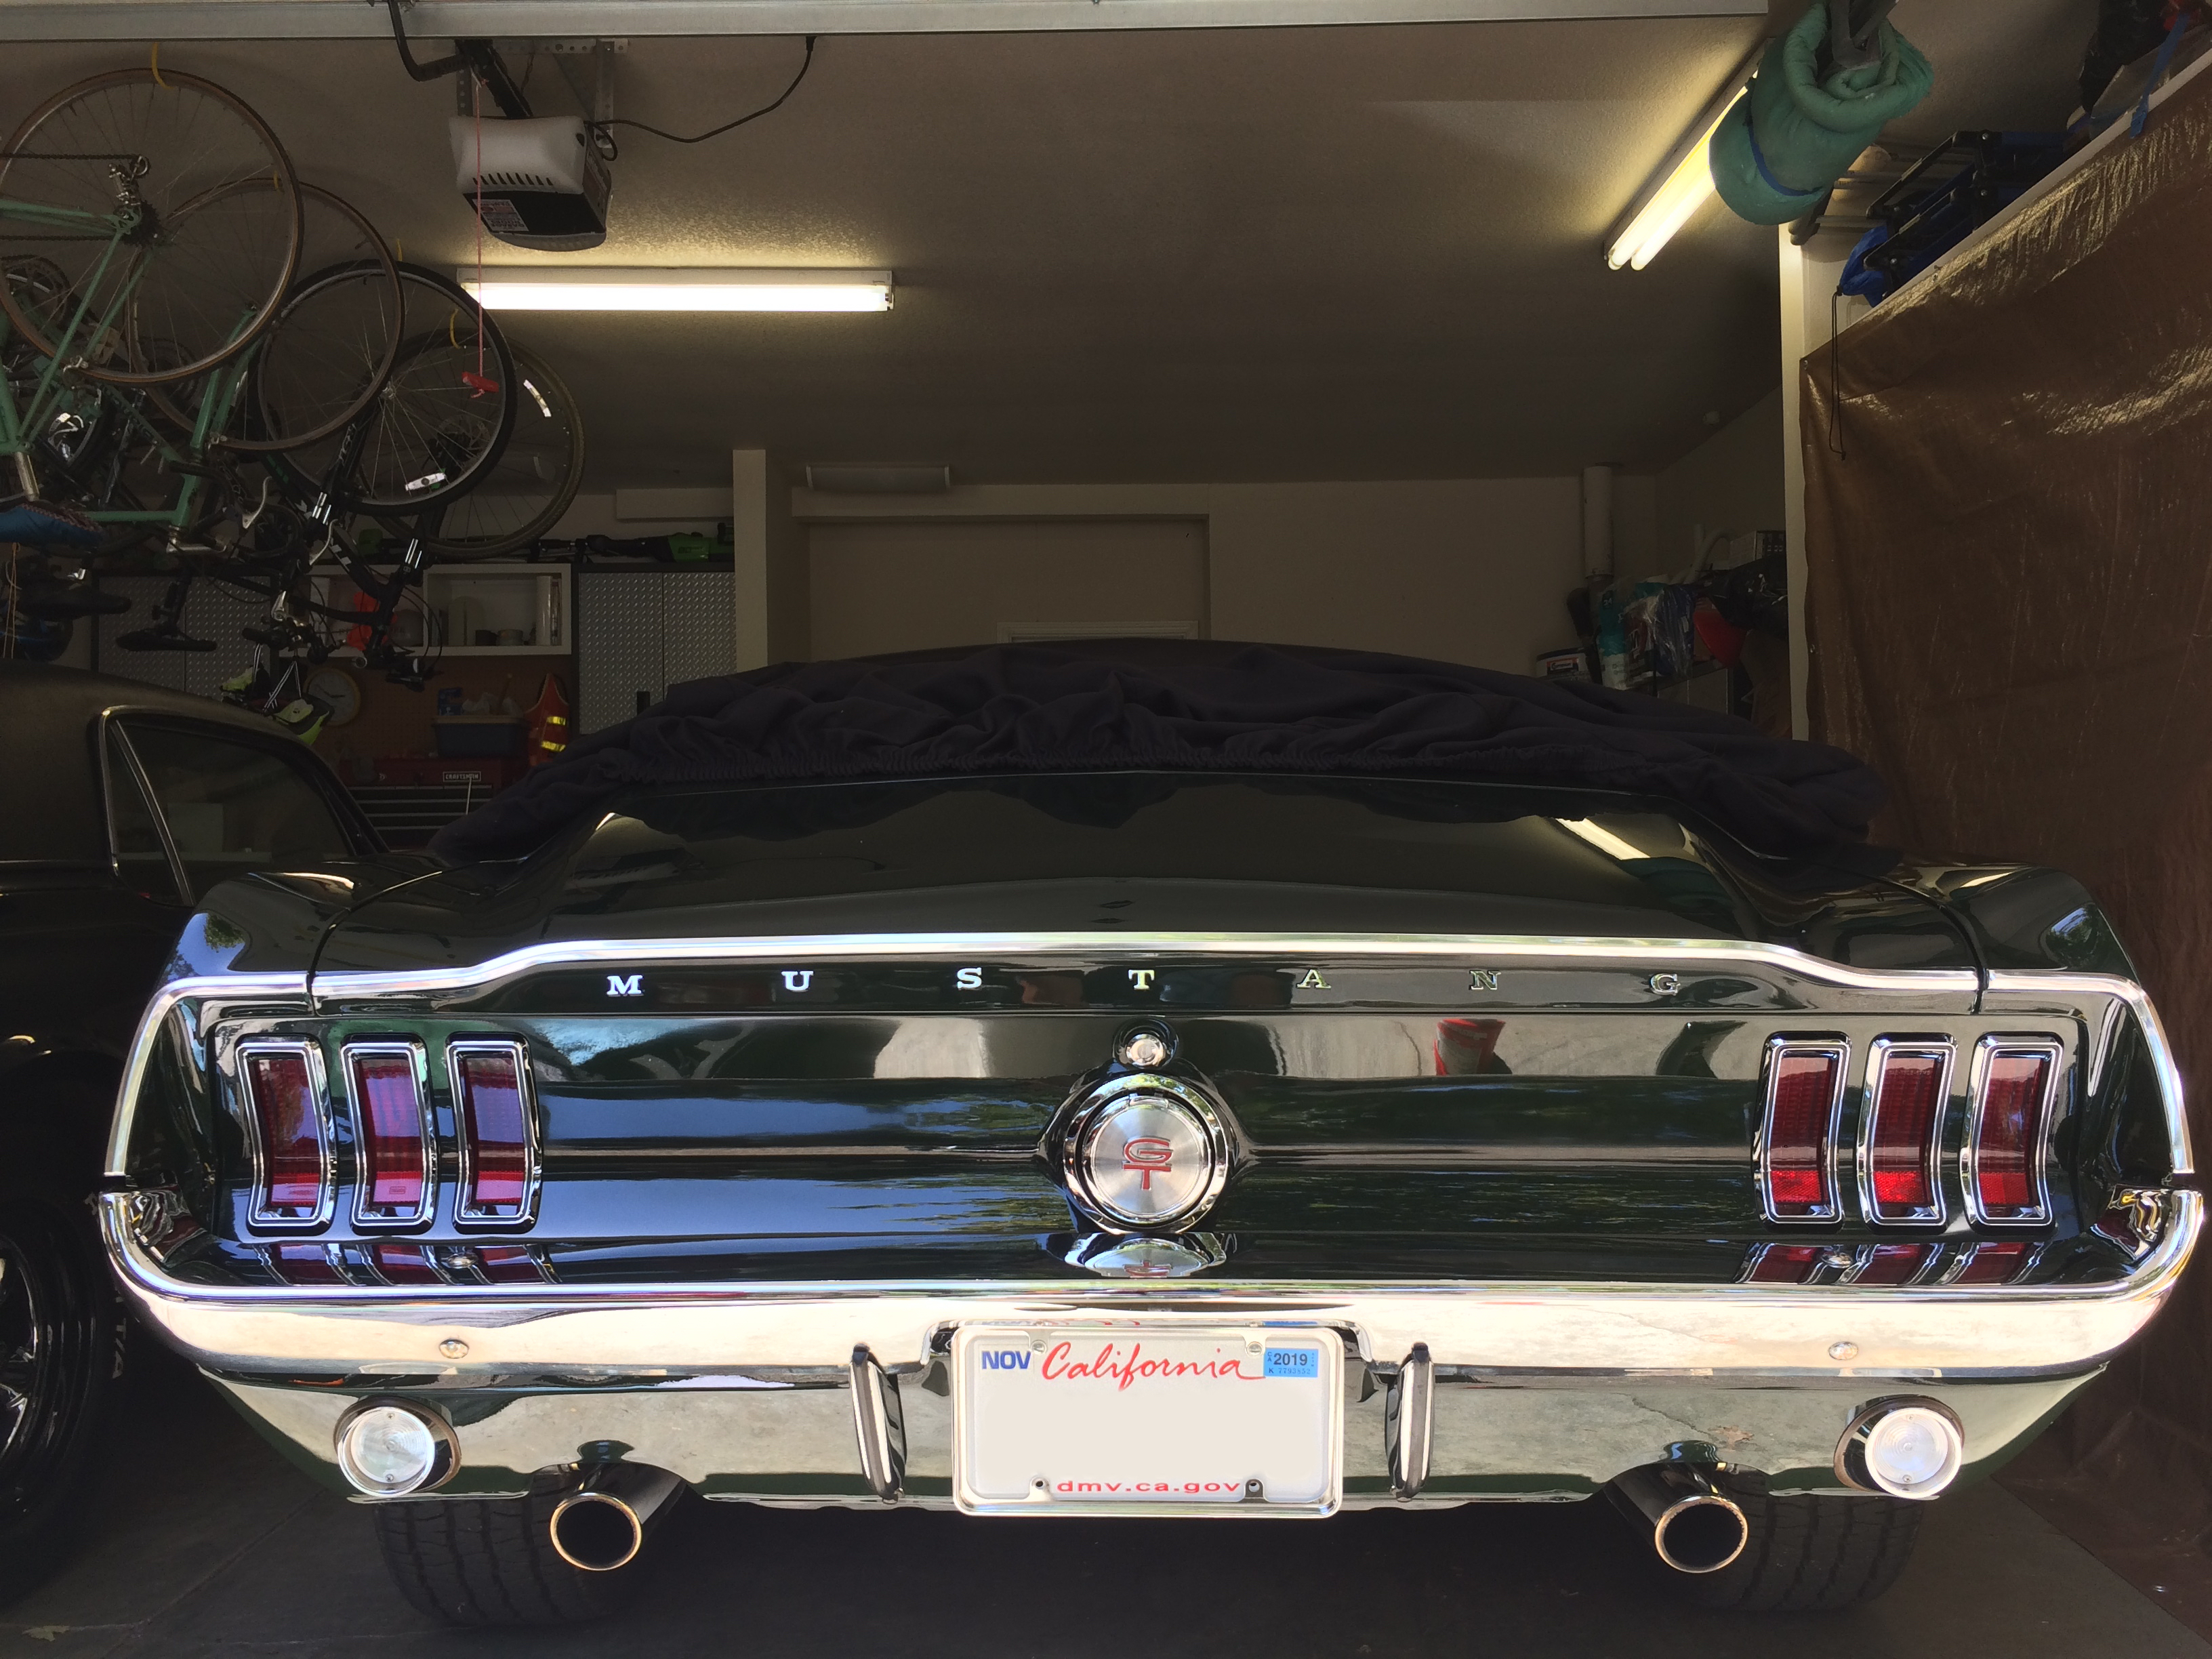
Kenotek appeared to boost the paint’s gloss, telling from the reflections inside the garage.
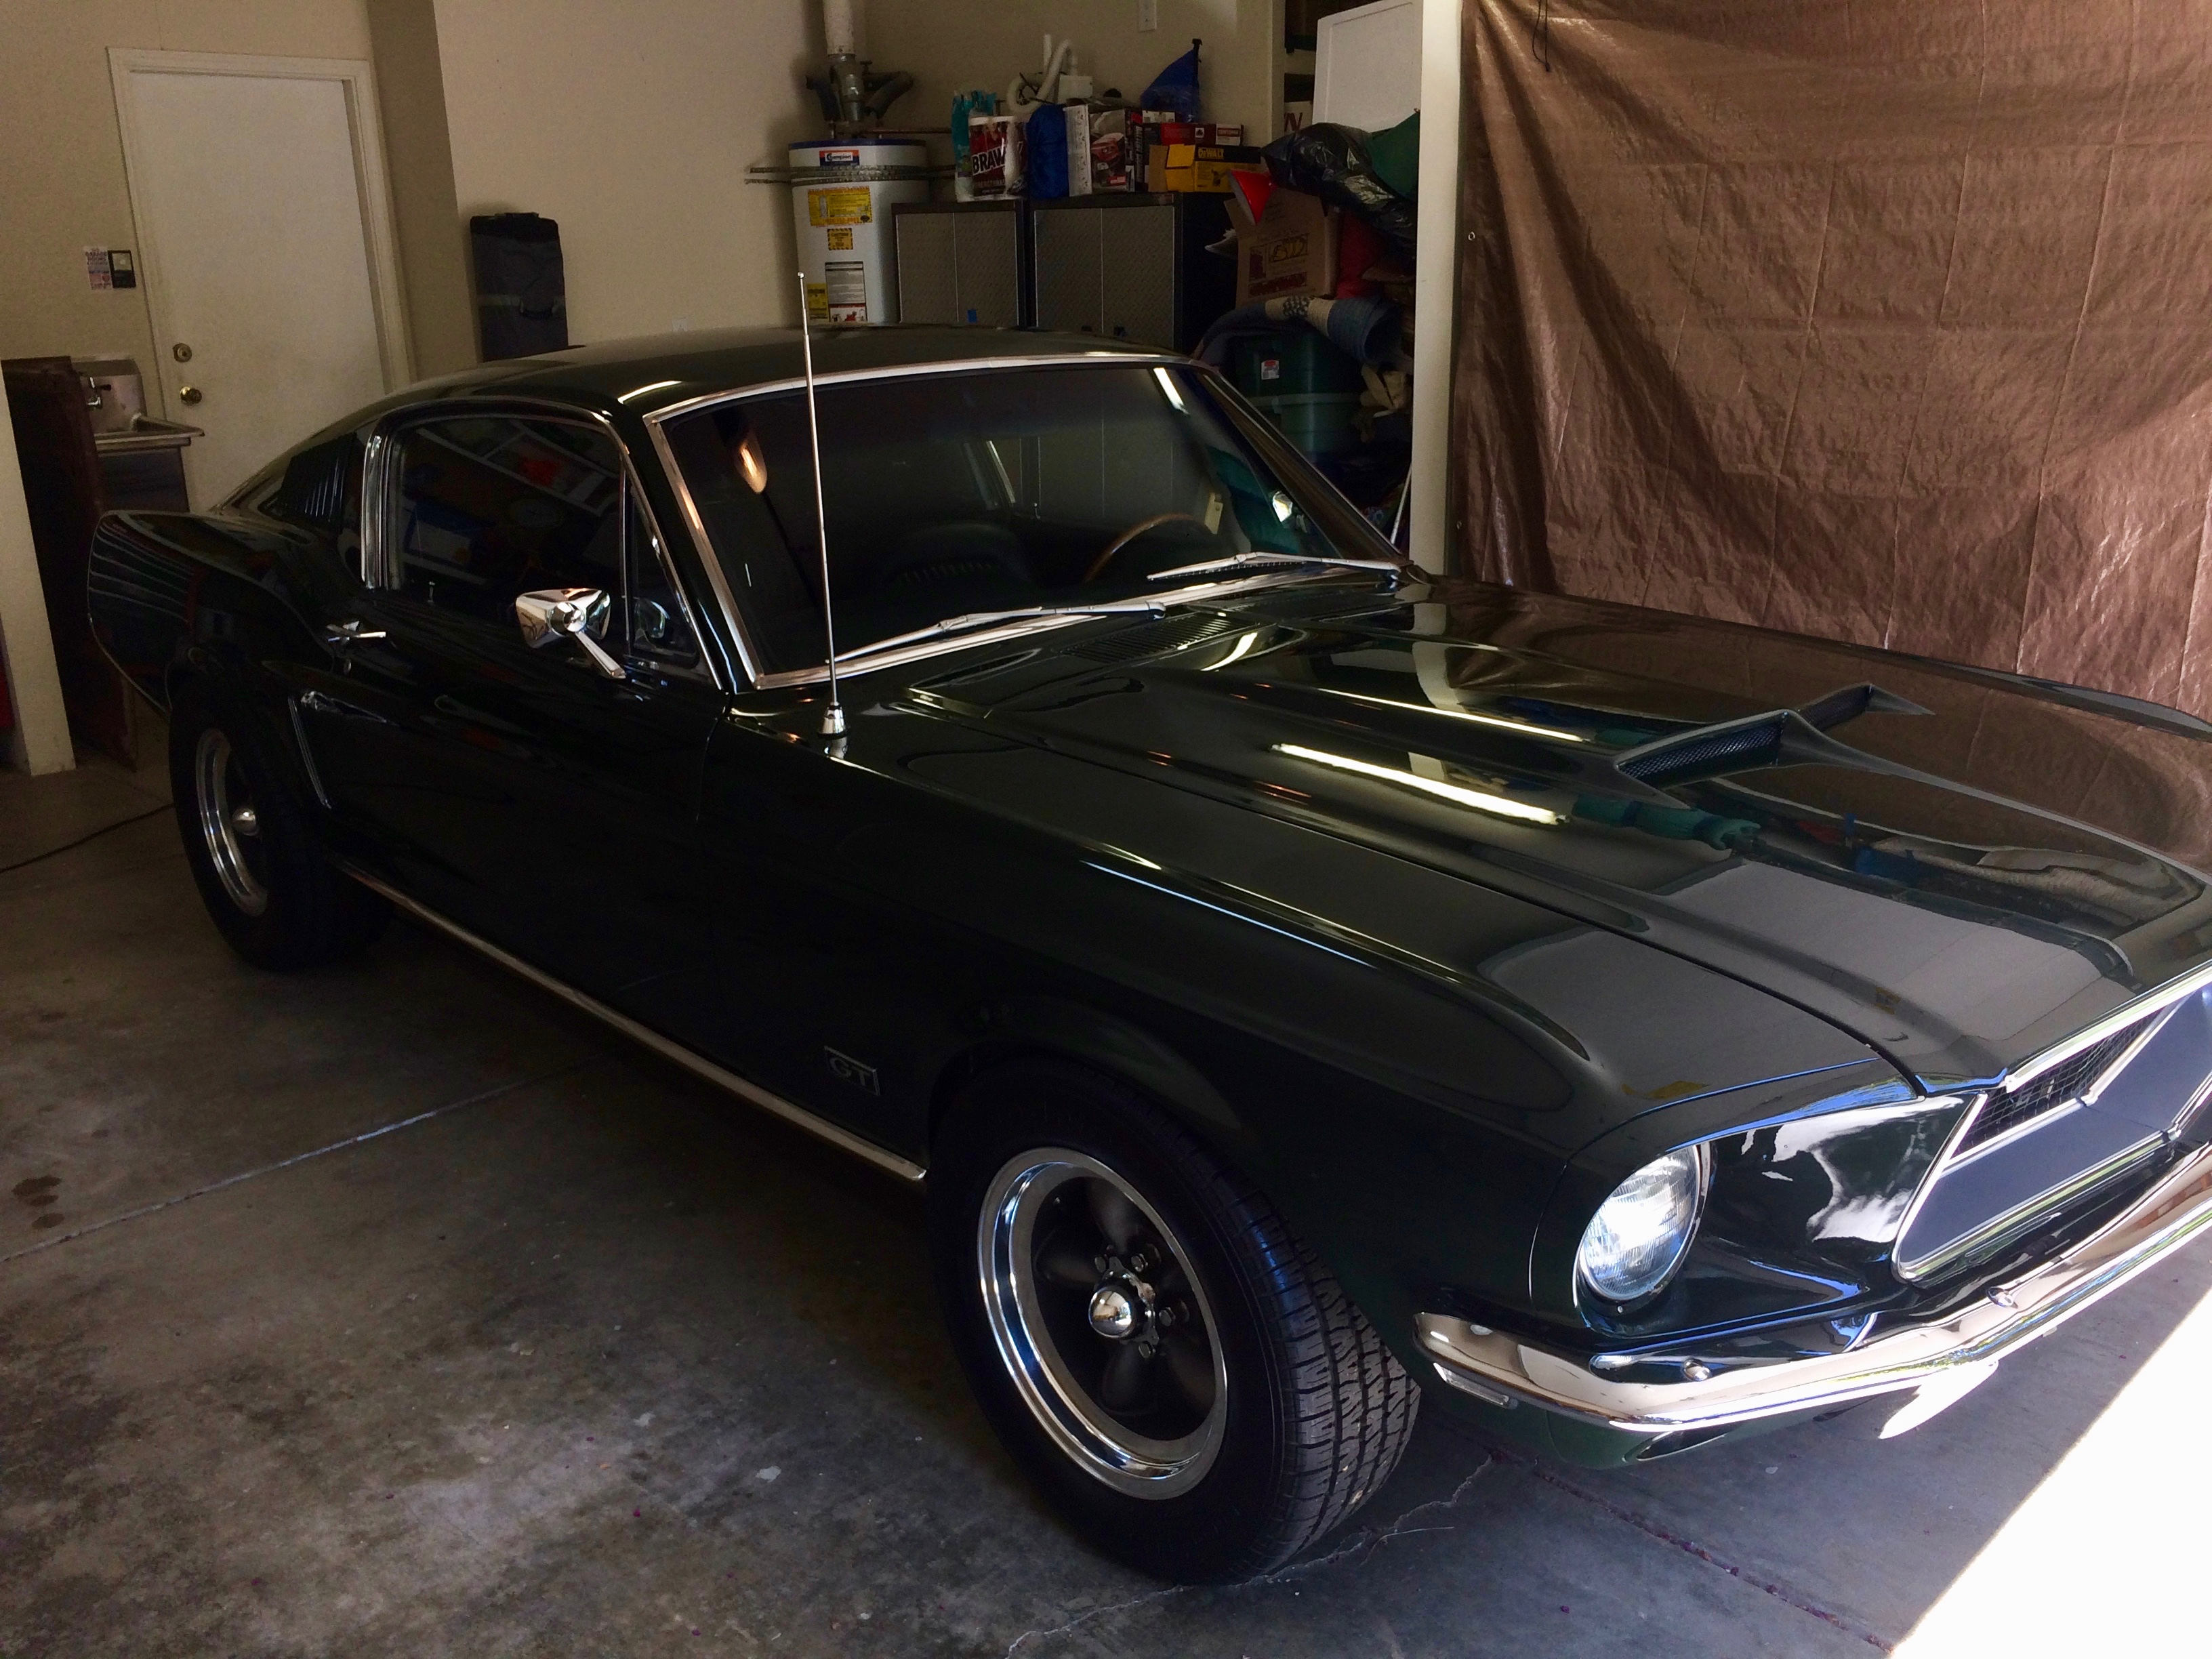
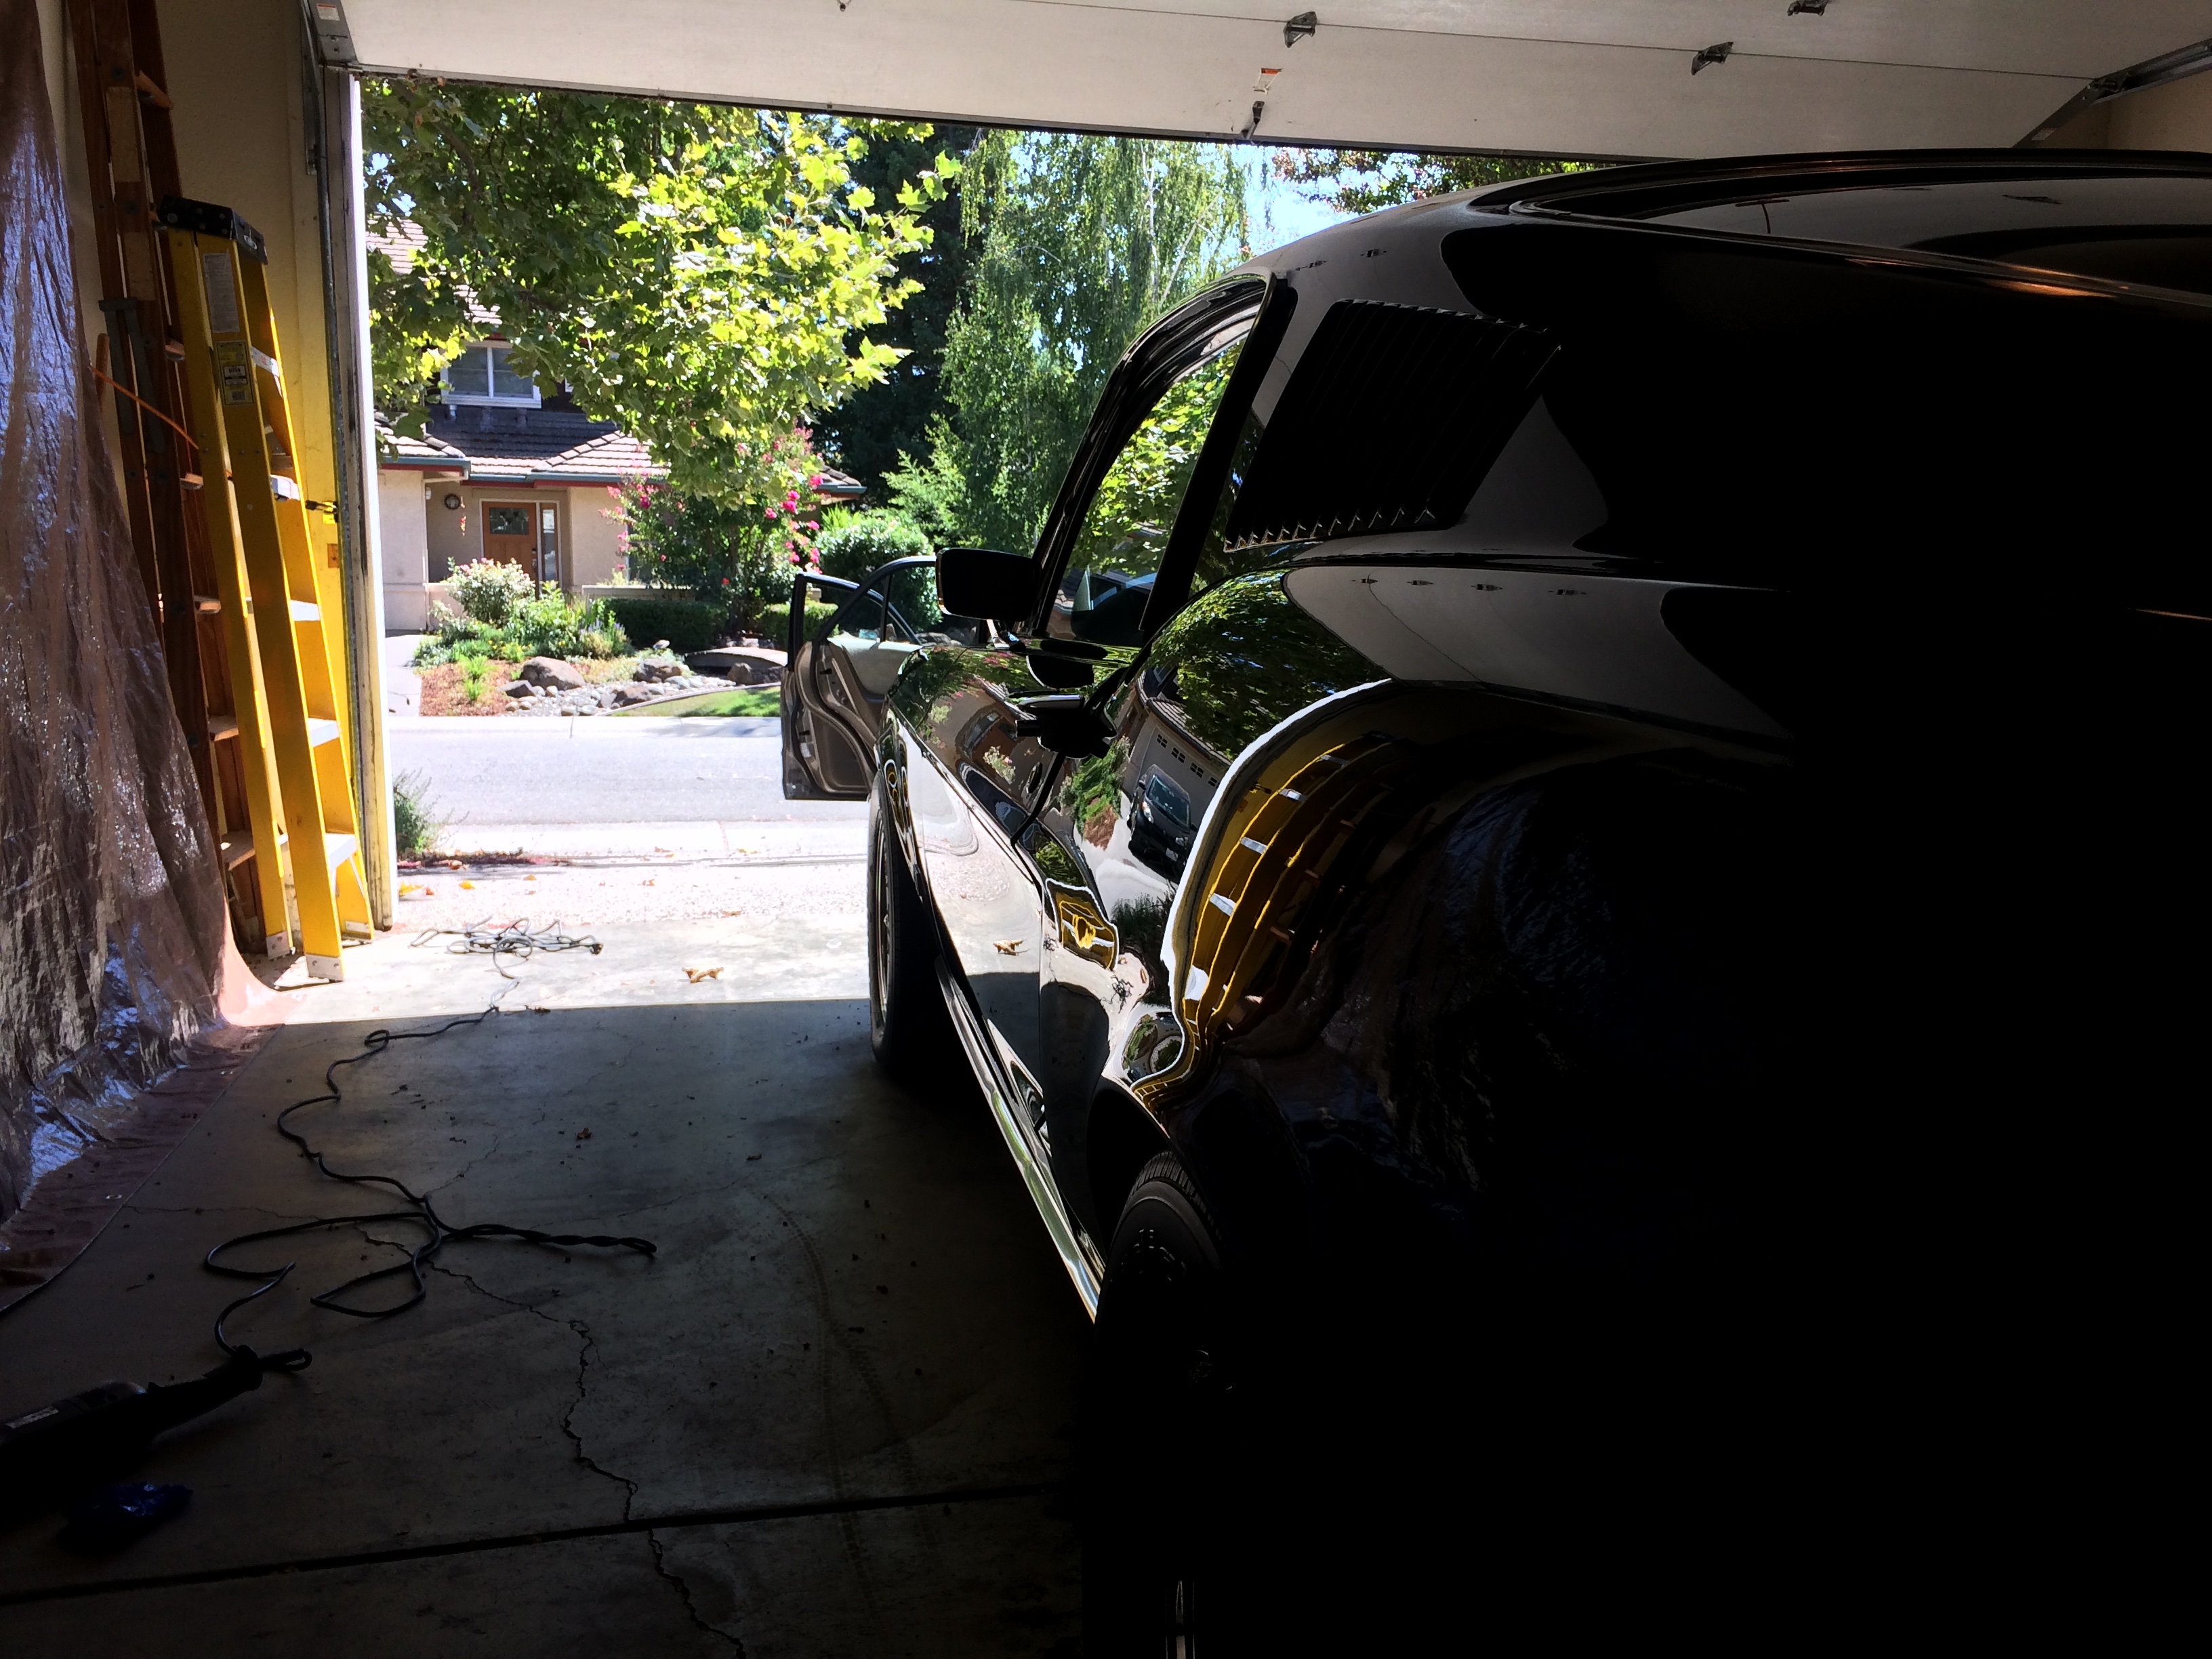
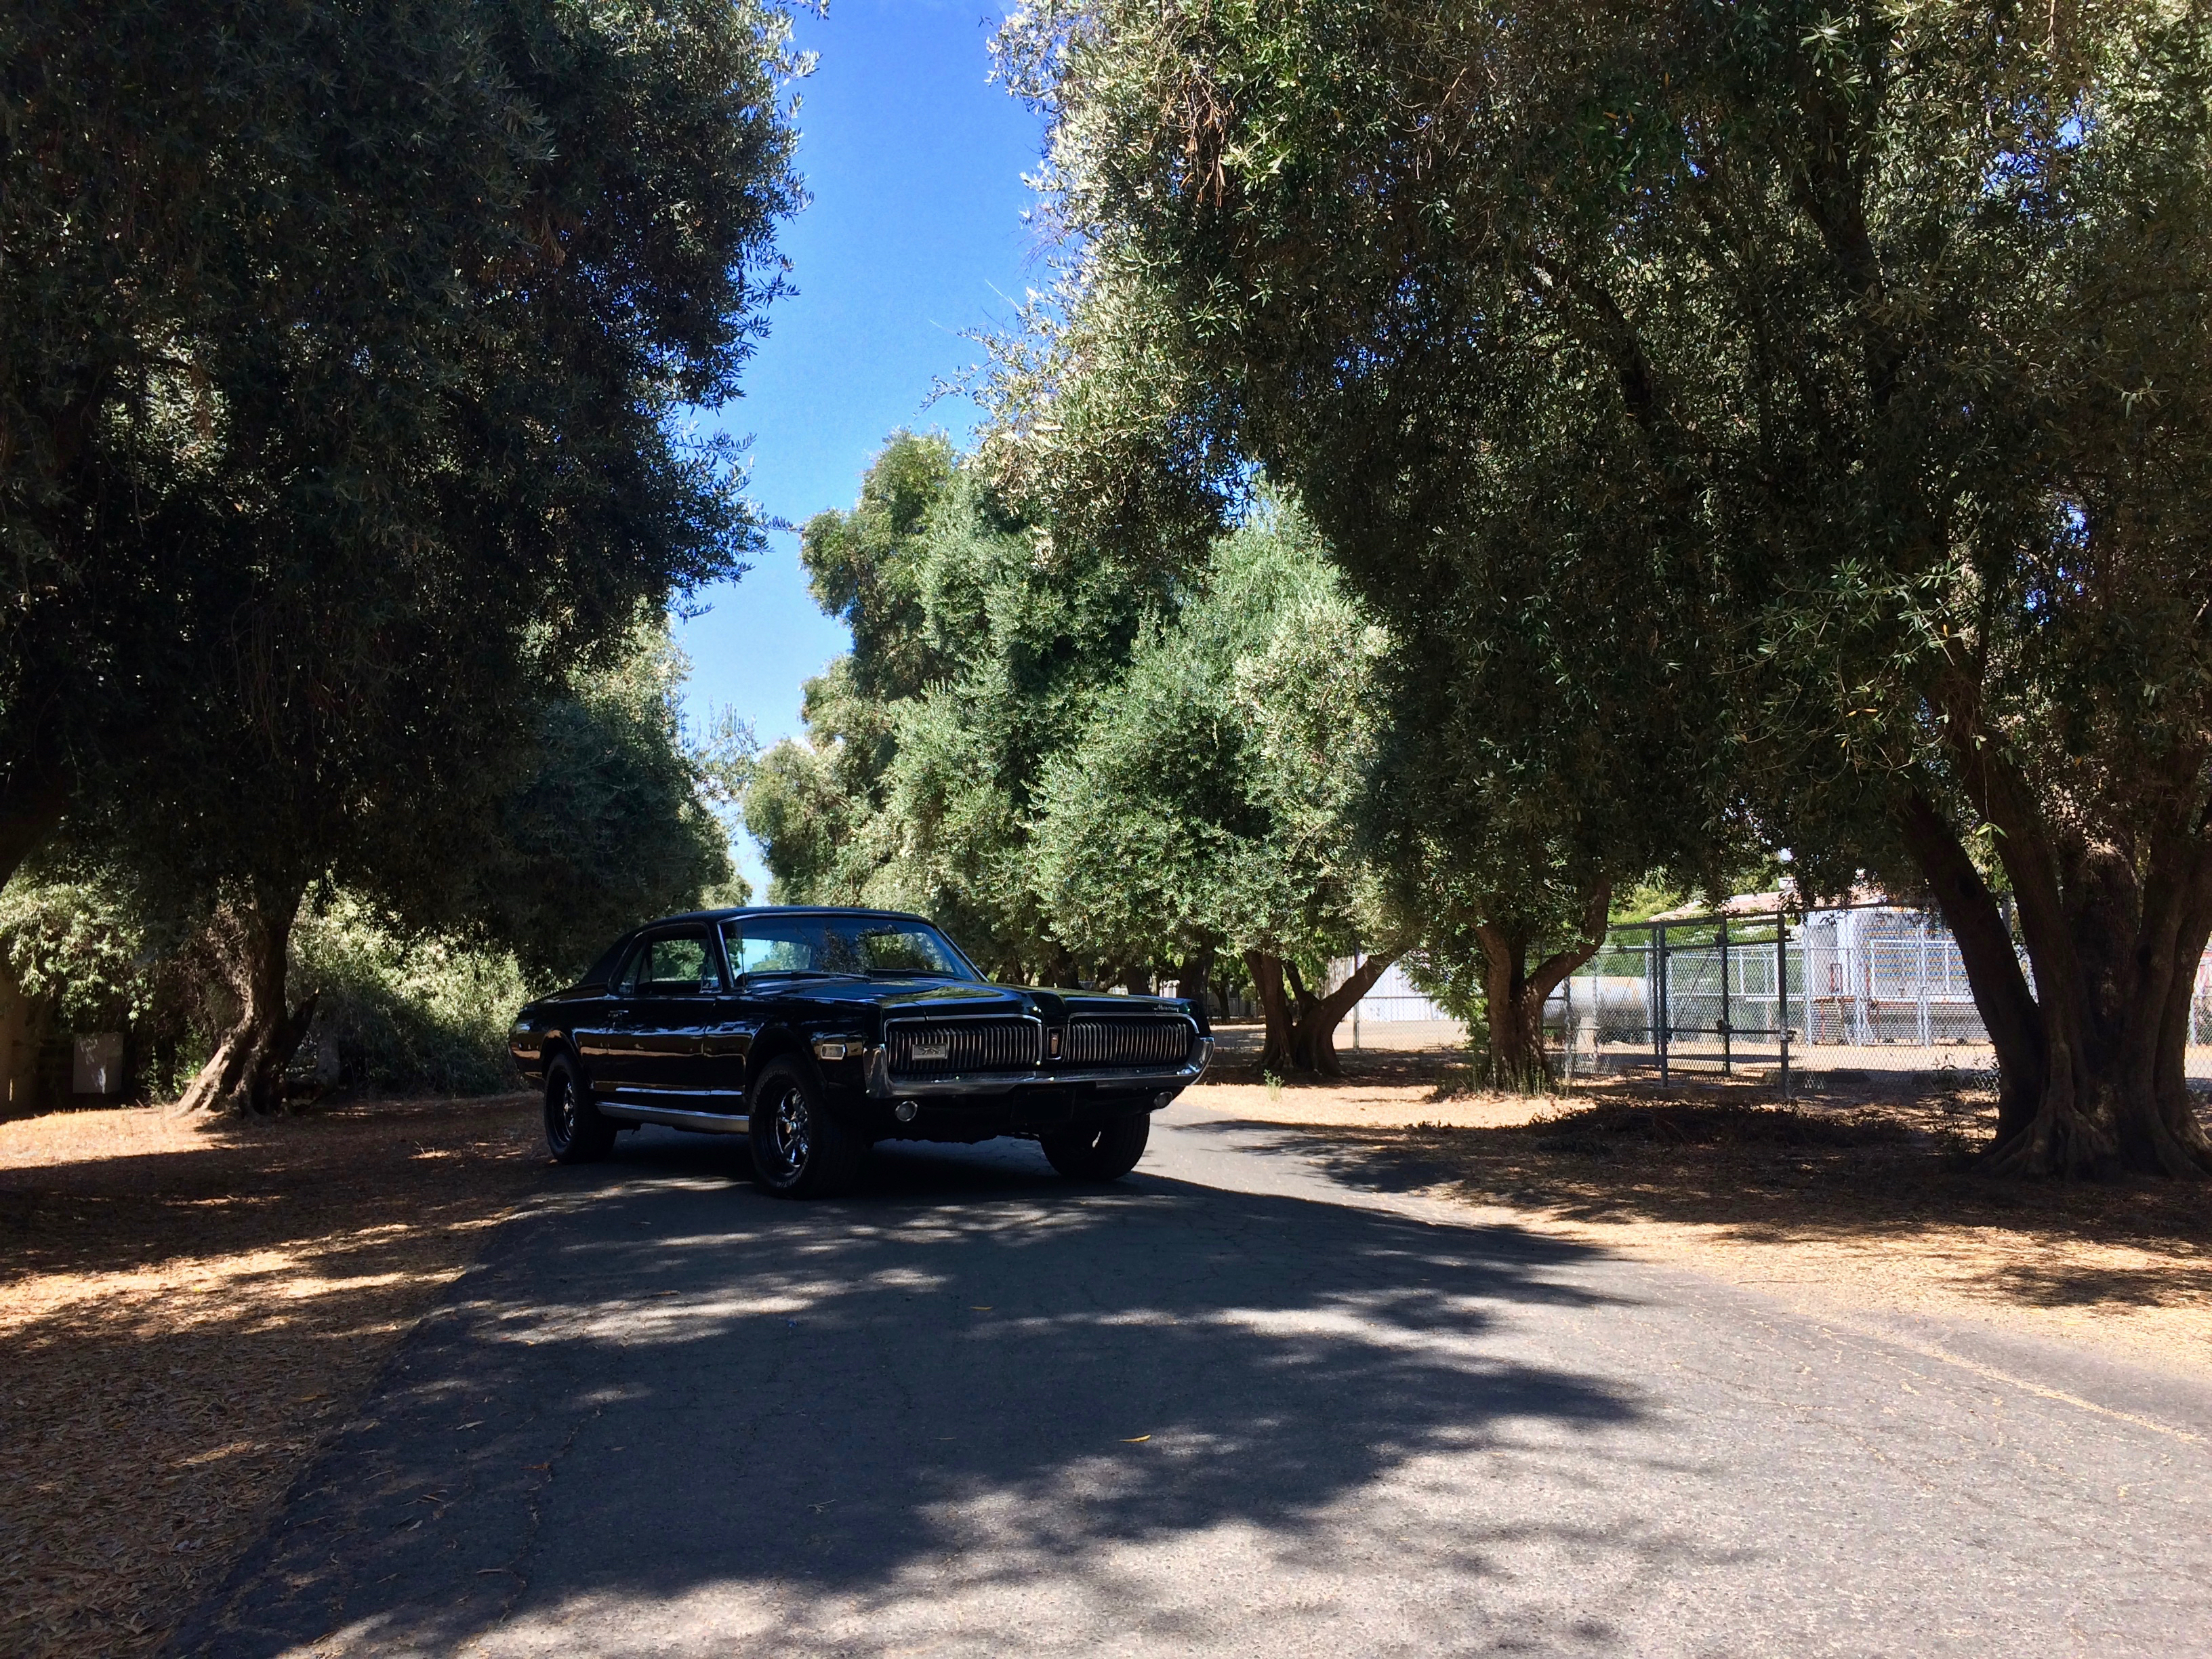
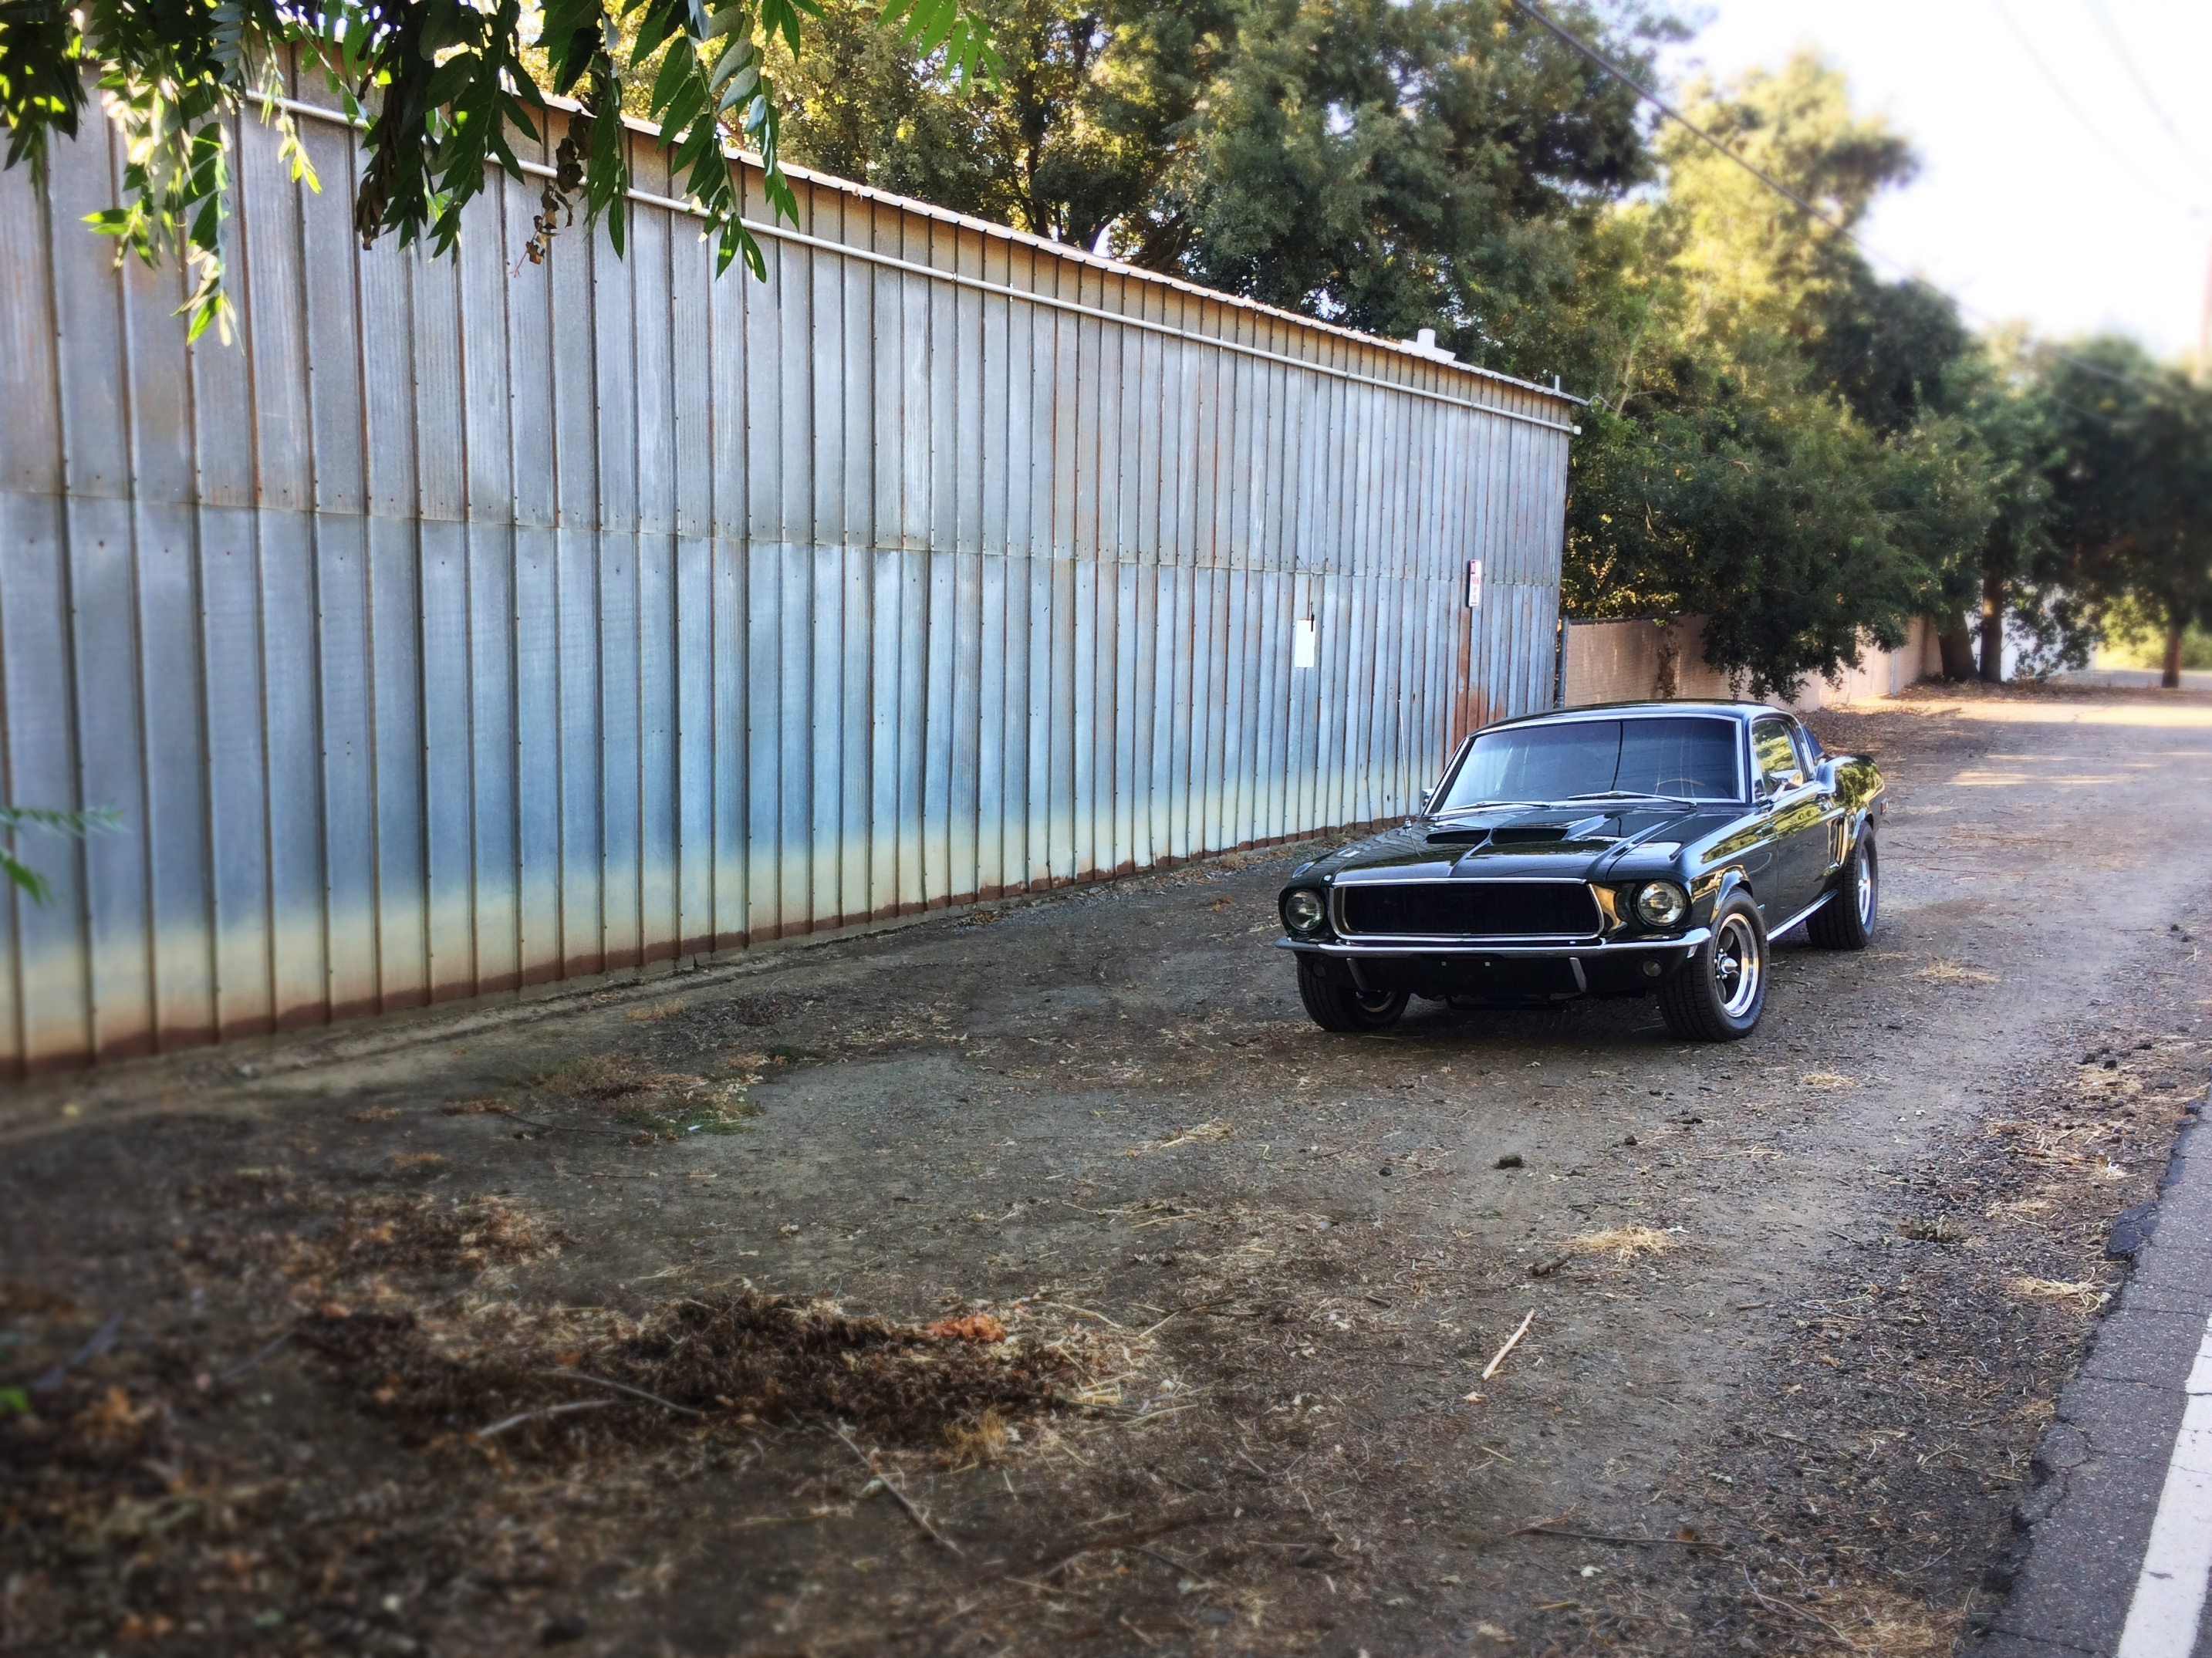
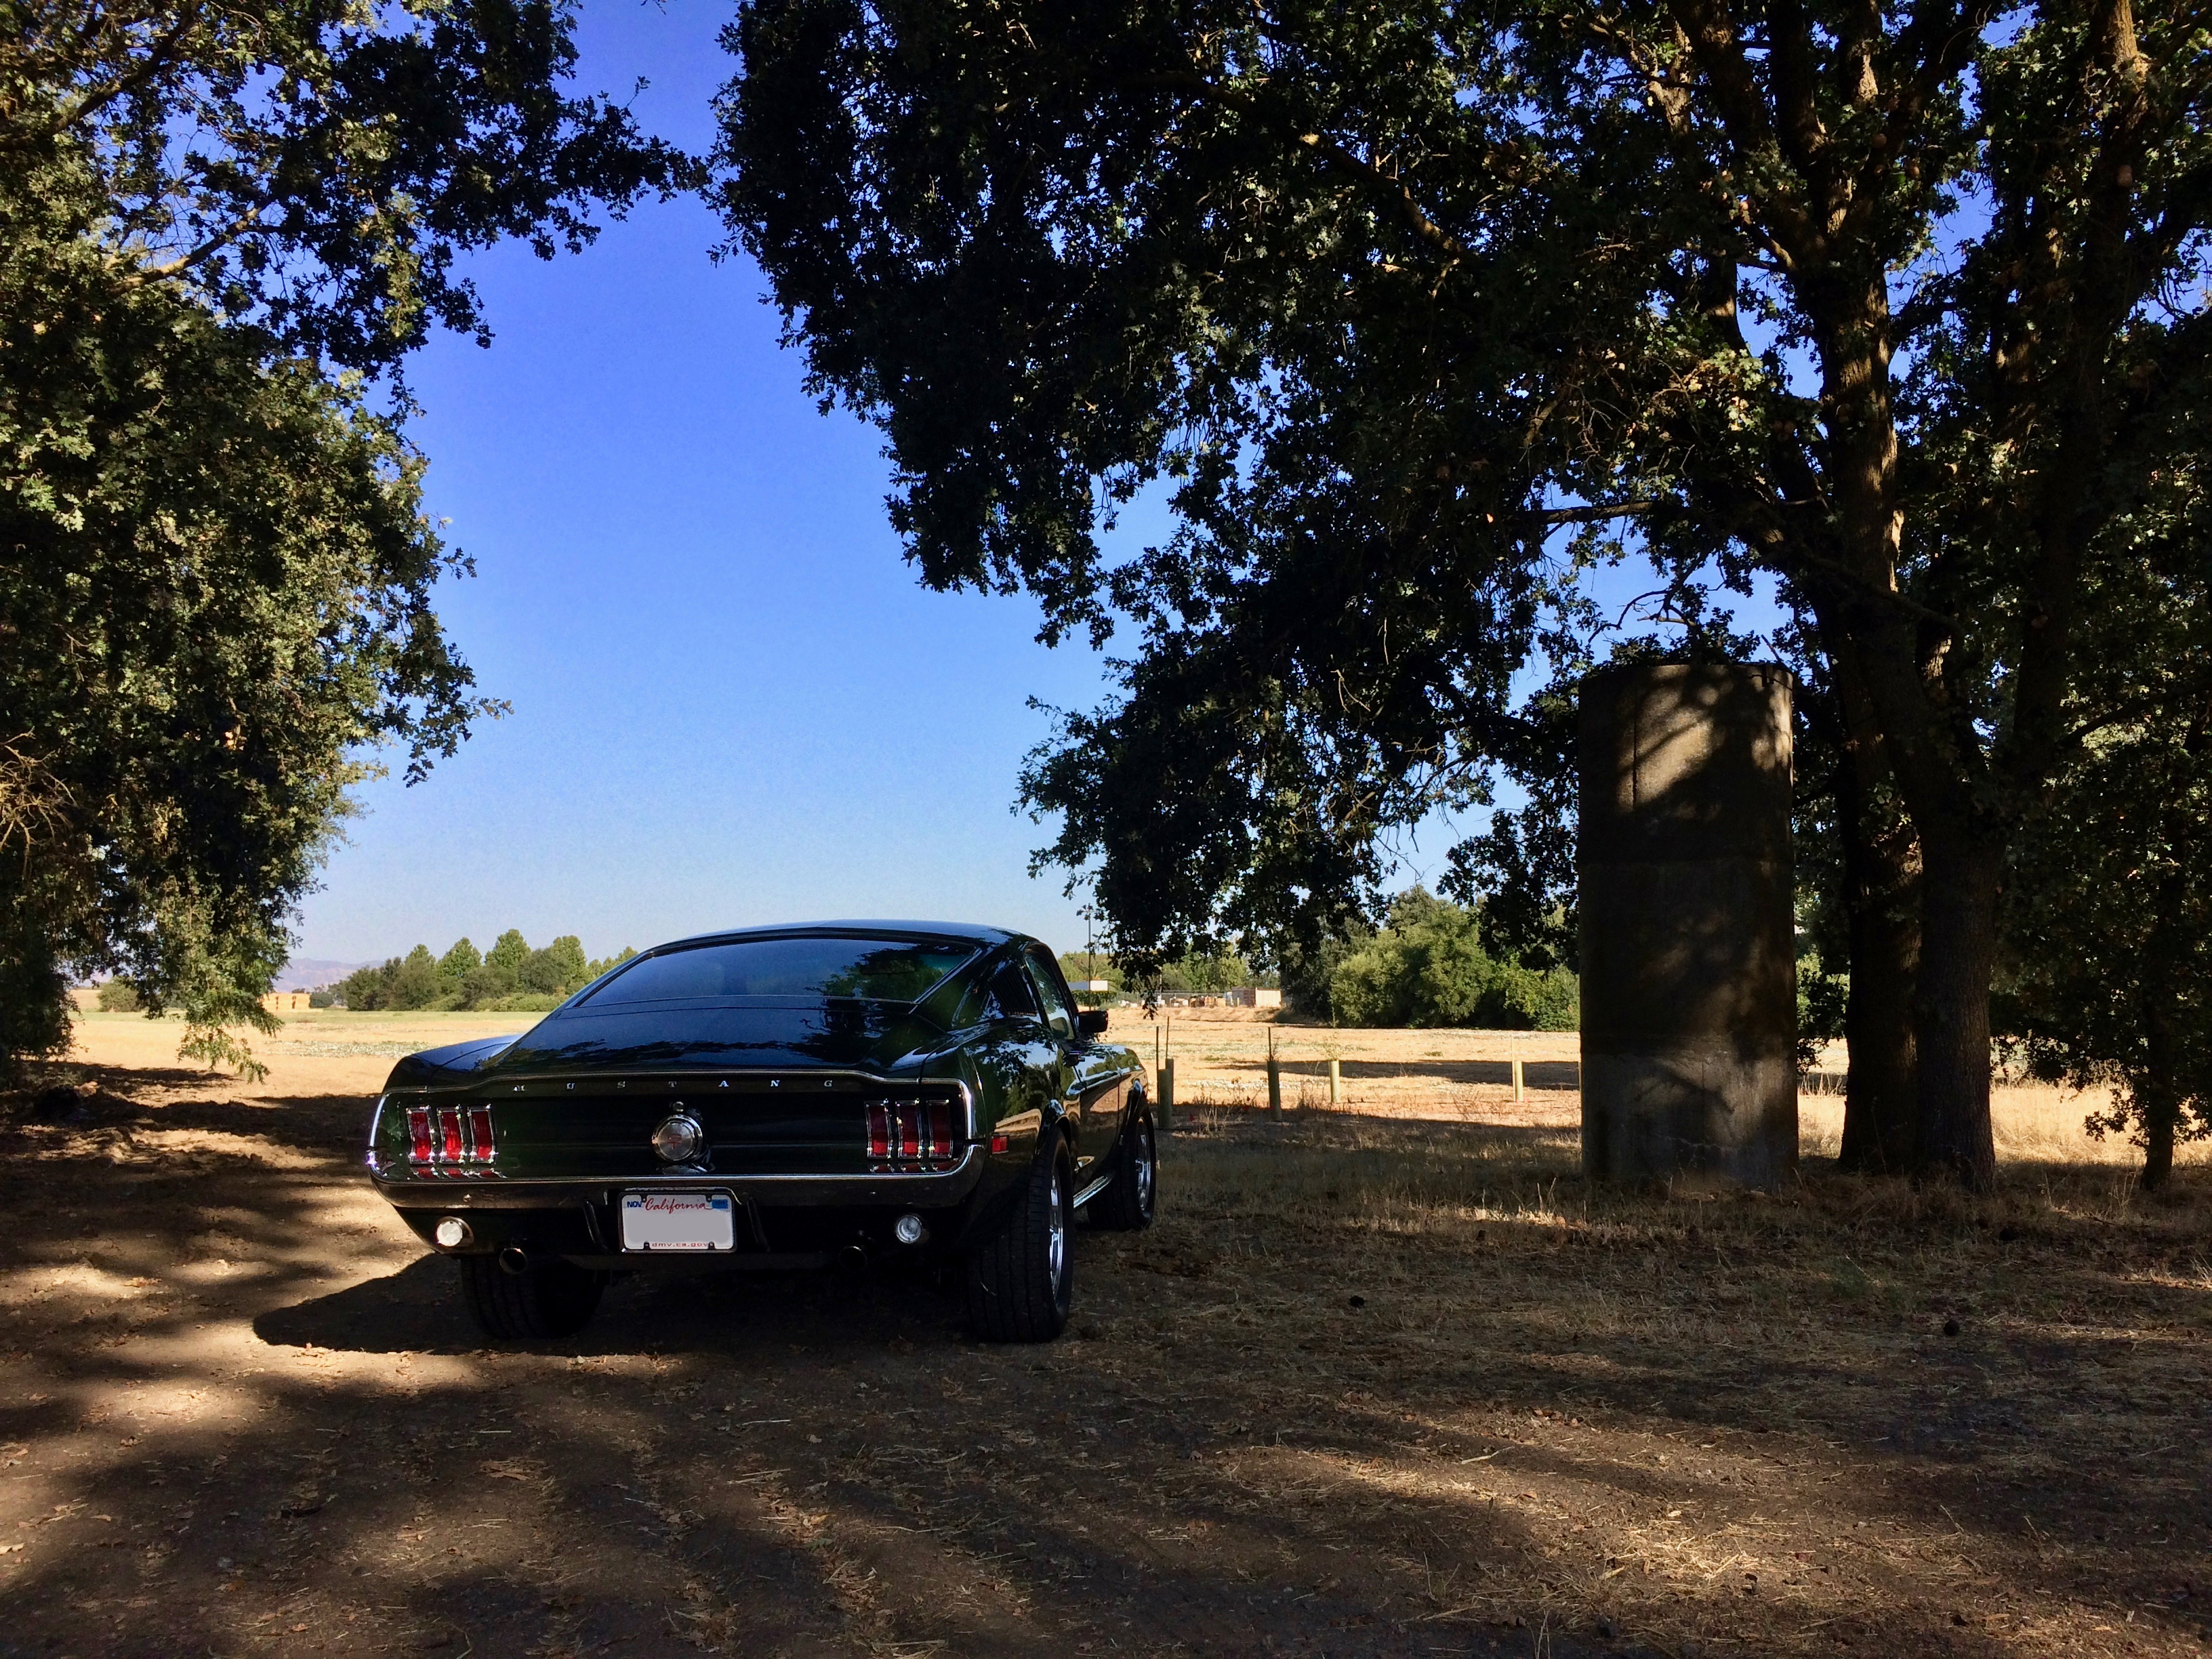
Both the iconic stallion and the imposing feline were an absolute joy to work on, especially side by side, like sisters to each other. I had surreal feelings working on one and looking across at the other in the background. It felt splendid to have this project and such delightful owners as clientele.
Here are photographs of the two stars.
Enjoy.
-Rio Hansen