This project is for one of my best clients. He has previously left two other vehicles with me for week long stays so that I can detail in the convenience of my own work space.
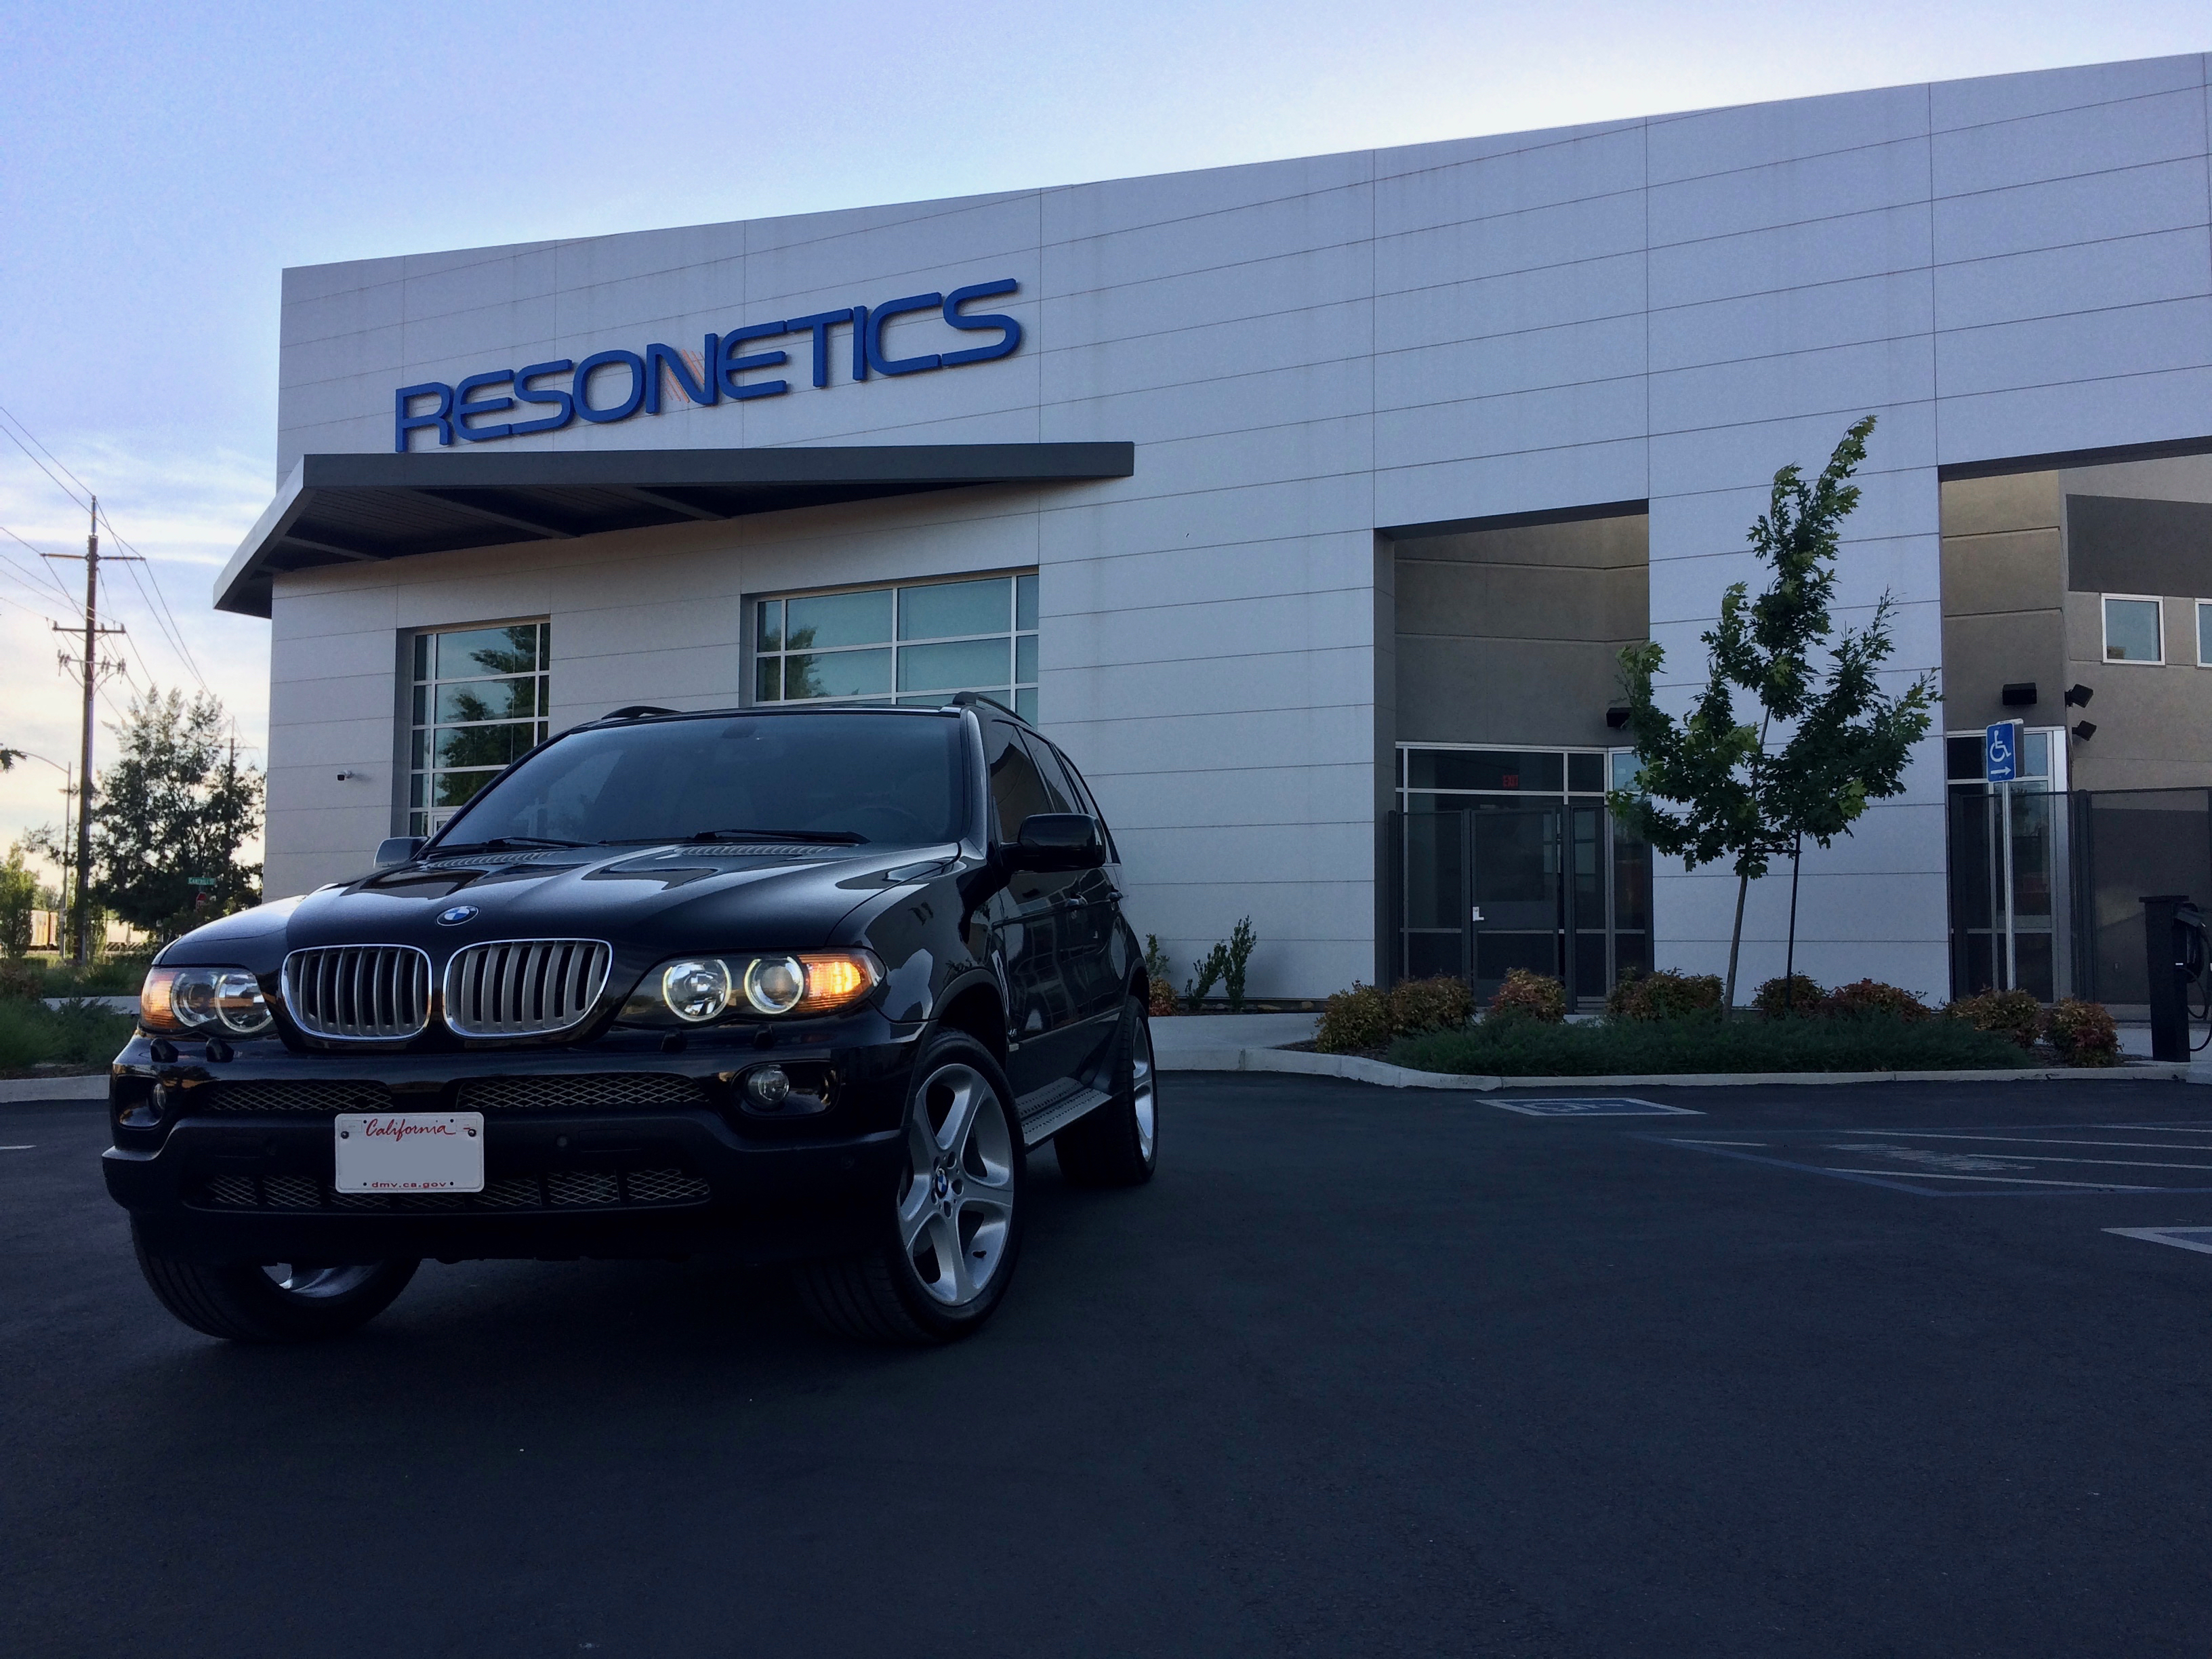
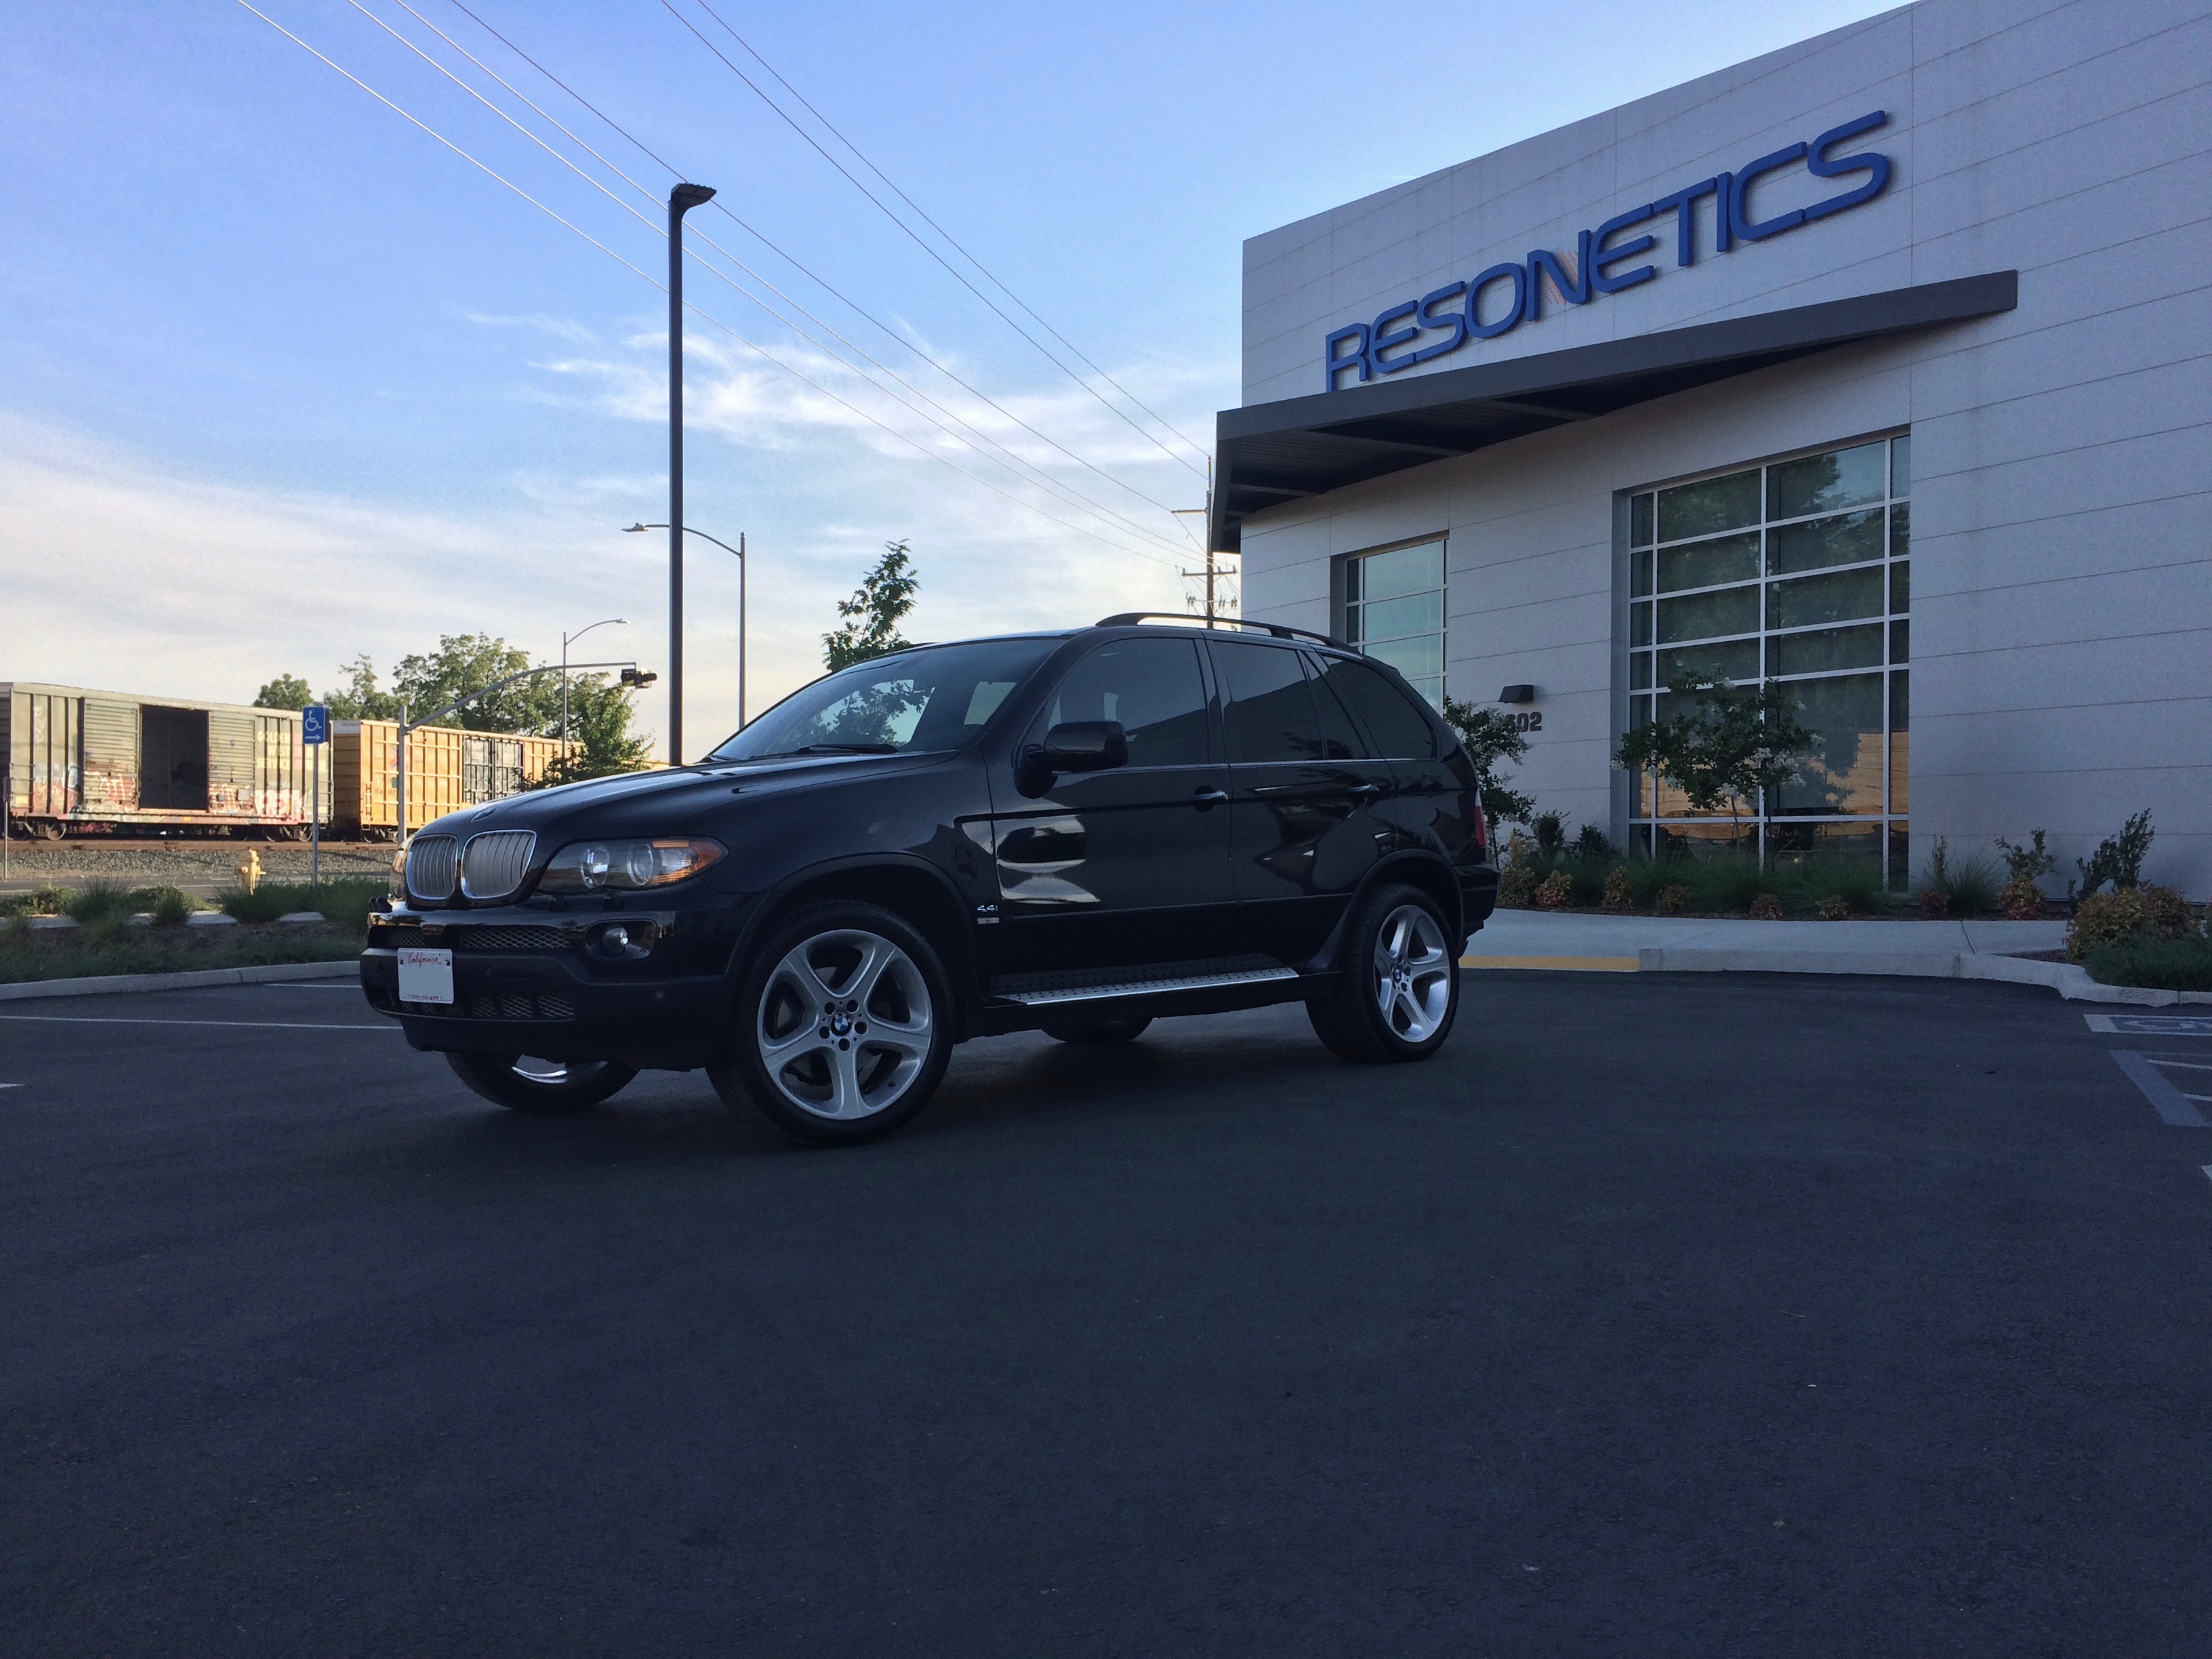
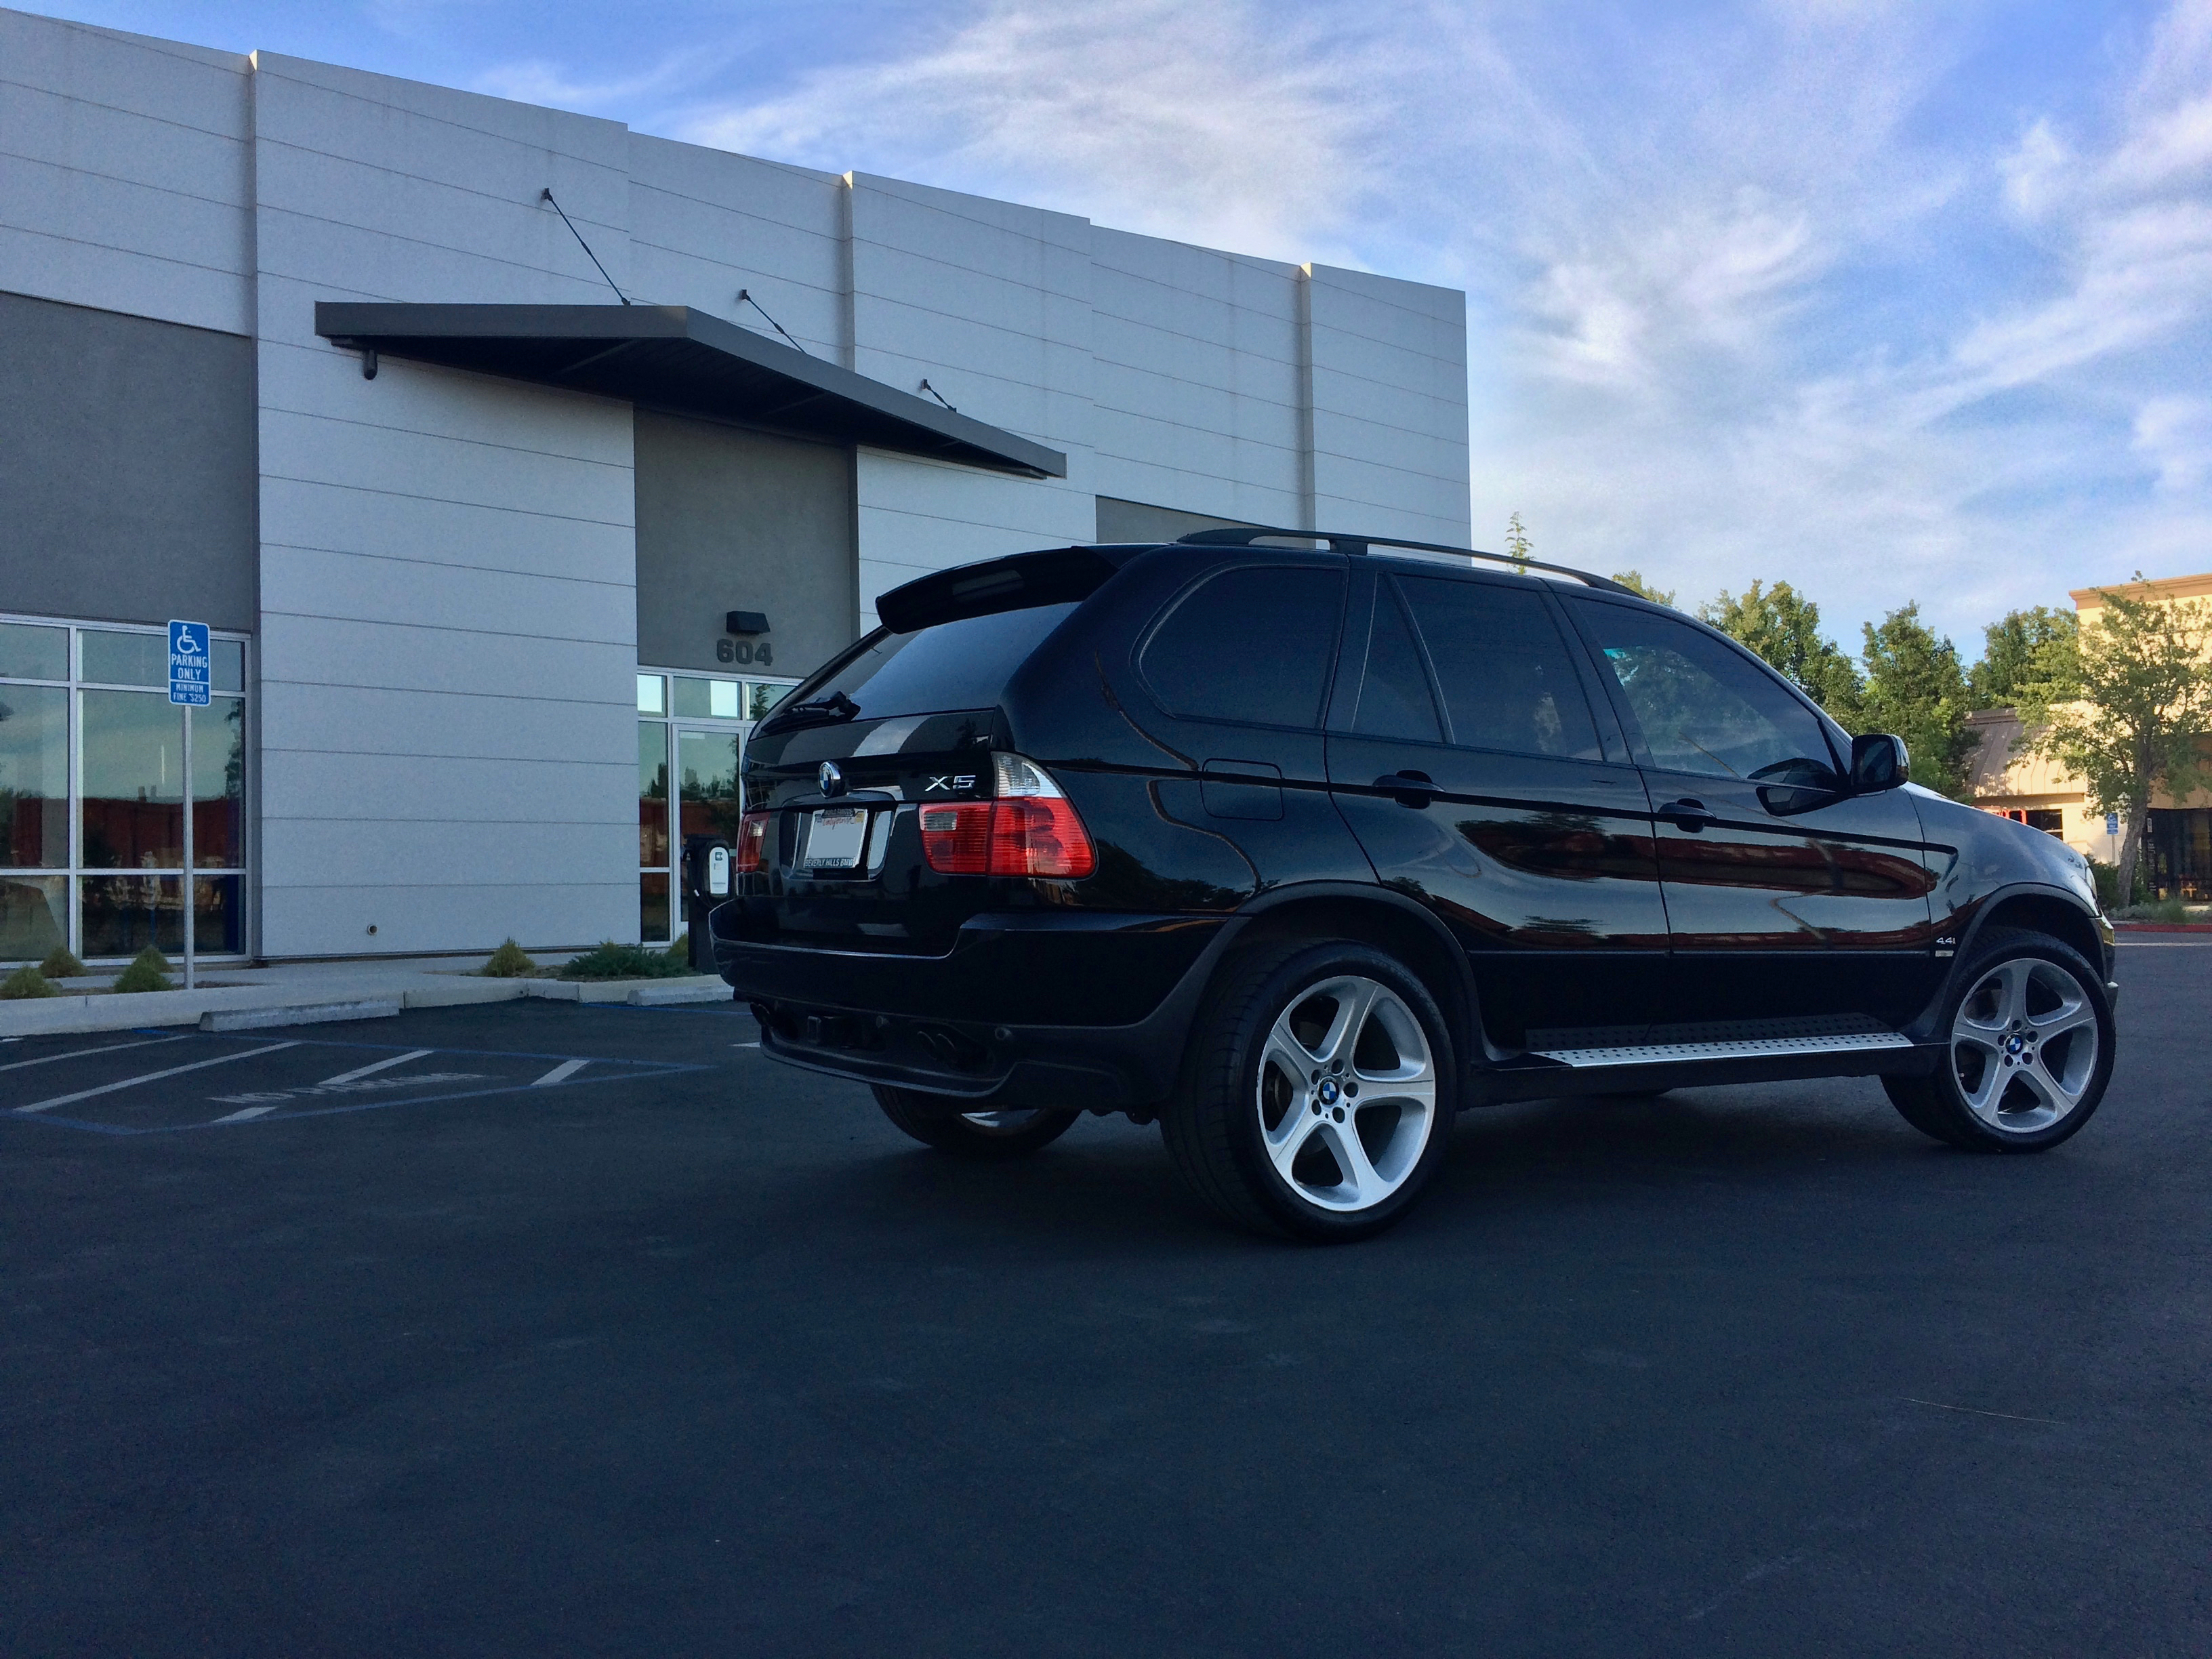
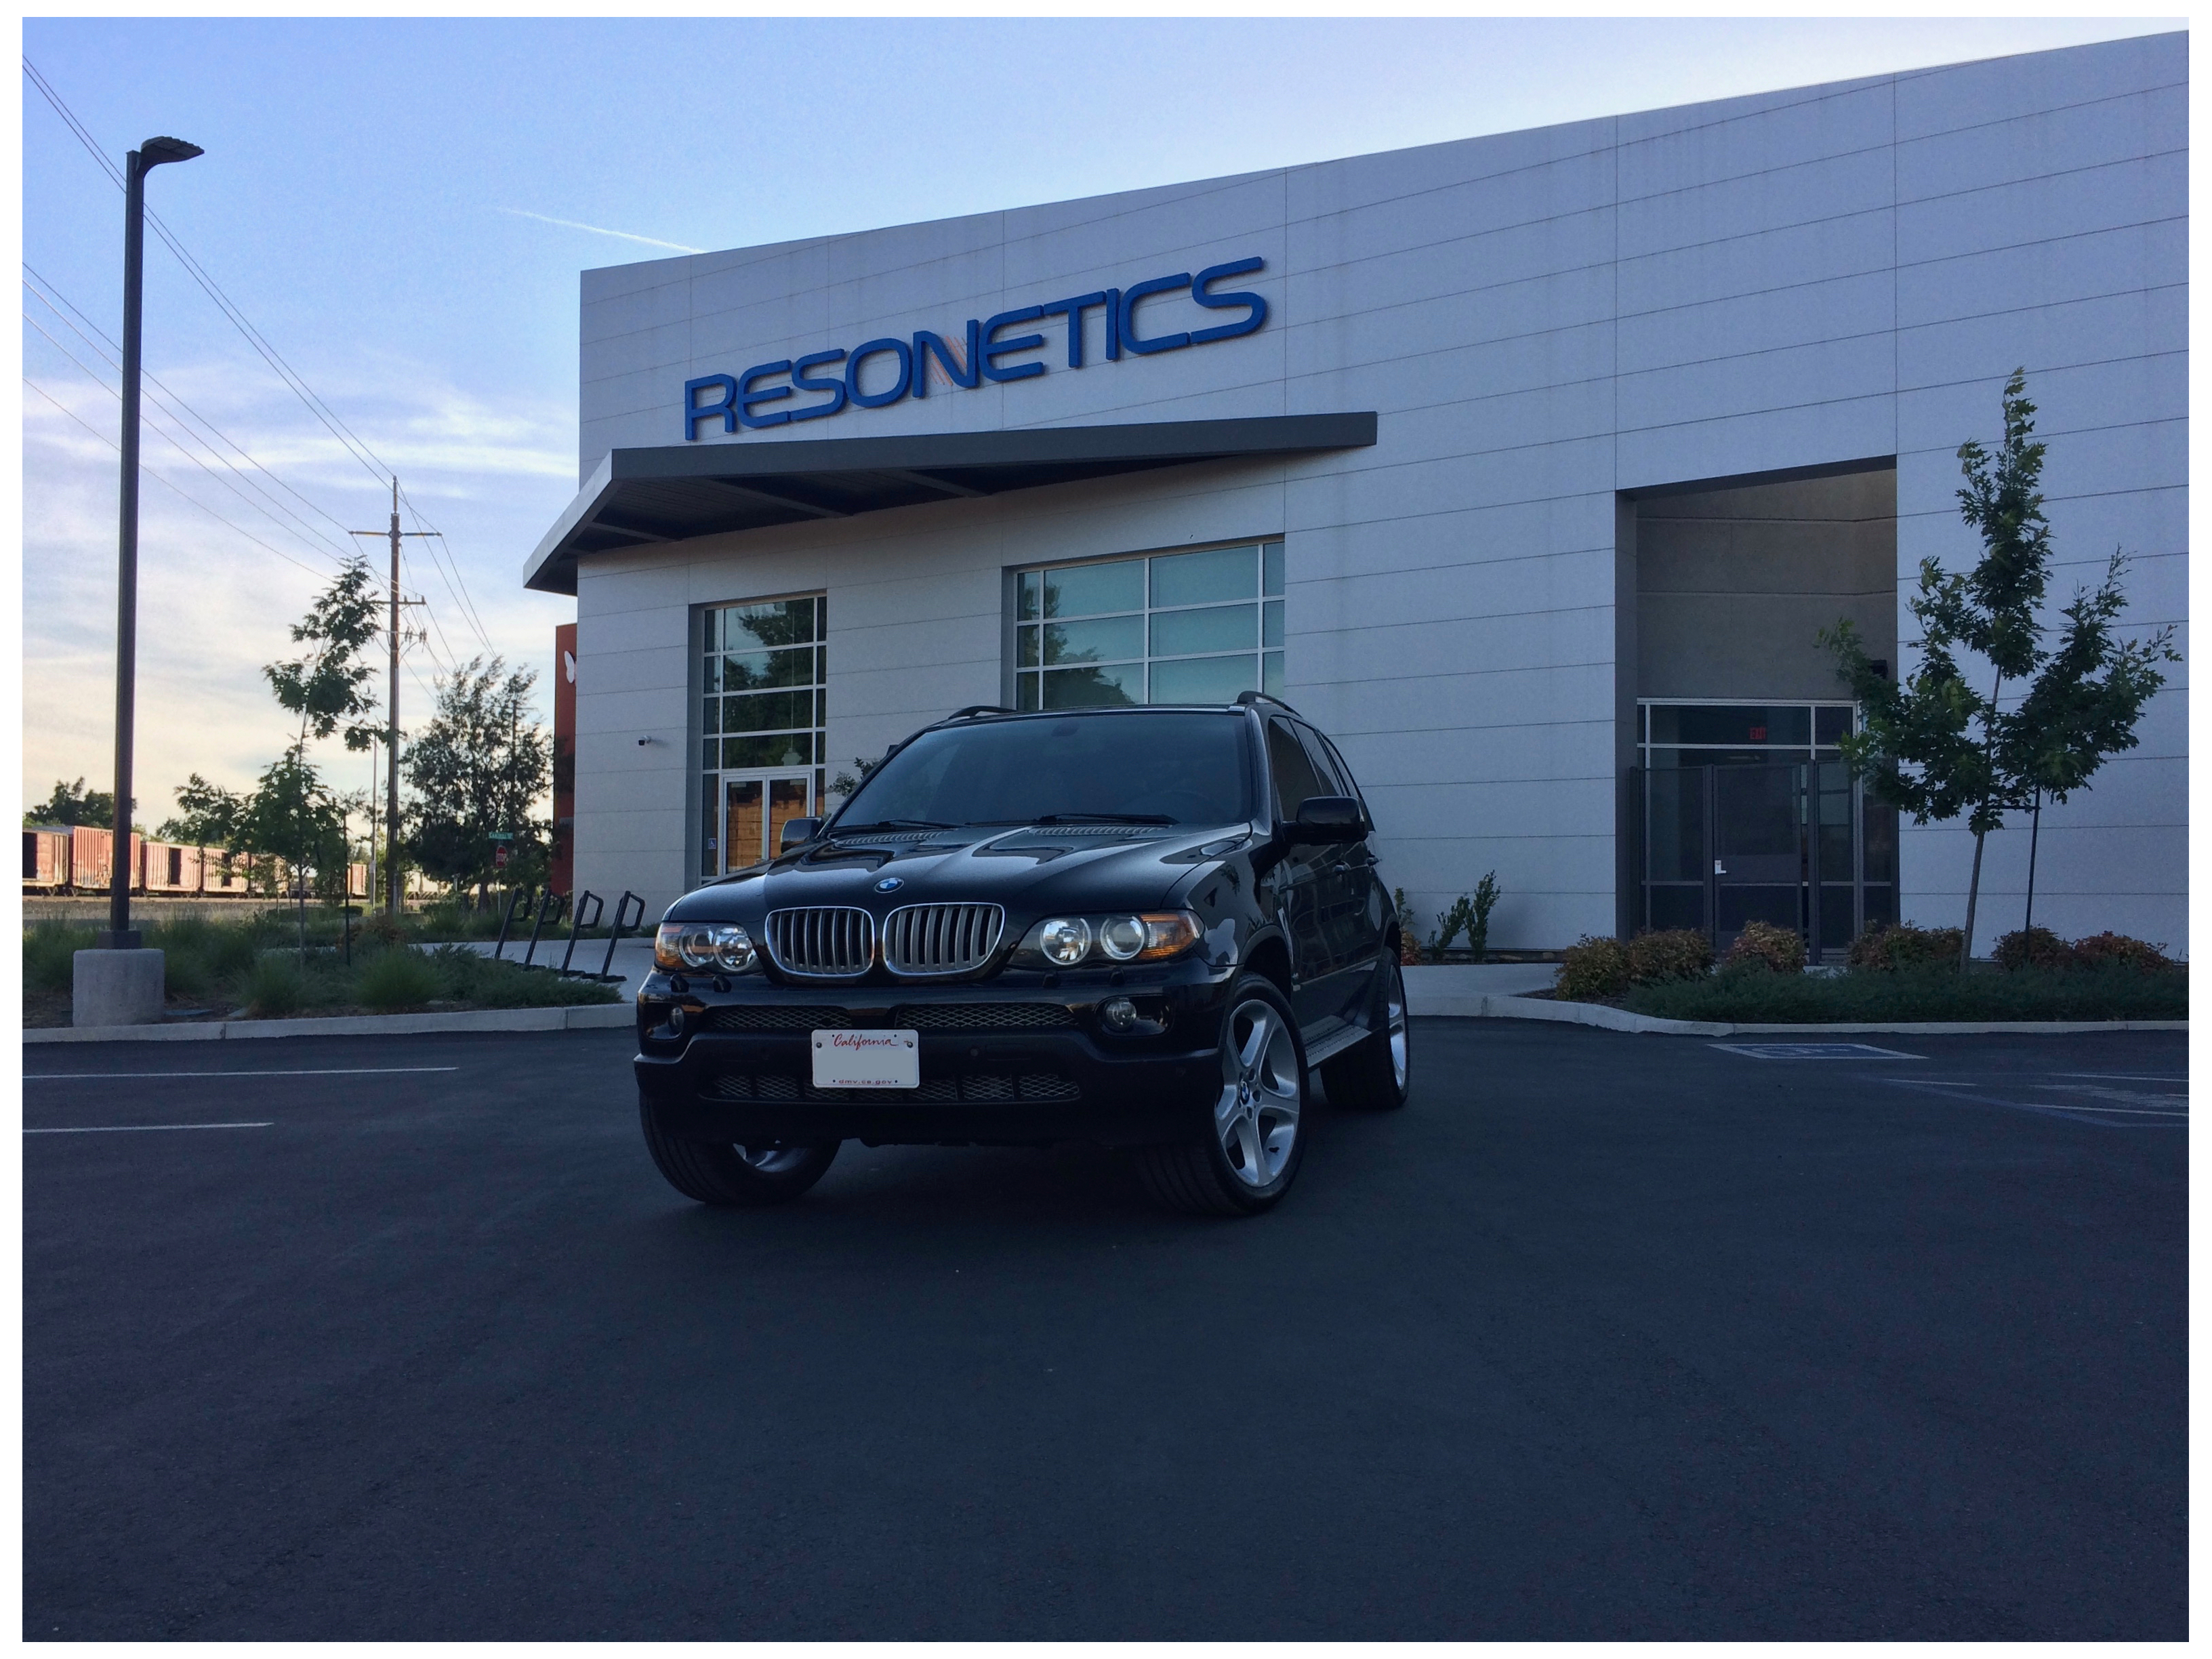
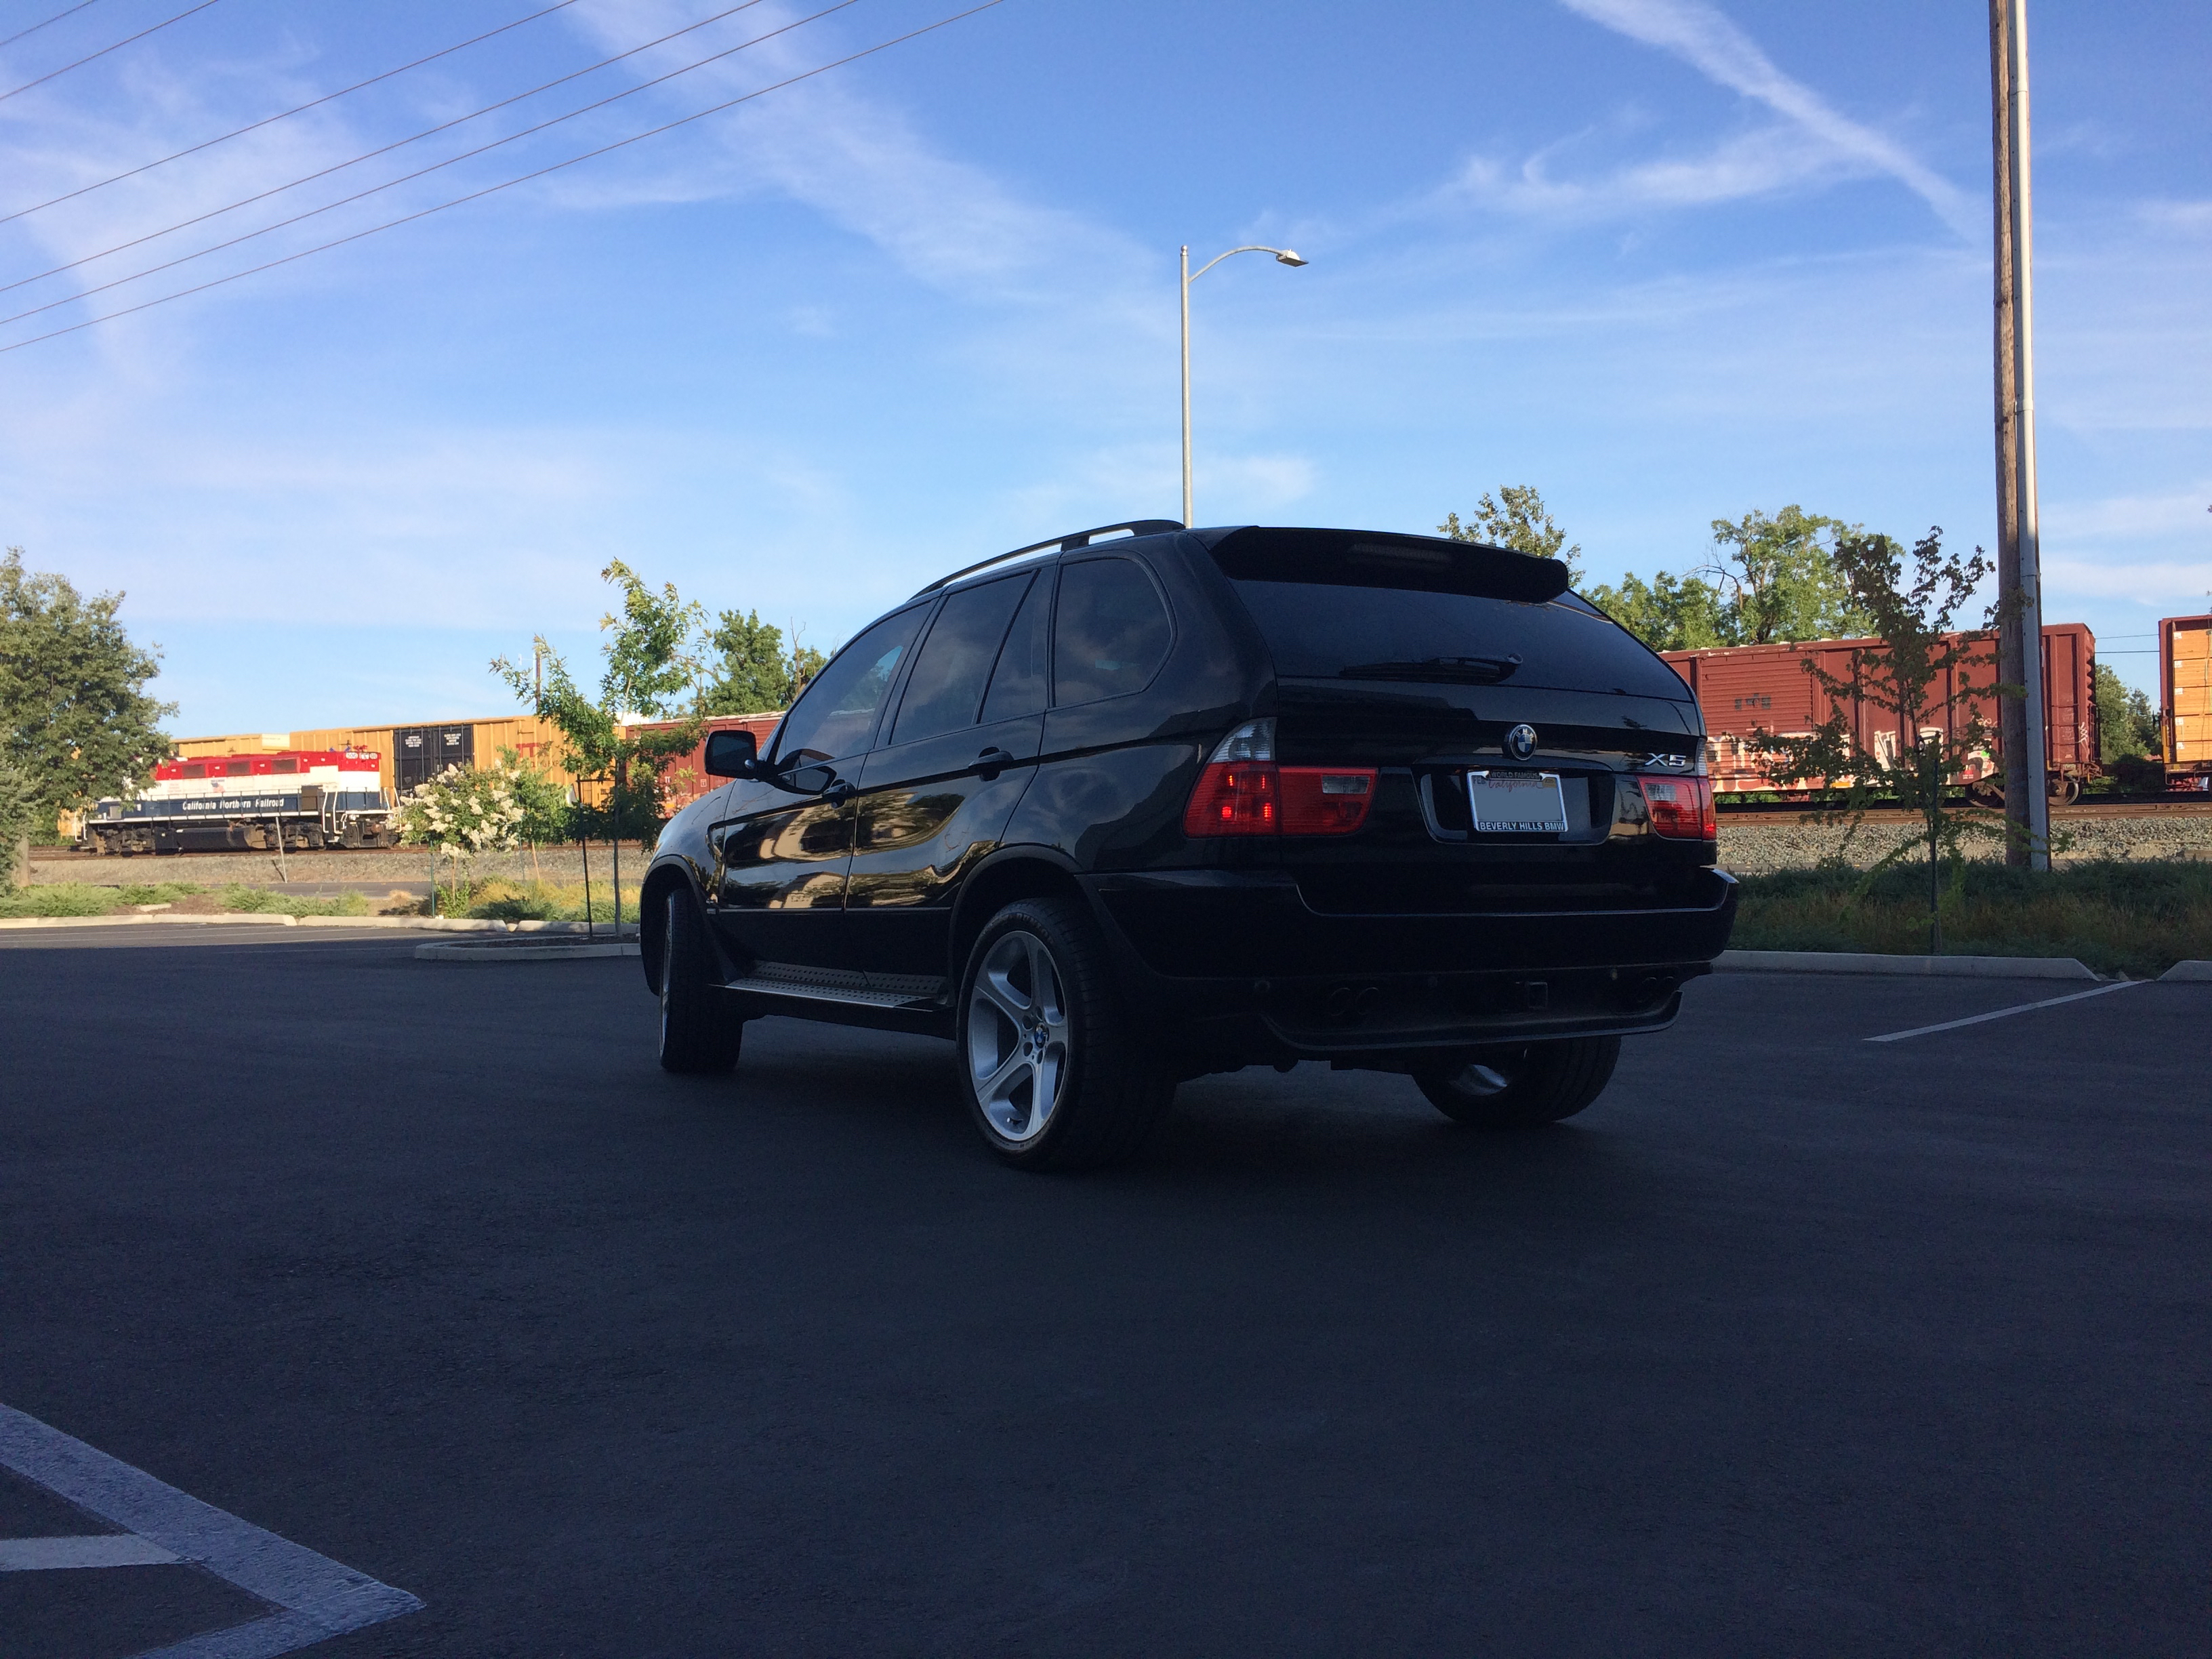
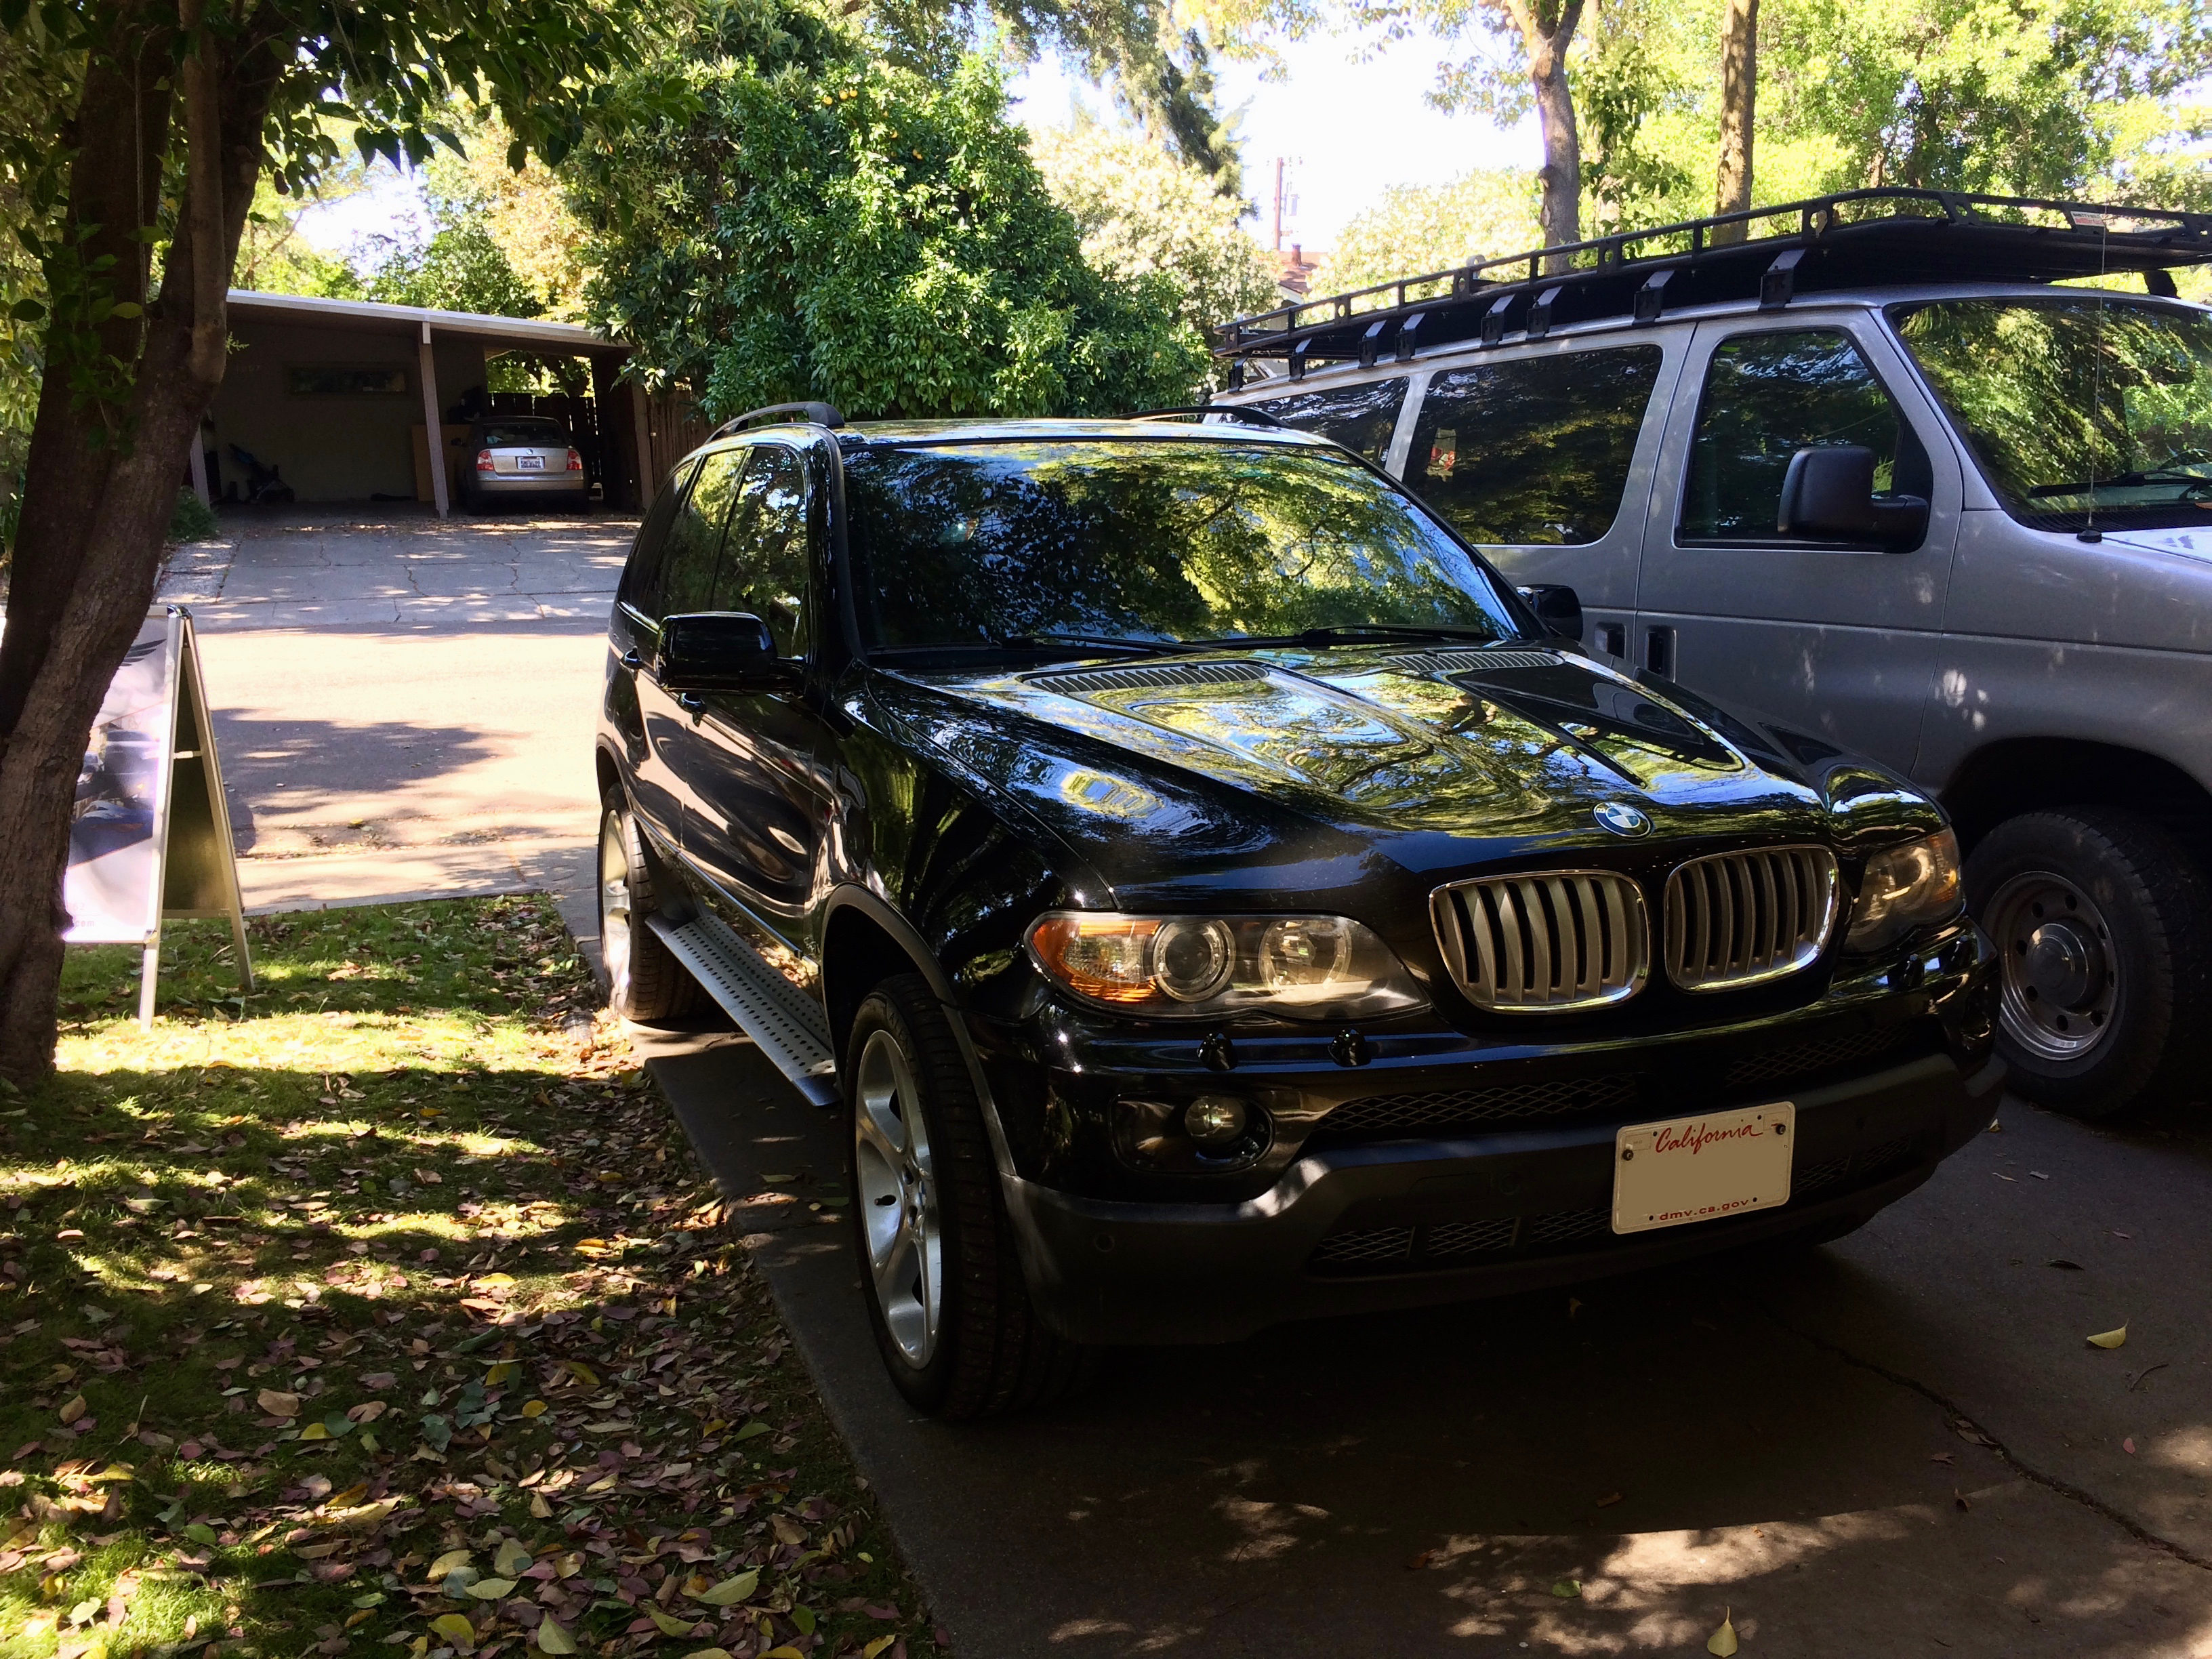
This time he brought a 2005 BMW X5 4.4i.
The X5 was dropped off on a Saturday and picked up the following week’s Sunday.
For this project I am performing a complete paint correction and ceramic coating. I will also correct and ceramic coat the headlights, wheels, and exterior plastic trim.
I like to start by detailing the interior. Interior contamination was minimal.
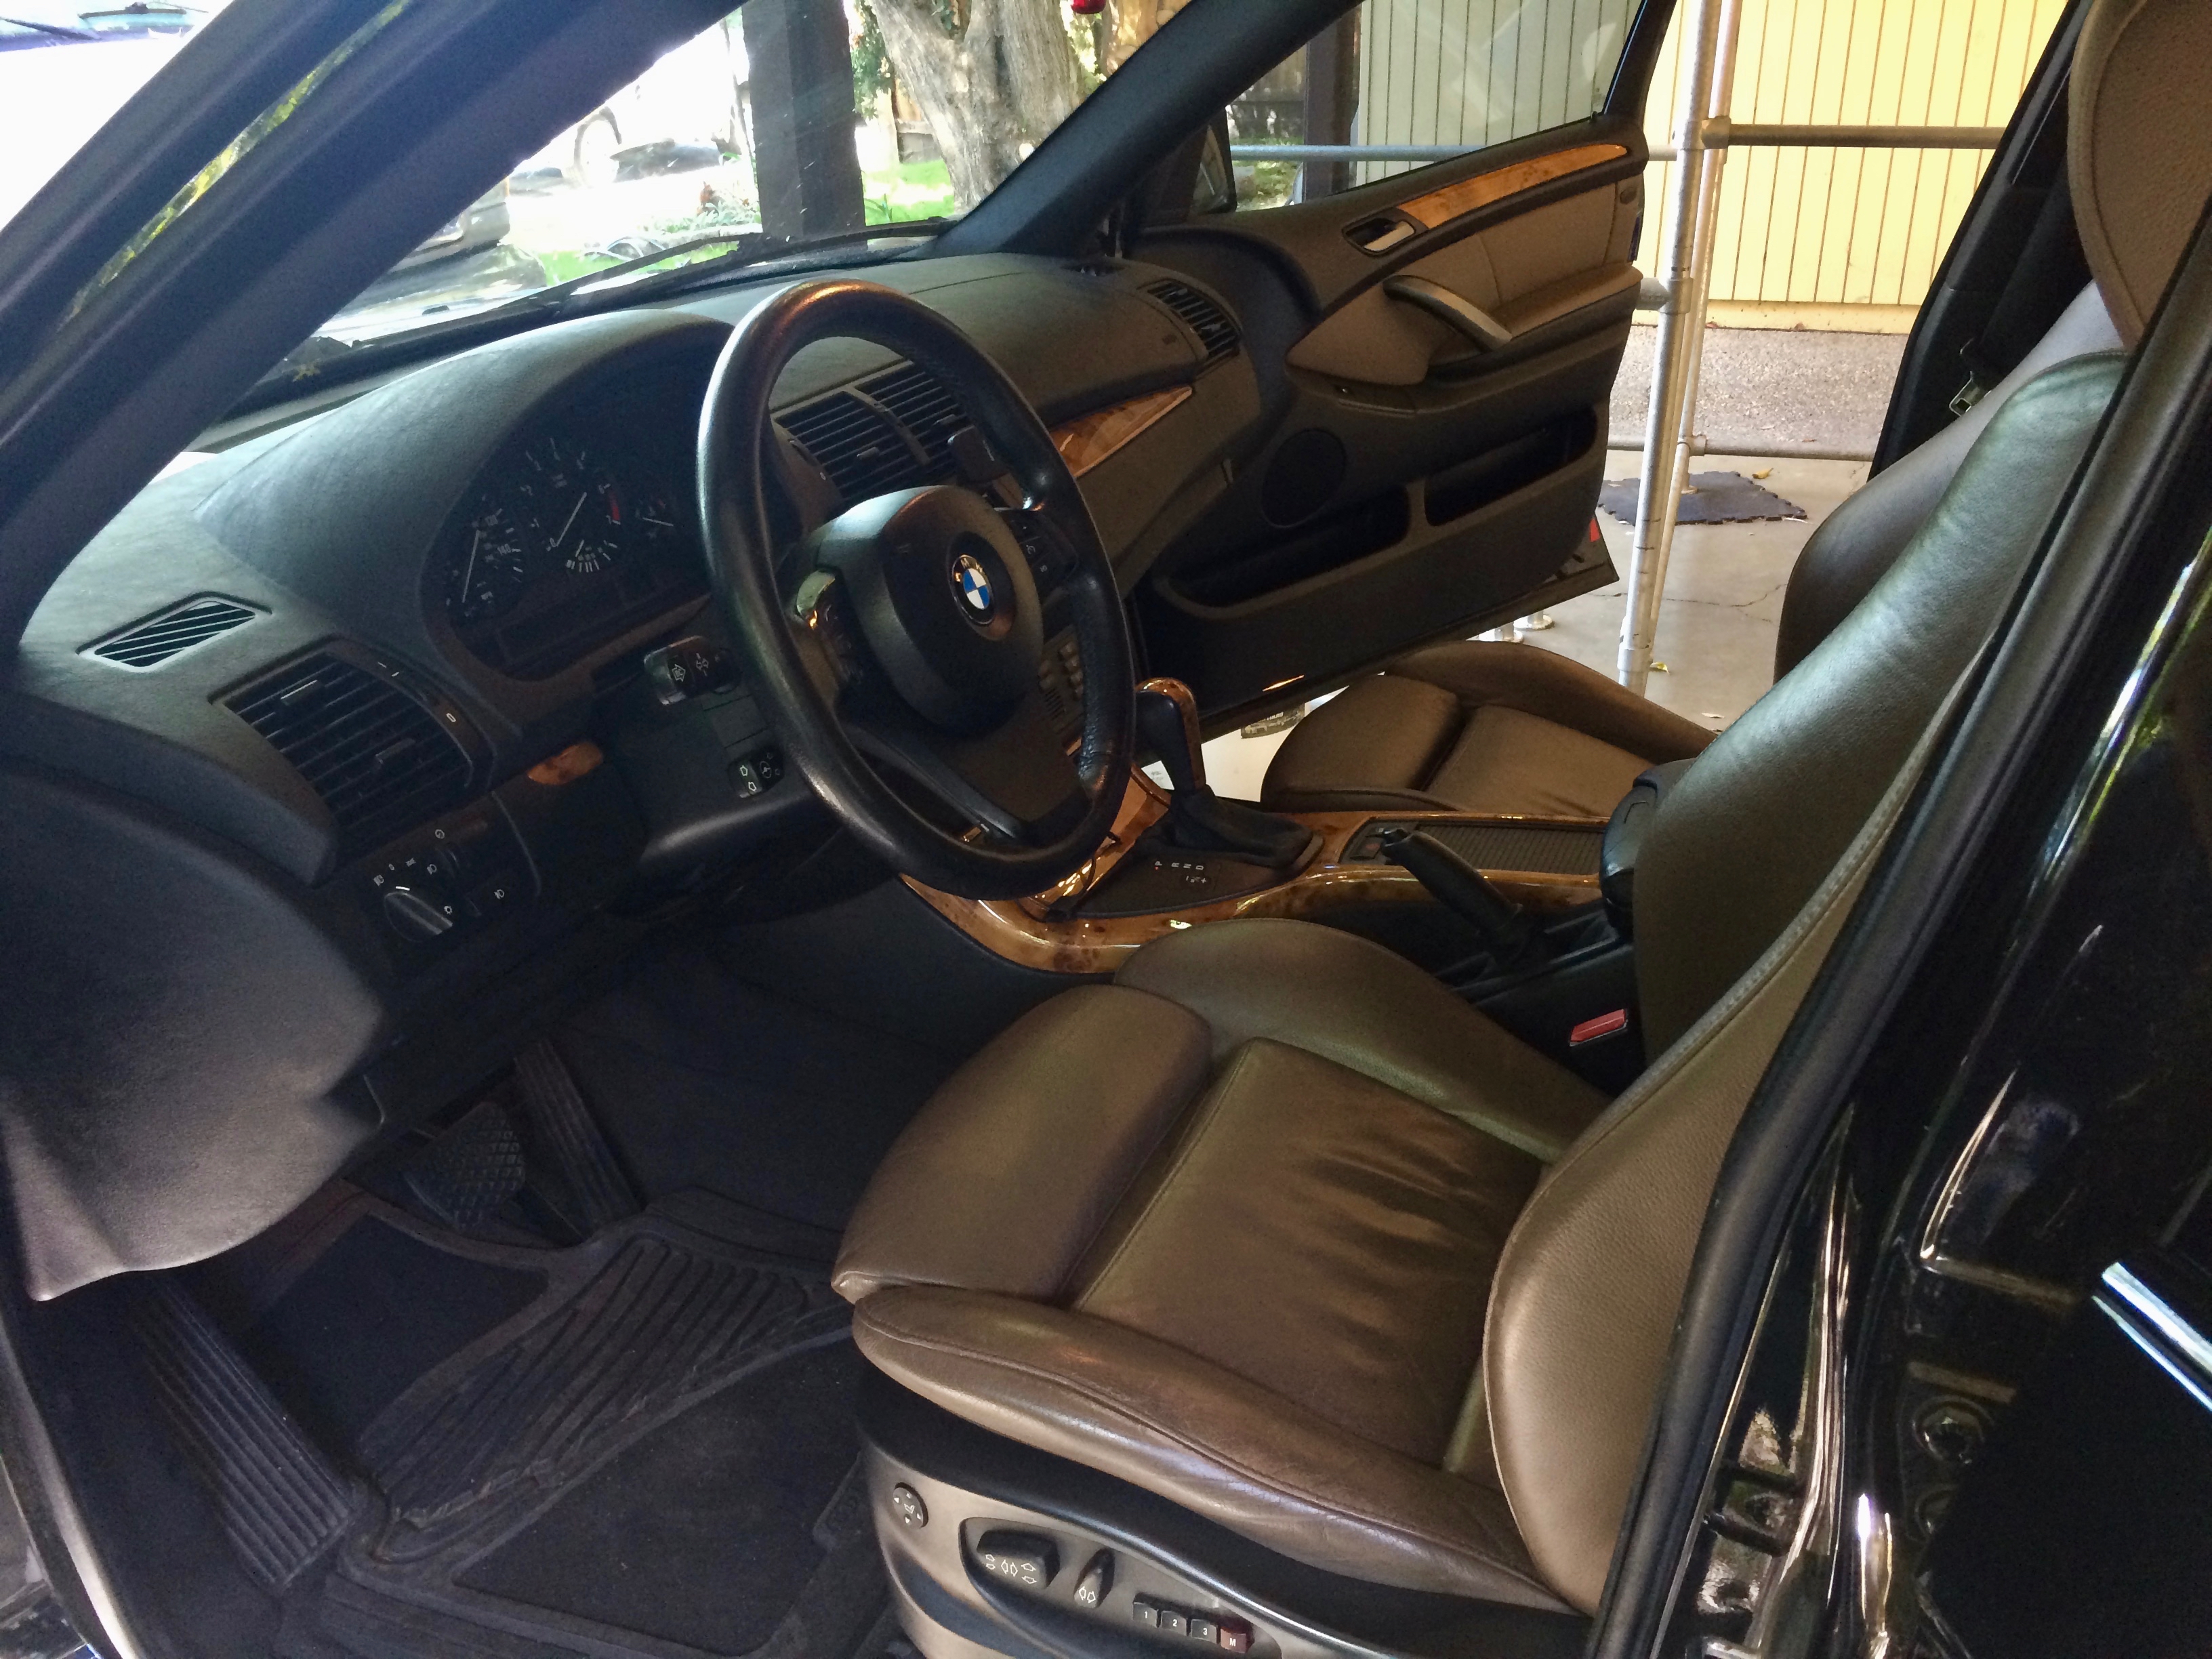
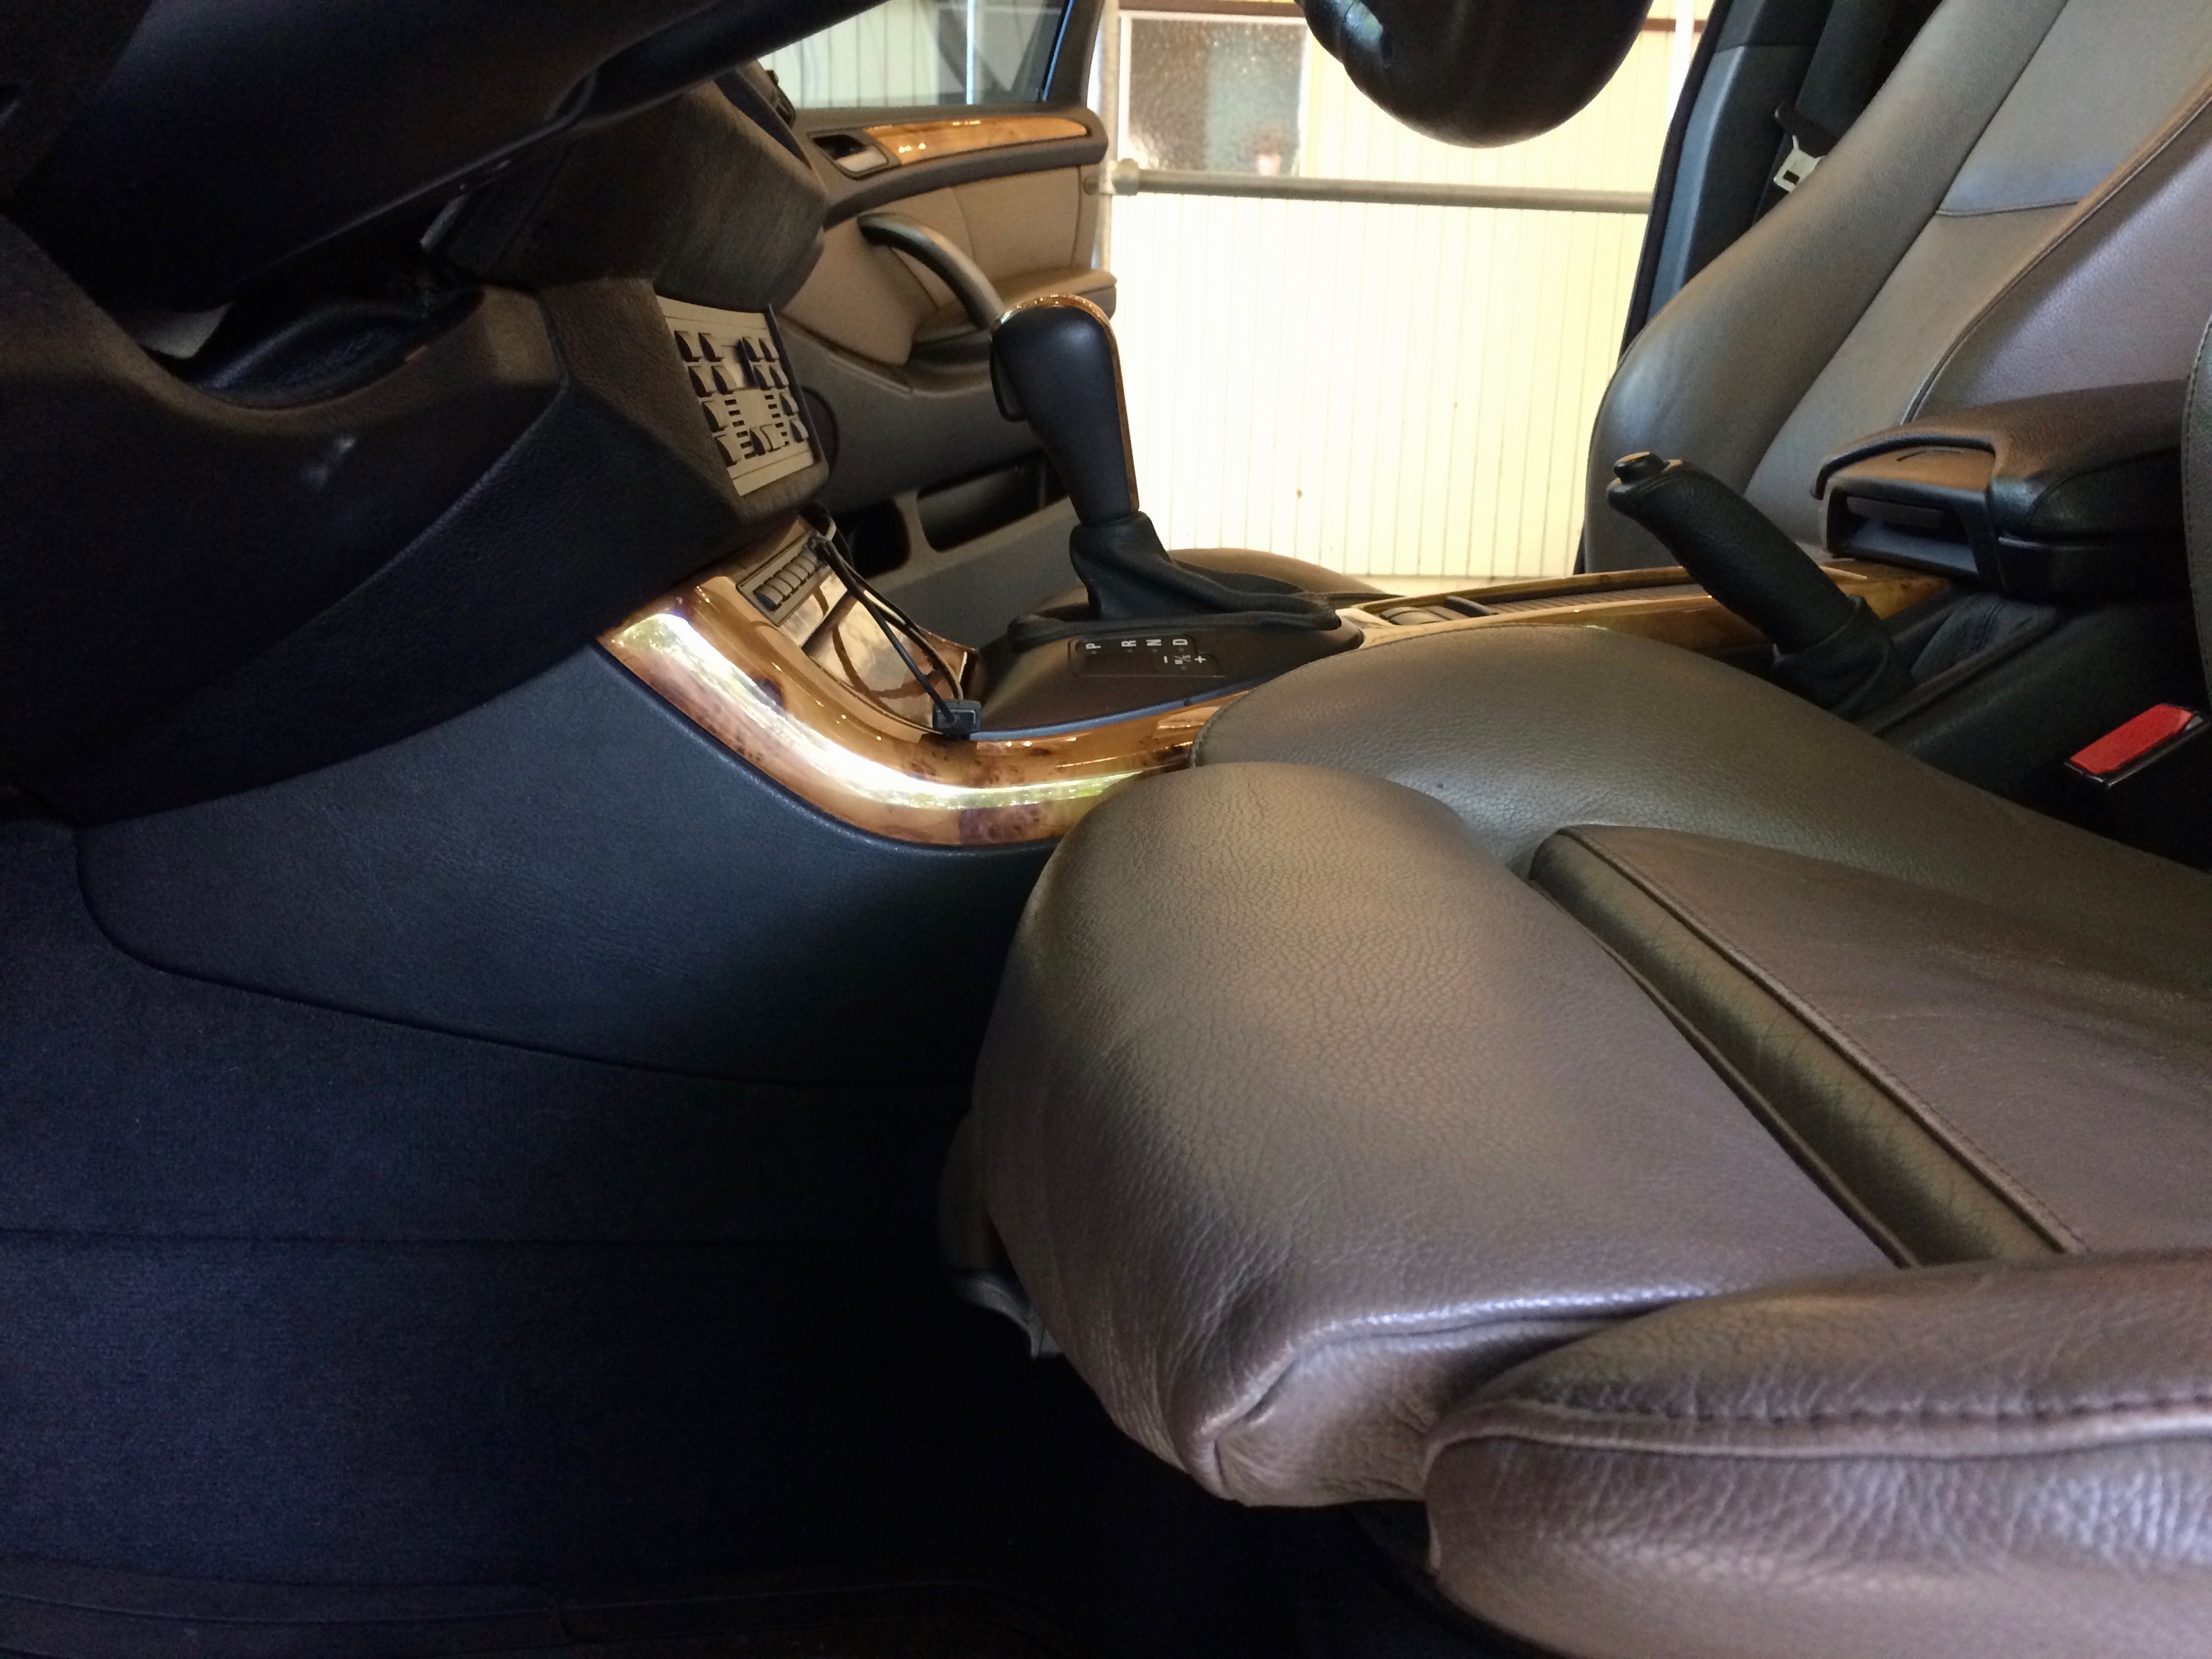
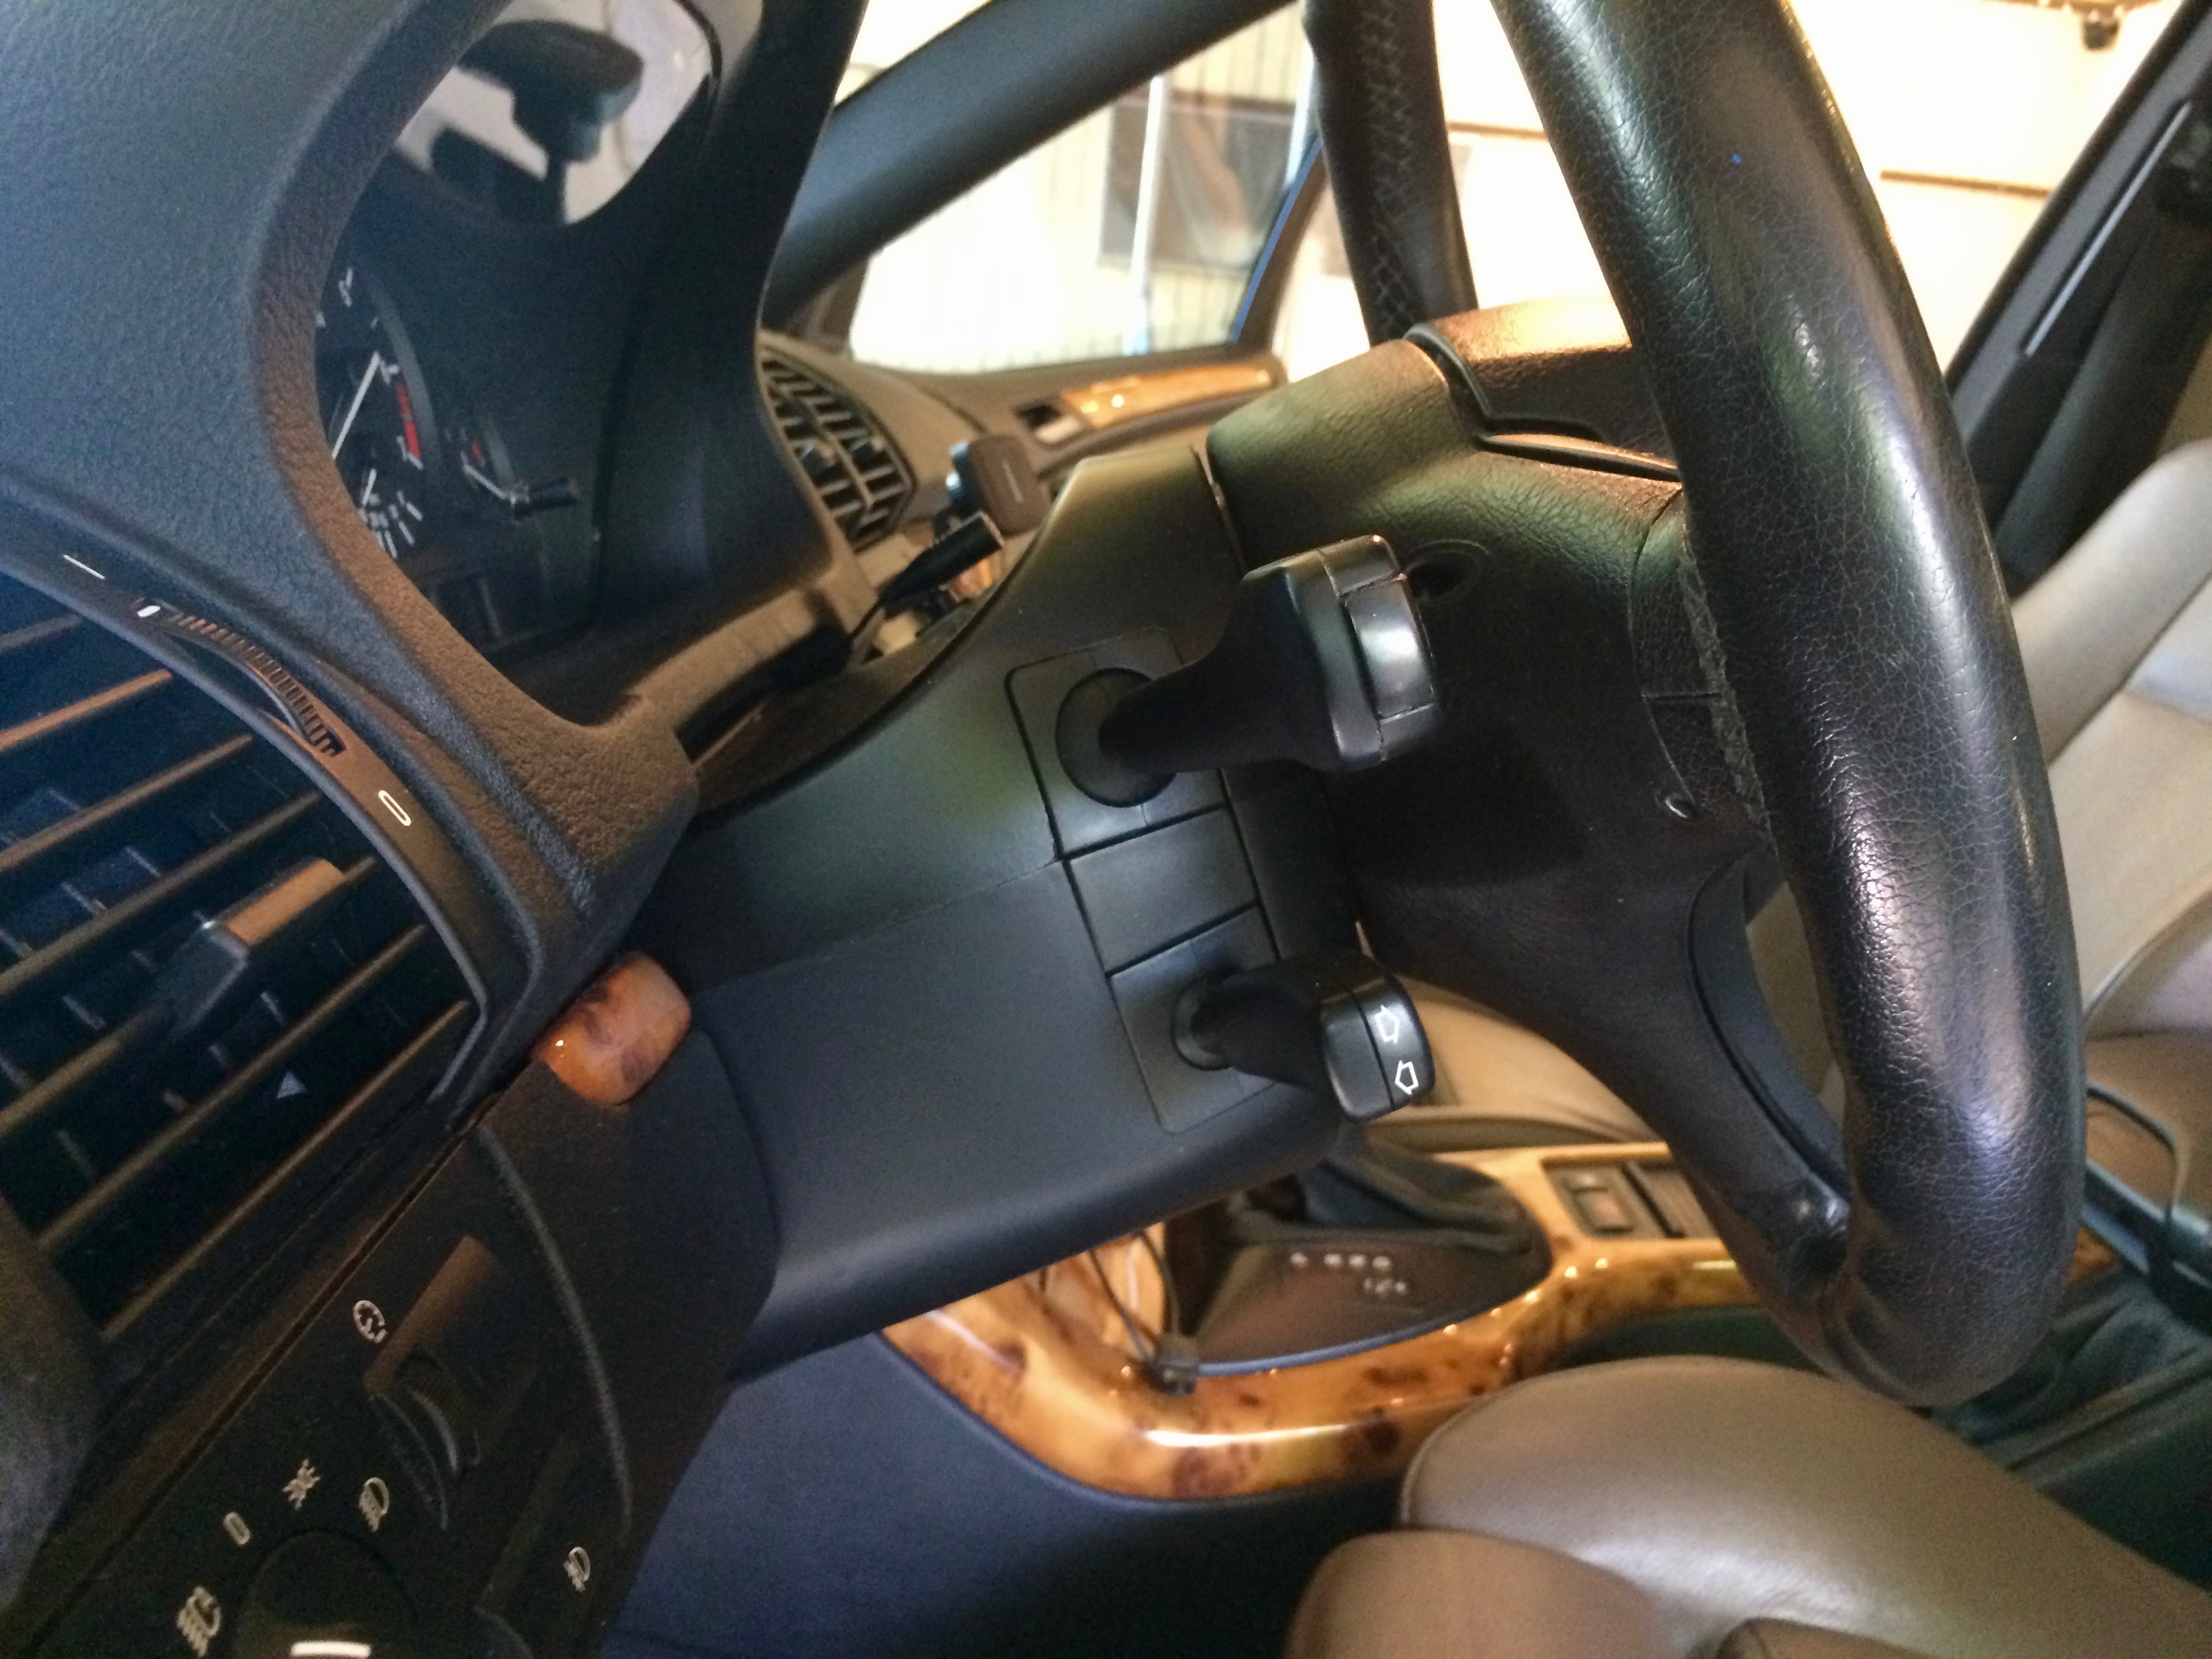
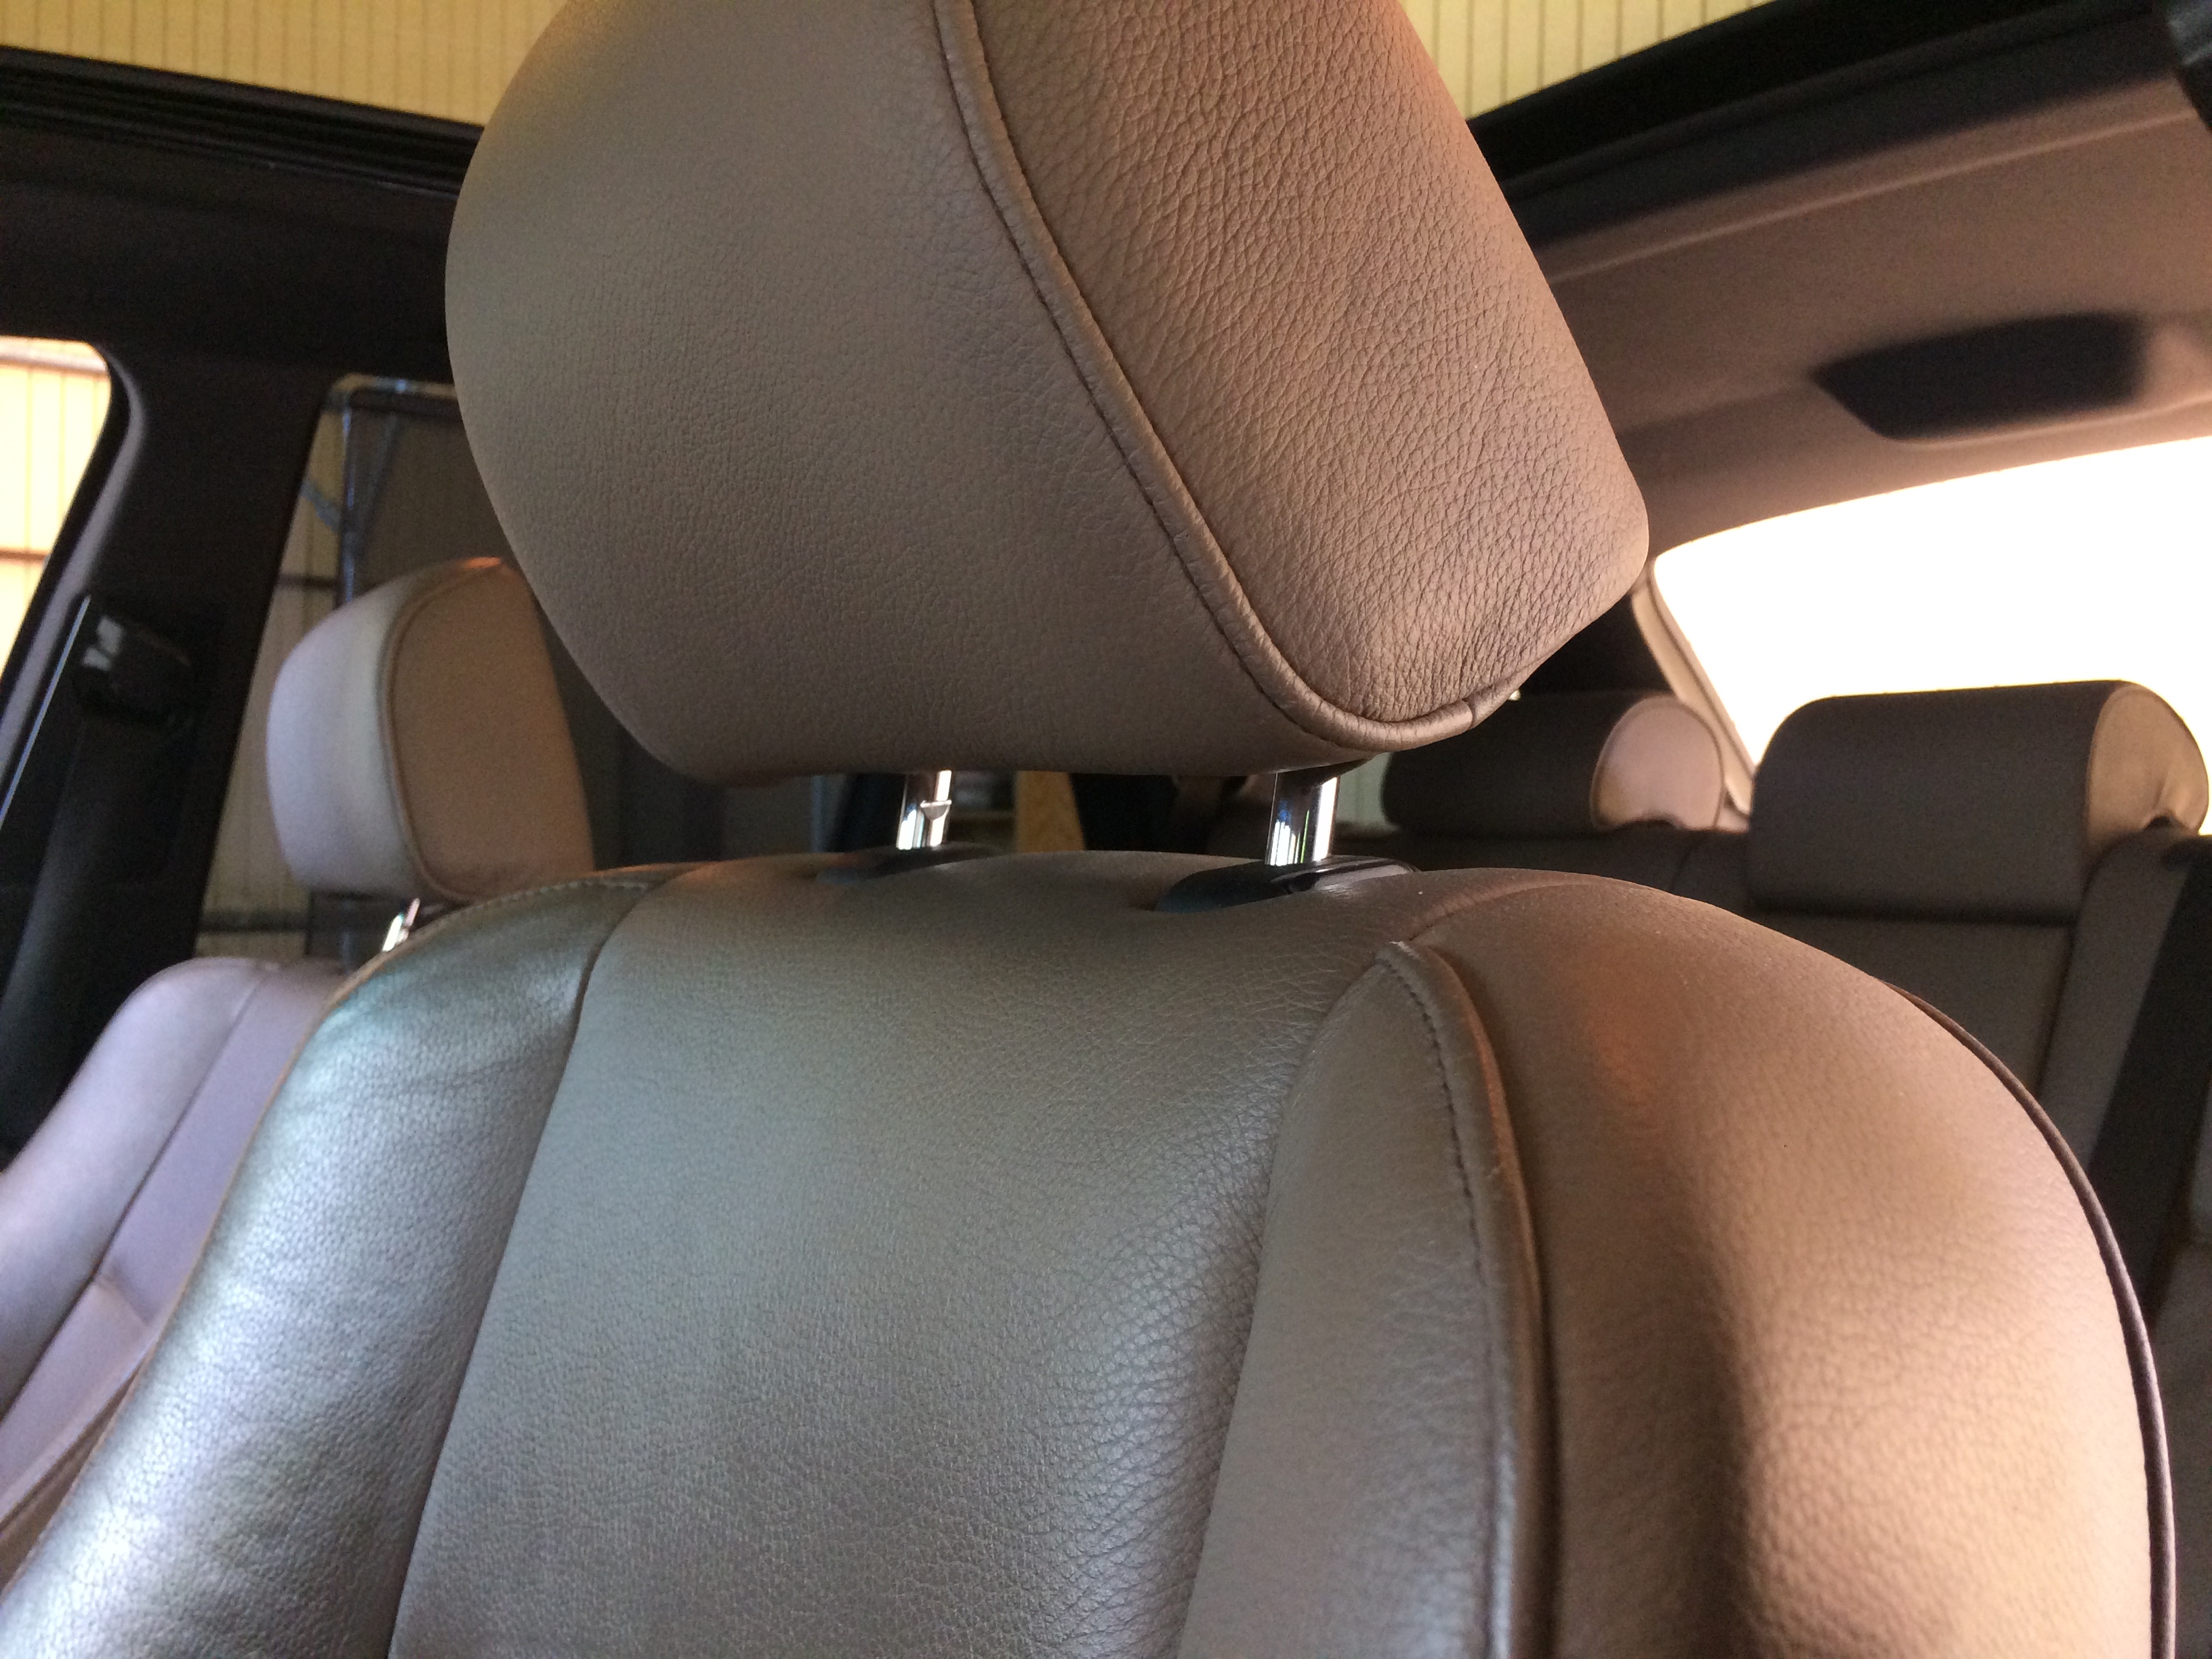
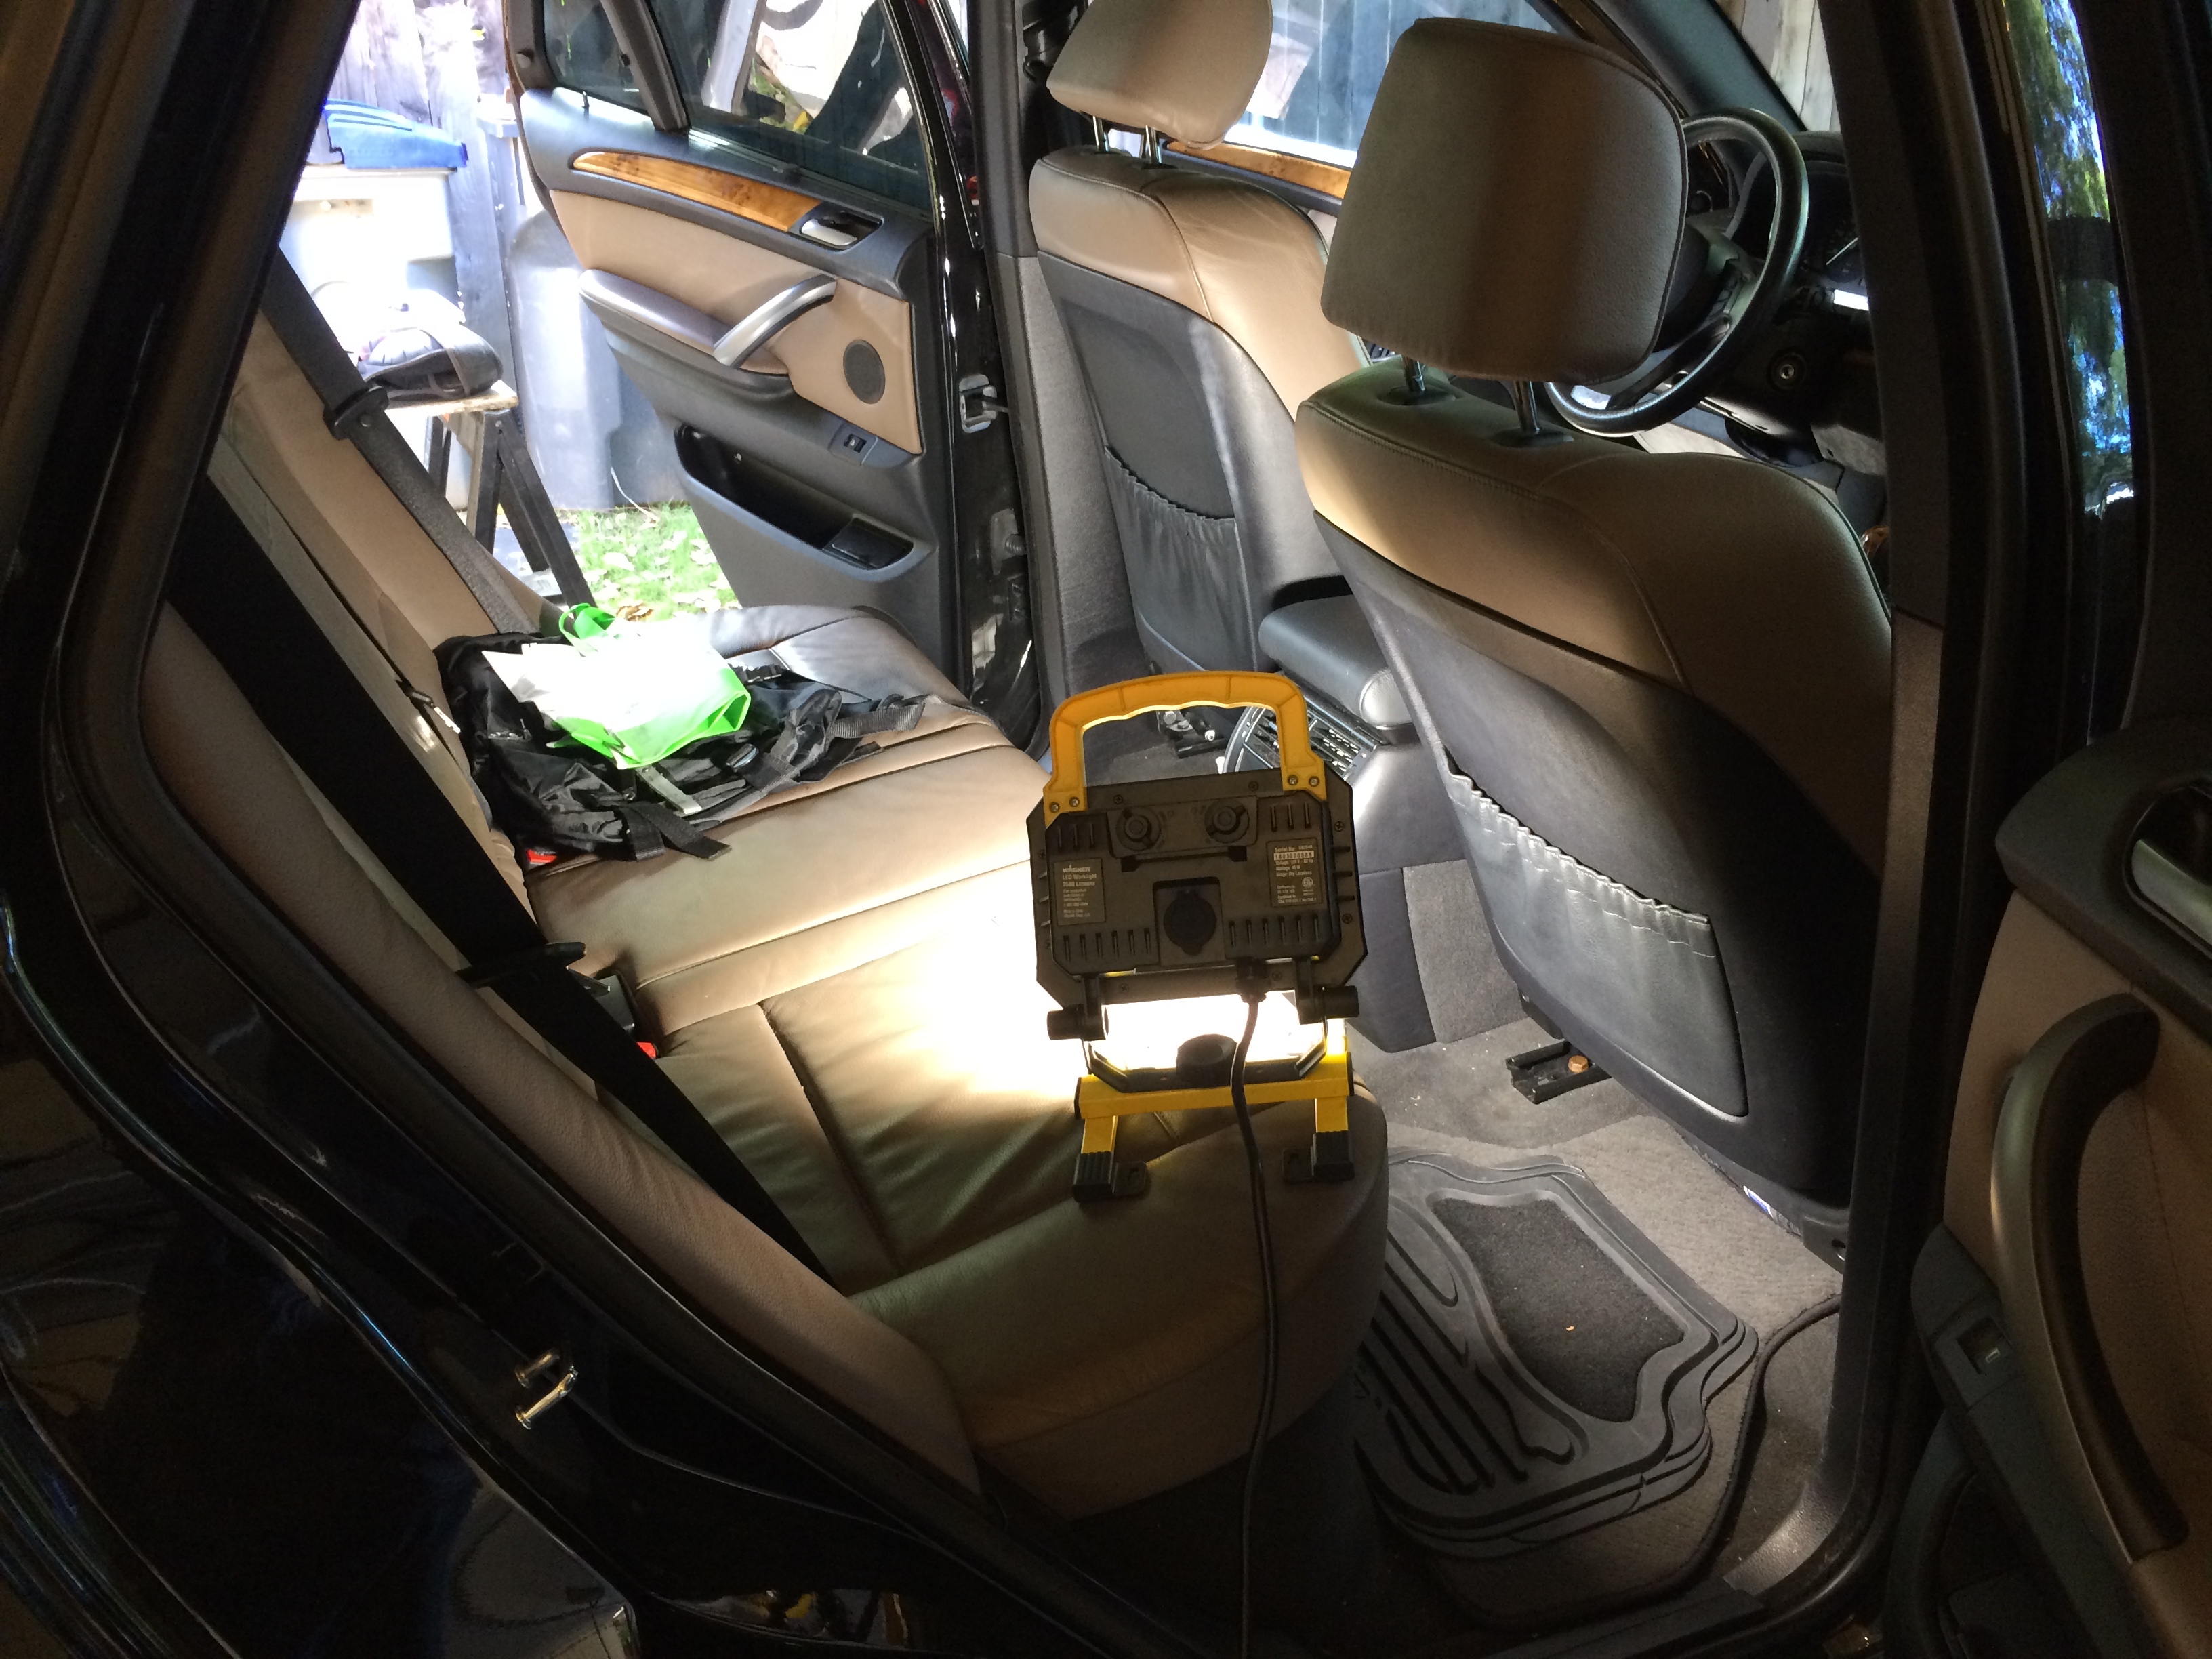
While I am inside, I like to take photos of the driver’s seat, steering wheel and headrest positions first. This way I can place them back in the client’s preferred position before pickup time. I move these parts to clean. If the vehicle has memorized seat settings I still like to provide the convenience.
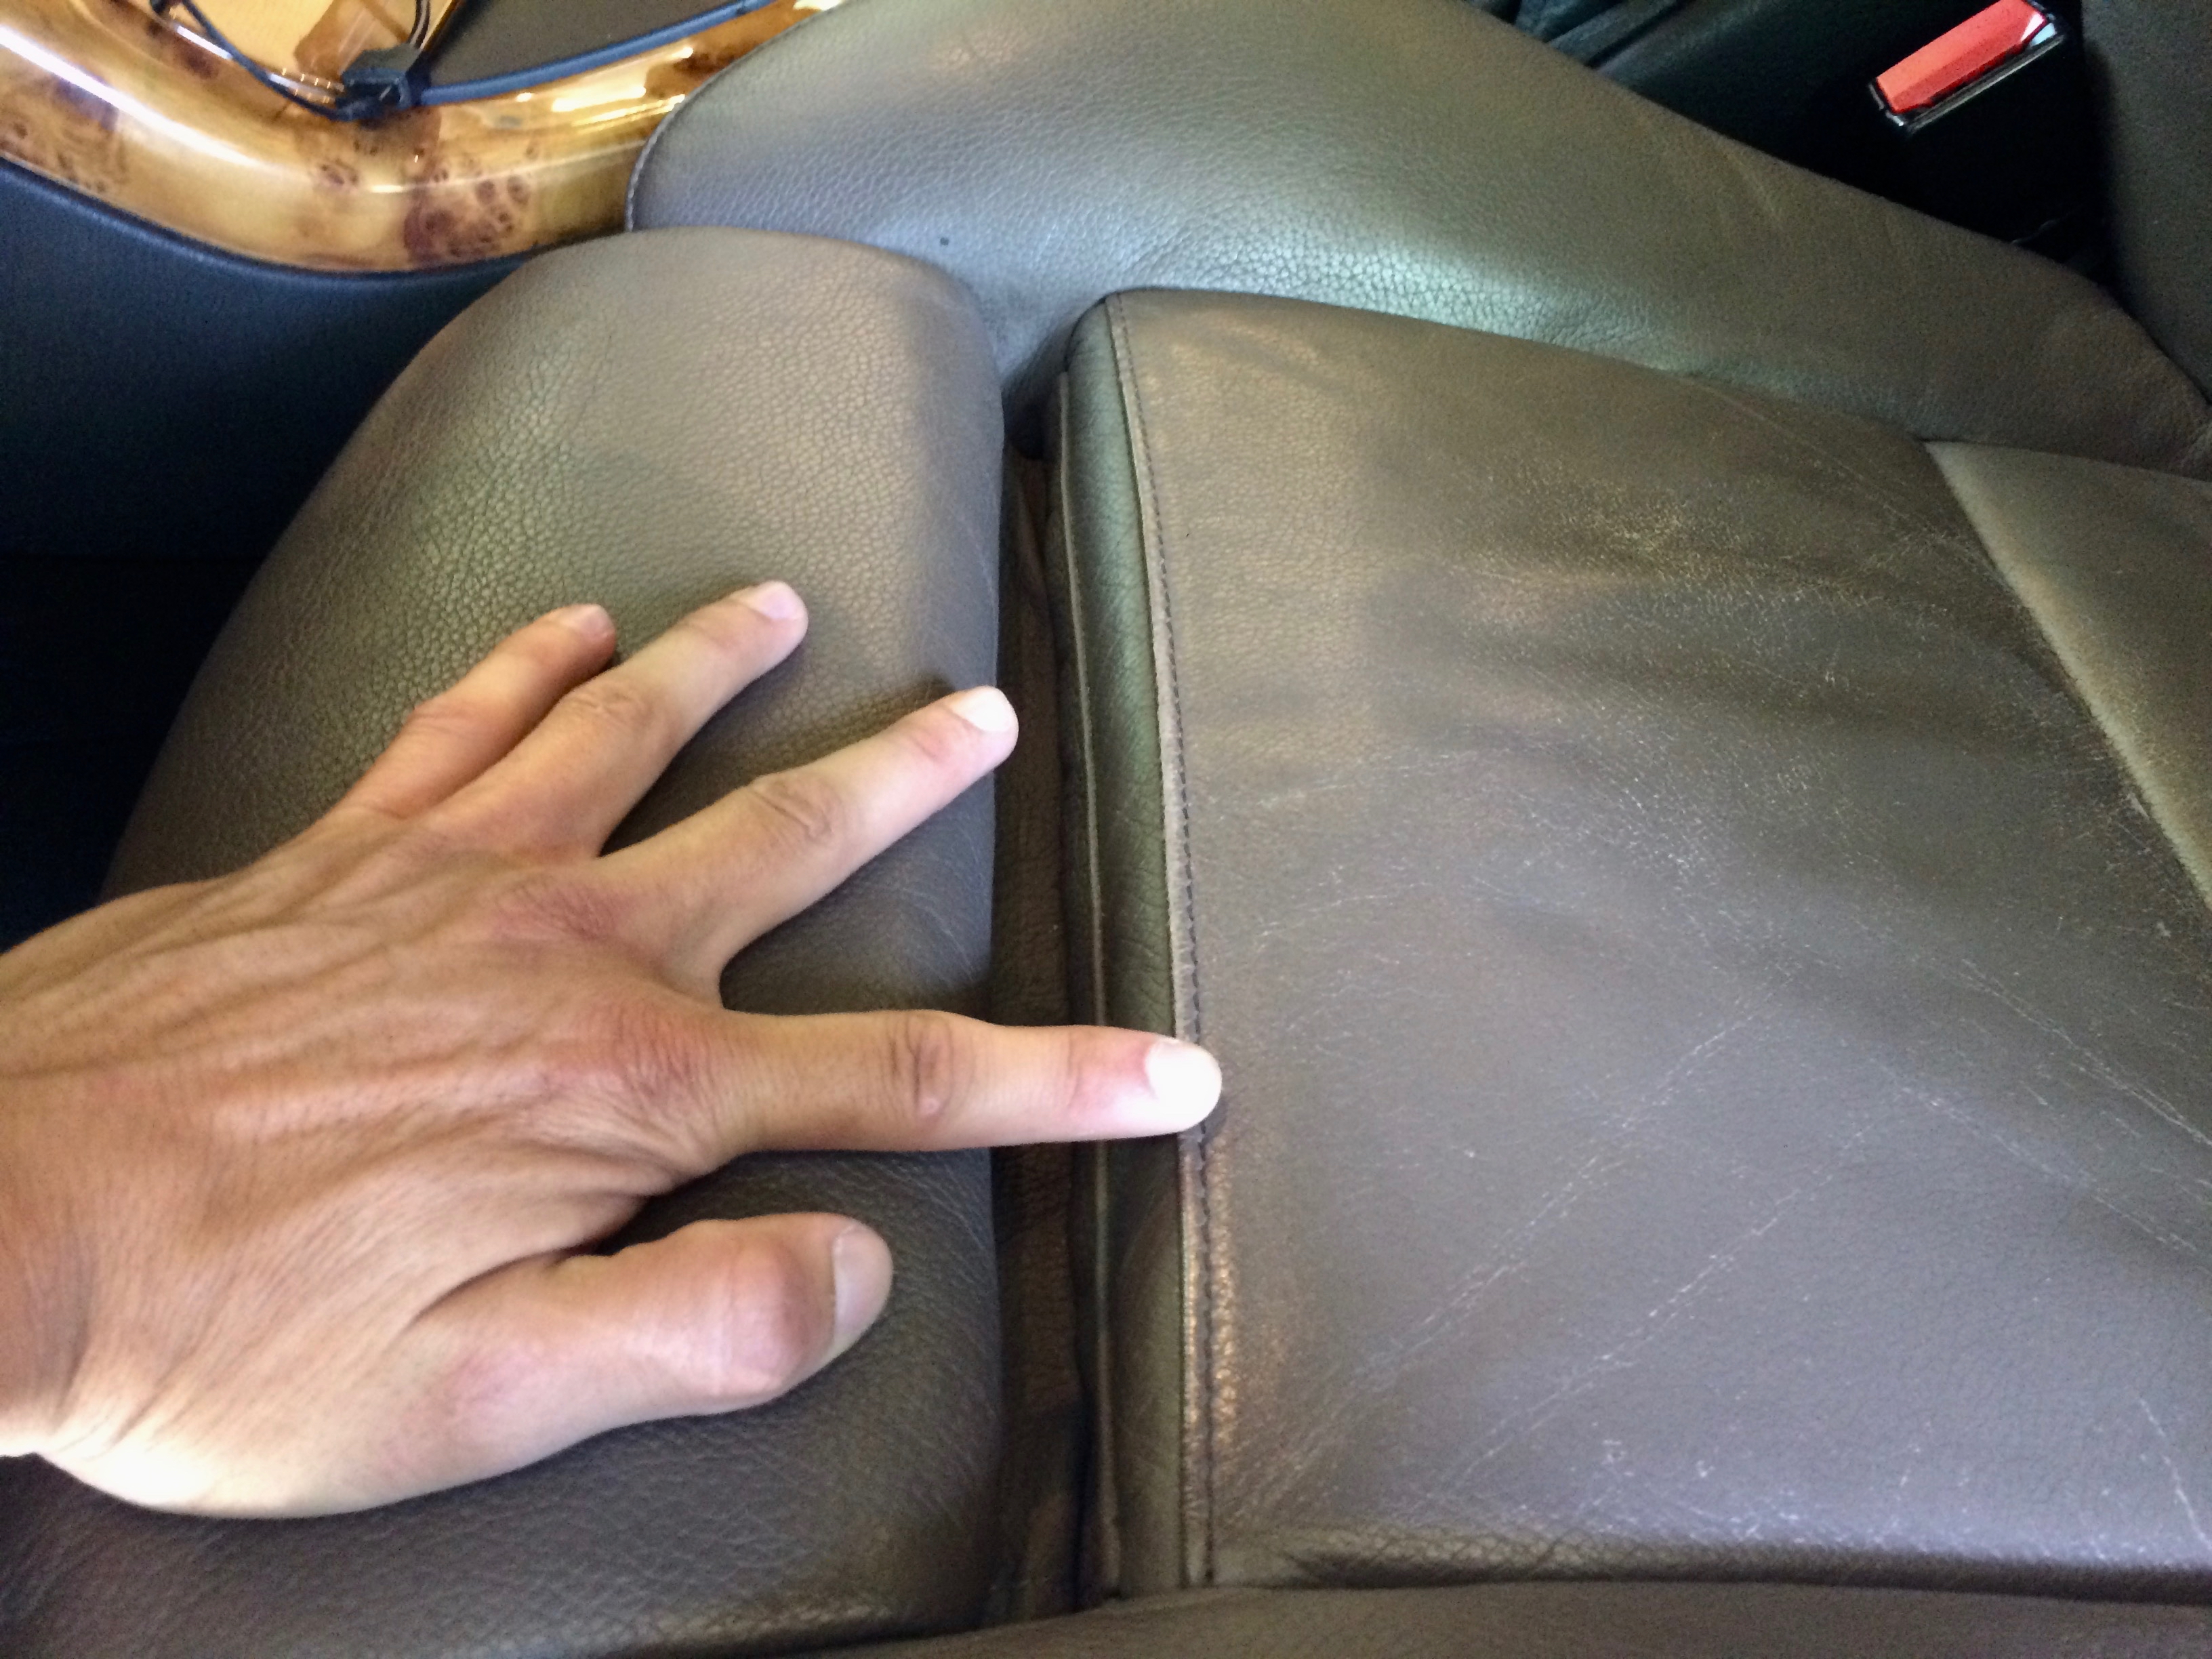
The front of the seat lines up with the front of the shifter knob in park, and I am using my hand for reference to measure the extendable bolster.
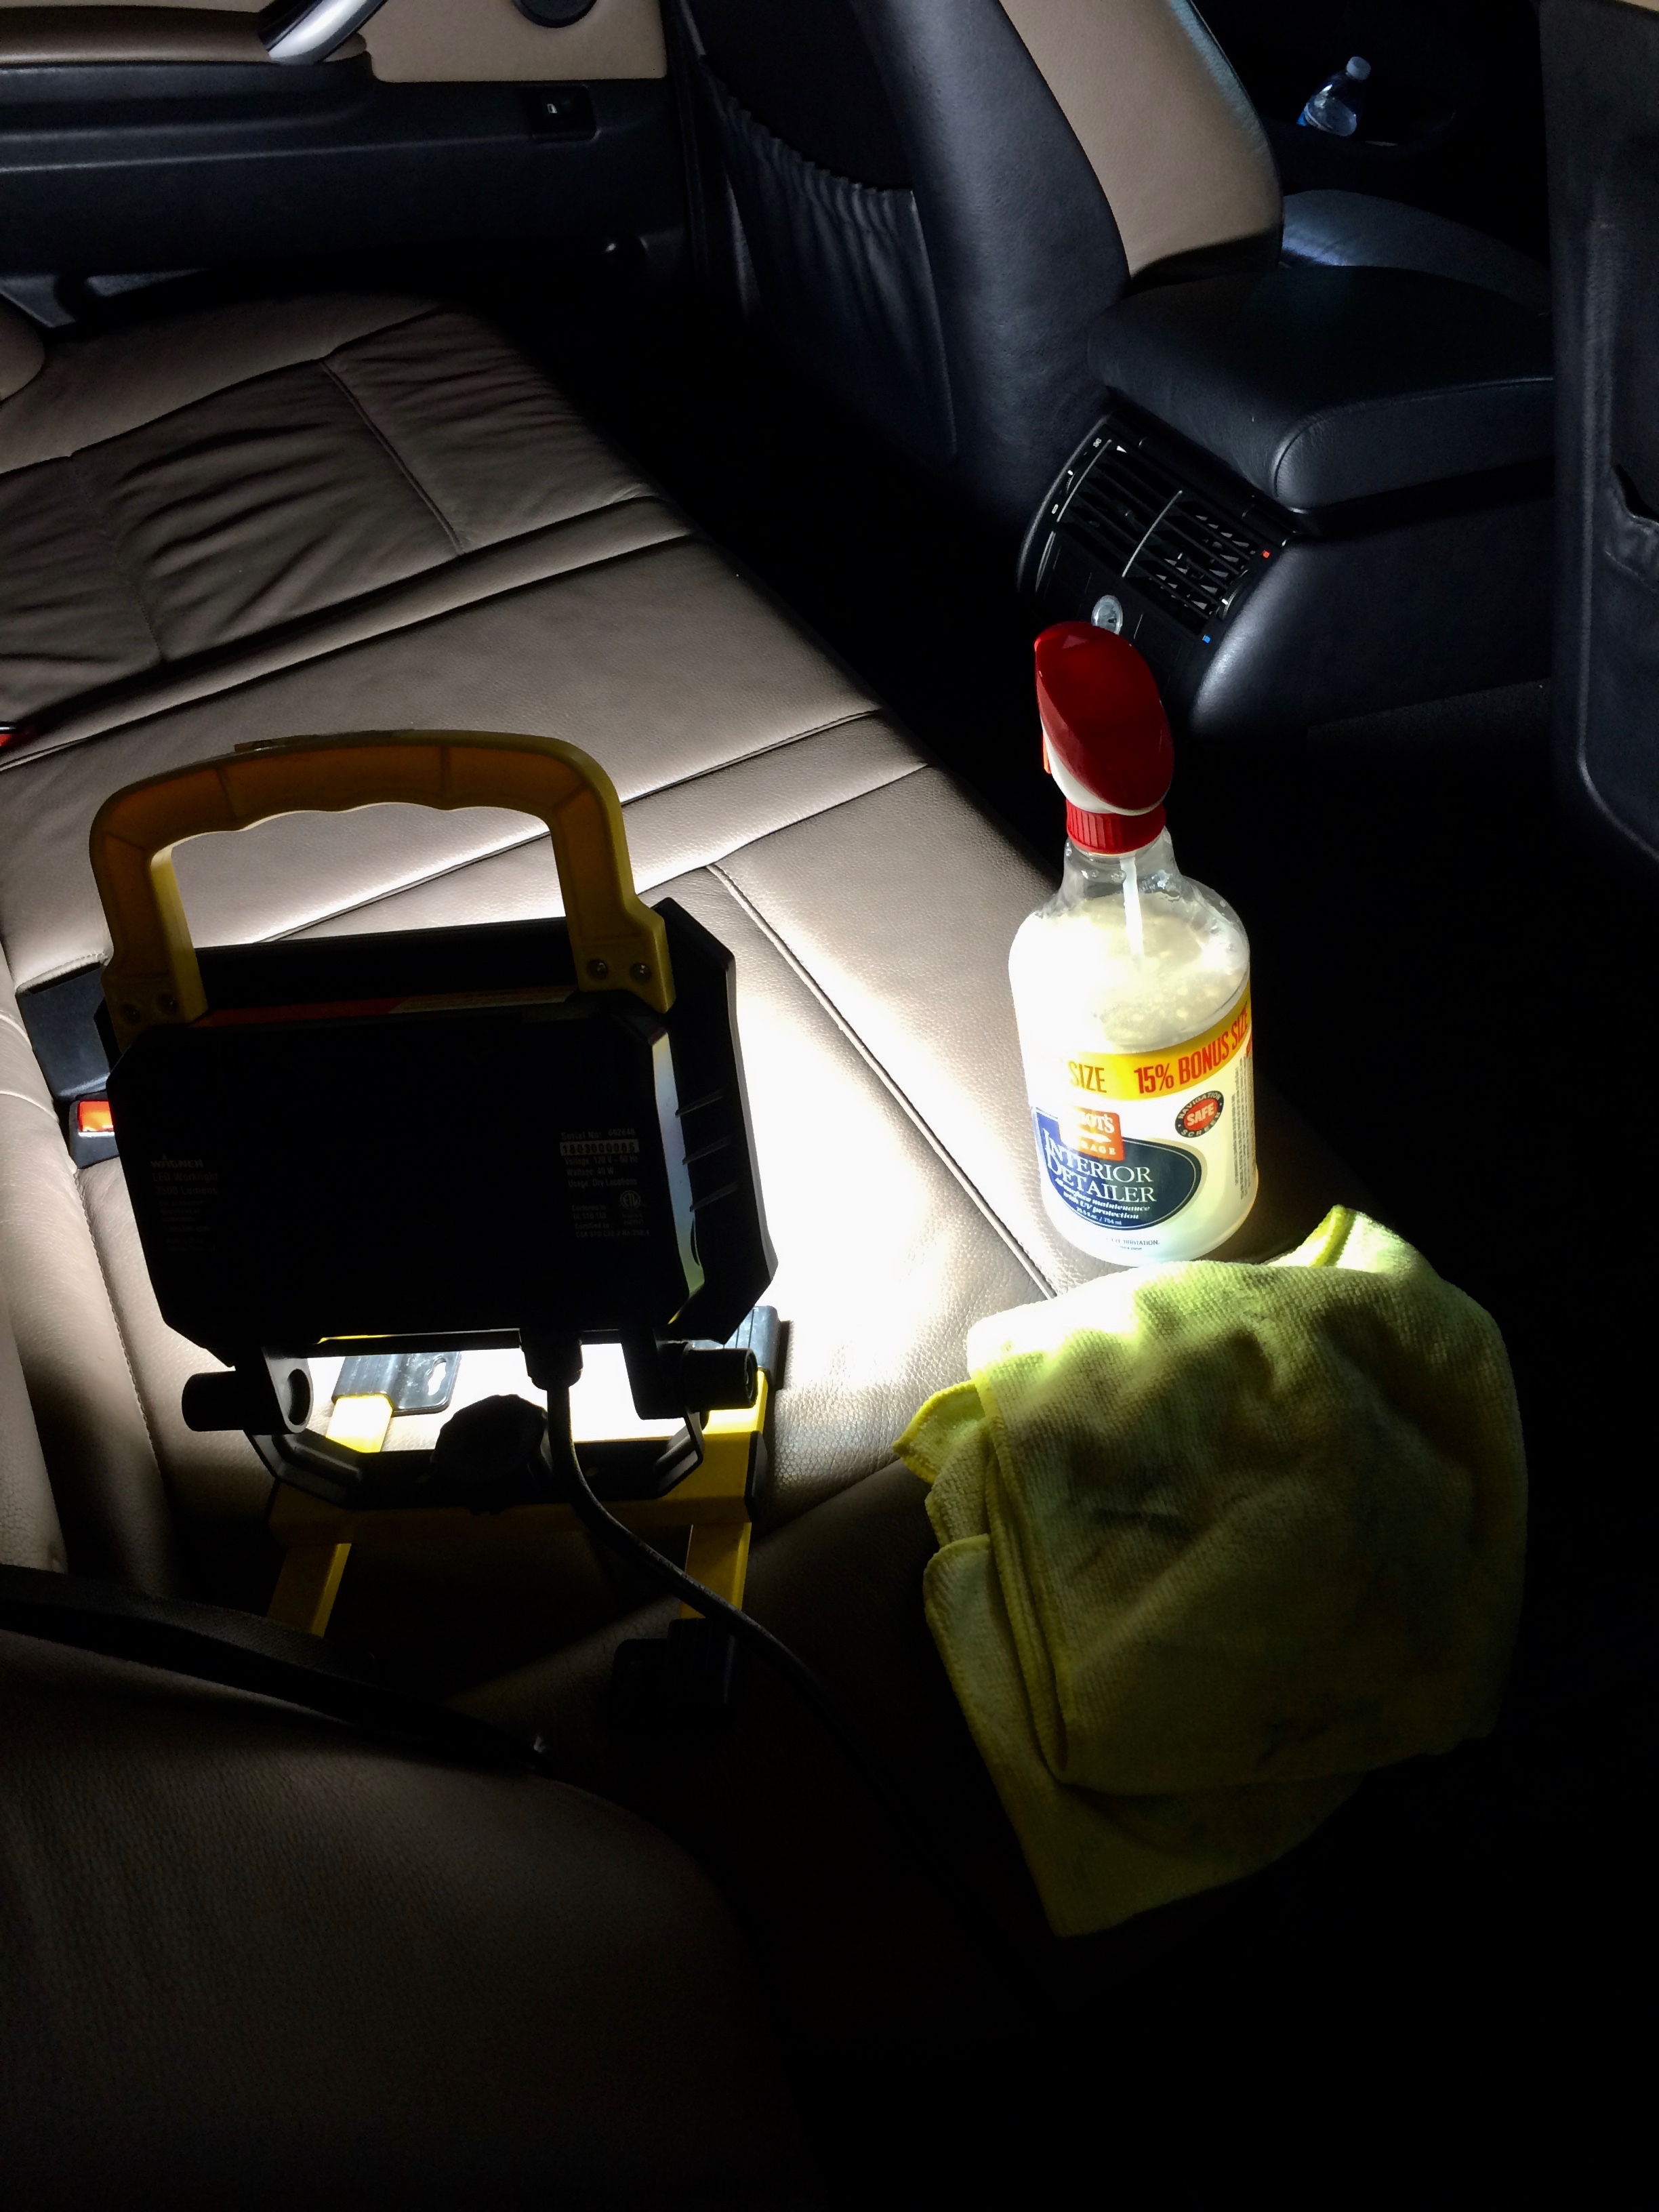
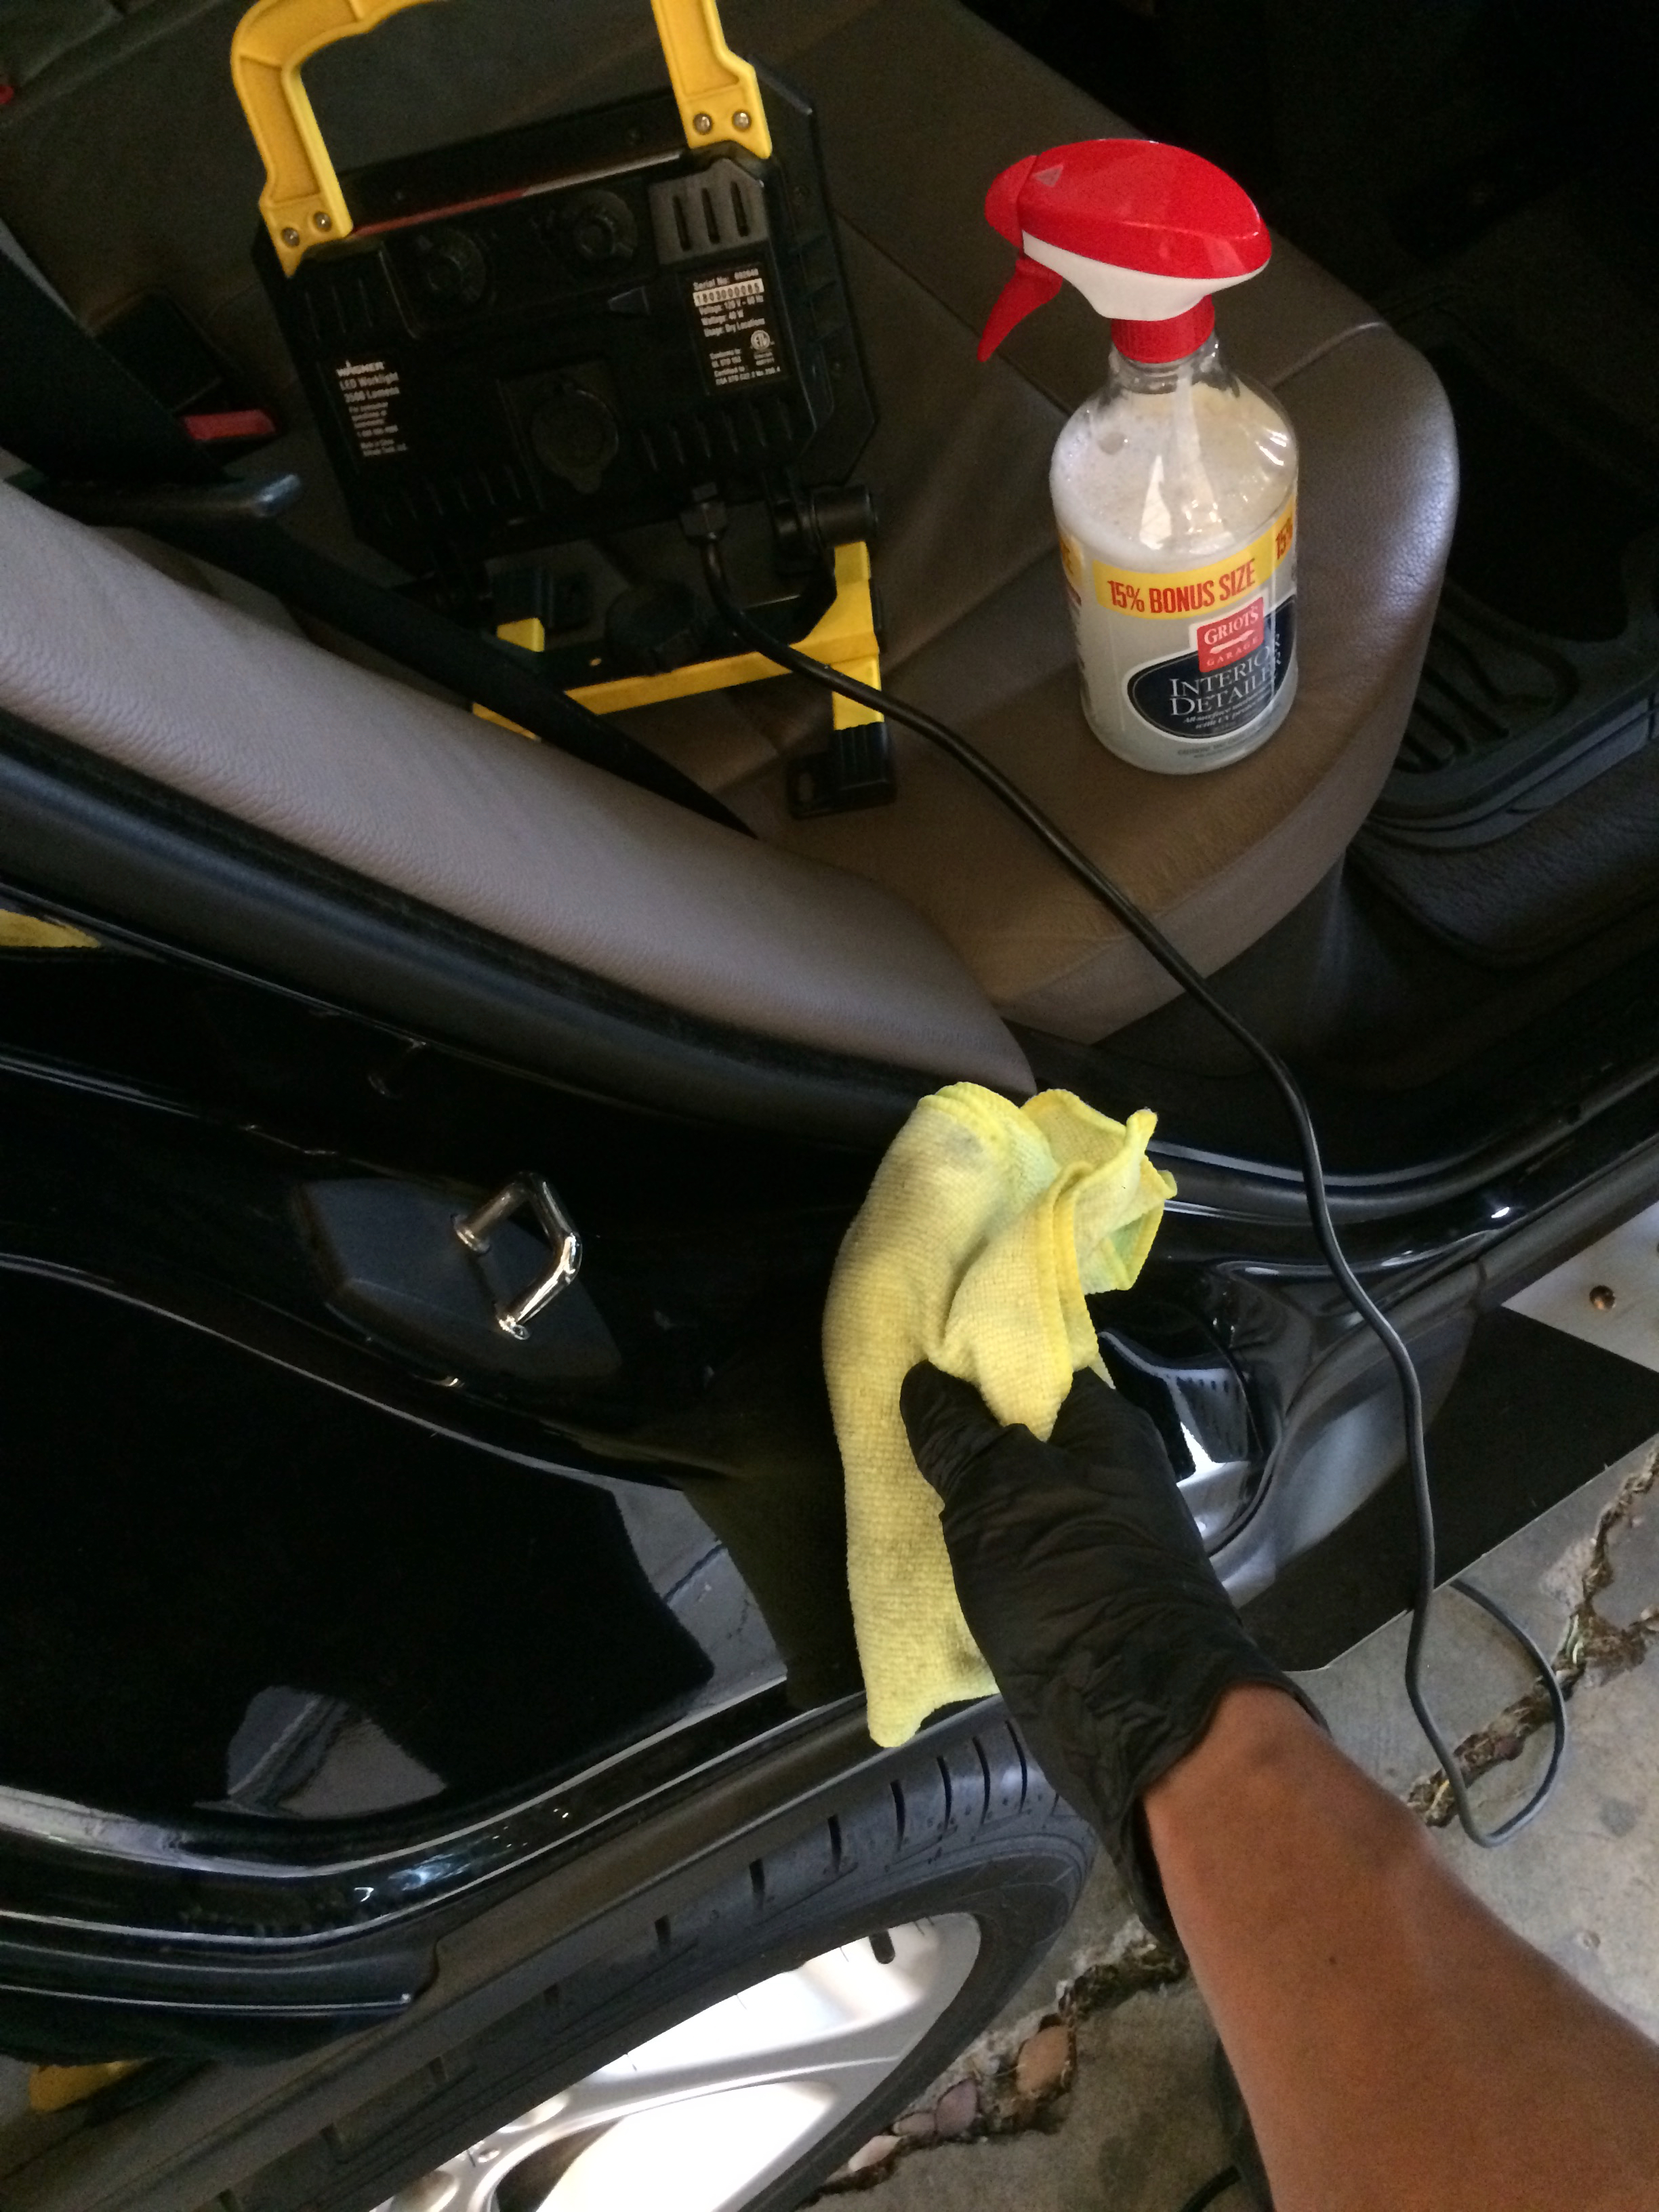
I use my Wagner LED lamp to provide lighting while I clean the interior, and I pull out my handheld Fenix PD35 flashlight if needed for tight and hidden areas.
If my client has loose odds and ends inside the vehicle I like to organize them just a little bit. Any items that look like trash but that I am not positive of go into a zip-lock bag for the client to look over first, this can include items like receipts that have fallen between the seats. I have found lost jewelry for clients before!
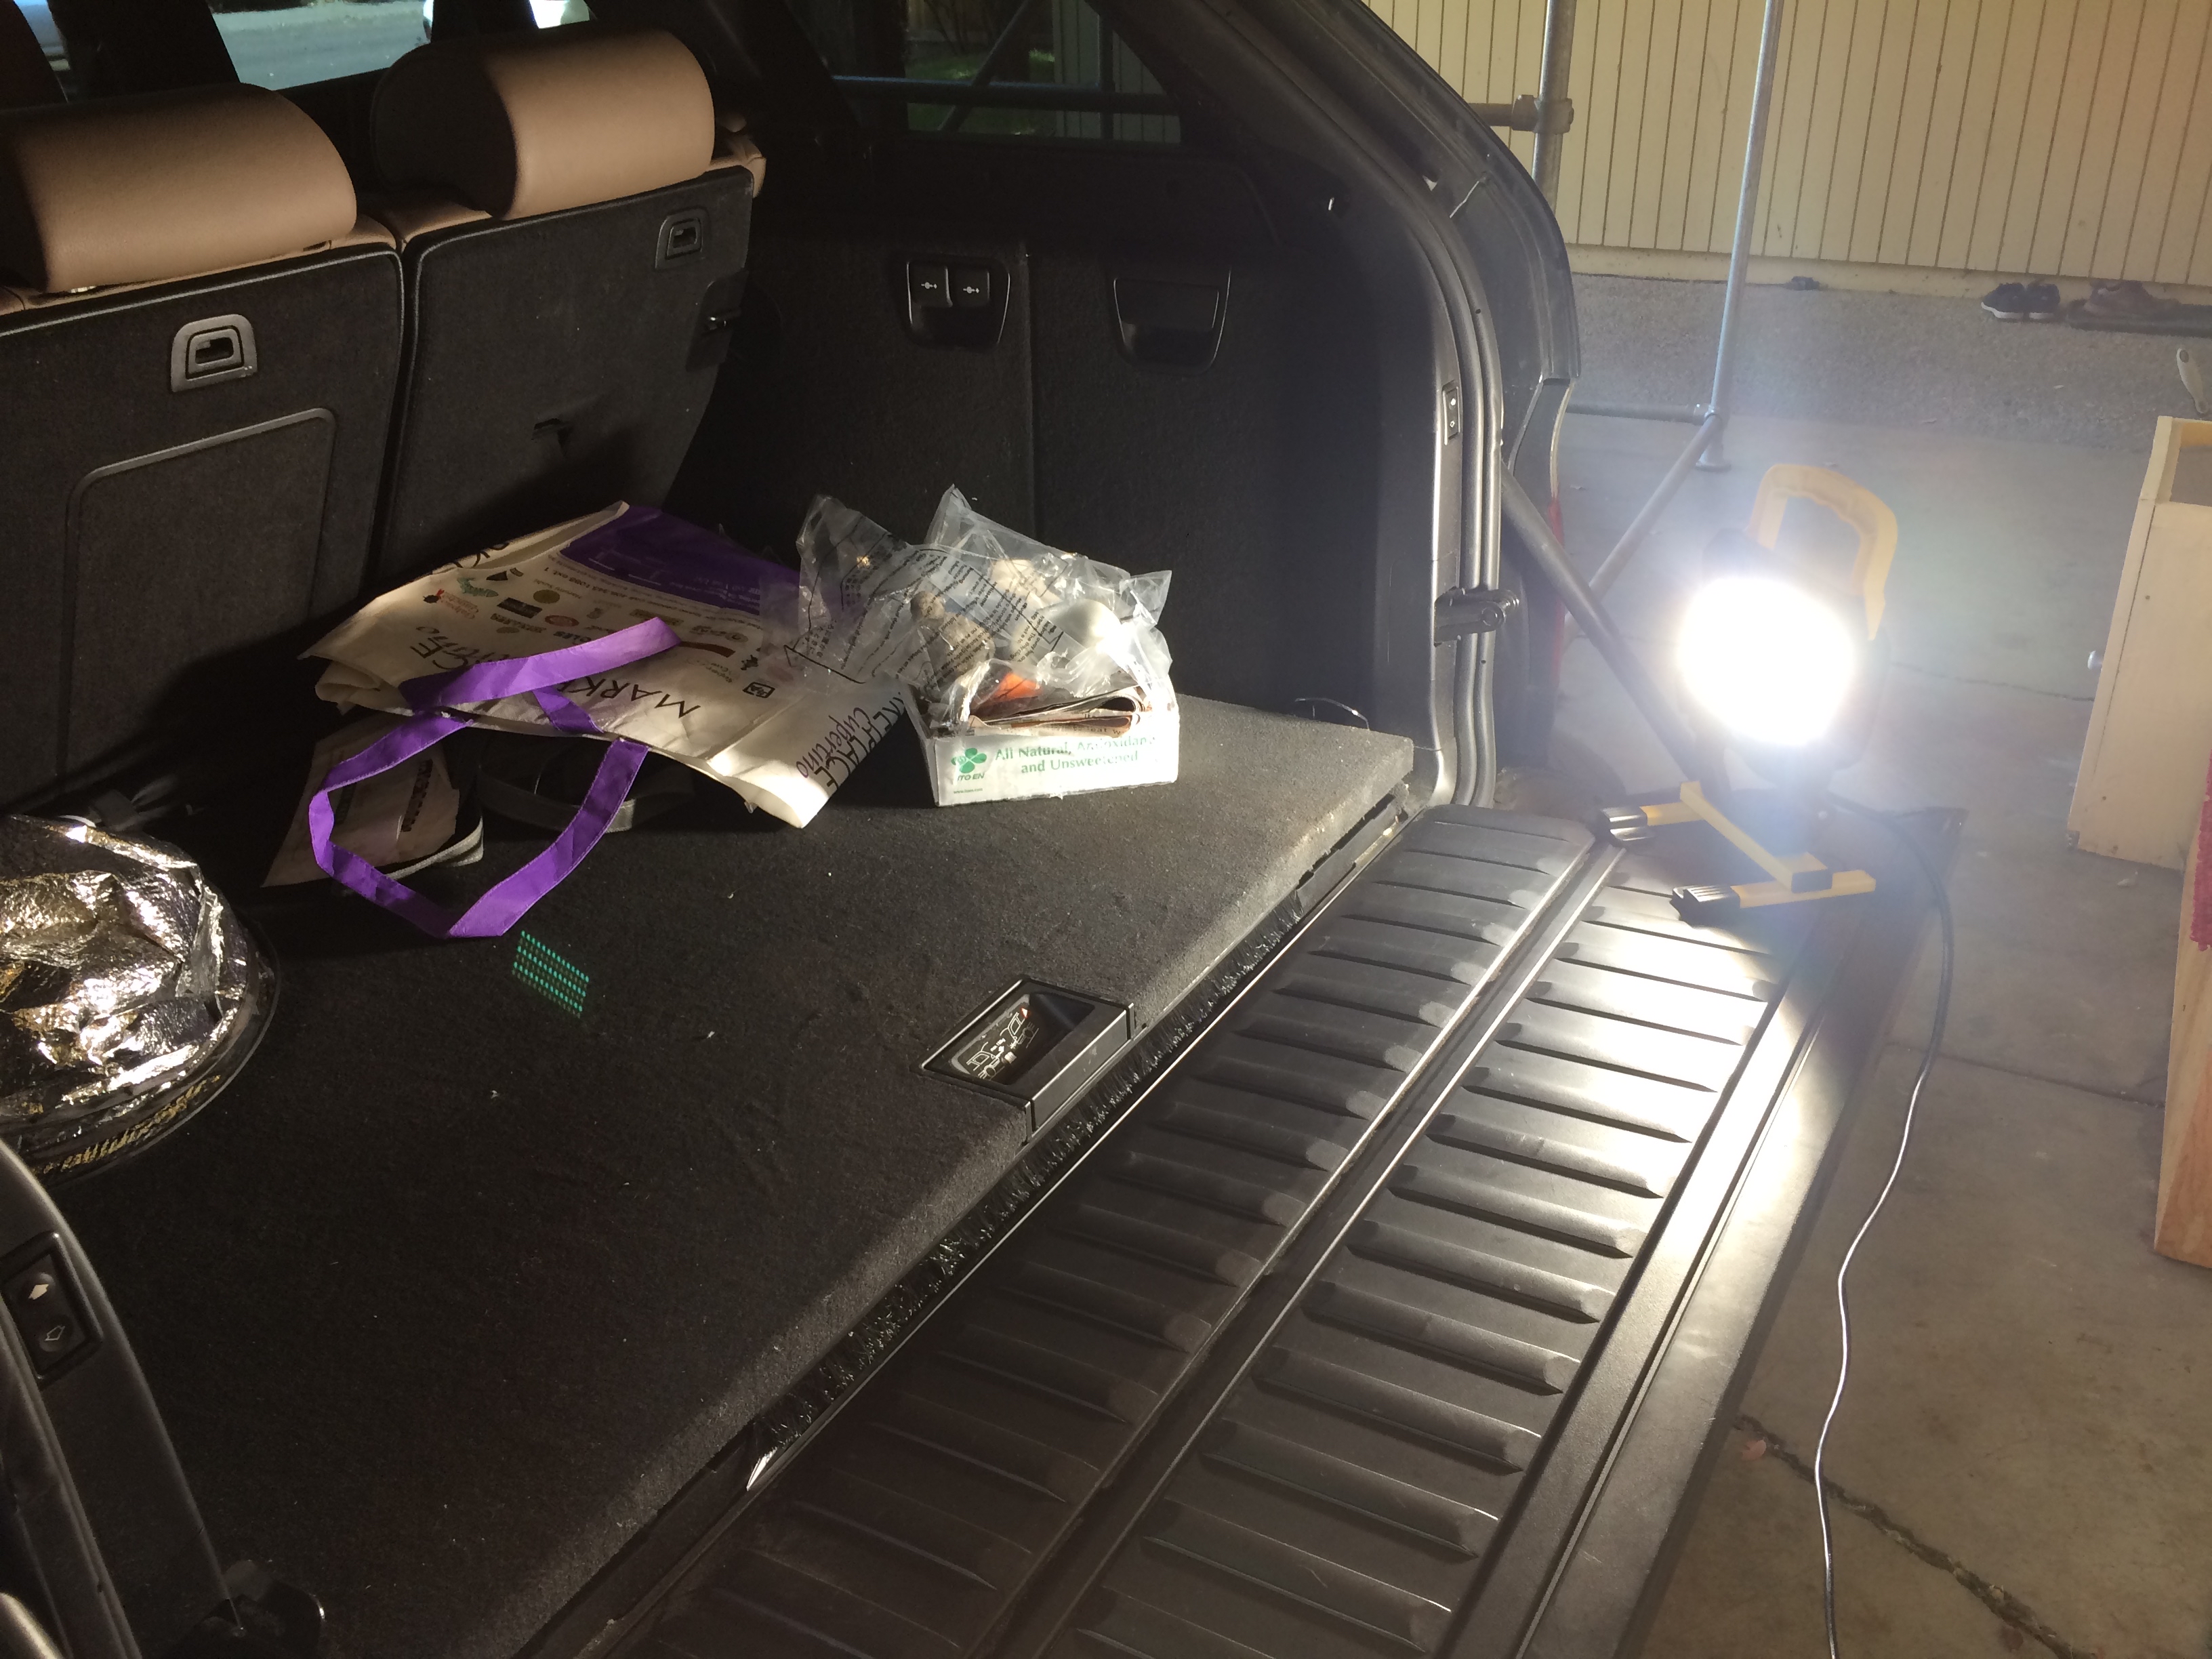
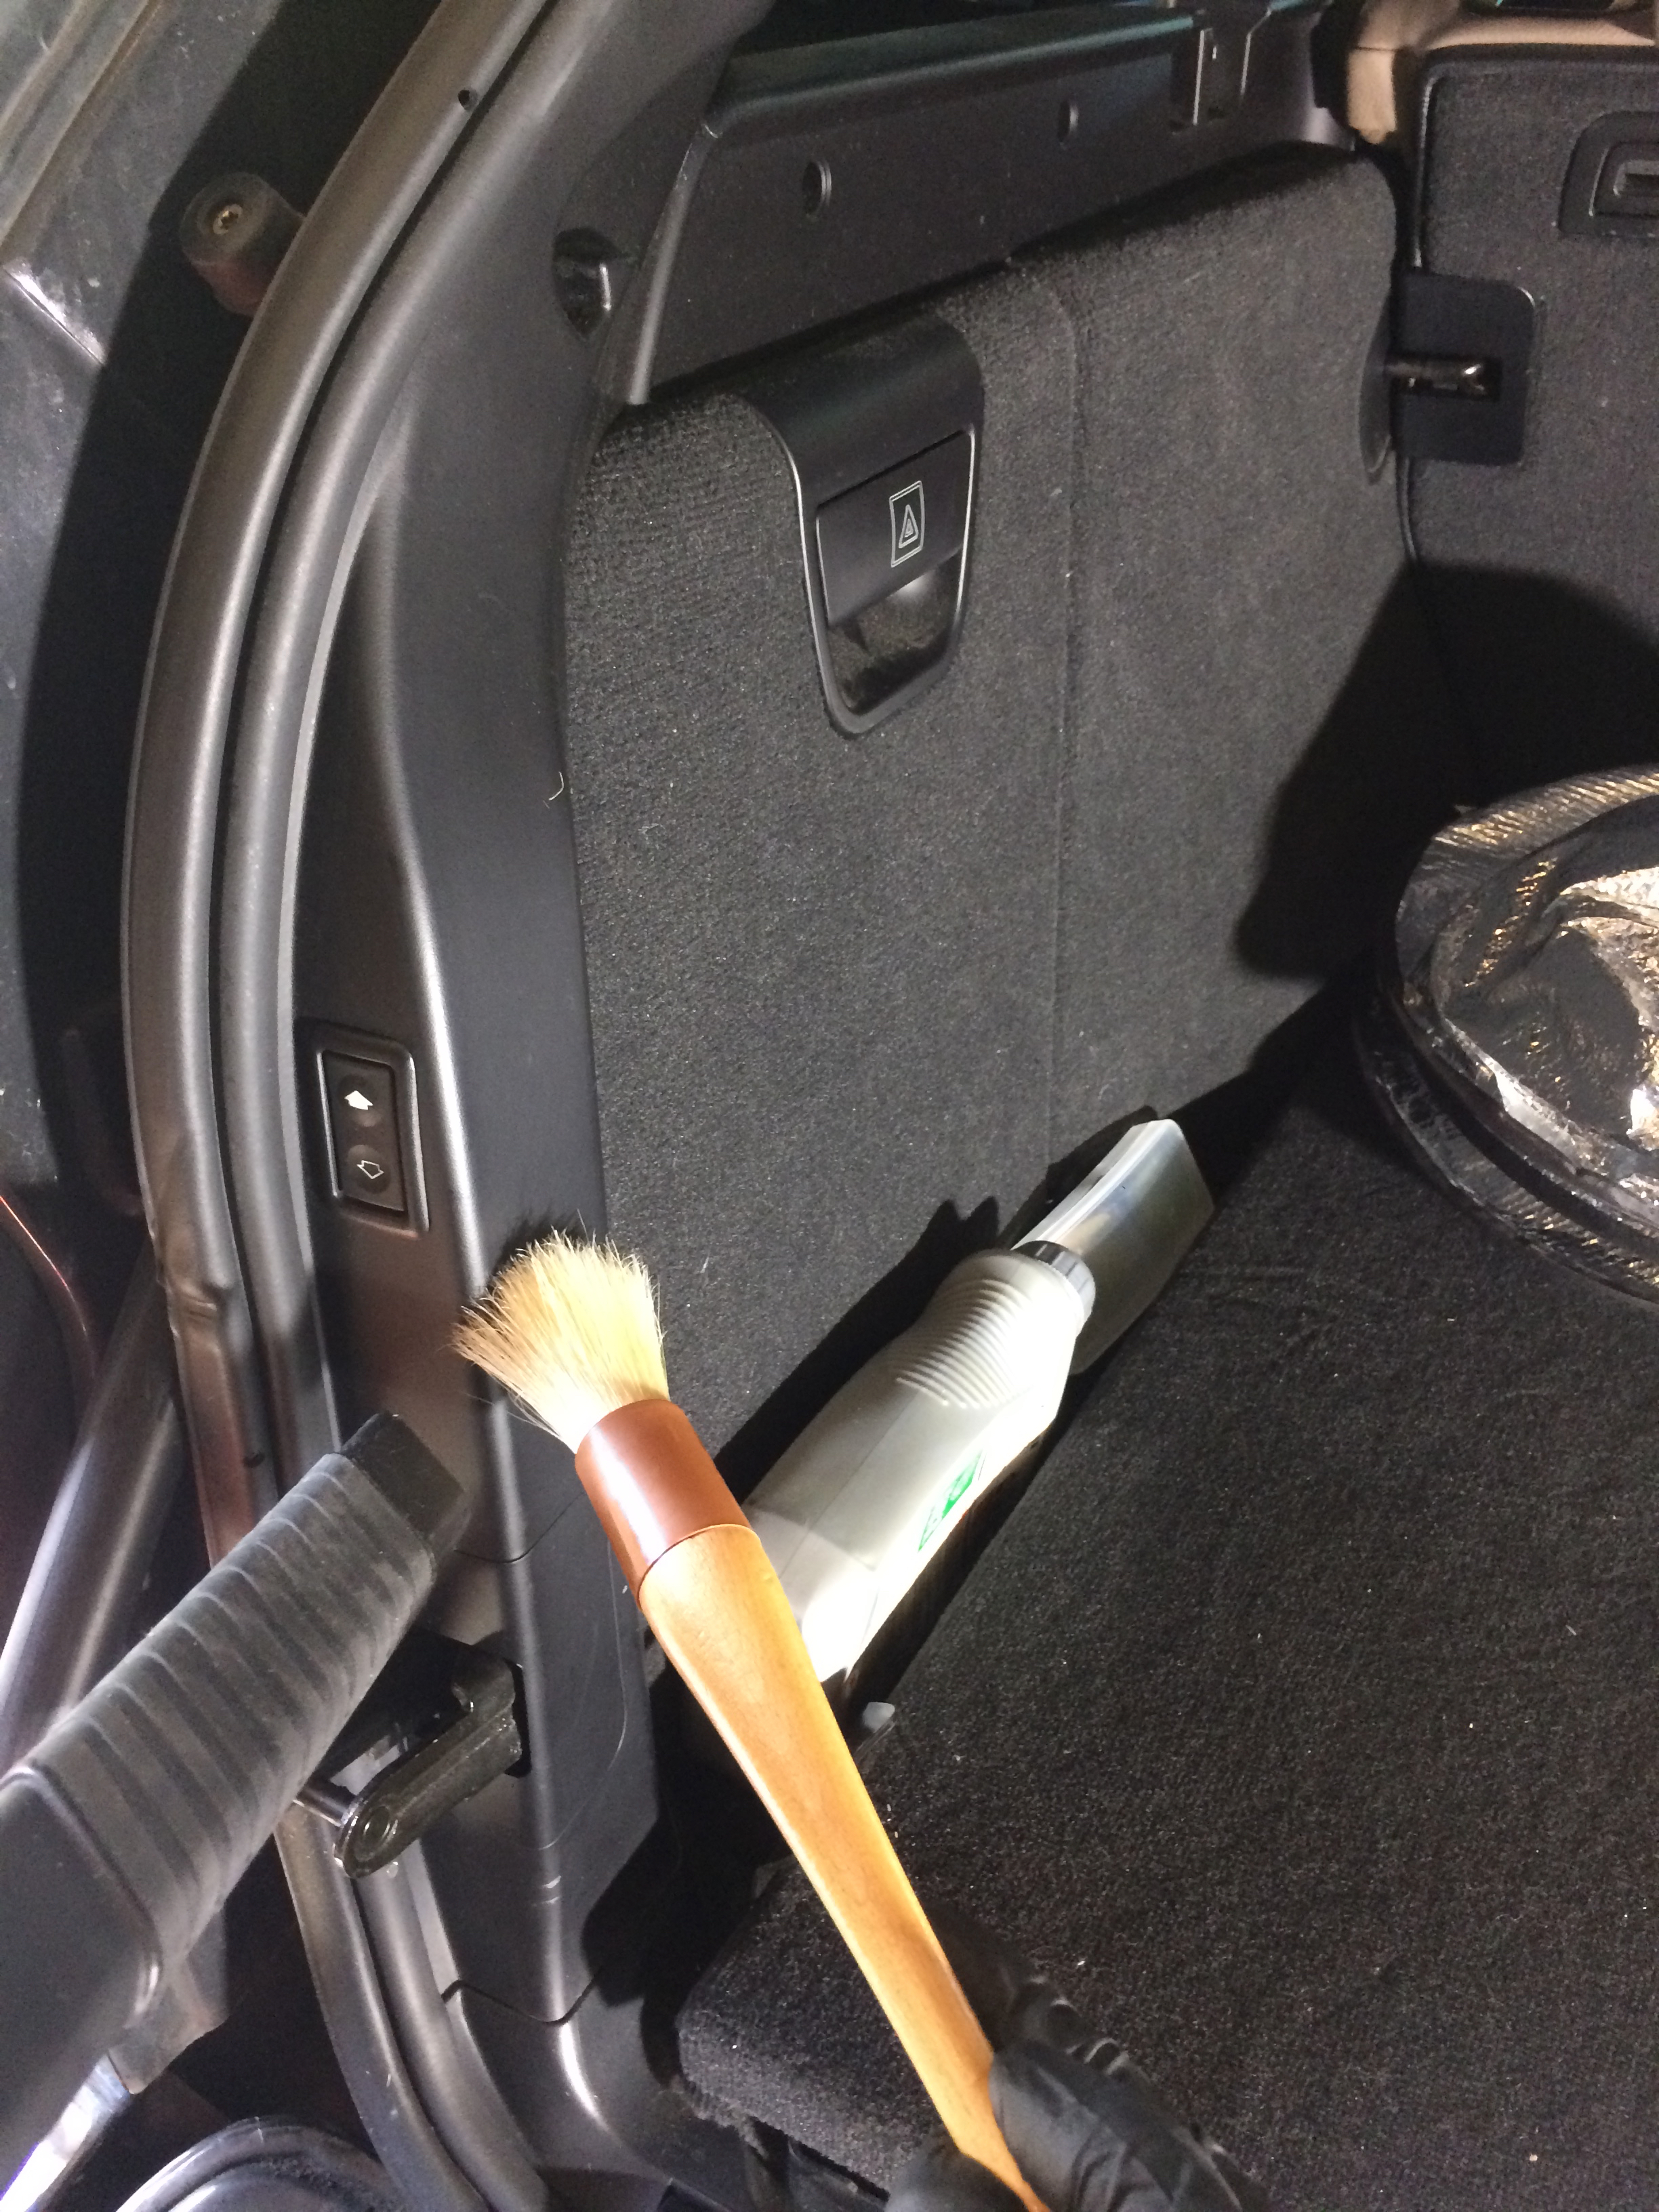
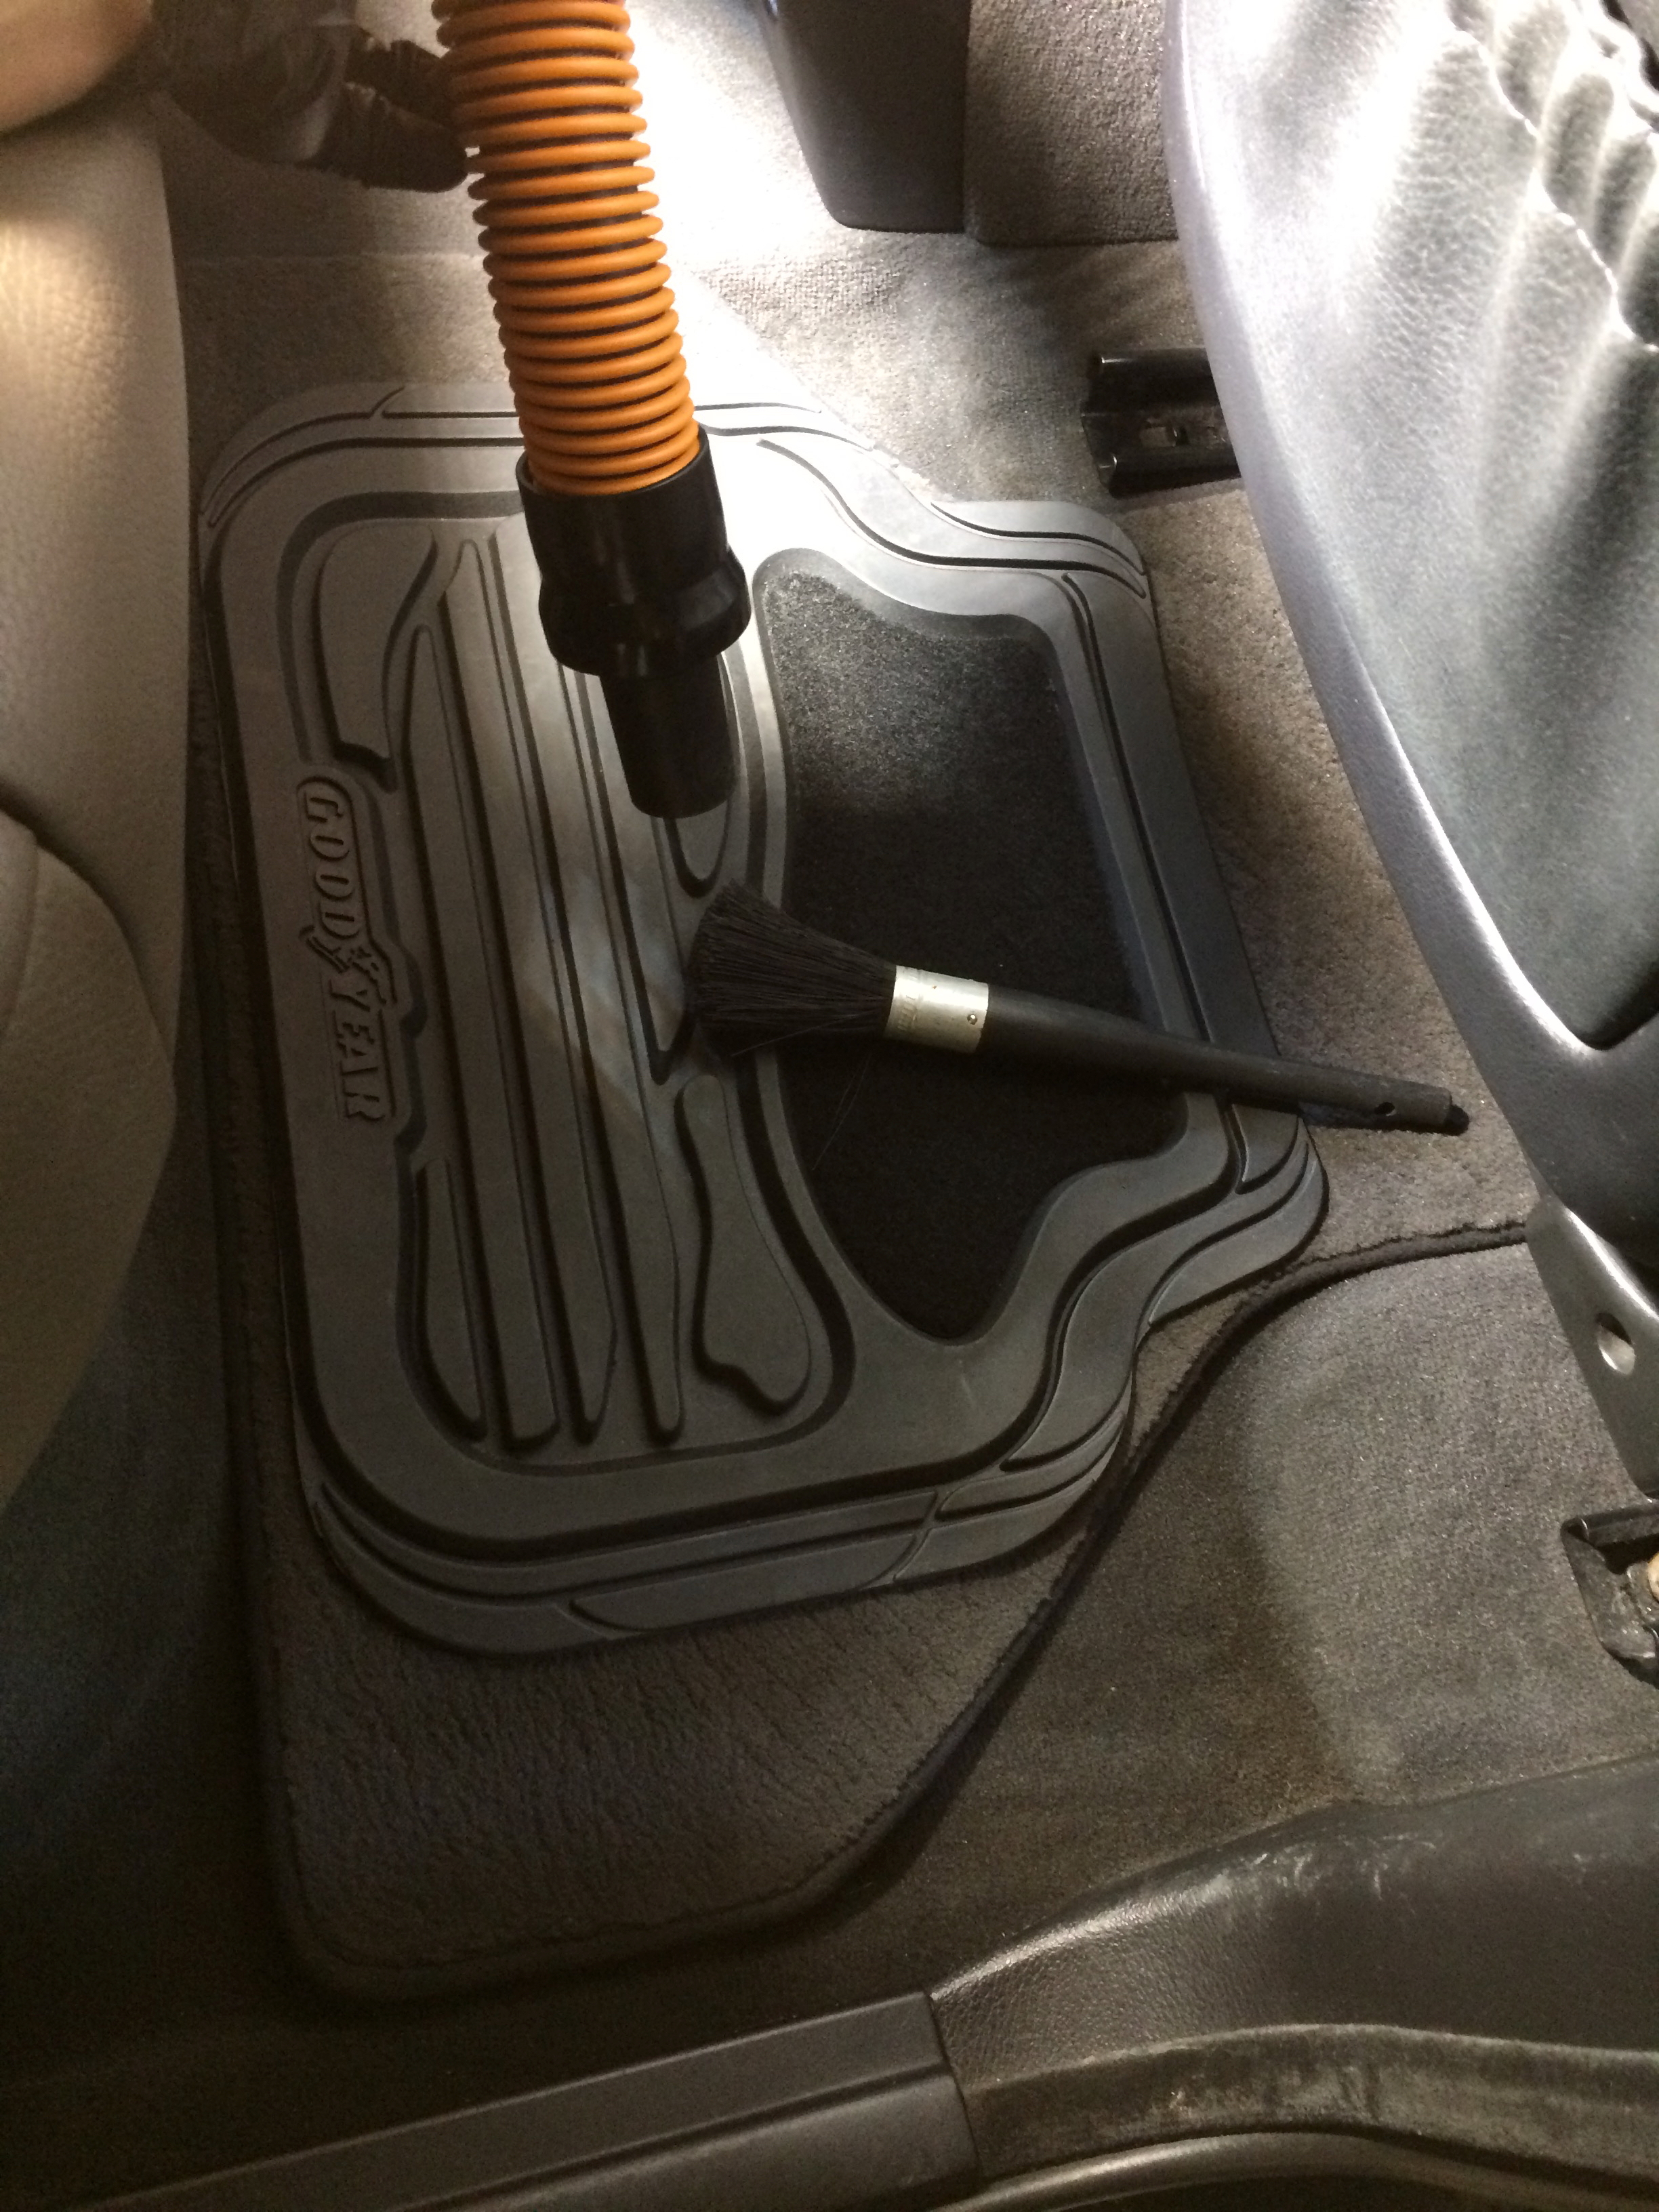
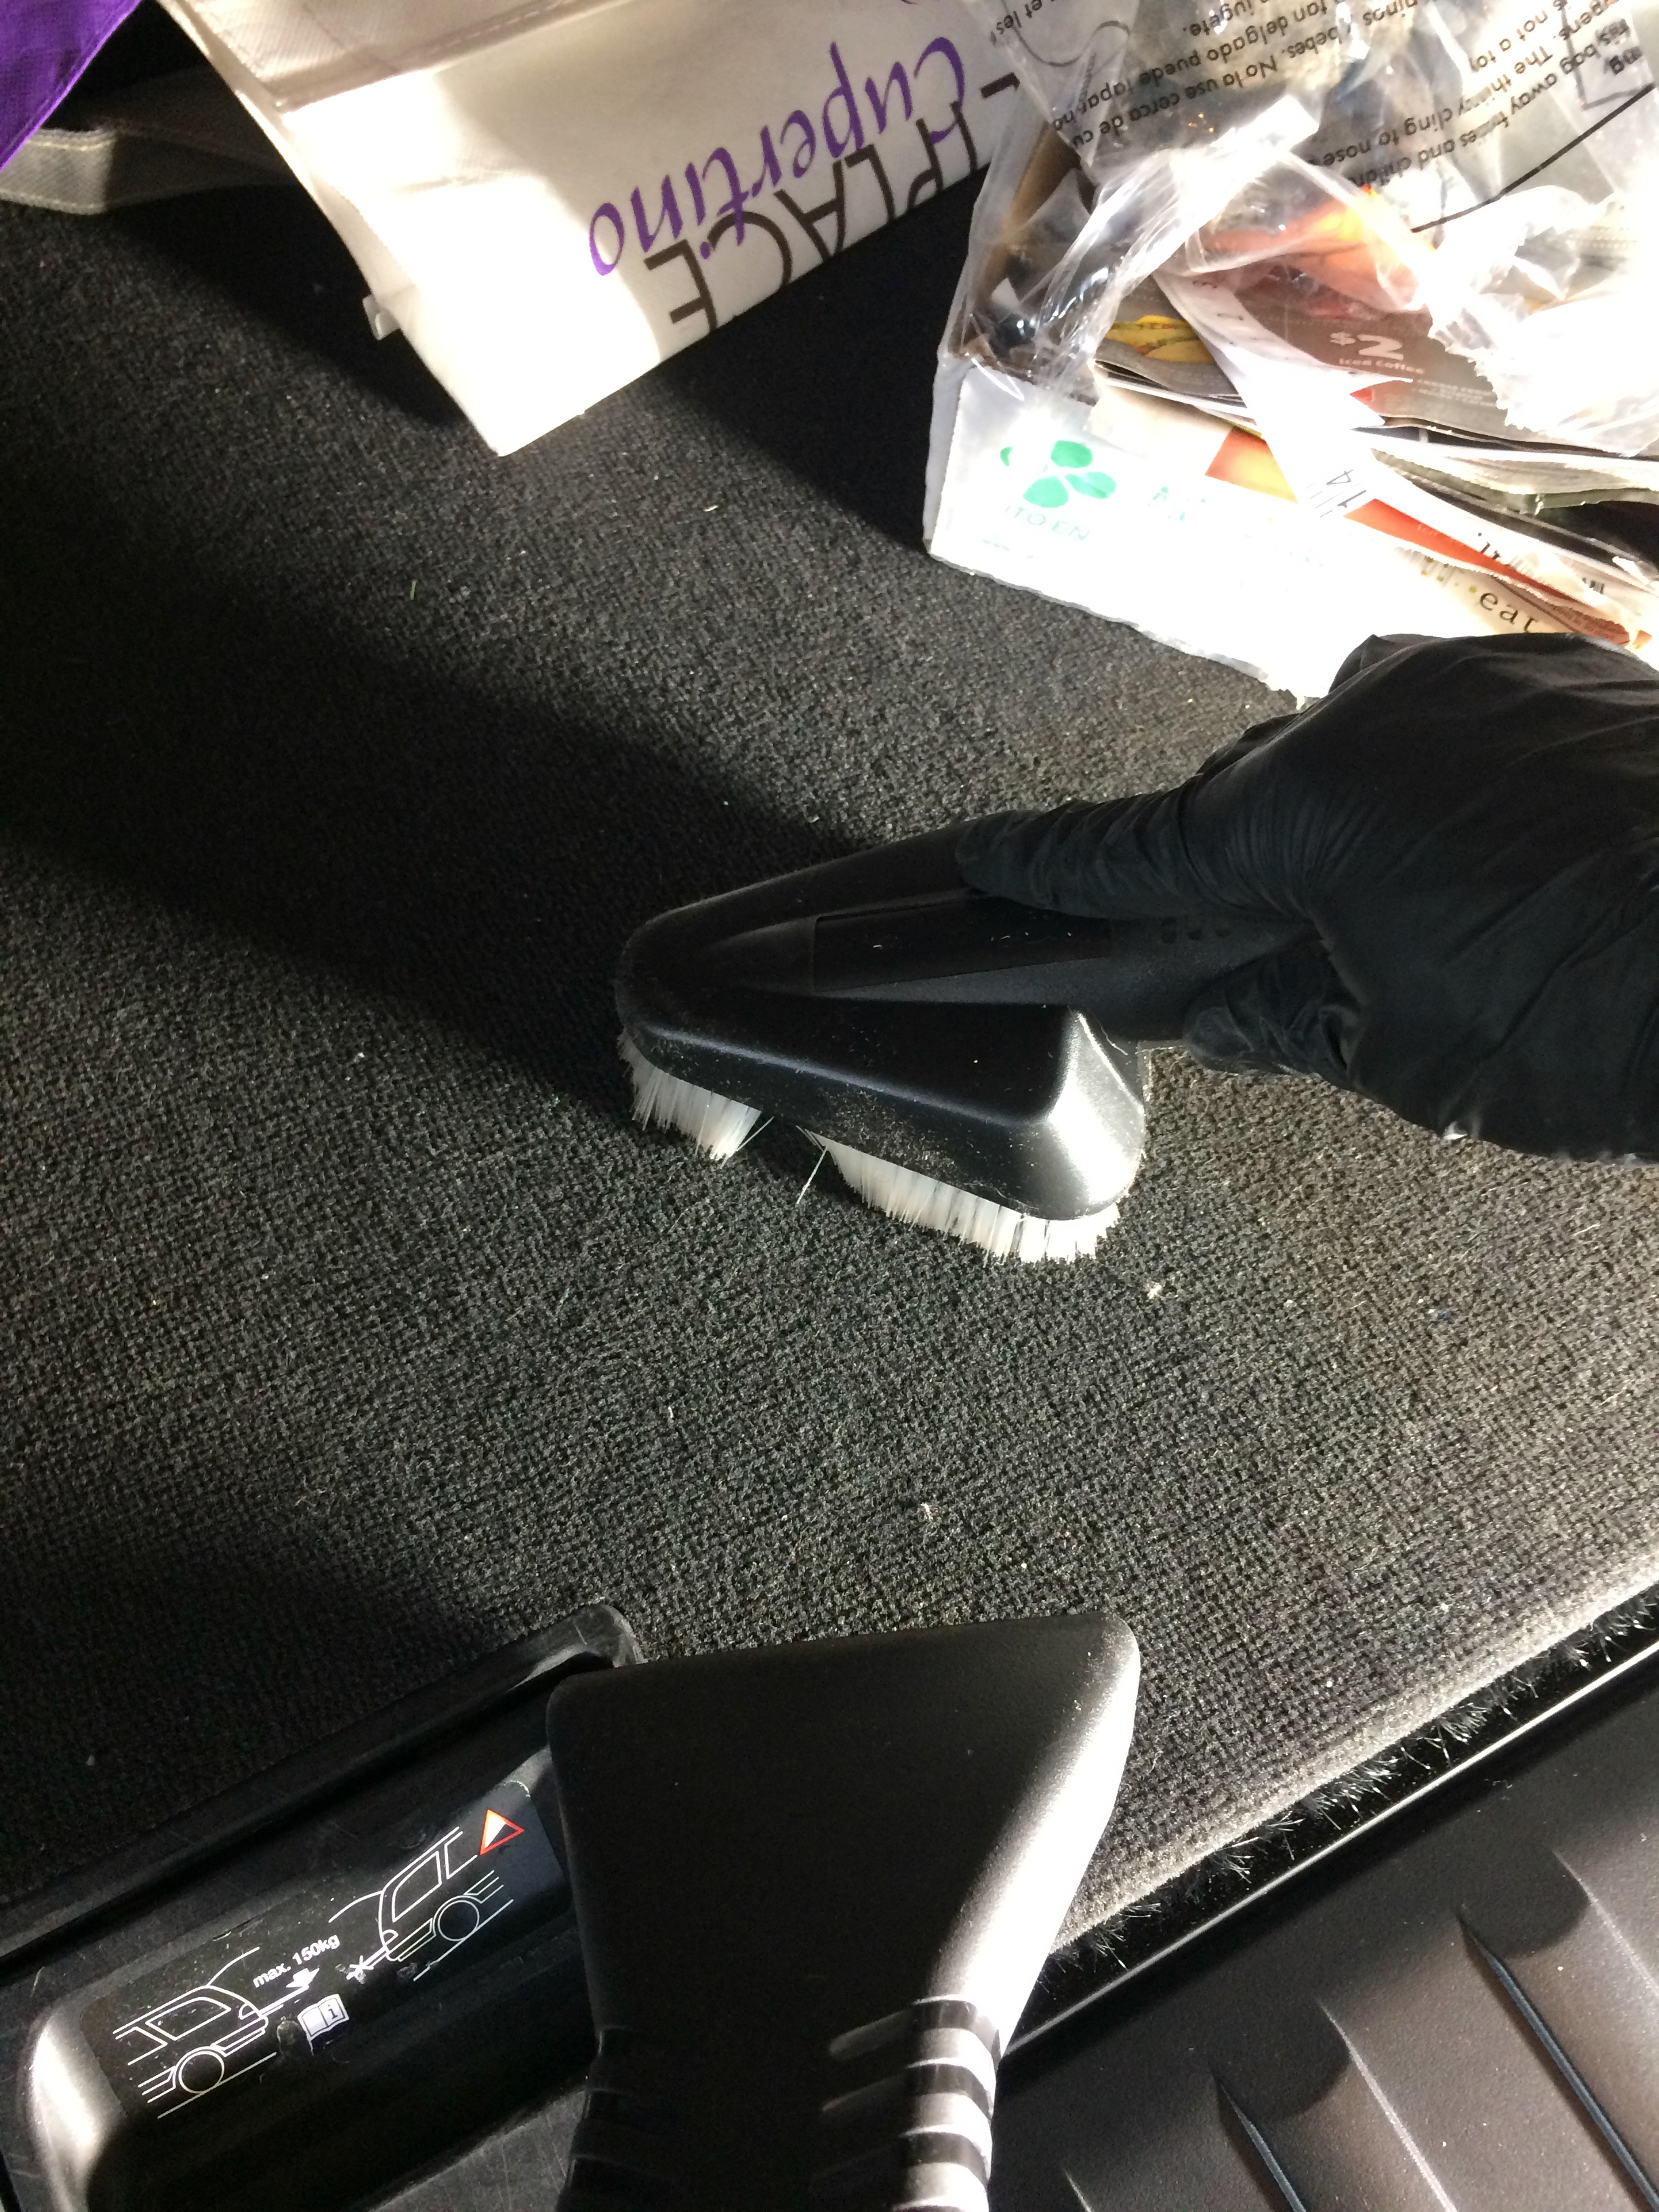
I start vacuuming with a Ridgid 4000RV Shop Vacuum from the upper areas and work my way down, similar to how the exterior is washed. I loosen dust and debris for the vacuum with a boar’s hair brush. A stiffer nylon brush is used for the rubber floor mats and a soft nylon vac attachment is used for the carpeting.
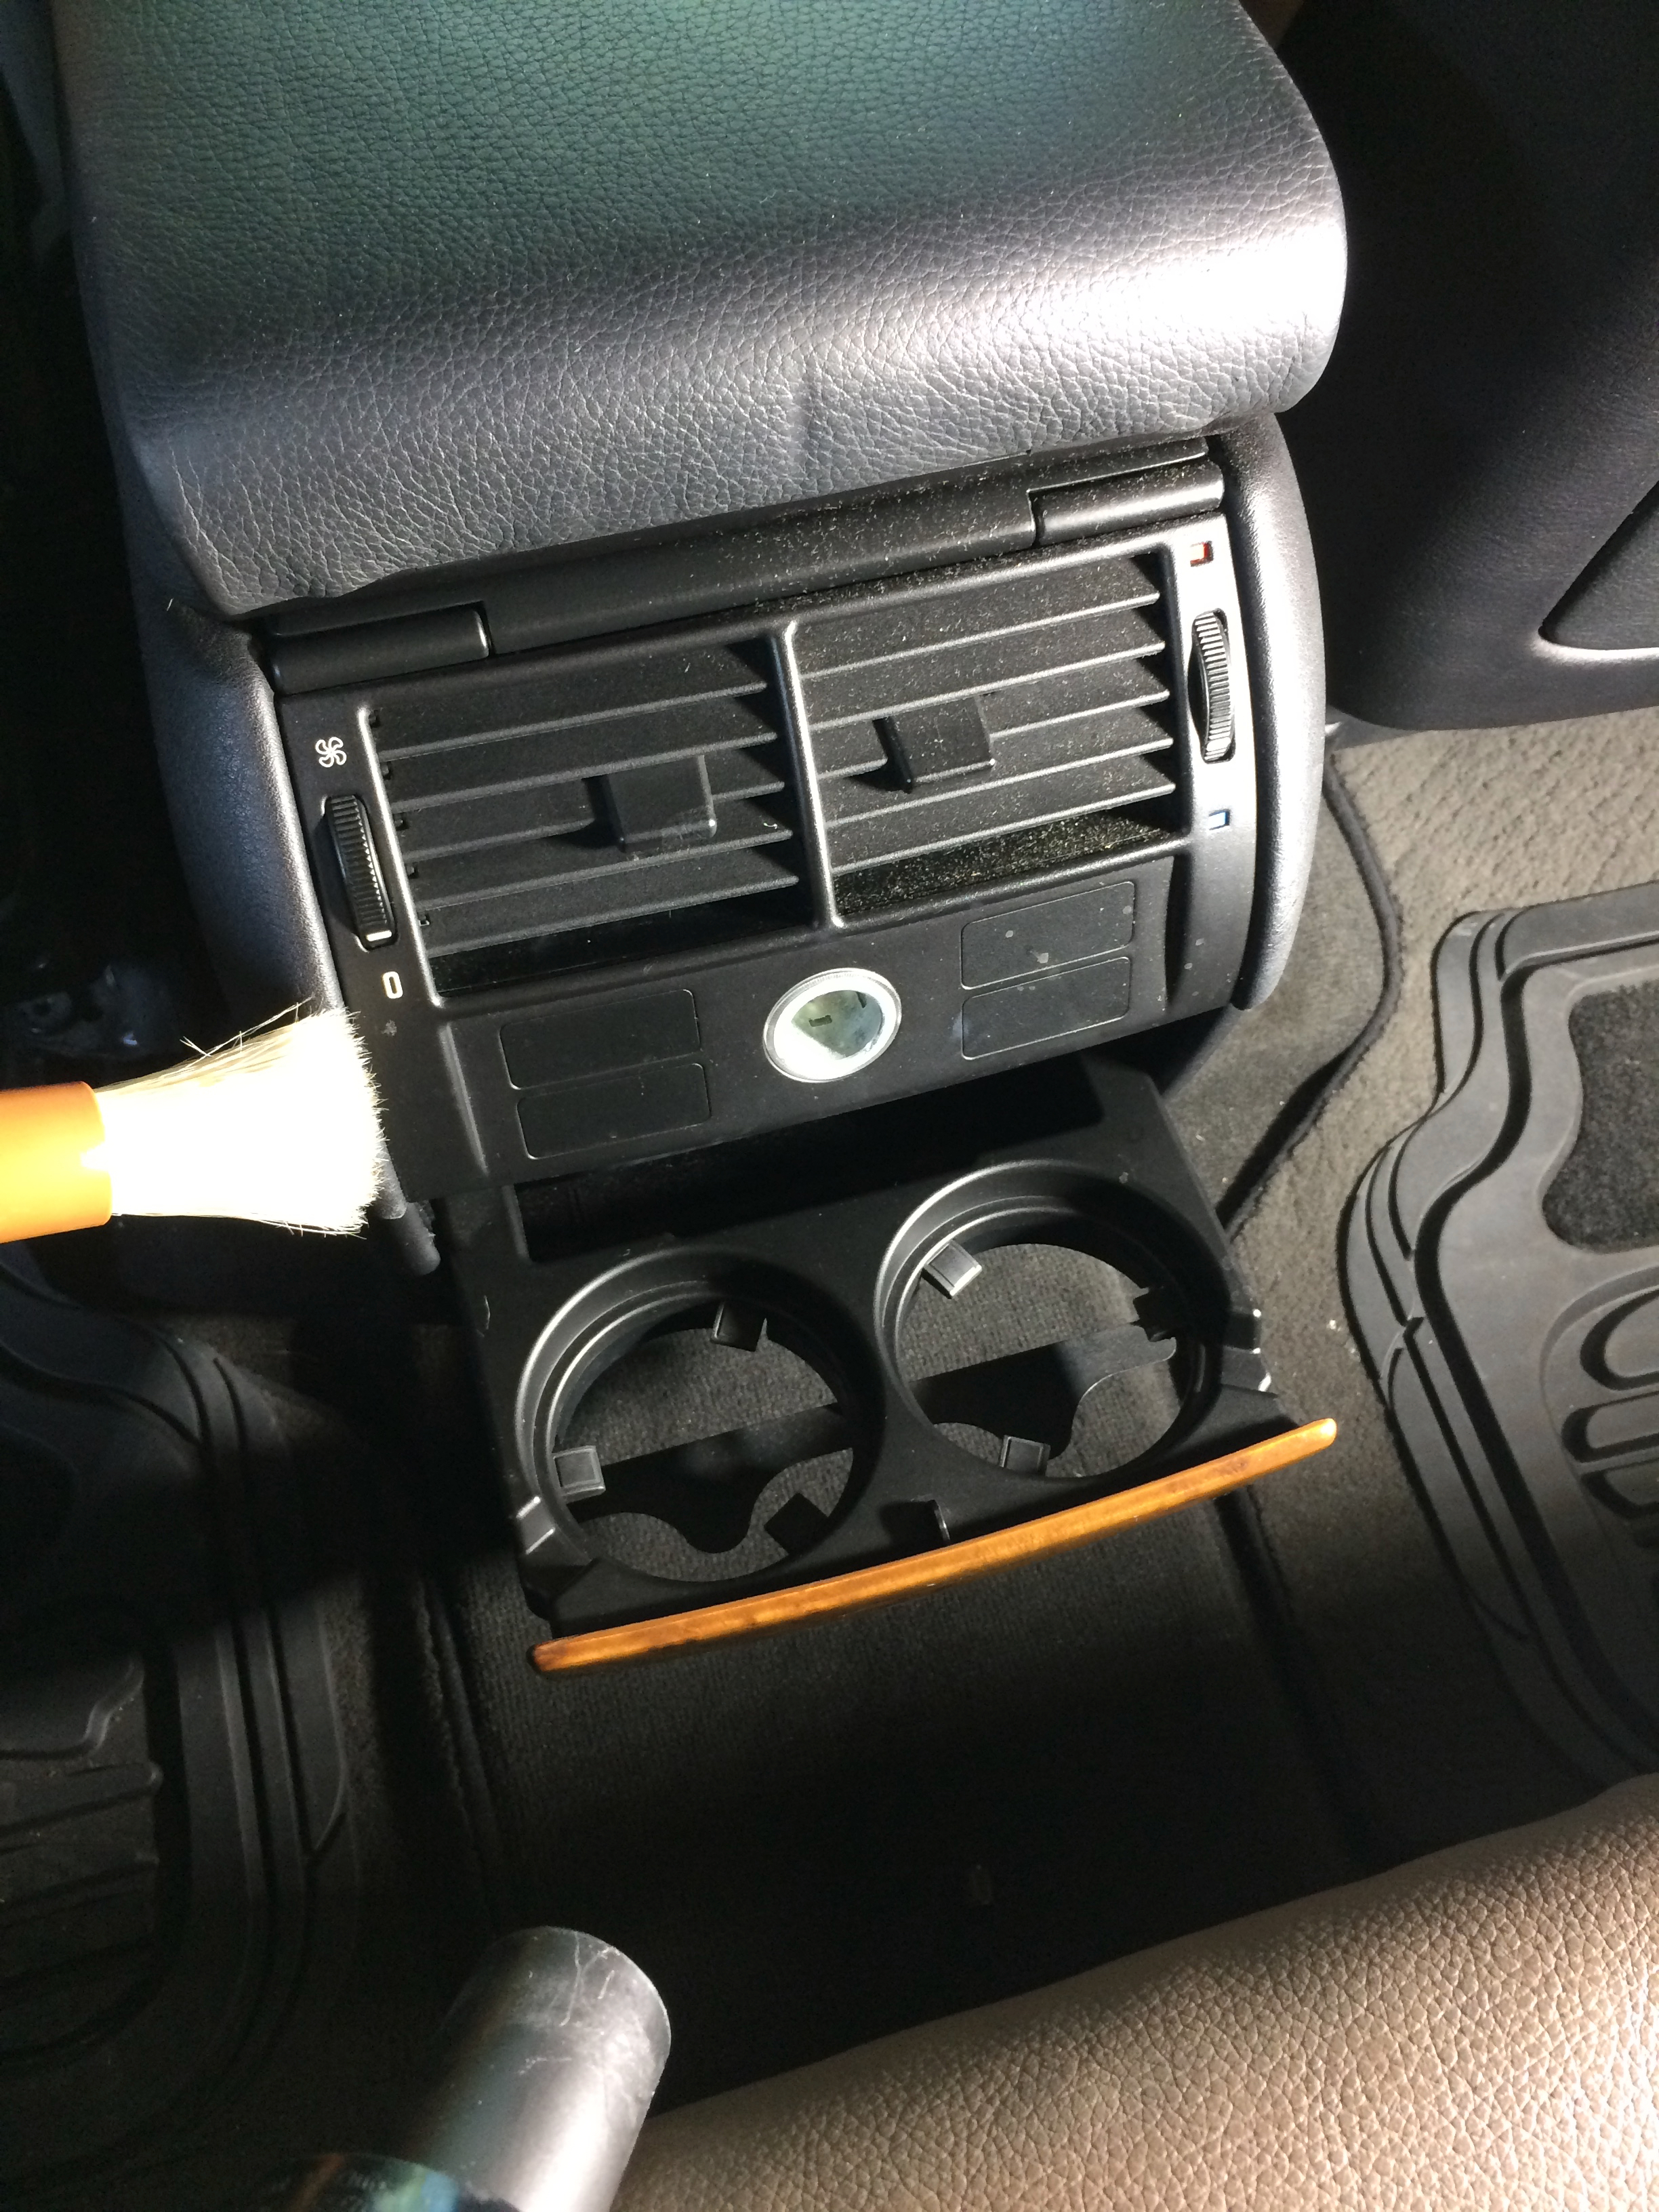
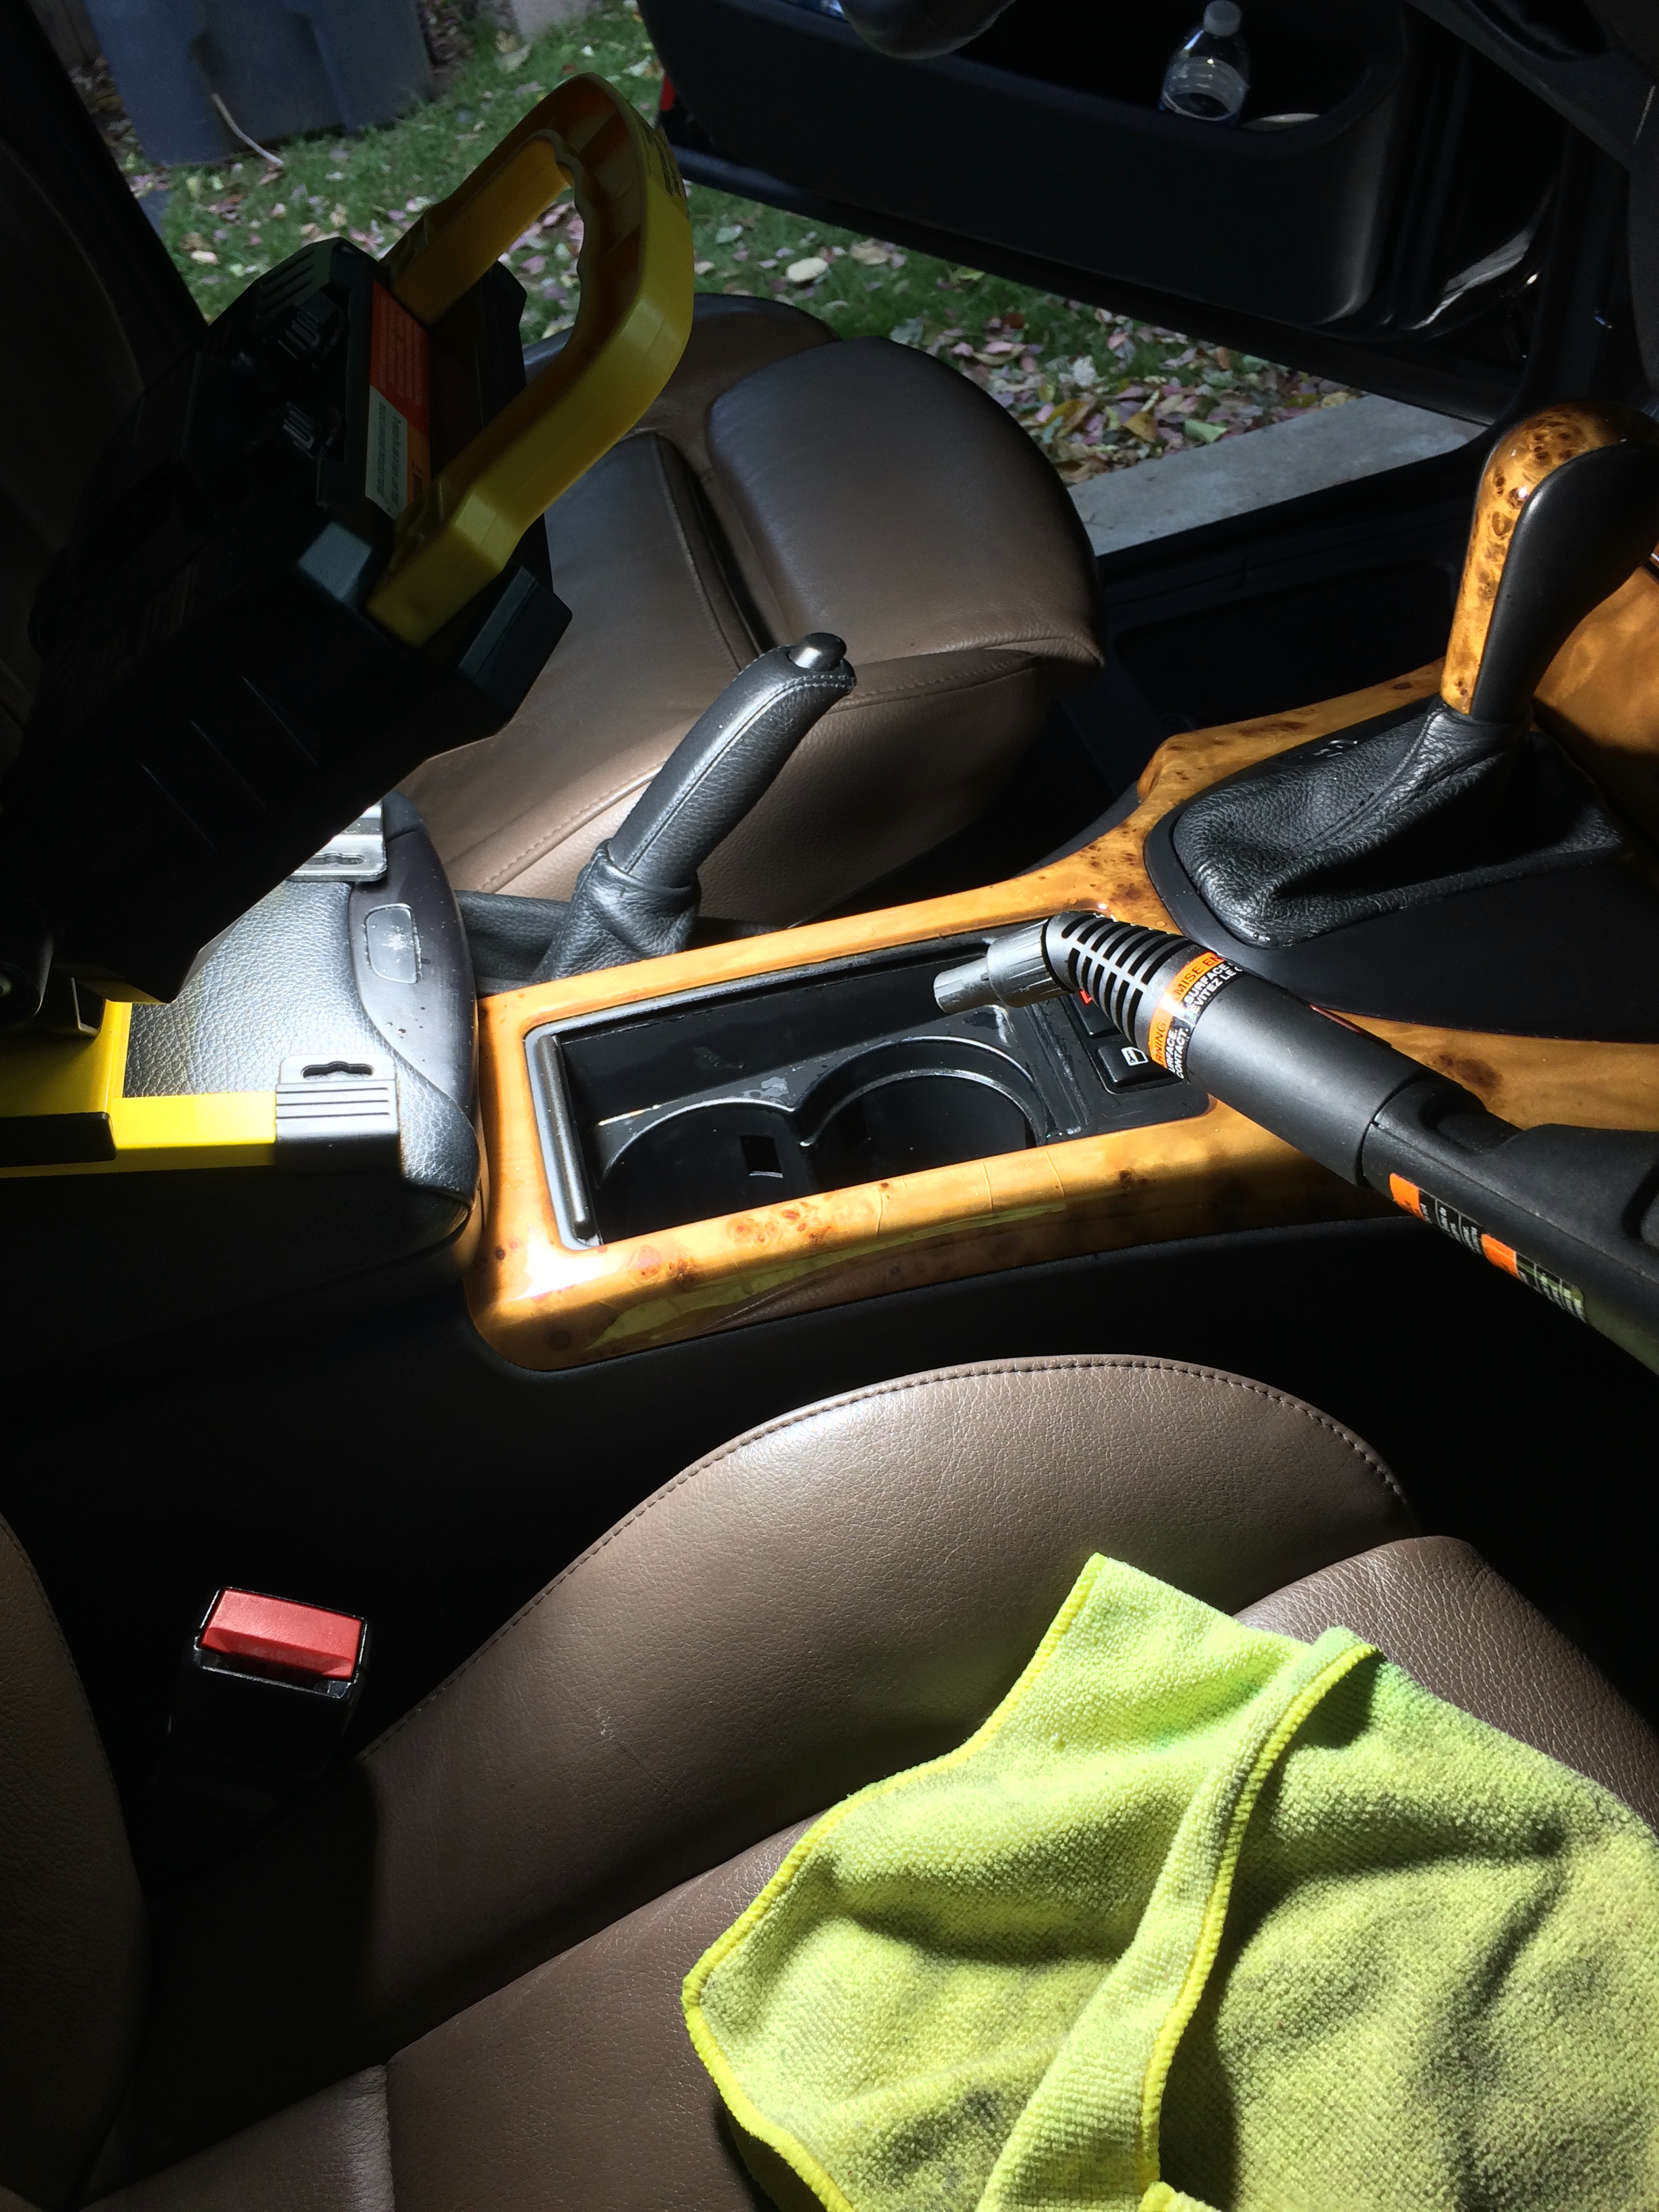
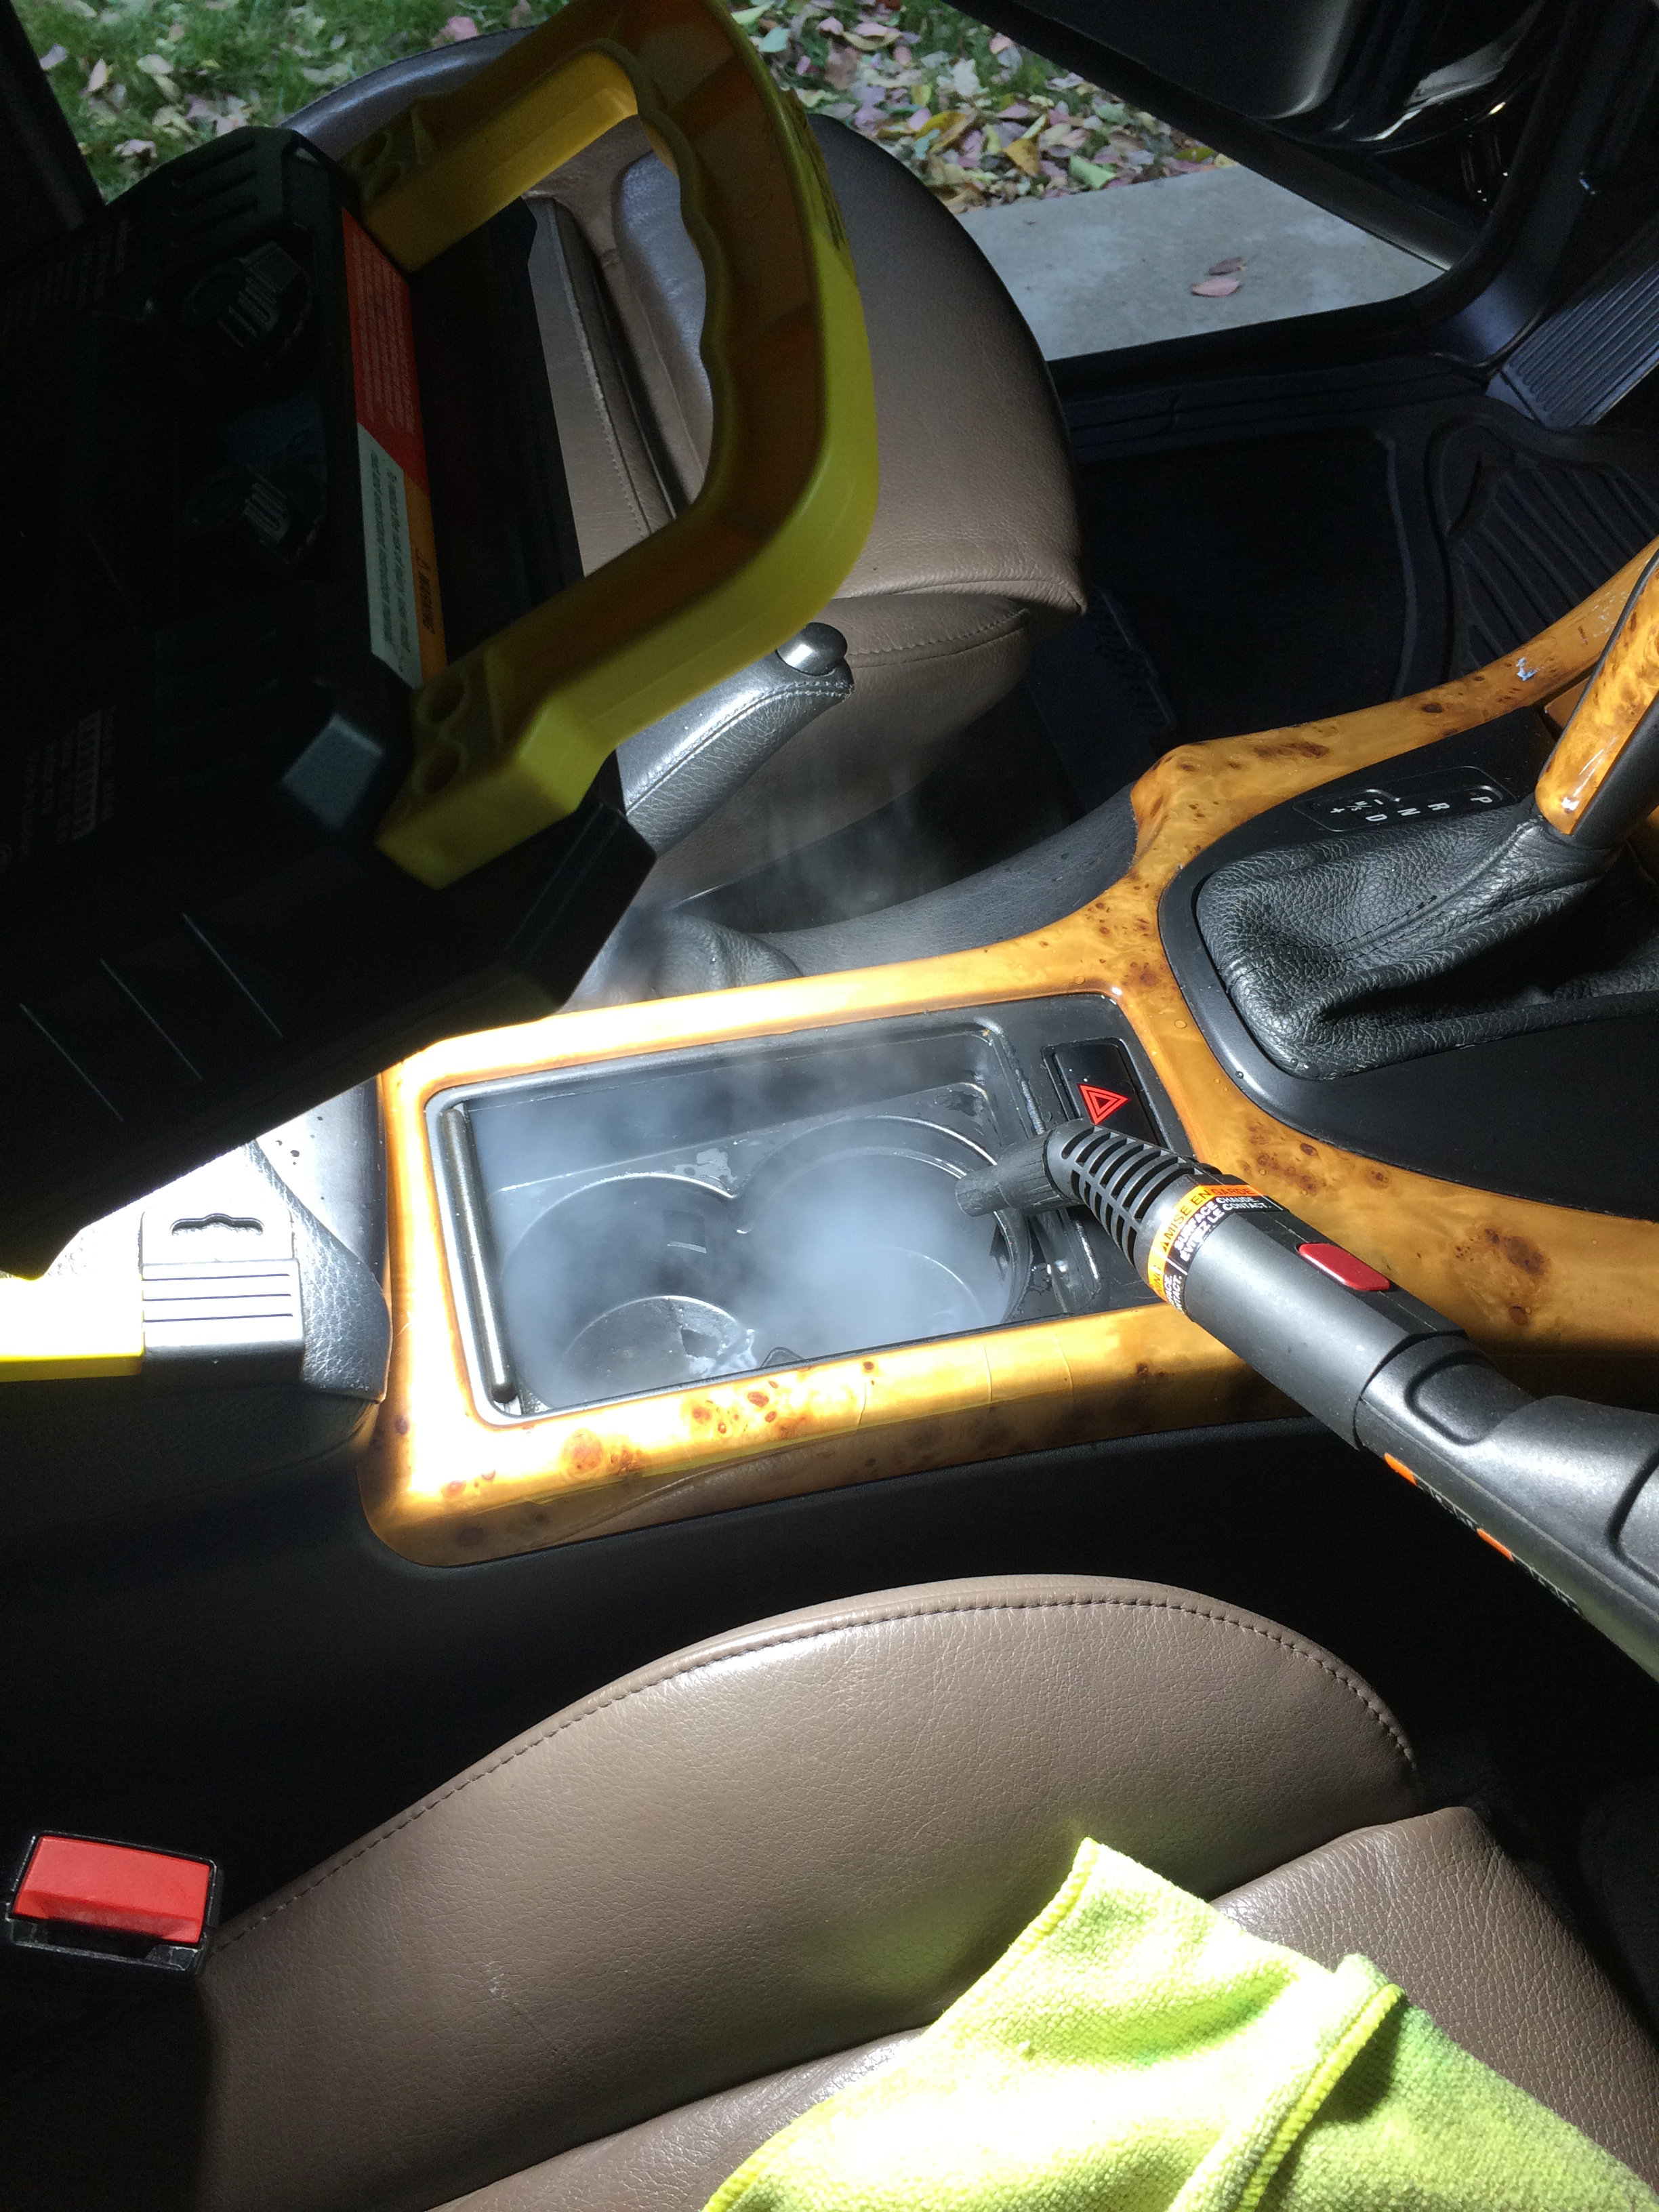
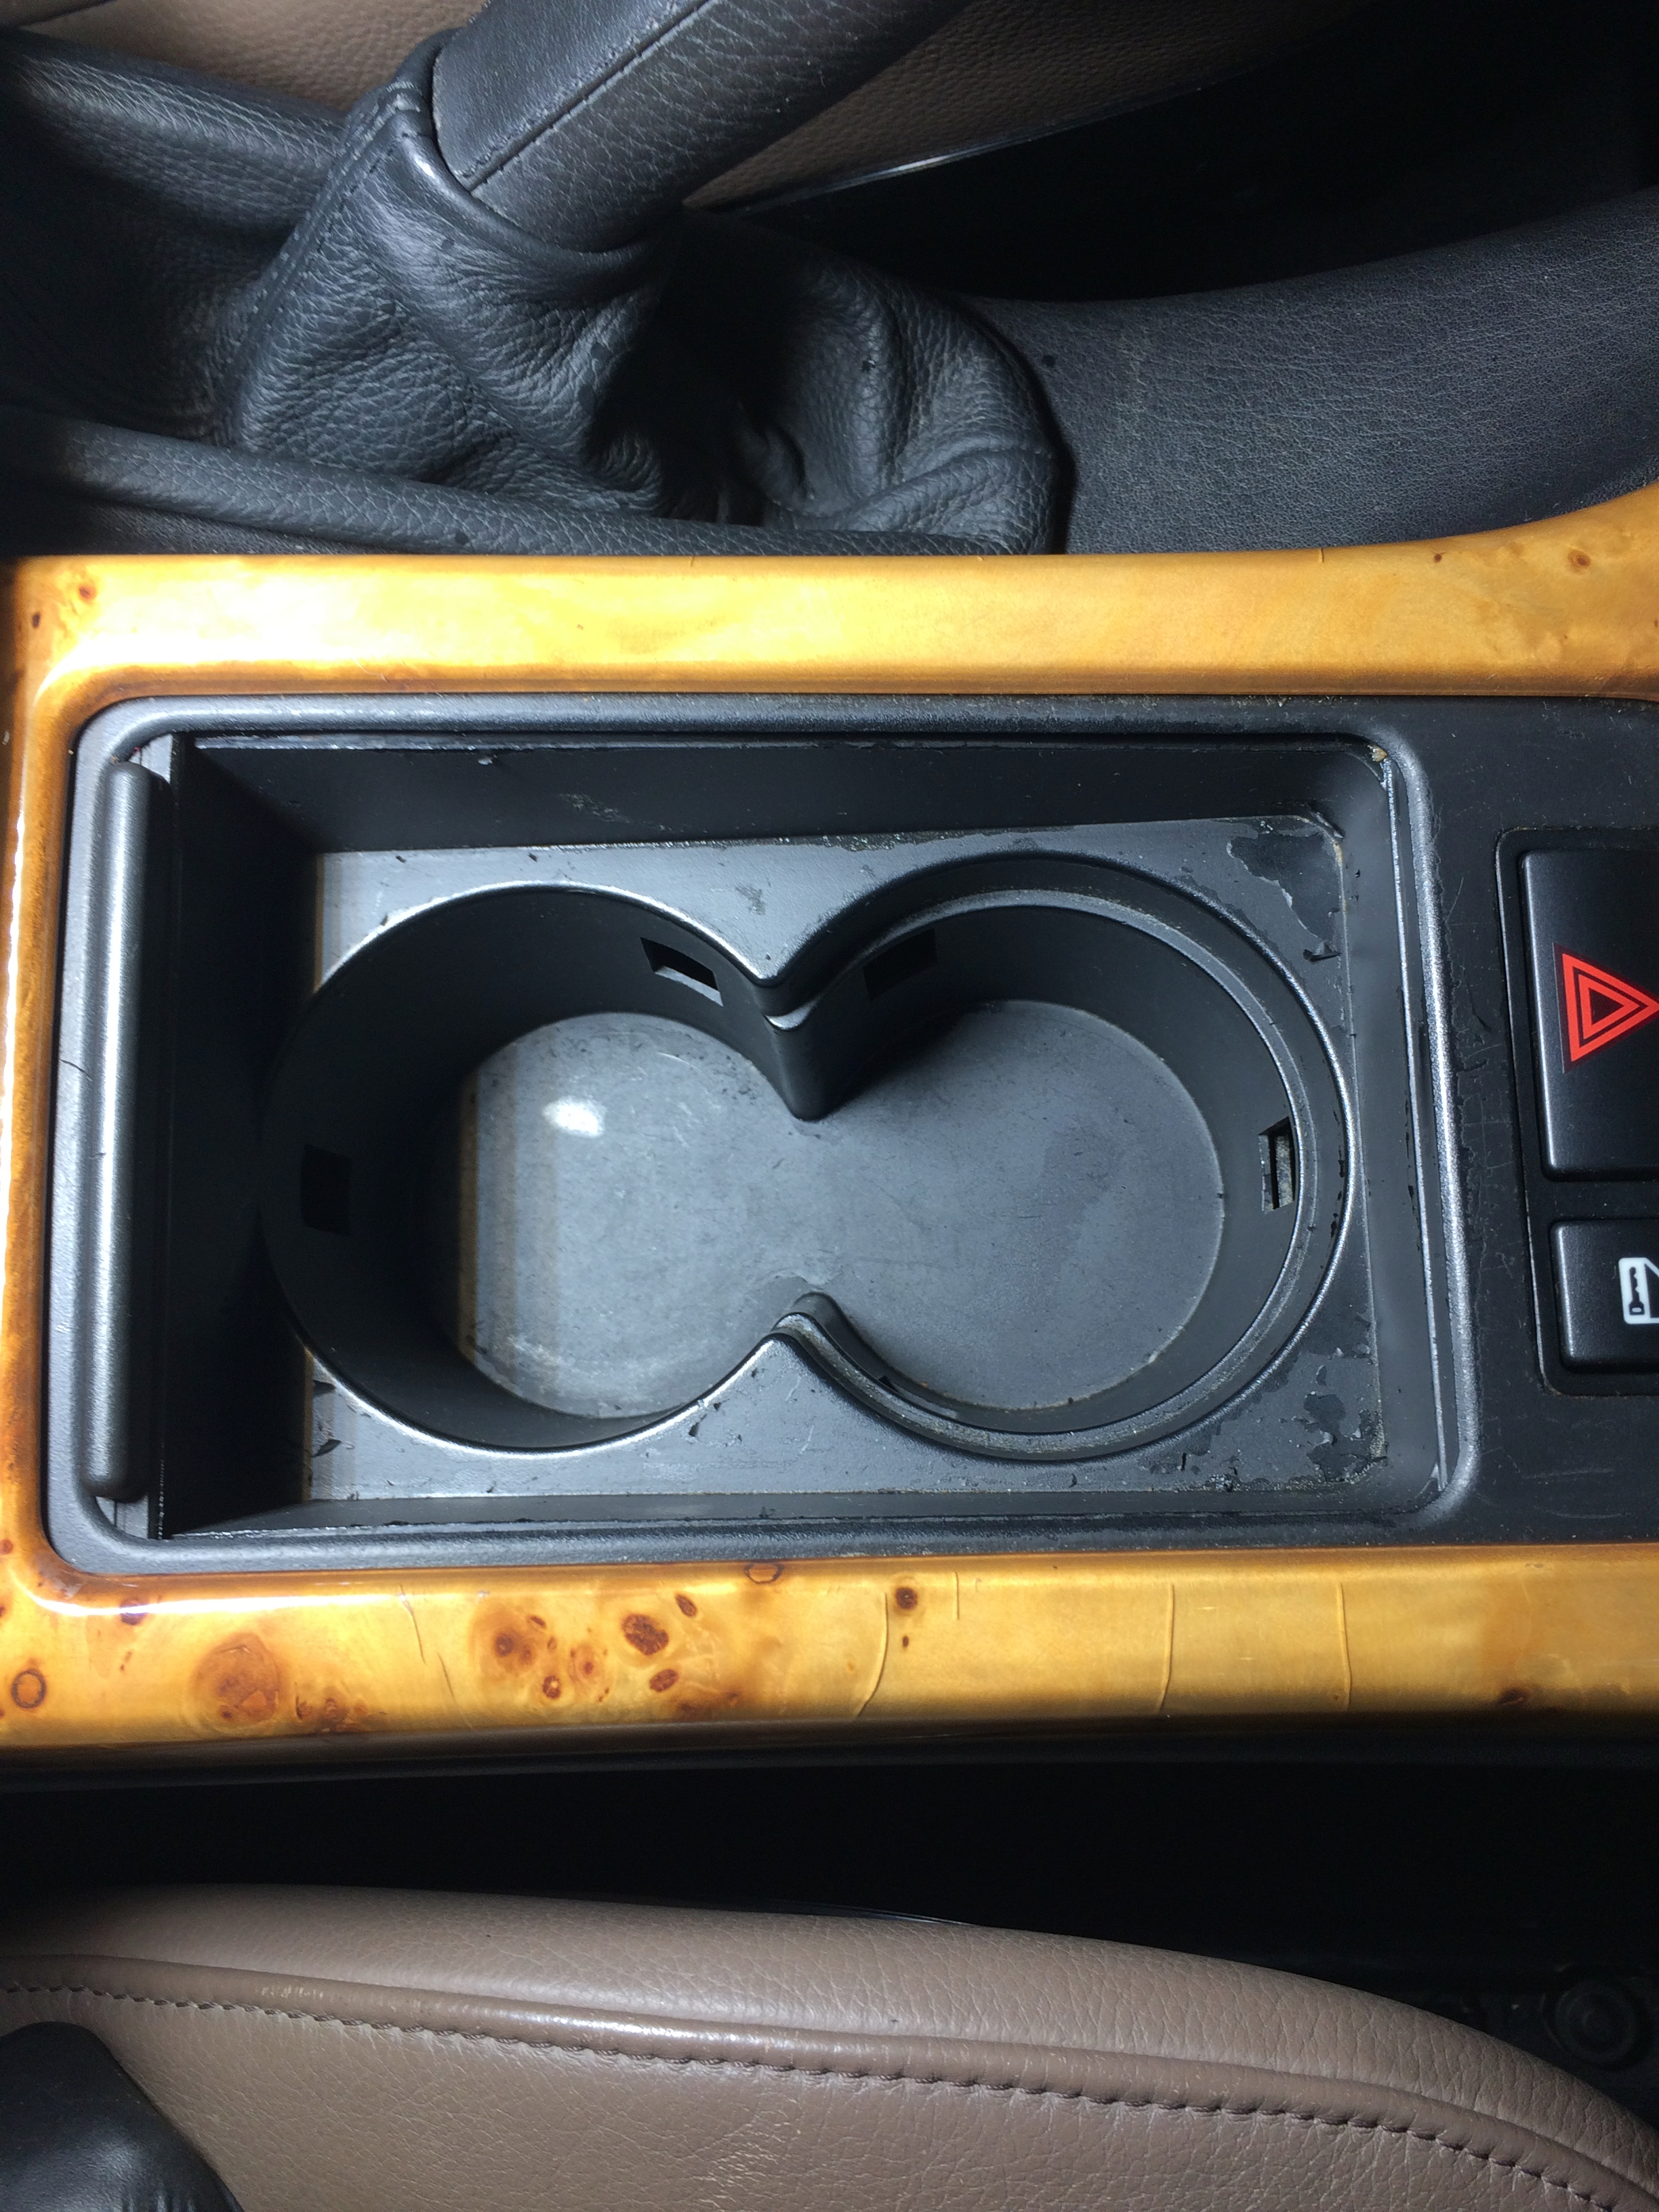
I found greasy contamination in the front cup holders which called for my Wagner Spraytech 915 Steam Cleaner. I spritzed the cup holders with Simple Green dilution first before blasting it with steam. I always find that steam cleaners are satisfying to use!
Note the peeling plastic film within the cup holder bay. Care was needed not to blast the rest of the original plastic away, despite it possibly looking better with the peeling plastic film removed.
I am using Griot’s Interior Detailer and a microfiber towel to finish wiping down the interior surfaces and provide a UV resistant layer. I am also using it to wipe the door jams since they have minimal contamination that primarily consists of dust.
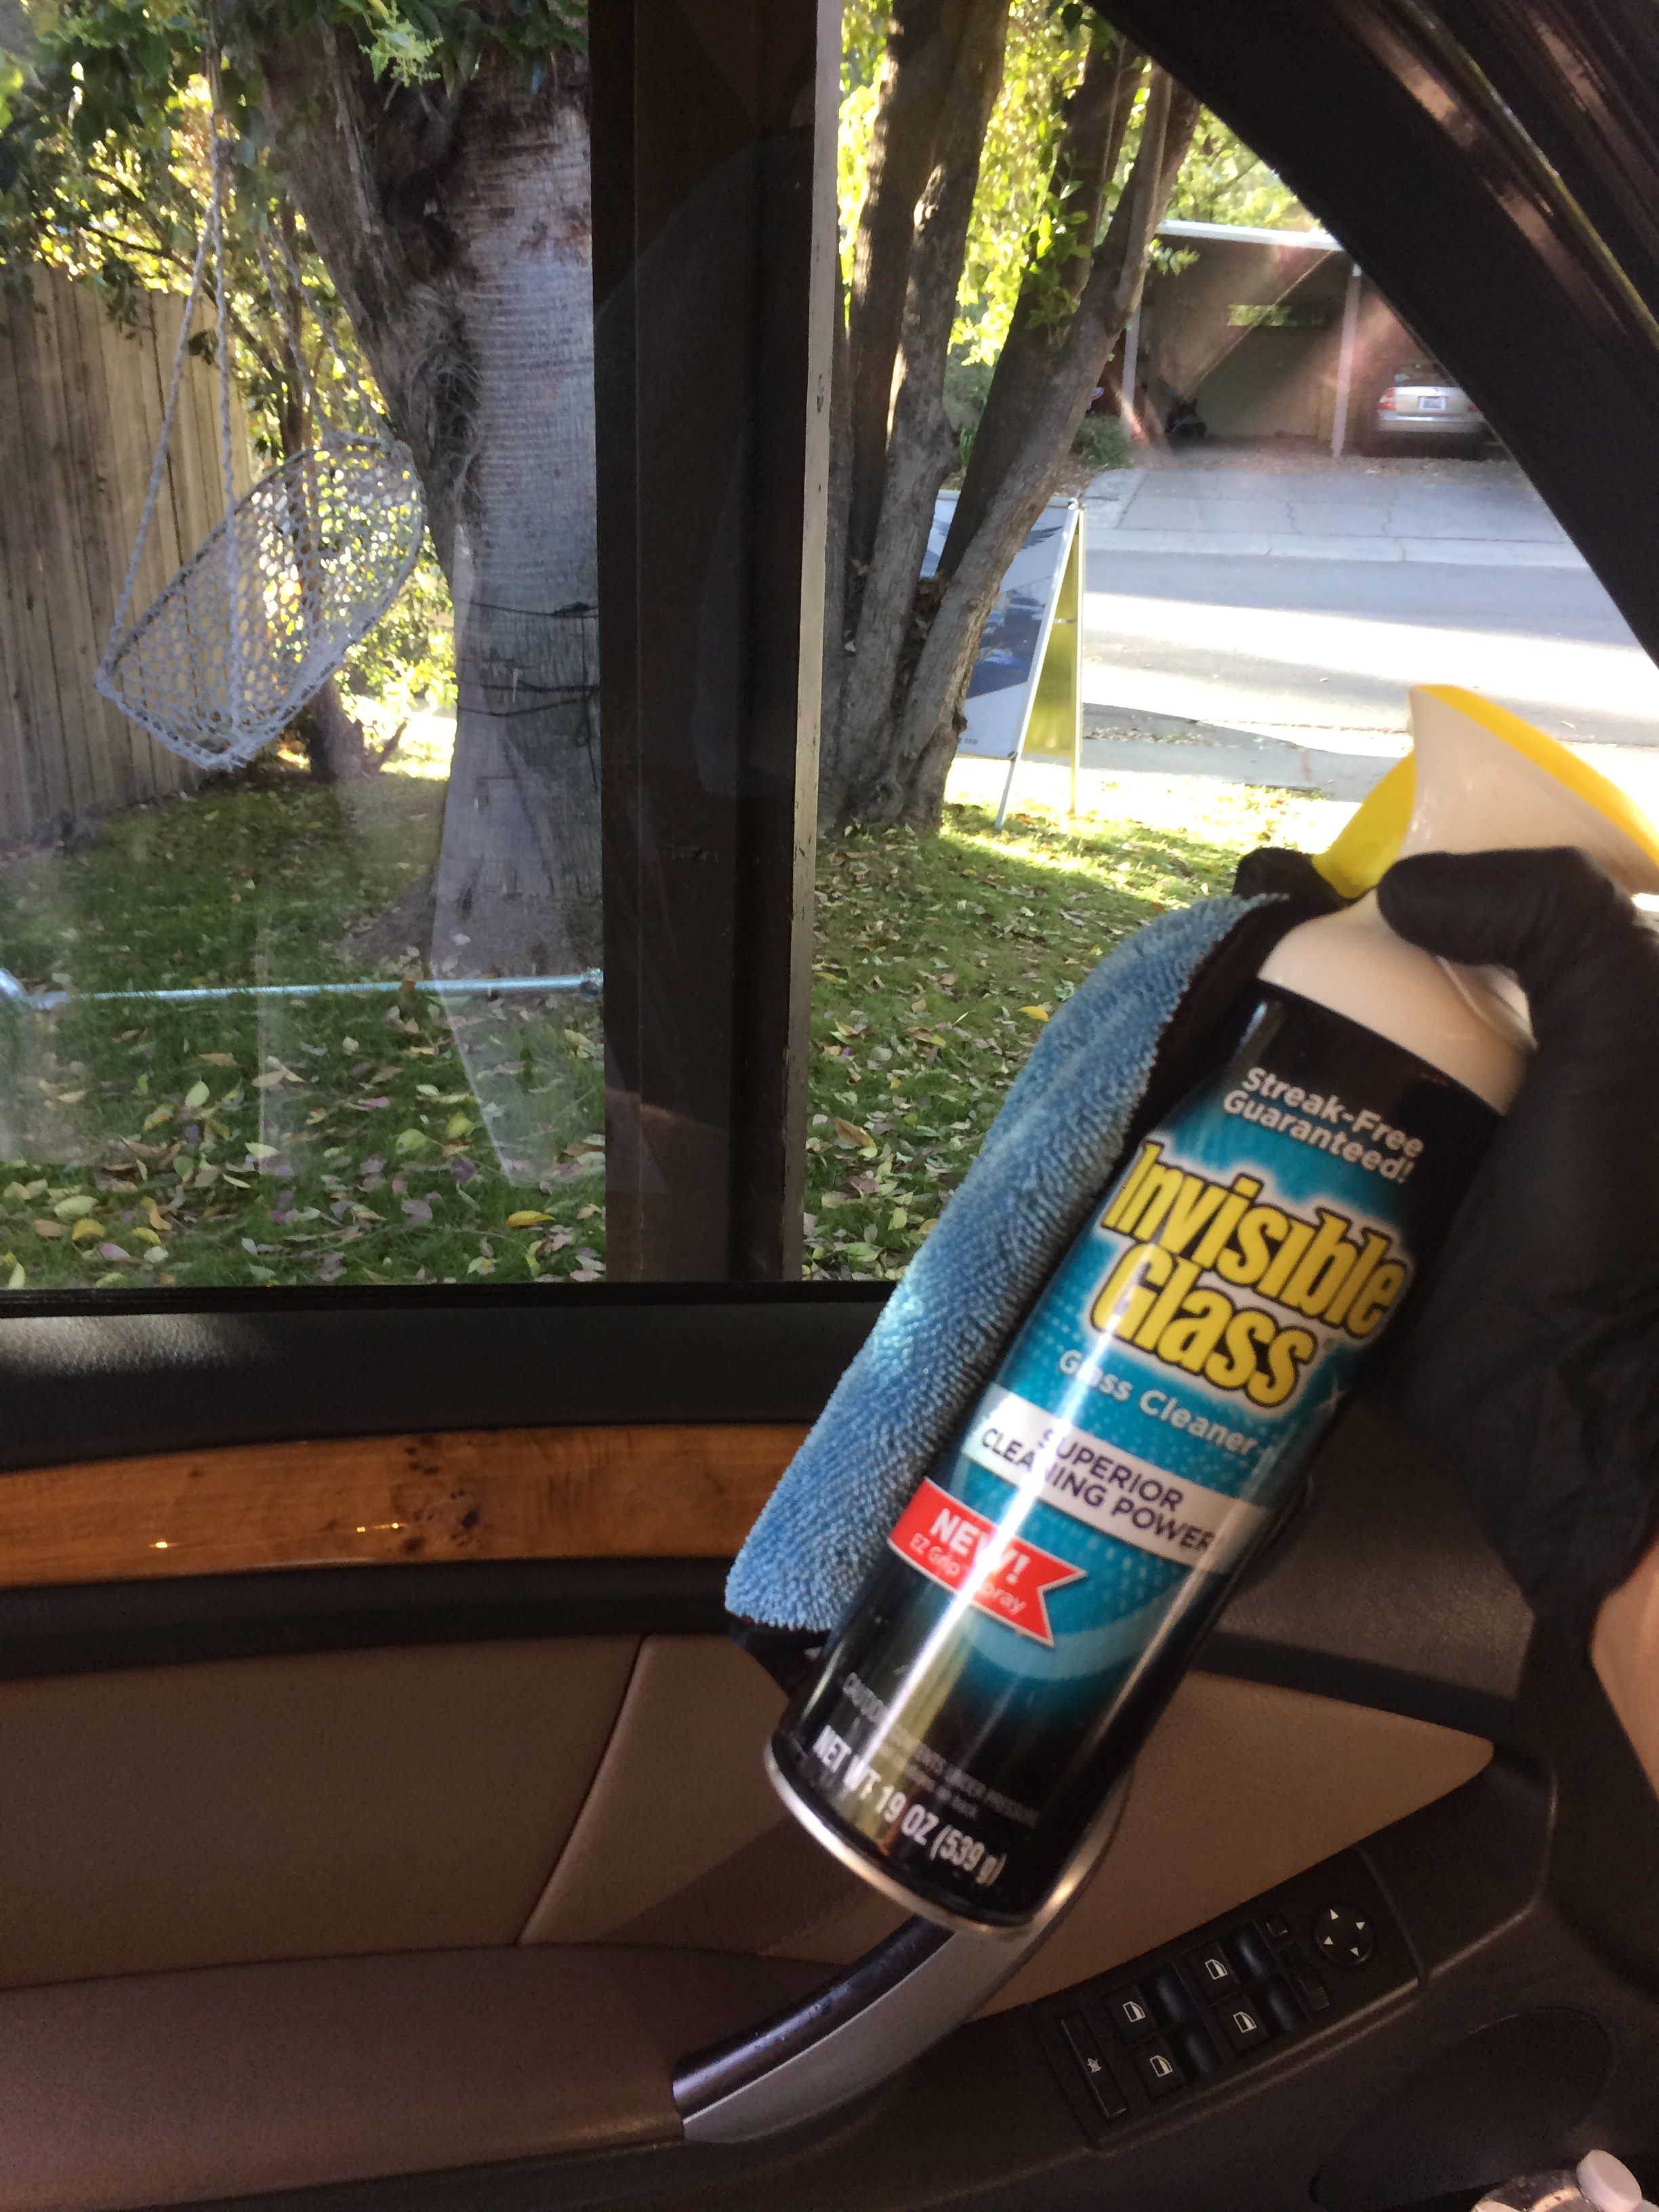
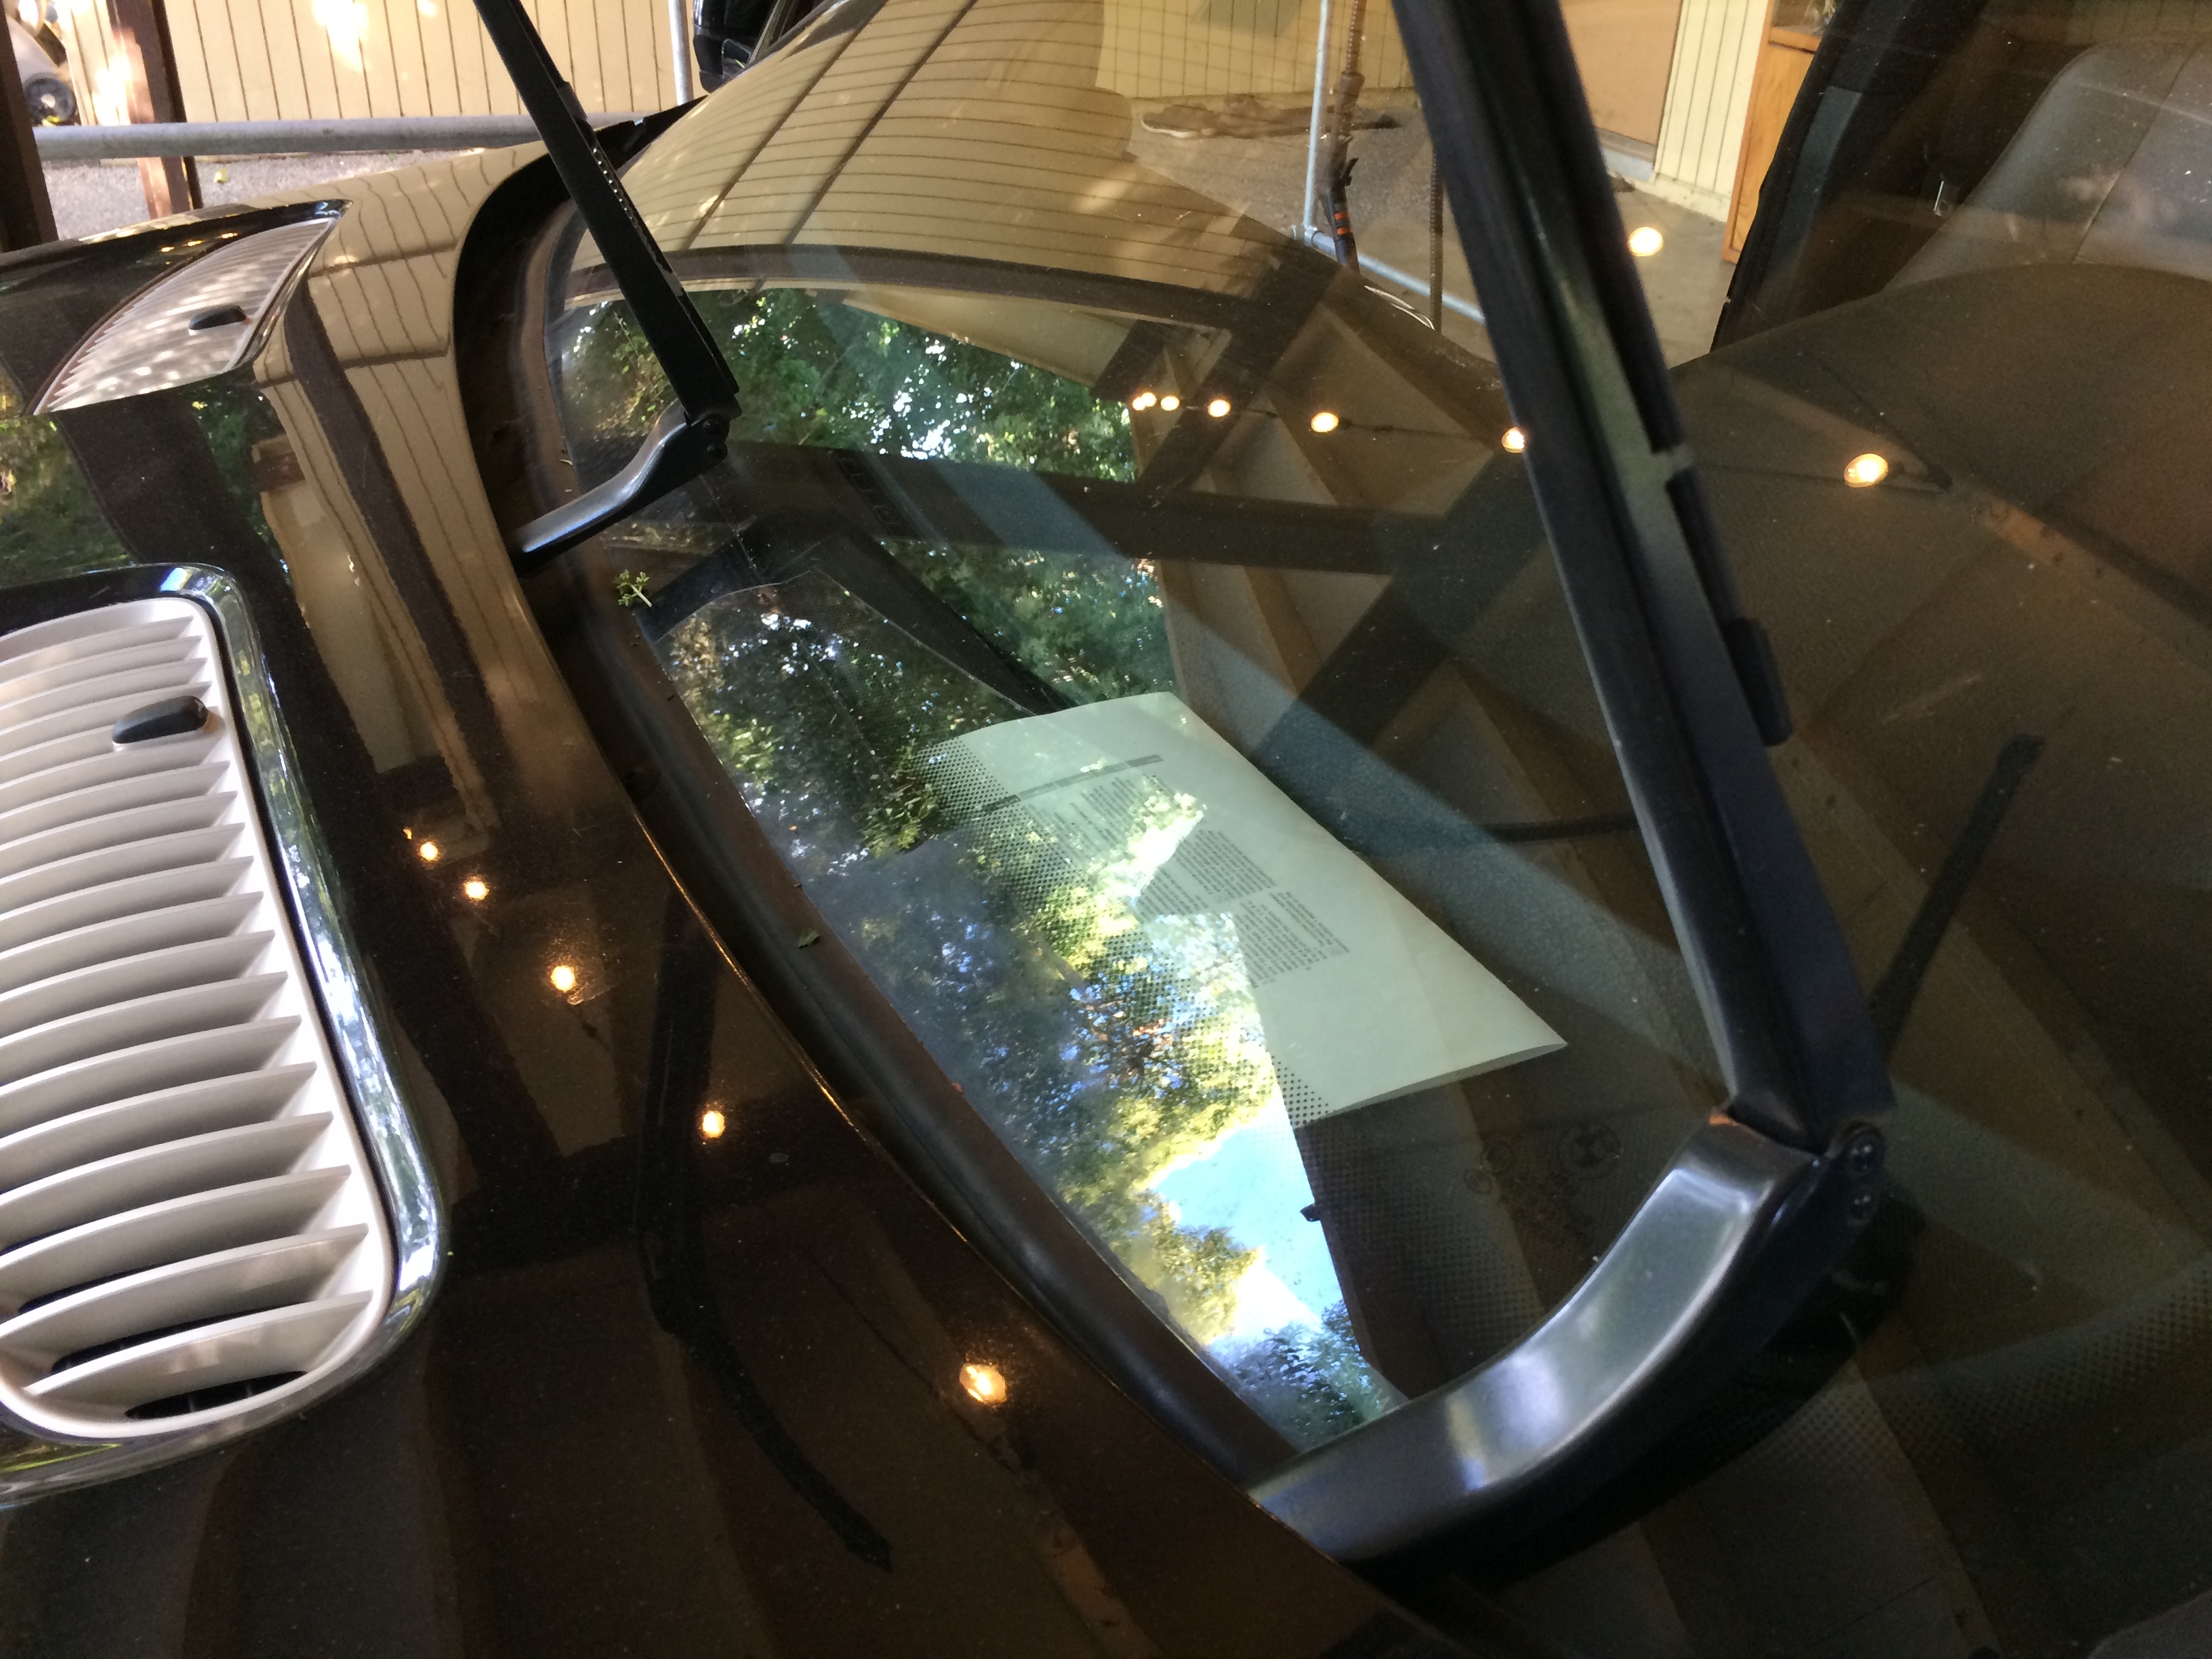
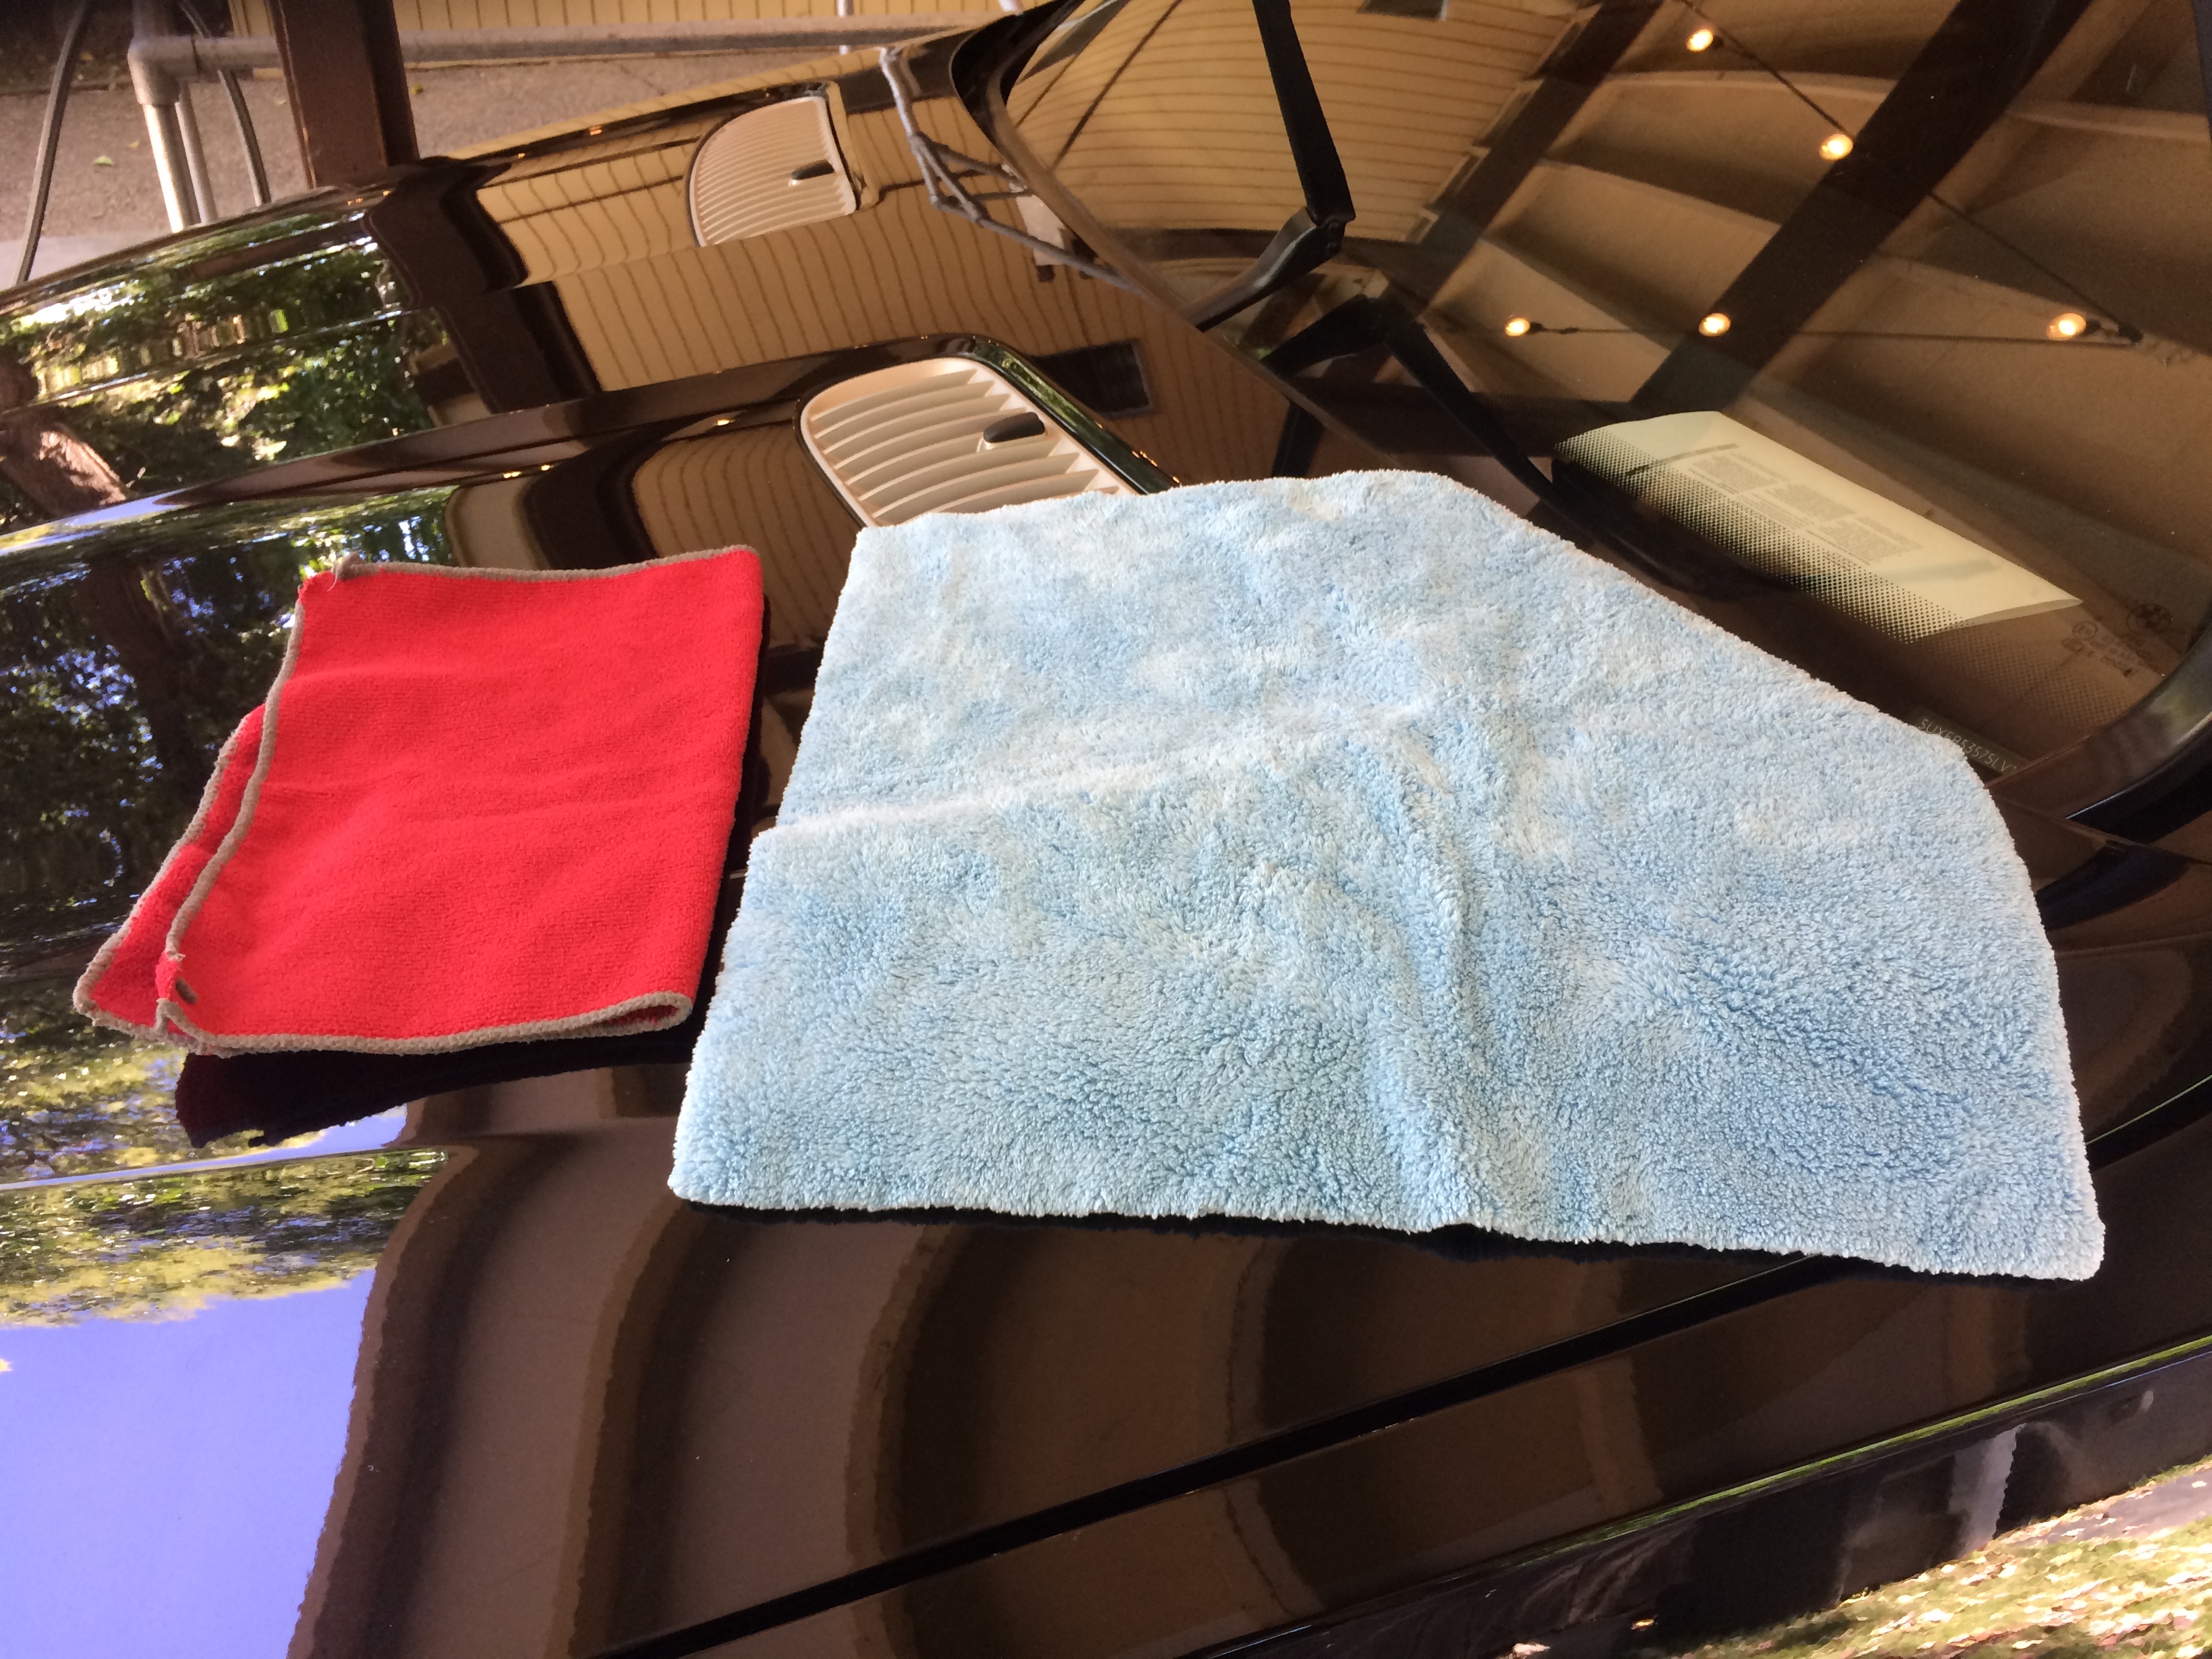
I am cleaning the glass surfaces using Stoner Invisible Glass and Griot’s PFM Dual Weave Glass Towels. Exterior glass was later coated using Kenotek Showroom Shine.
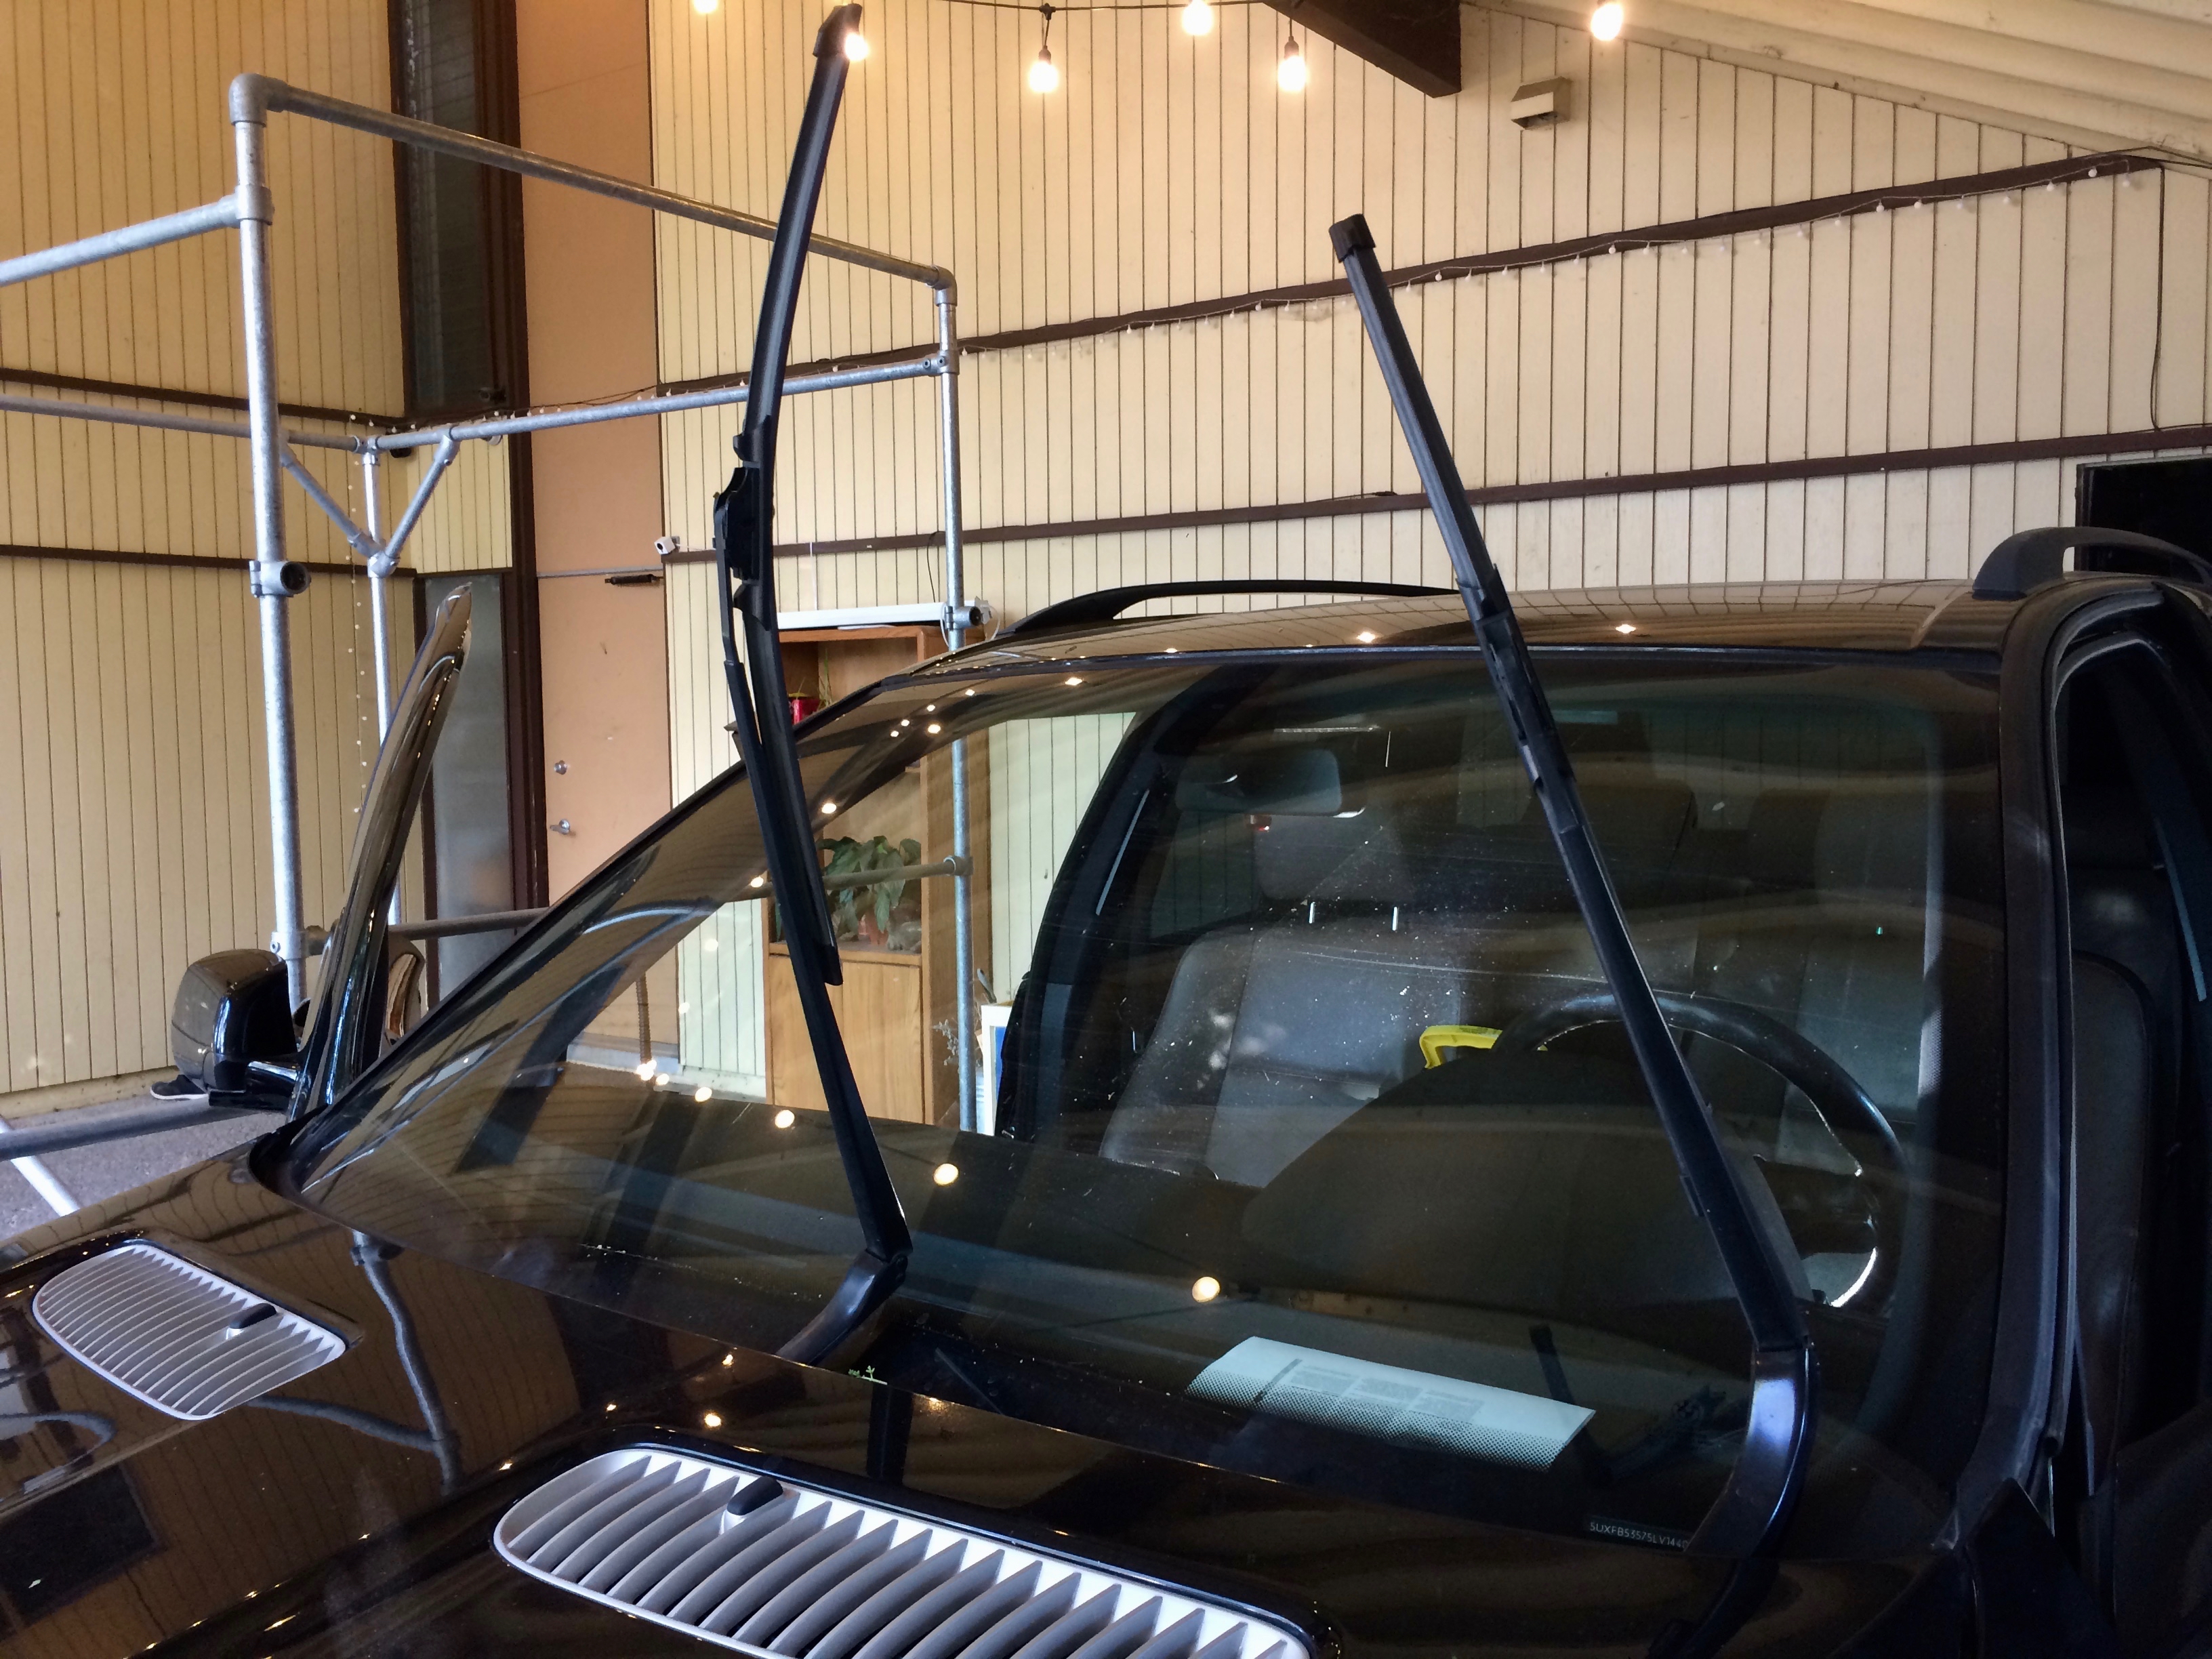
Lifting the X5’s windshield wipers in their normal position interferes with the hood. A solution for this is to turn on the vehicle’s ignition, activate the wipers, and then turn the ignition off when they reach vertical. Now the wipers can be raised without impacting the hood.
With the interior complete, I turn my attention to the exterior for the rest of the project.
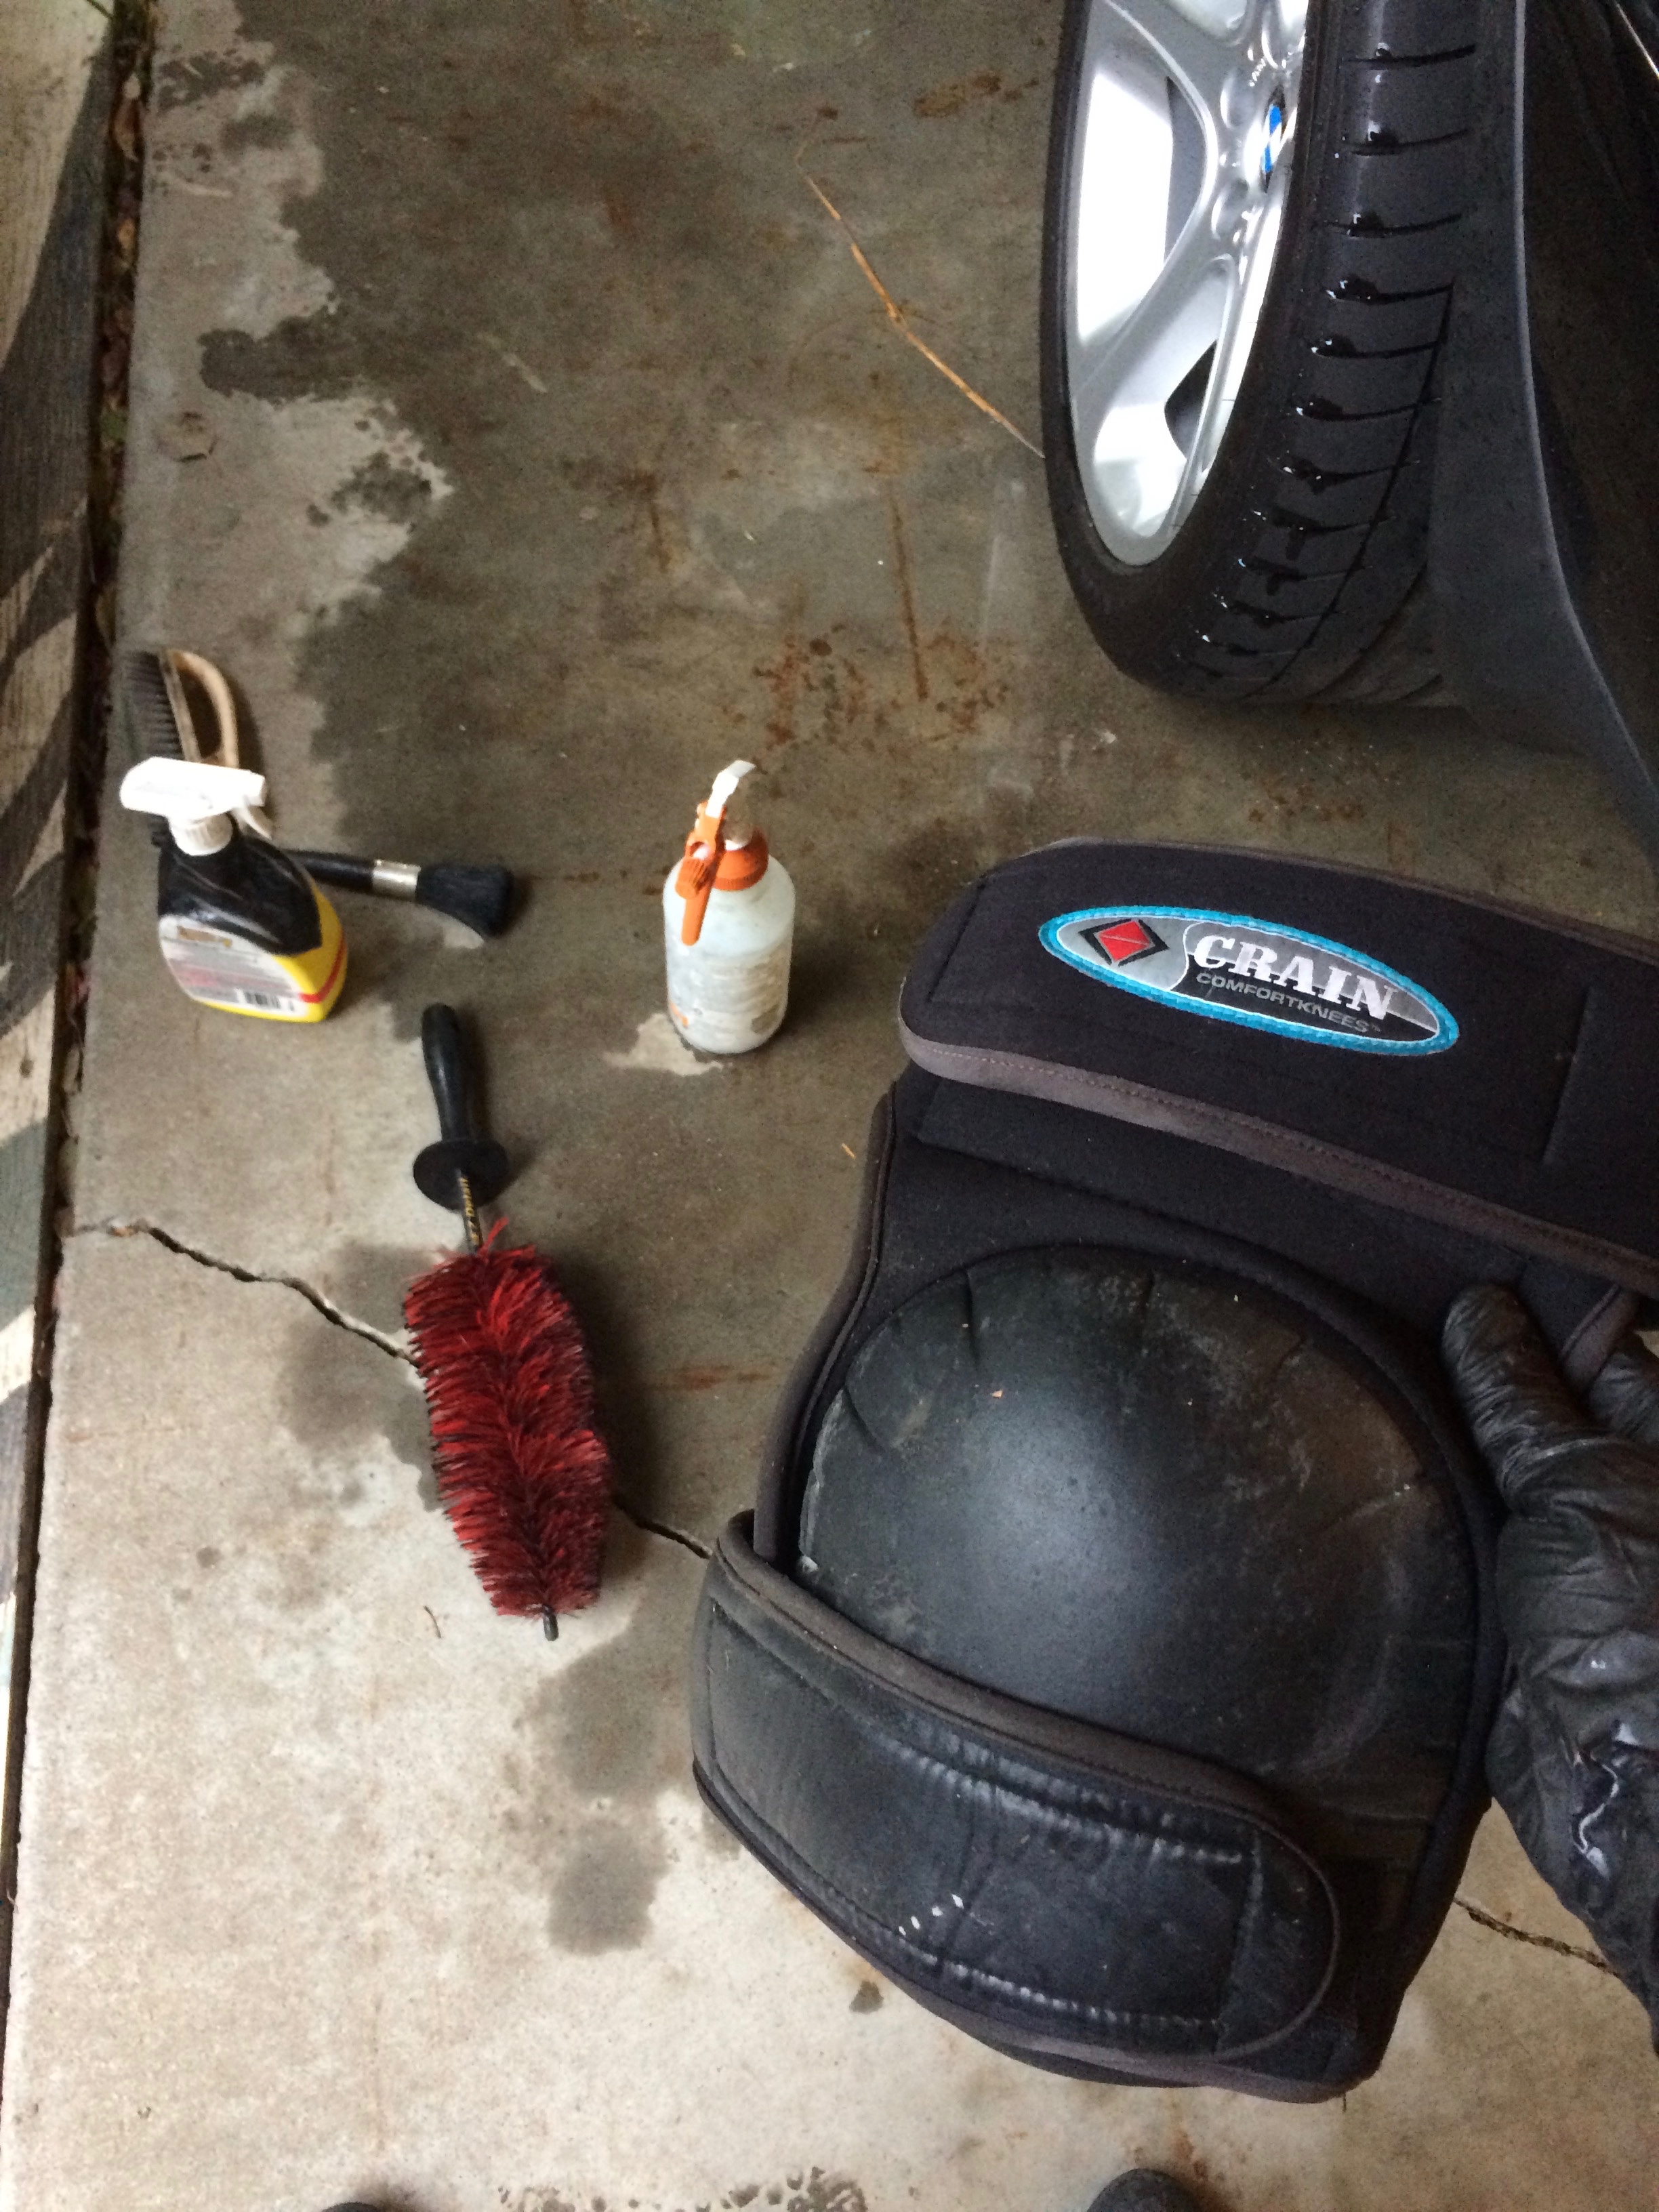
I begin by cleaning the wheels. Tools for this include:
-Simple Green Dilution.
-Greased Lightning Degreaser.
-Tire Brush.
-Lug Nut Brush.
-Large Bendable Wheel Brush from Griot’s.
-Microfiber Towel.
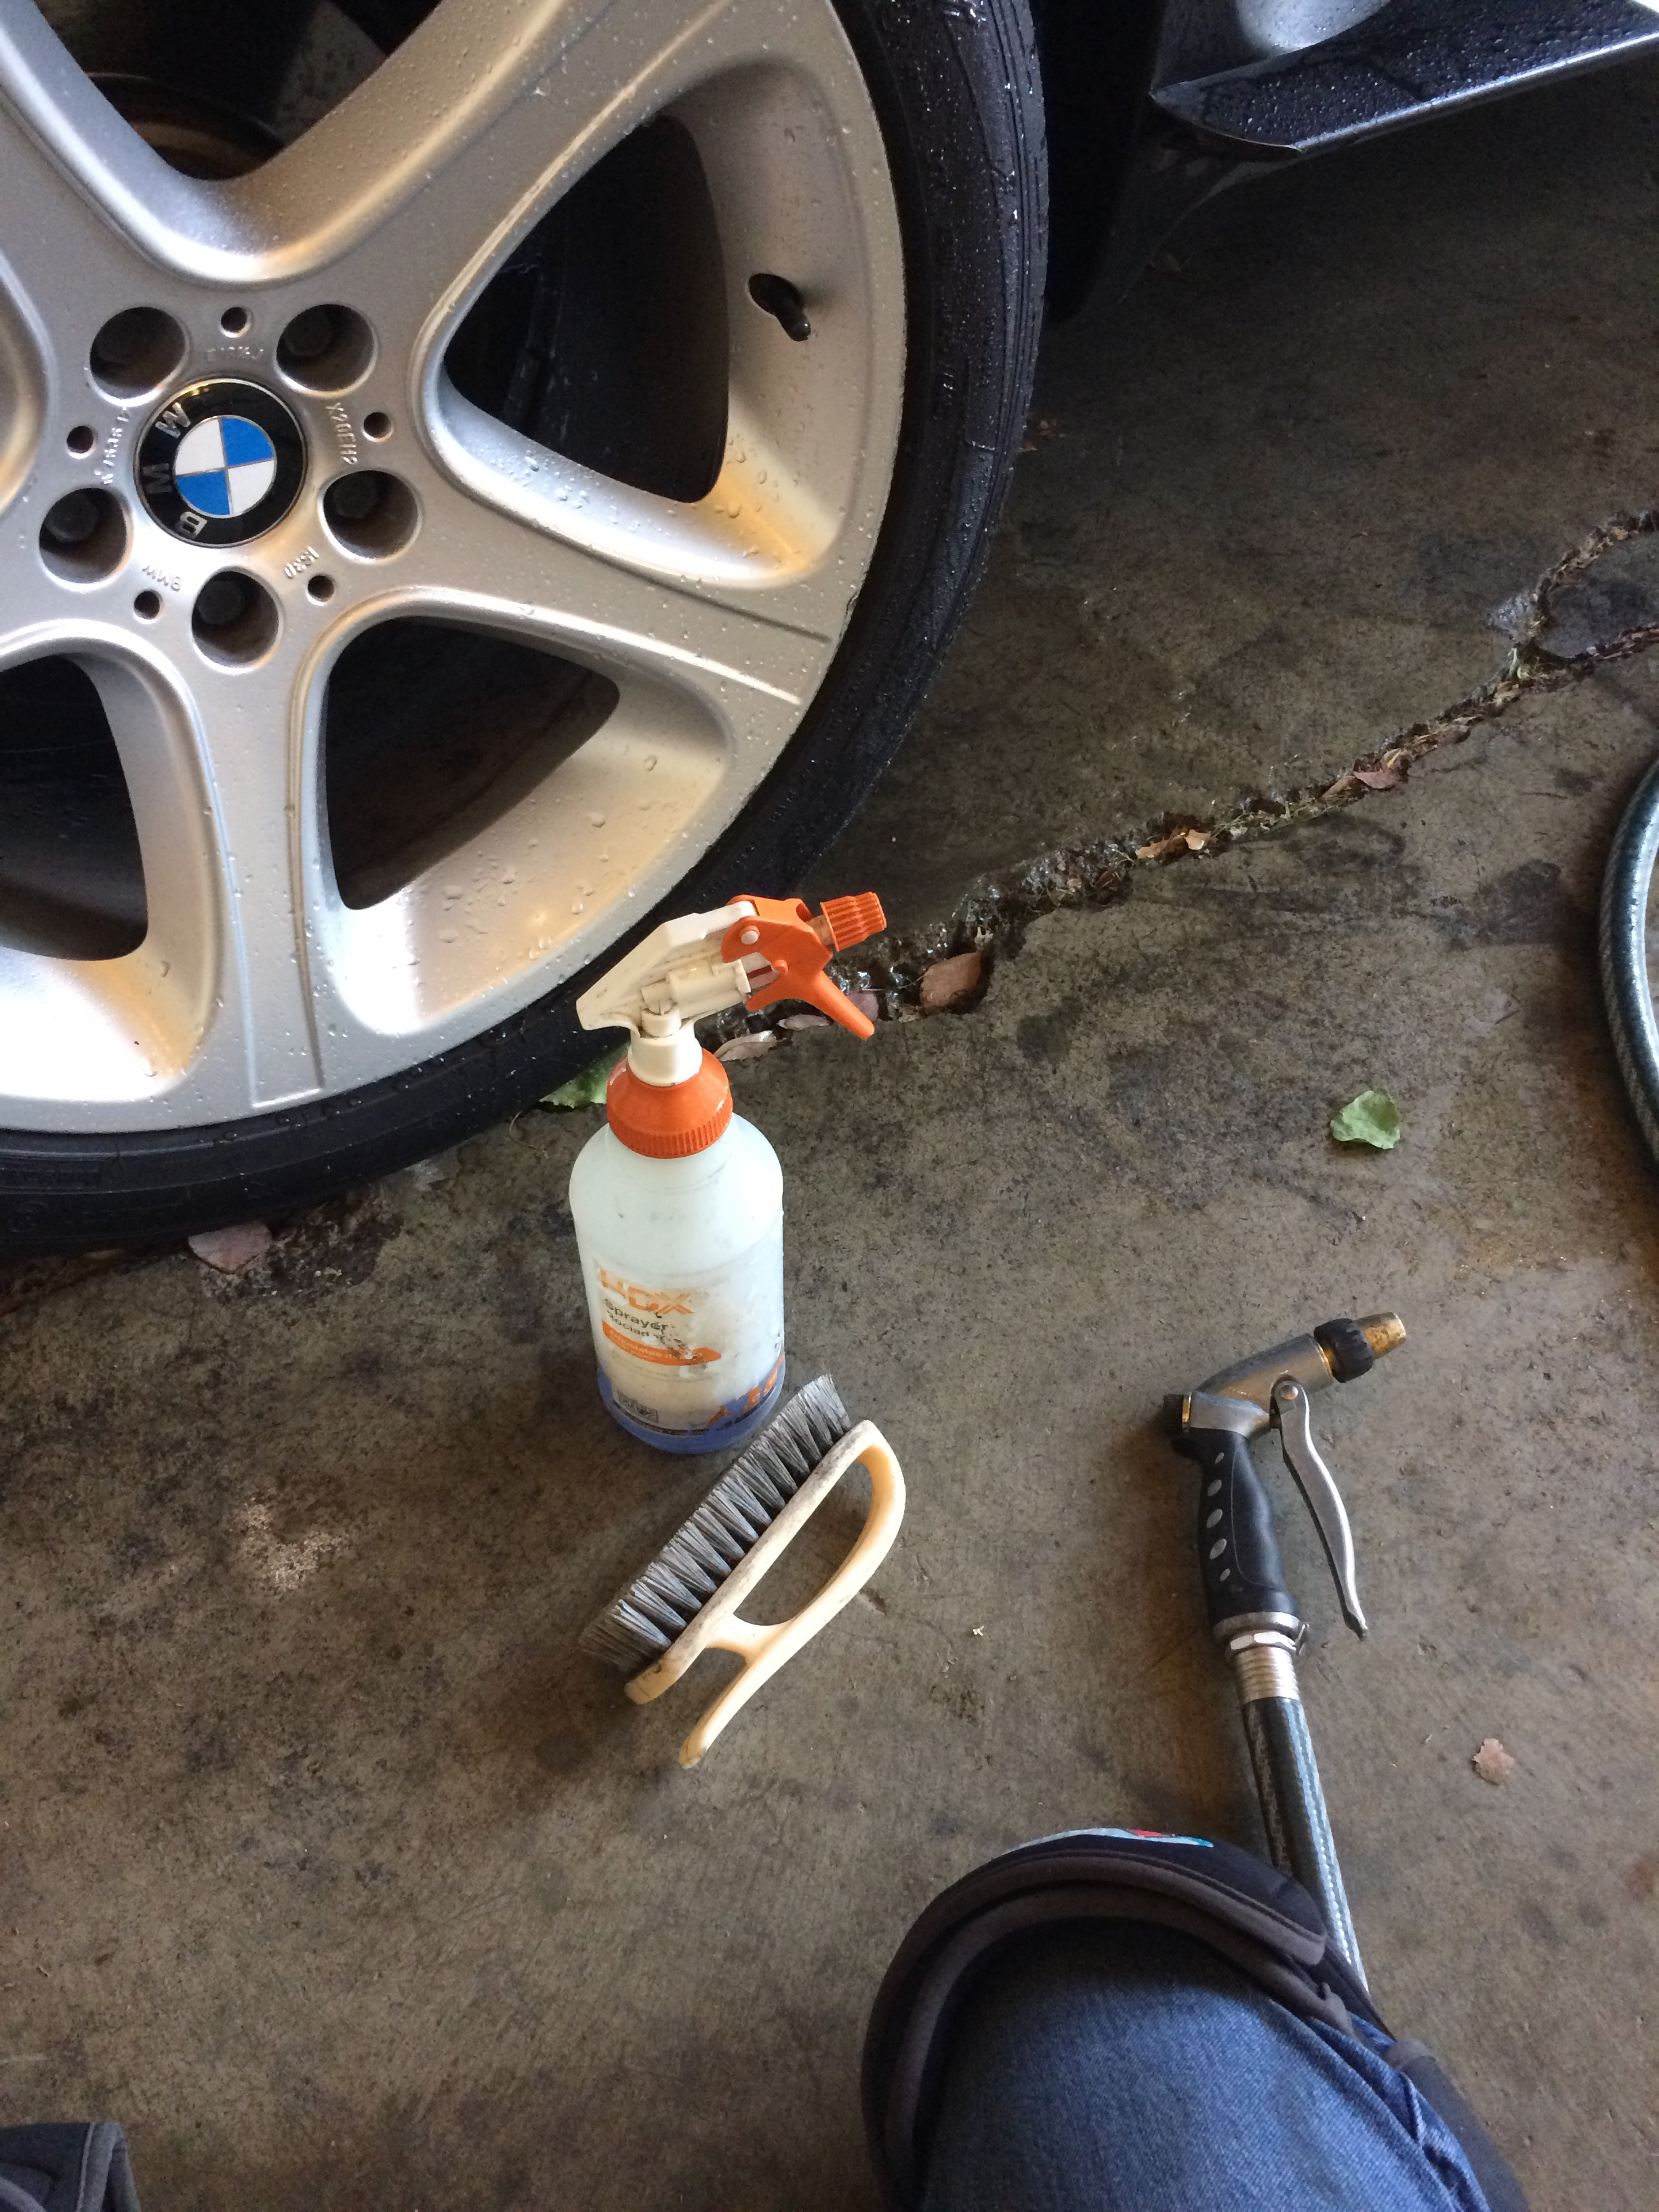
On the end of my water hose is an Orbit Front Trigger Adjustable Nozzle. I am wearing my Crain Comfort Knees while cleaning the wheels.
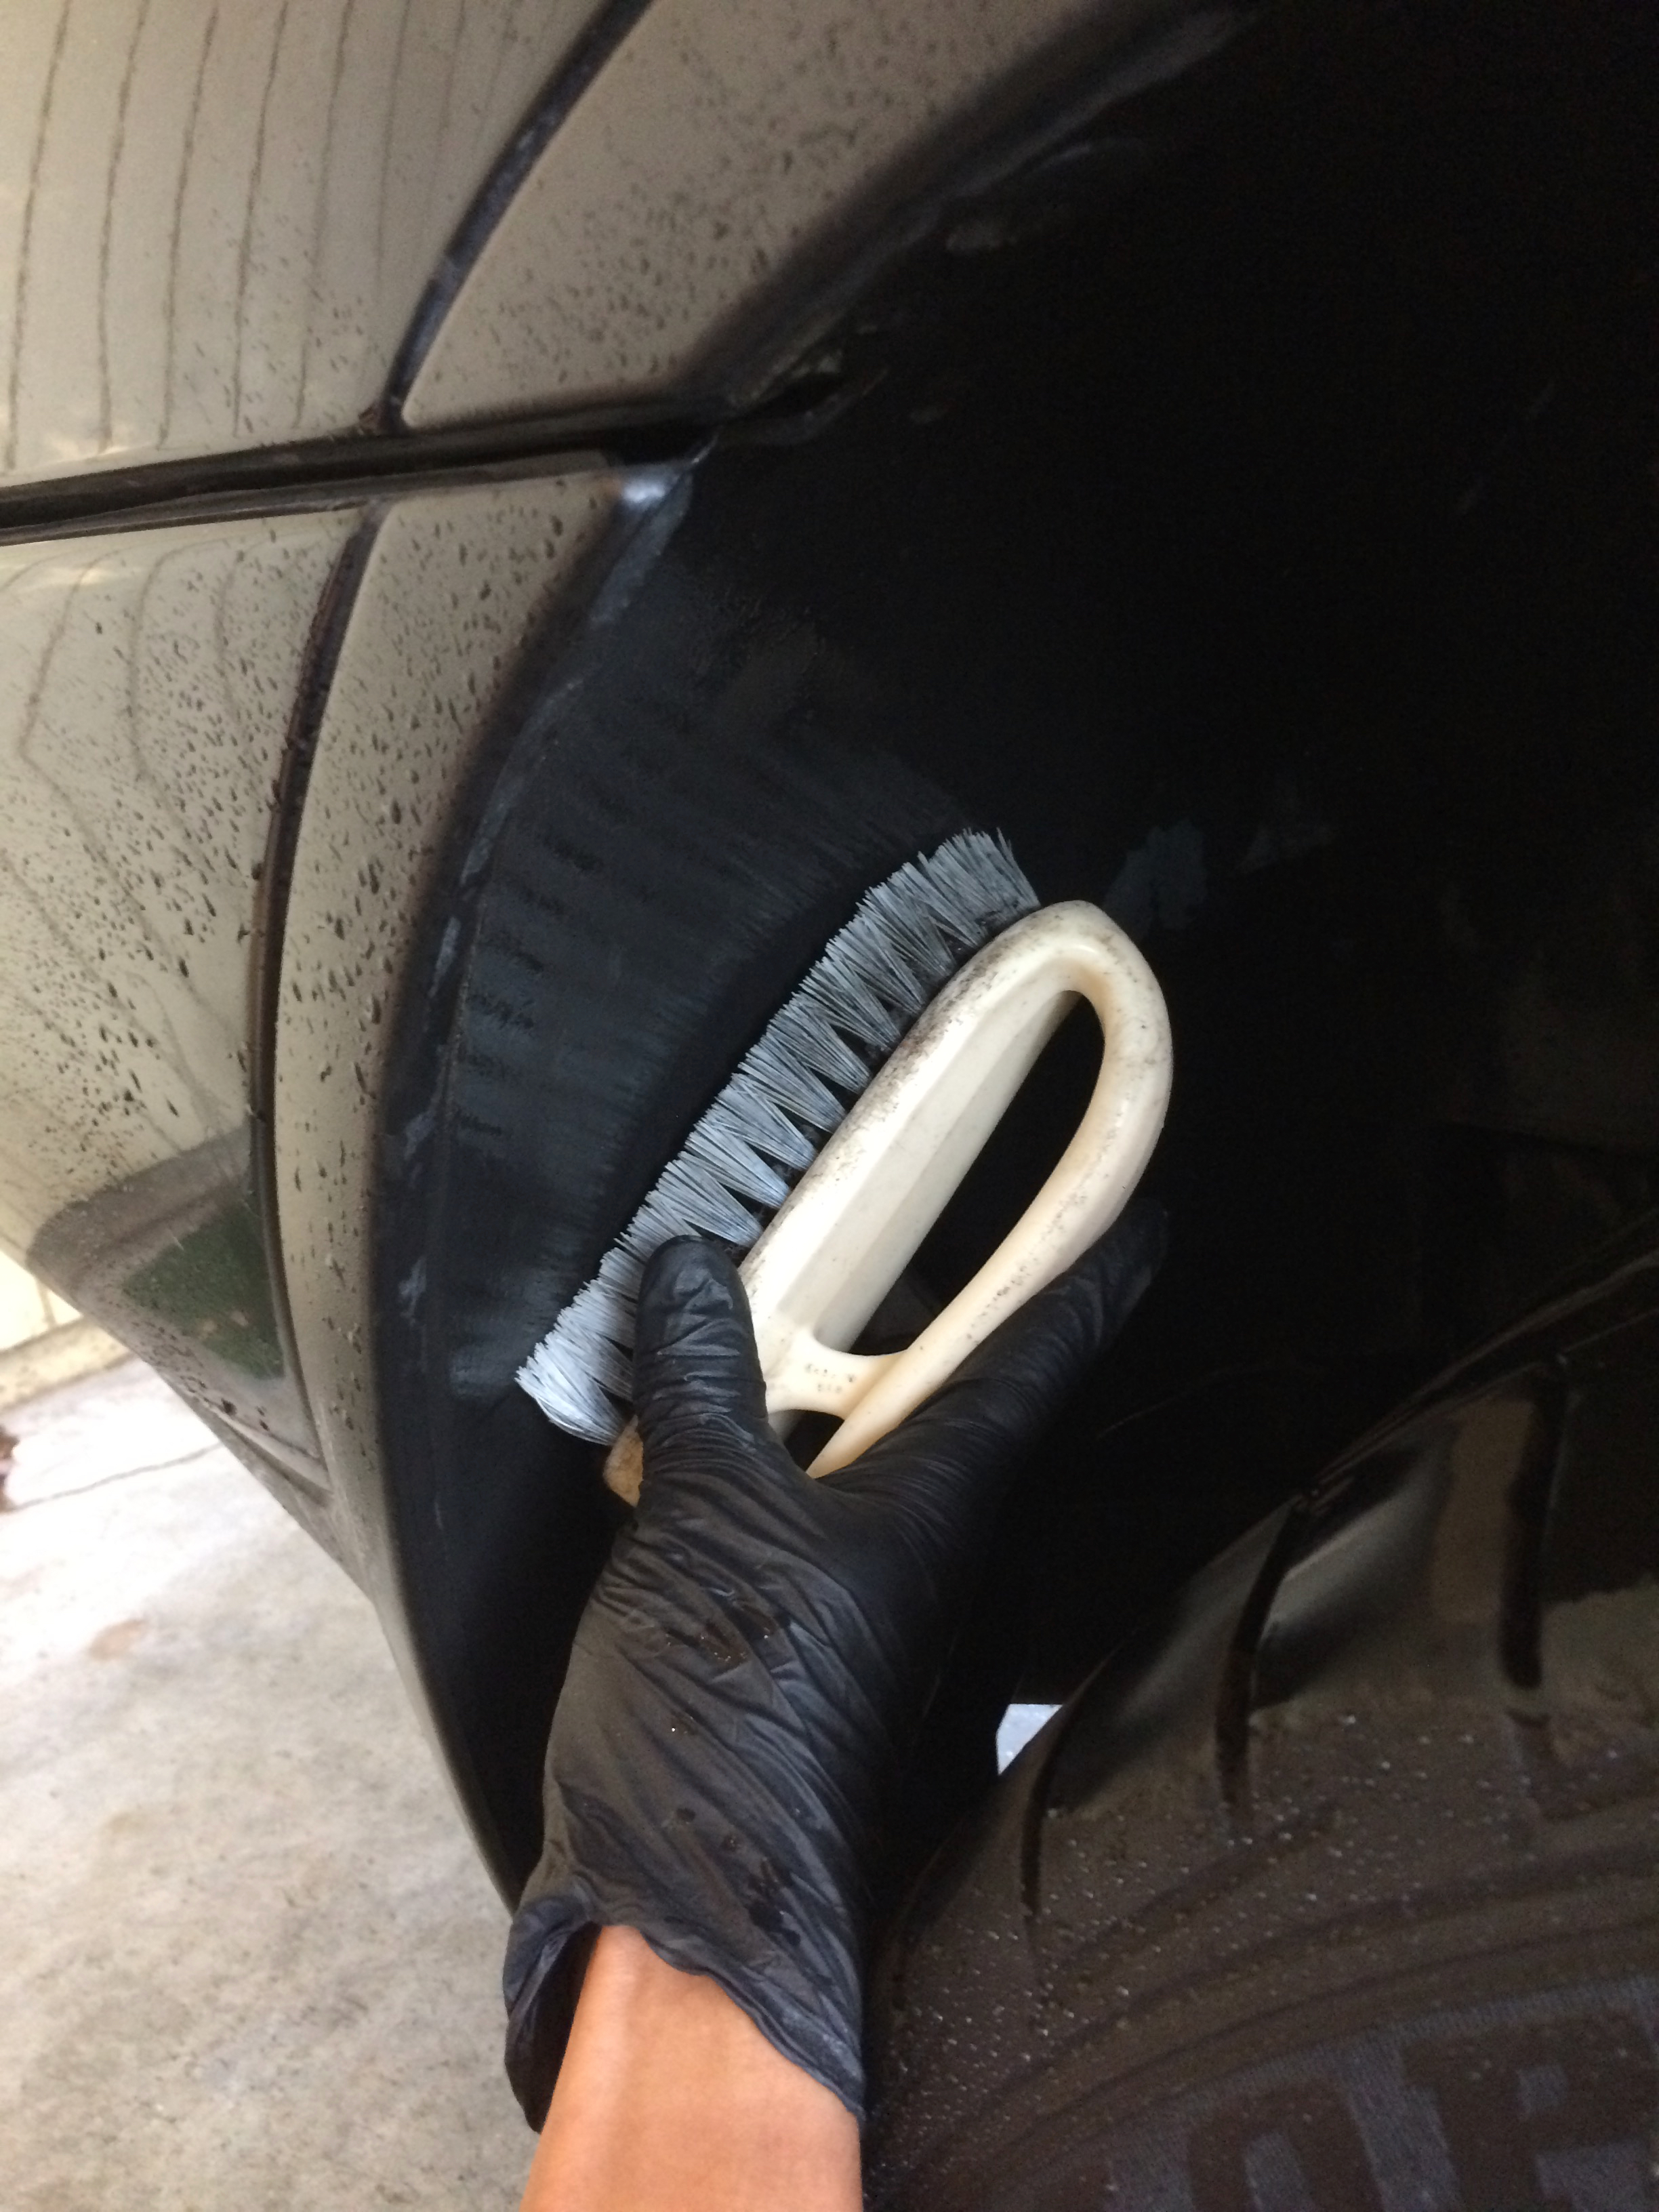
The X5’s wheel wells are spacious enough that I can scrub them using my tire brush! This feels very convenient after detailing several low sedans and sports cars in a row.
The wheels themselves are also very easy to clean with large gaps to reach the barrels.
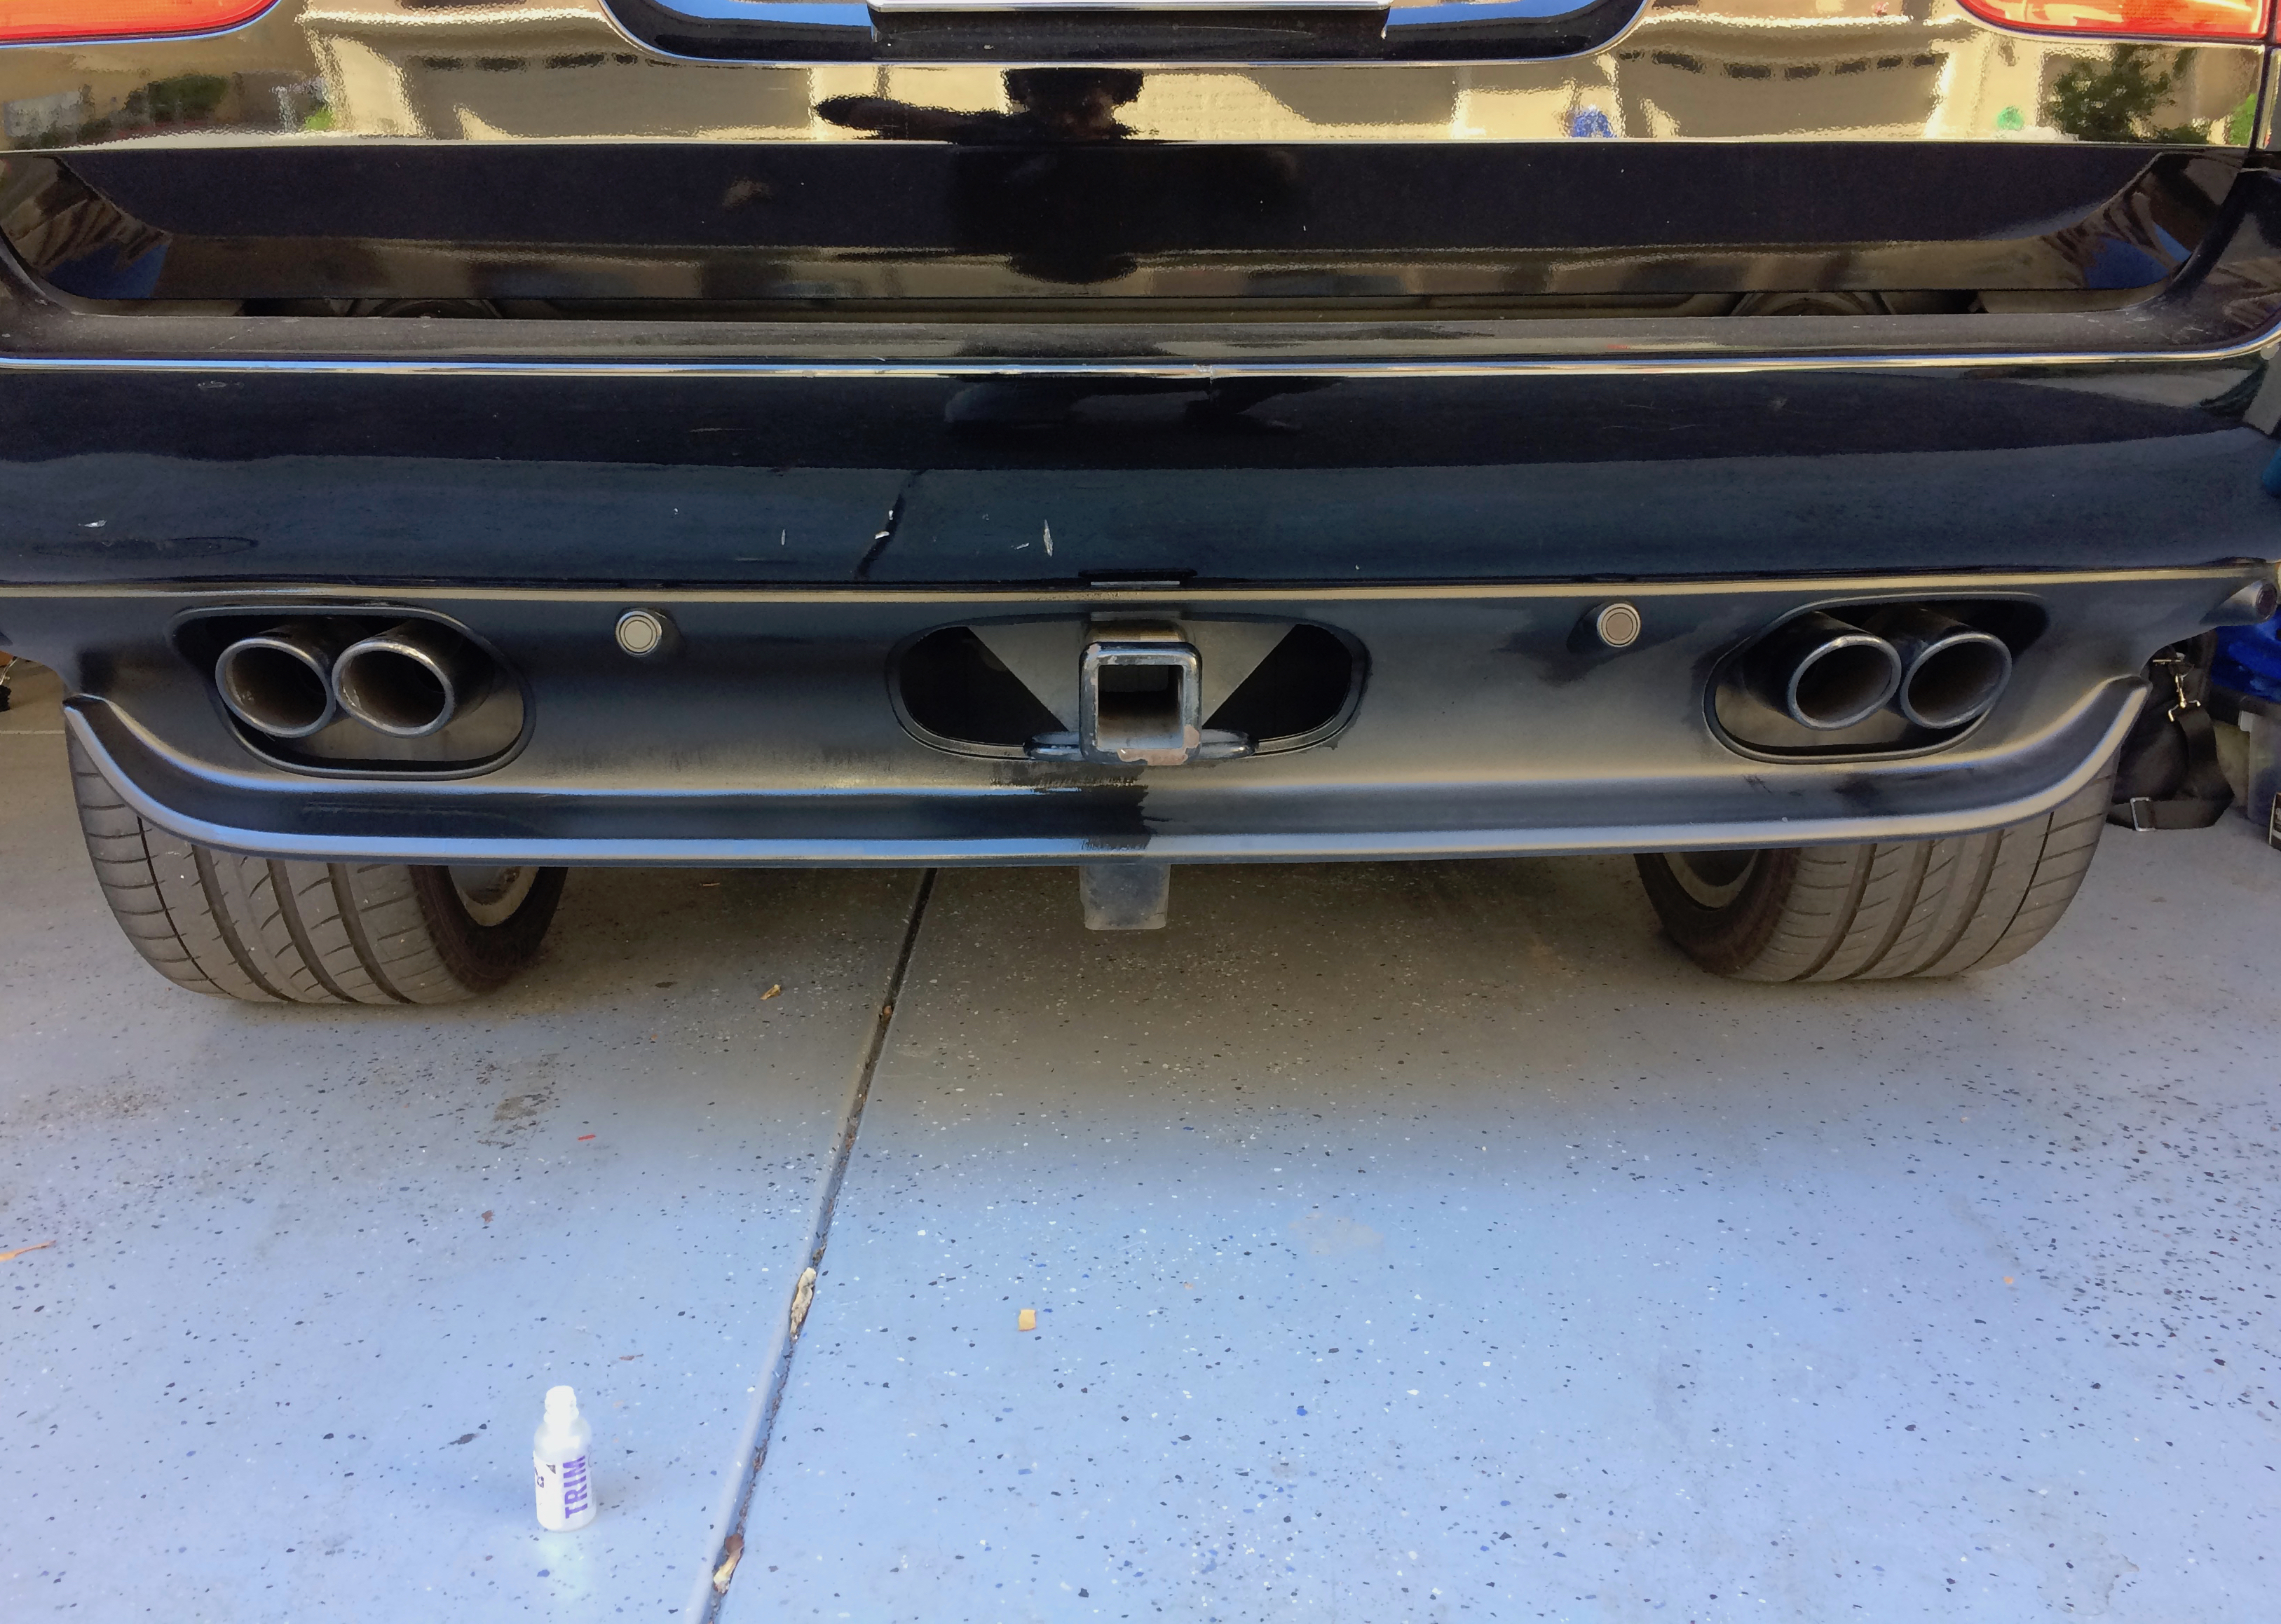
Exhaust tips are polished using Flitz Polish.
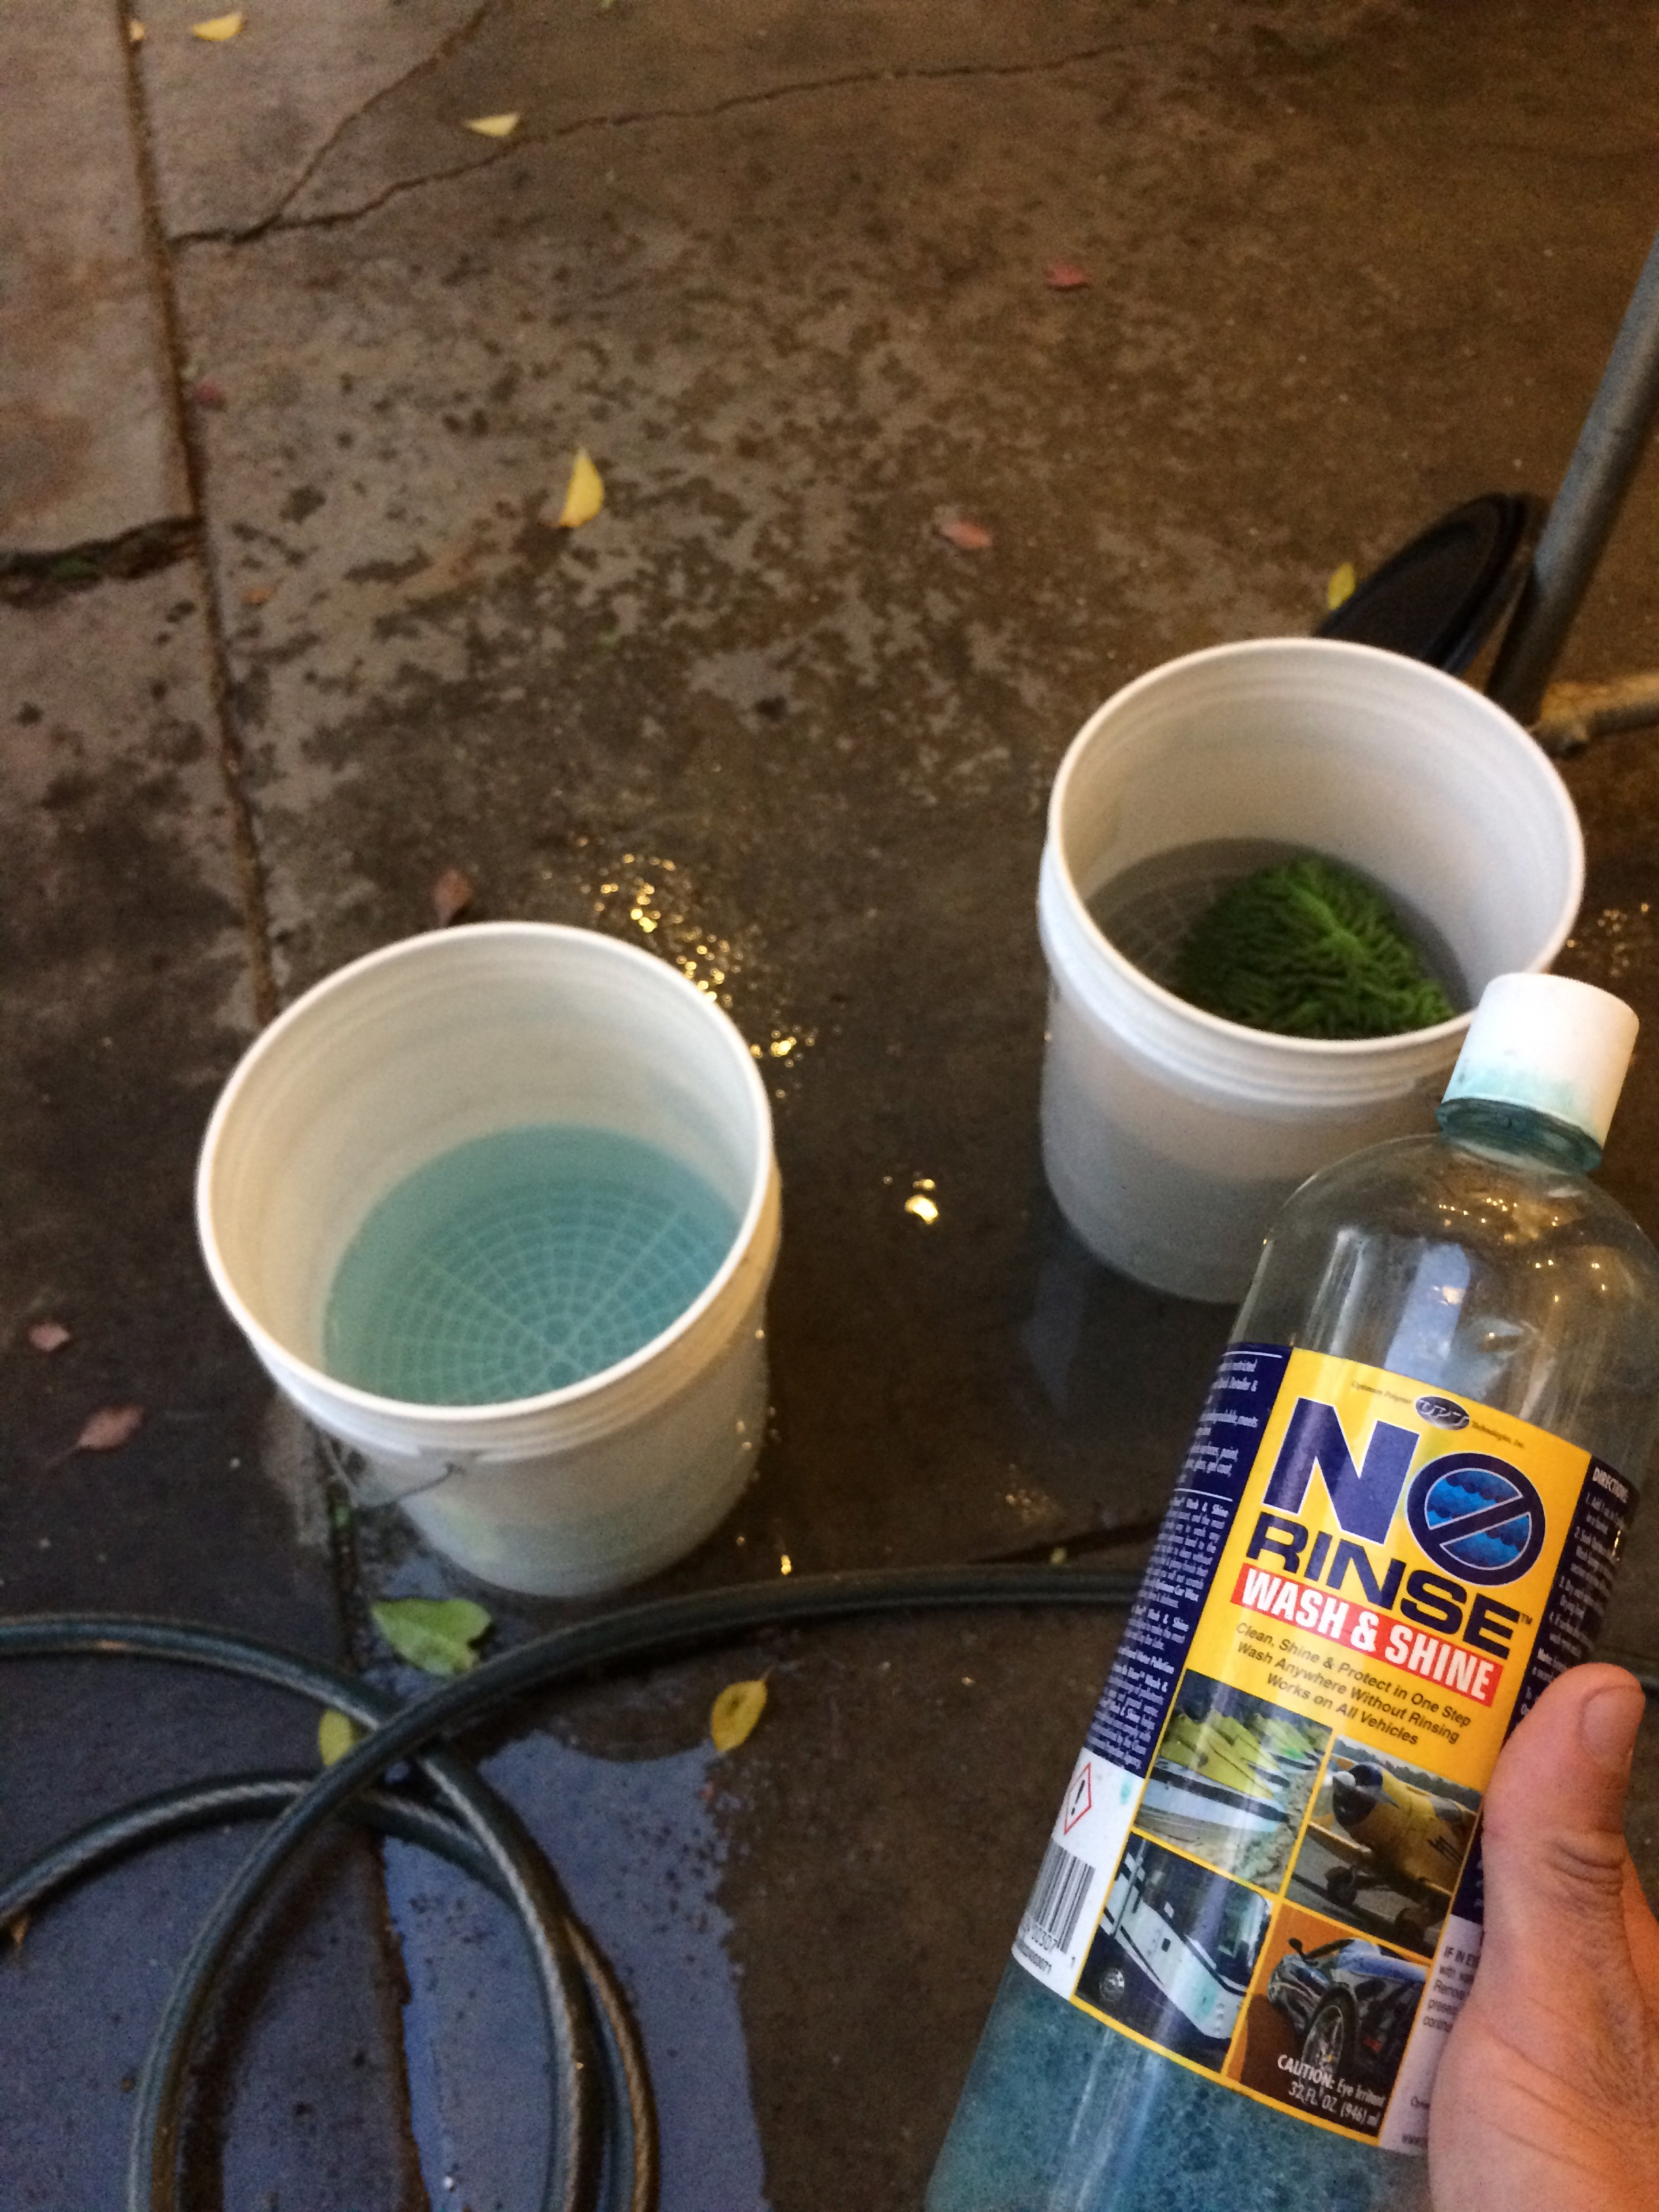
The exterior receives a rinse down before I wash using a two bucket method with Optimum No Rinse and microfiber wash mitts.
To perform clay treatment I am equipping my Rupes LHR15 Mark II with a Nanoskin Autoscrub Clay Pad. A bottle of Optimum No Rinse dilution serves as a clay lubricant.
Since the vehicle is under a carport and atmospheric dust is very prevalent here, the next morning greets me with an X5 covered in a light layer of dust.
I can simply rinse it off and dry the vehicle. I am making use of a Griot’s PFM Terry Weave Drying Towel for this.

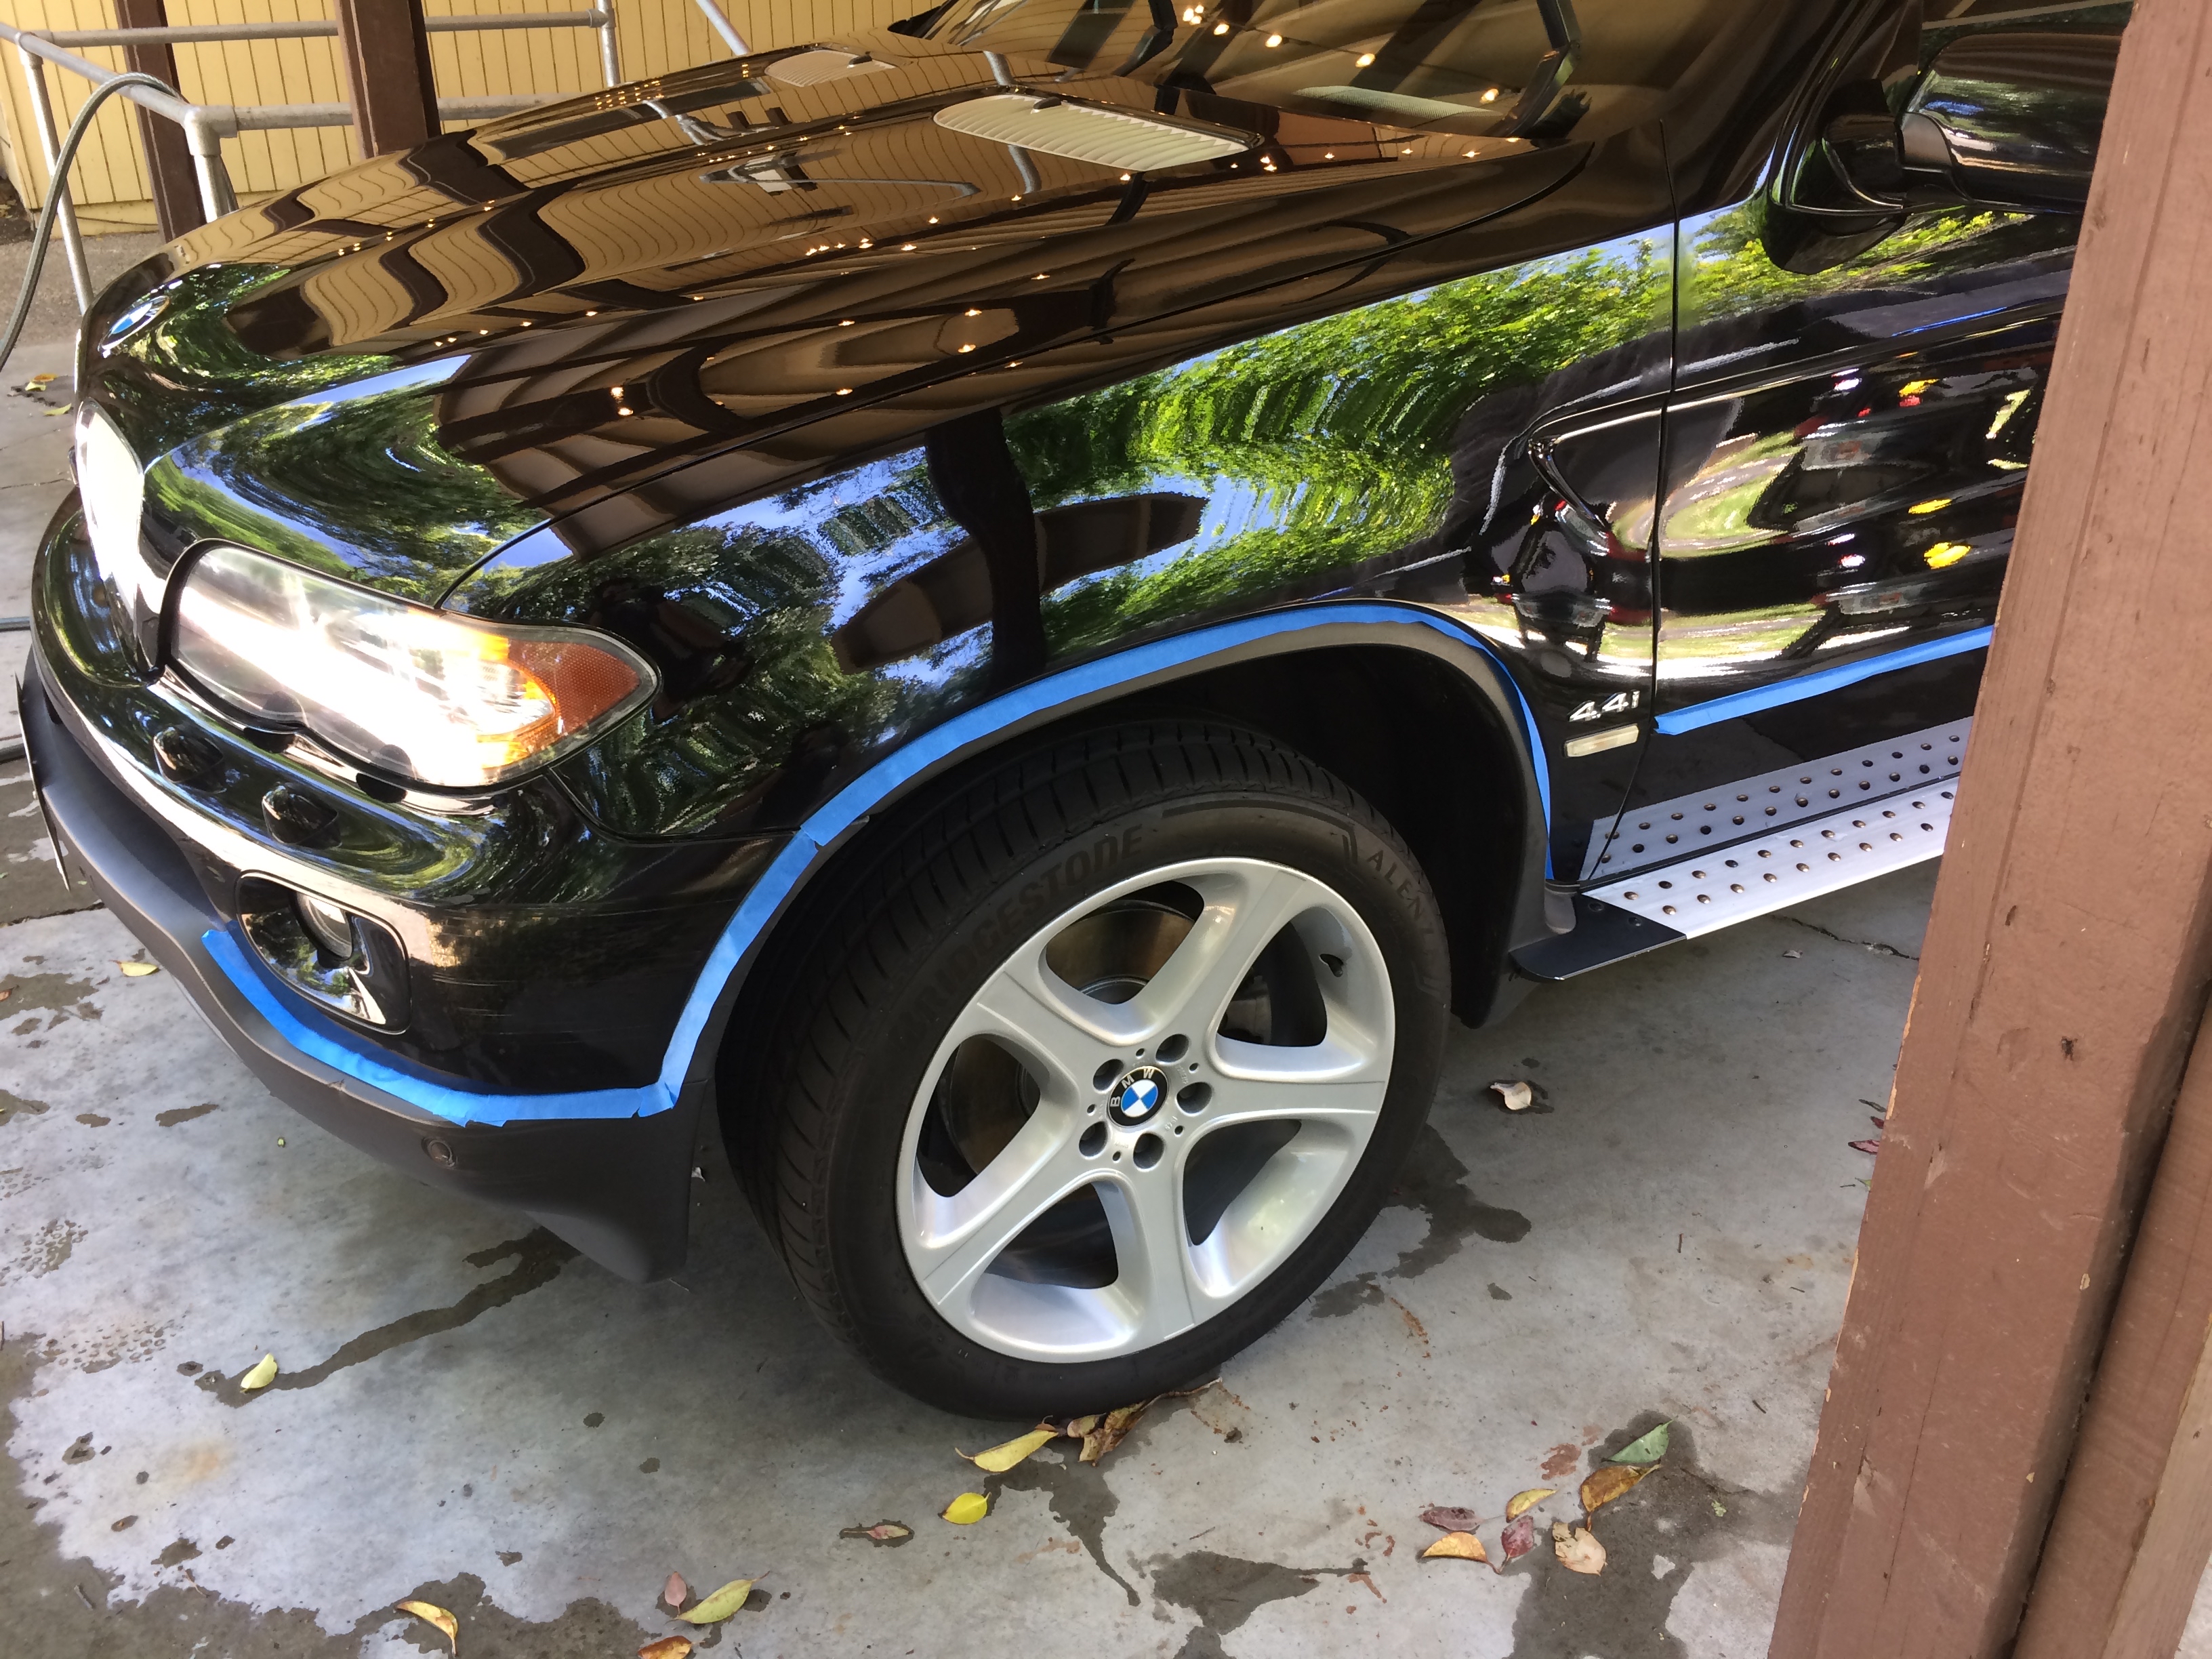
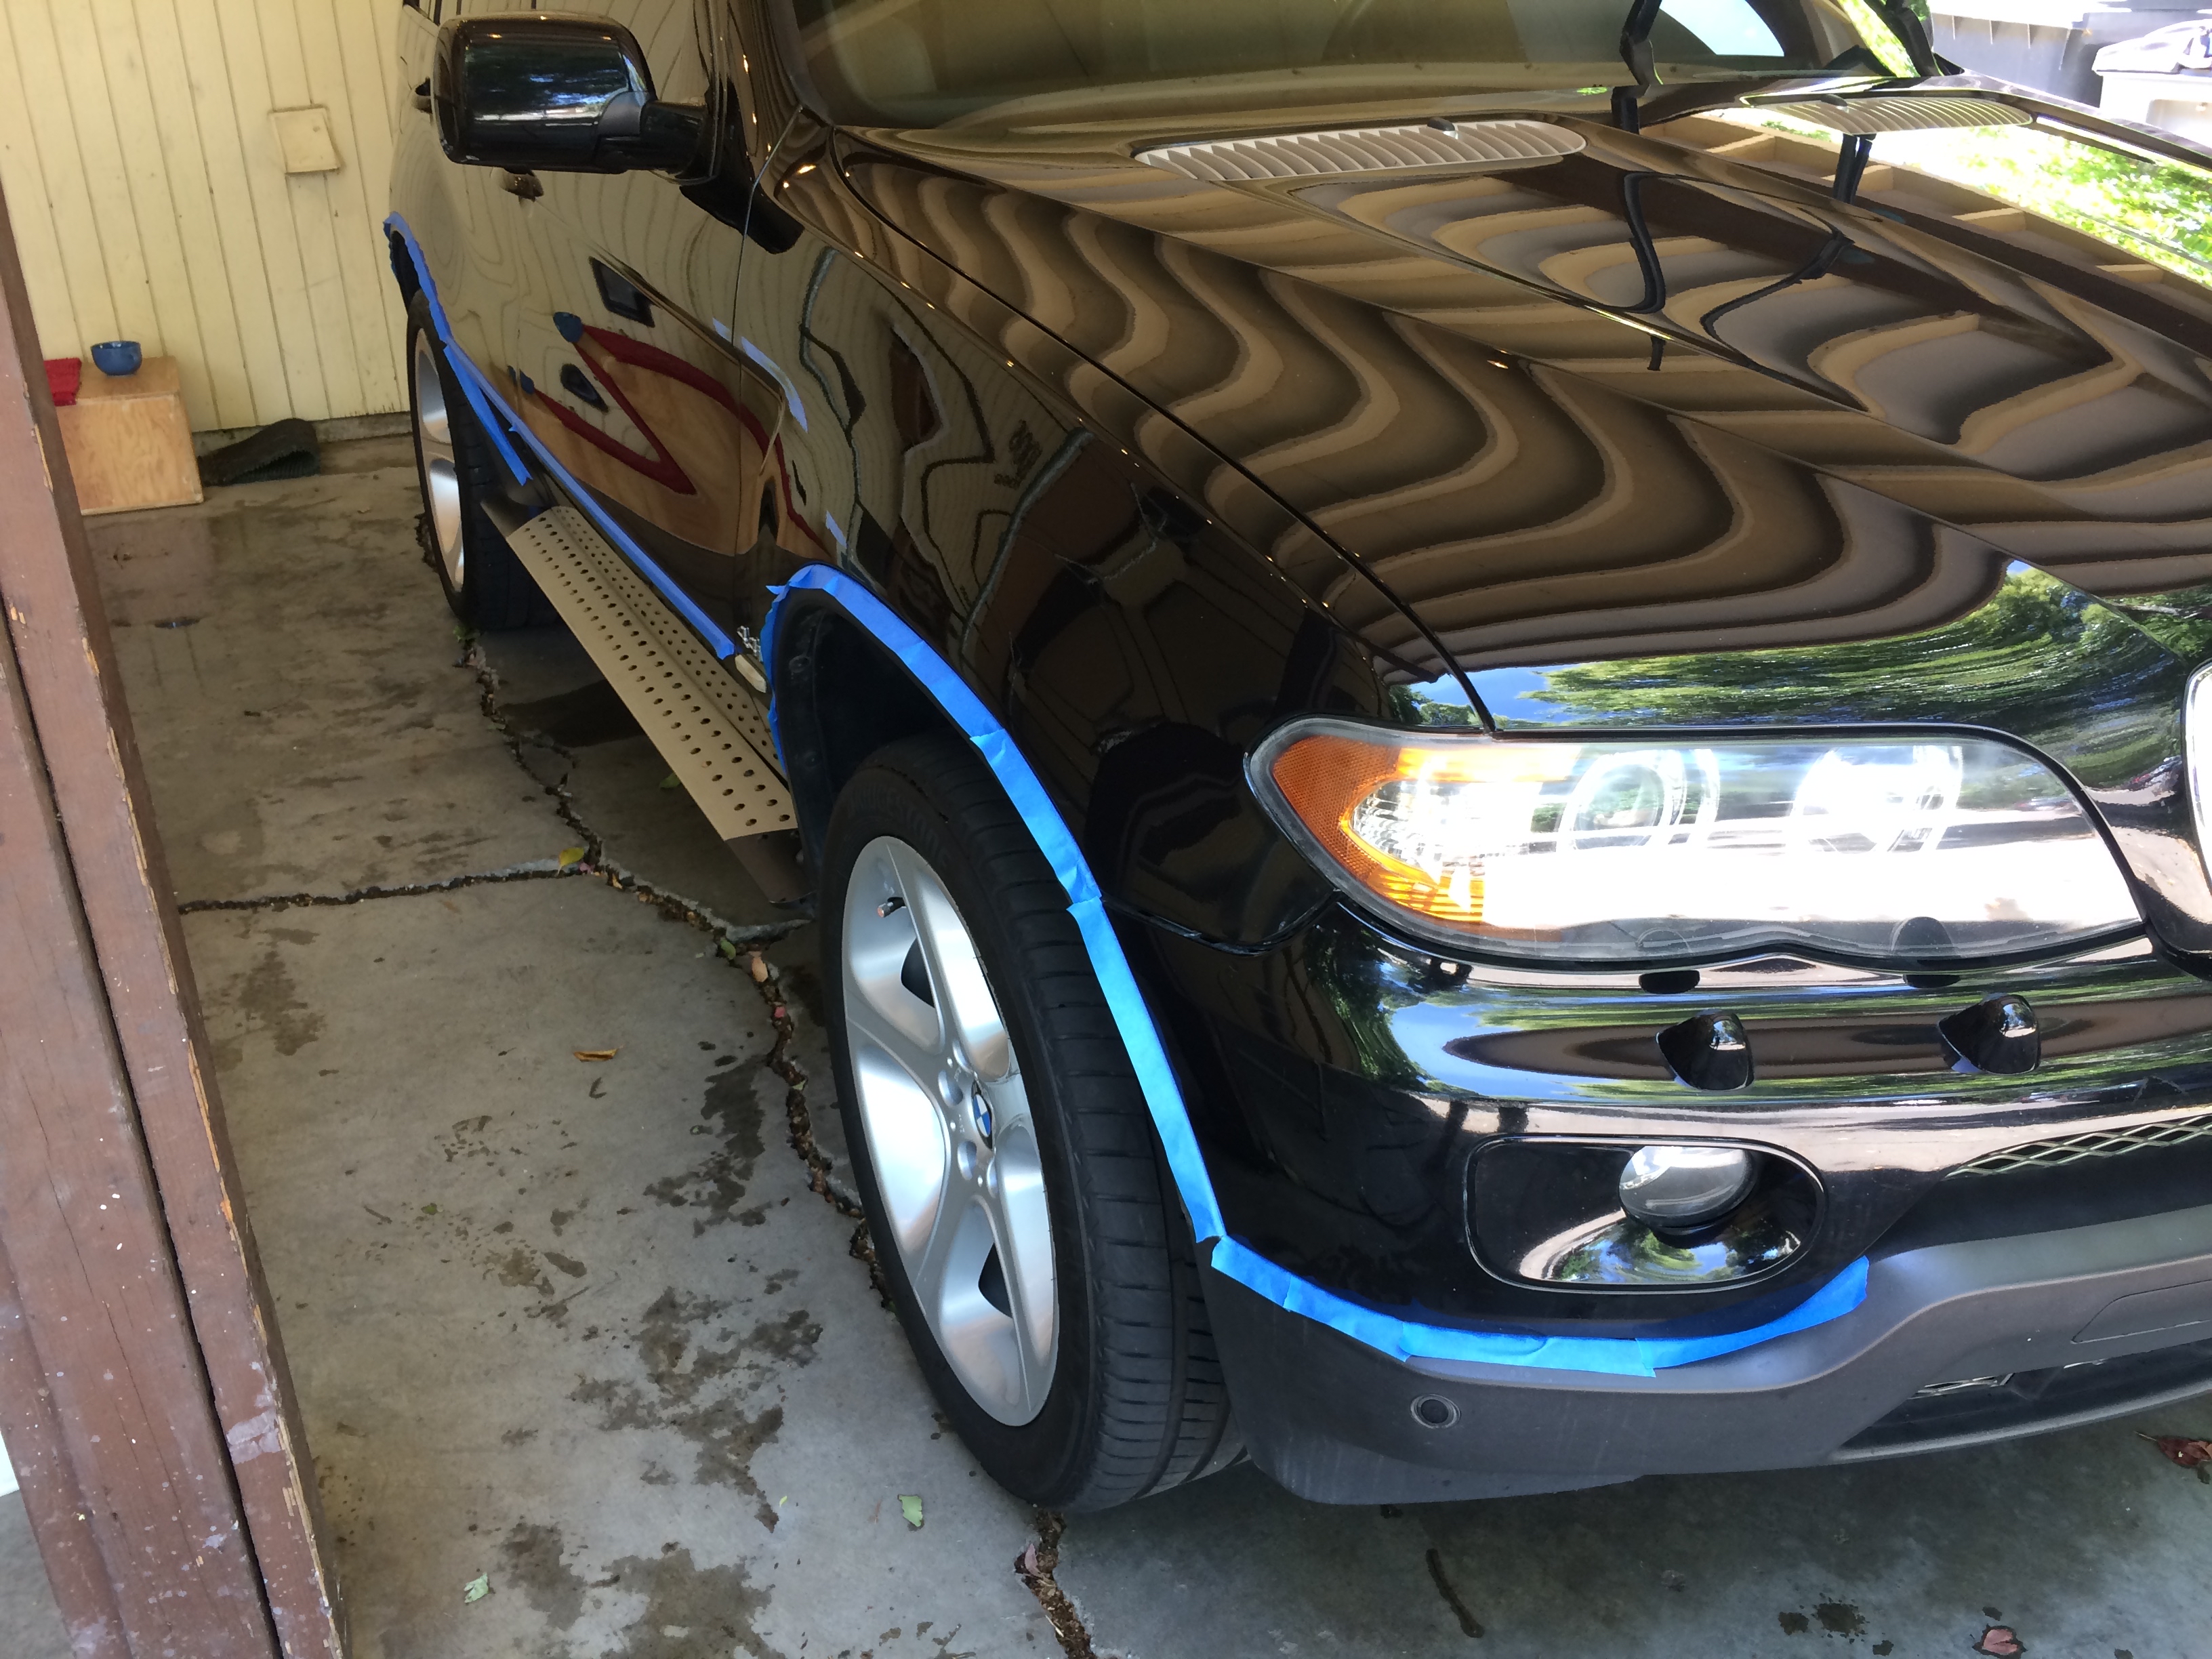
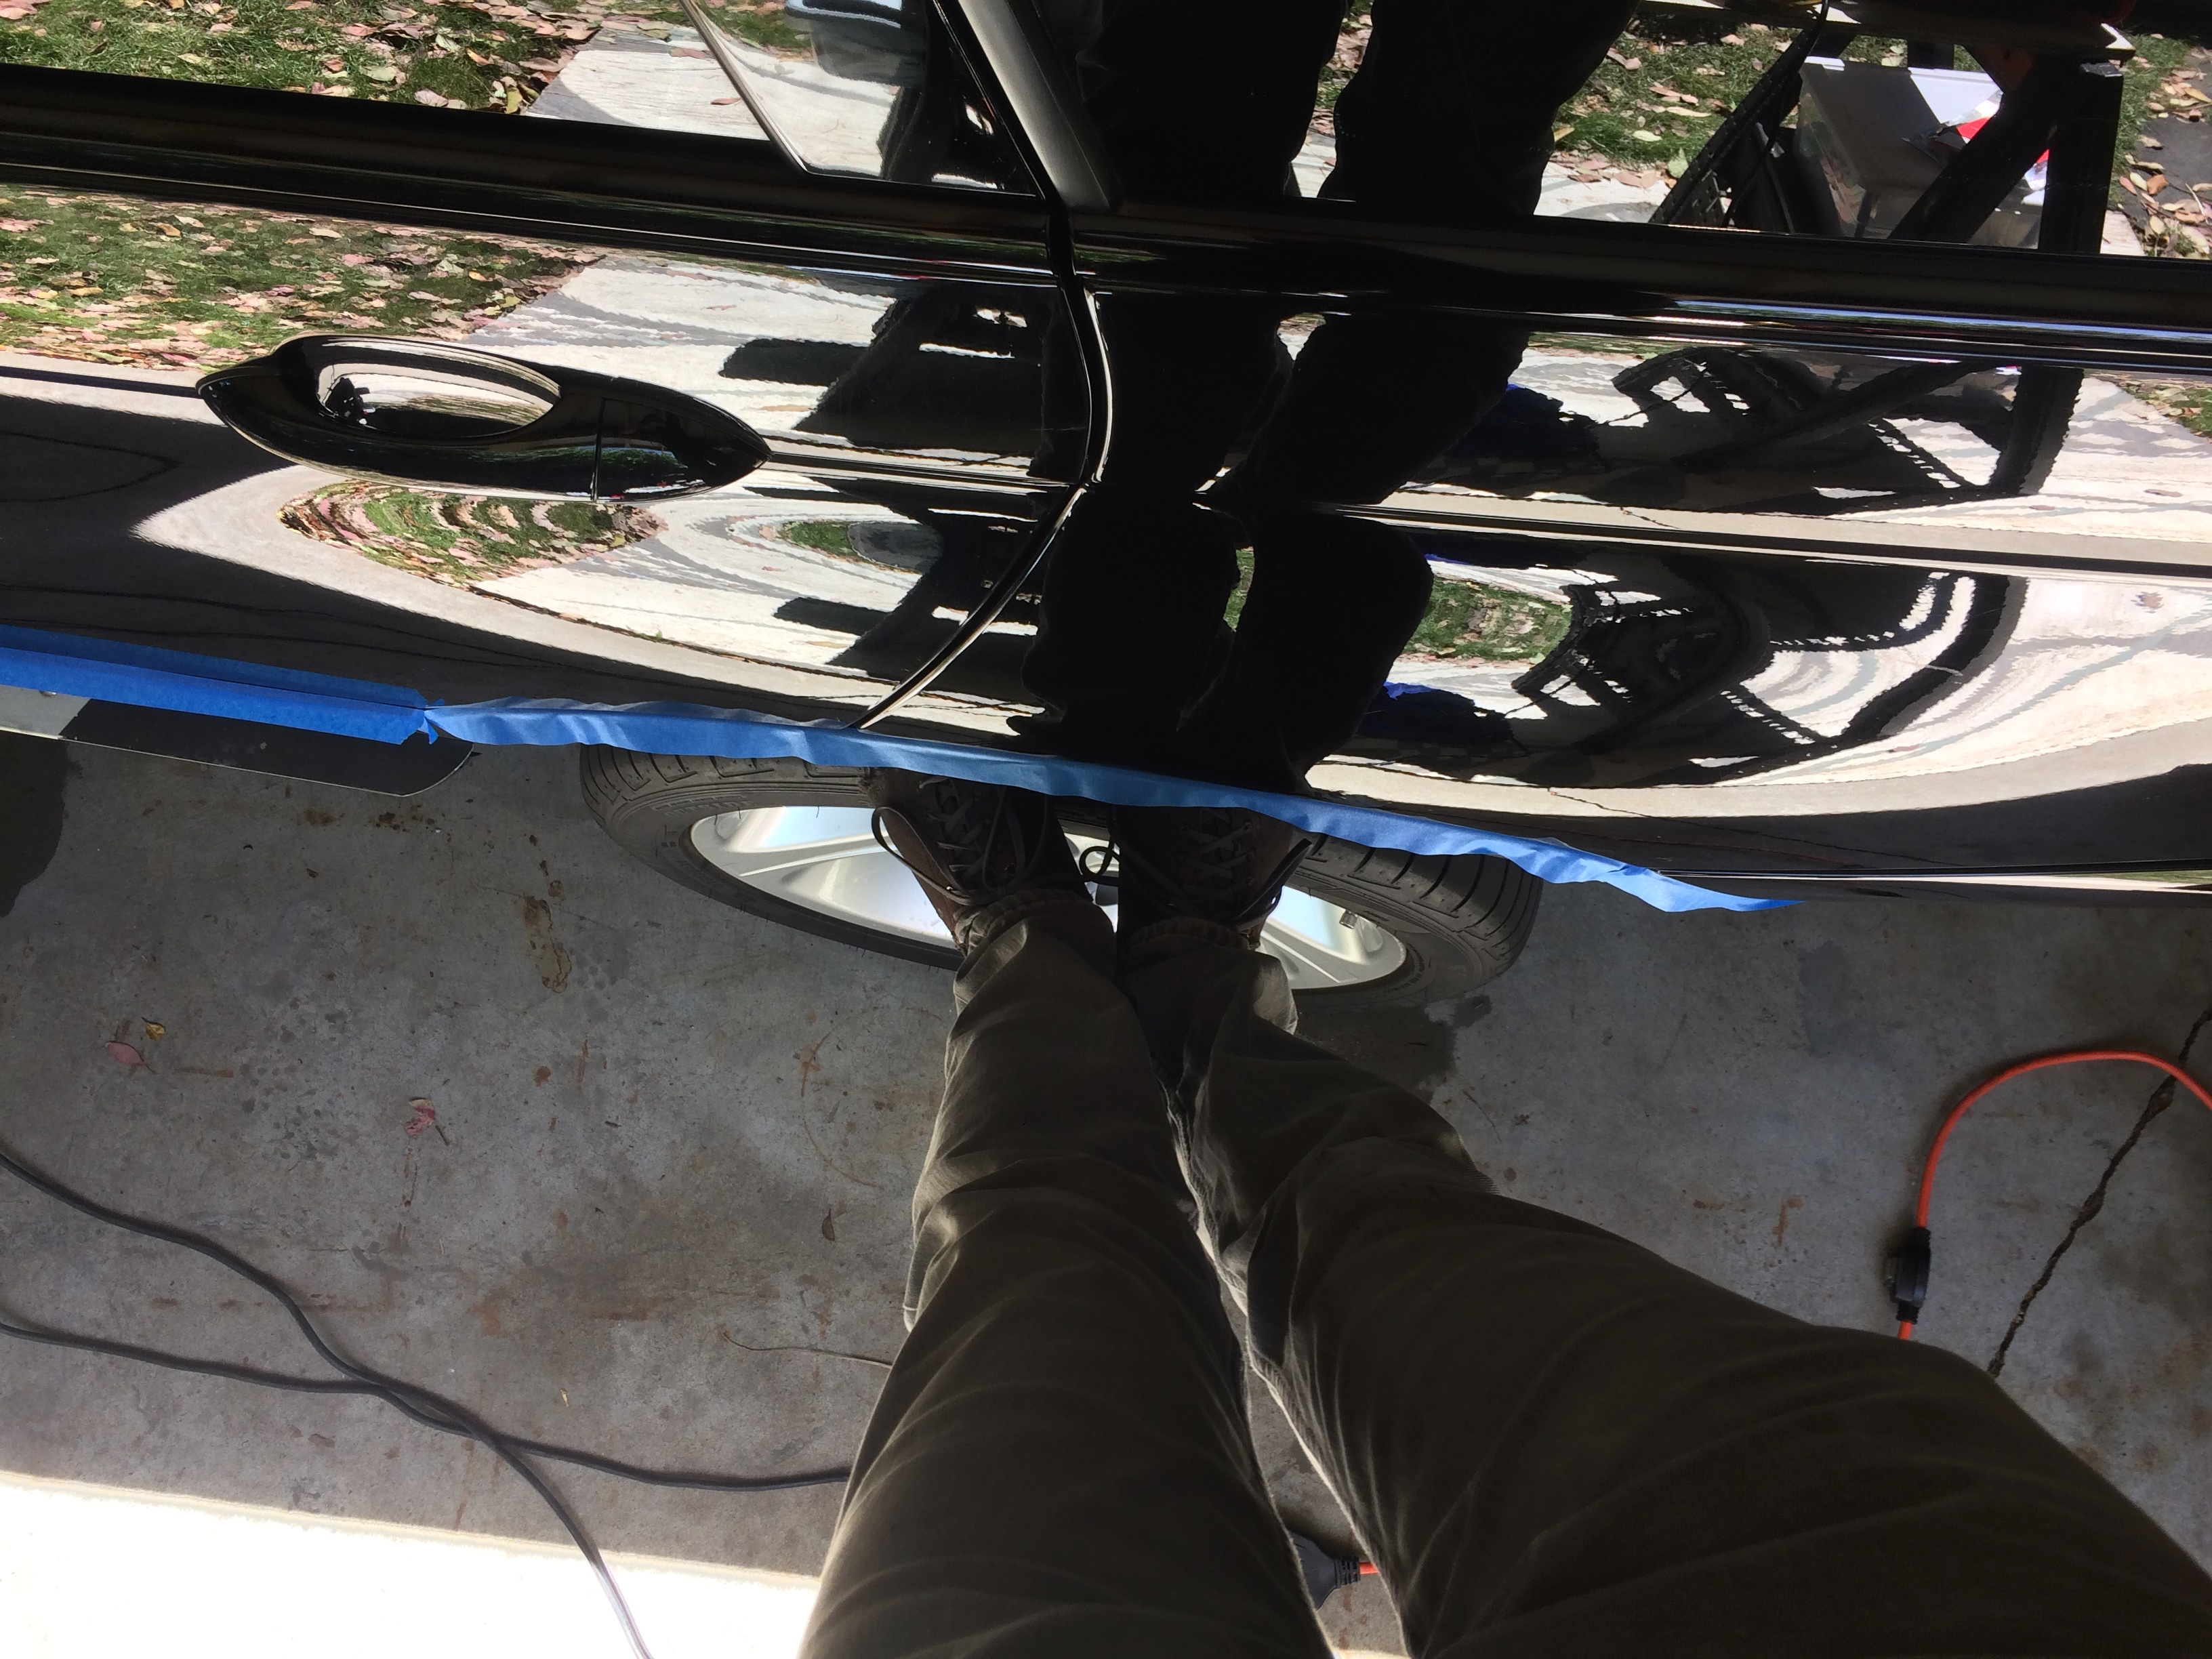
To prep the X5 for paint correction the plastic trim needs to be protected from the polisher. I am using 3M masking tape to cover the plastic fenders, door trim, and bumpers.
A toothpick makes a great tool for pressing the masking tape into gaps. I carry the toothpick in my mouth so that the tip becomes soft, it is safer for the paint that way.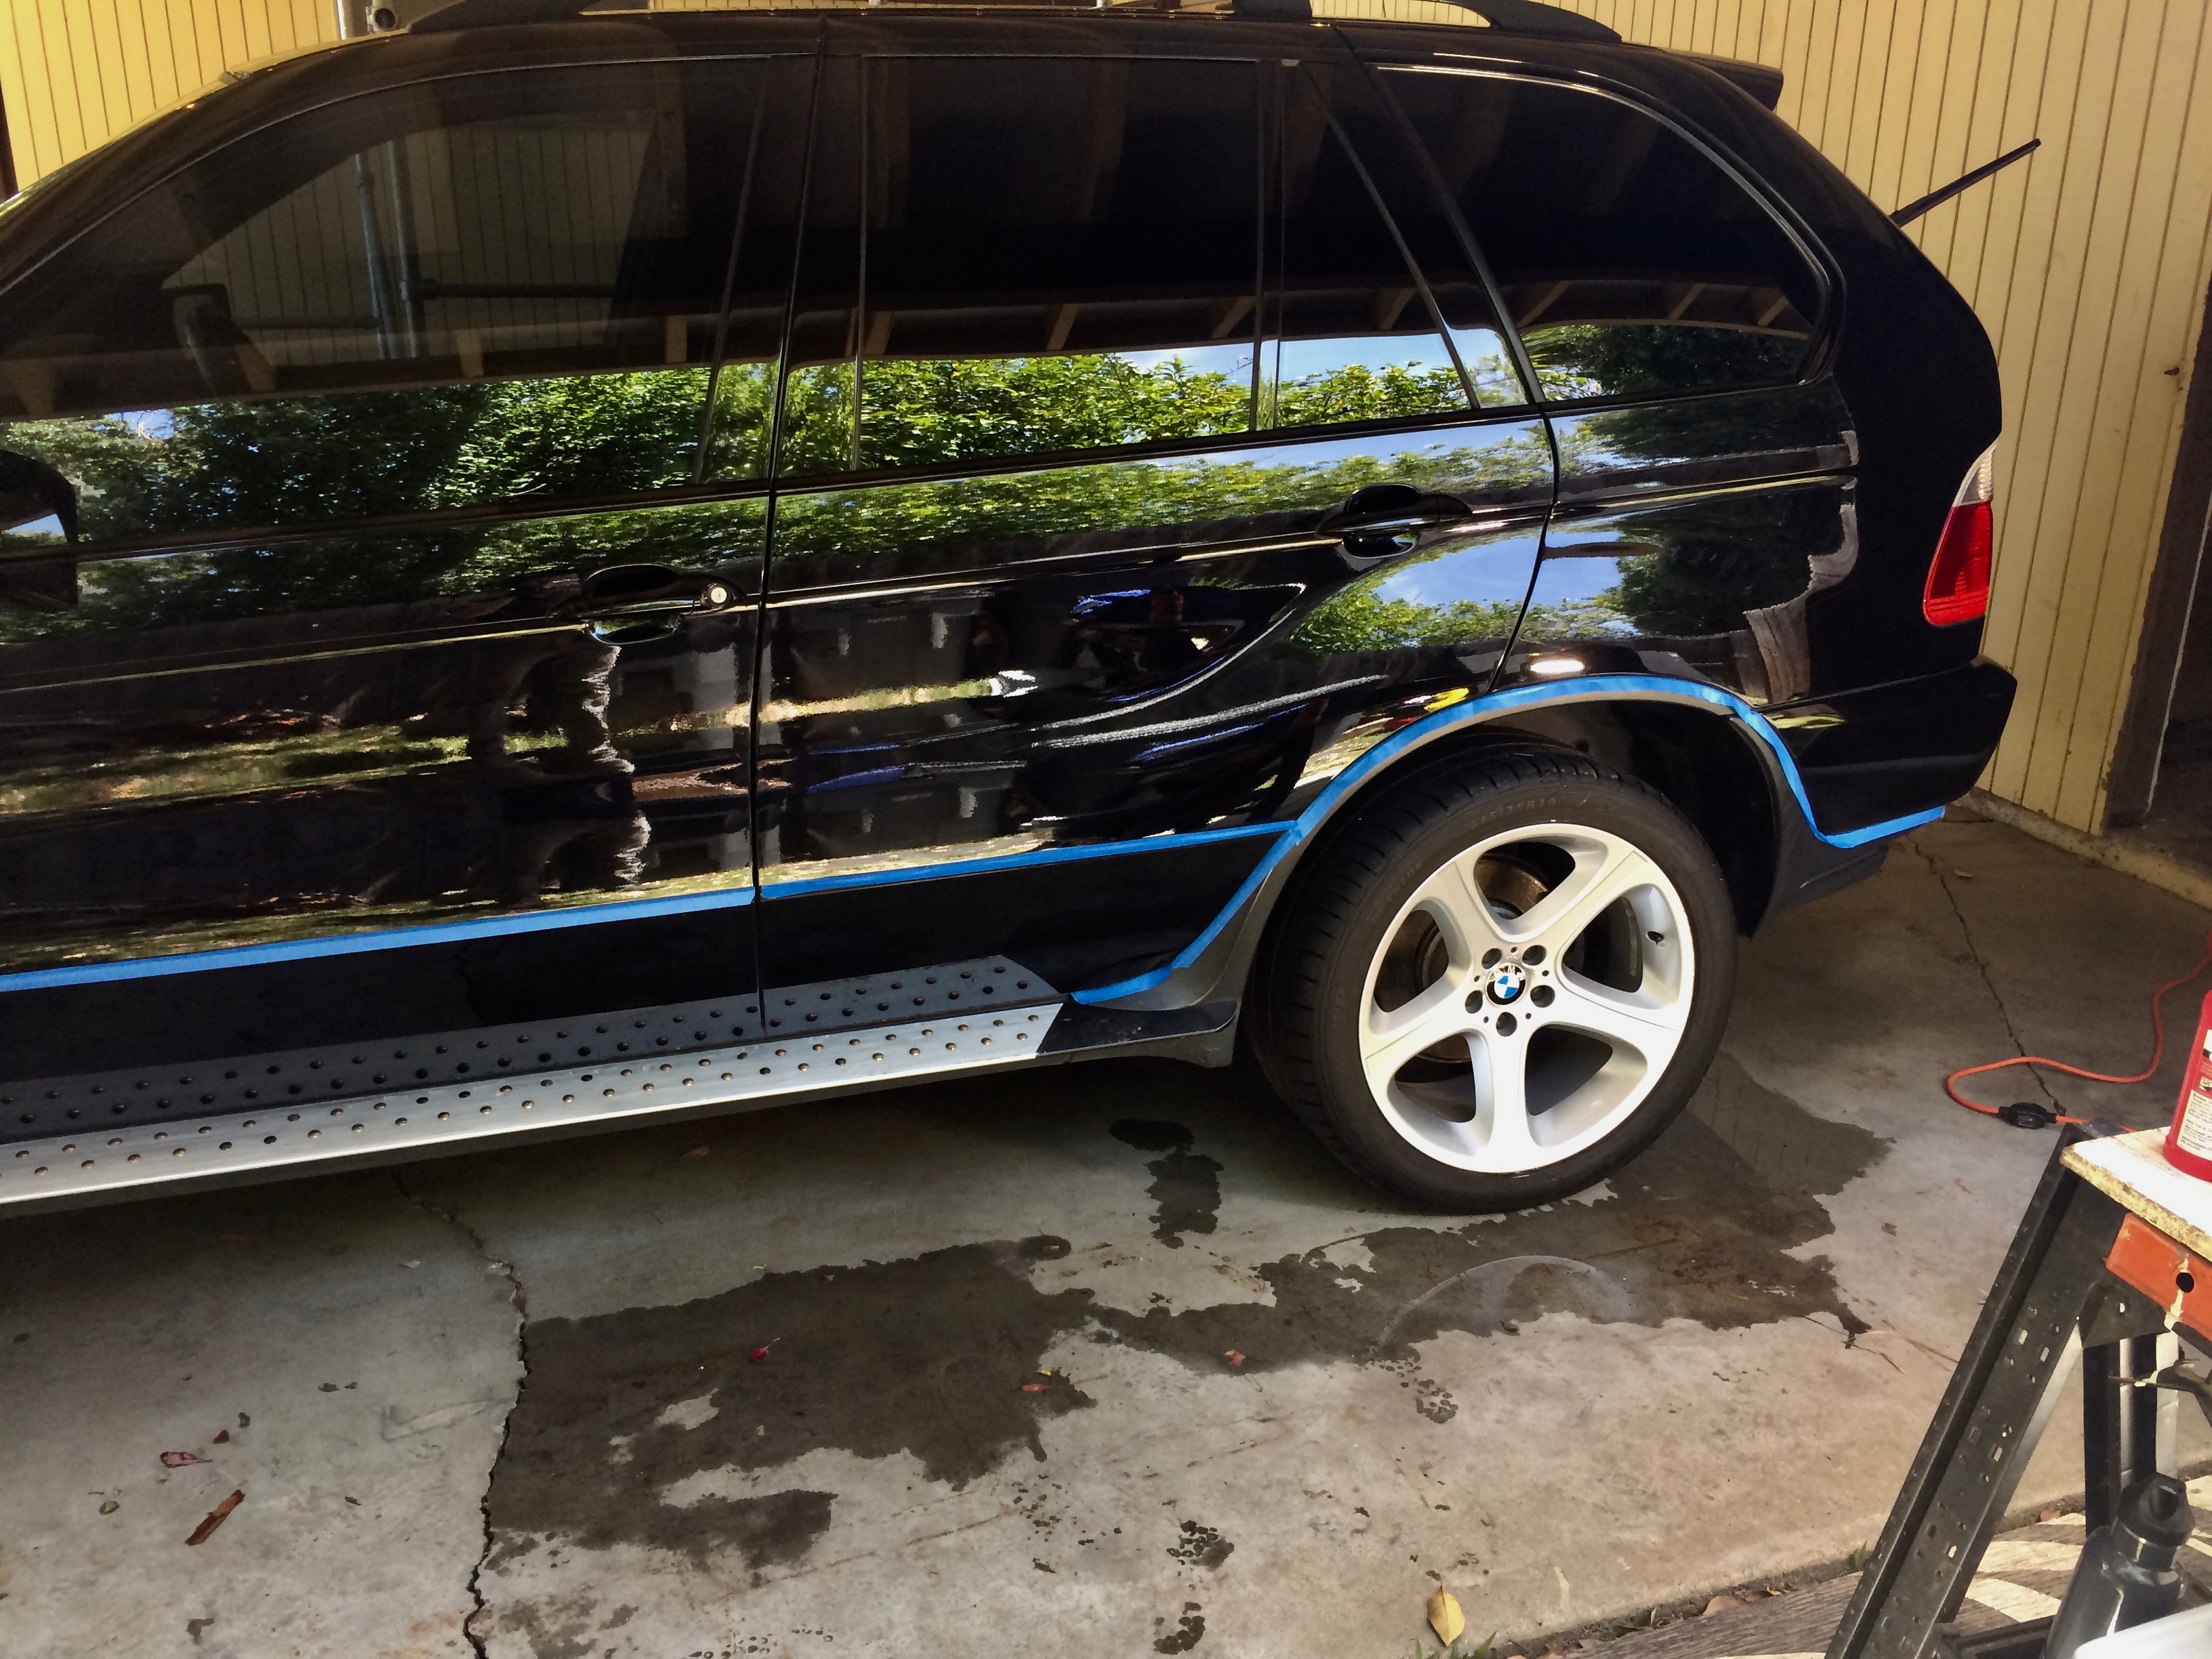
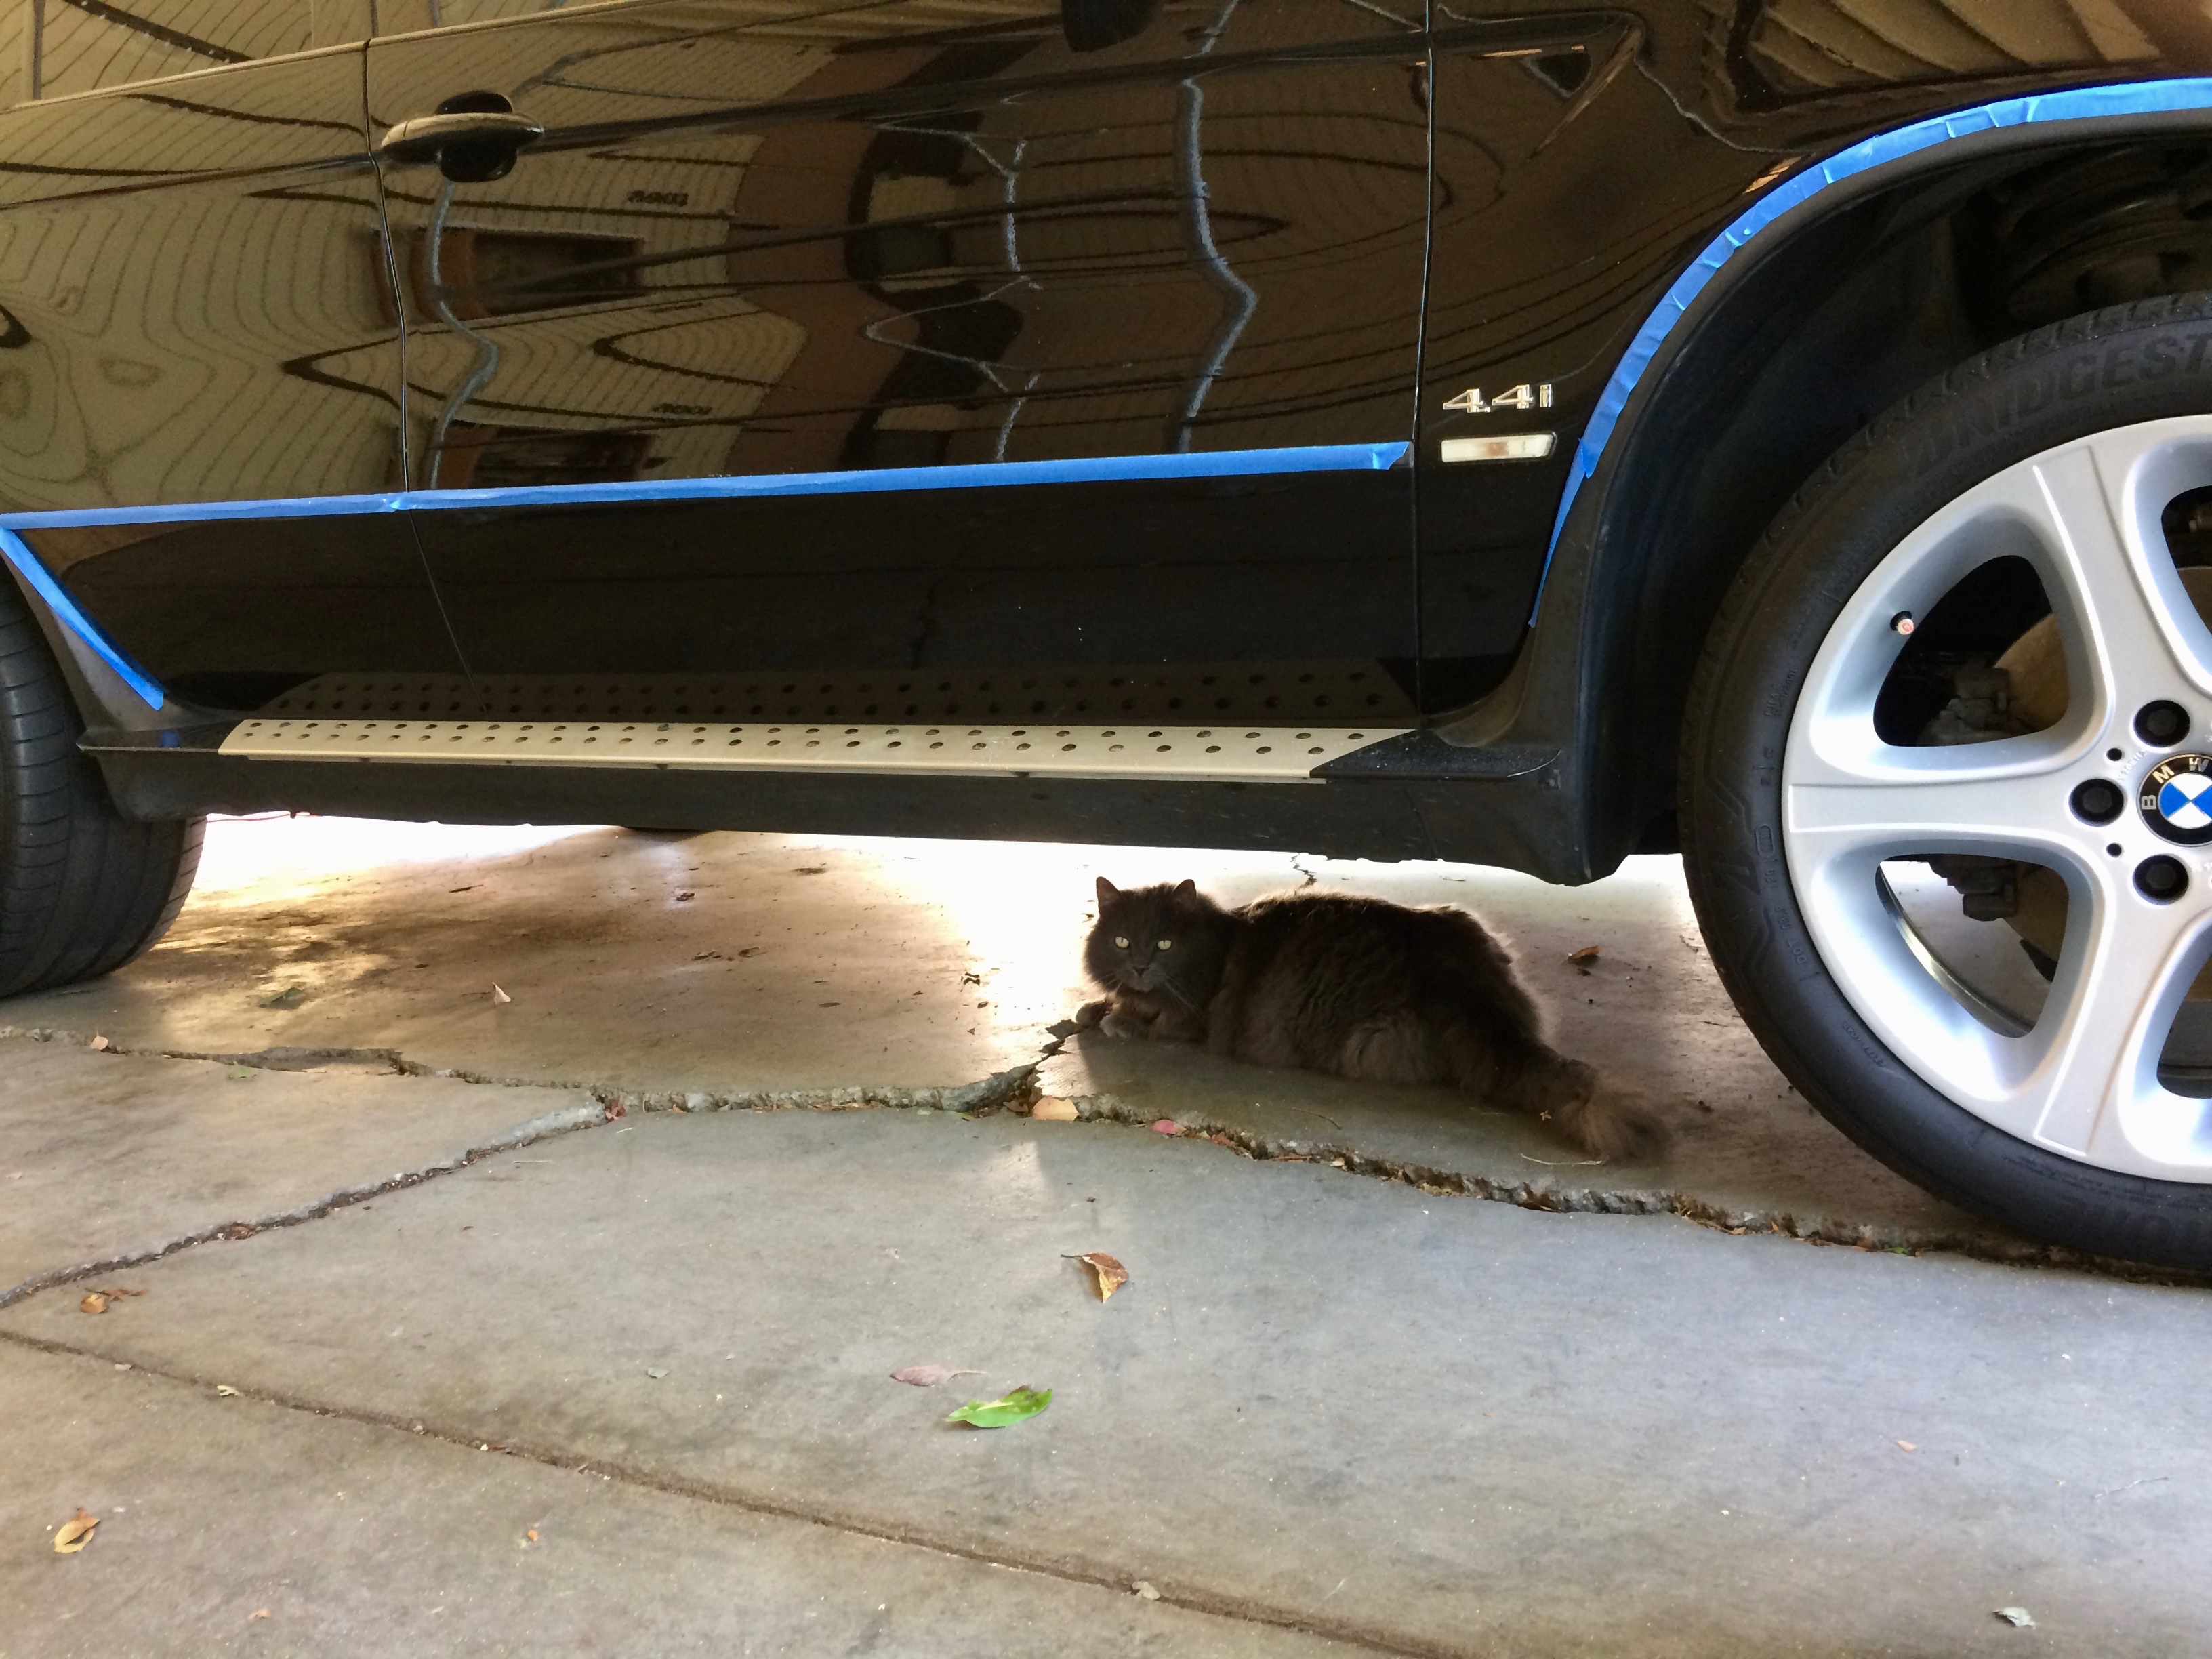
Here is my assistant today, checking on undercarriage contamination. He is helpful as long as you don’t let him near the wool mitts or wool polishing pads.
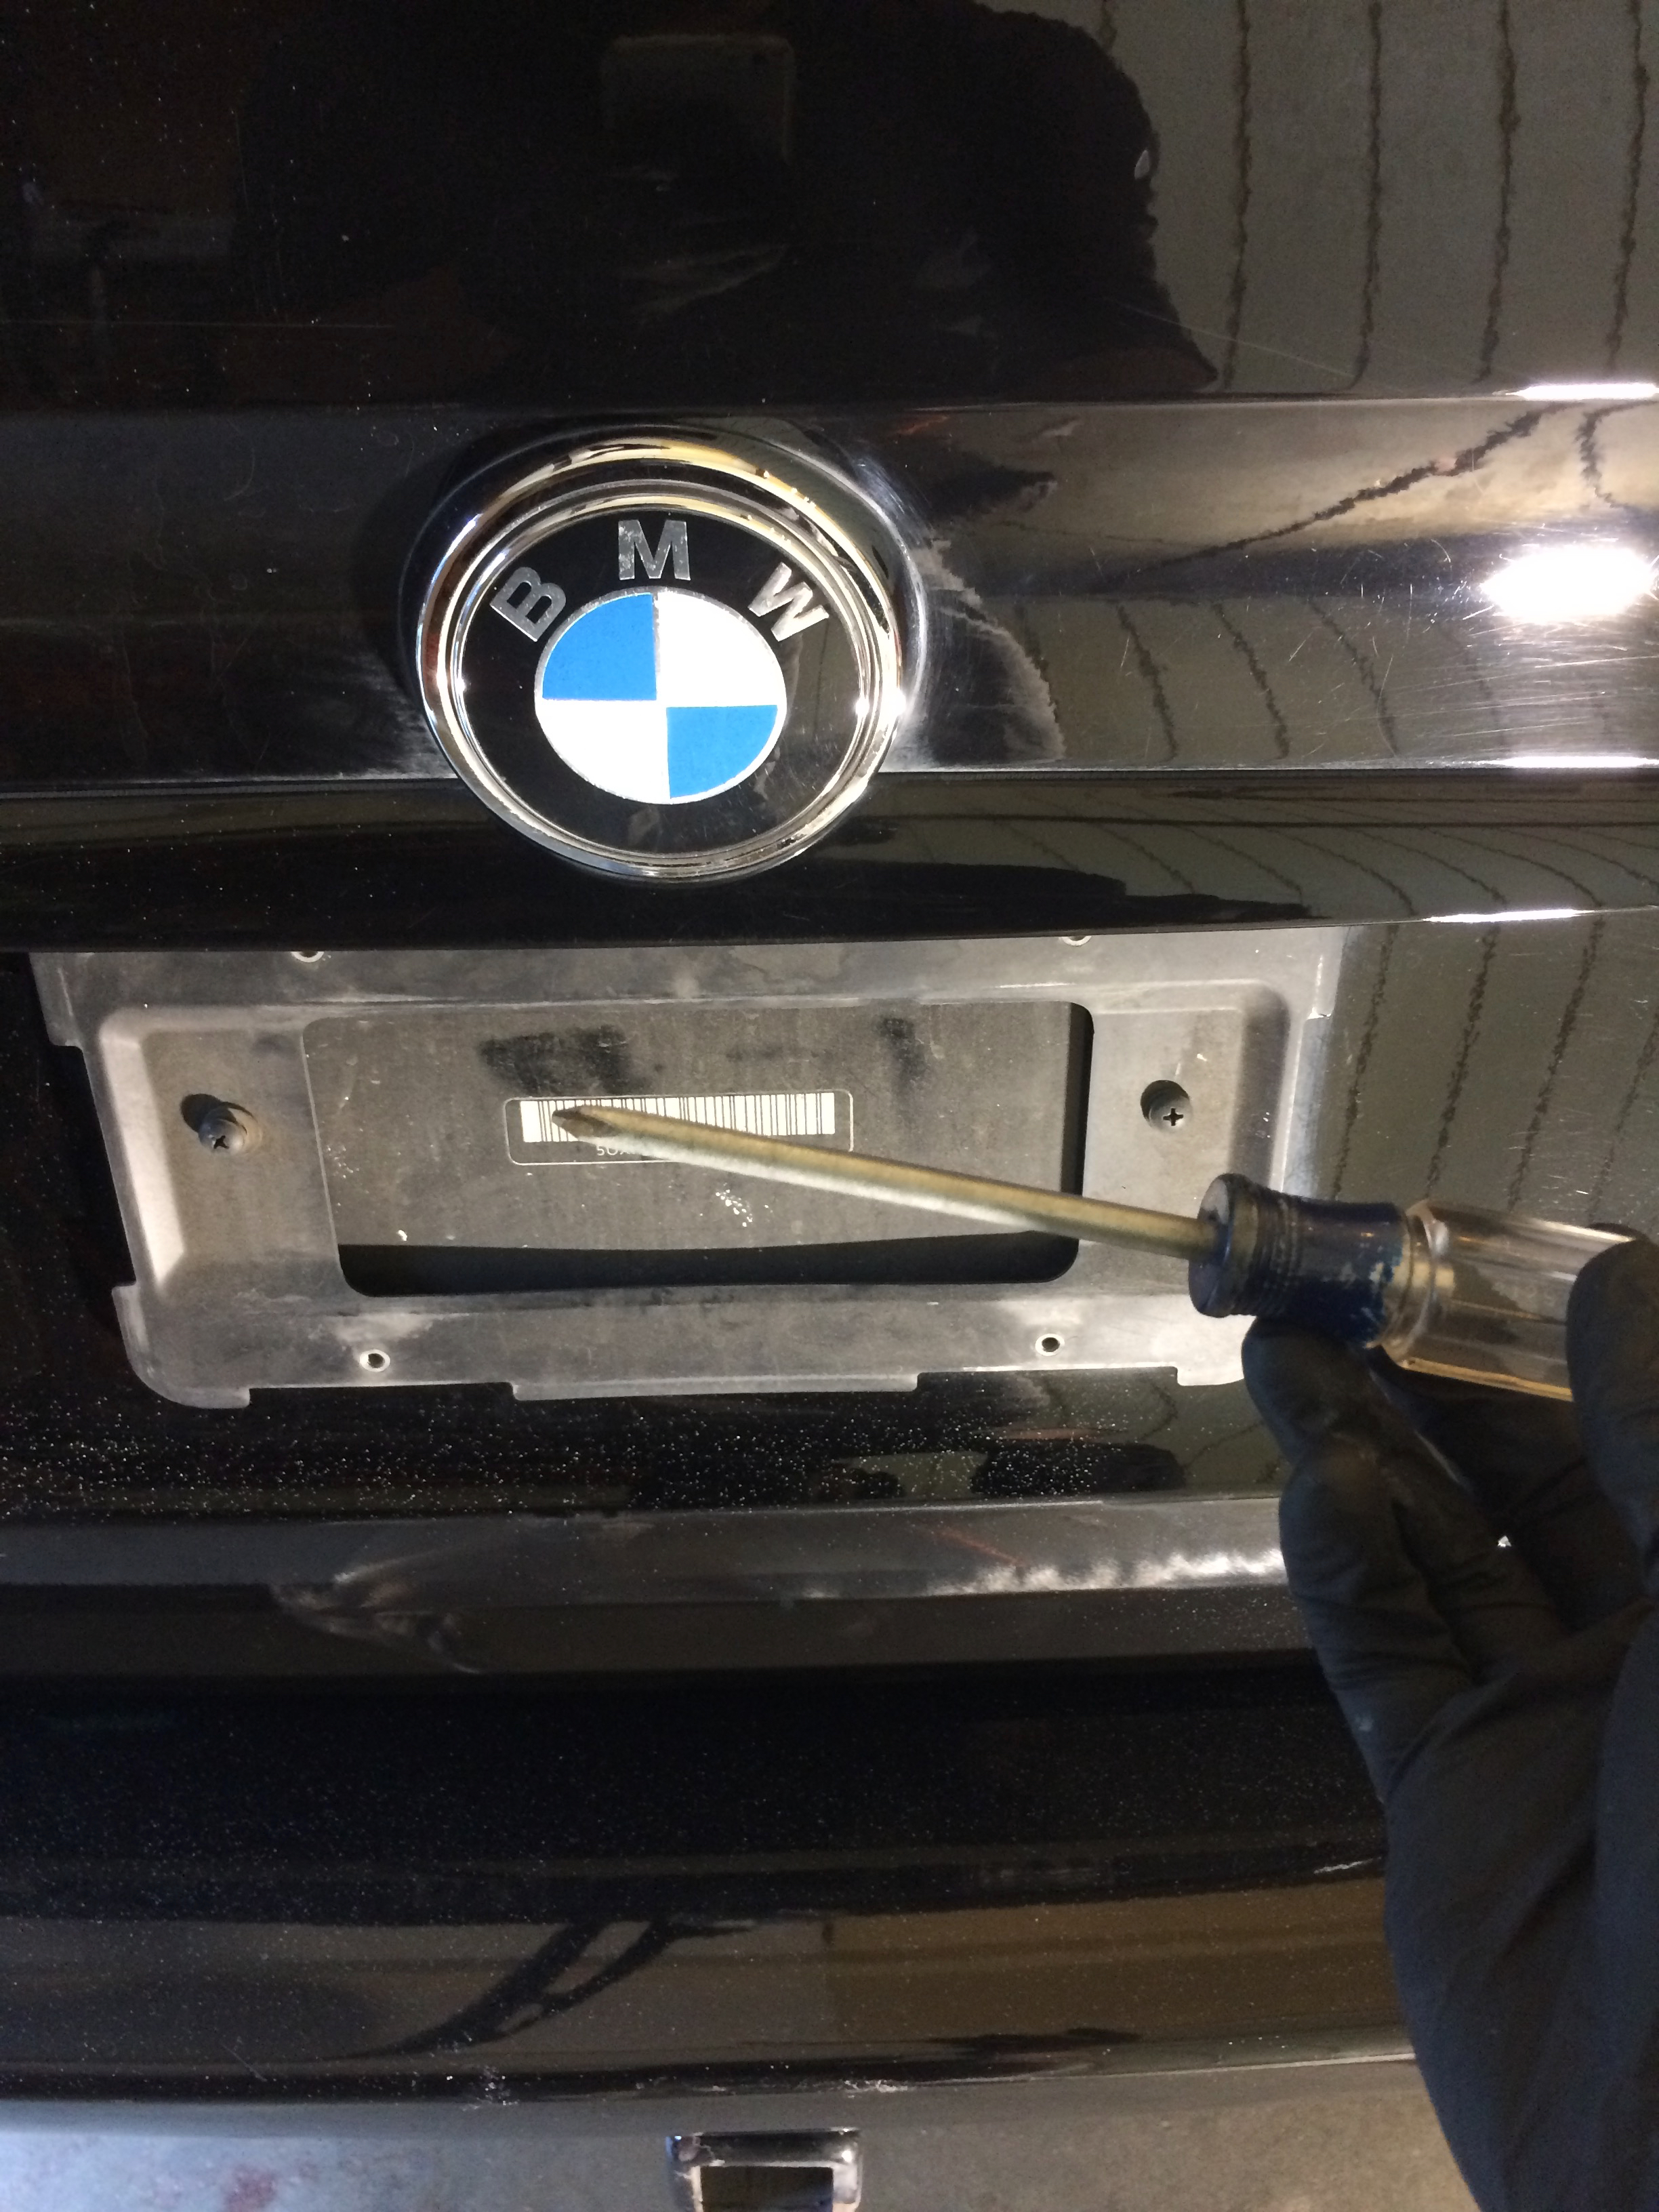
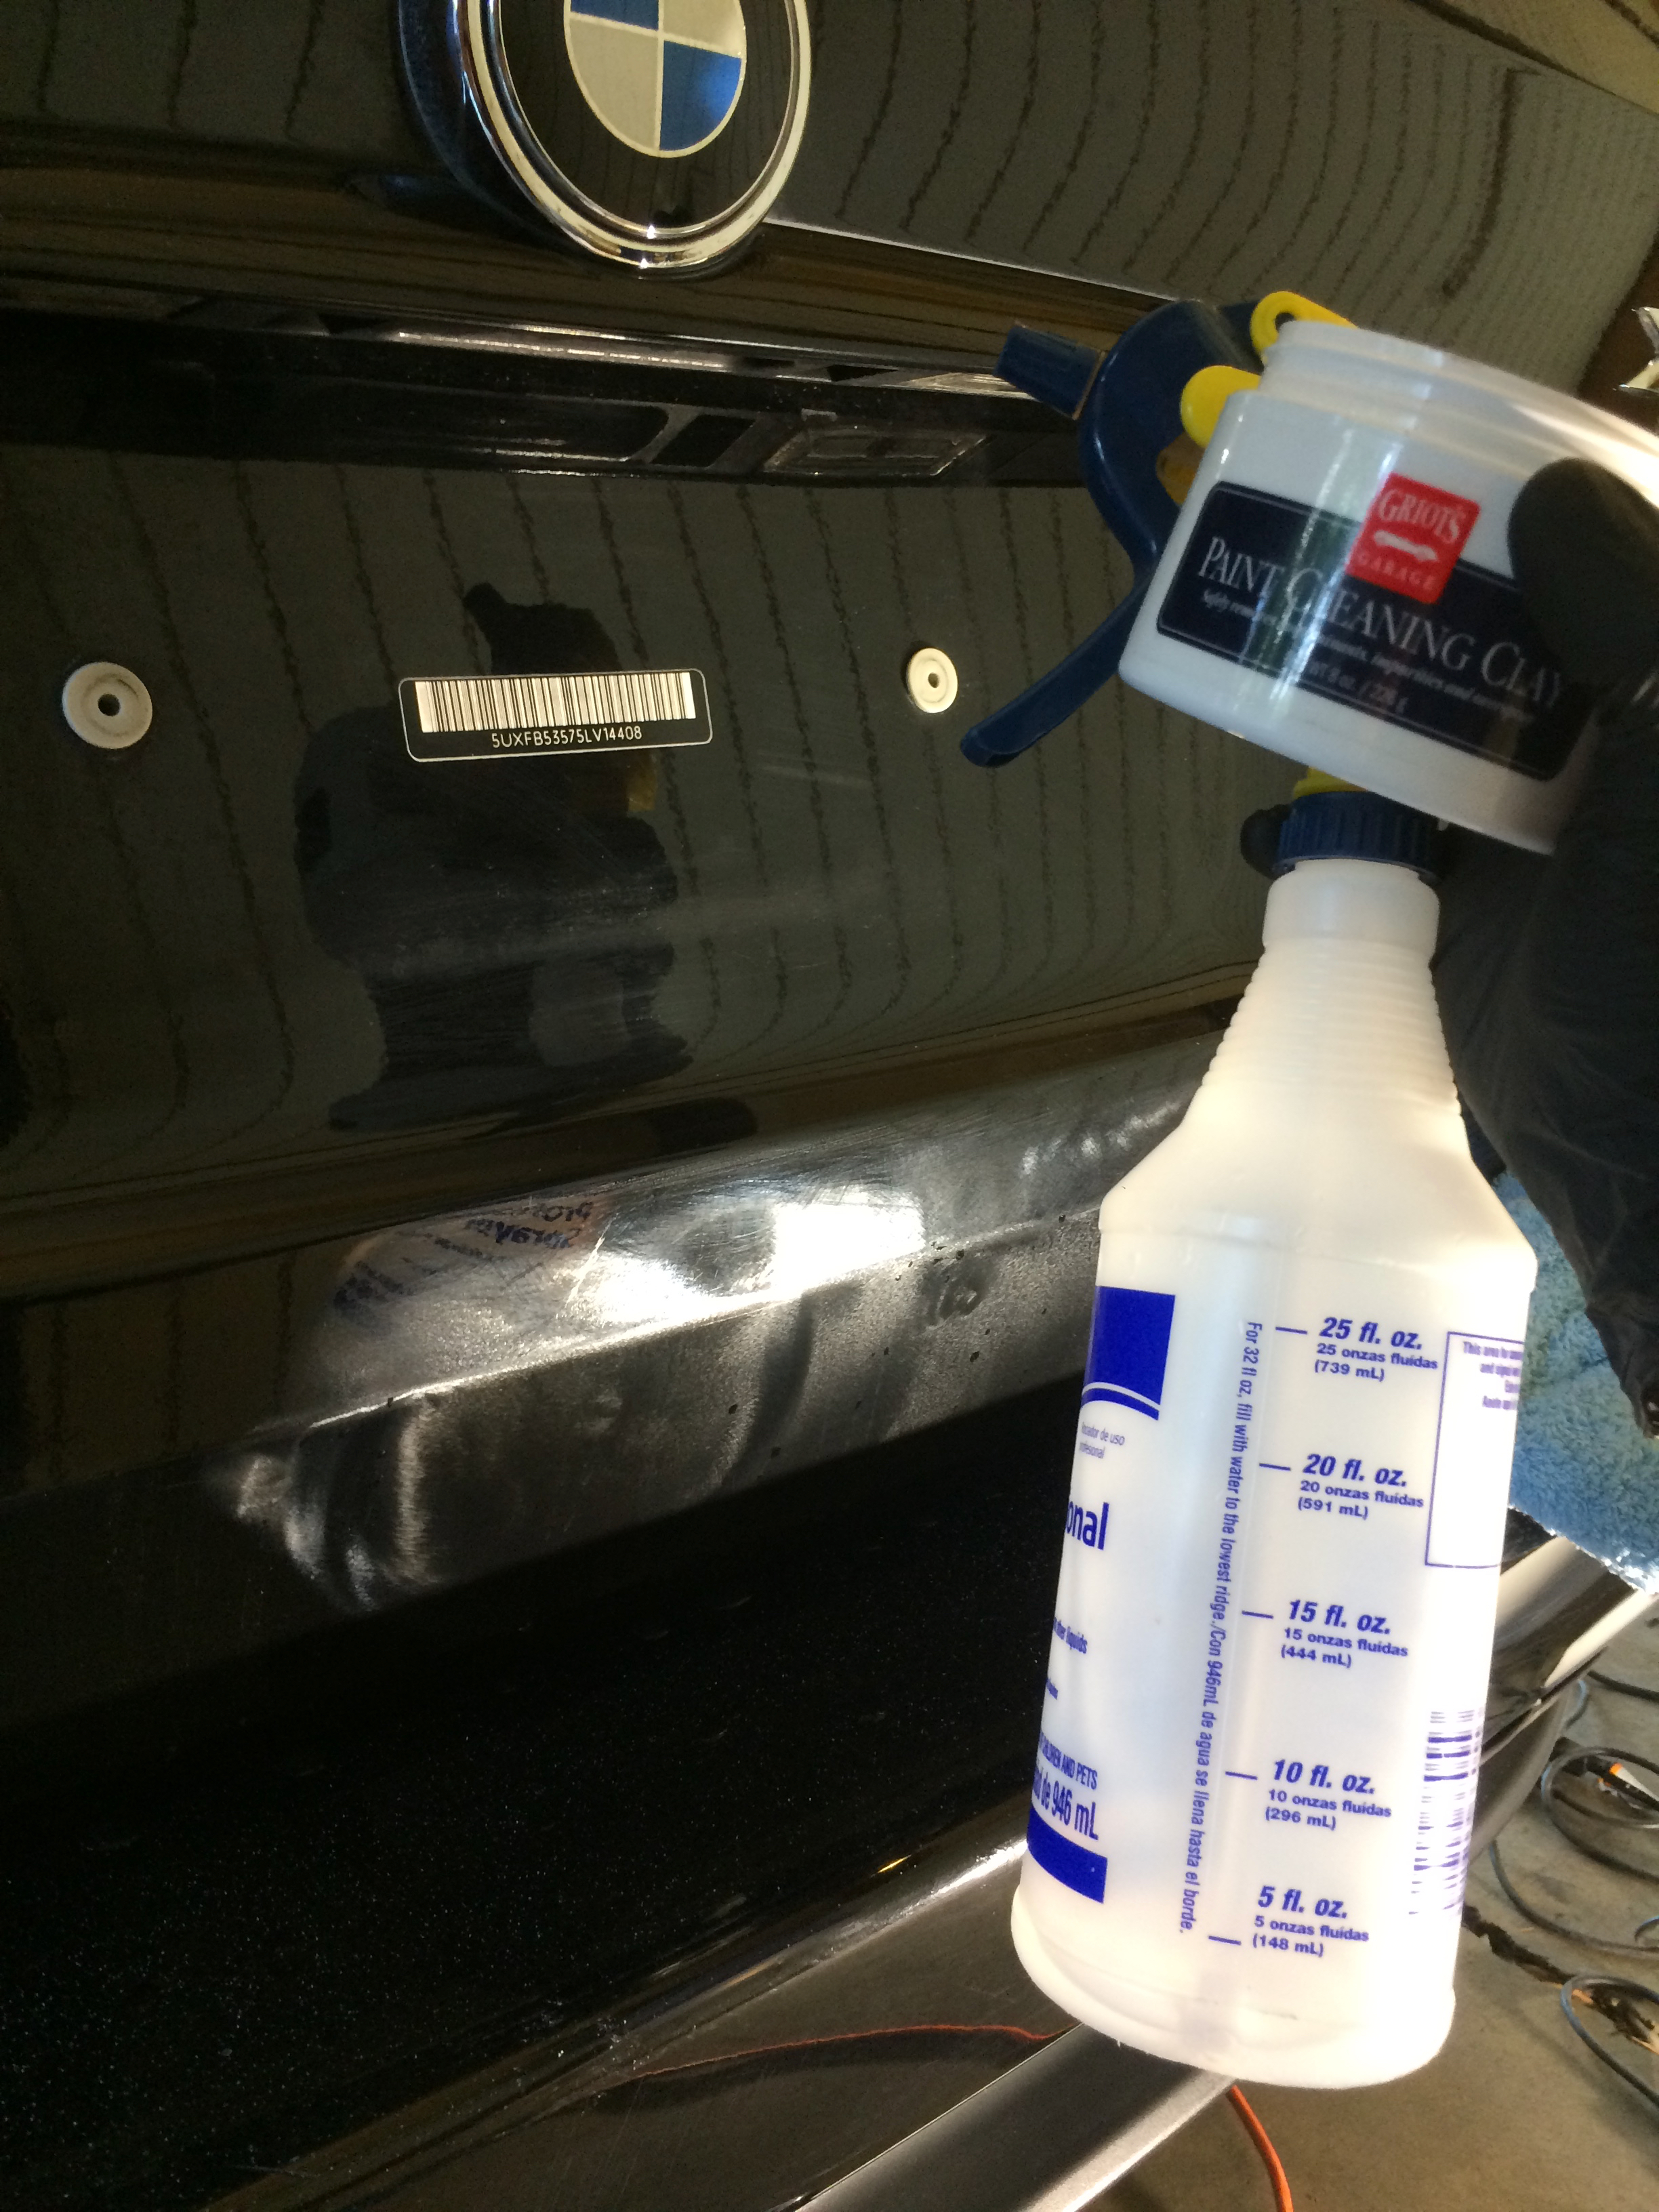
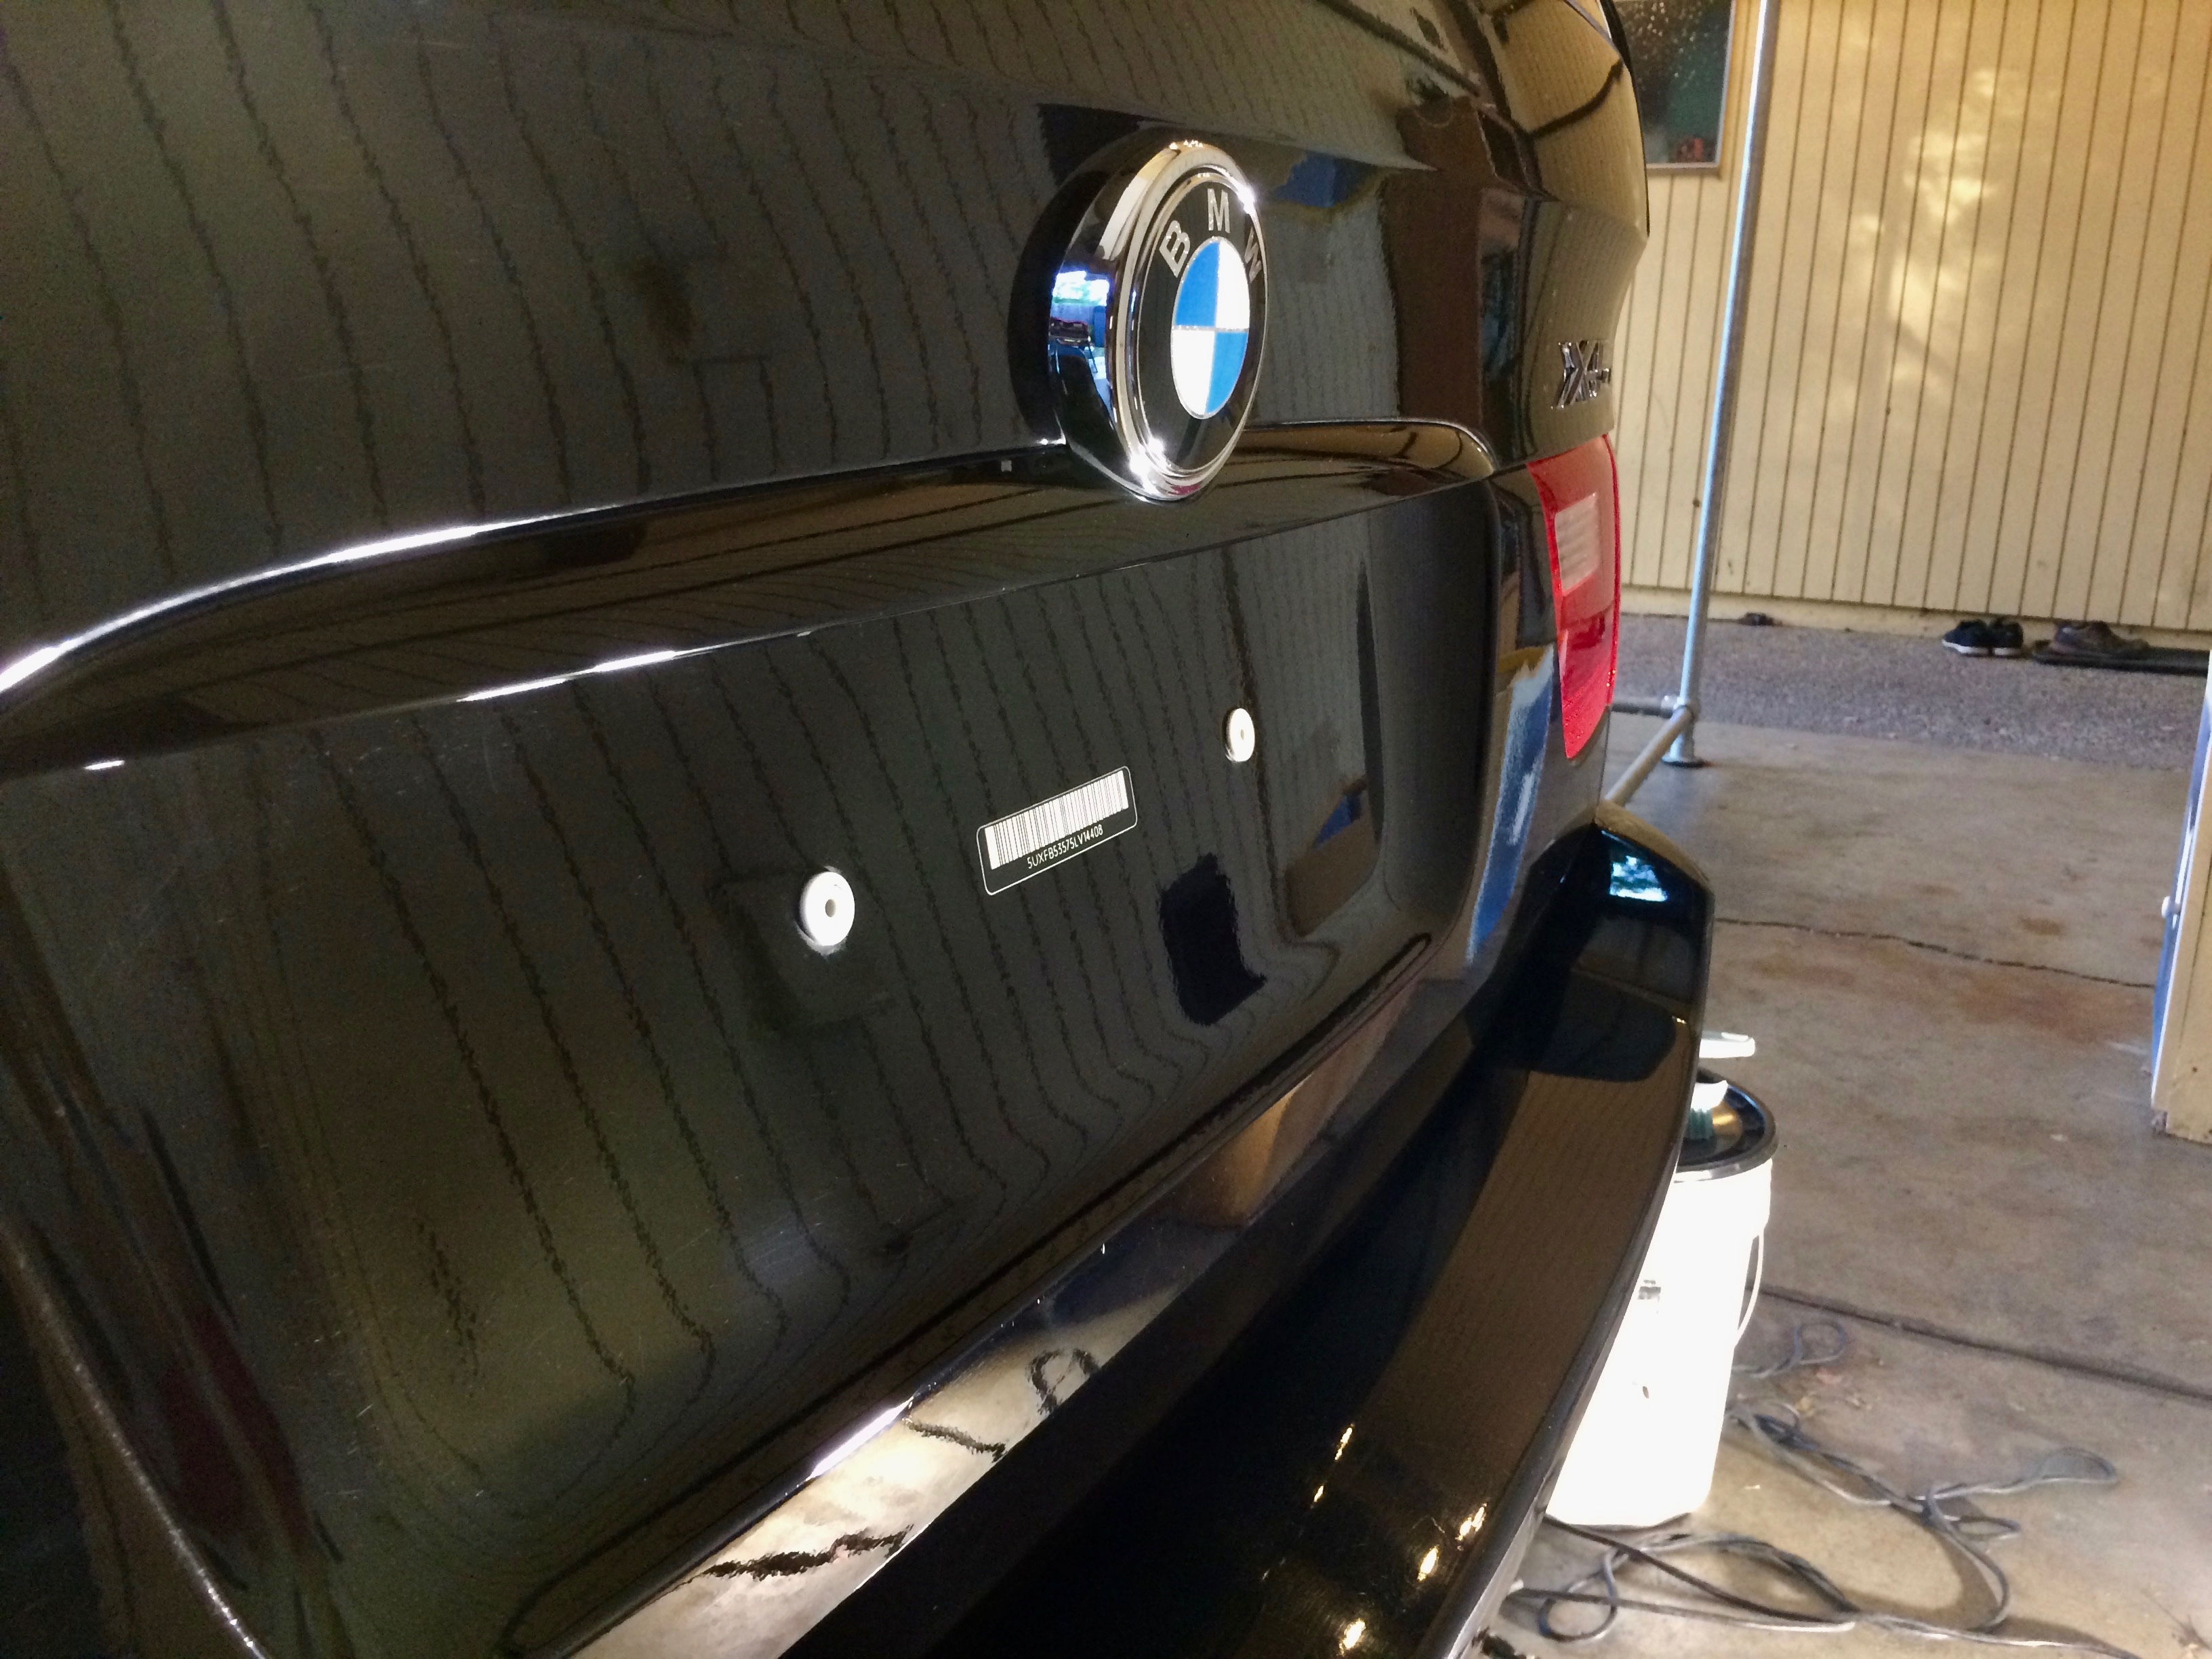
One last step before paint correction is removing the rear license plate and cleaning that area. I am cleaning with Optimum No Rinse dilution and Griot’s Paint Cleaning Clay. I also went ahead and corrected that section while the plate was removed.
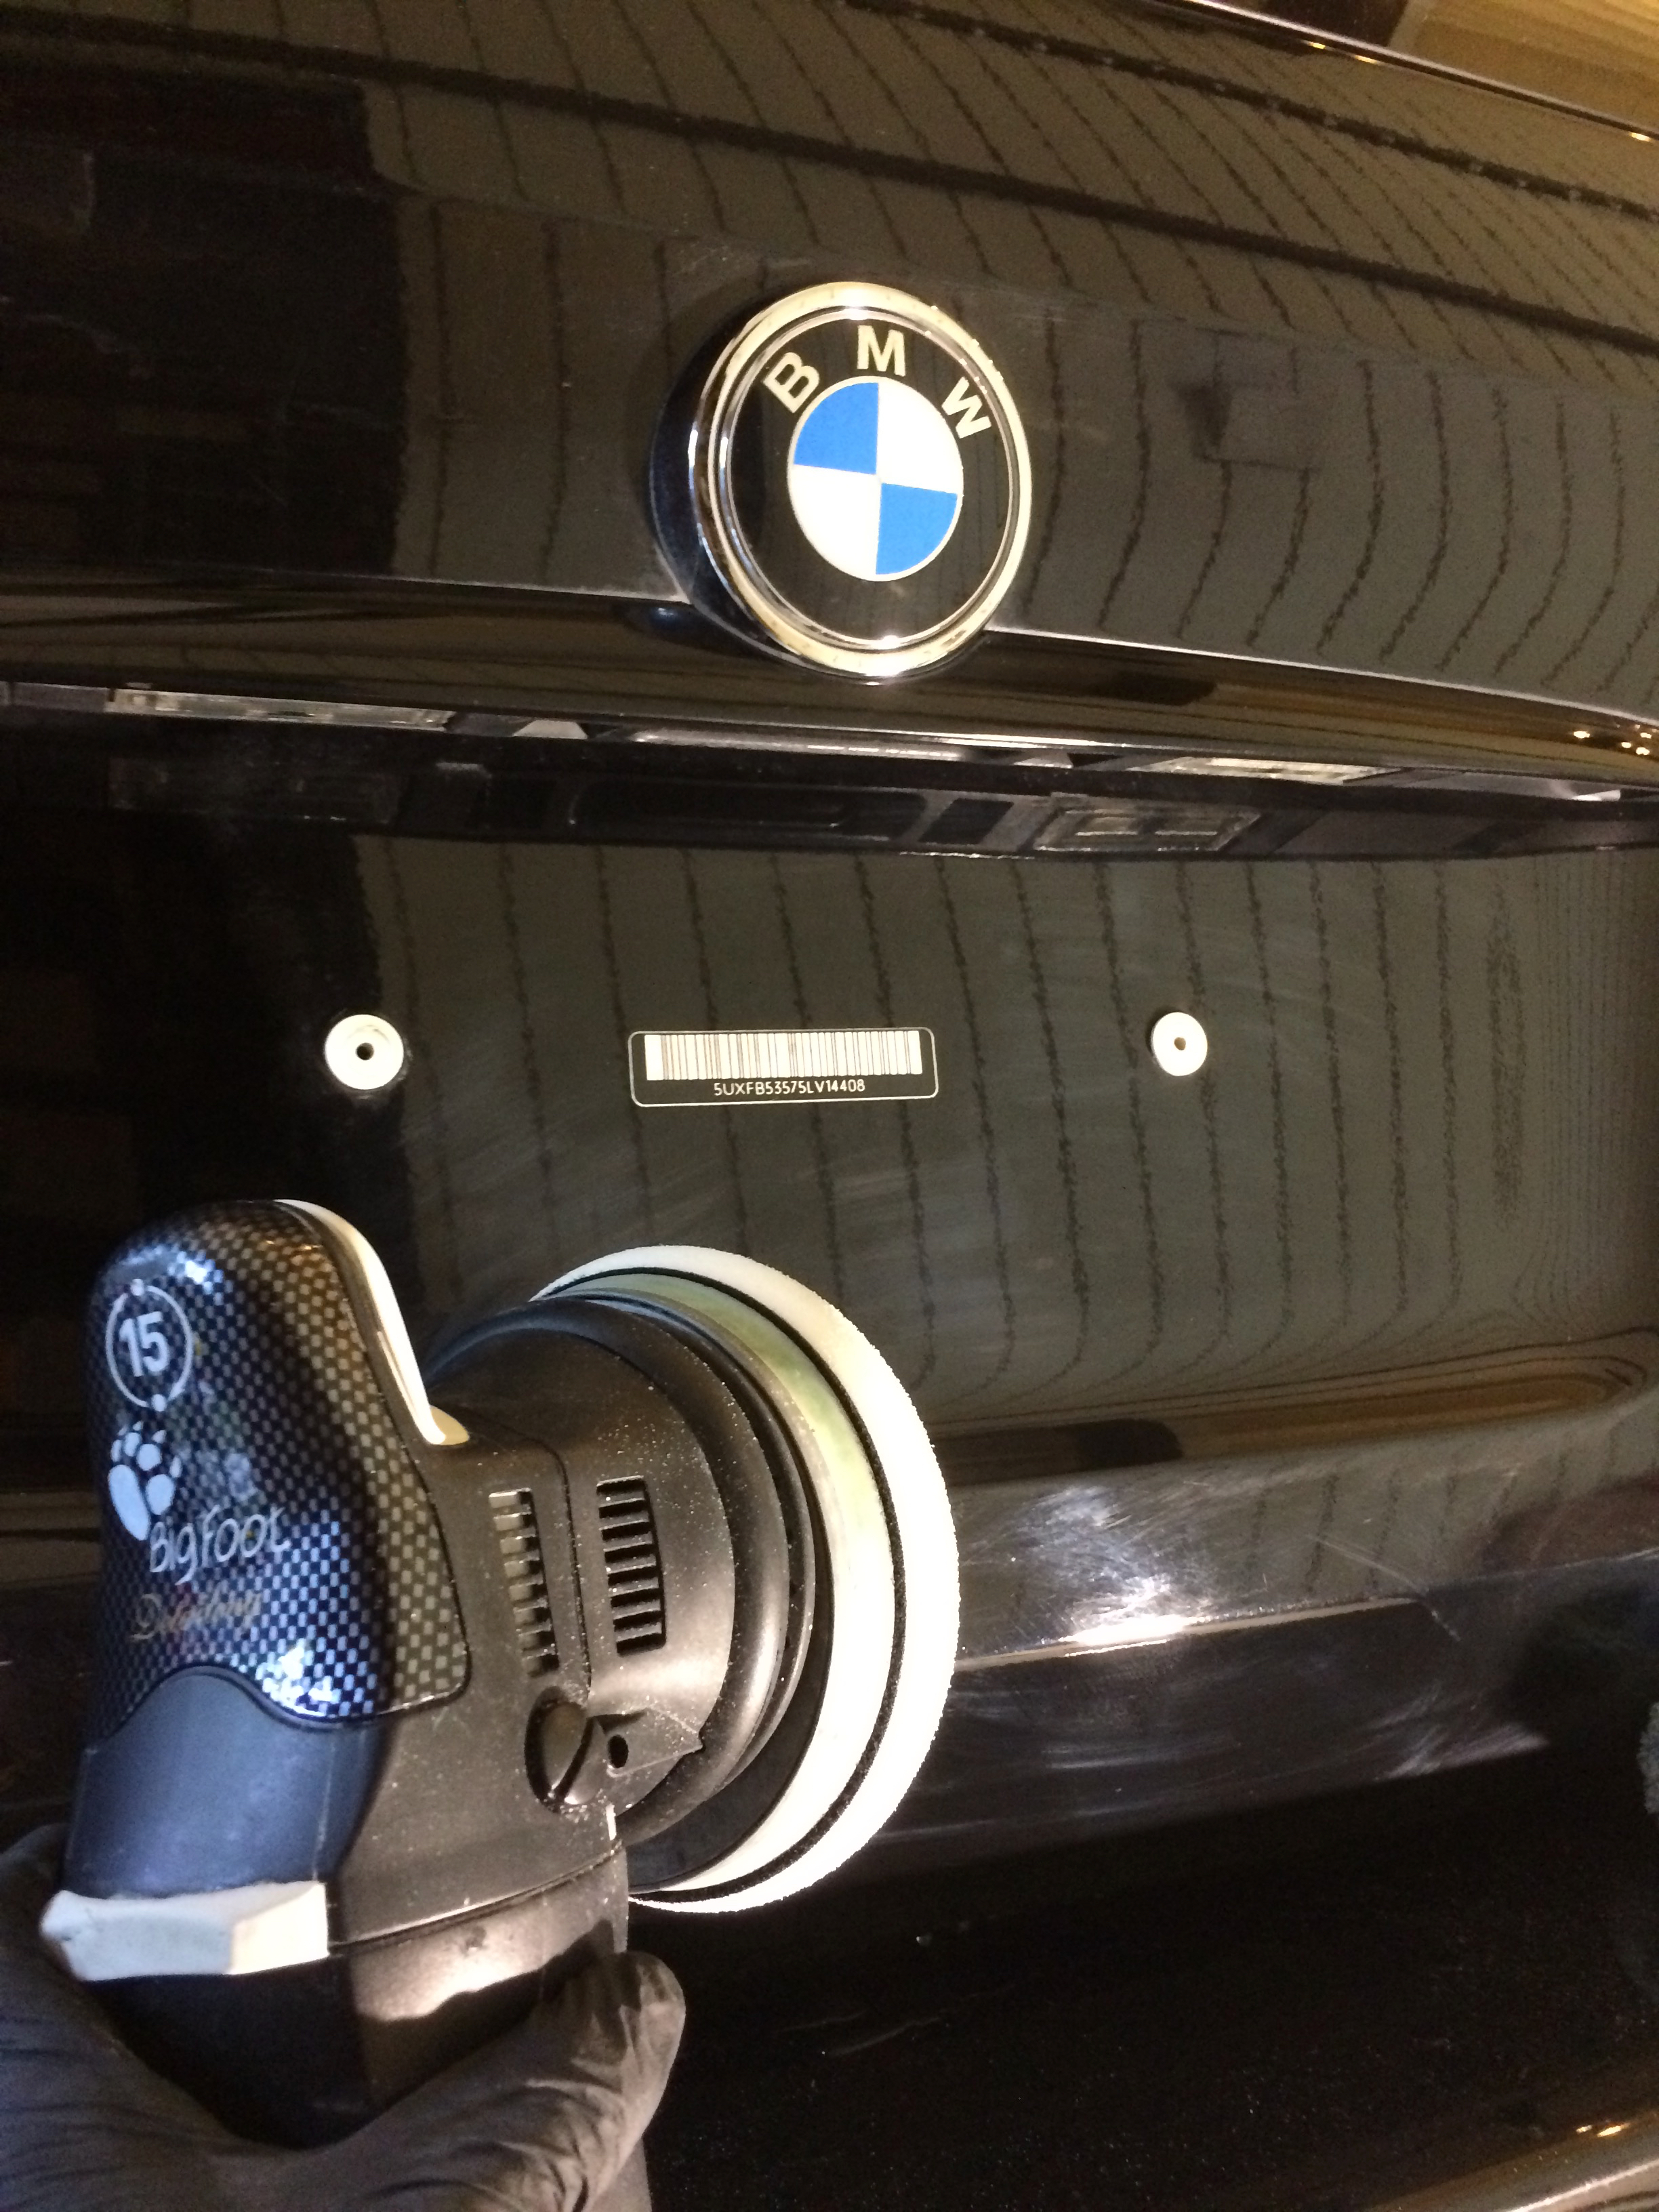
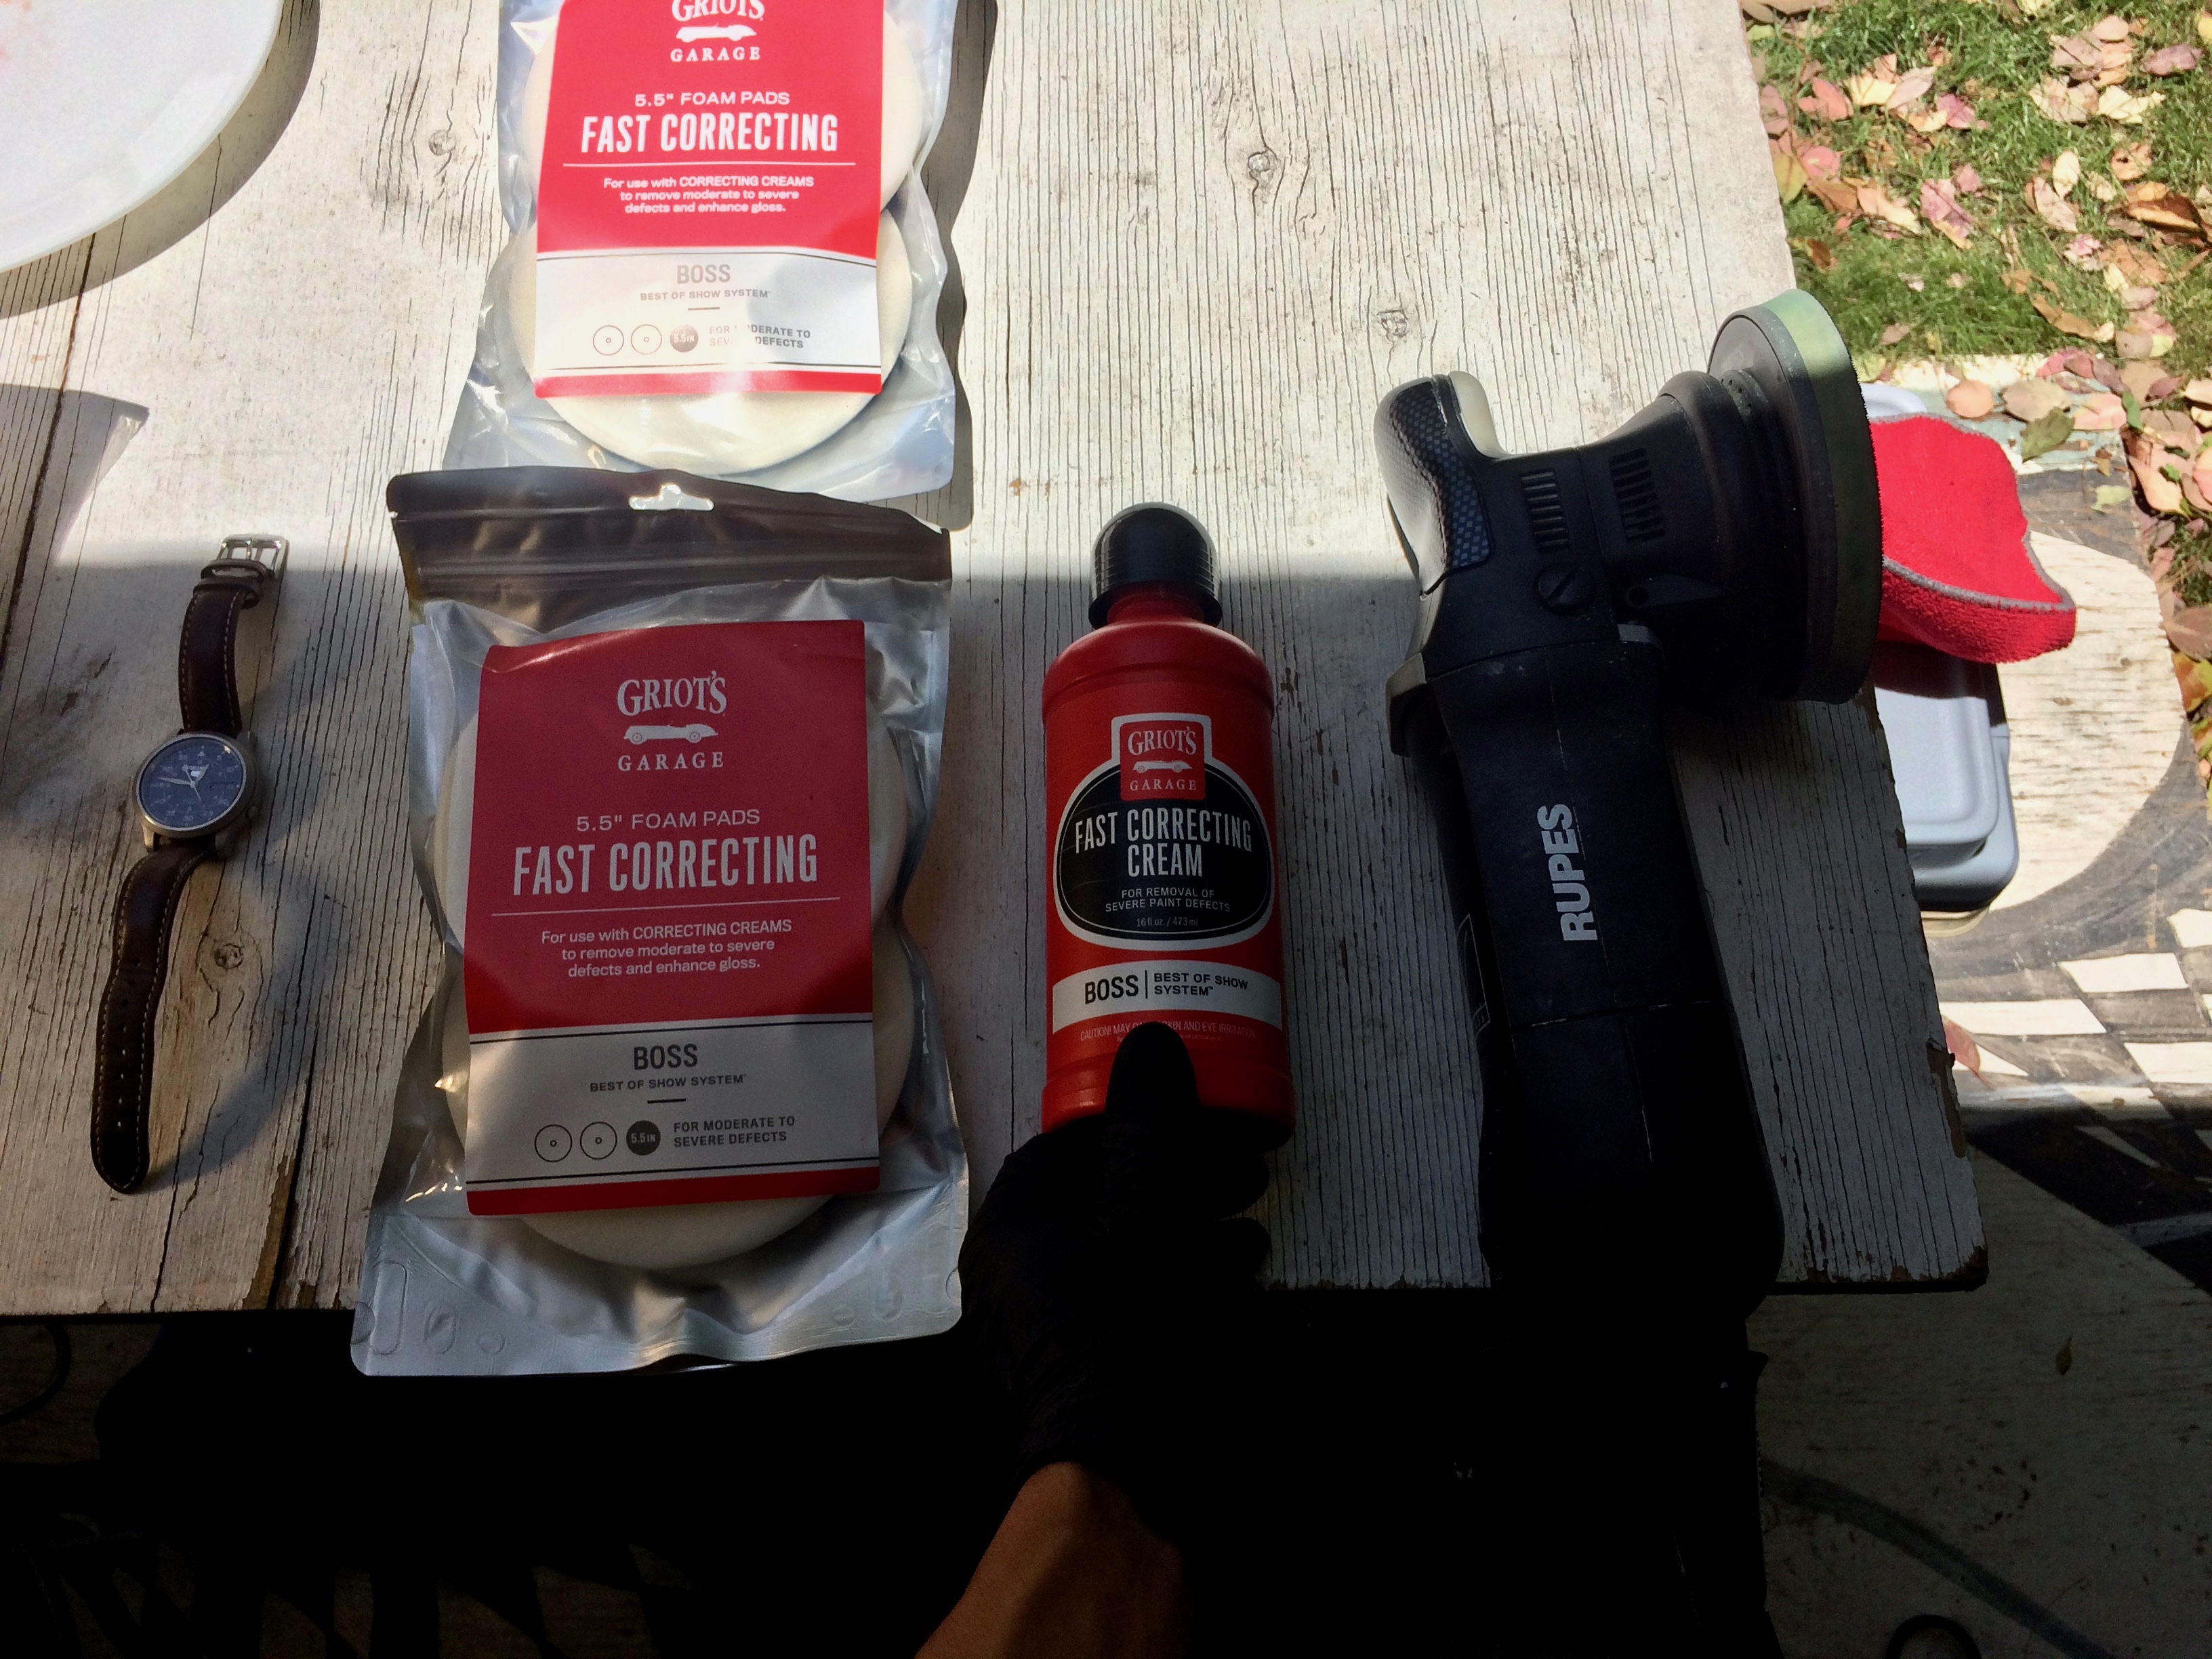
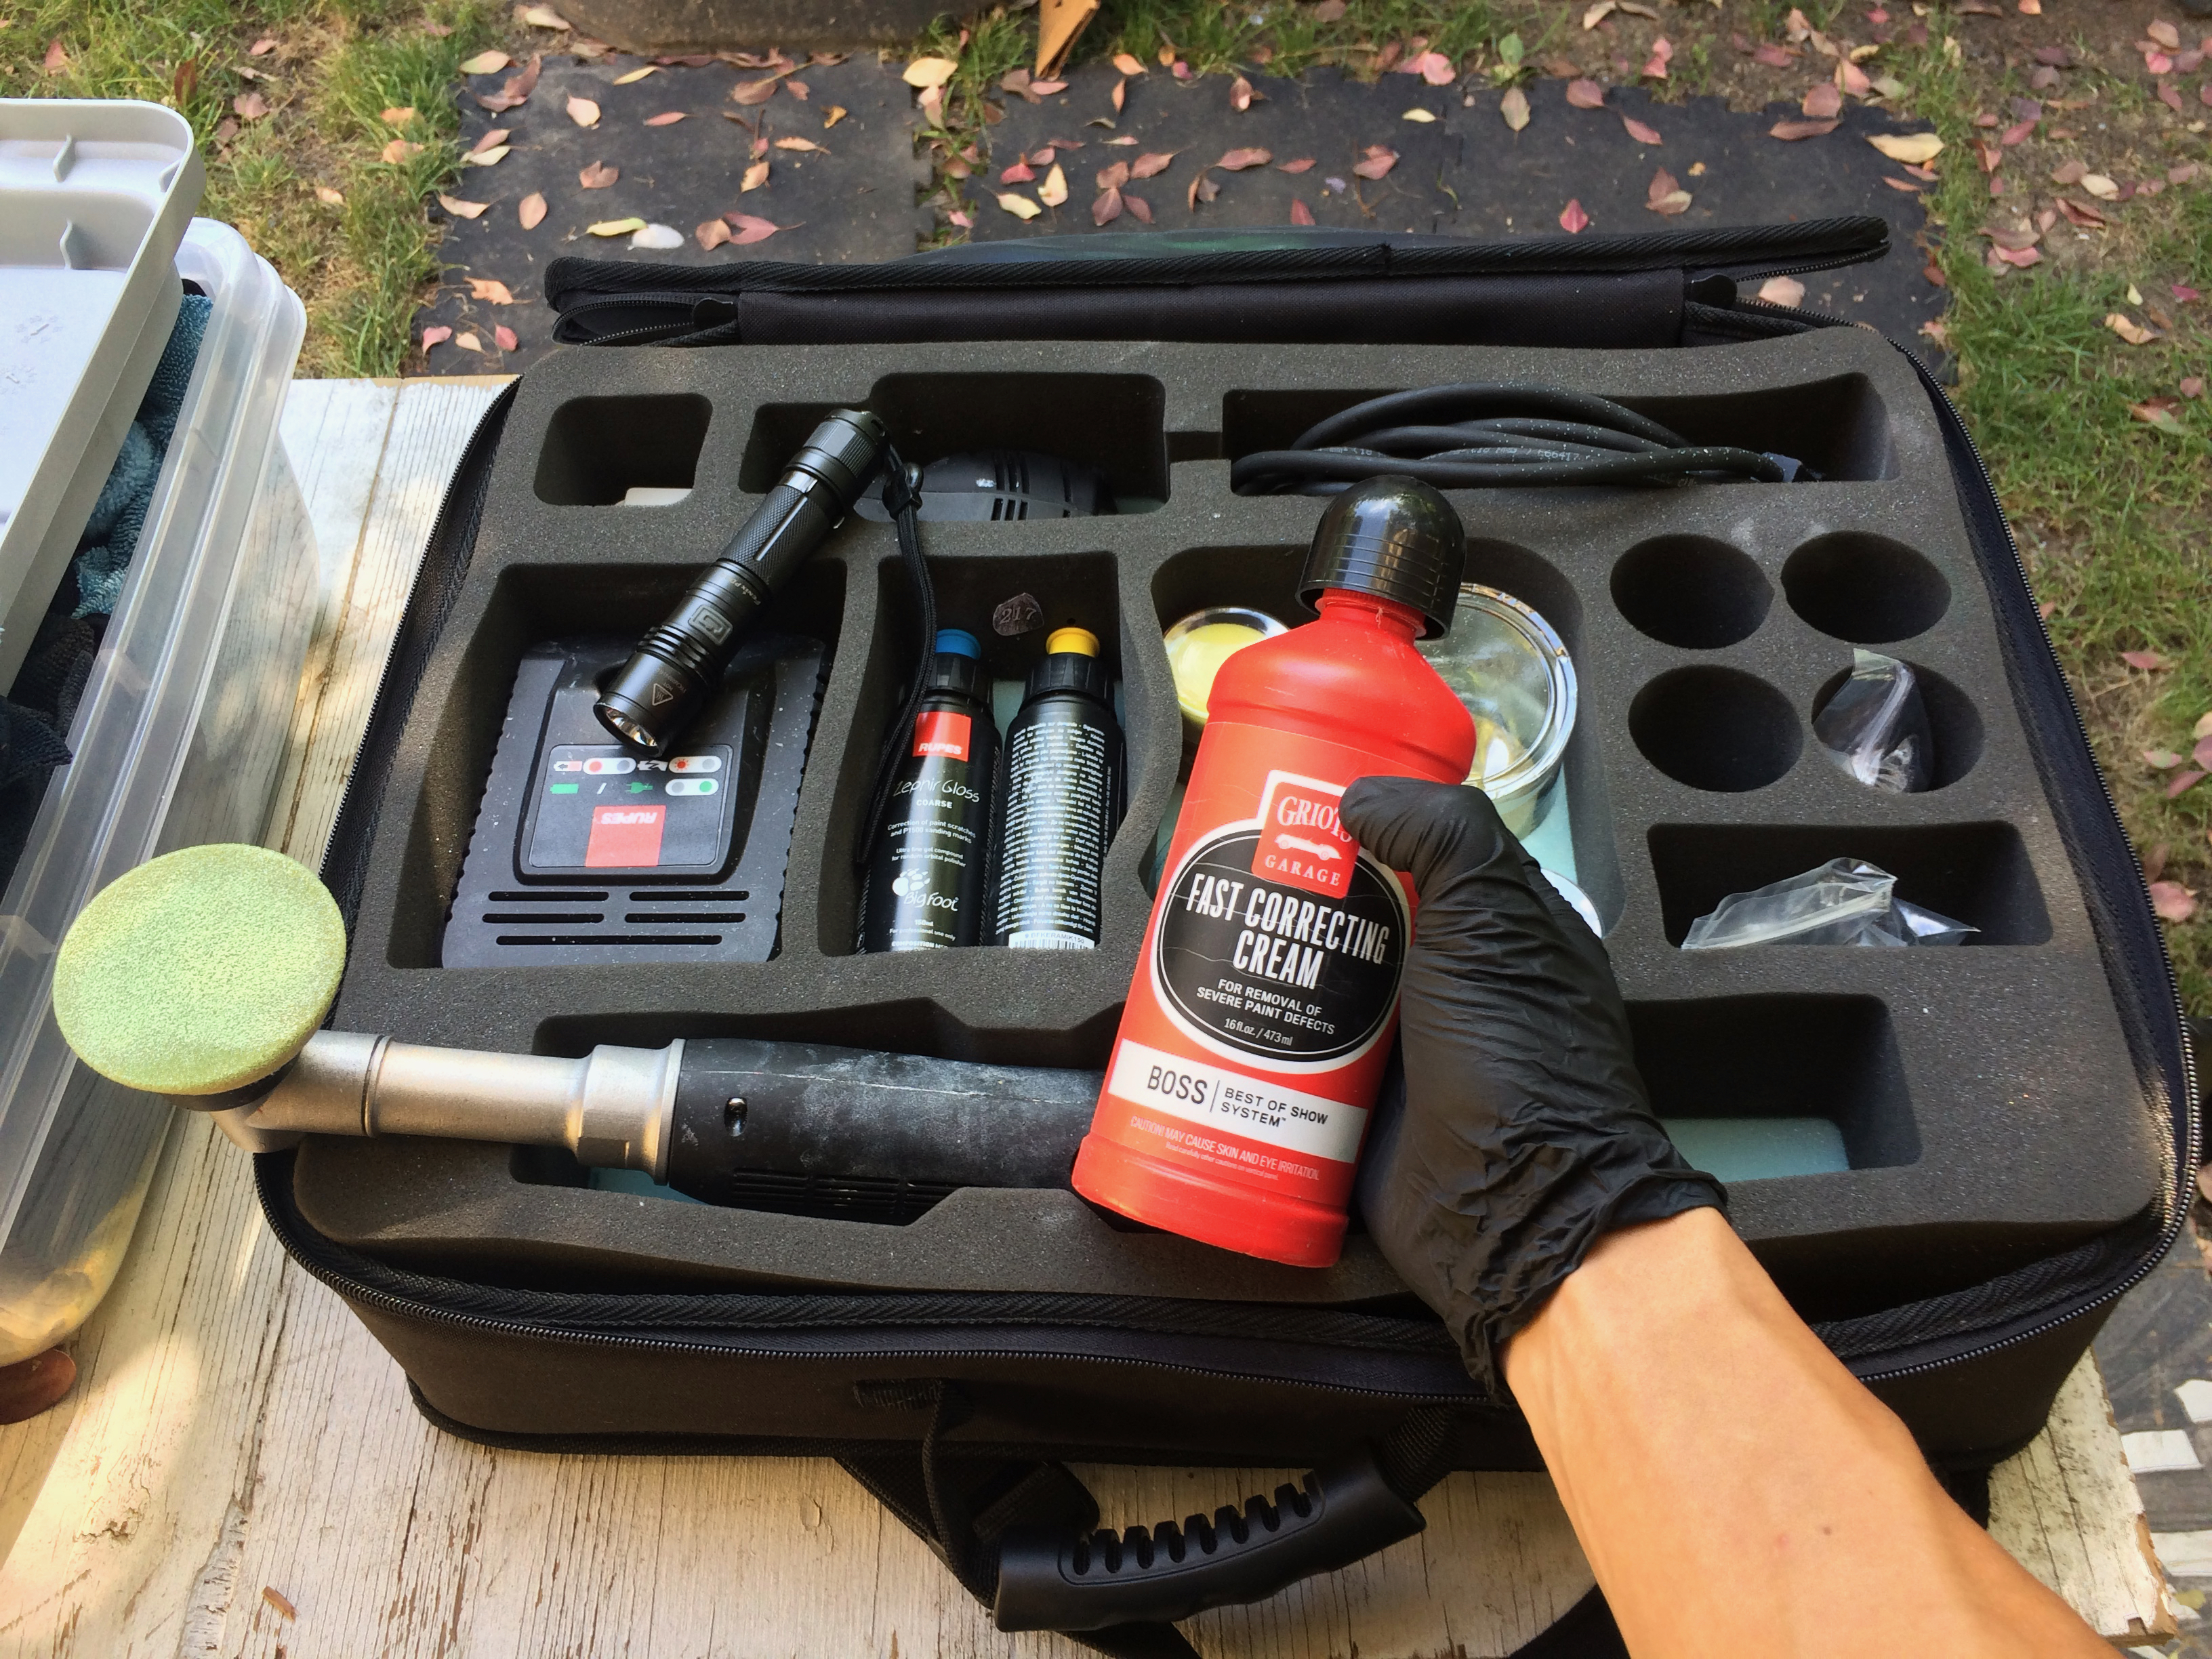
I can now begin paint correction. The compounding step involves the Rupes LHR15 Mark II equipped with Griot’s Fast Correcting Foam Pads primed with Griot’s Fast Correcting Cream.
The polishing step makes use of Griot’s Perfecting Foam pads primed with Griot’s Perfecting Cream.
For buffing off polish oils I am using Griot’s Plush Edgeless Towels.

I noticed heavy swirling in the paint but minimal oxidation. I did find some oxidization around the panel gap between the front doors and fenders.
This video shows before and after results on the hood.
Here is another video of me checking the paint after compounding. The right side is uncorrected.
I am wearing Audio Technica ATH-M50X headphones in this video, they help suppress the noise from the Rupes Polisher. I either listen to classical music or a playlist I created with over 250 songs from the 60’s-90’s while I detail.
This video gives an example of buffer swirls after compounding. These swirls are a normal side effect of compounding and are removed by the polishing phase.
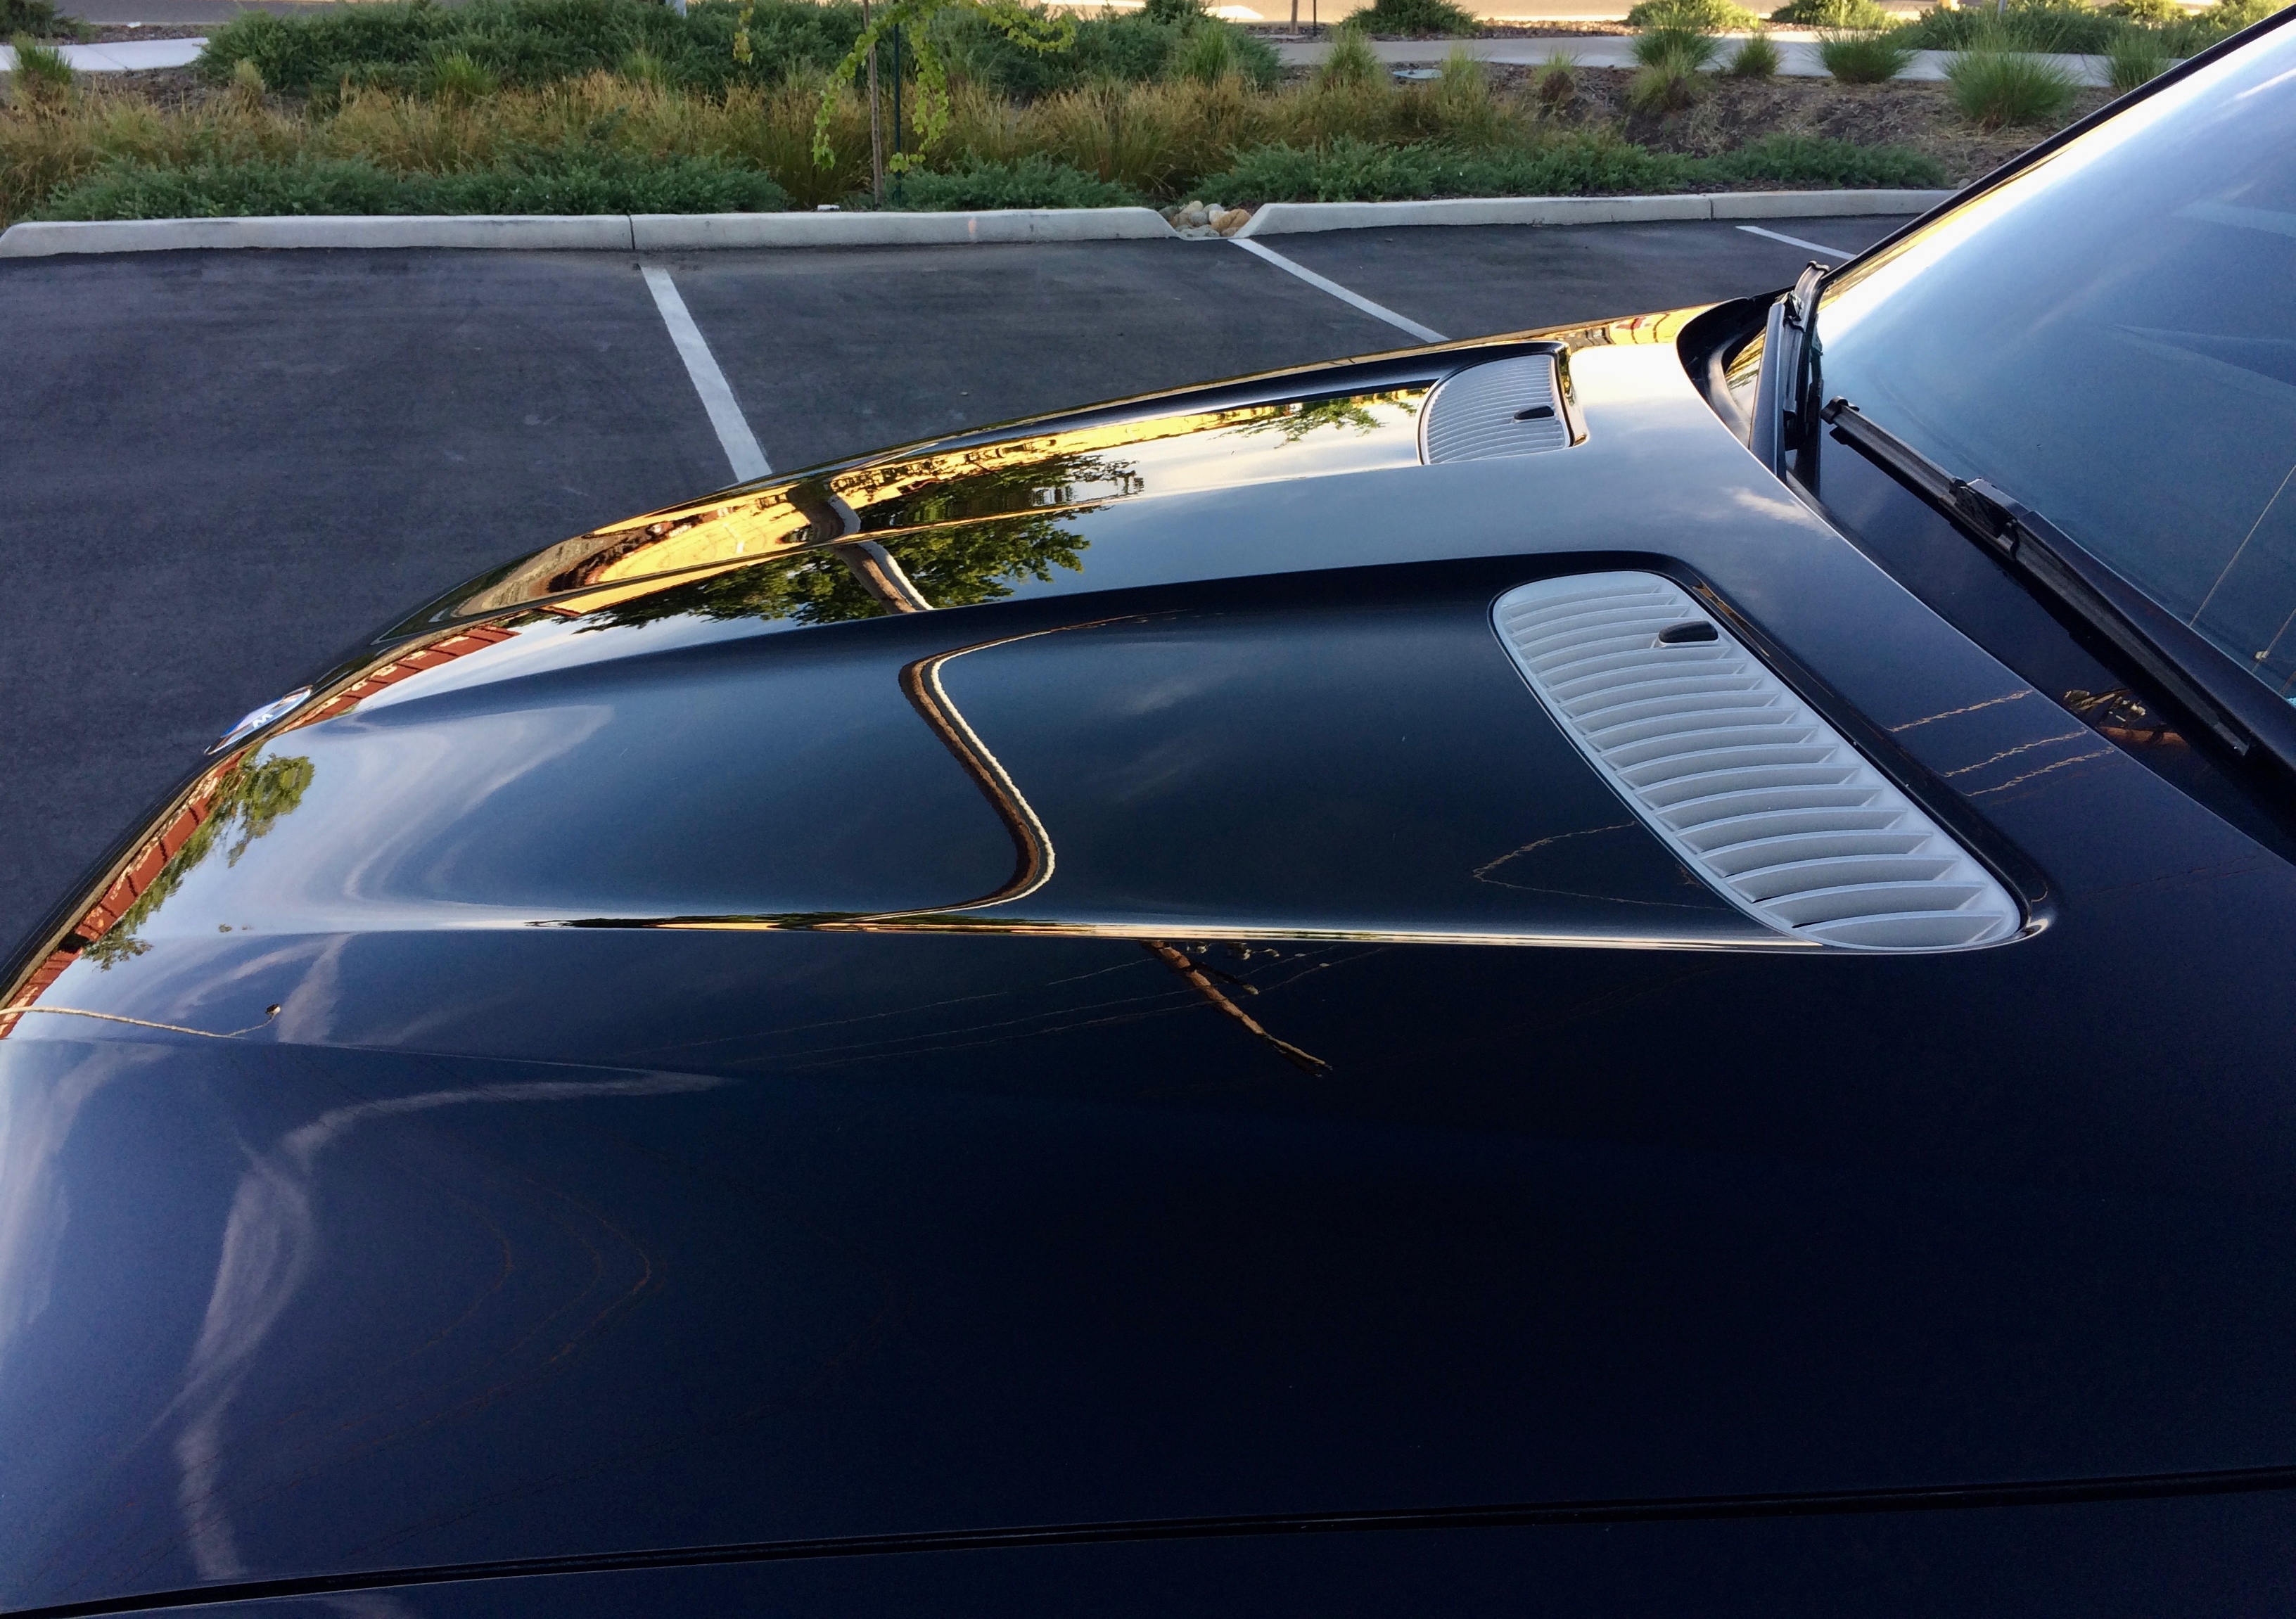
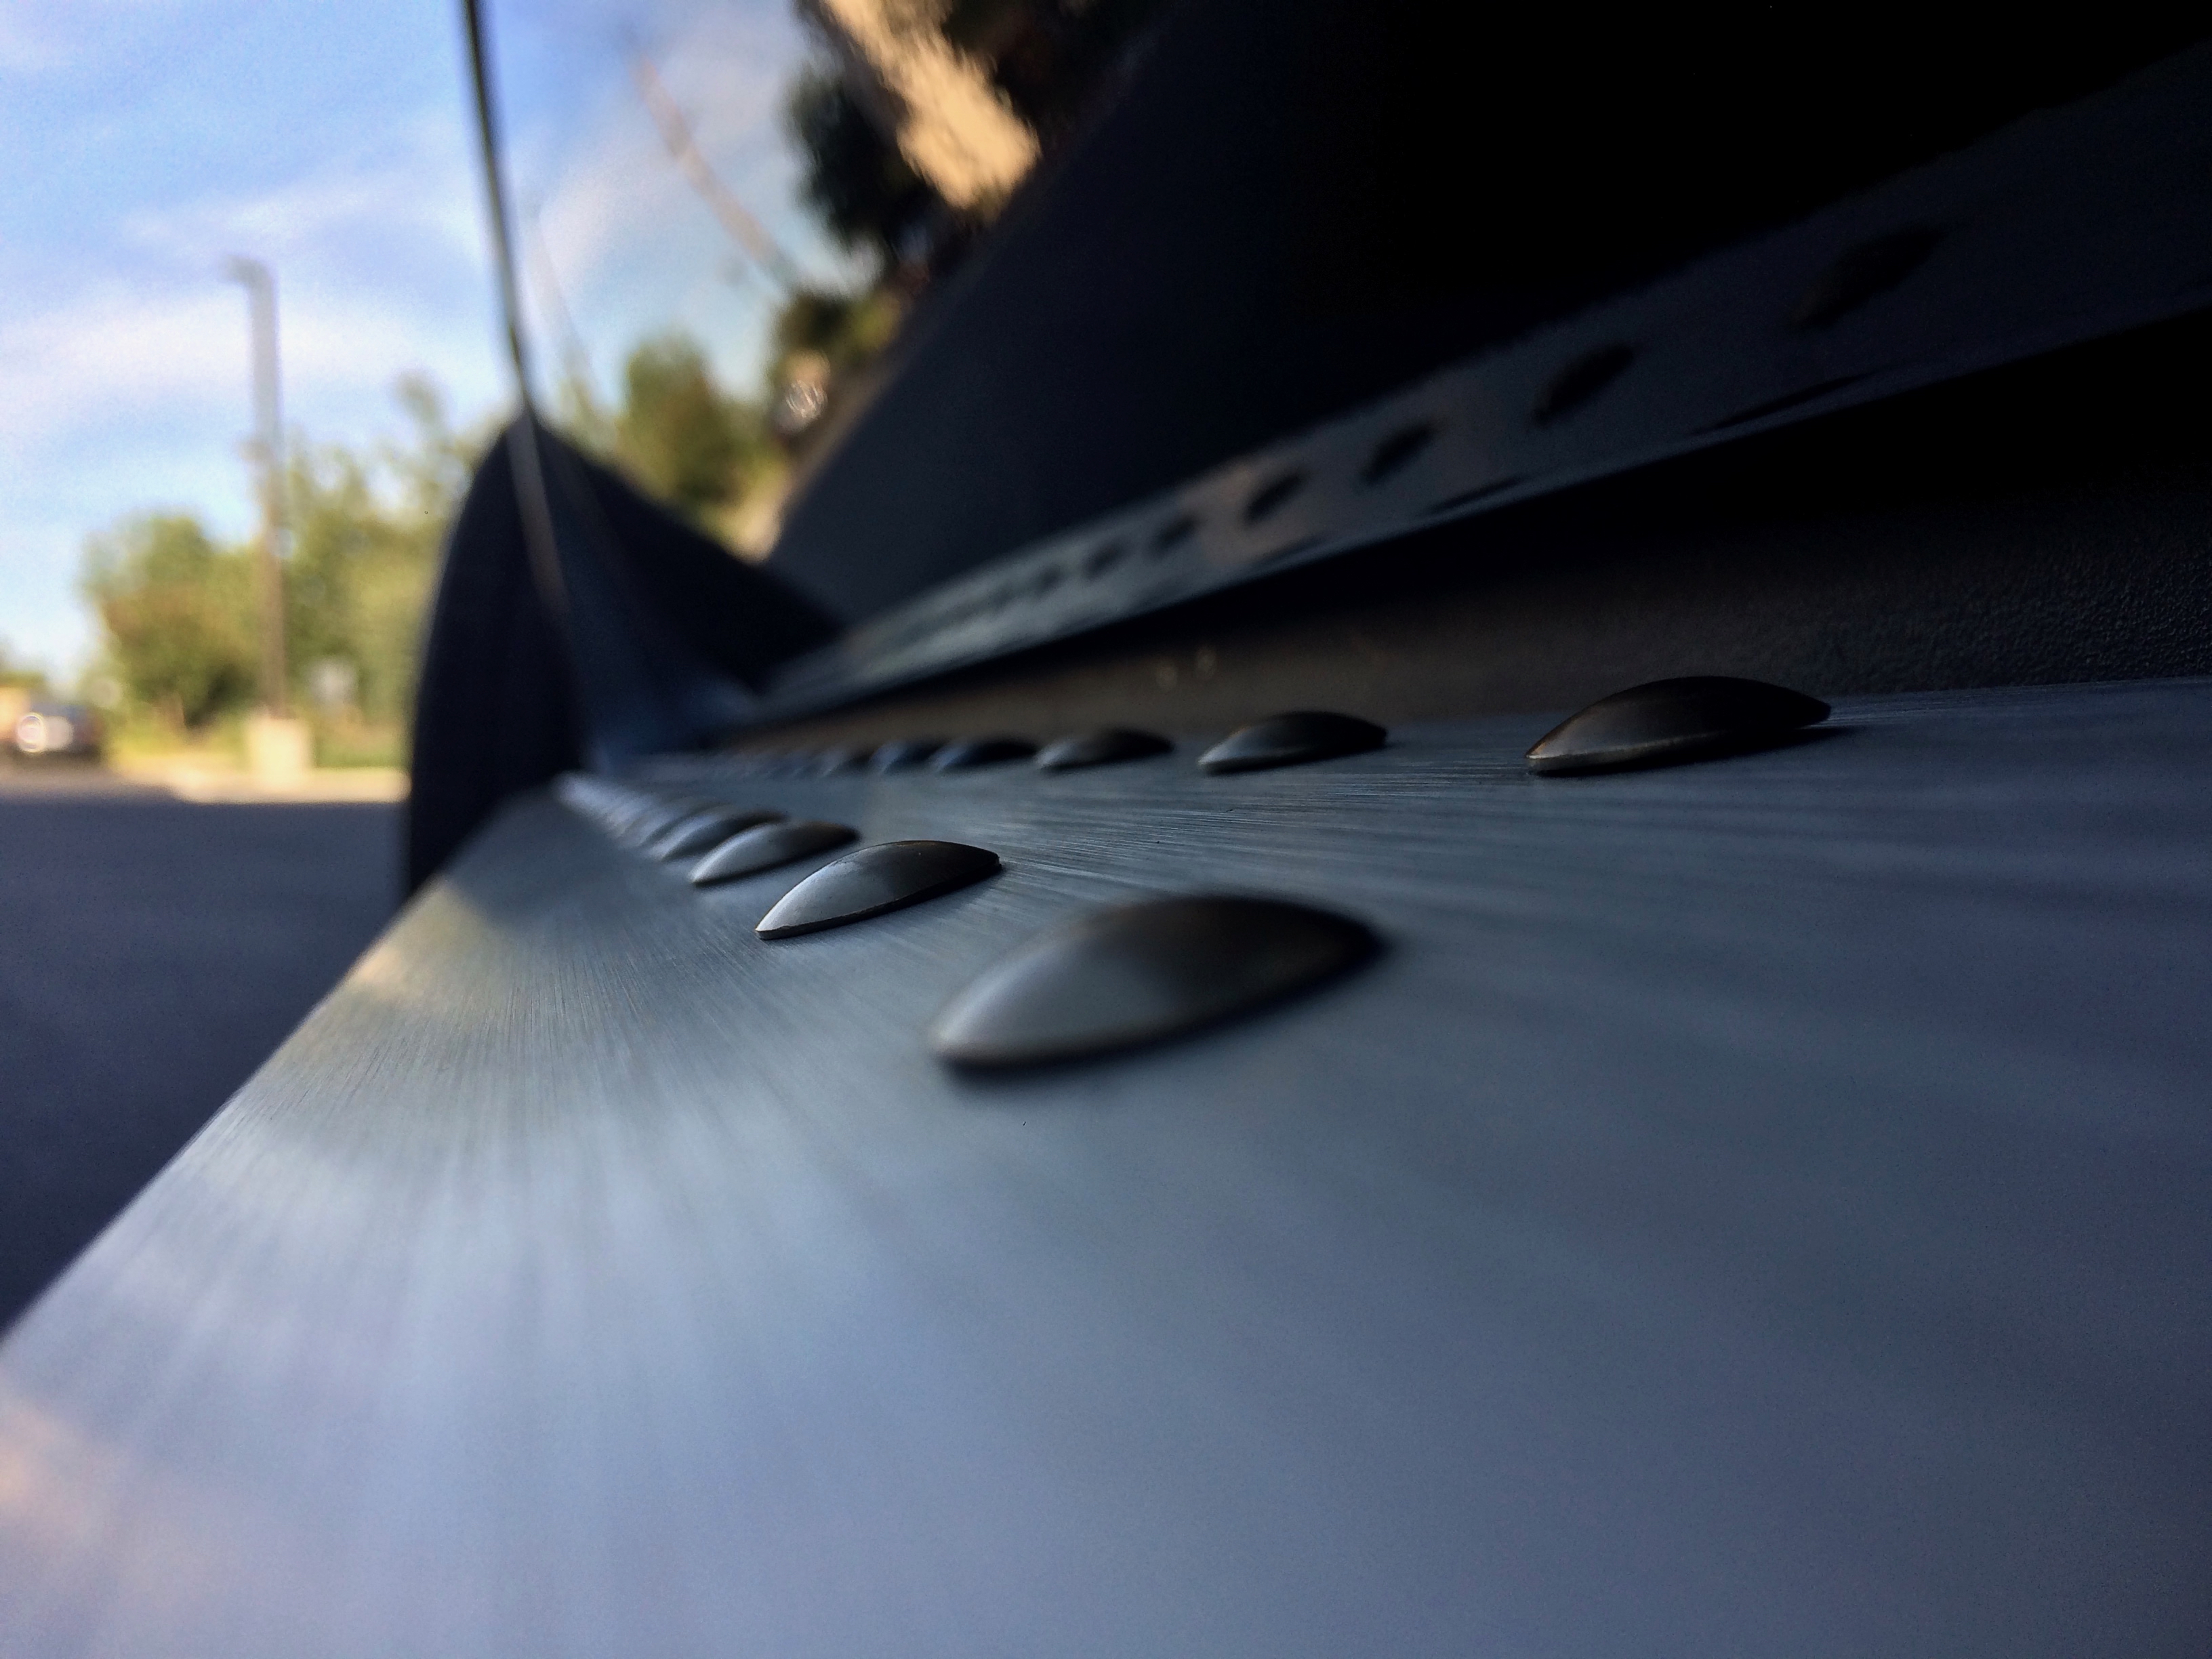
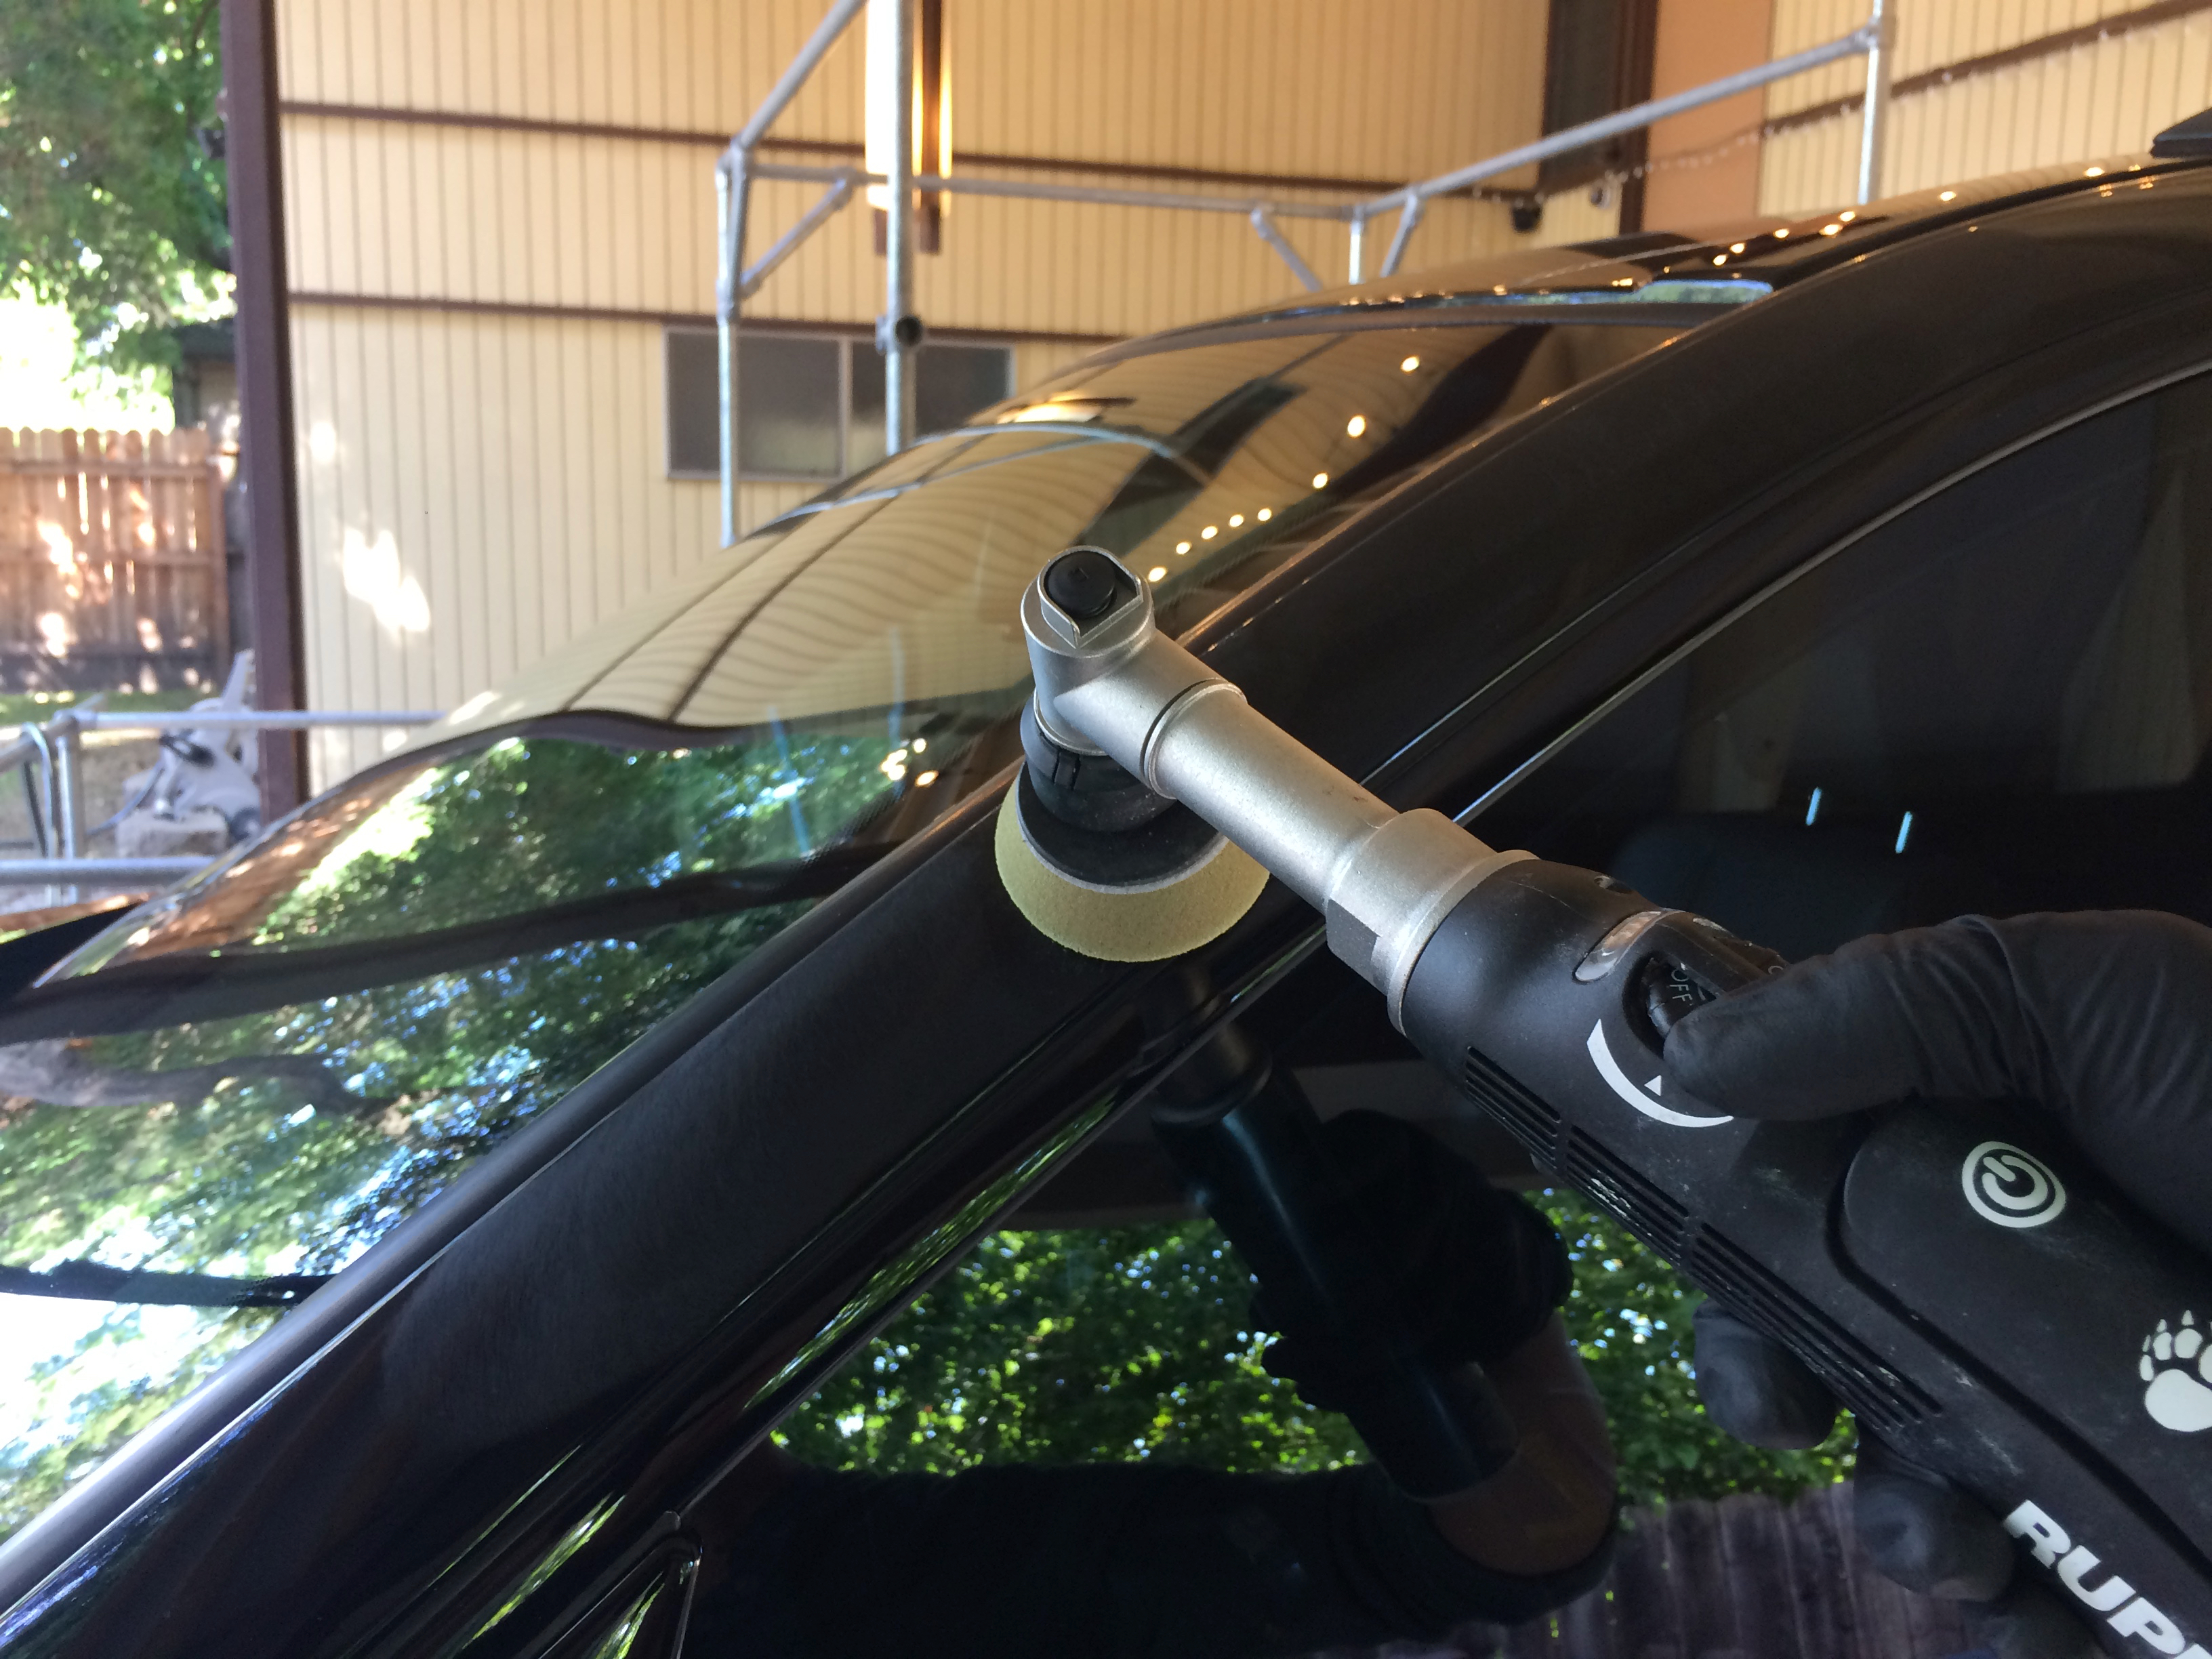
The roof is easy to reach. I am able to stand on the rear wheels and the running boards to gain height.

I corrected the pillars using a Rupes Nano iBrid, and Griot’s plastic polish for correcting the gloss plastics.
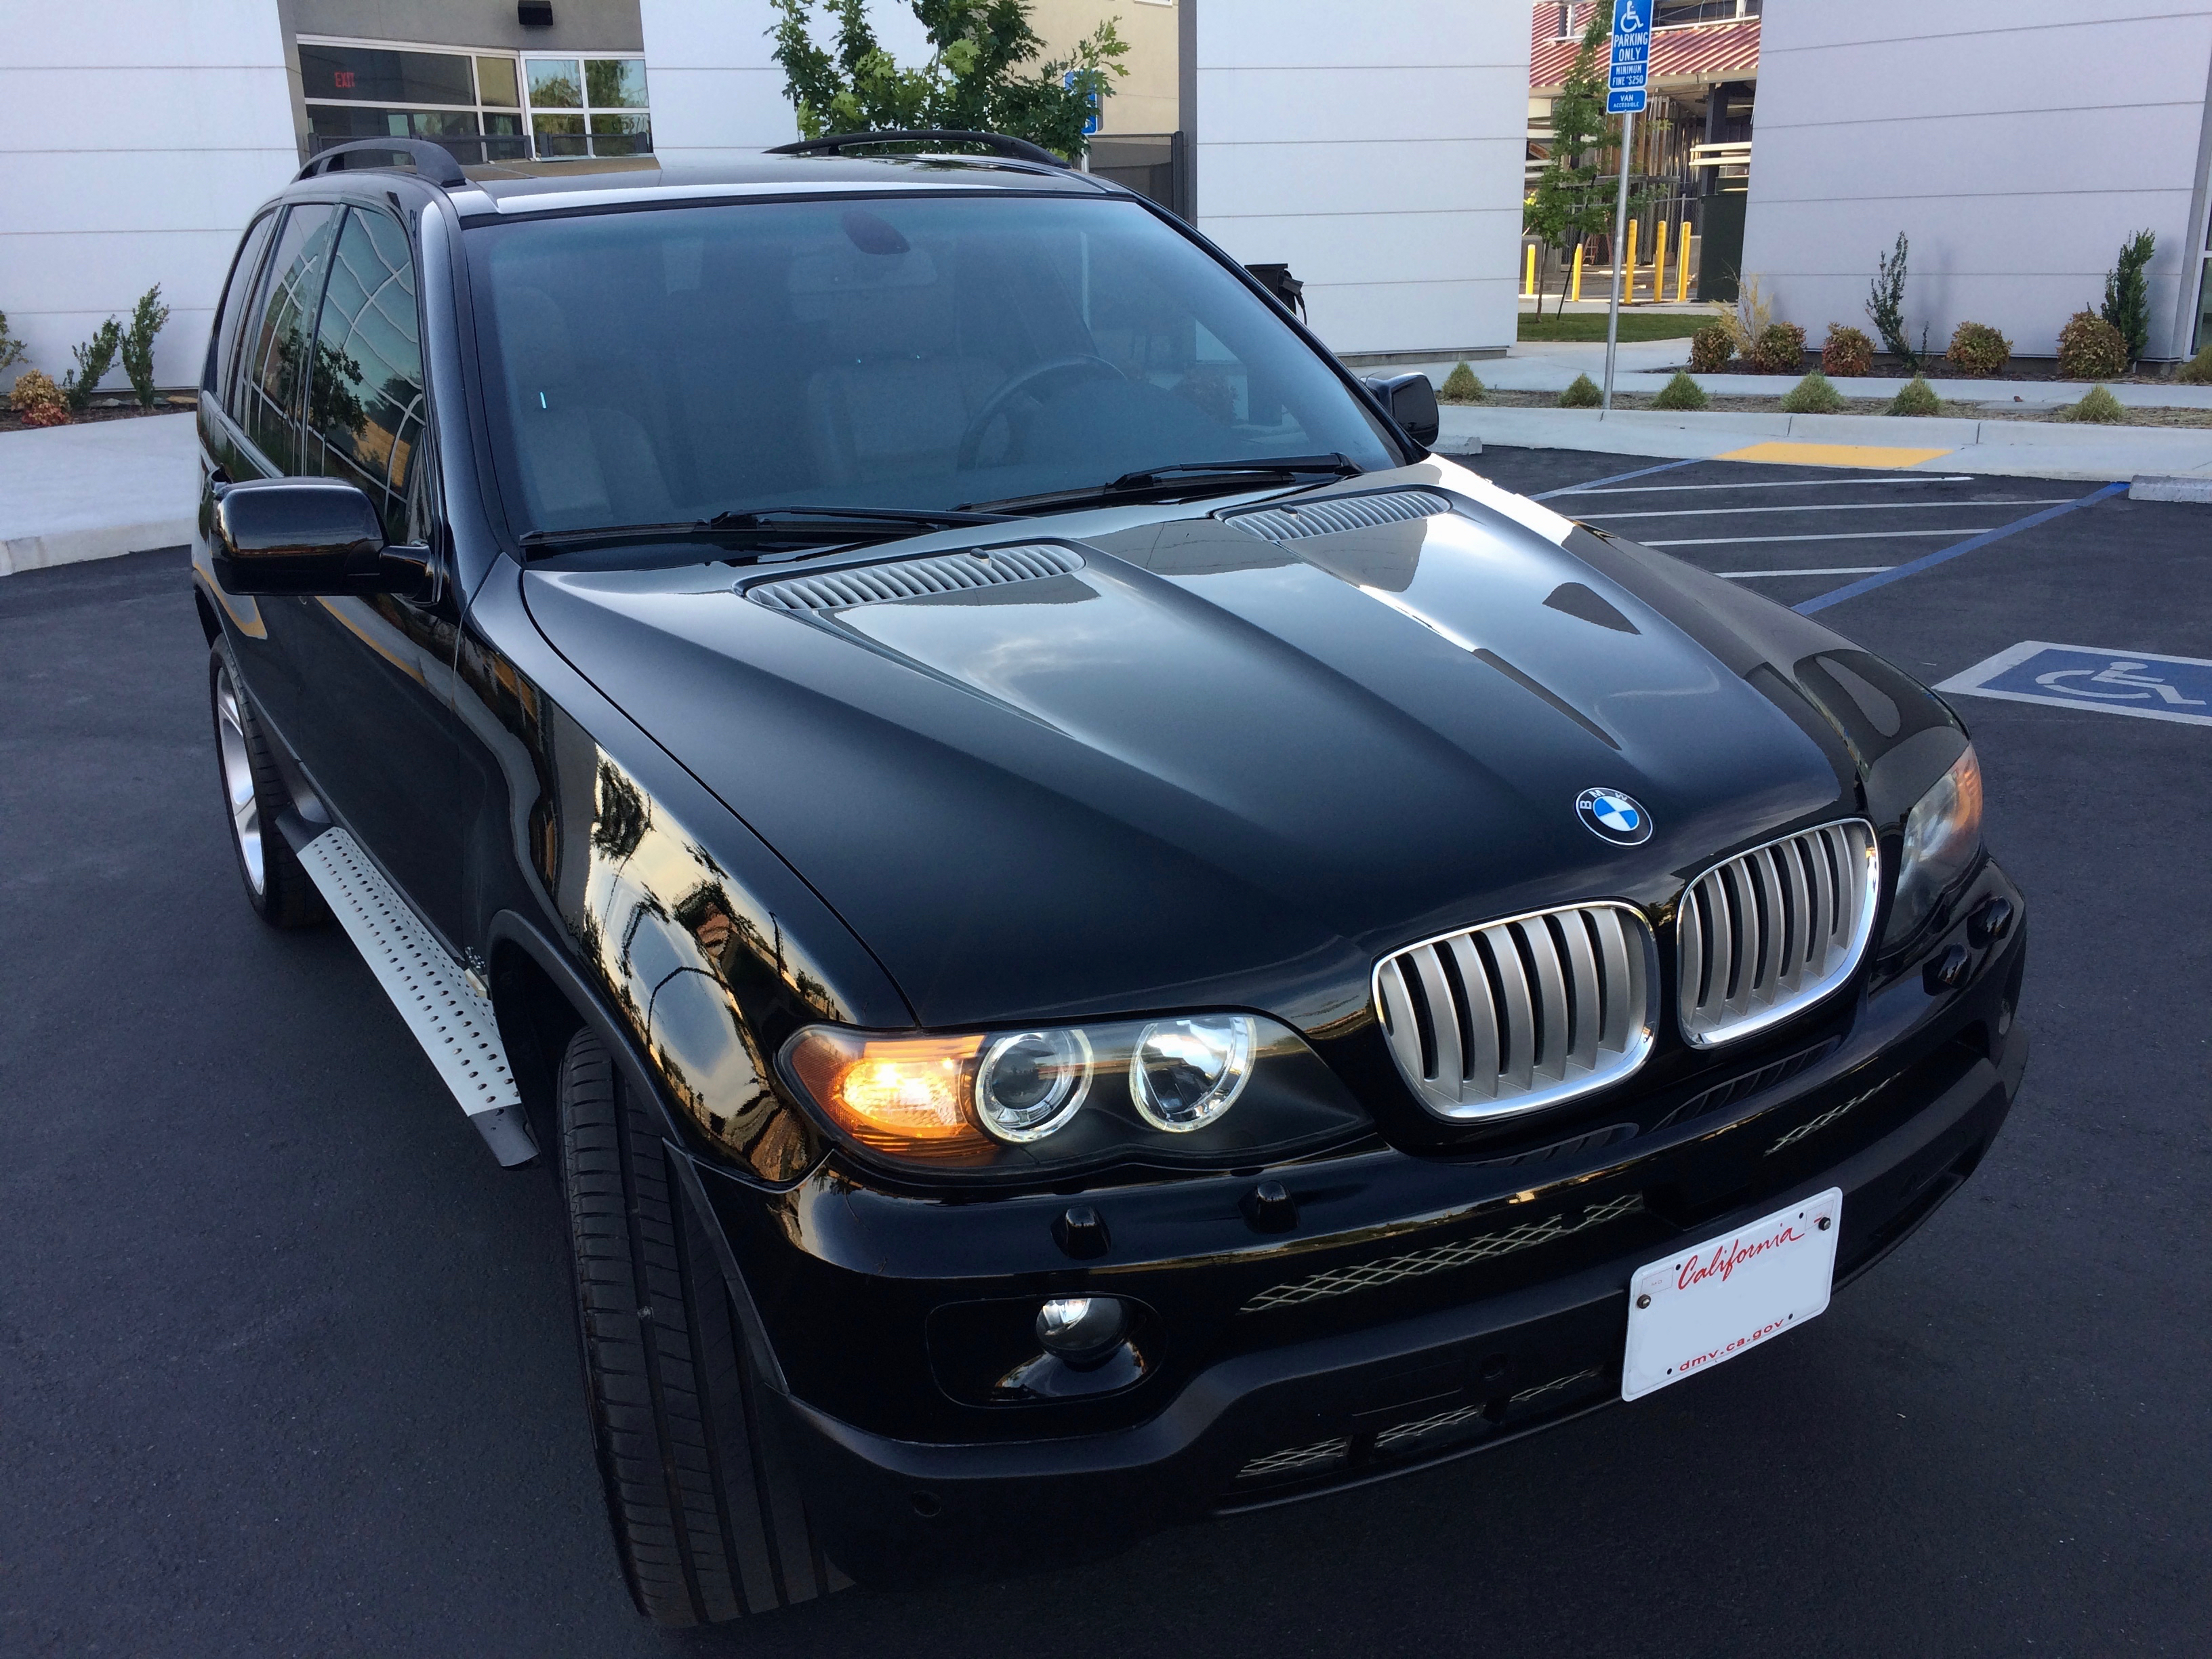
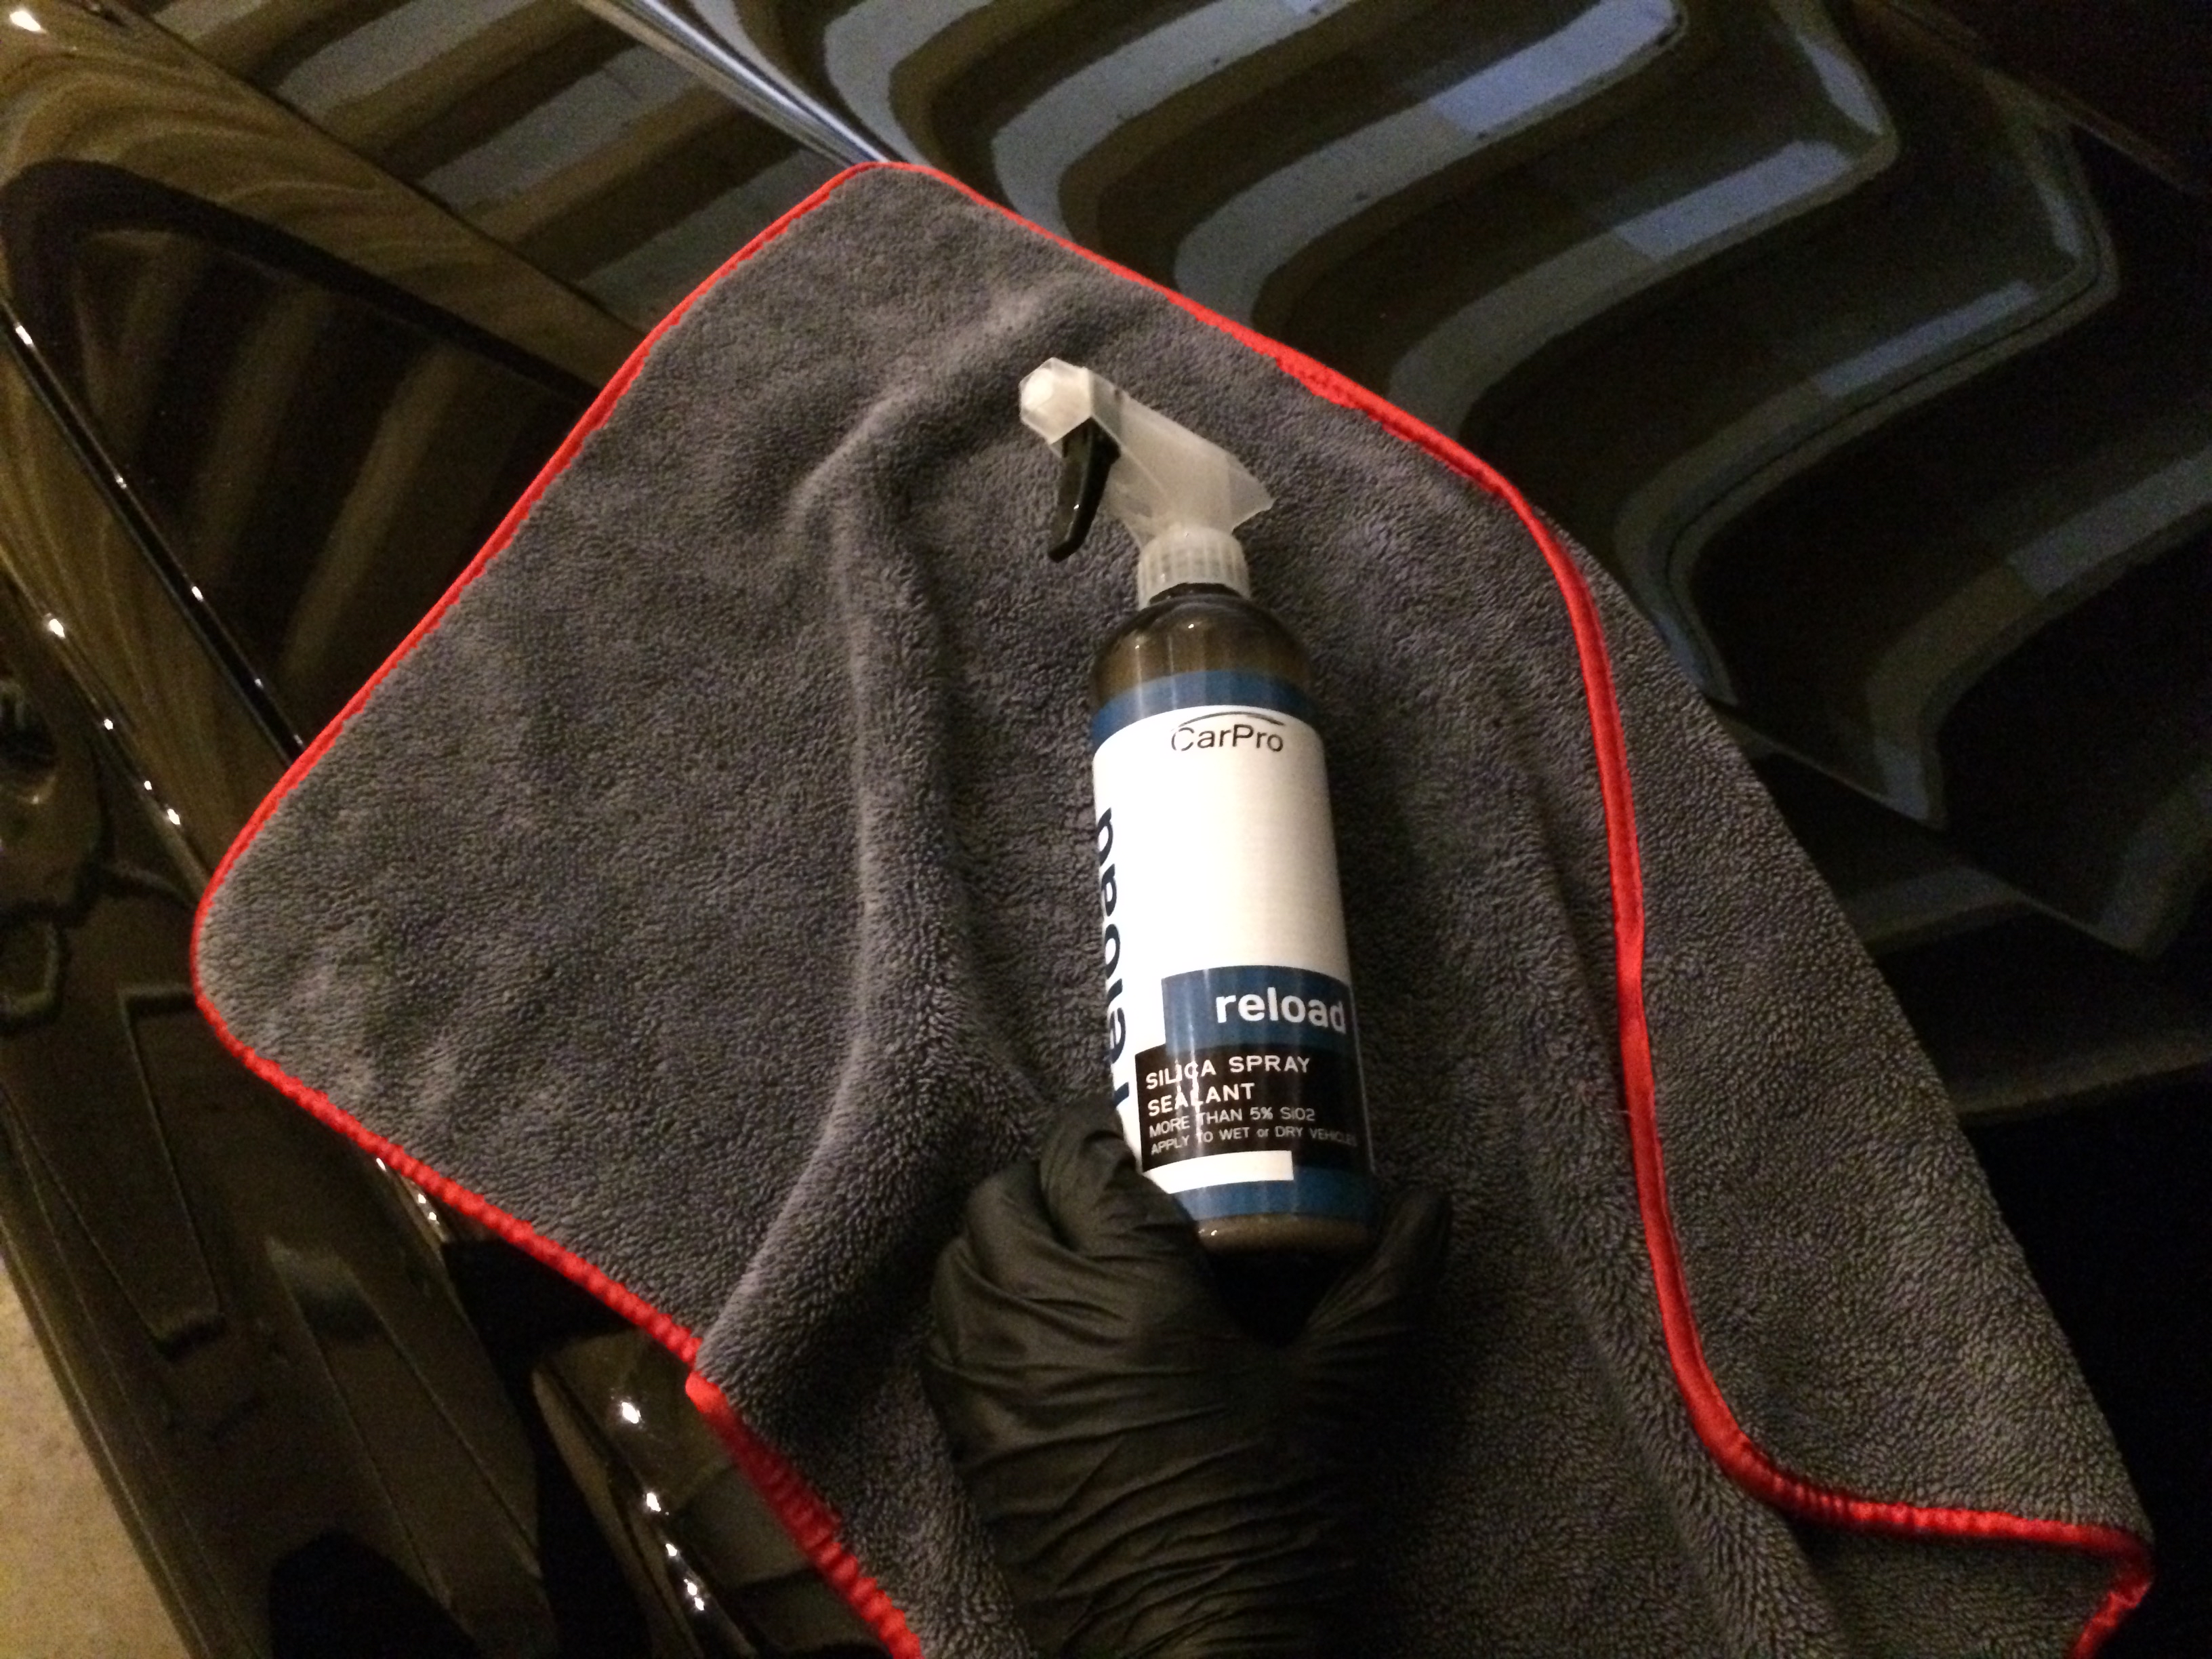
With the paint correction complete, I remove any polish oils left behind using CarPro Eraser and start applying the ceramic coating.
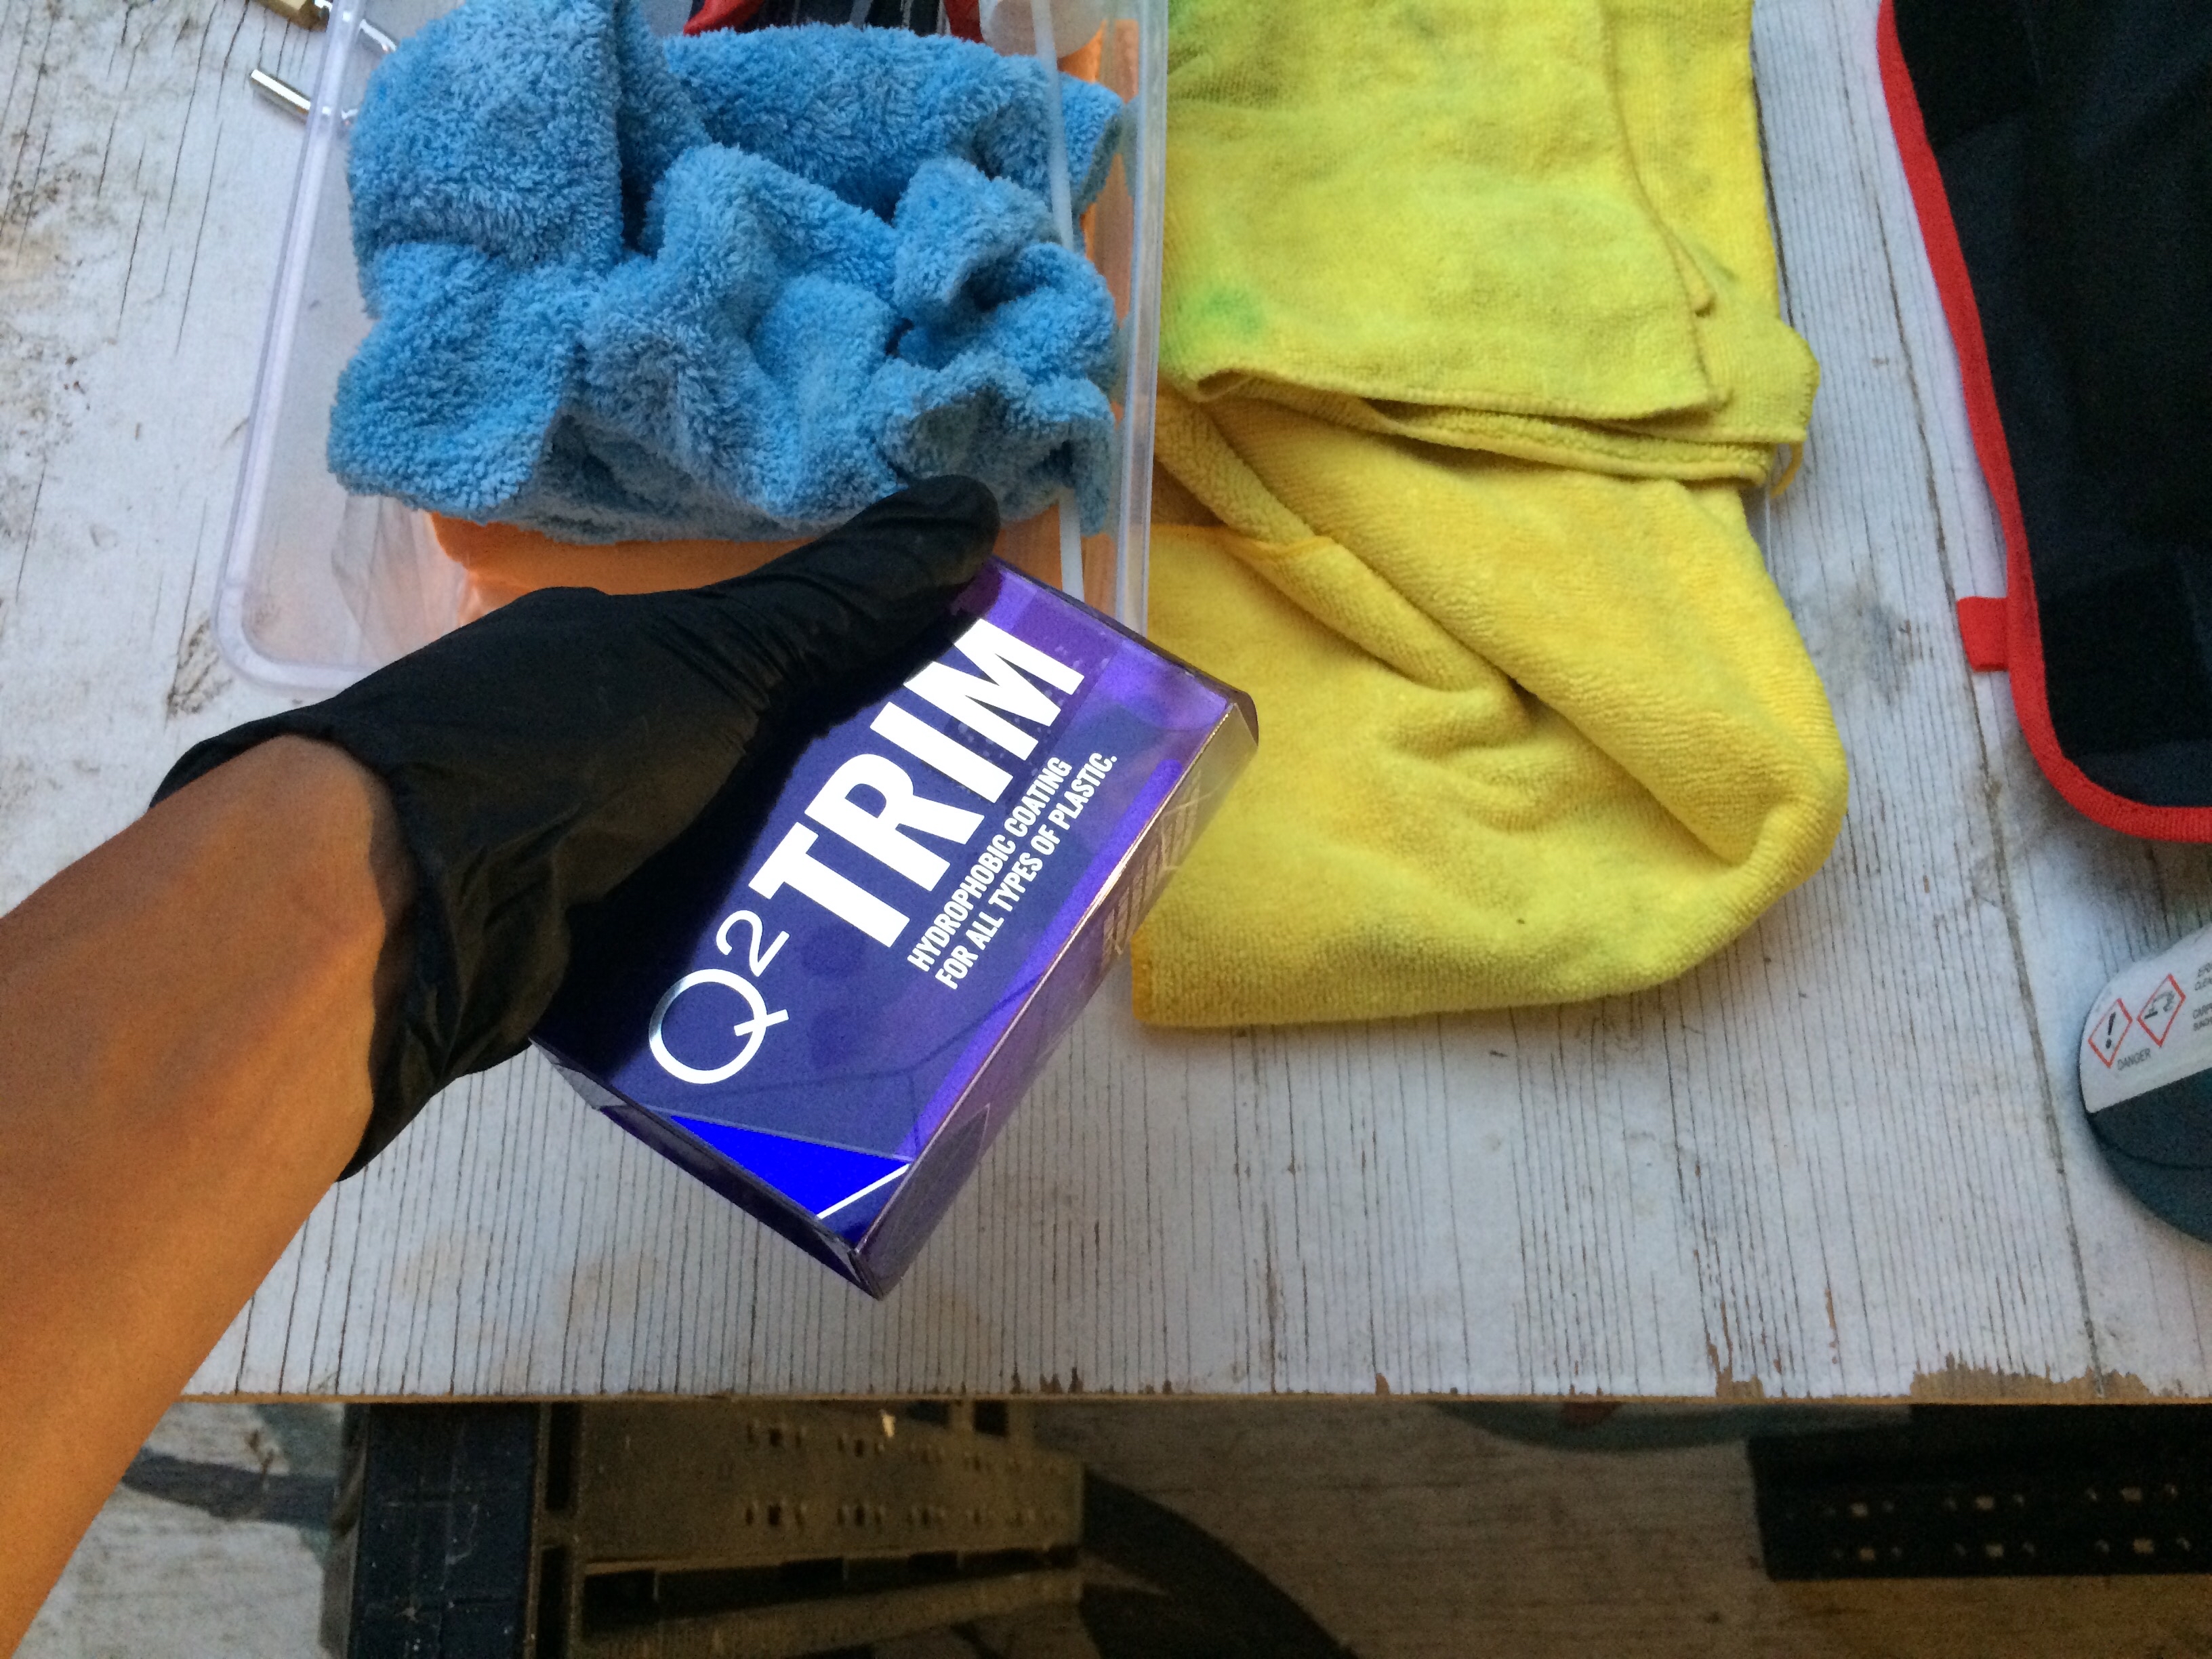
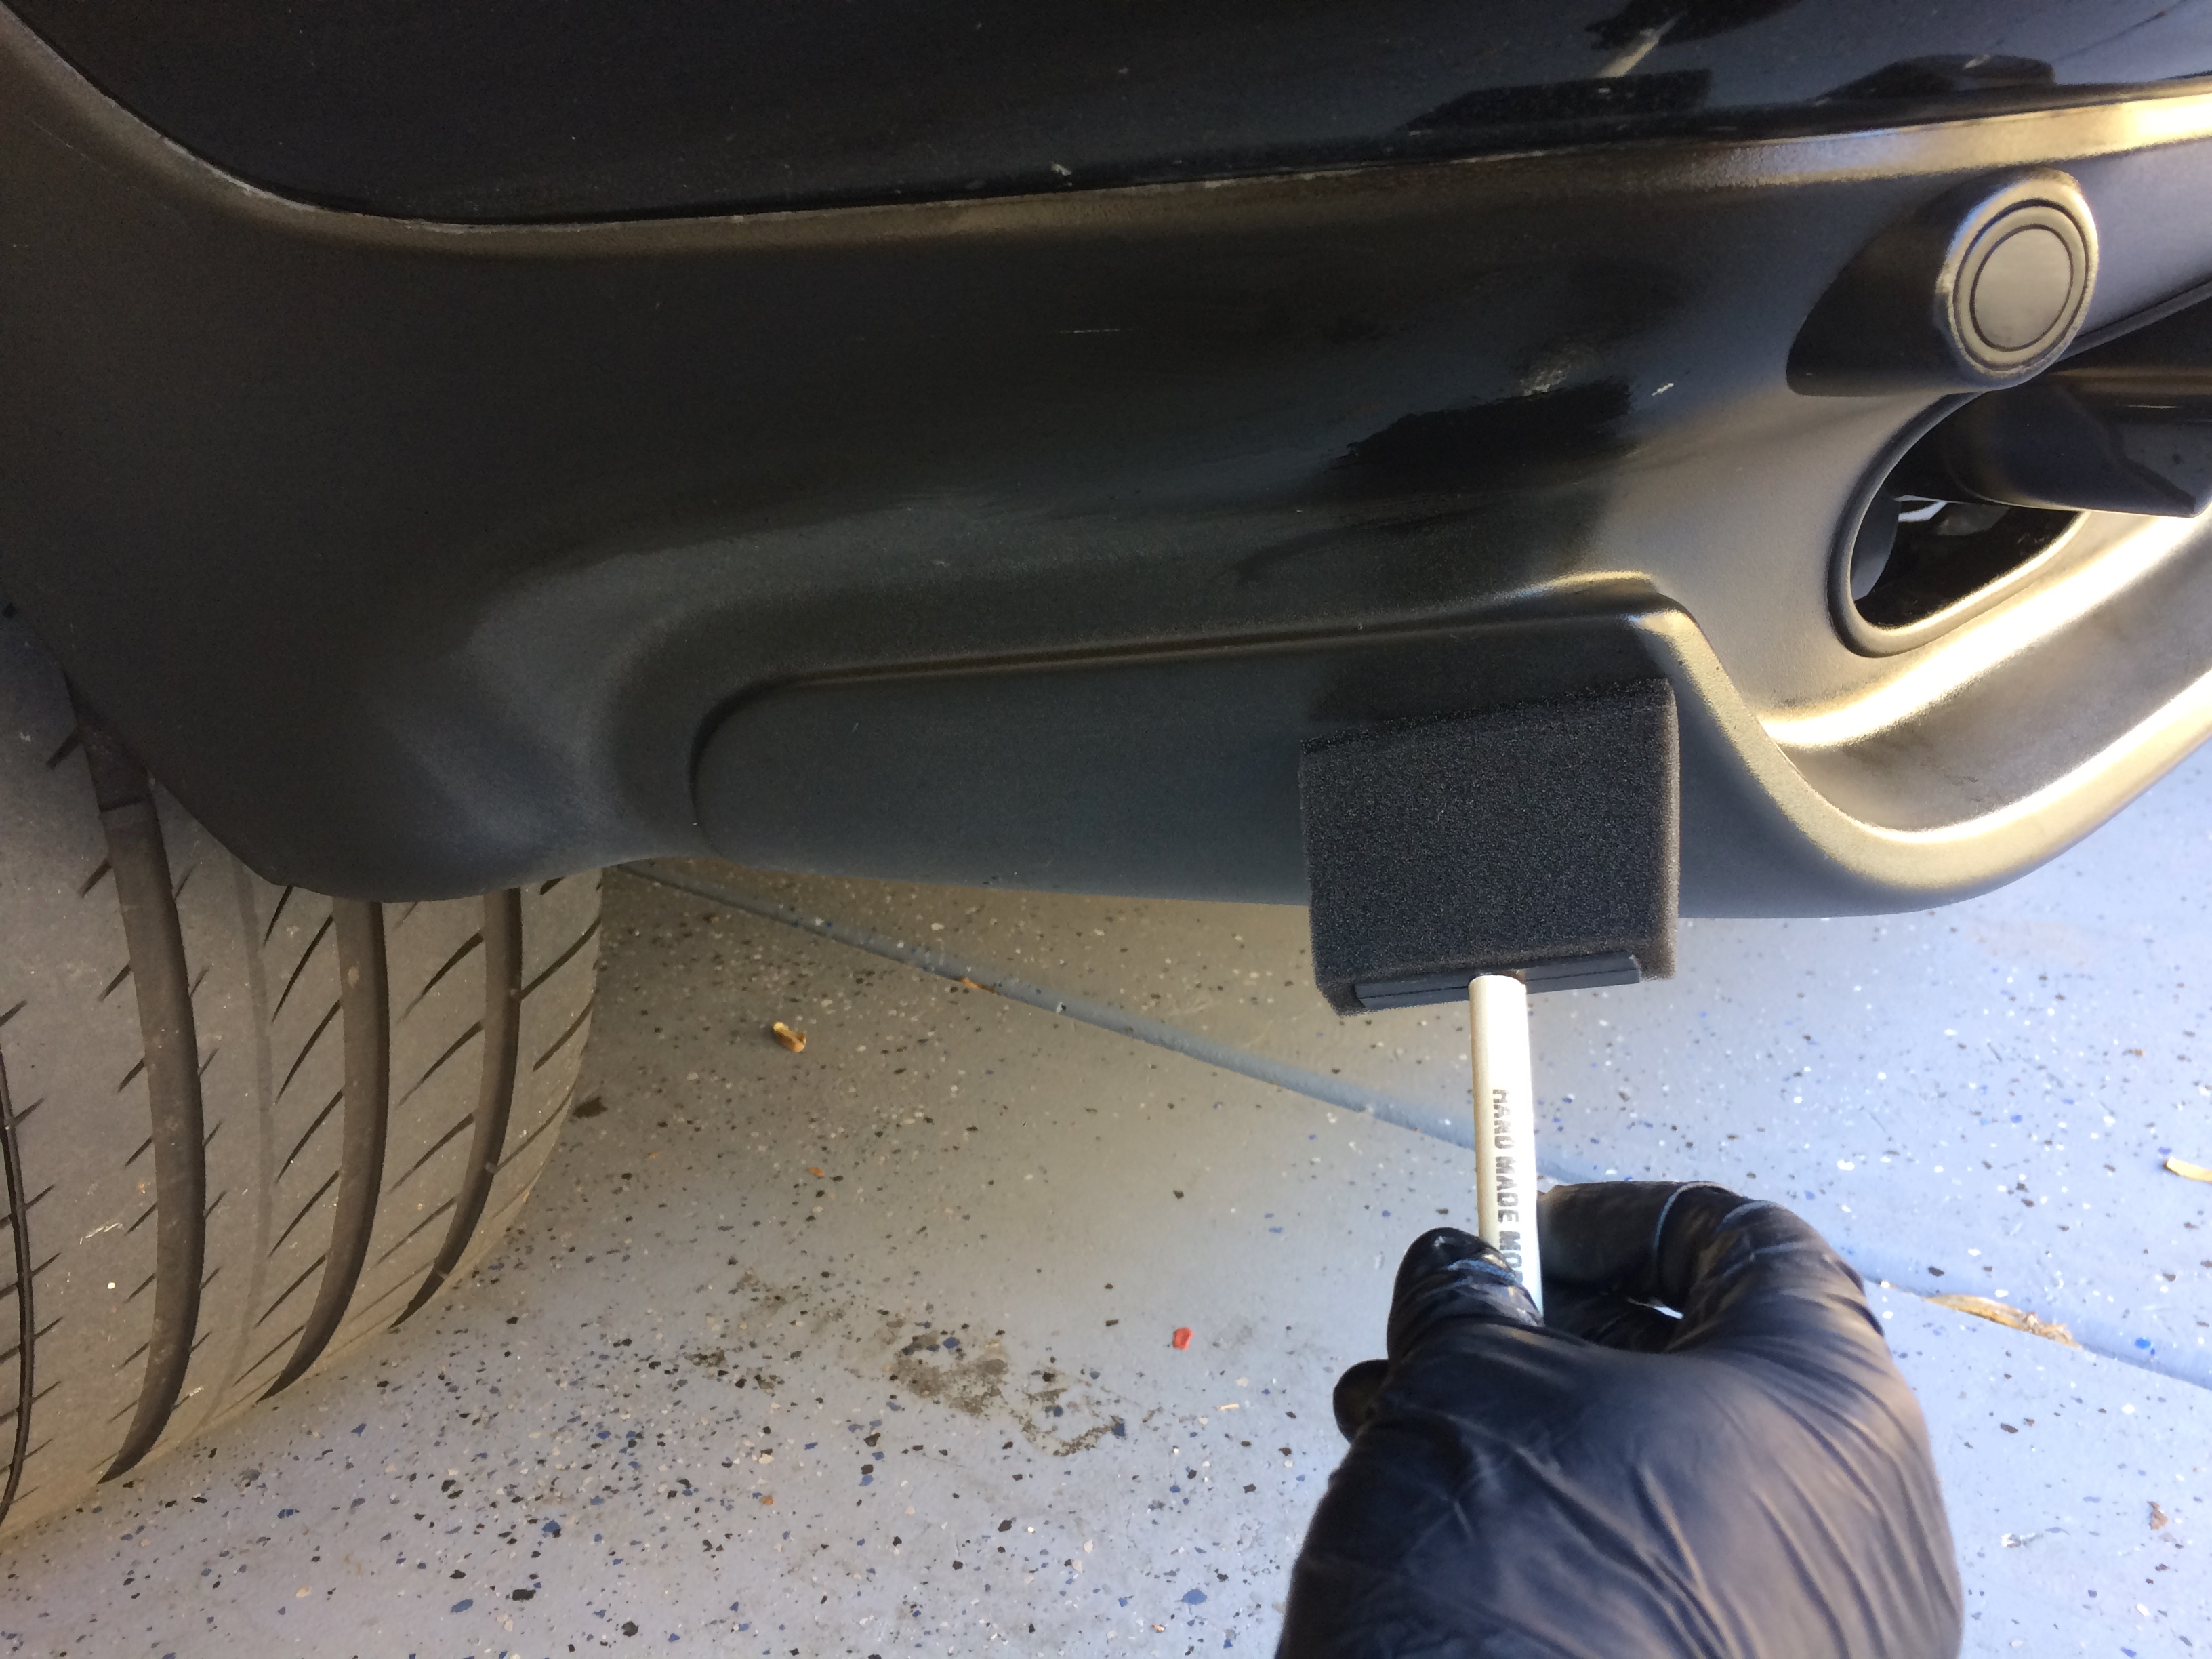
I am applying CarPro CQuartz UK 3.0 topped with Carpro Reload on the paint, and for the plastic I am applying Gyeon Q2 Trim.
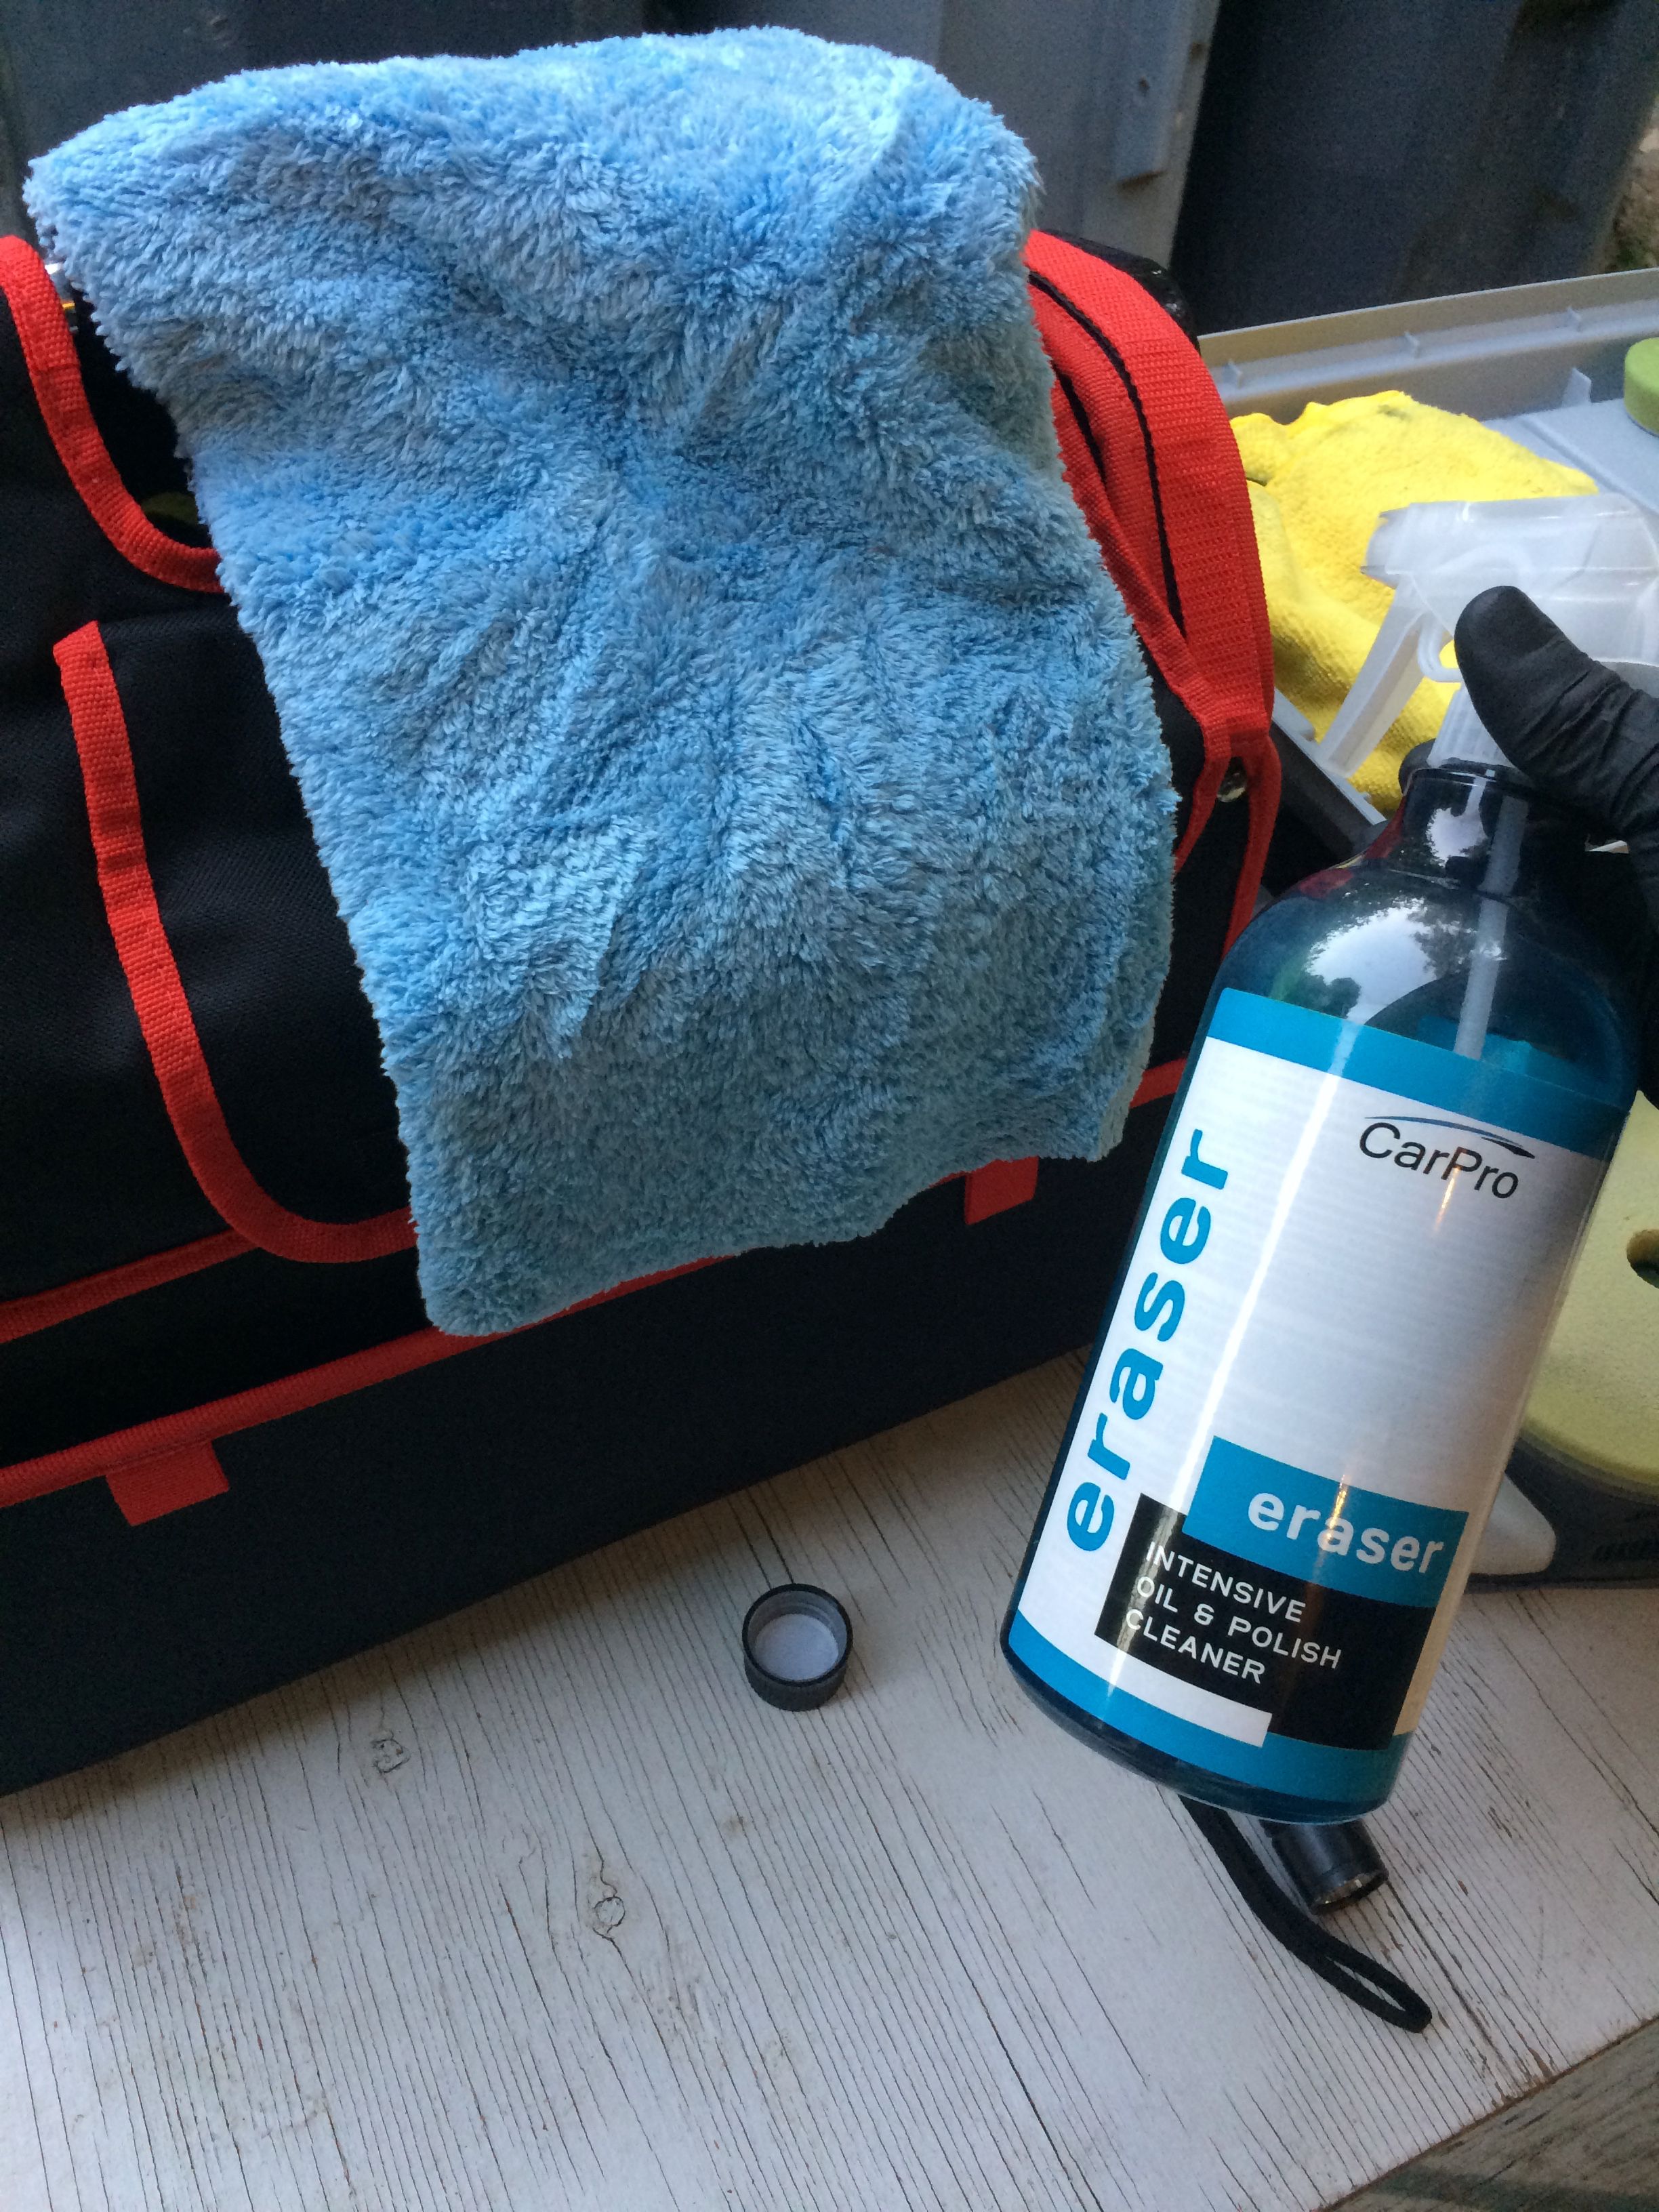
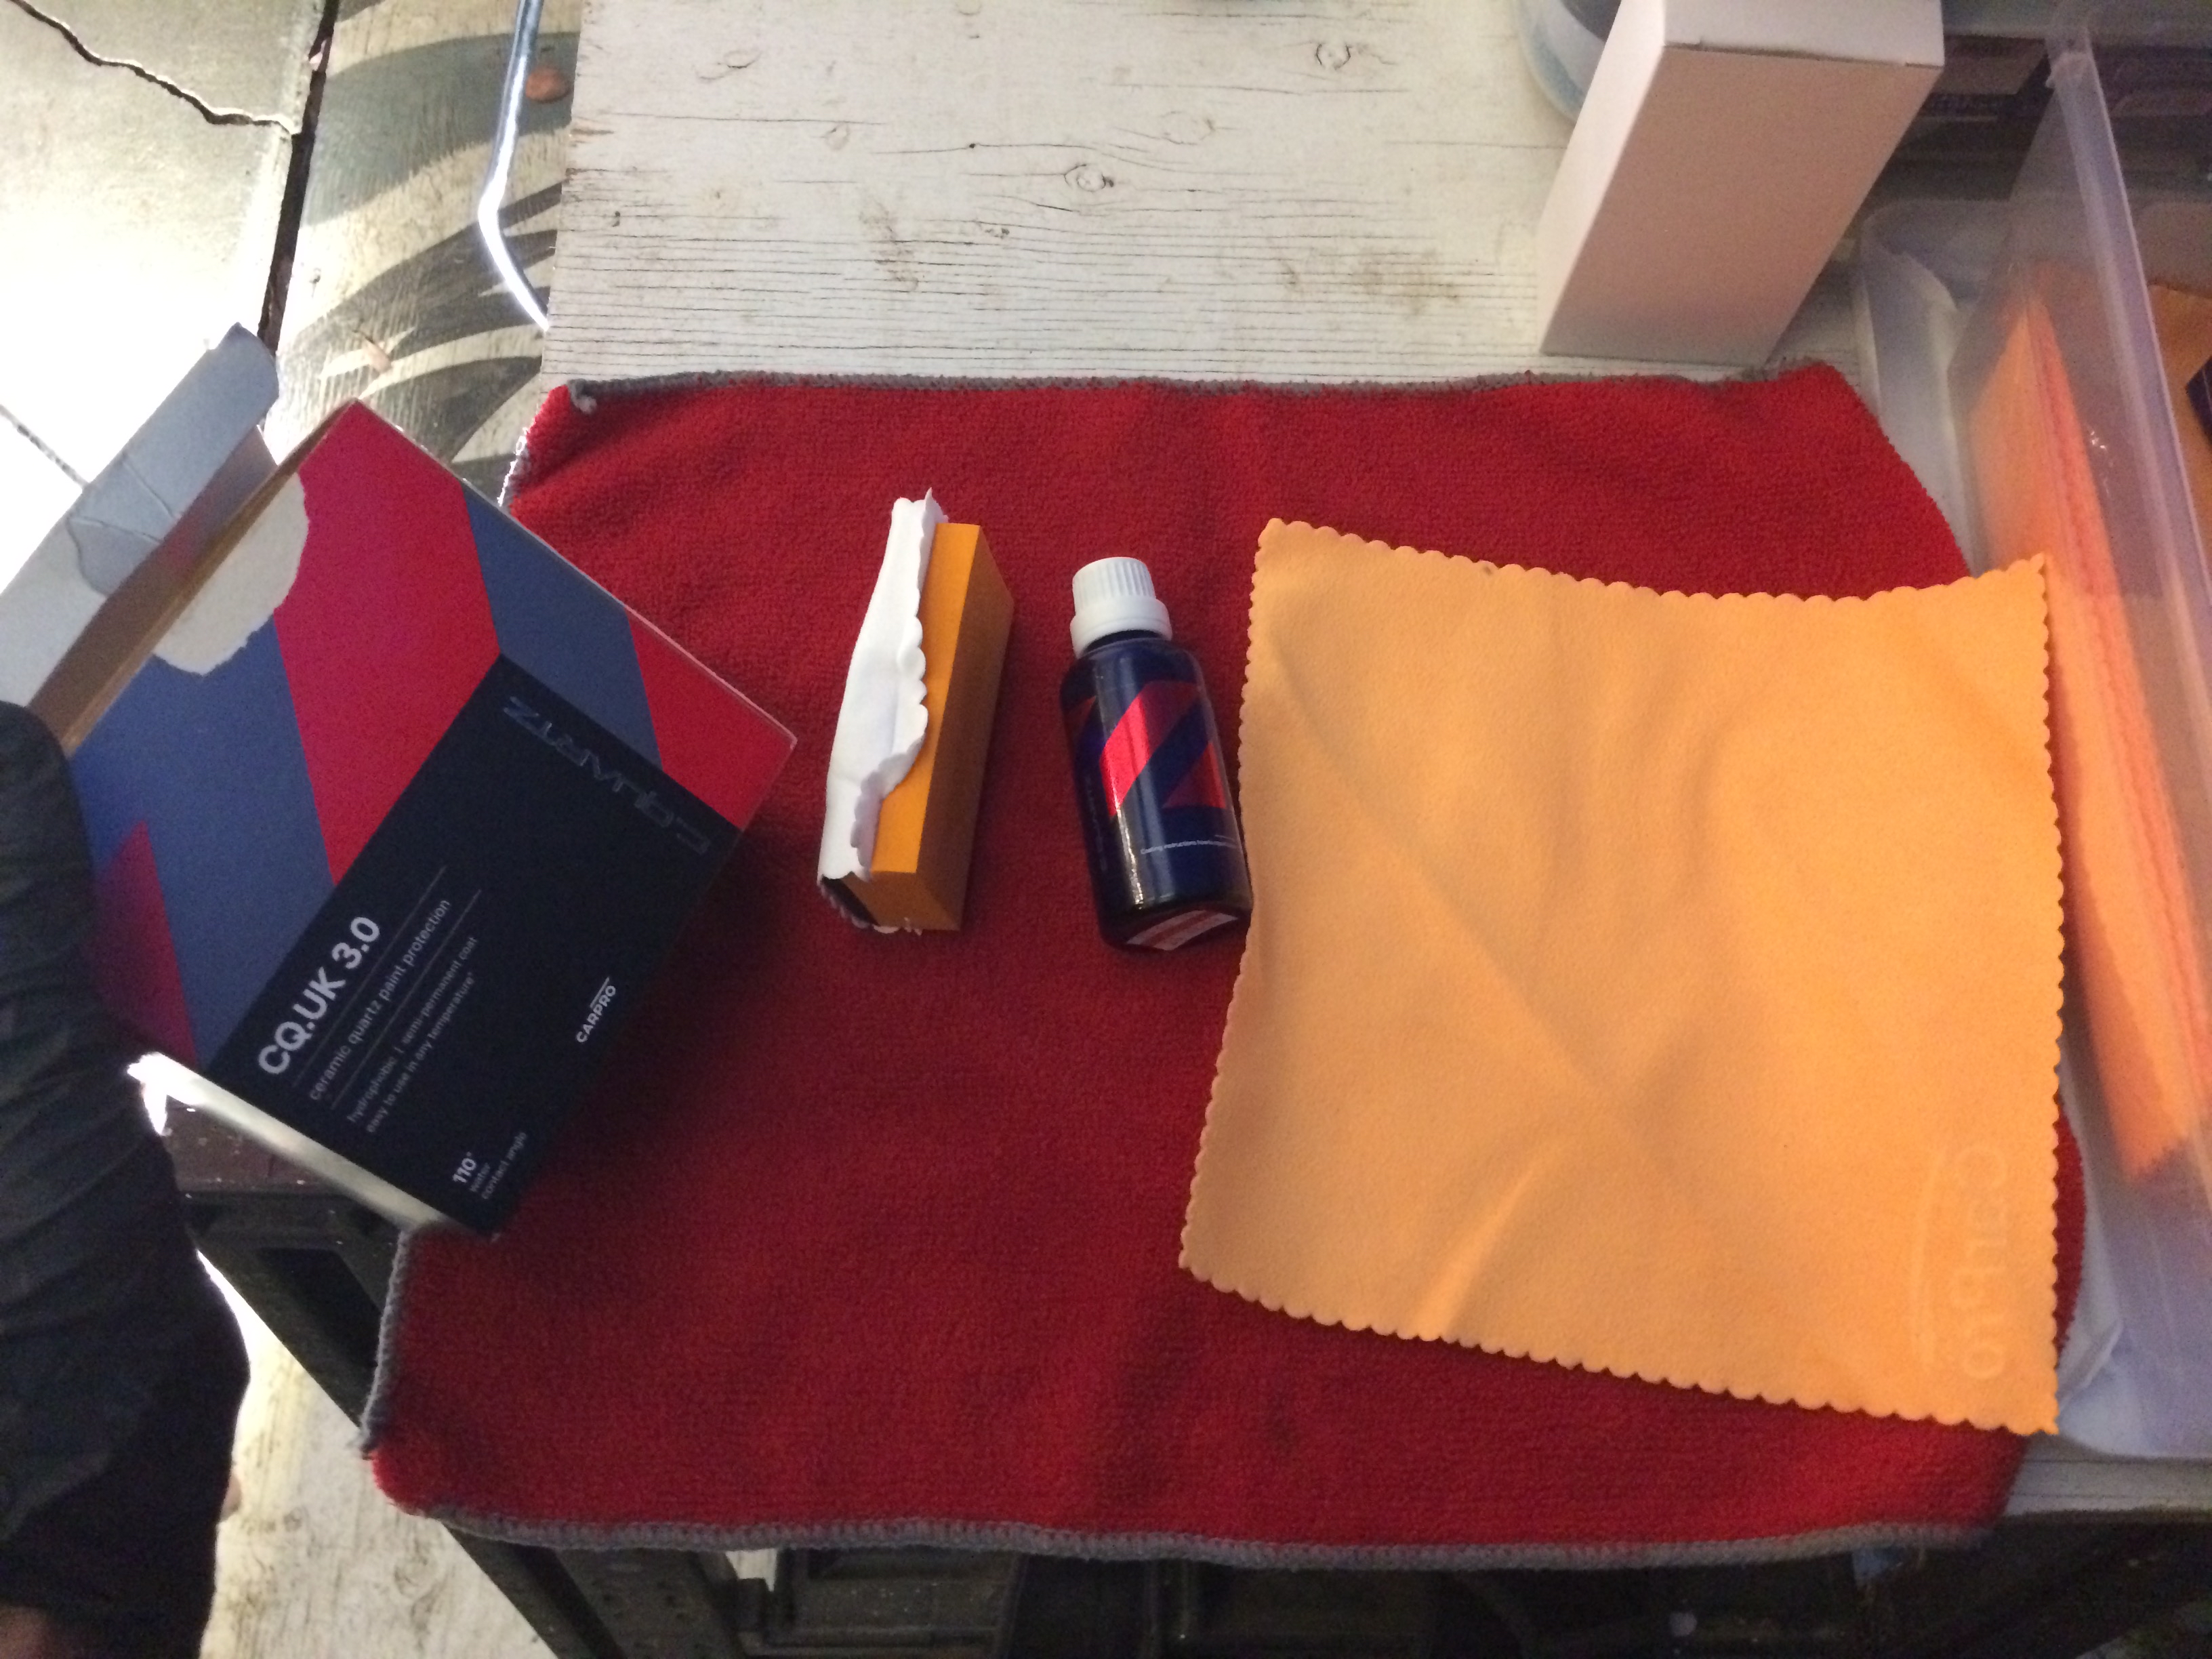
I am also using CarPro Eraser to clean the plastic before the ceramic application.
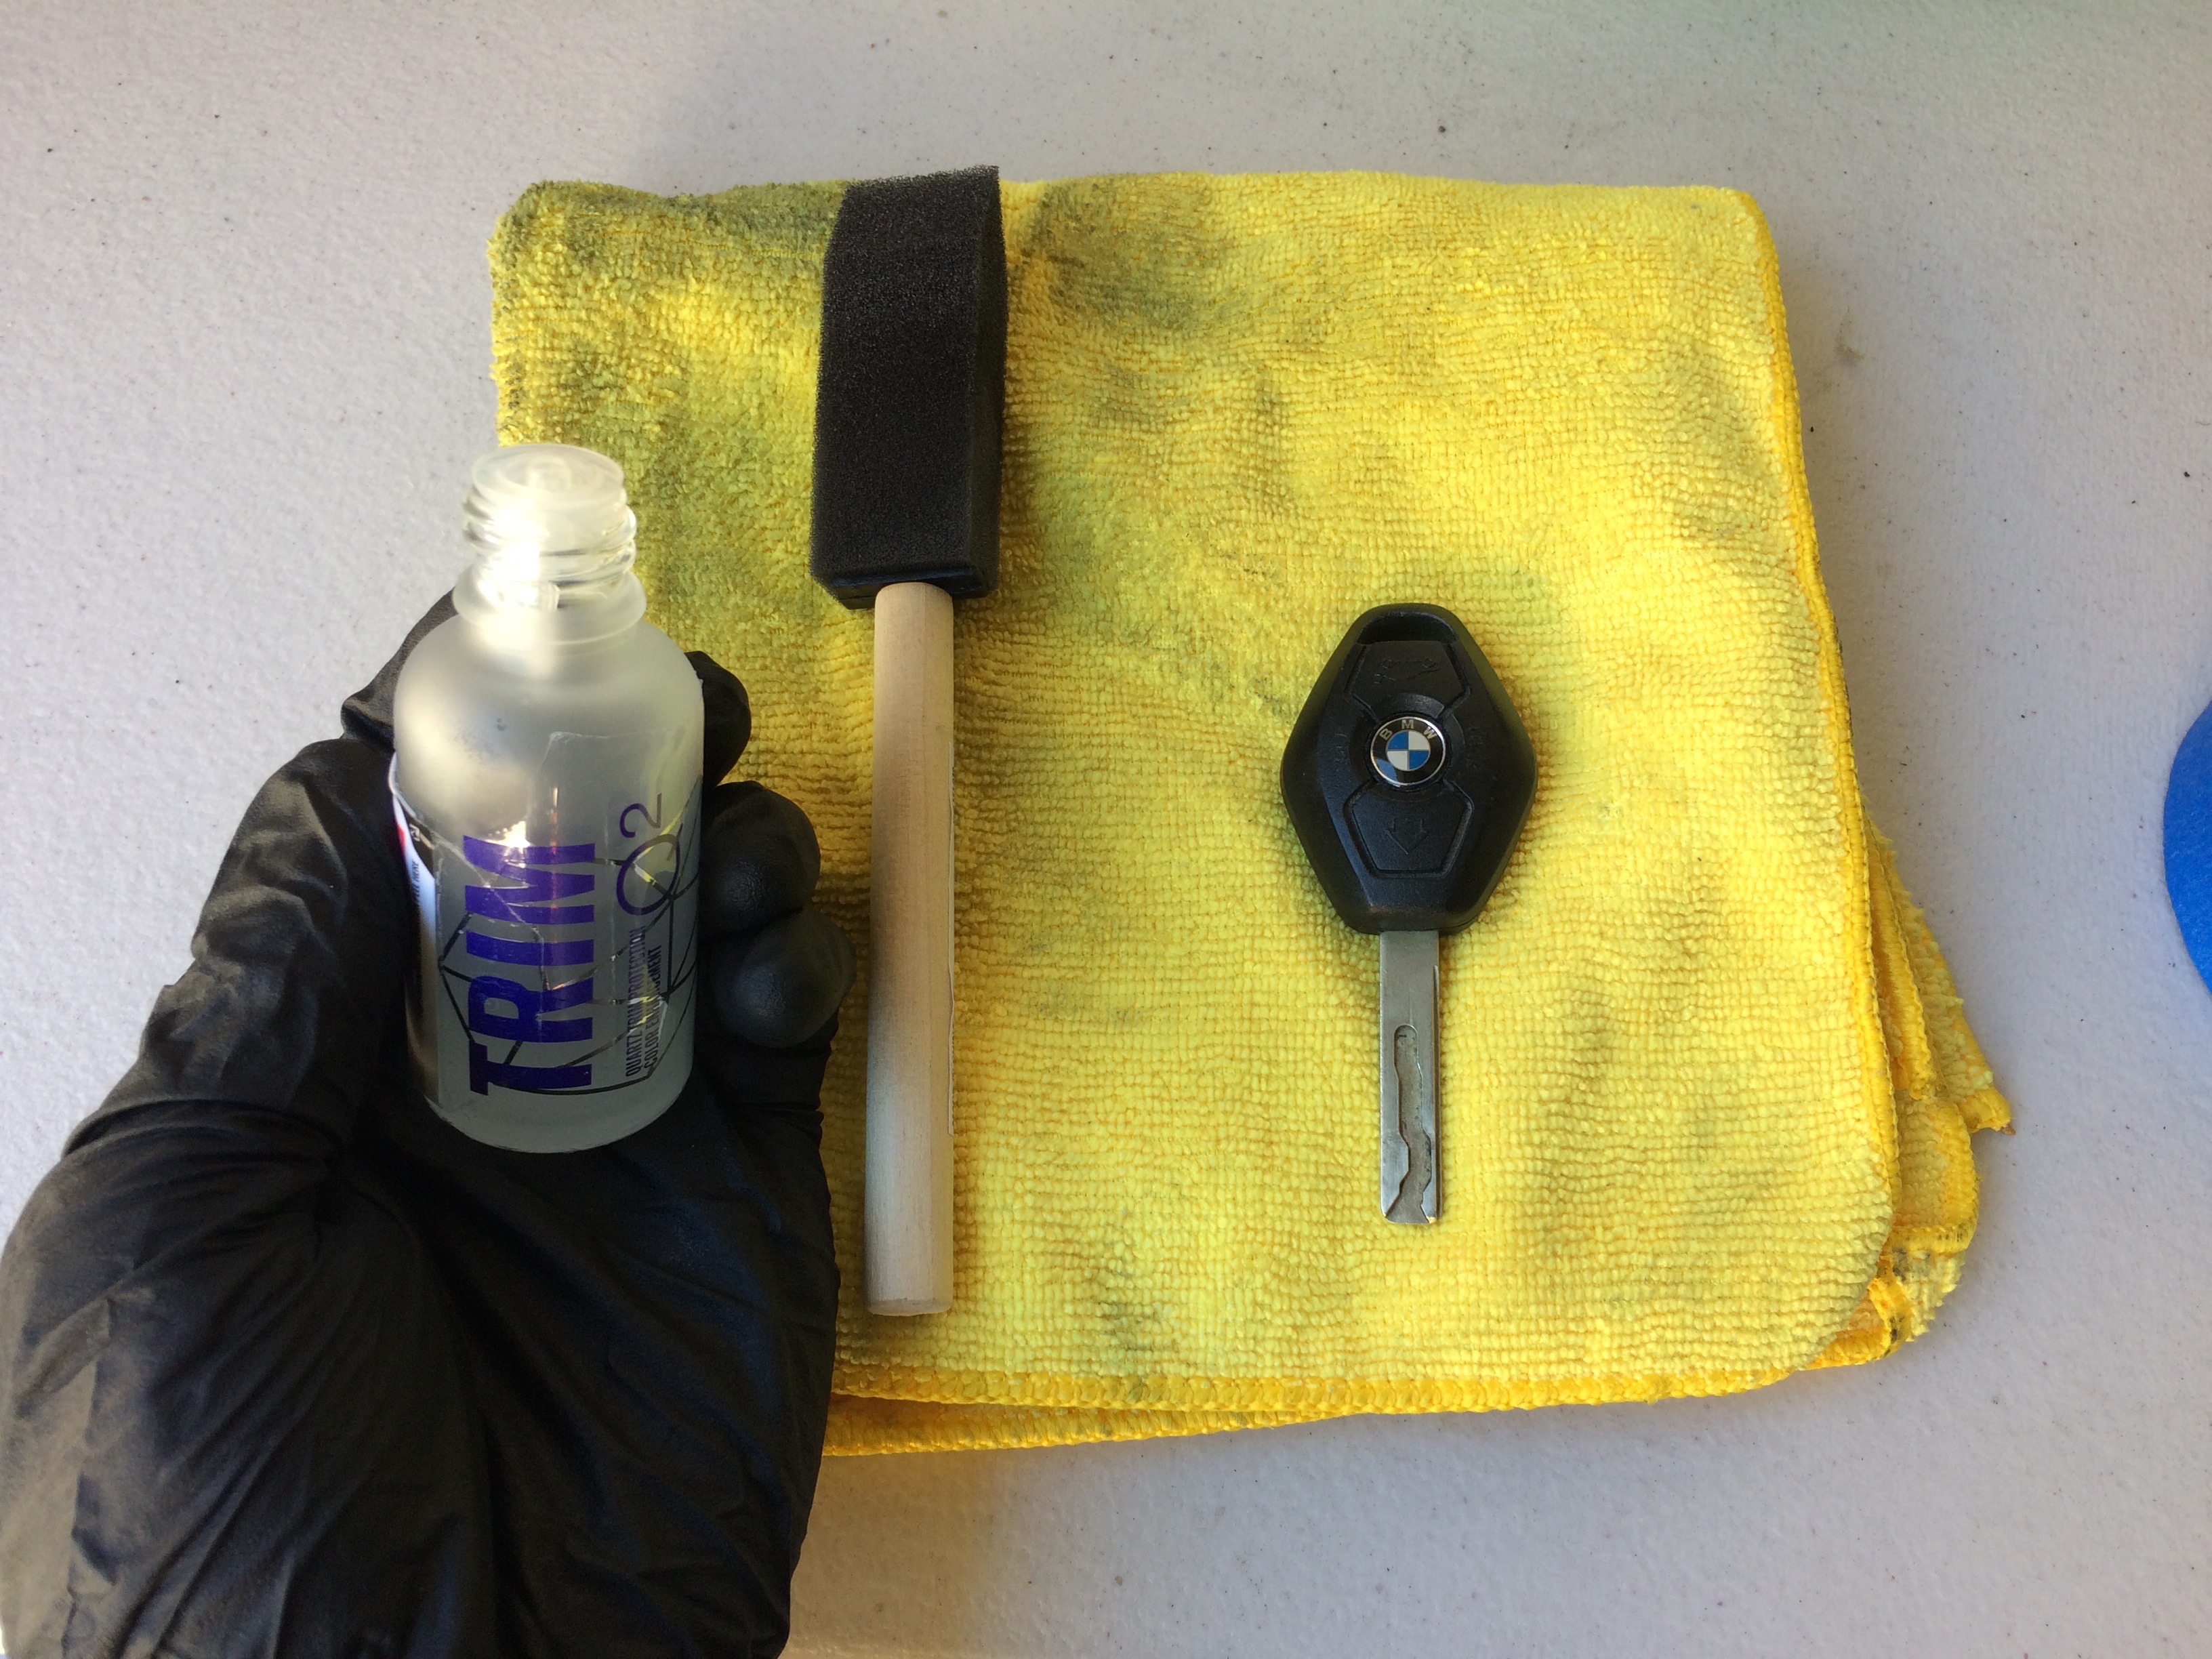
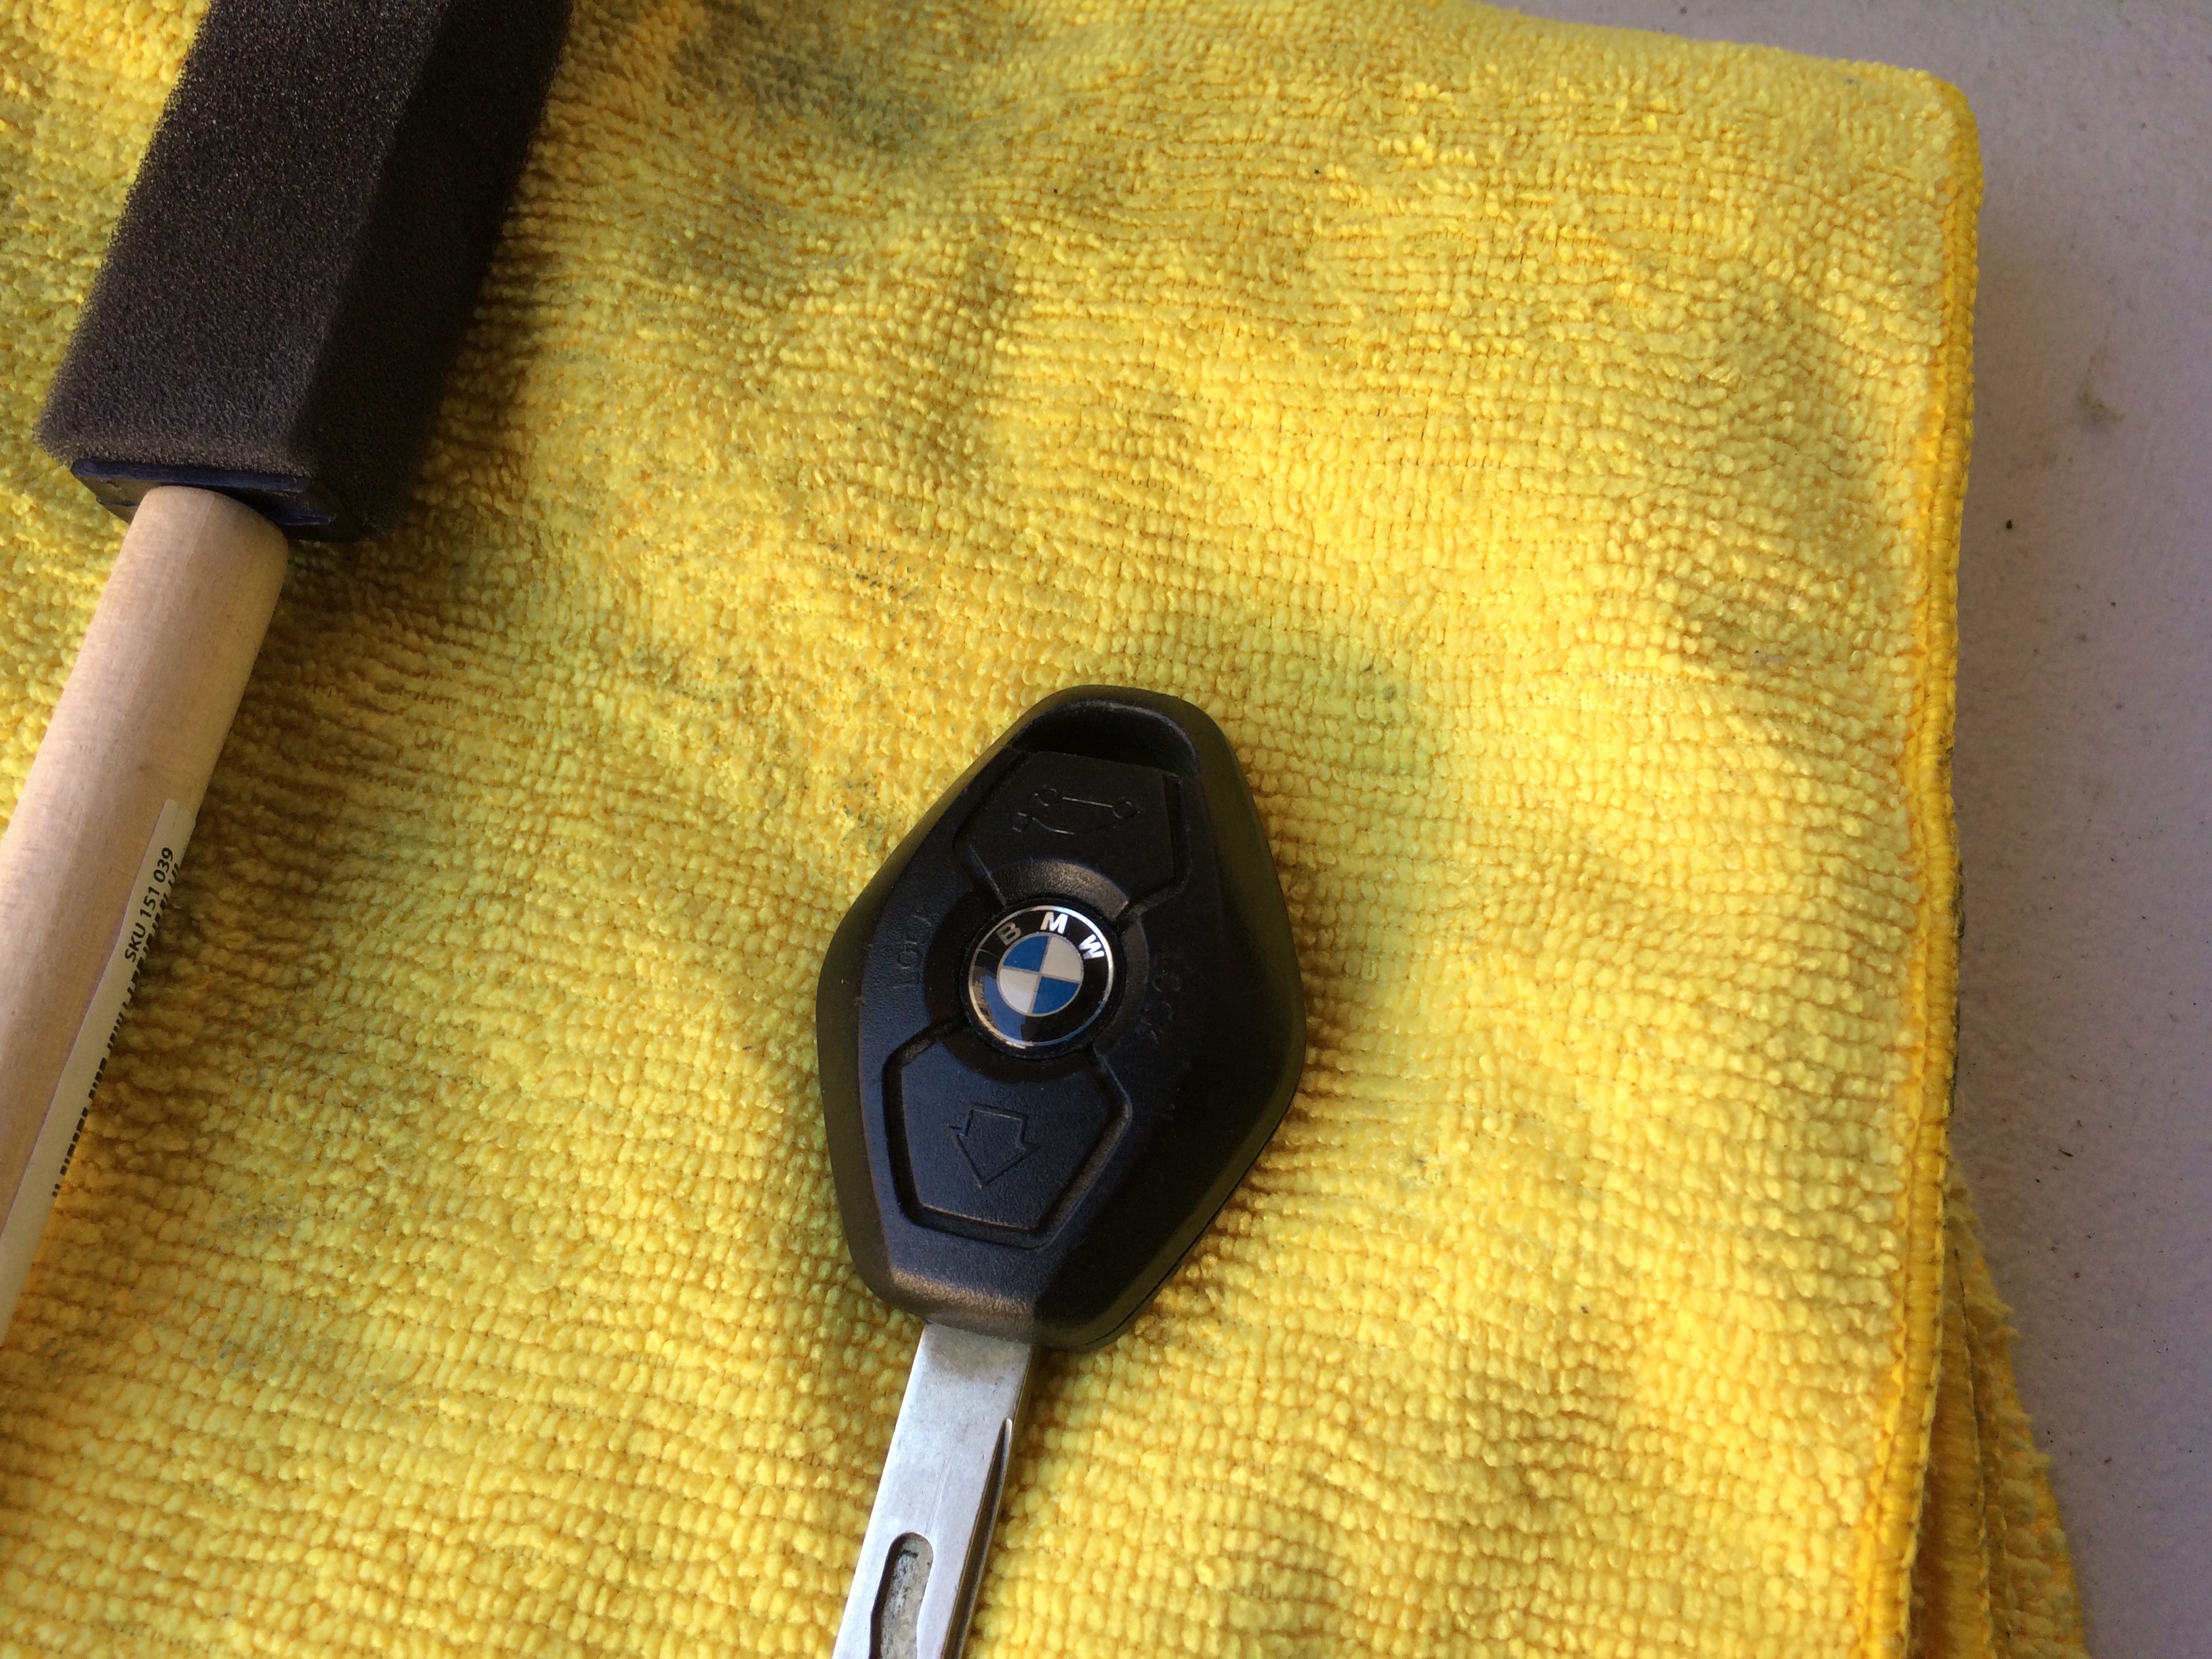
I like to apply the Q2 Trim with a foam brush. I carry a variety of foam brush sizes for this purpose.
The Gyeon Q2 Trim brings back a lovely deep black color to the plastic trim instead of the dulled out grey, and it makes the plastic hydrophobic.
Left side is ceramic coated:
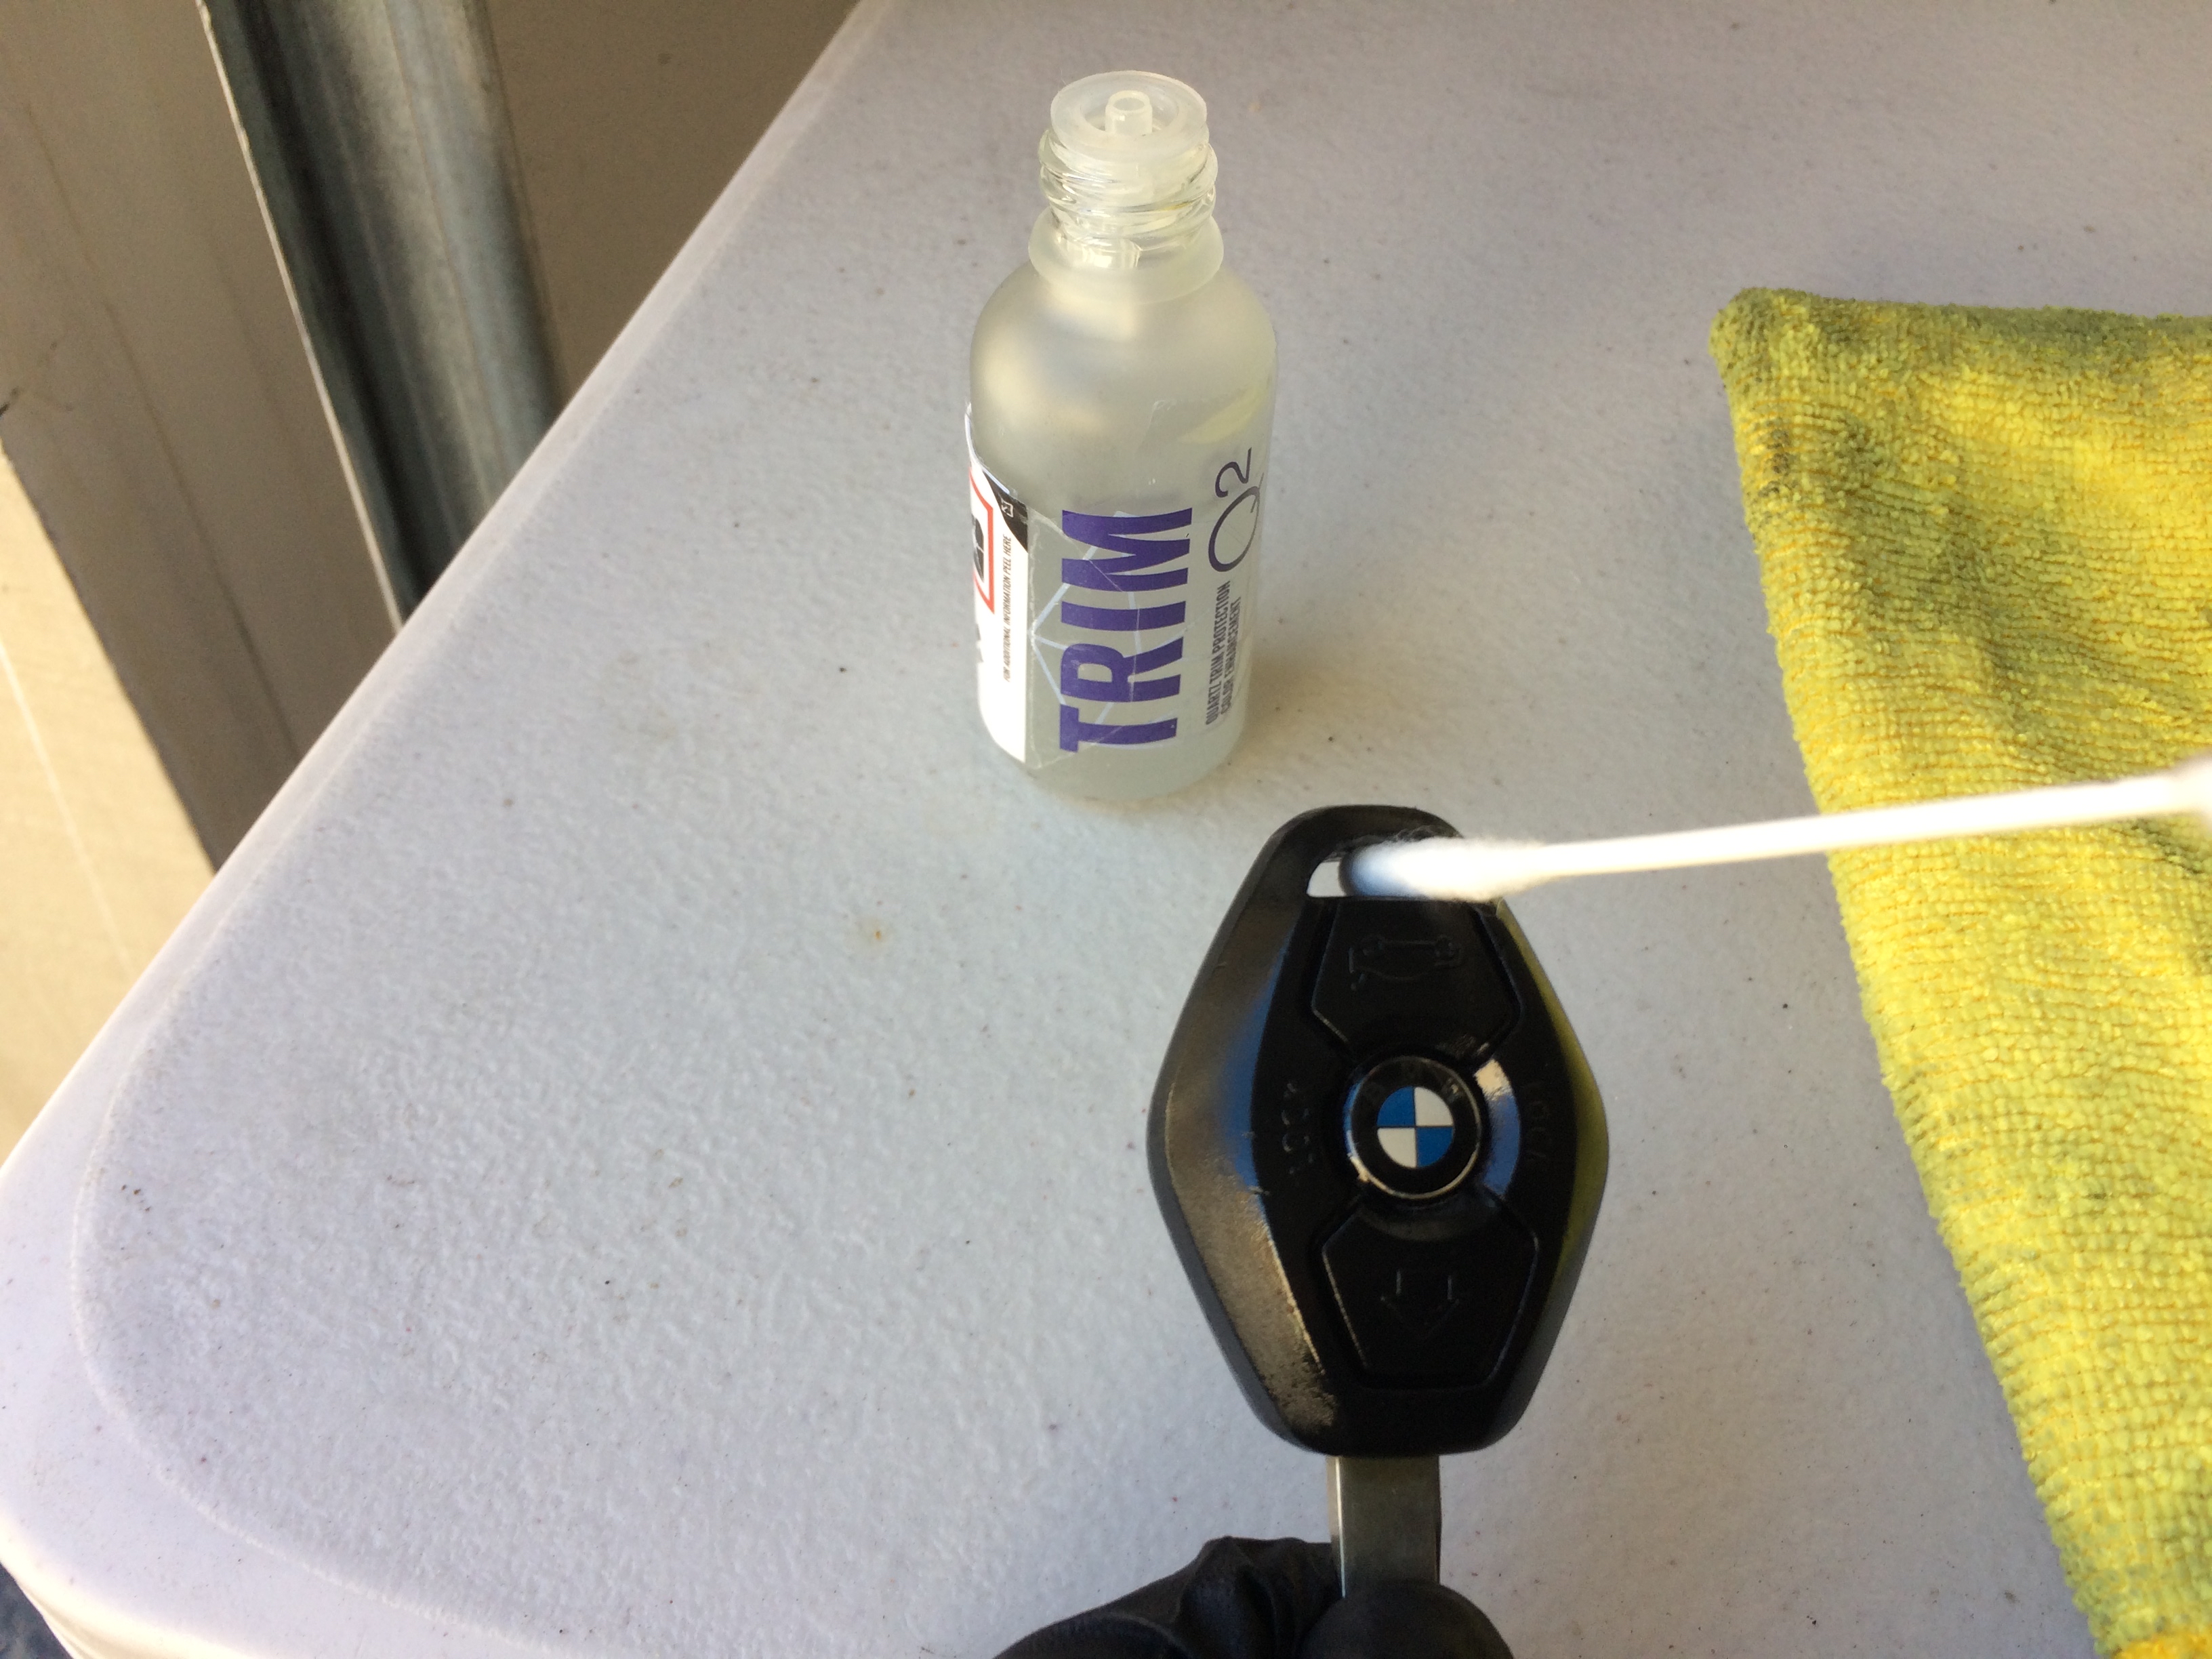
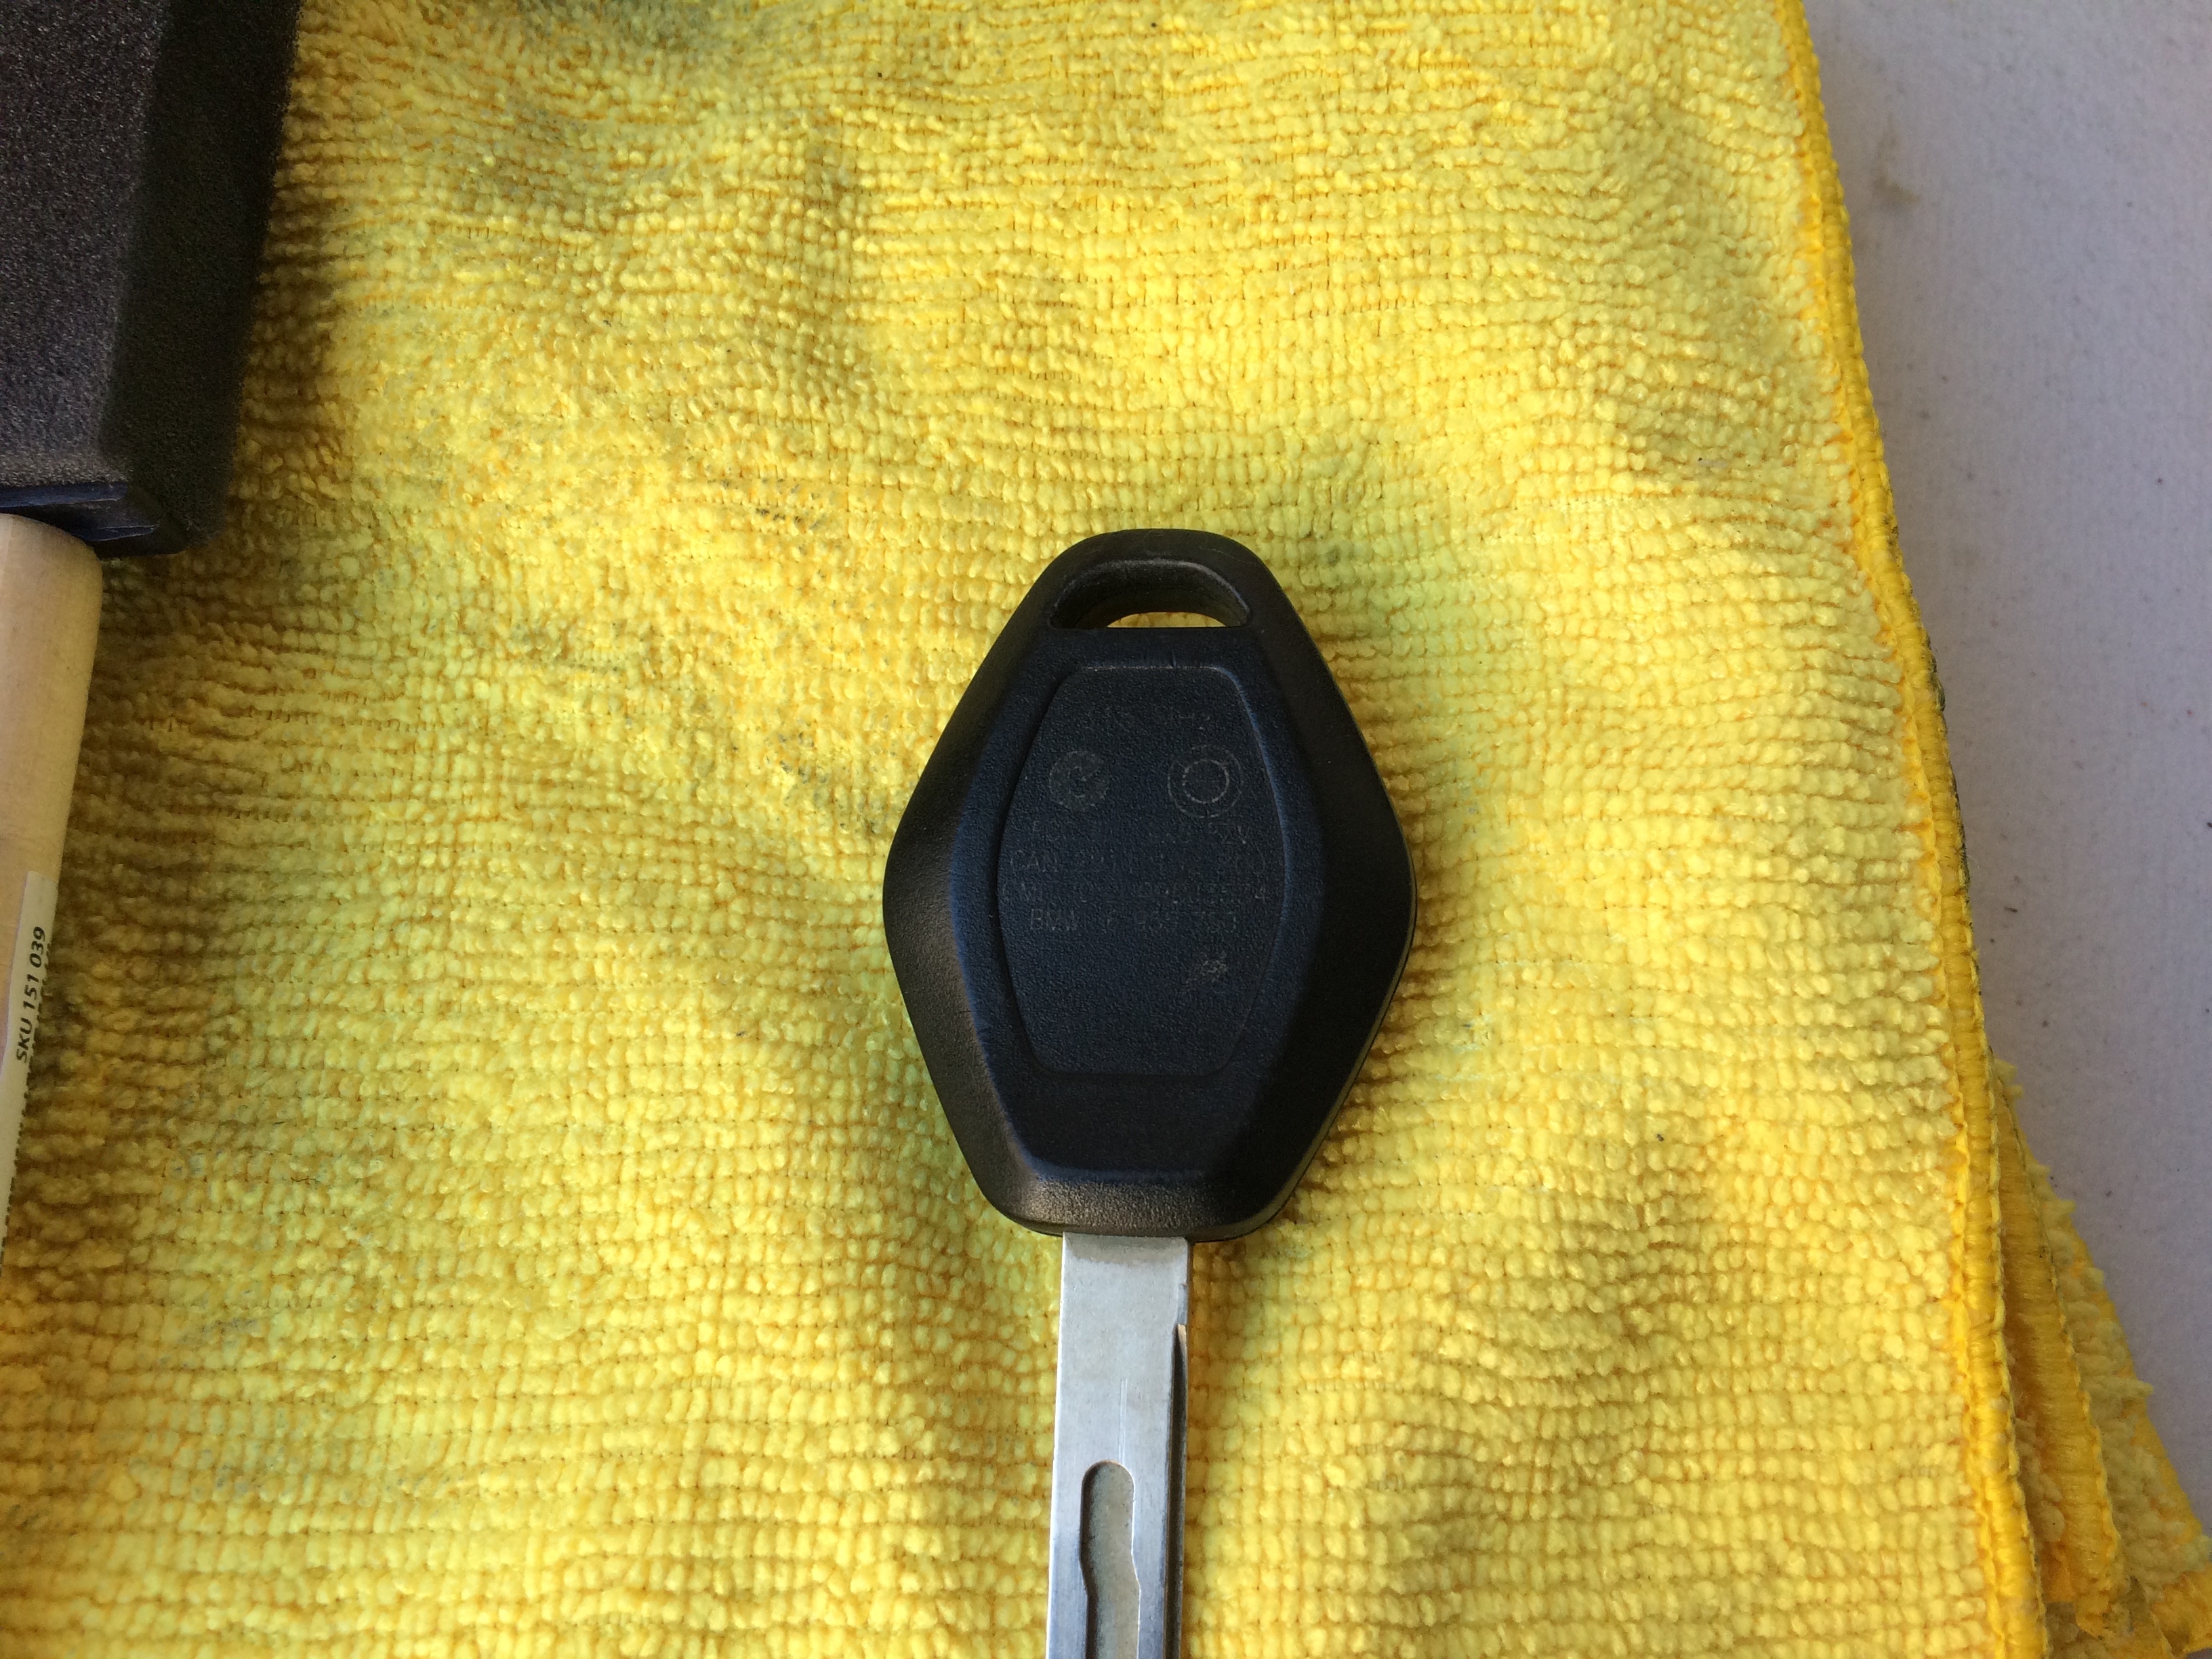
I notice the vehicle’s key is plastic, so I am applying Q2 Trim to the key as a nice finishing touch.
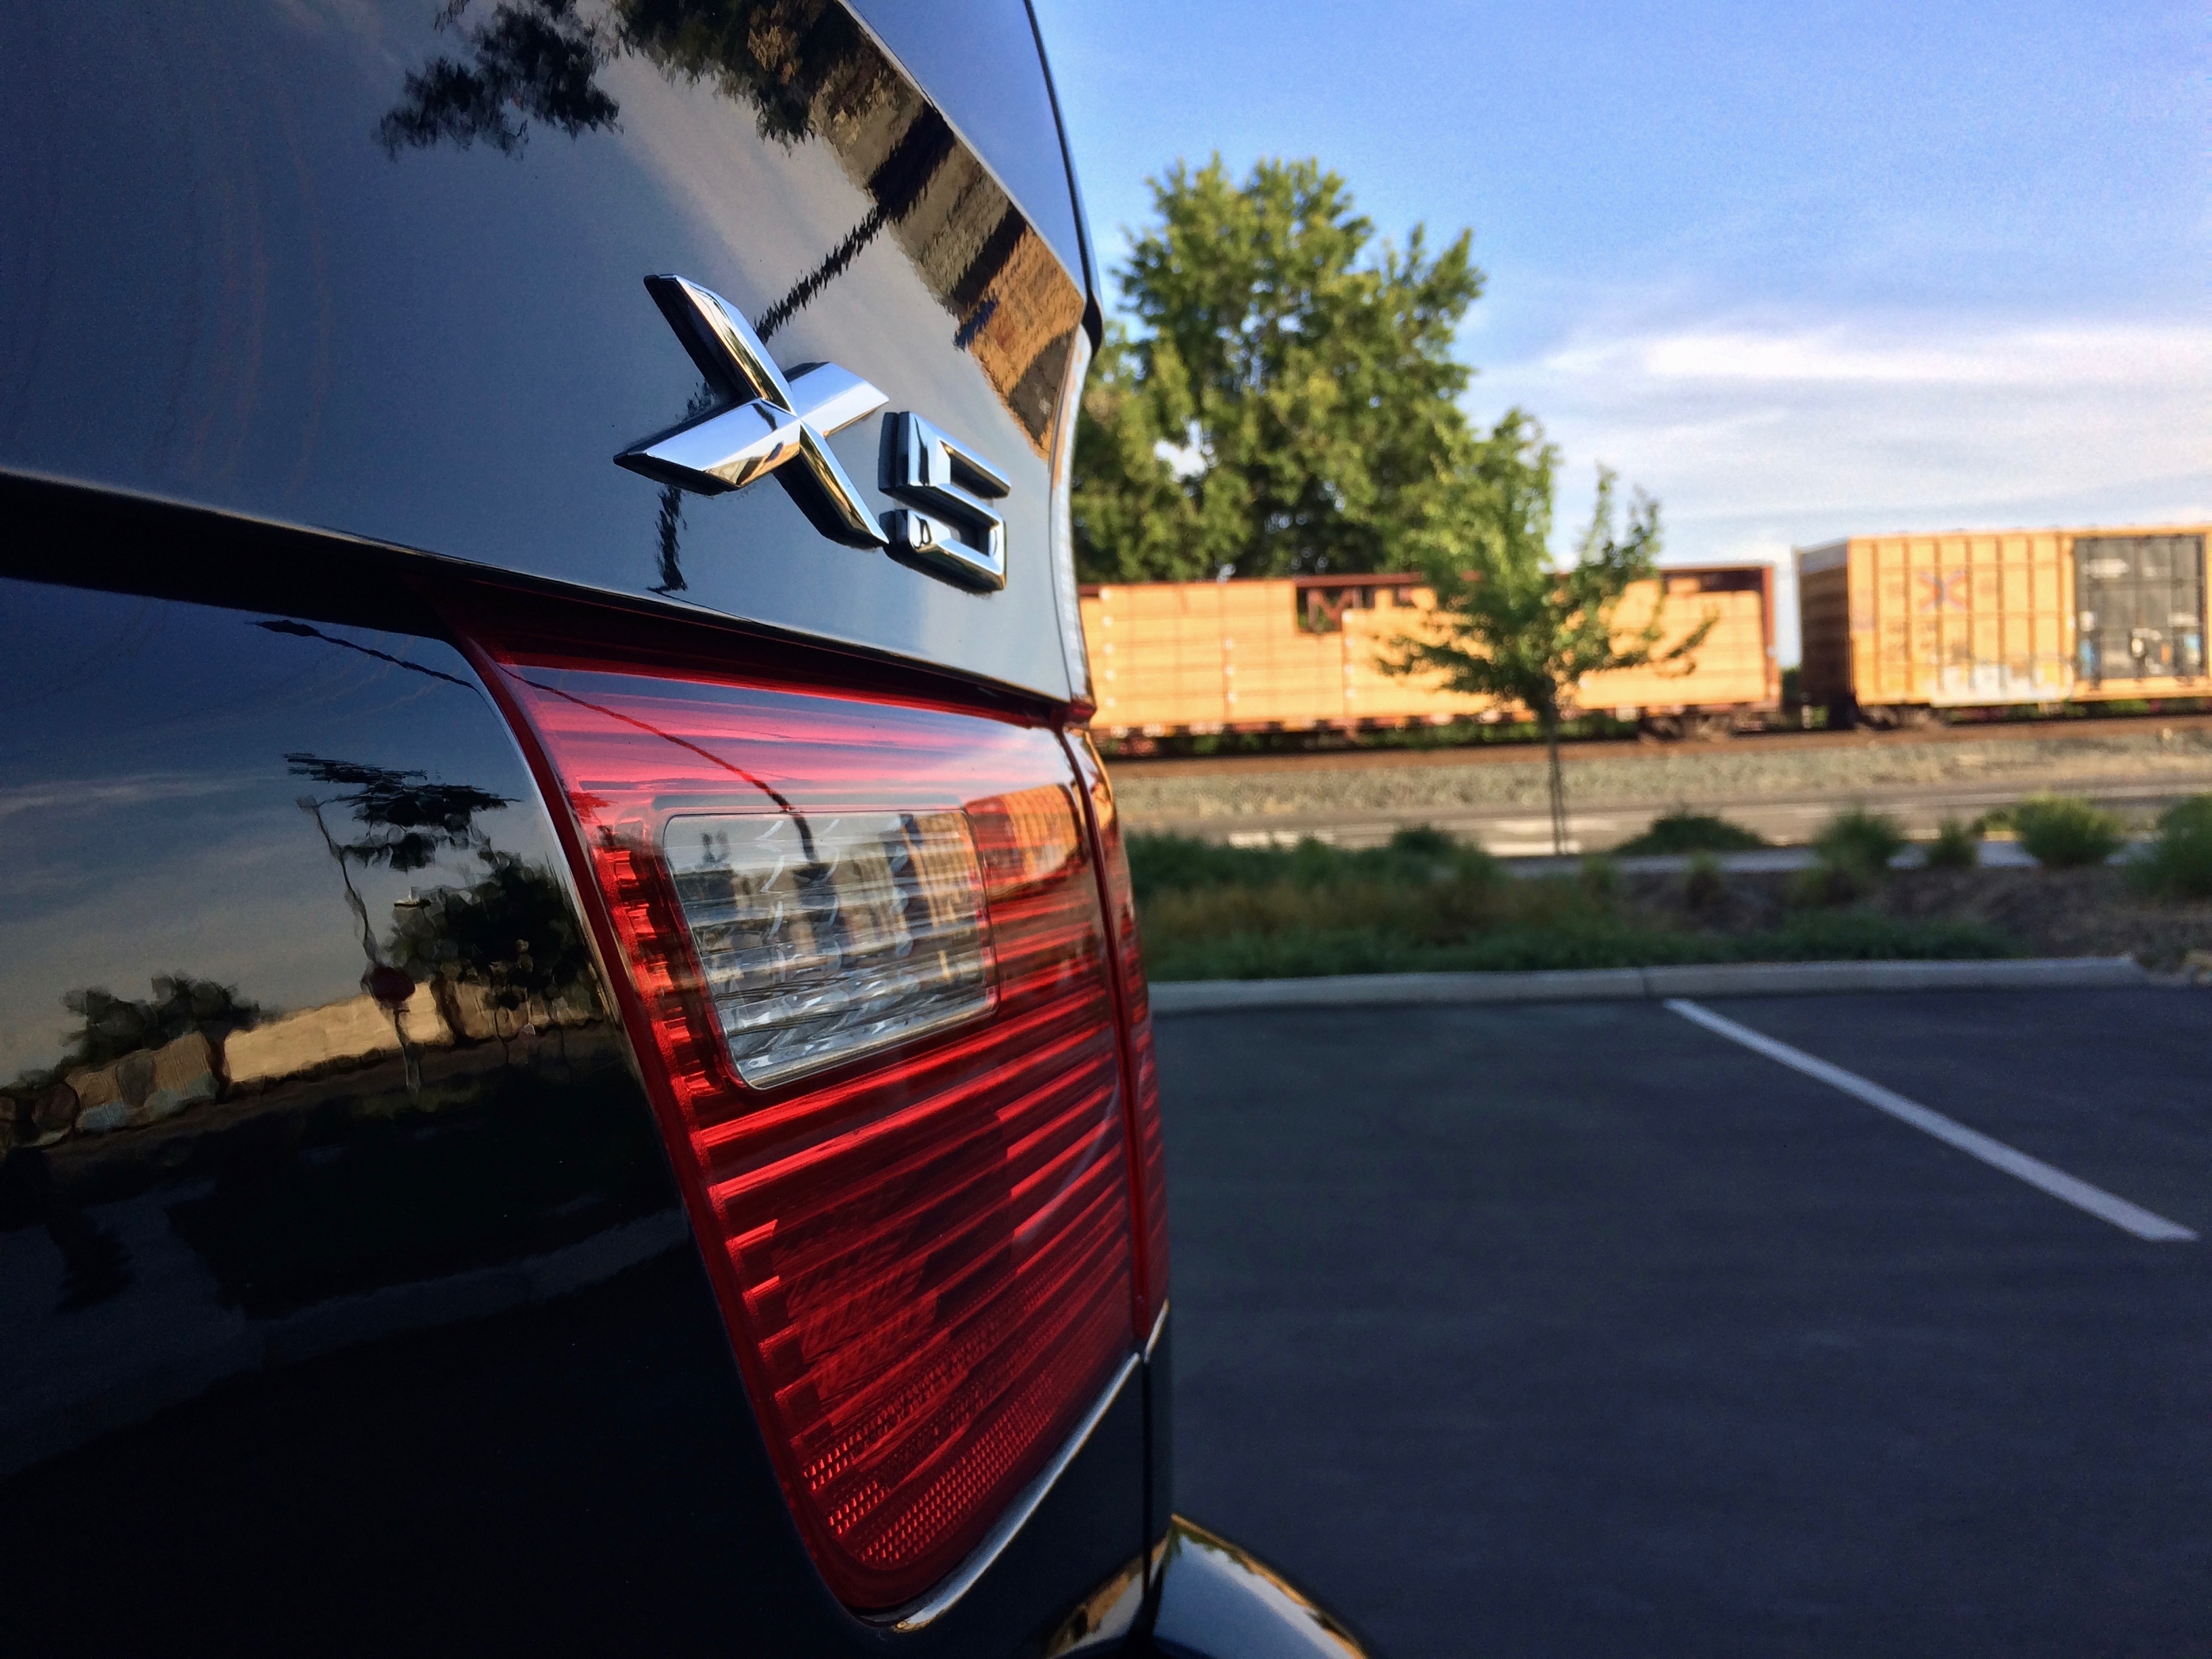
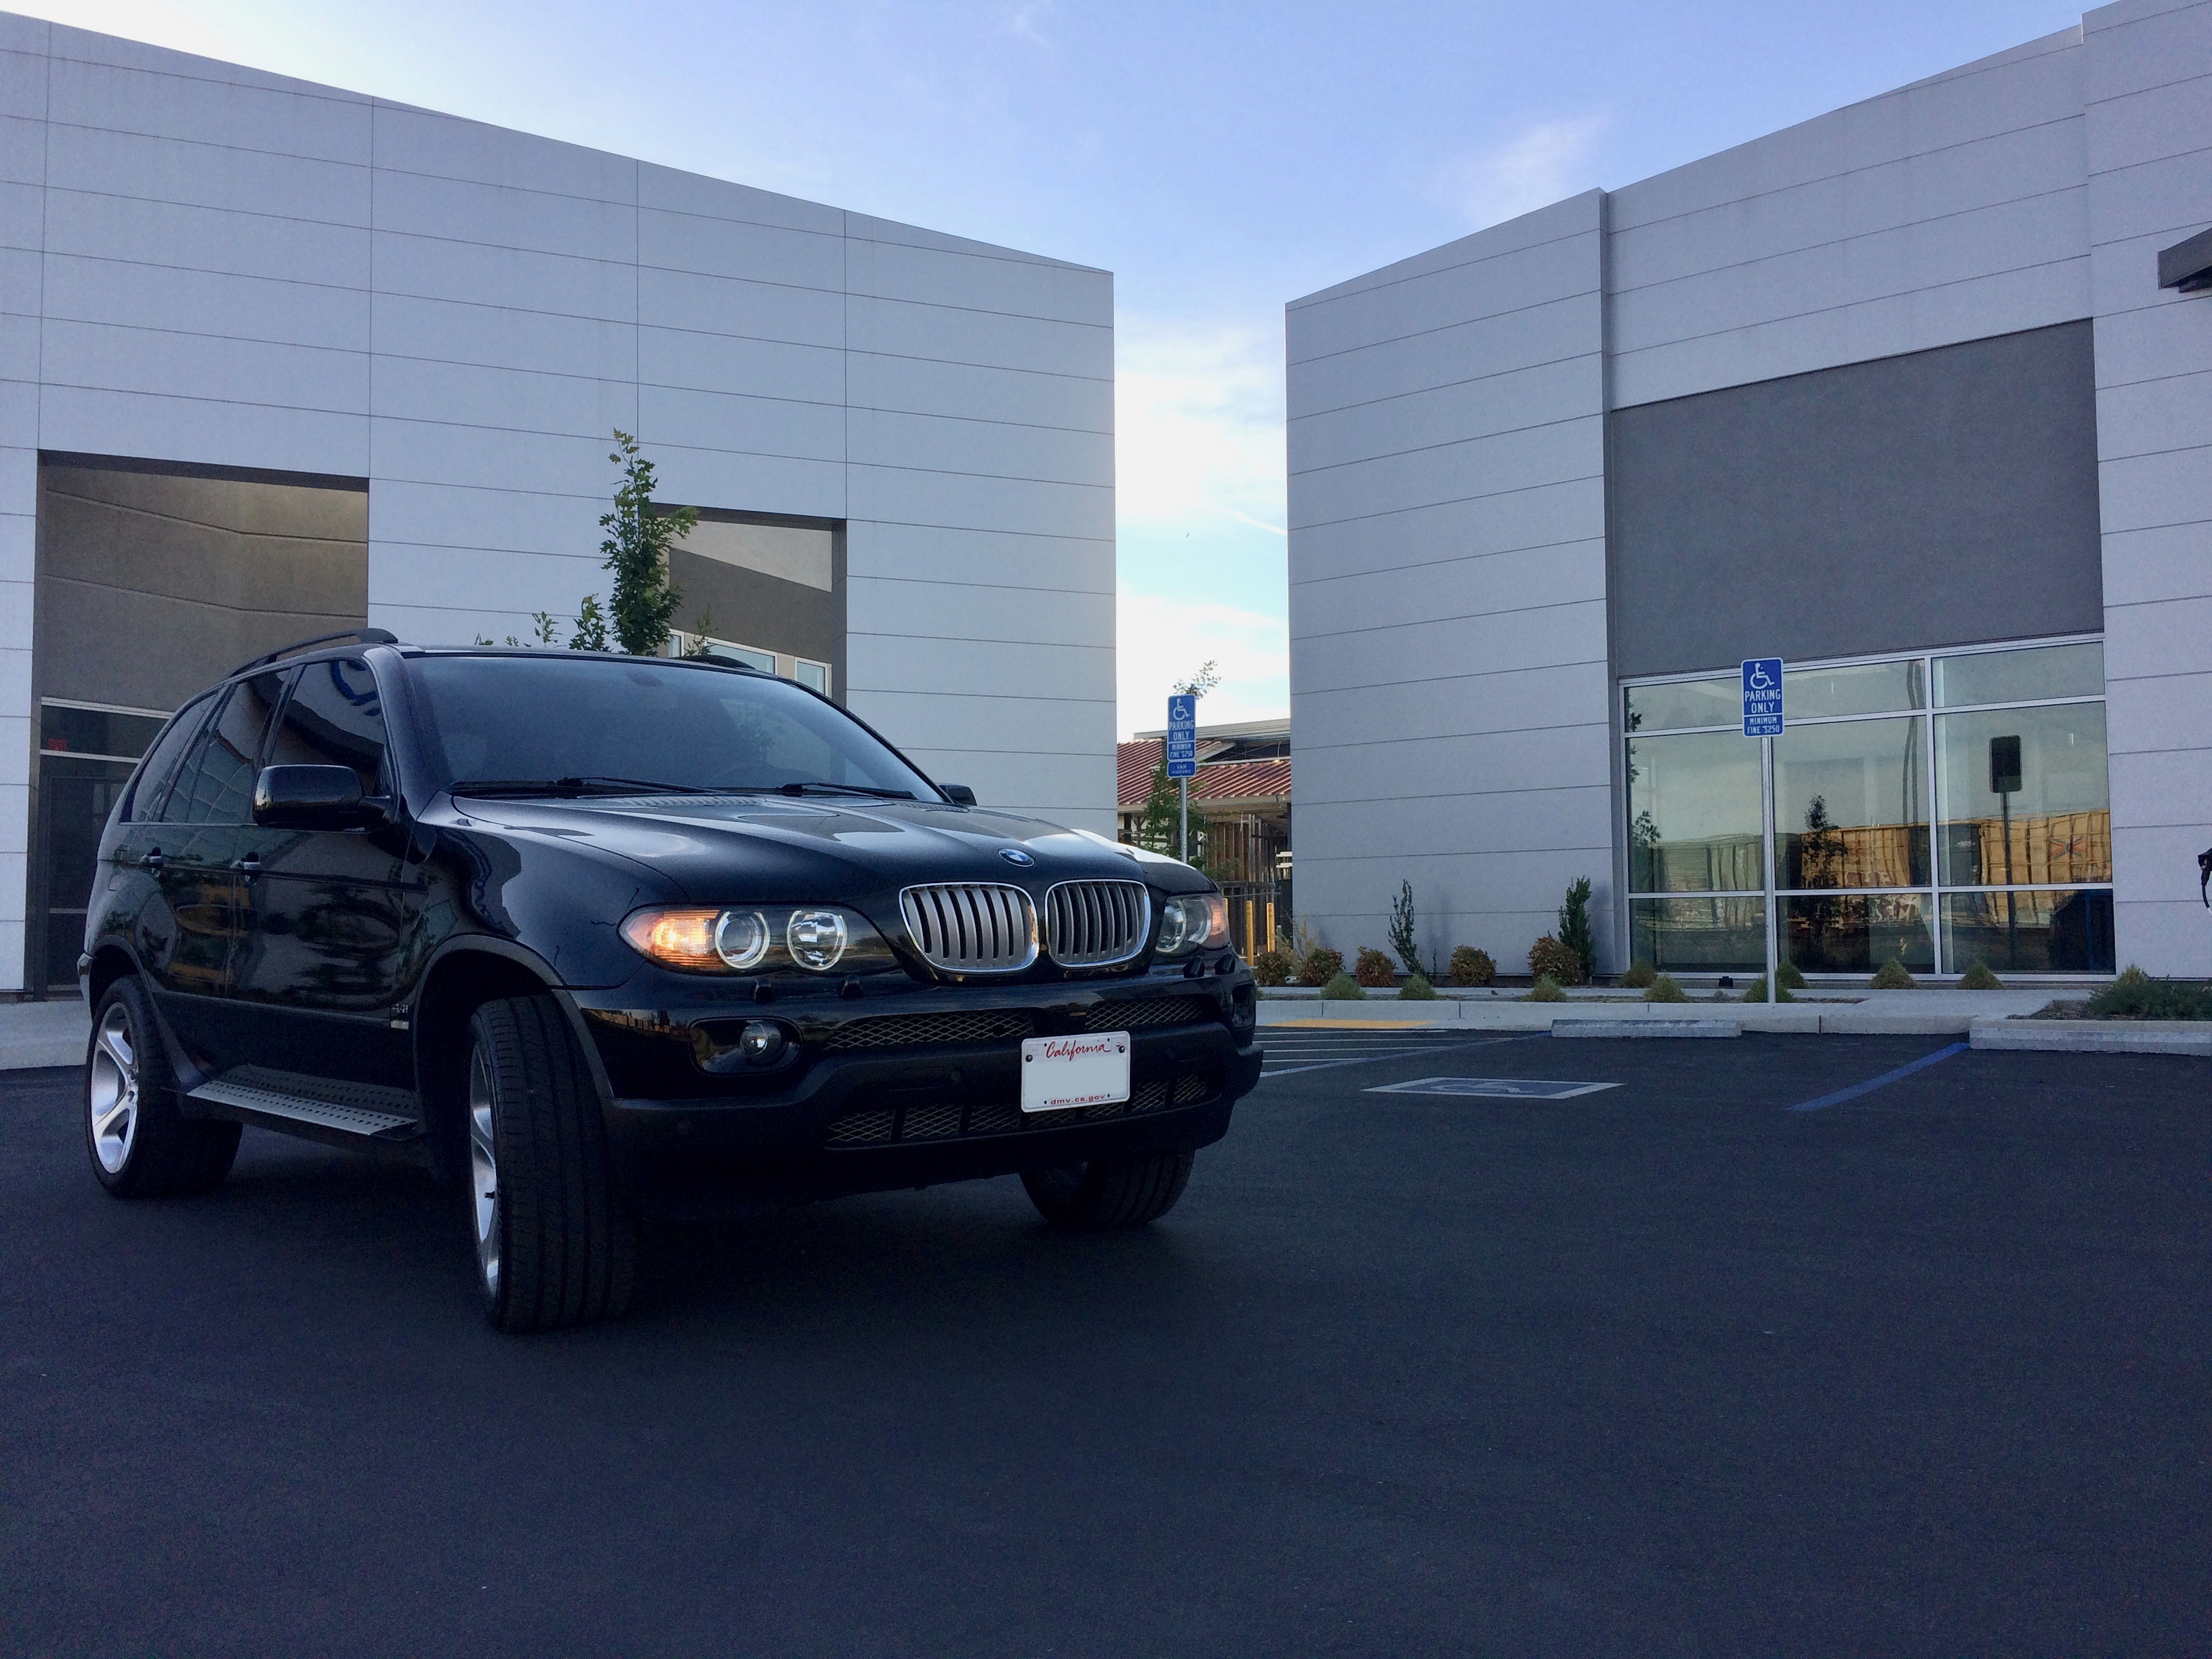
Here is the completed project.
Note: Not all plastics were ceramic coated at the time of this photo shoot.
-Rio Hansen