I have wanted to perform a paint correction on only one side of a car to help provide a visual example of how paint correction works at car shows and meet-ups. For a long time I had thought that I would need to purchase a car for the project. I wanted it to have old and heavily oxidized paint but with color so that one side would turn deep and rich, and it would be nice to have a somewhat “special” vehicle that wouldn’t look out of place at a car show.
The project was kept at the back of my mind until a friend inherited a 1991 Mazda MX-5 with Mariner Blue paint. It was sitting in our carport looking rather lonely when my half detail idea hit me again, “This MX-5 would make an excellent volunteer for the half detail!”
My friend liked the idea and with her permission I began the project.
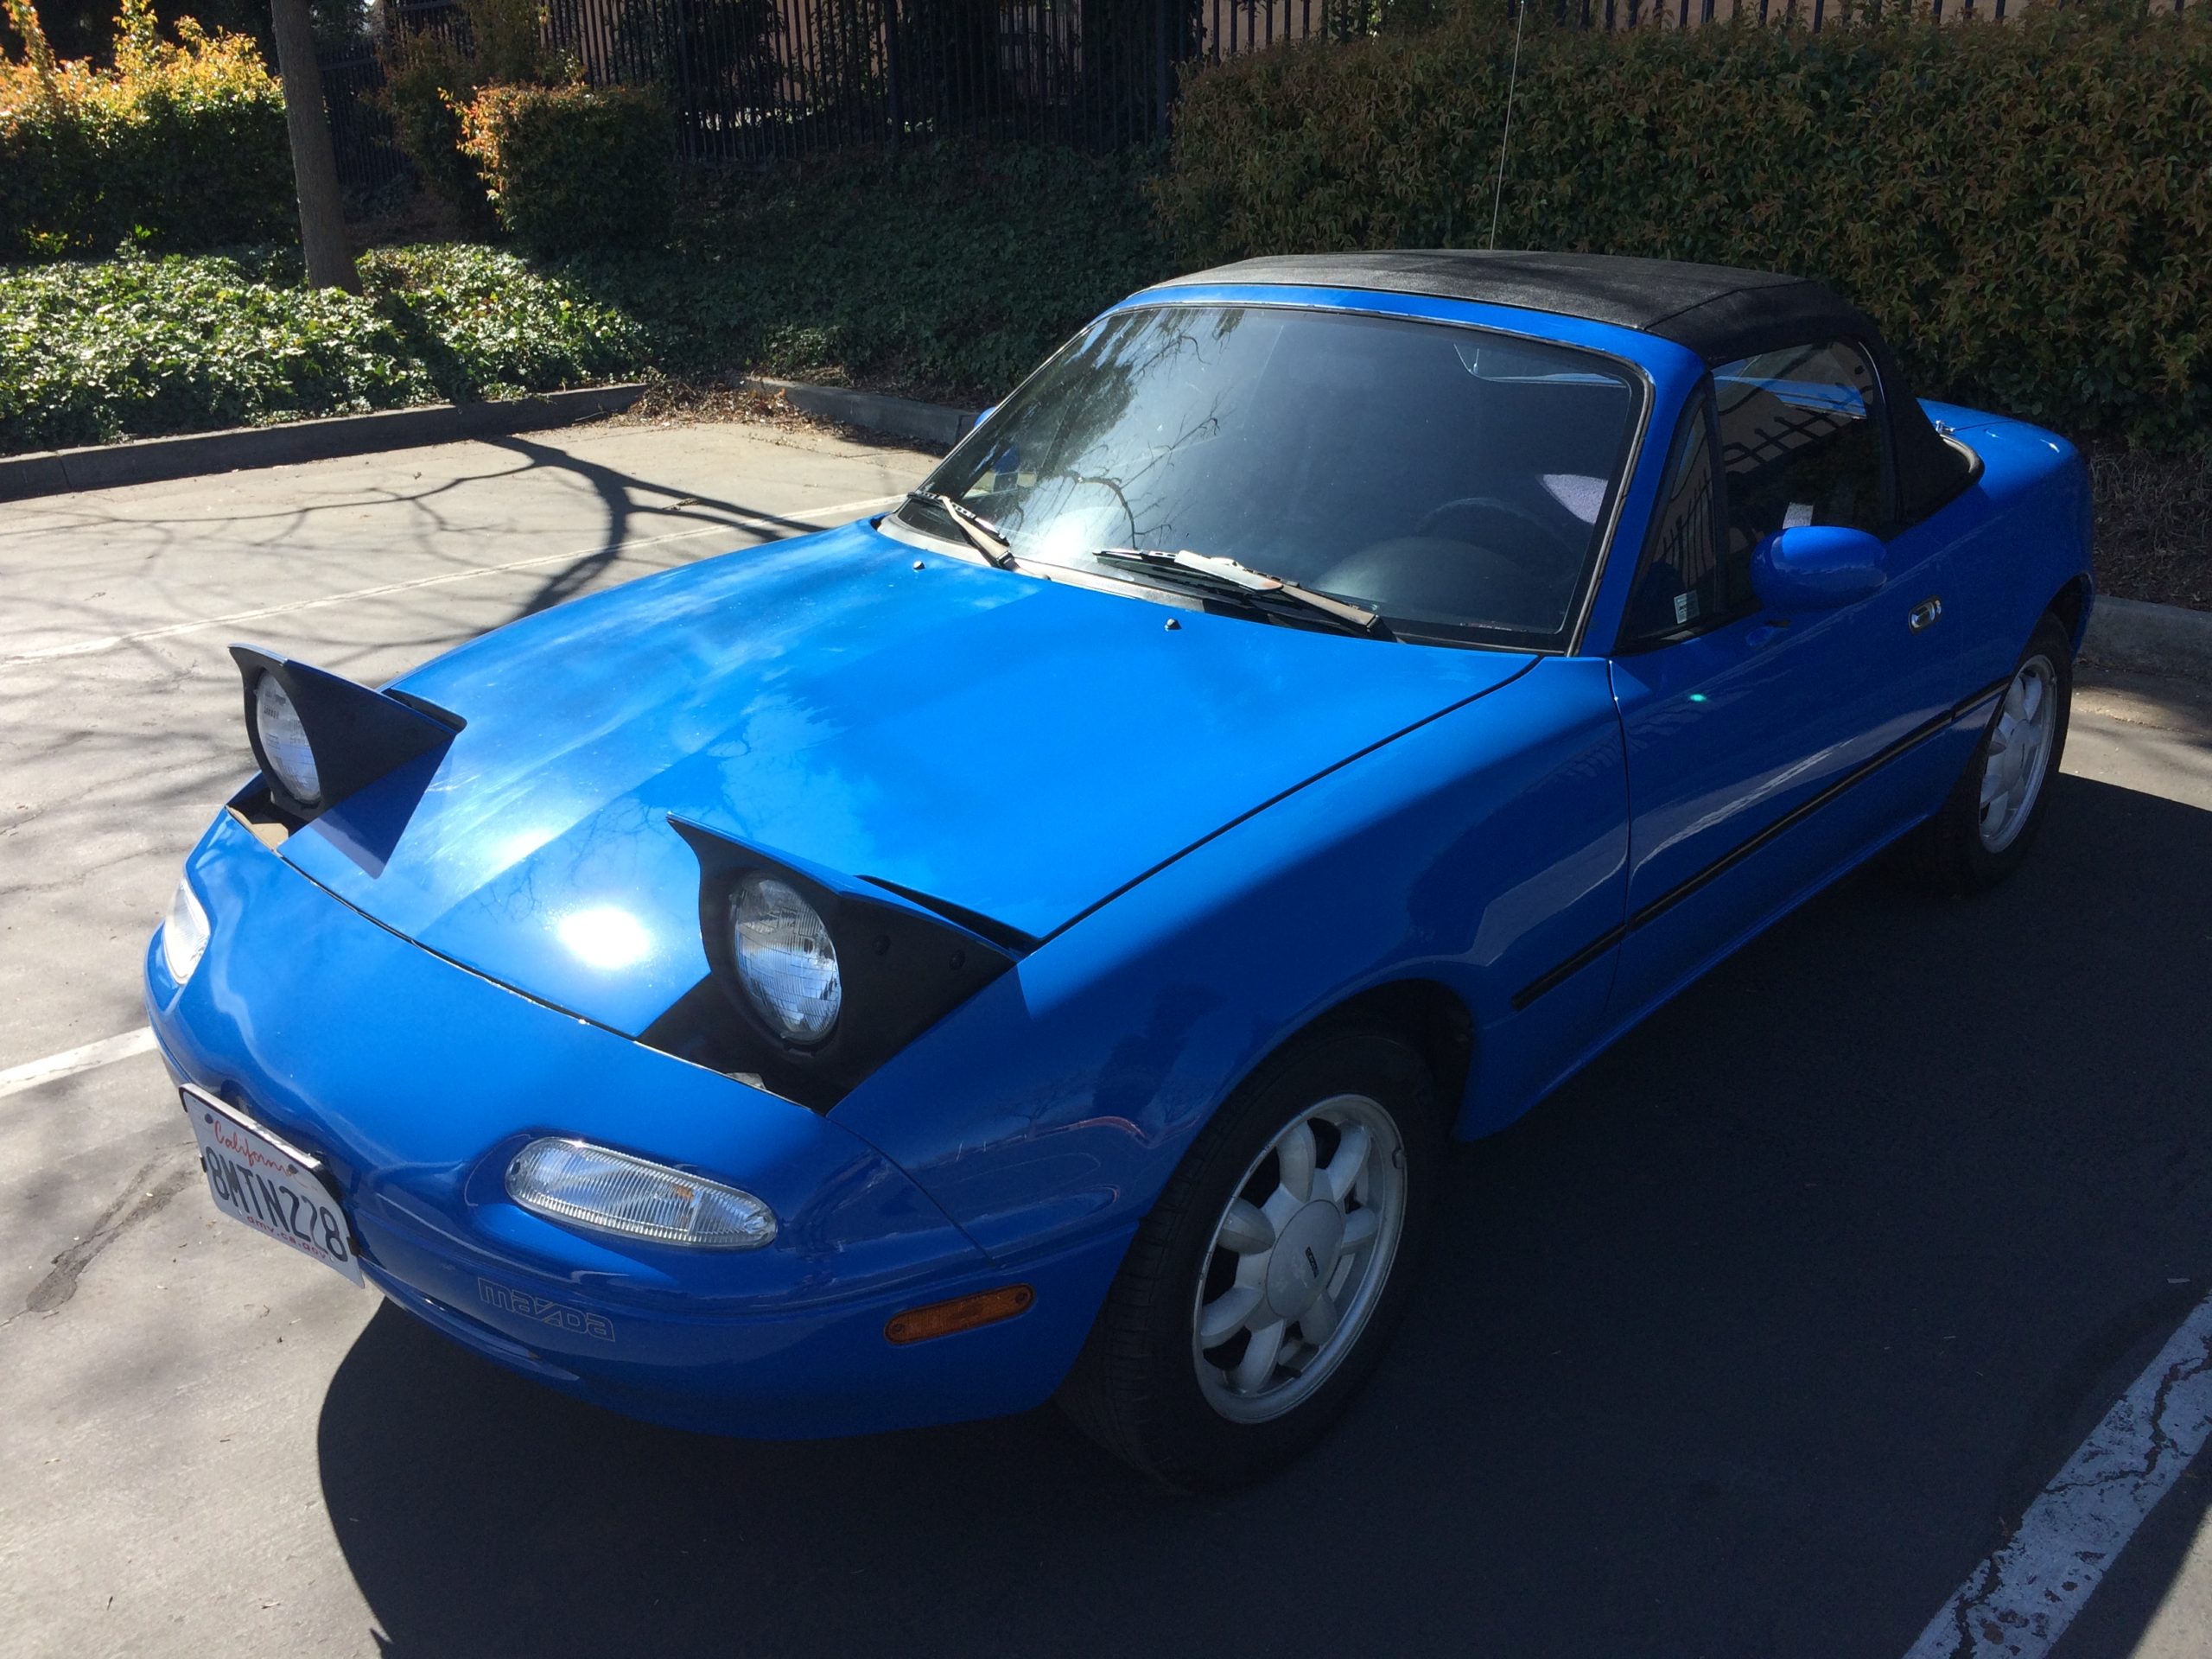
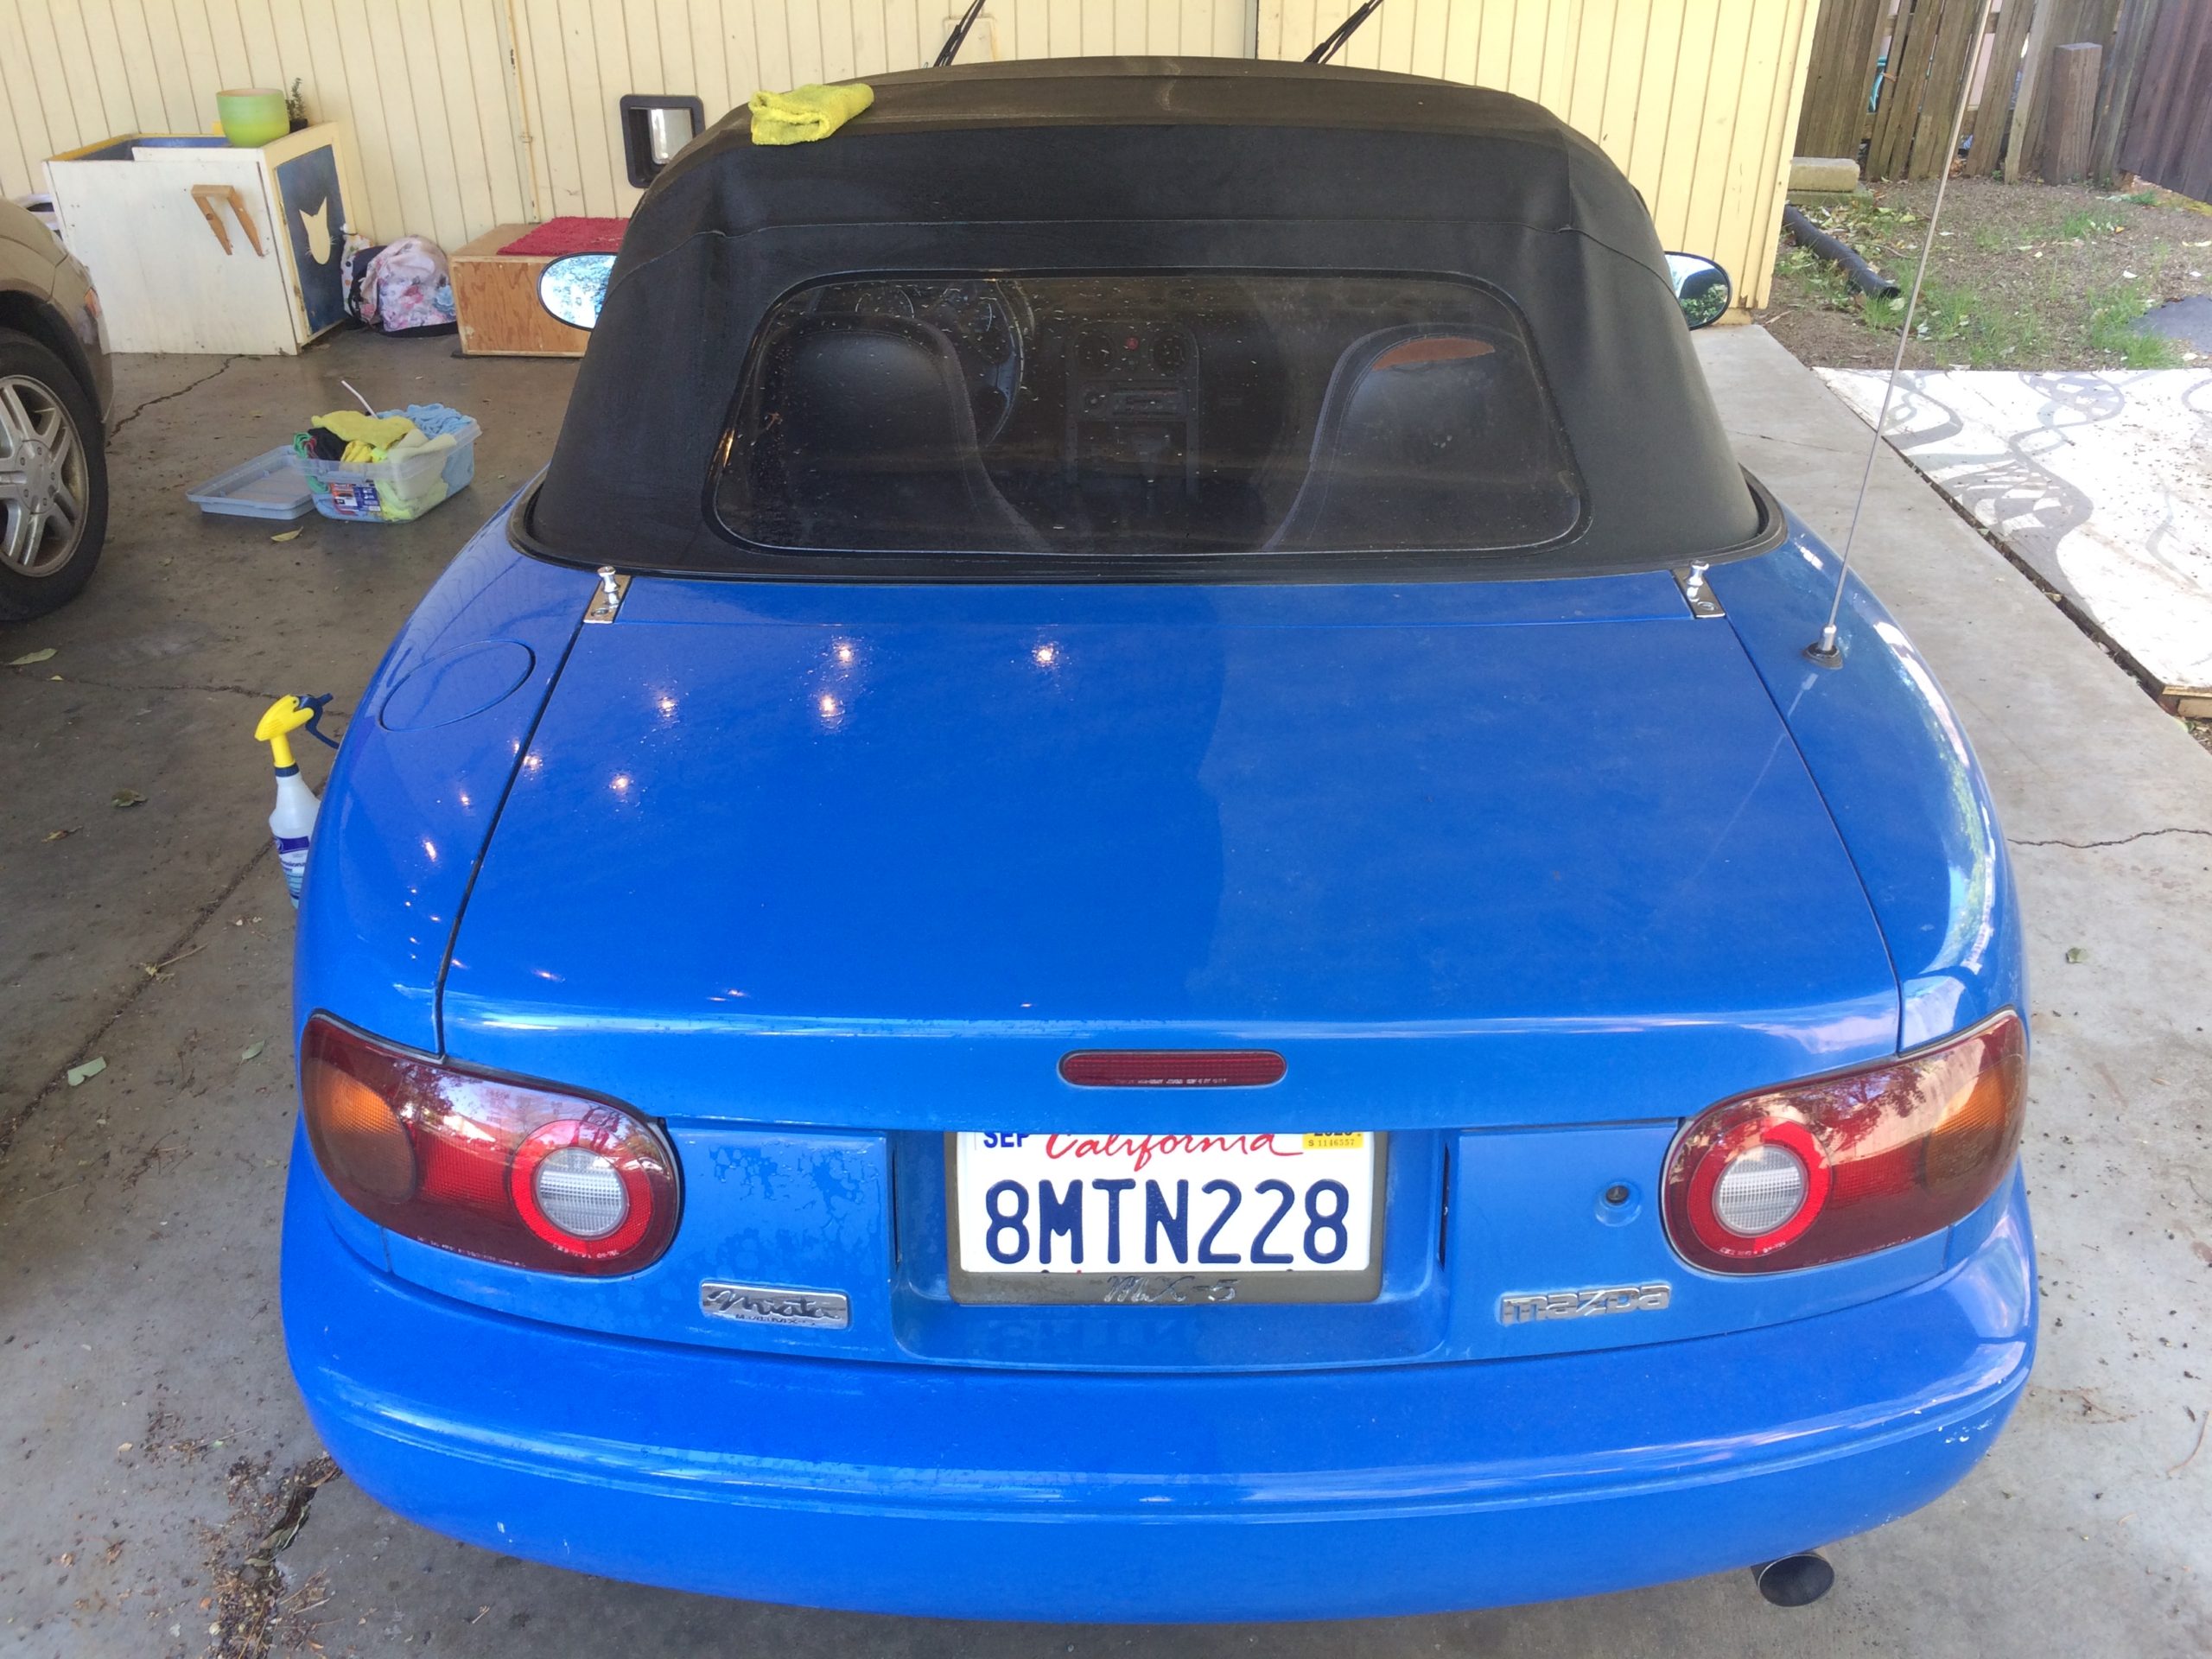
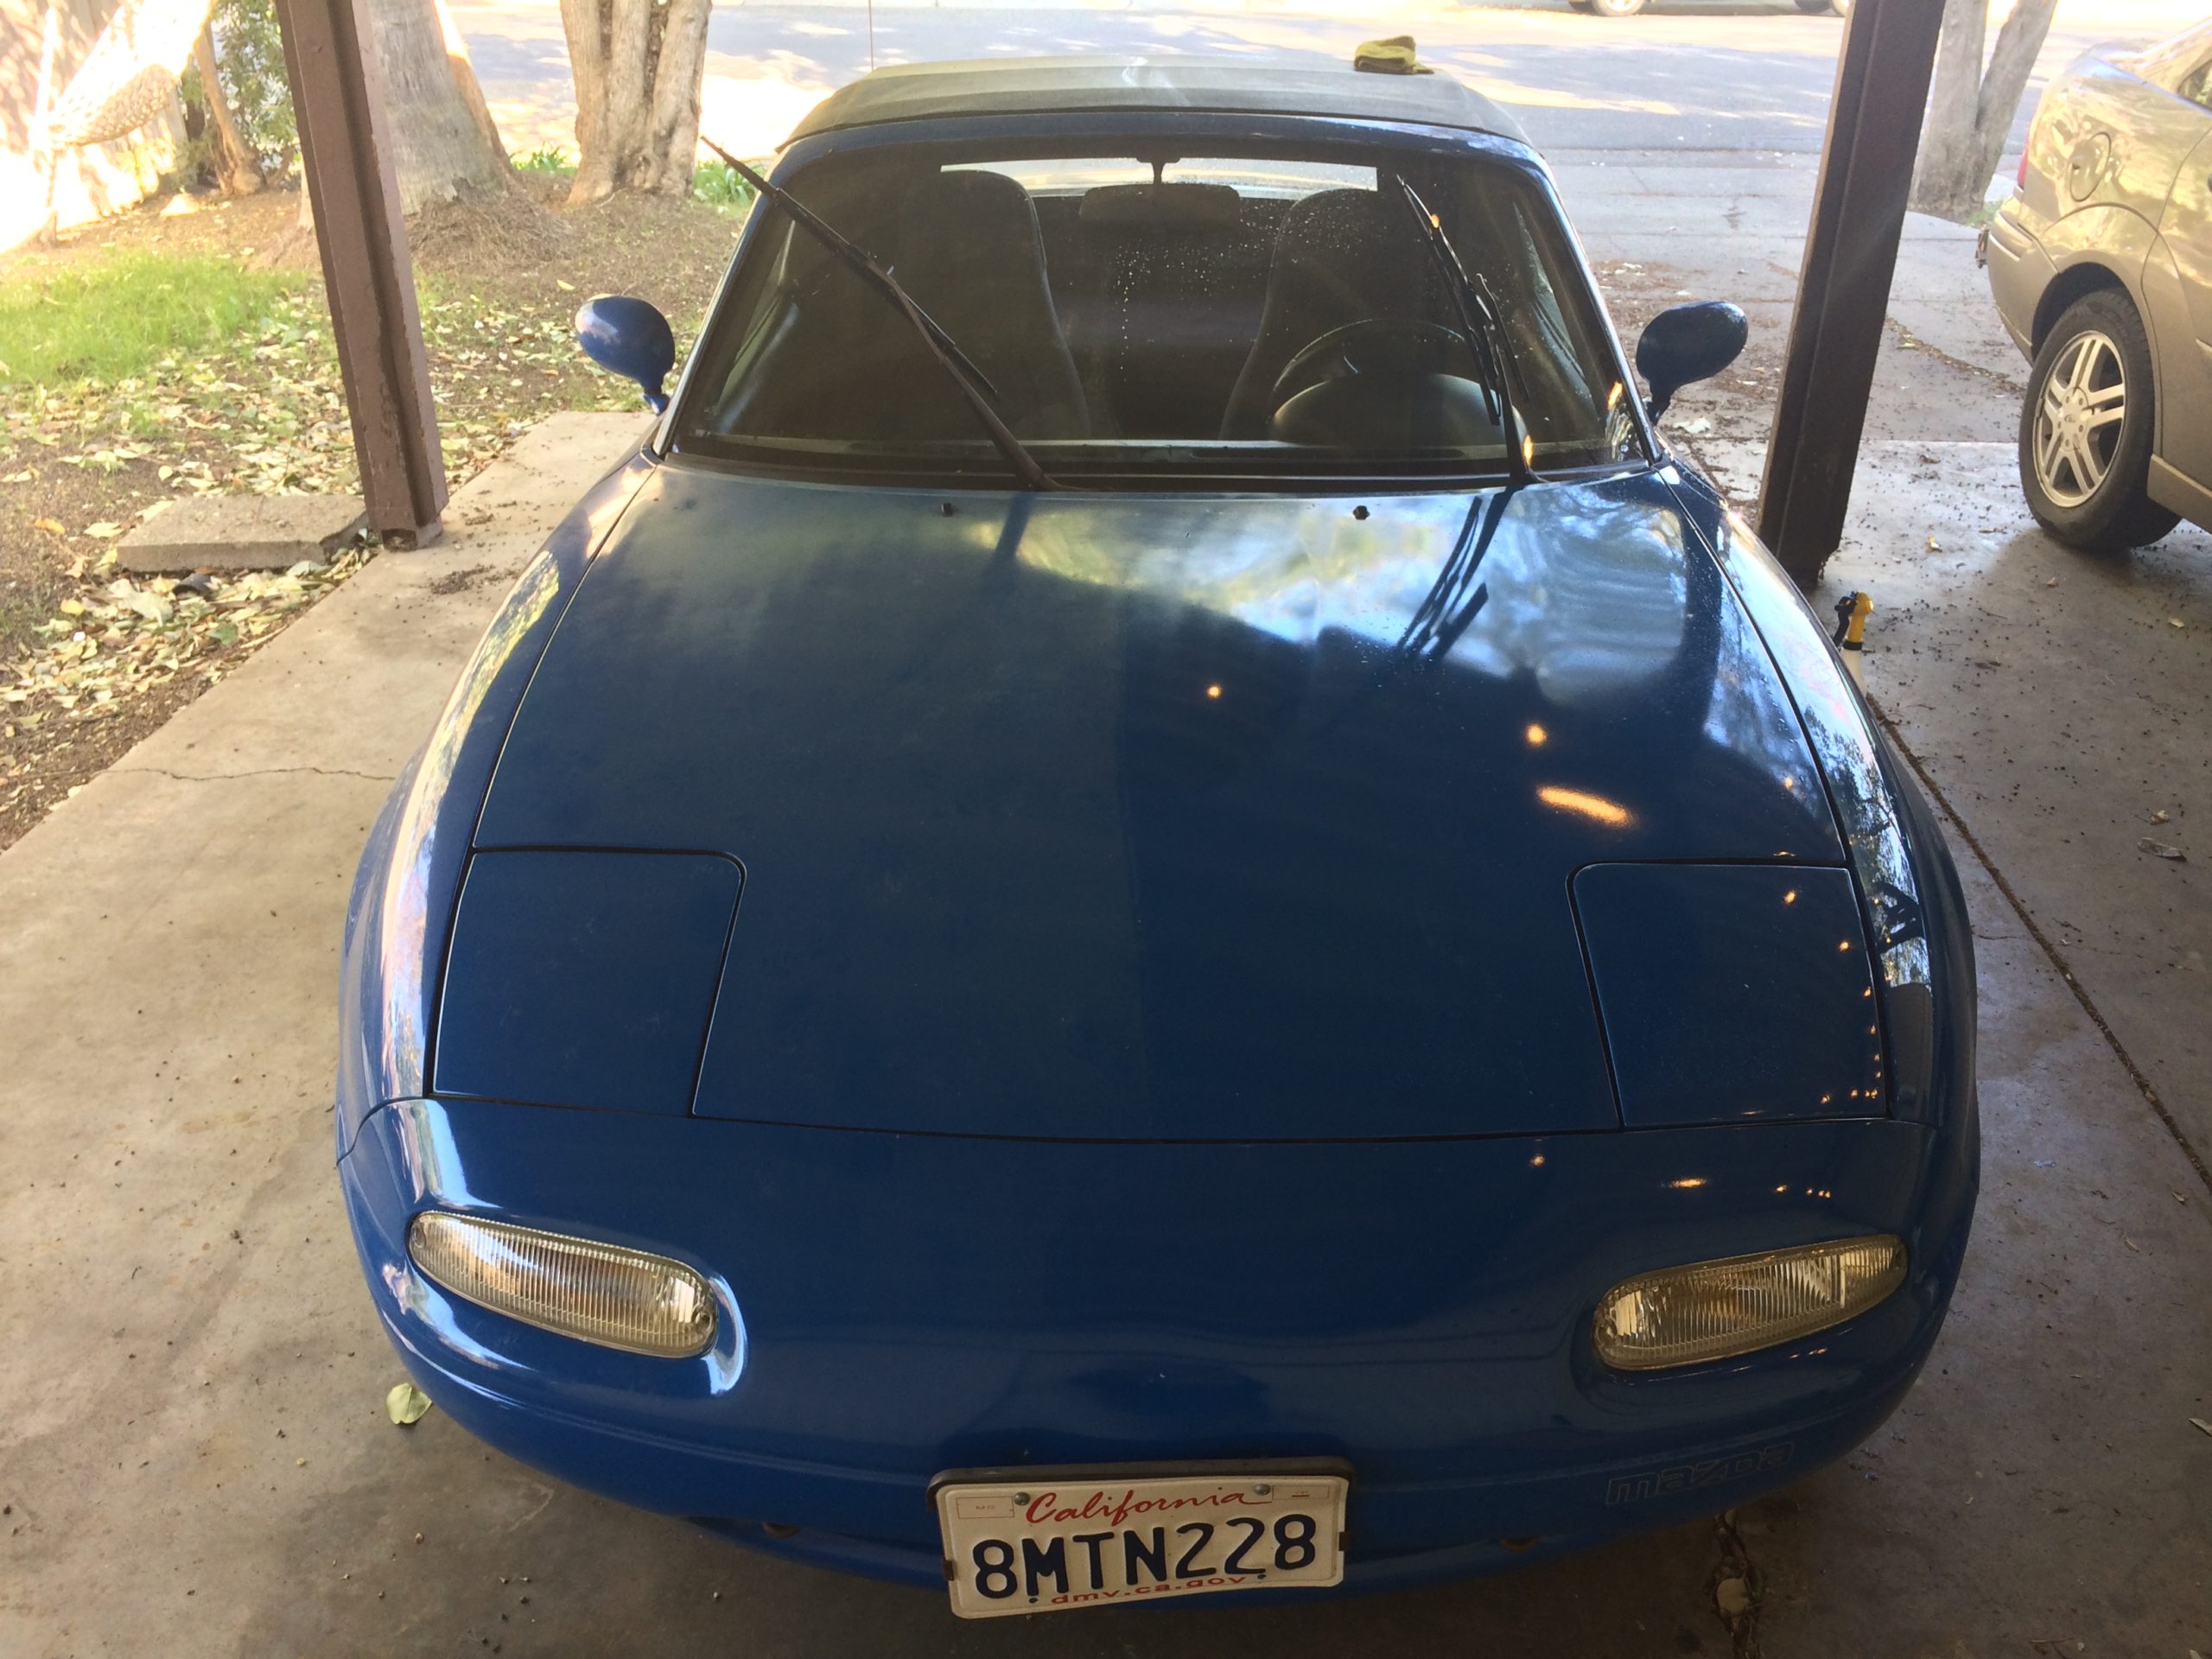
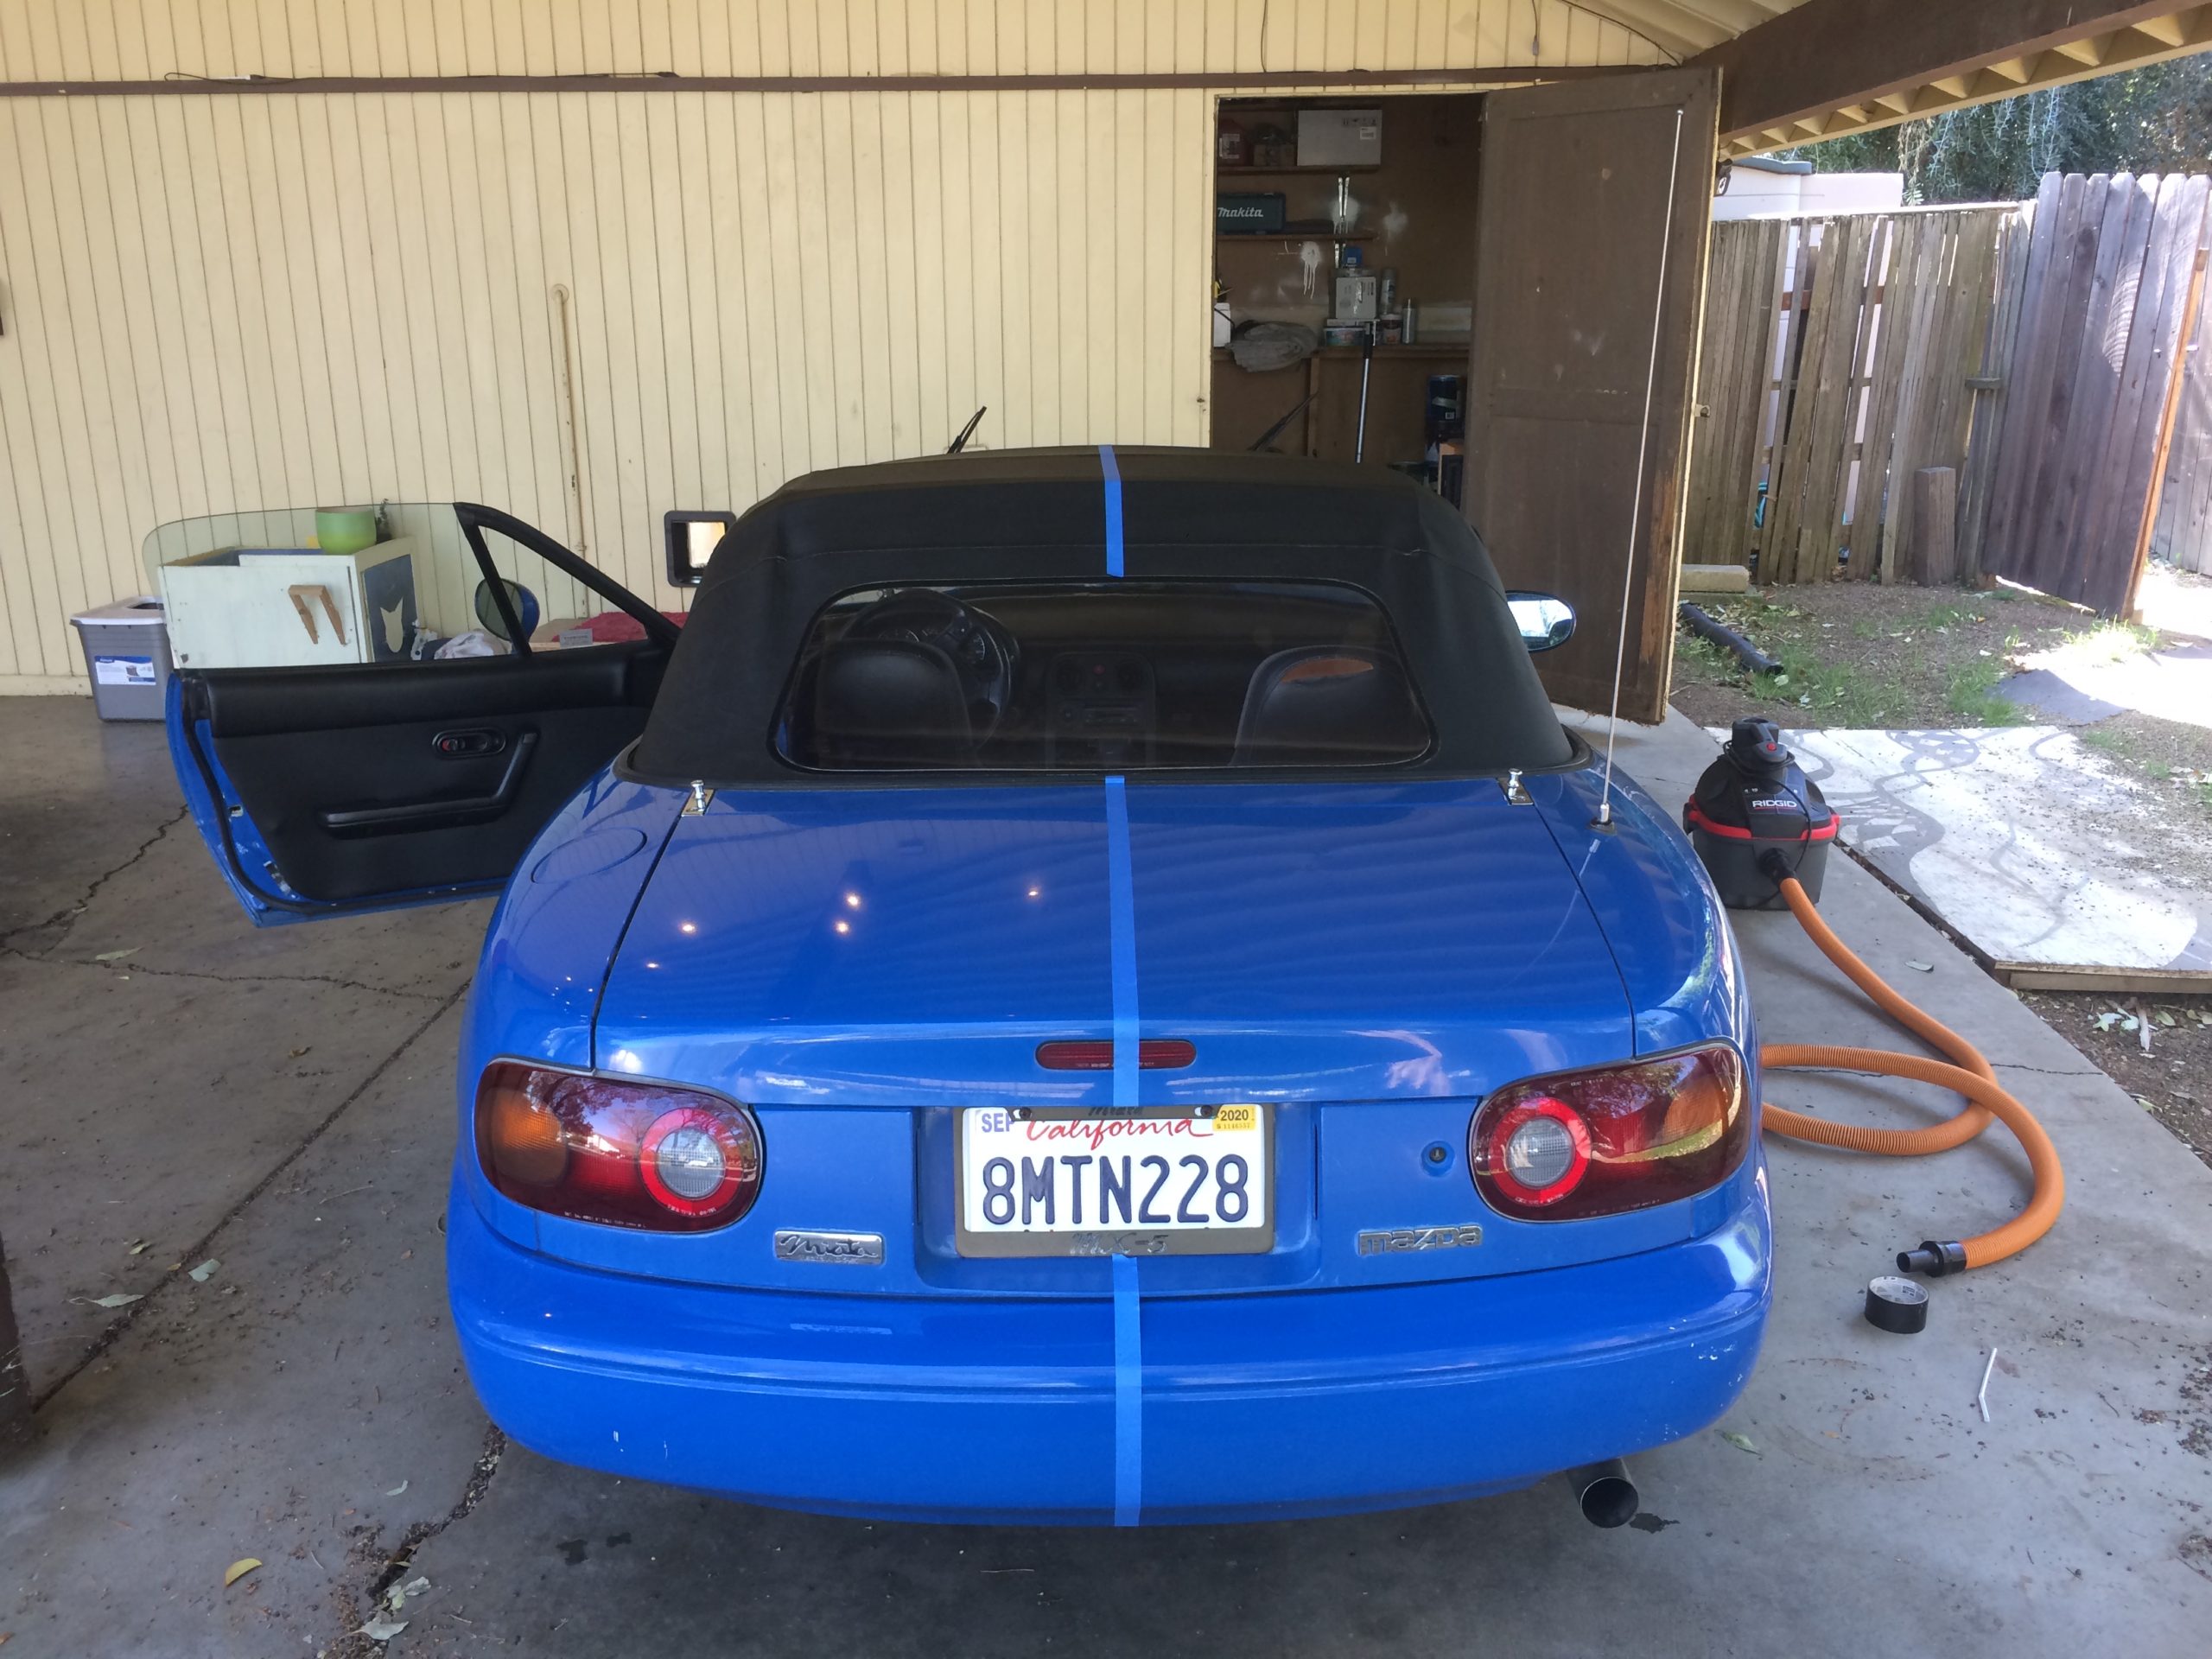
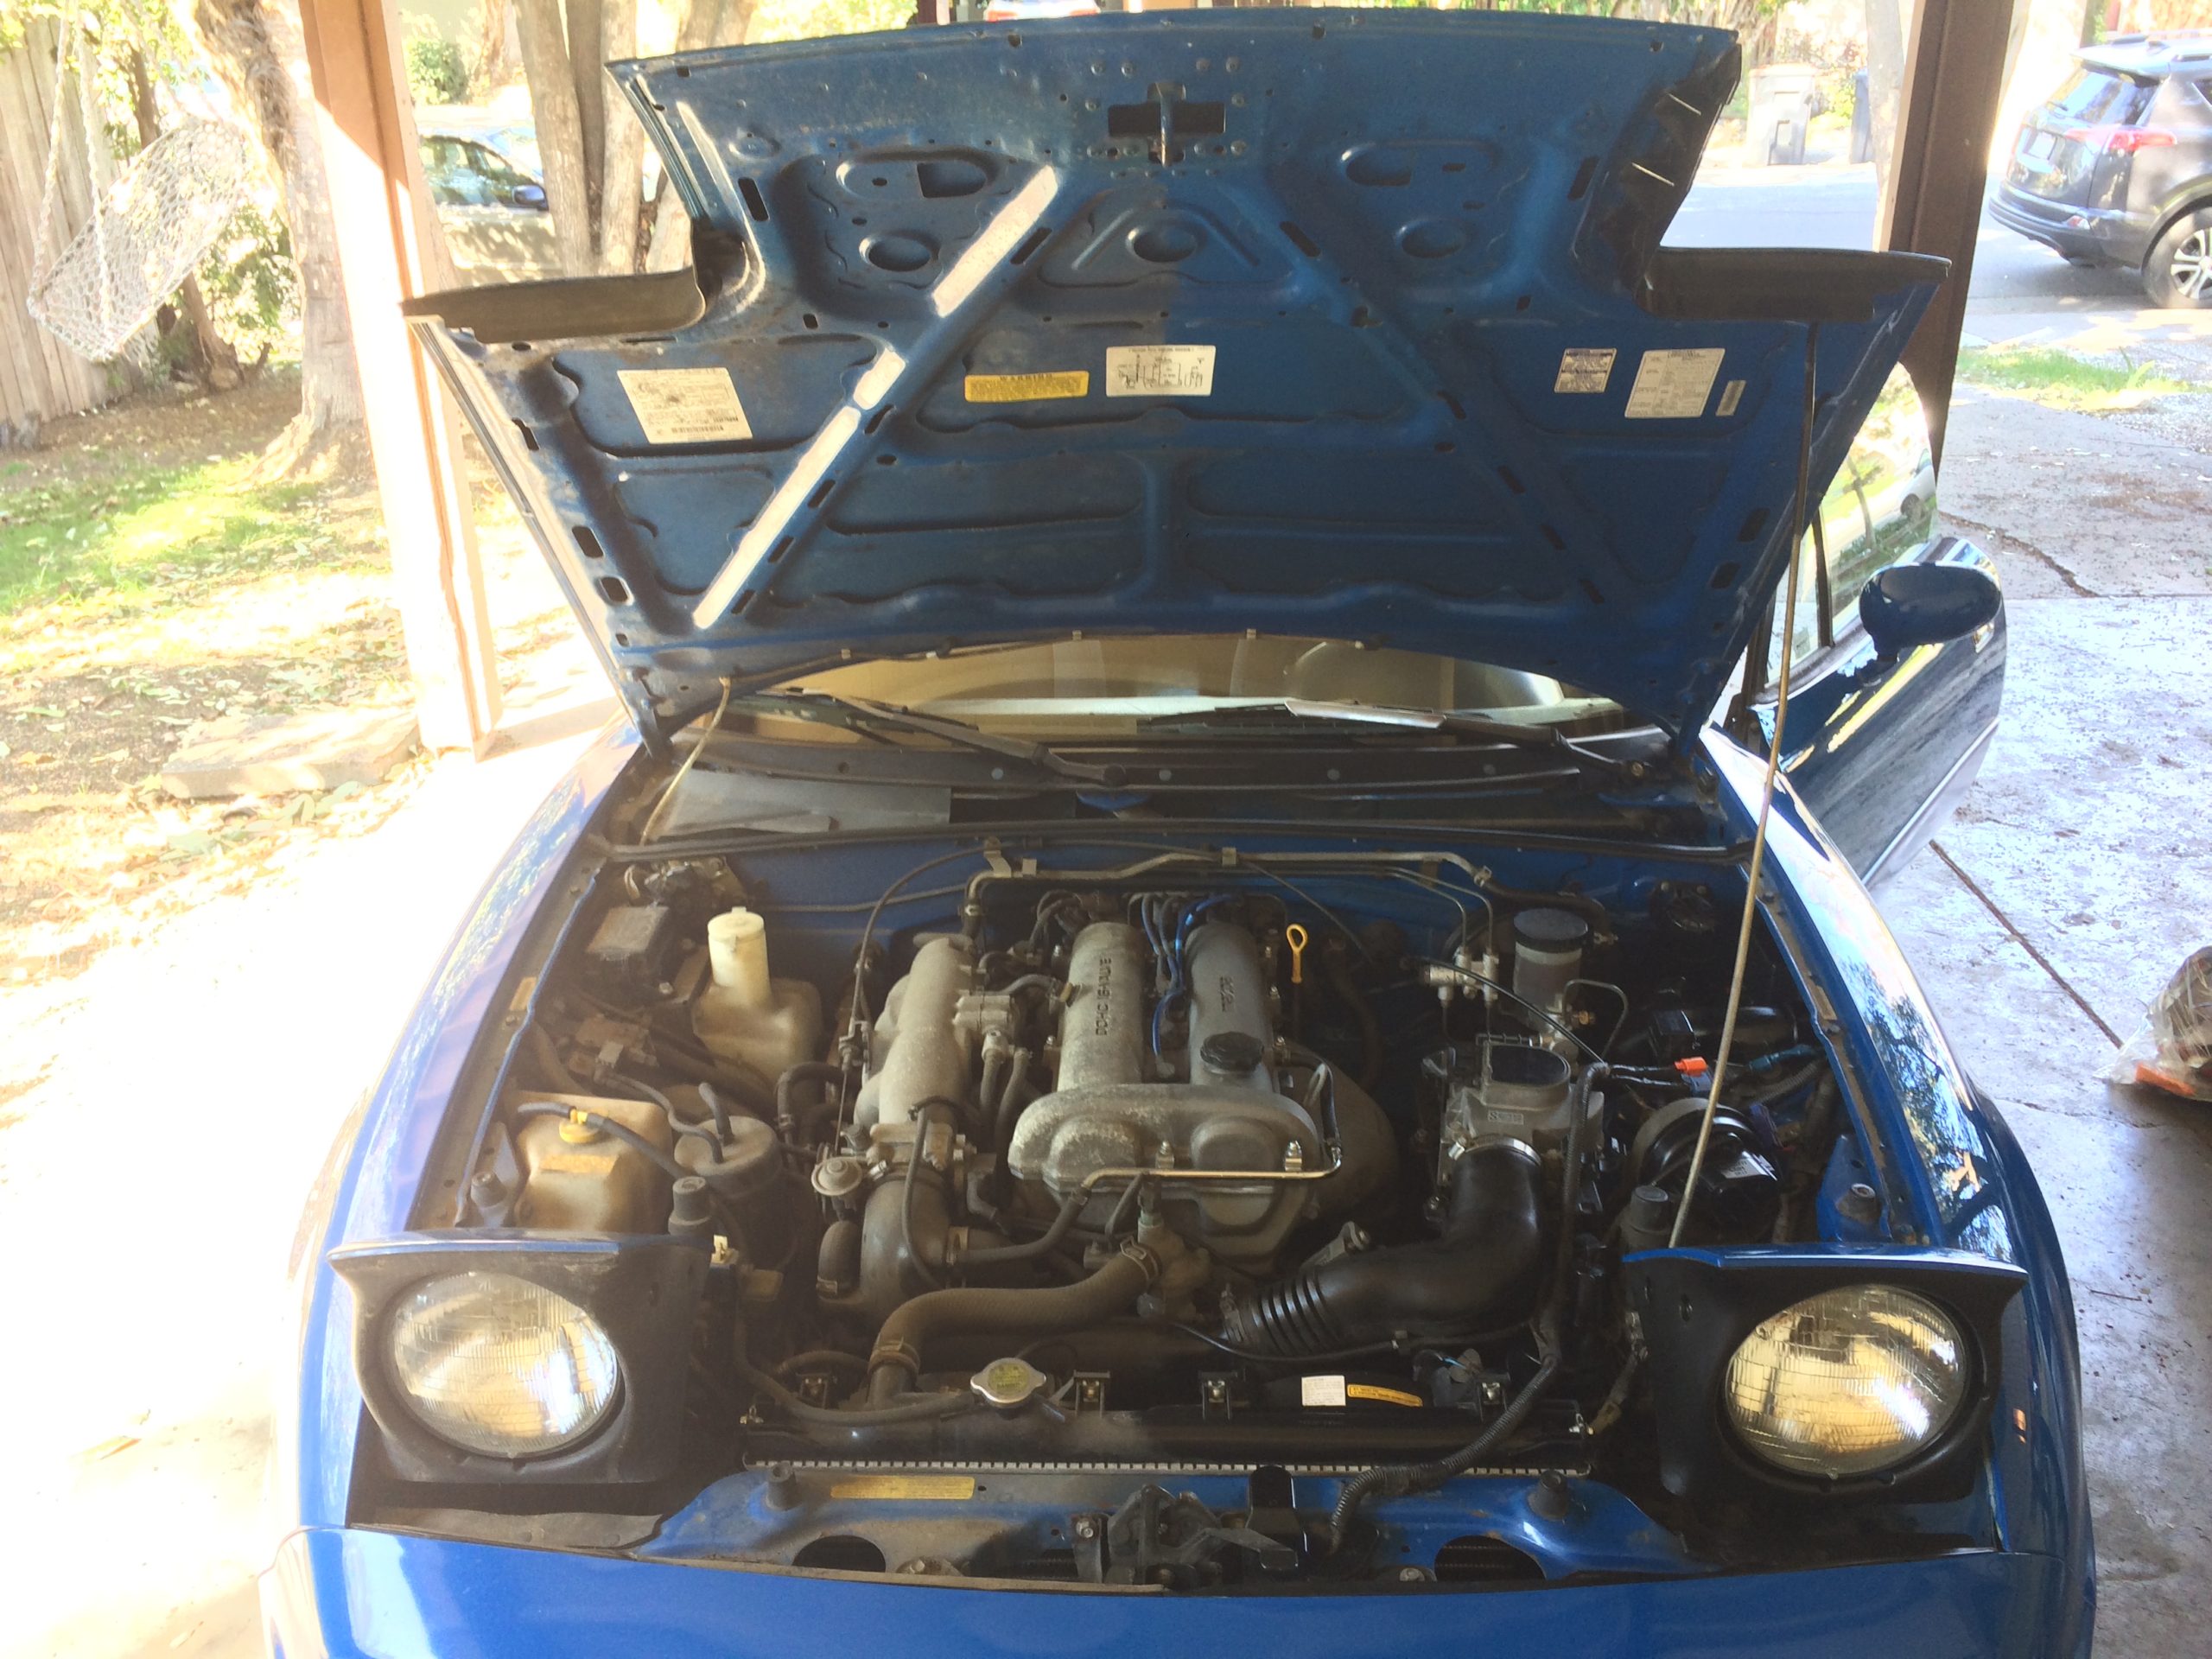
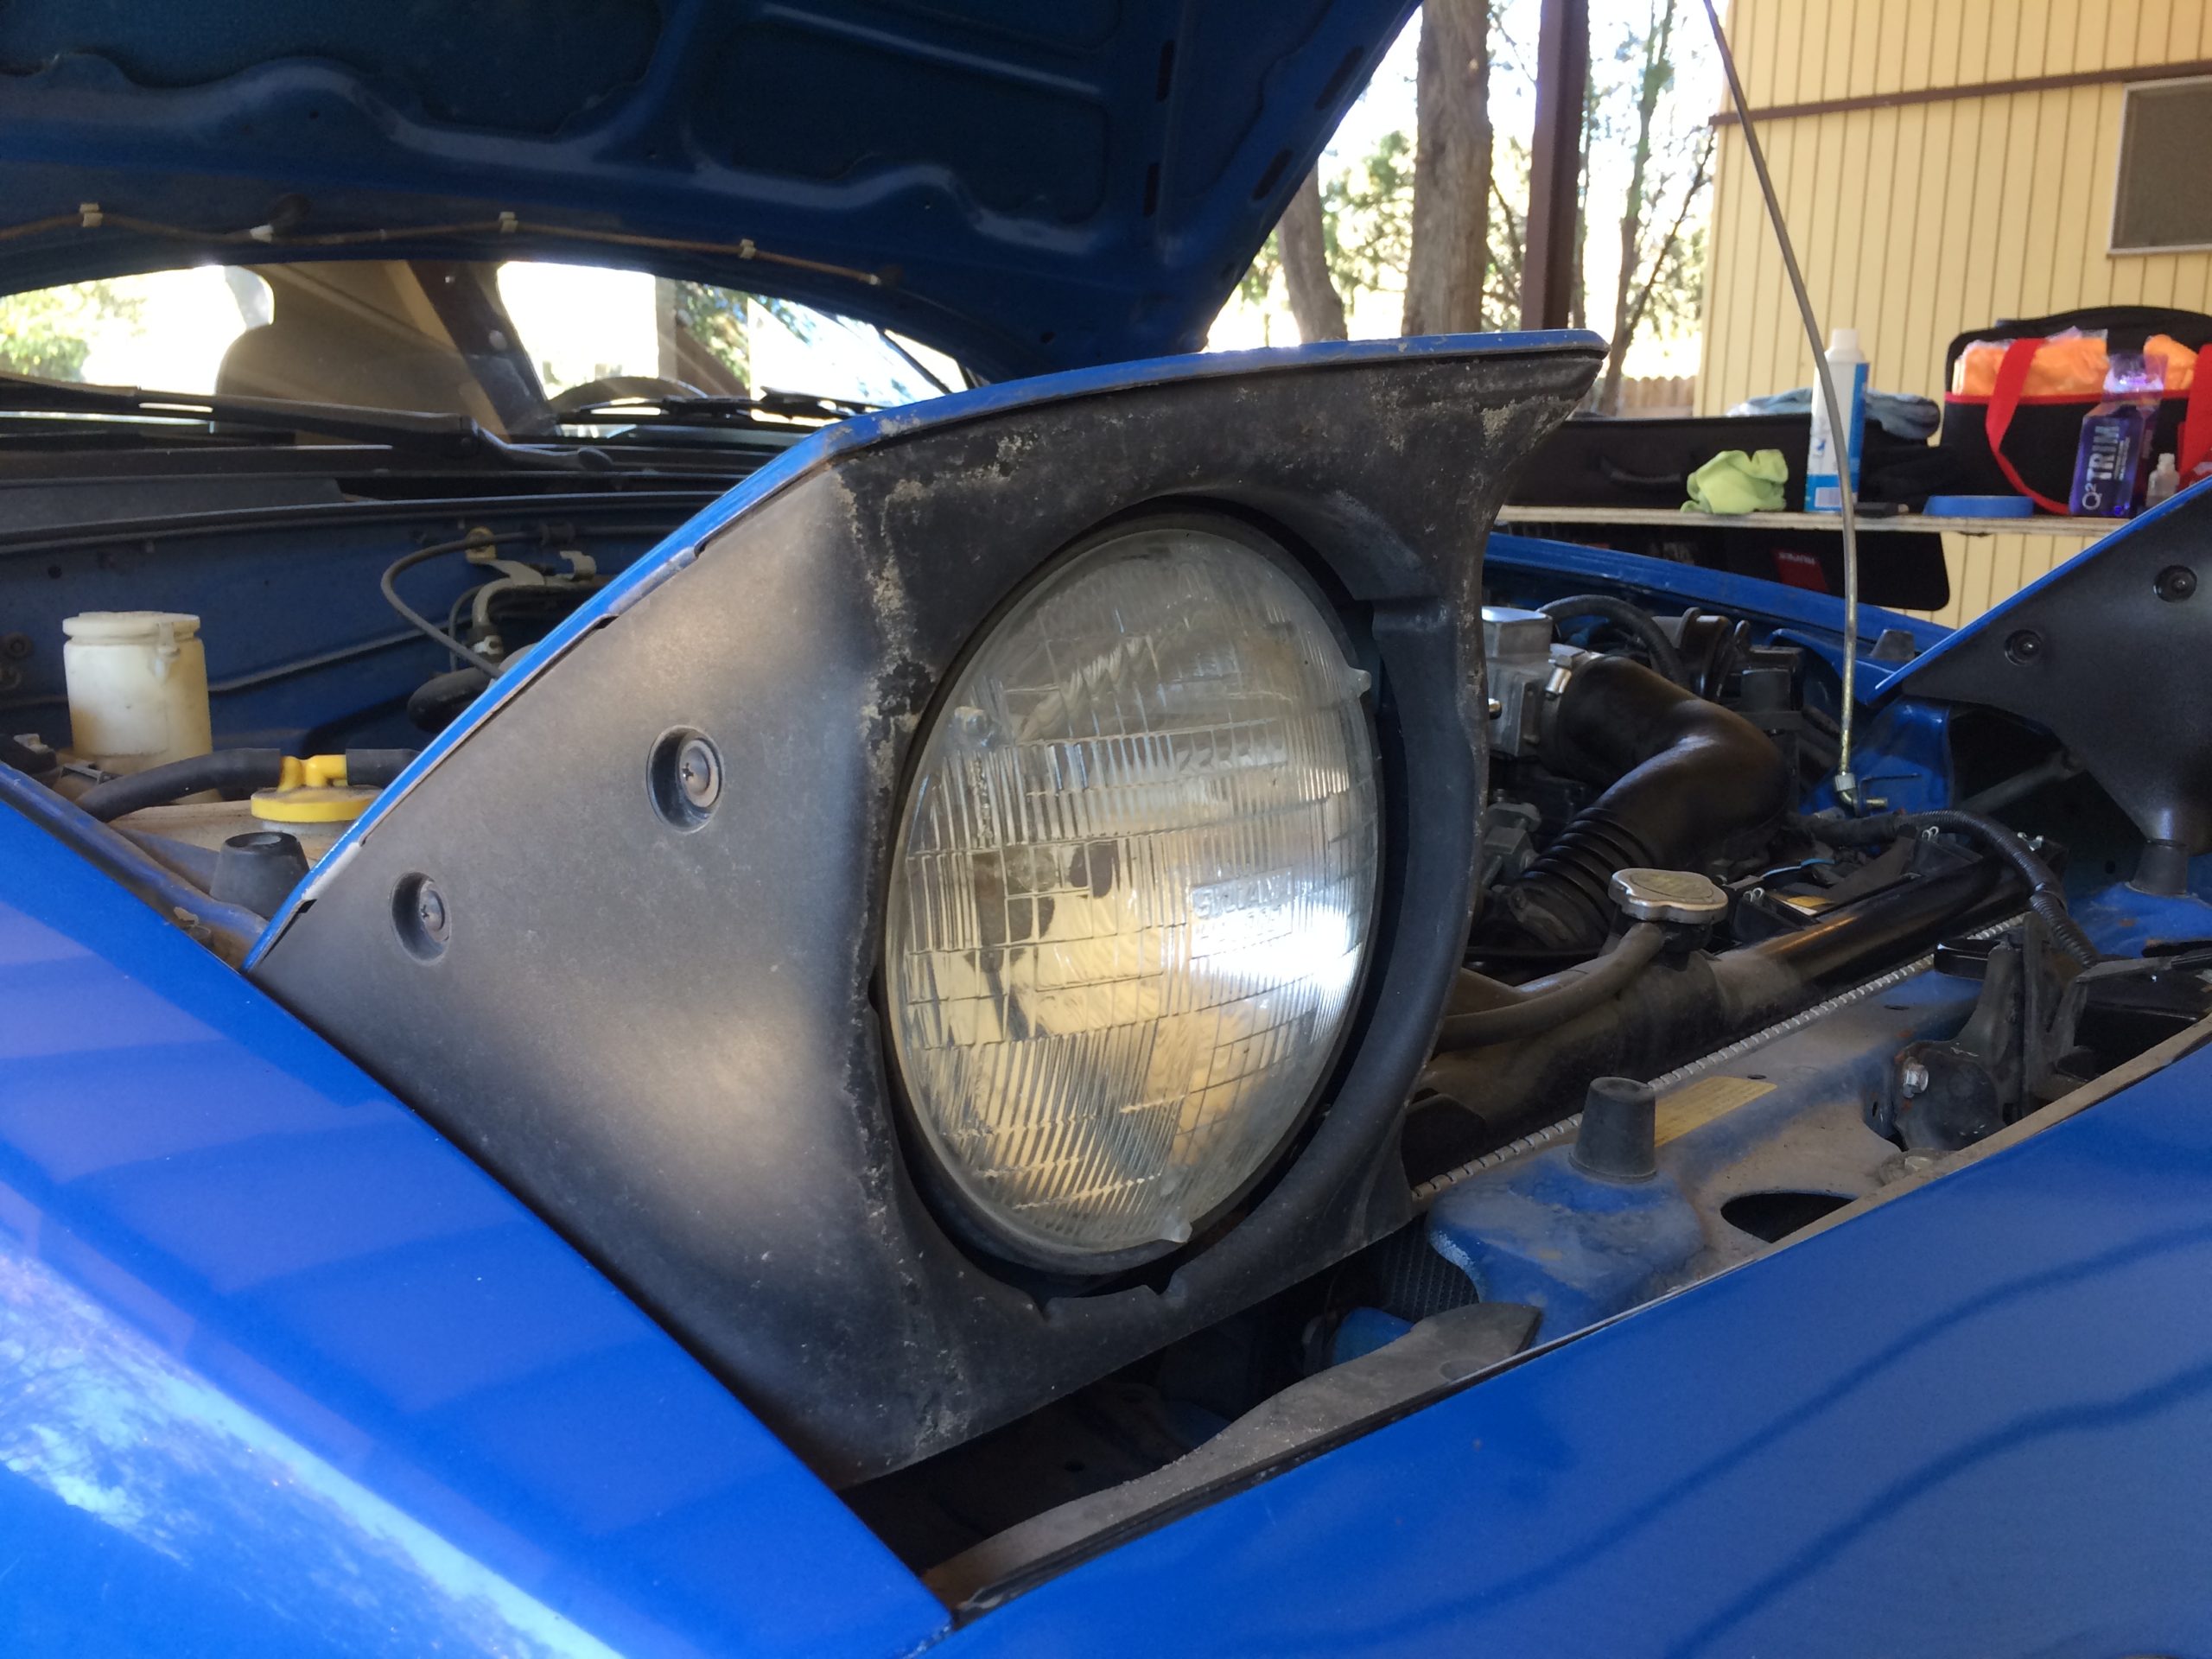
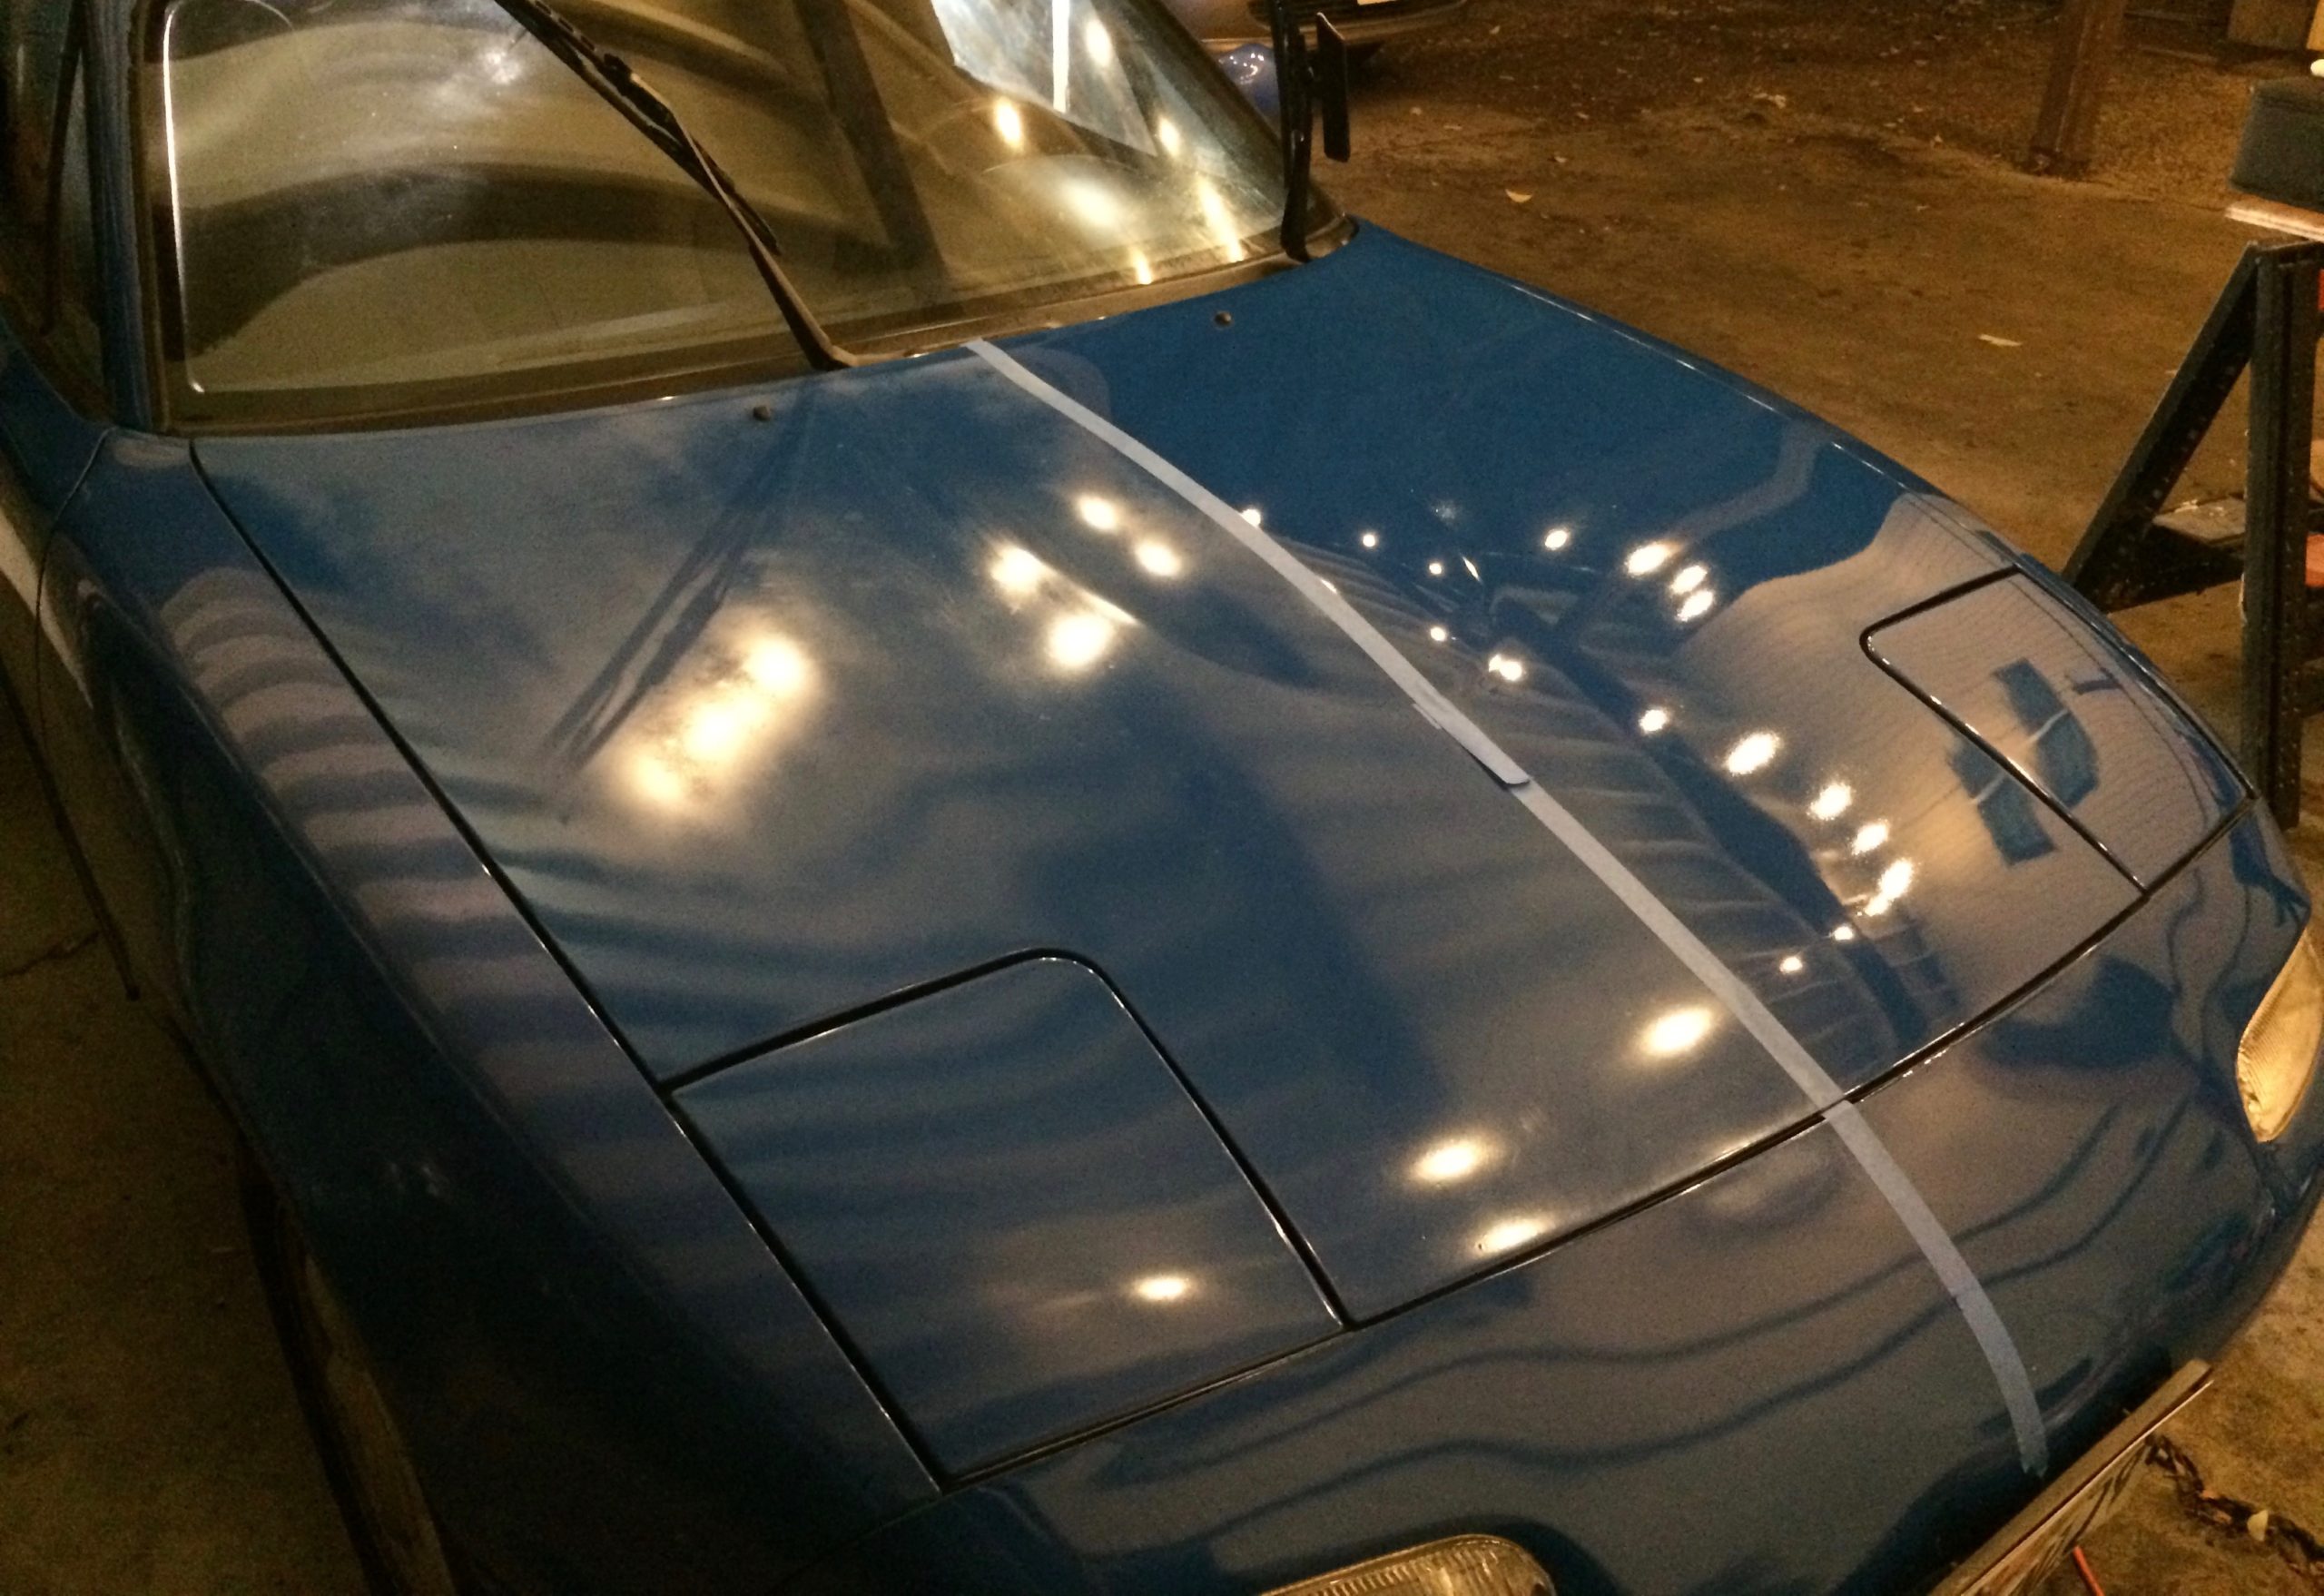
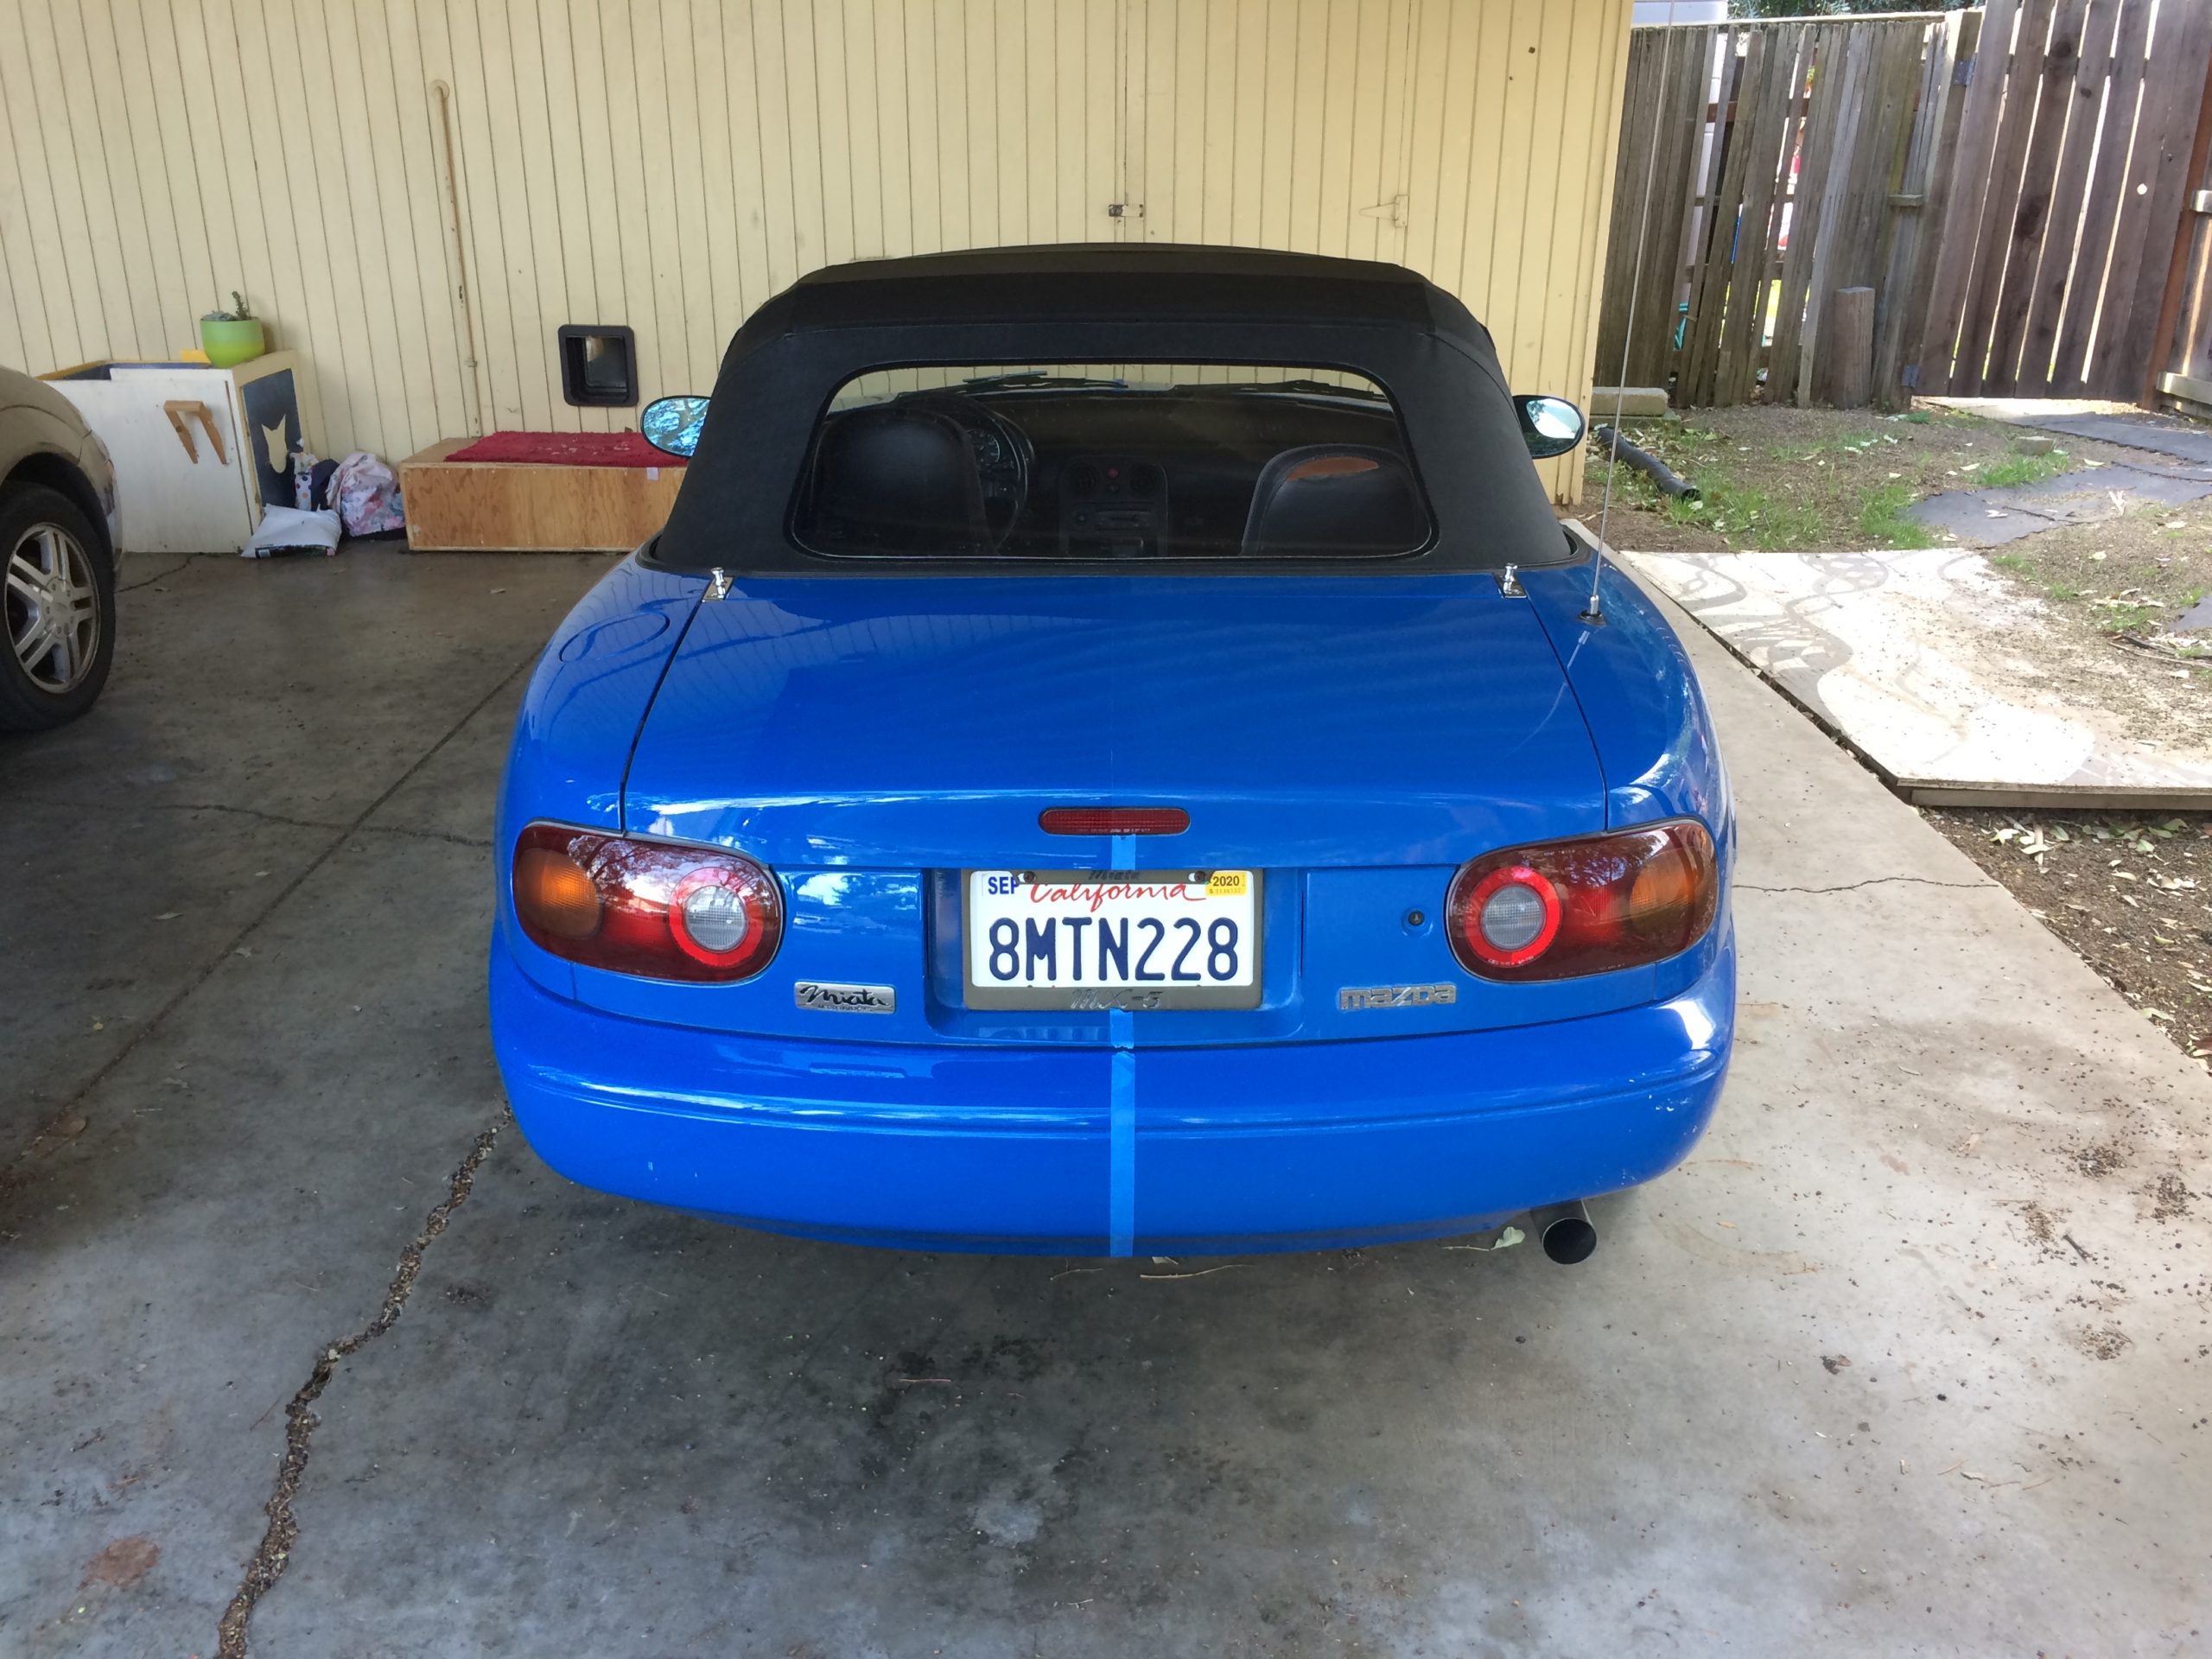
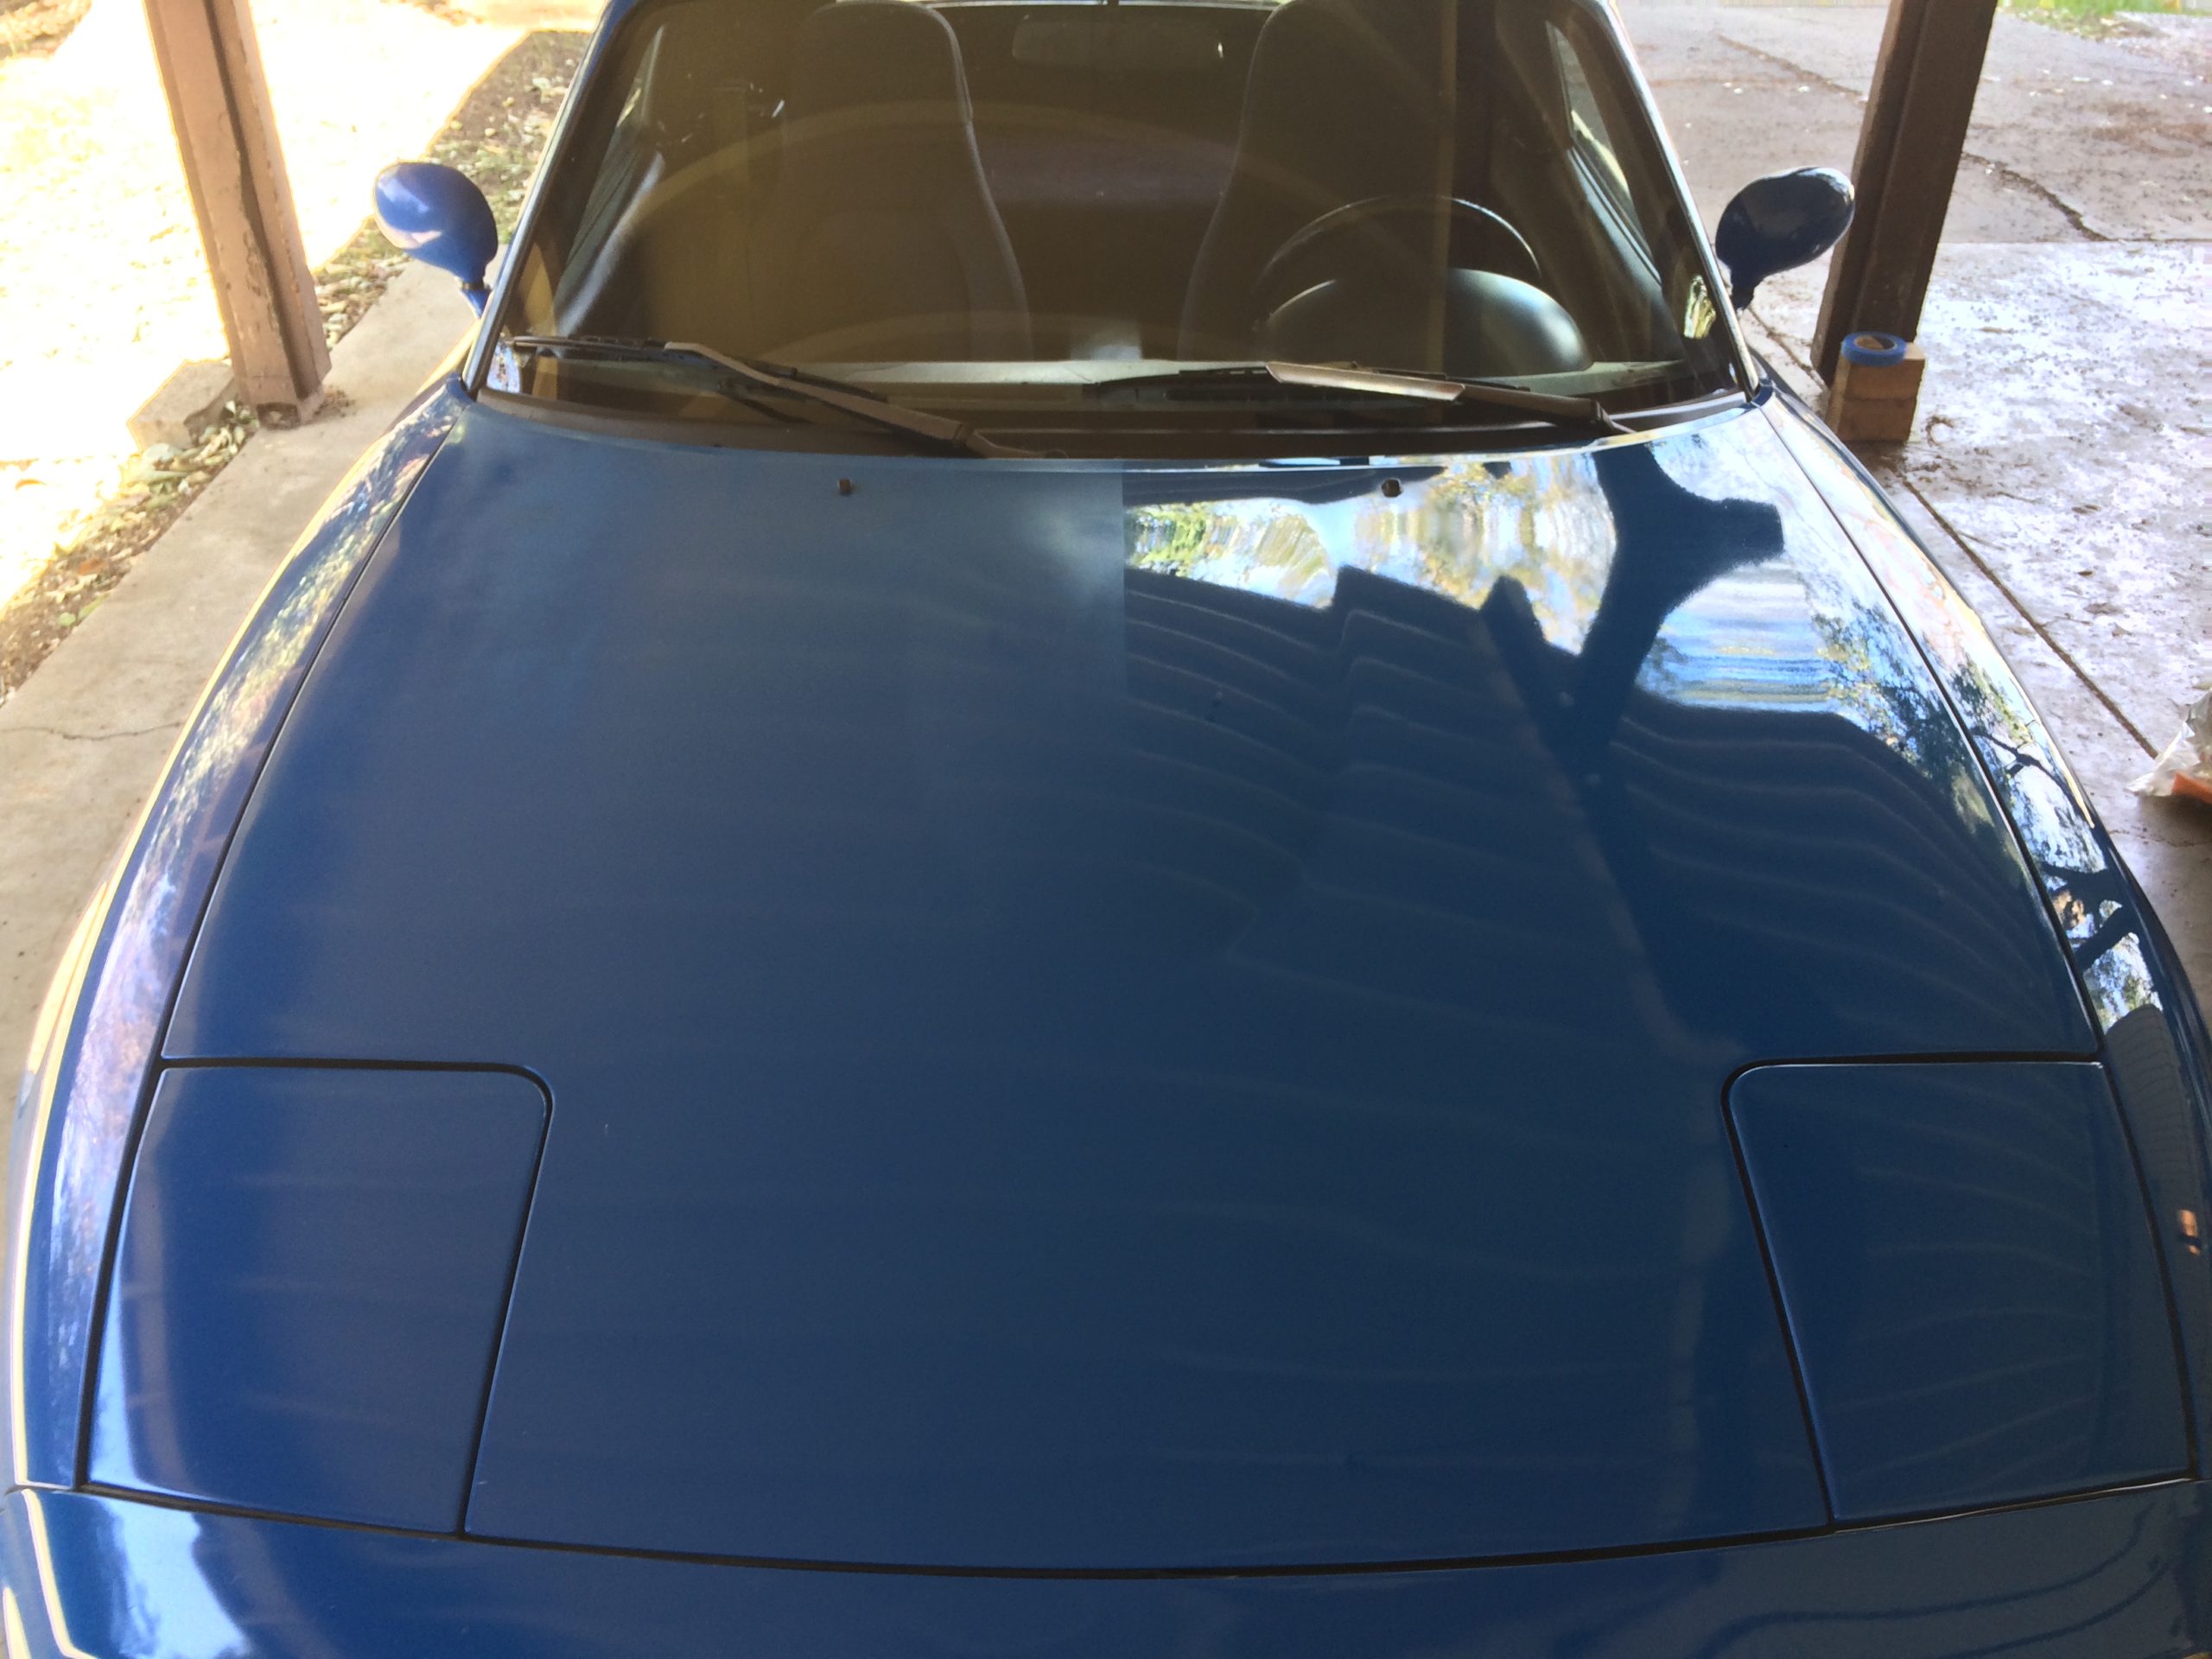
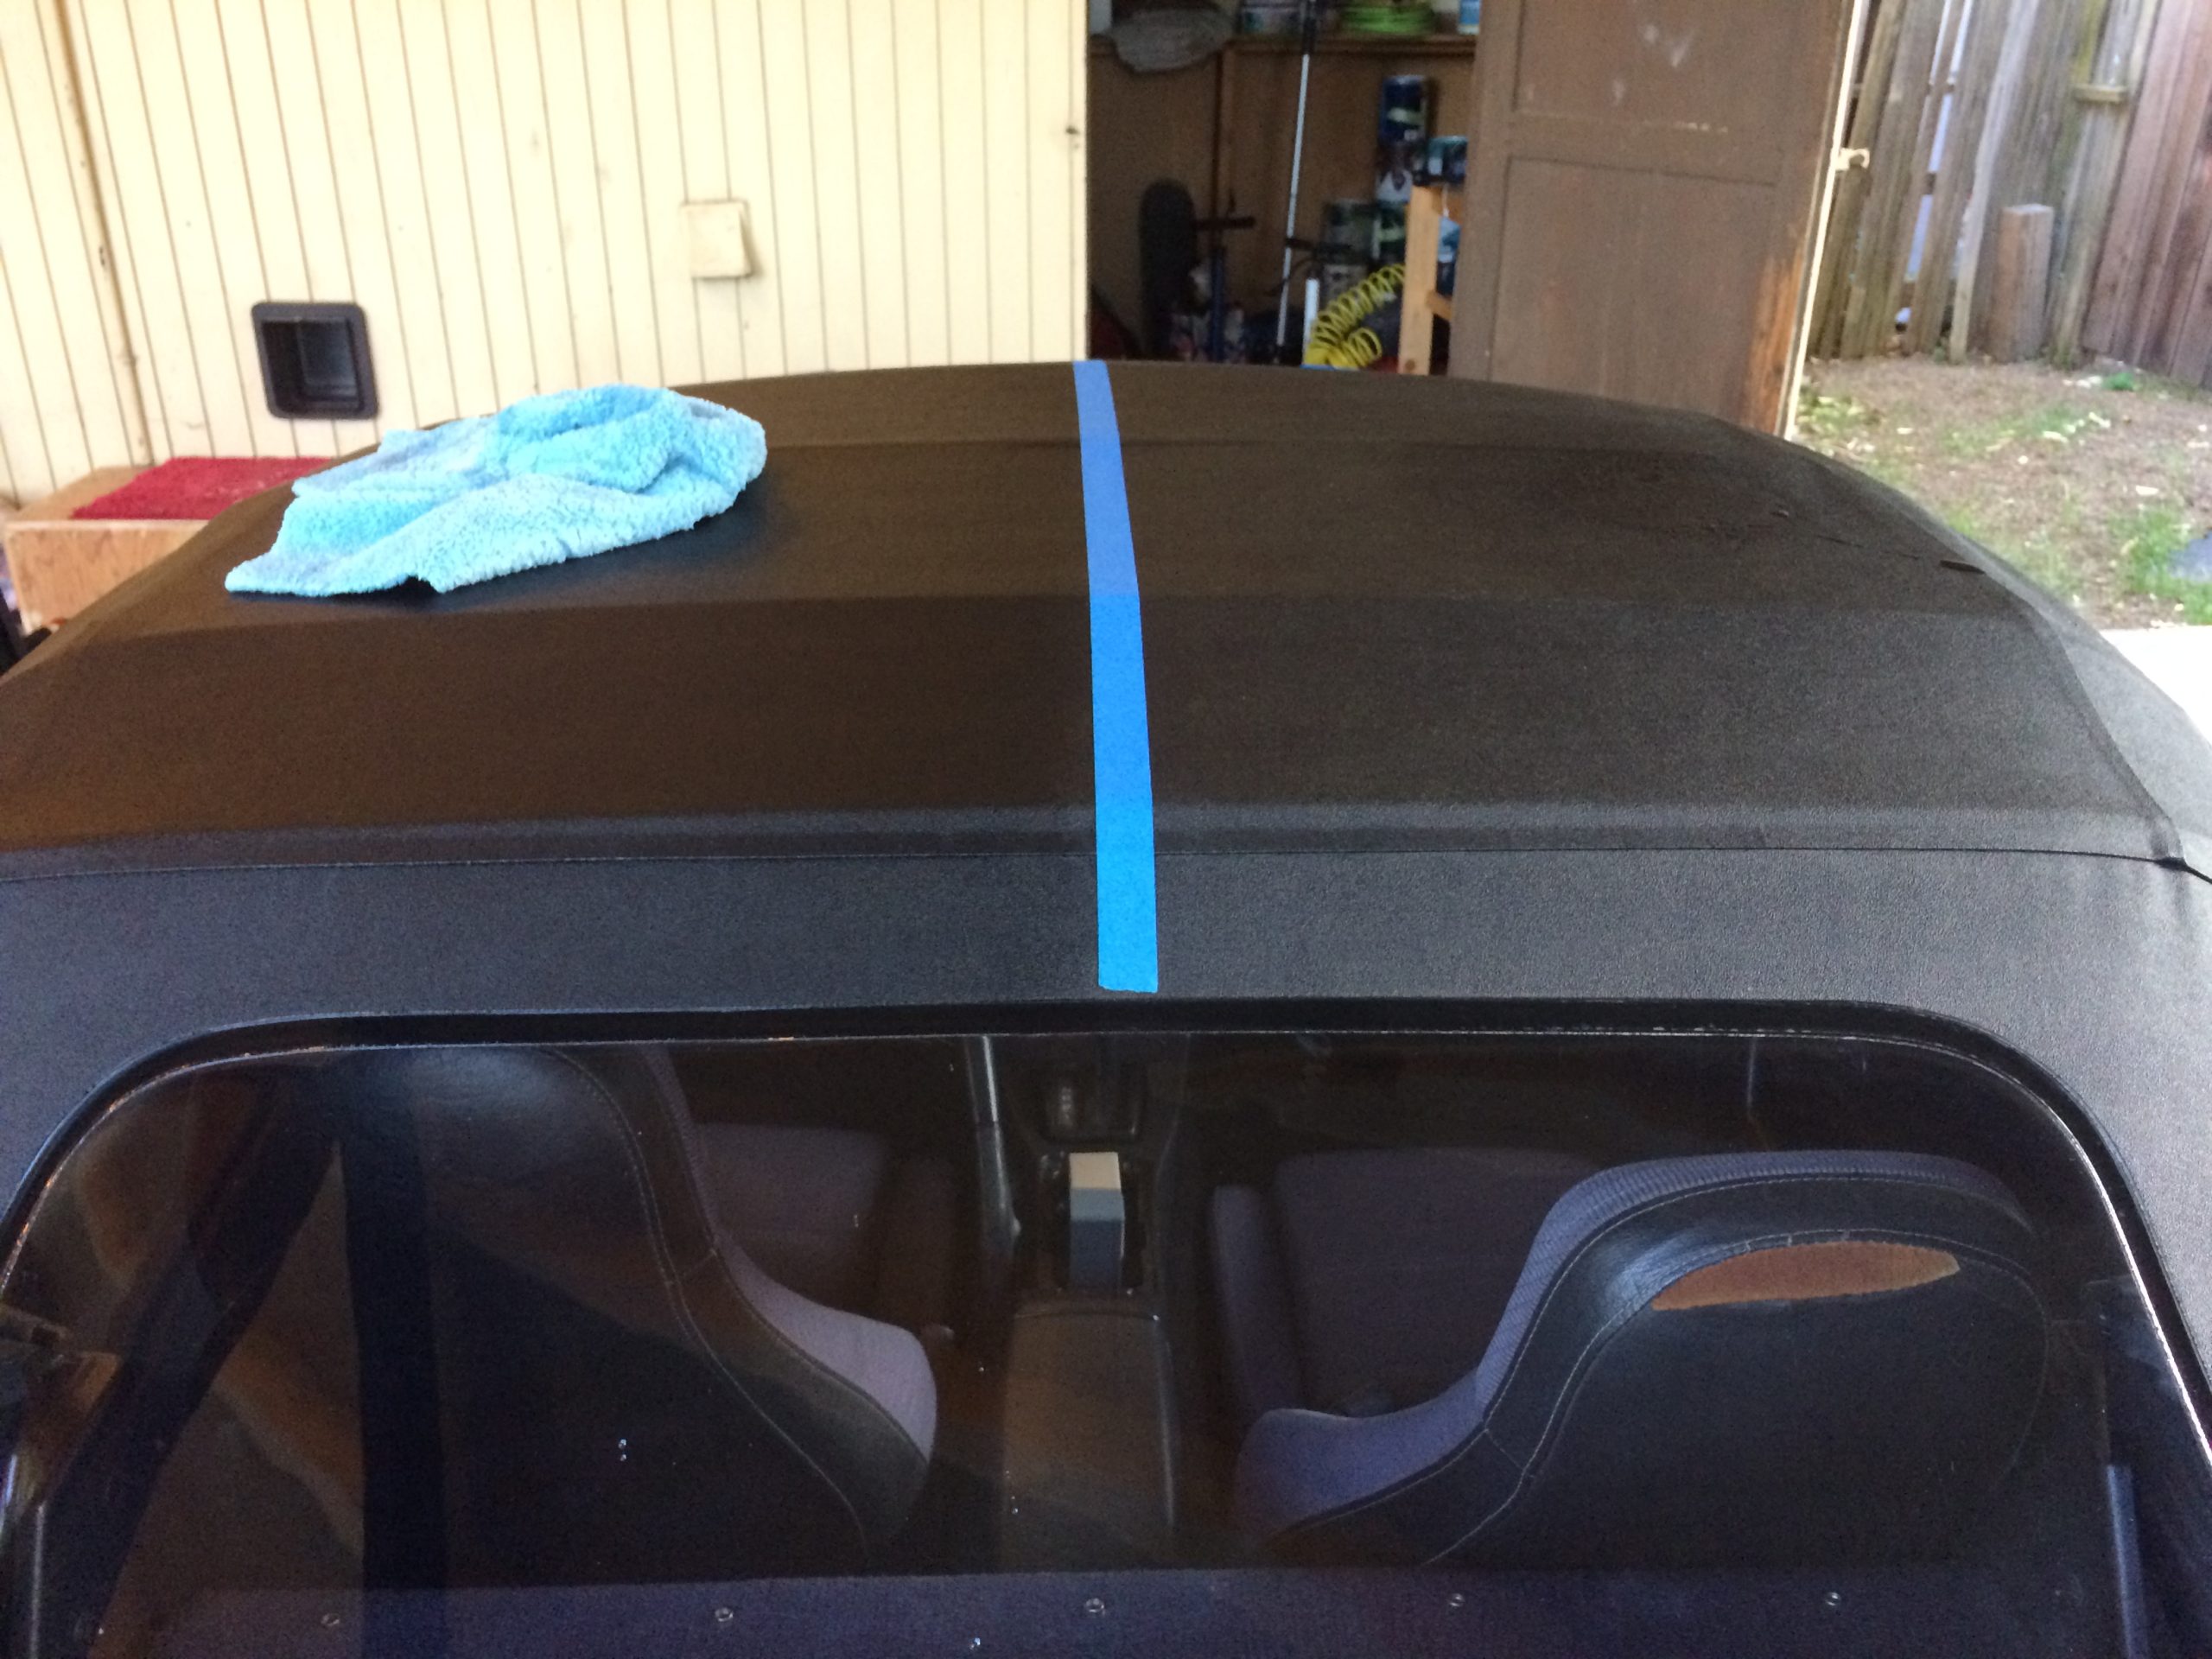
Here is what I had to begin with.
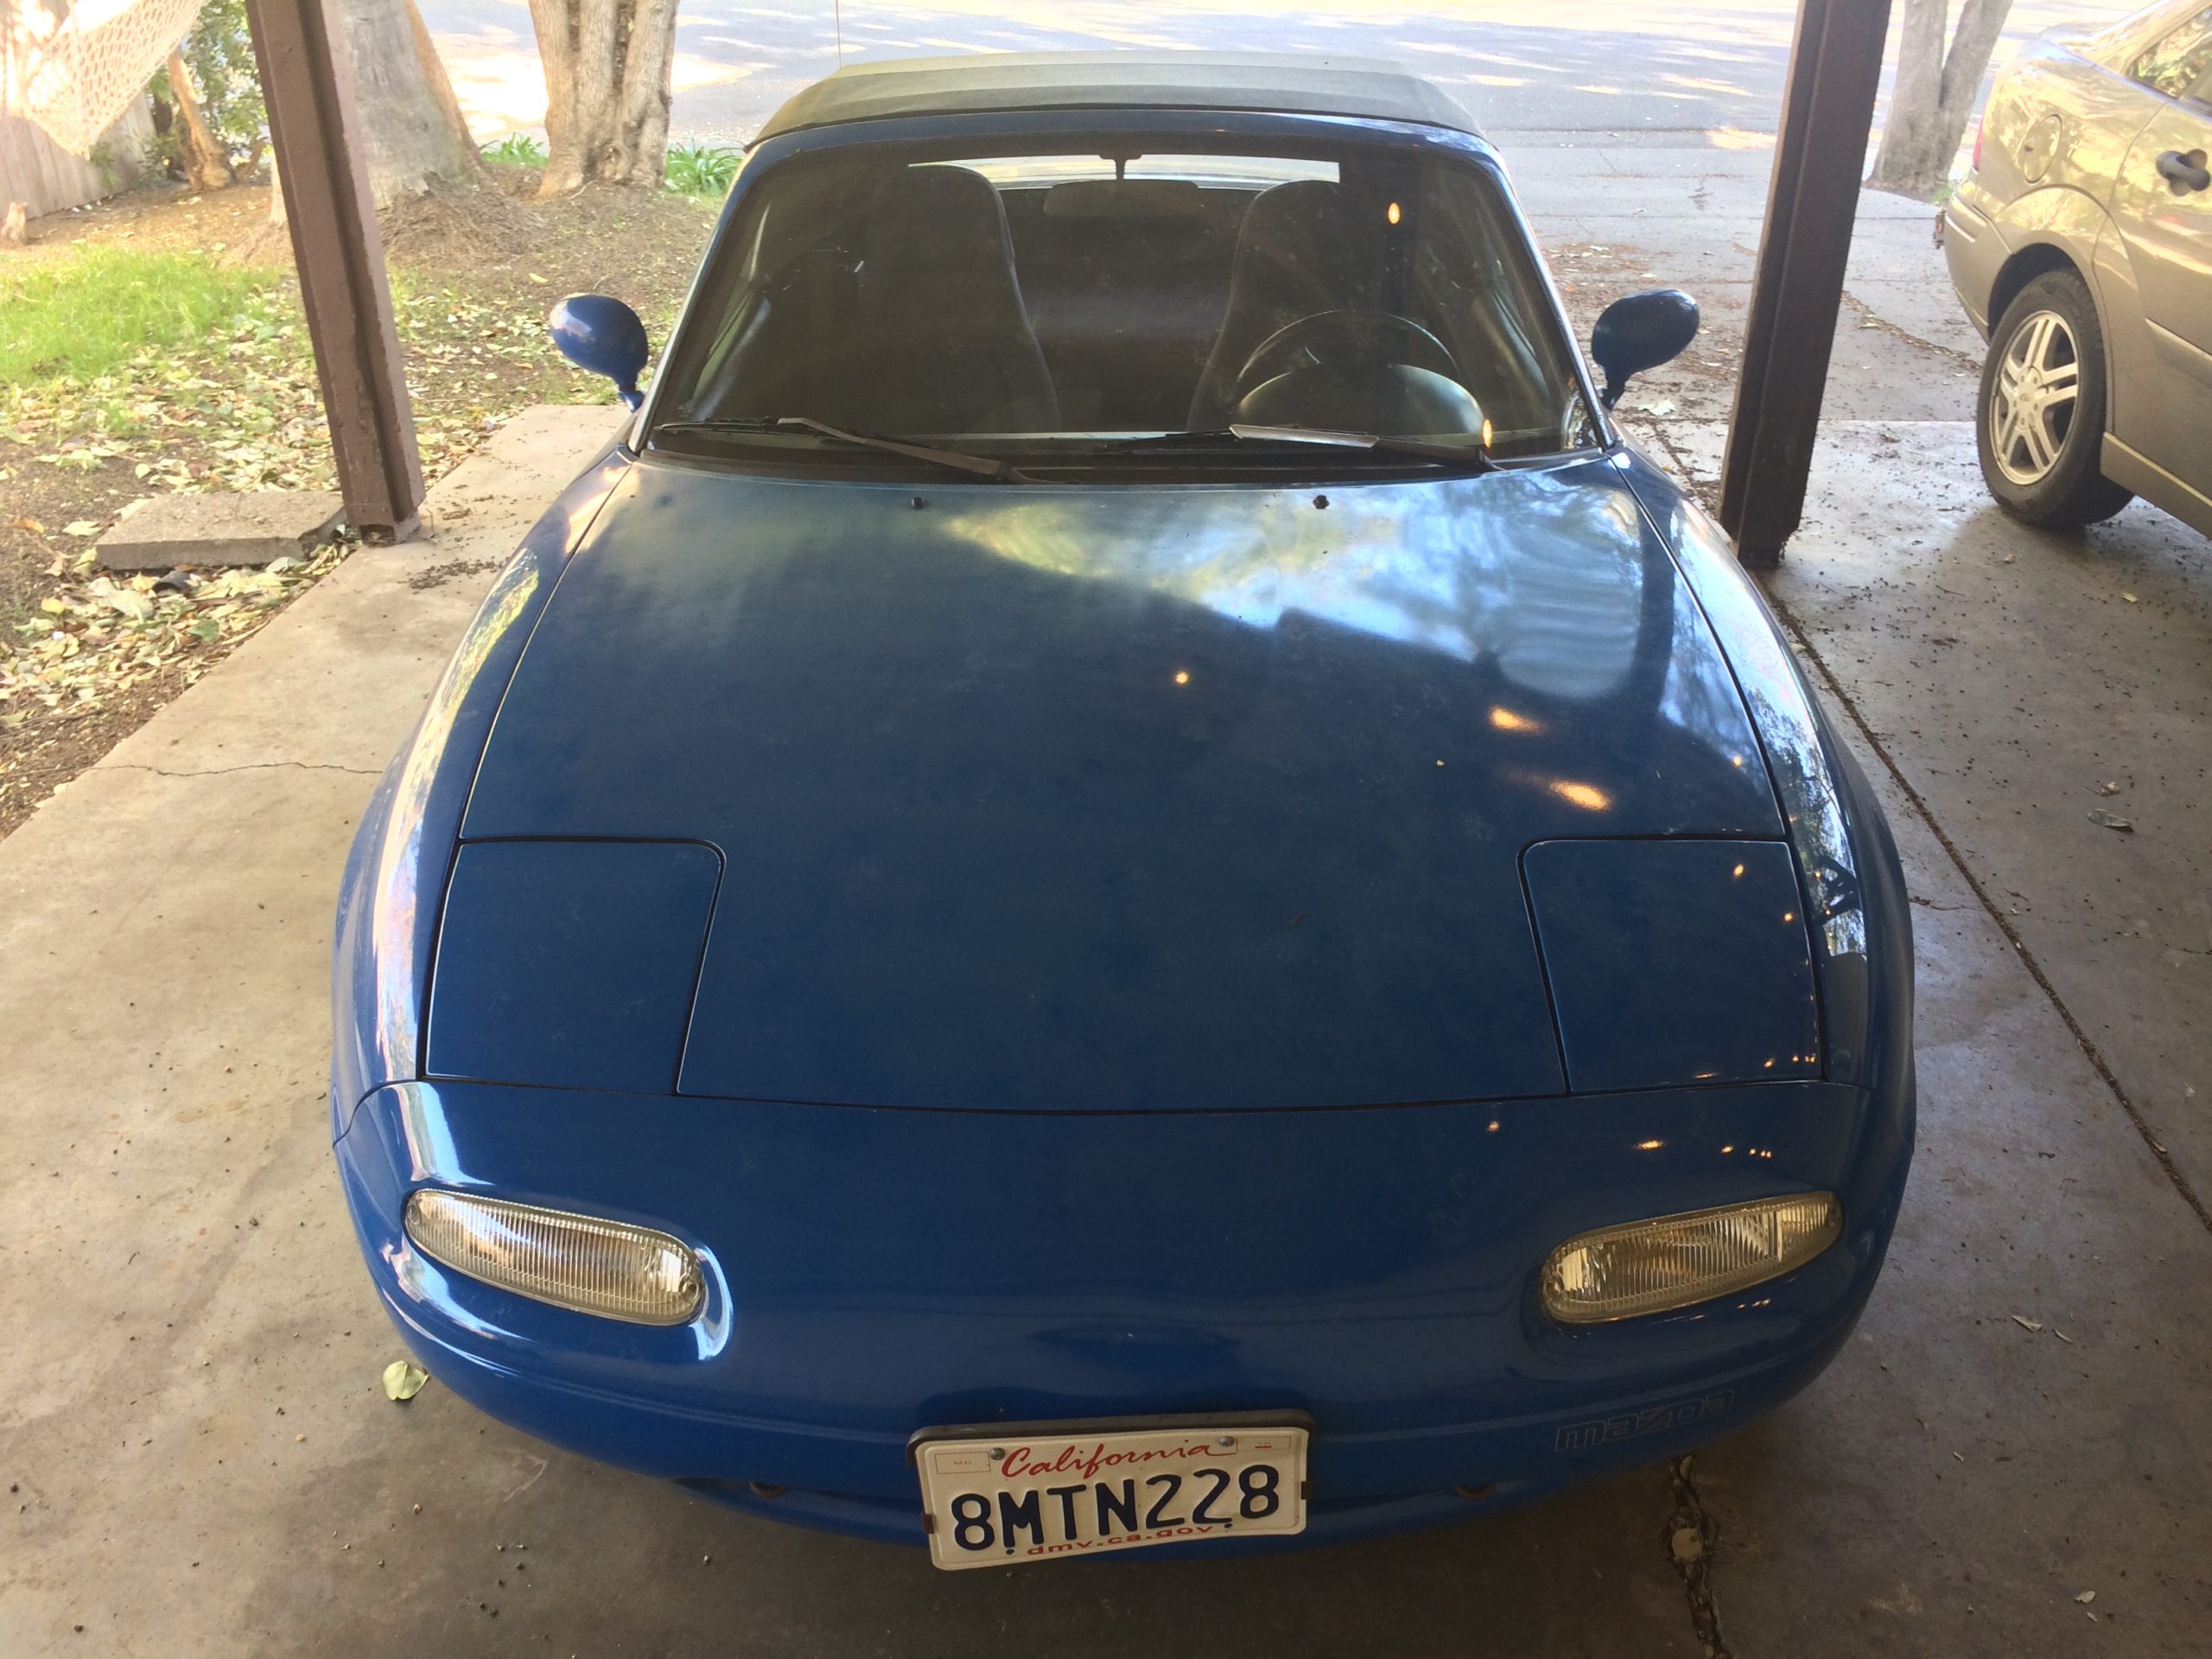
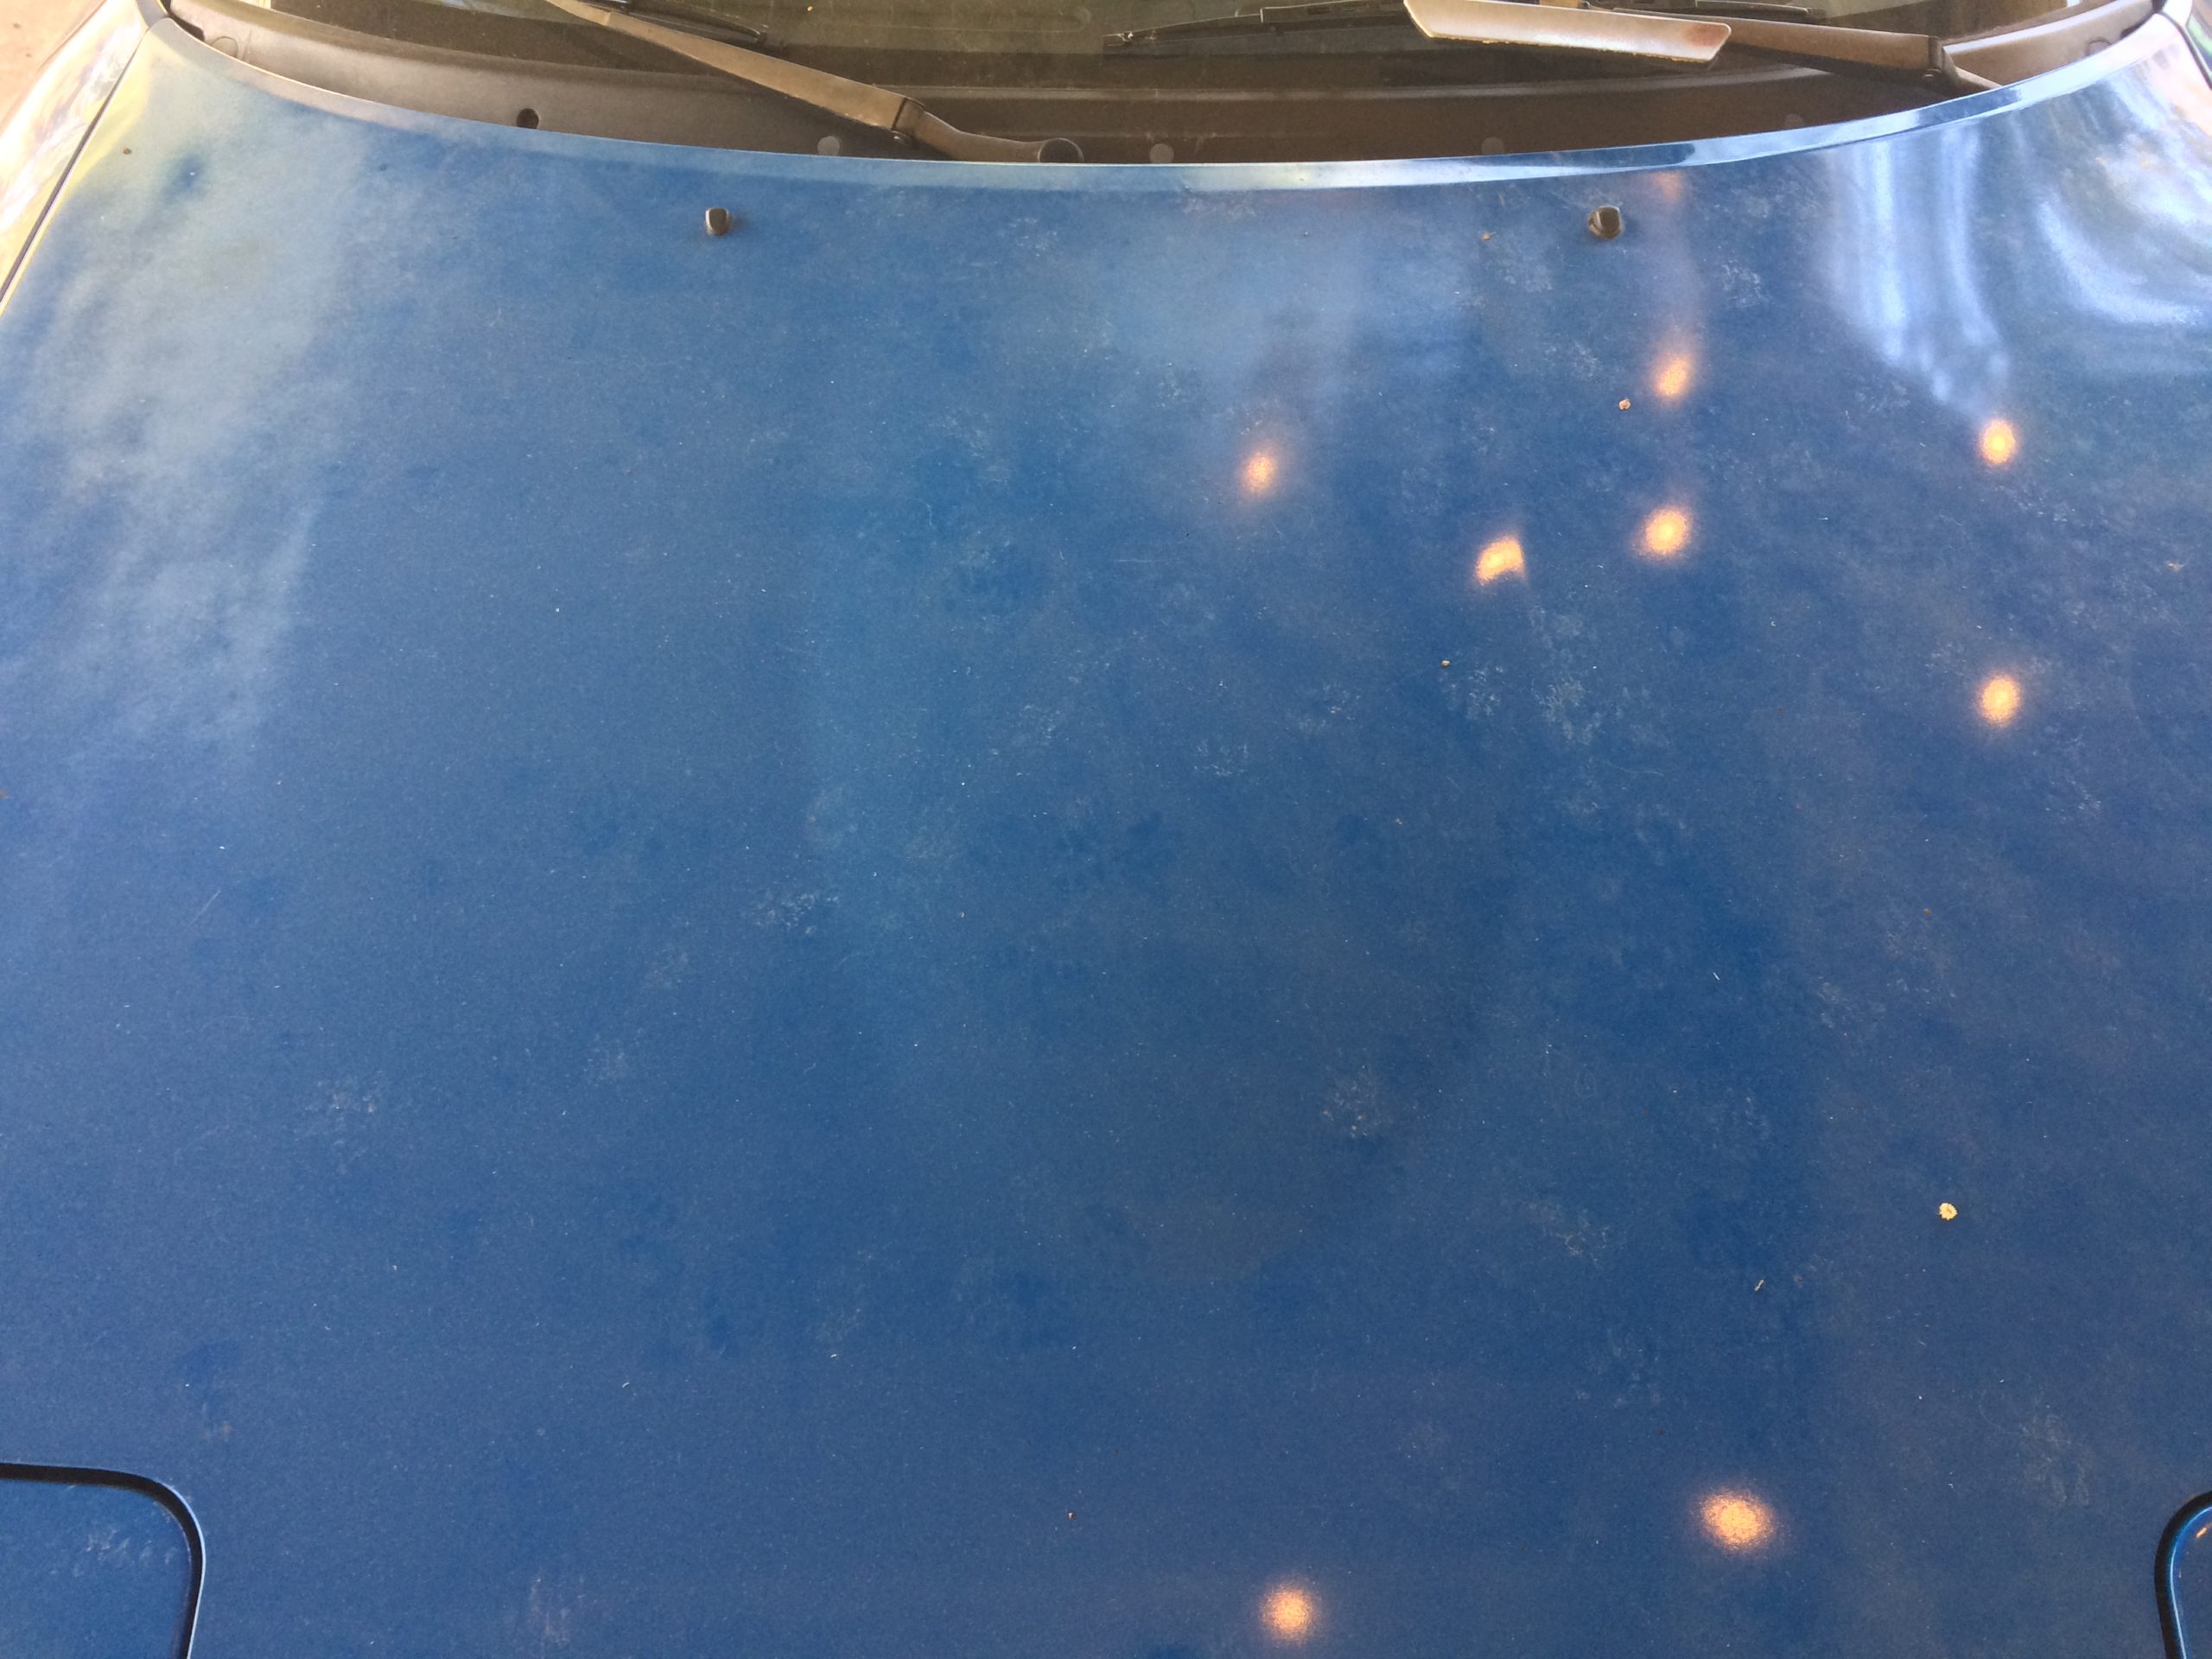
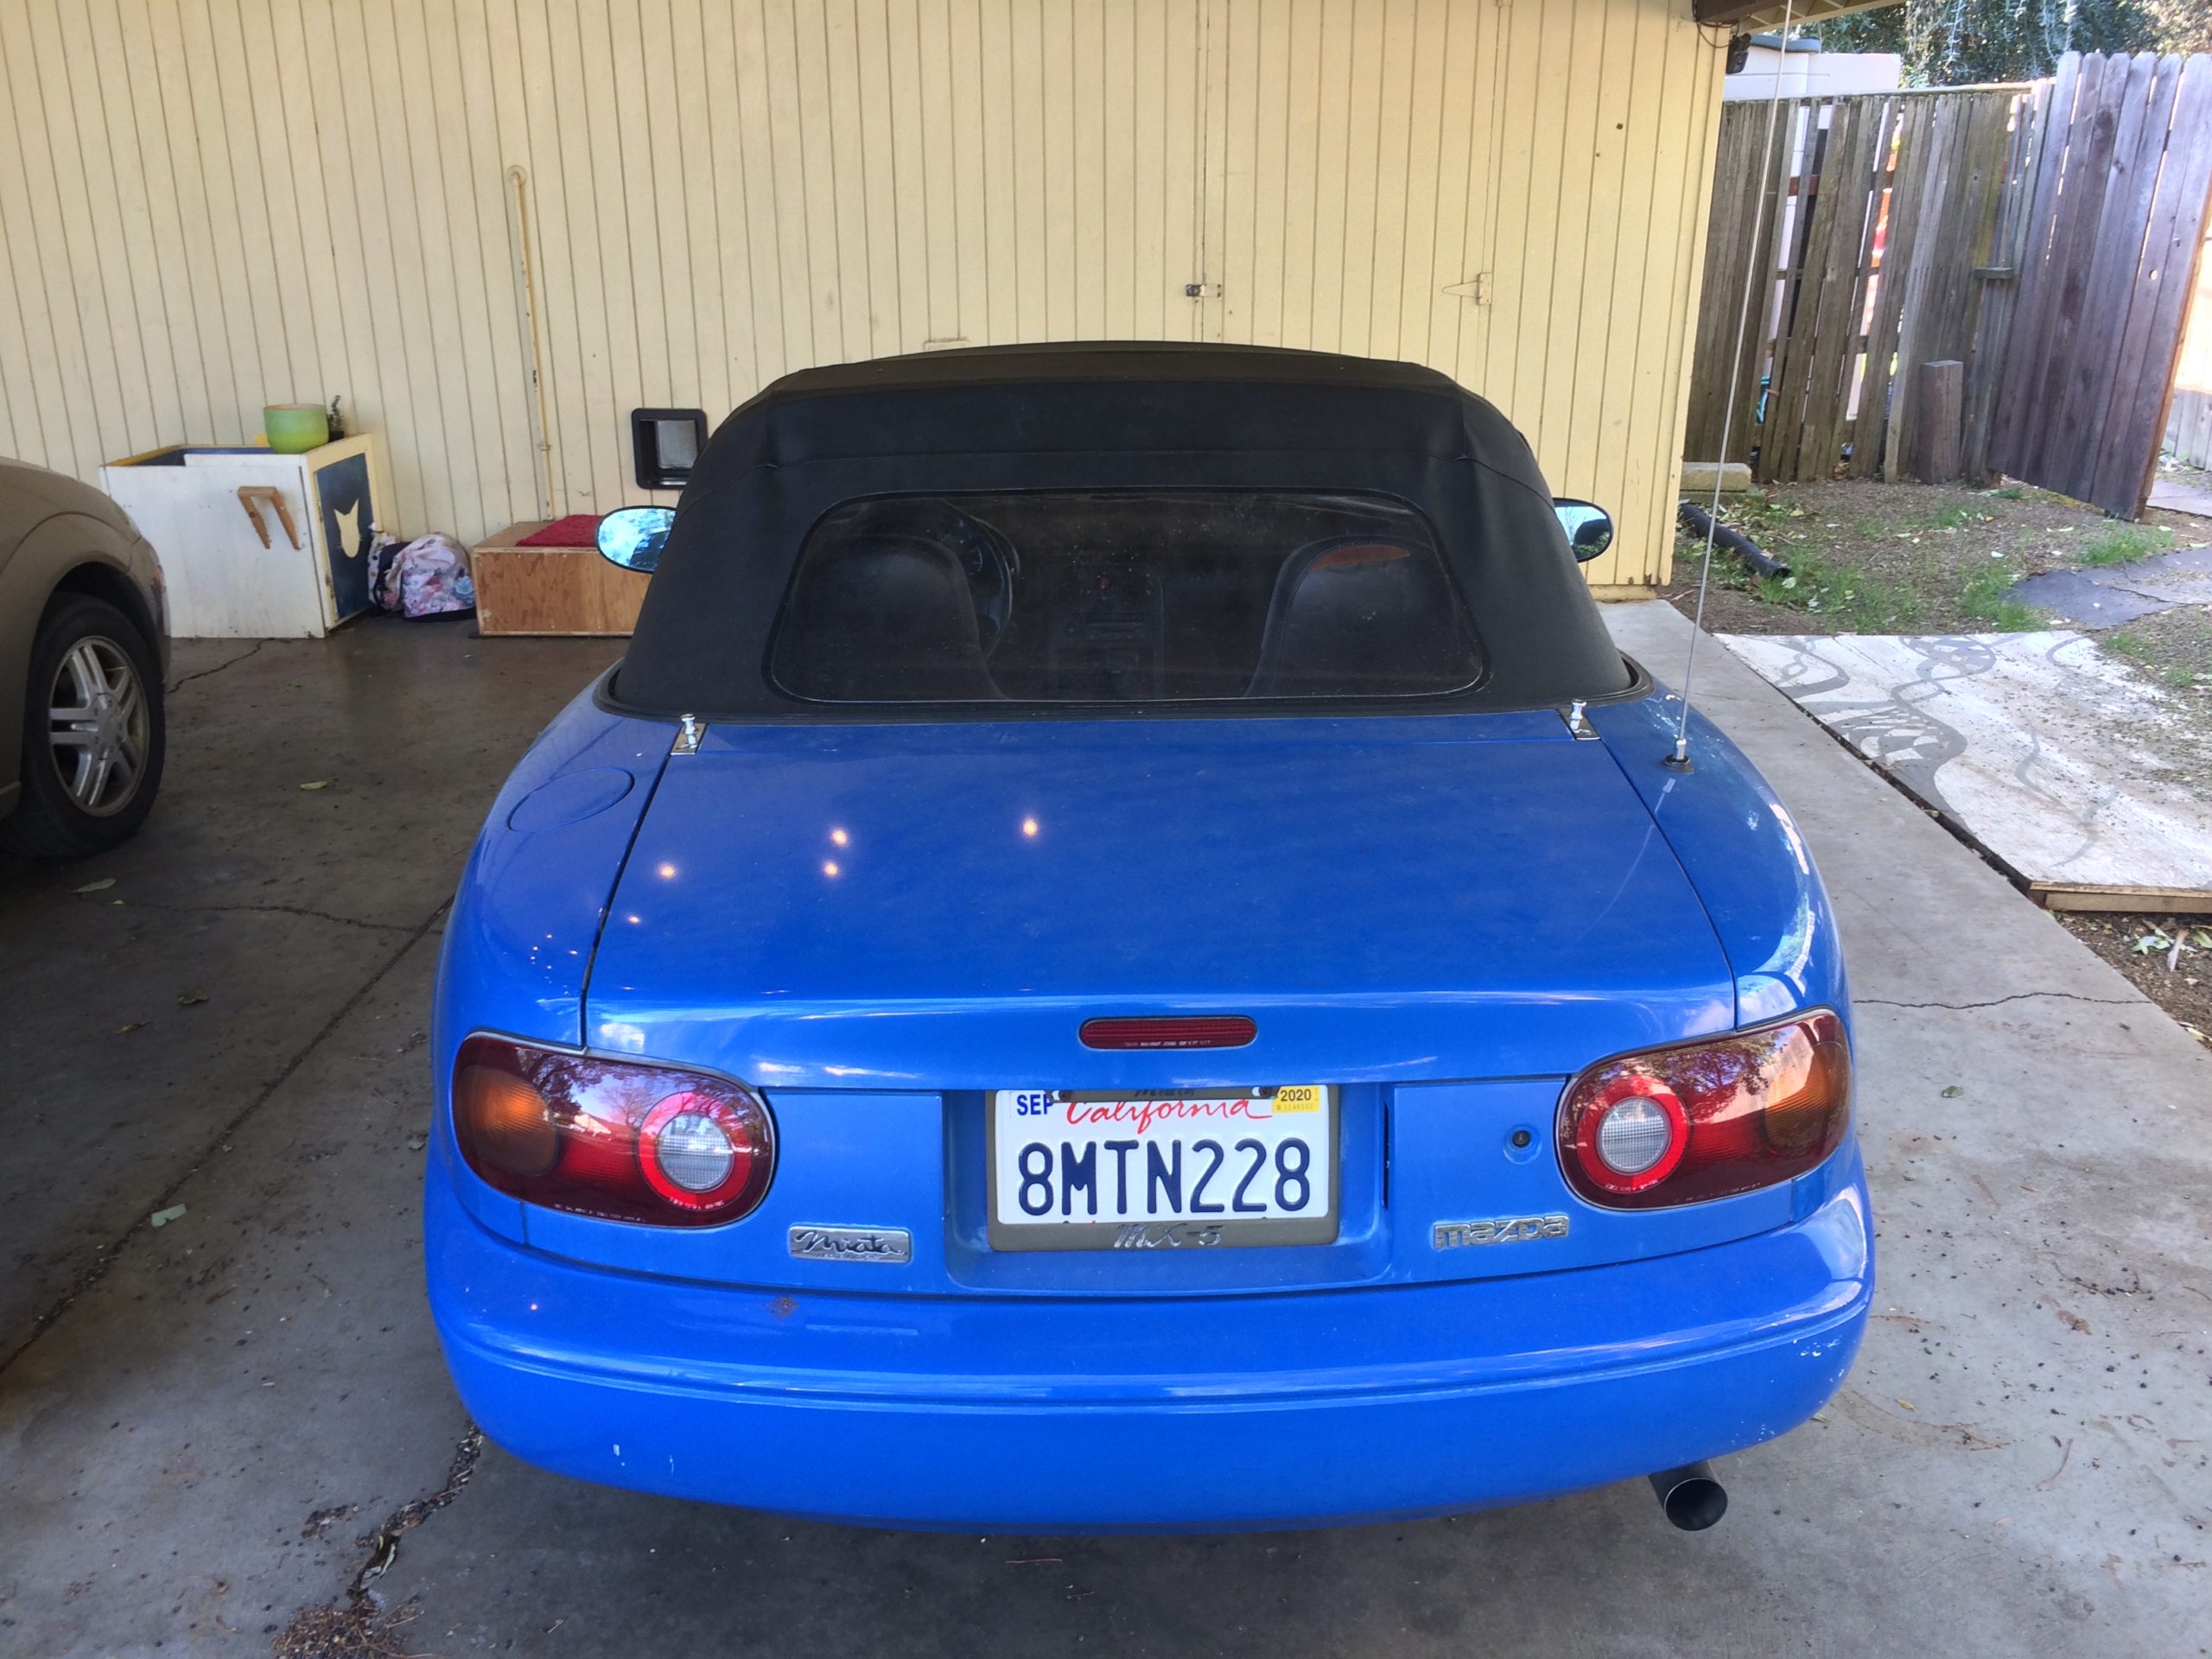
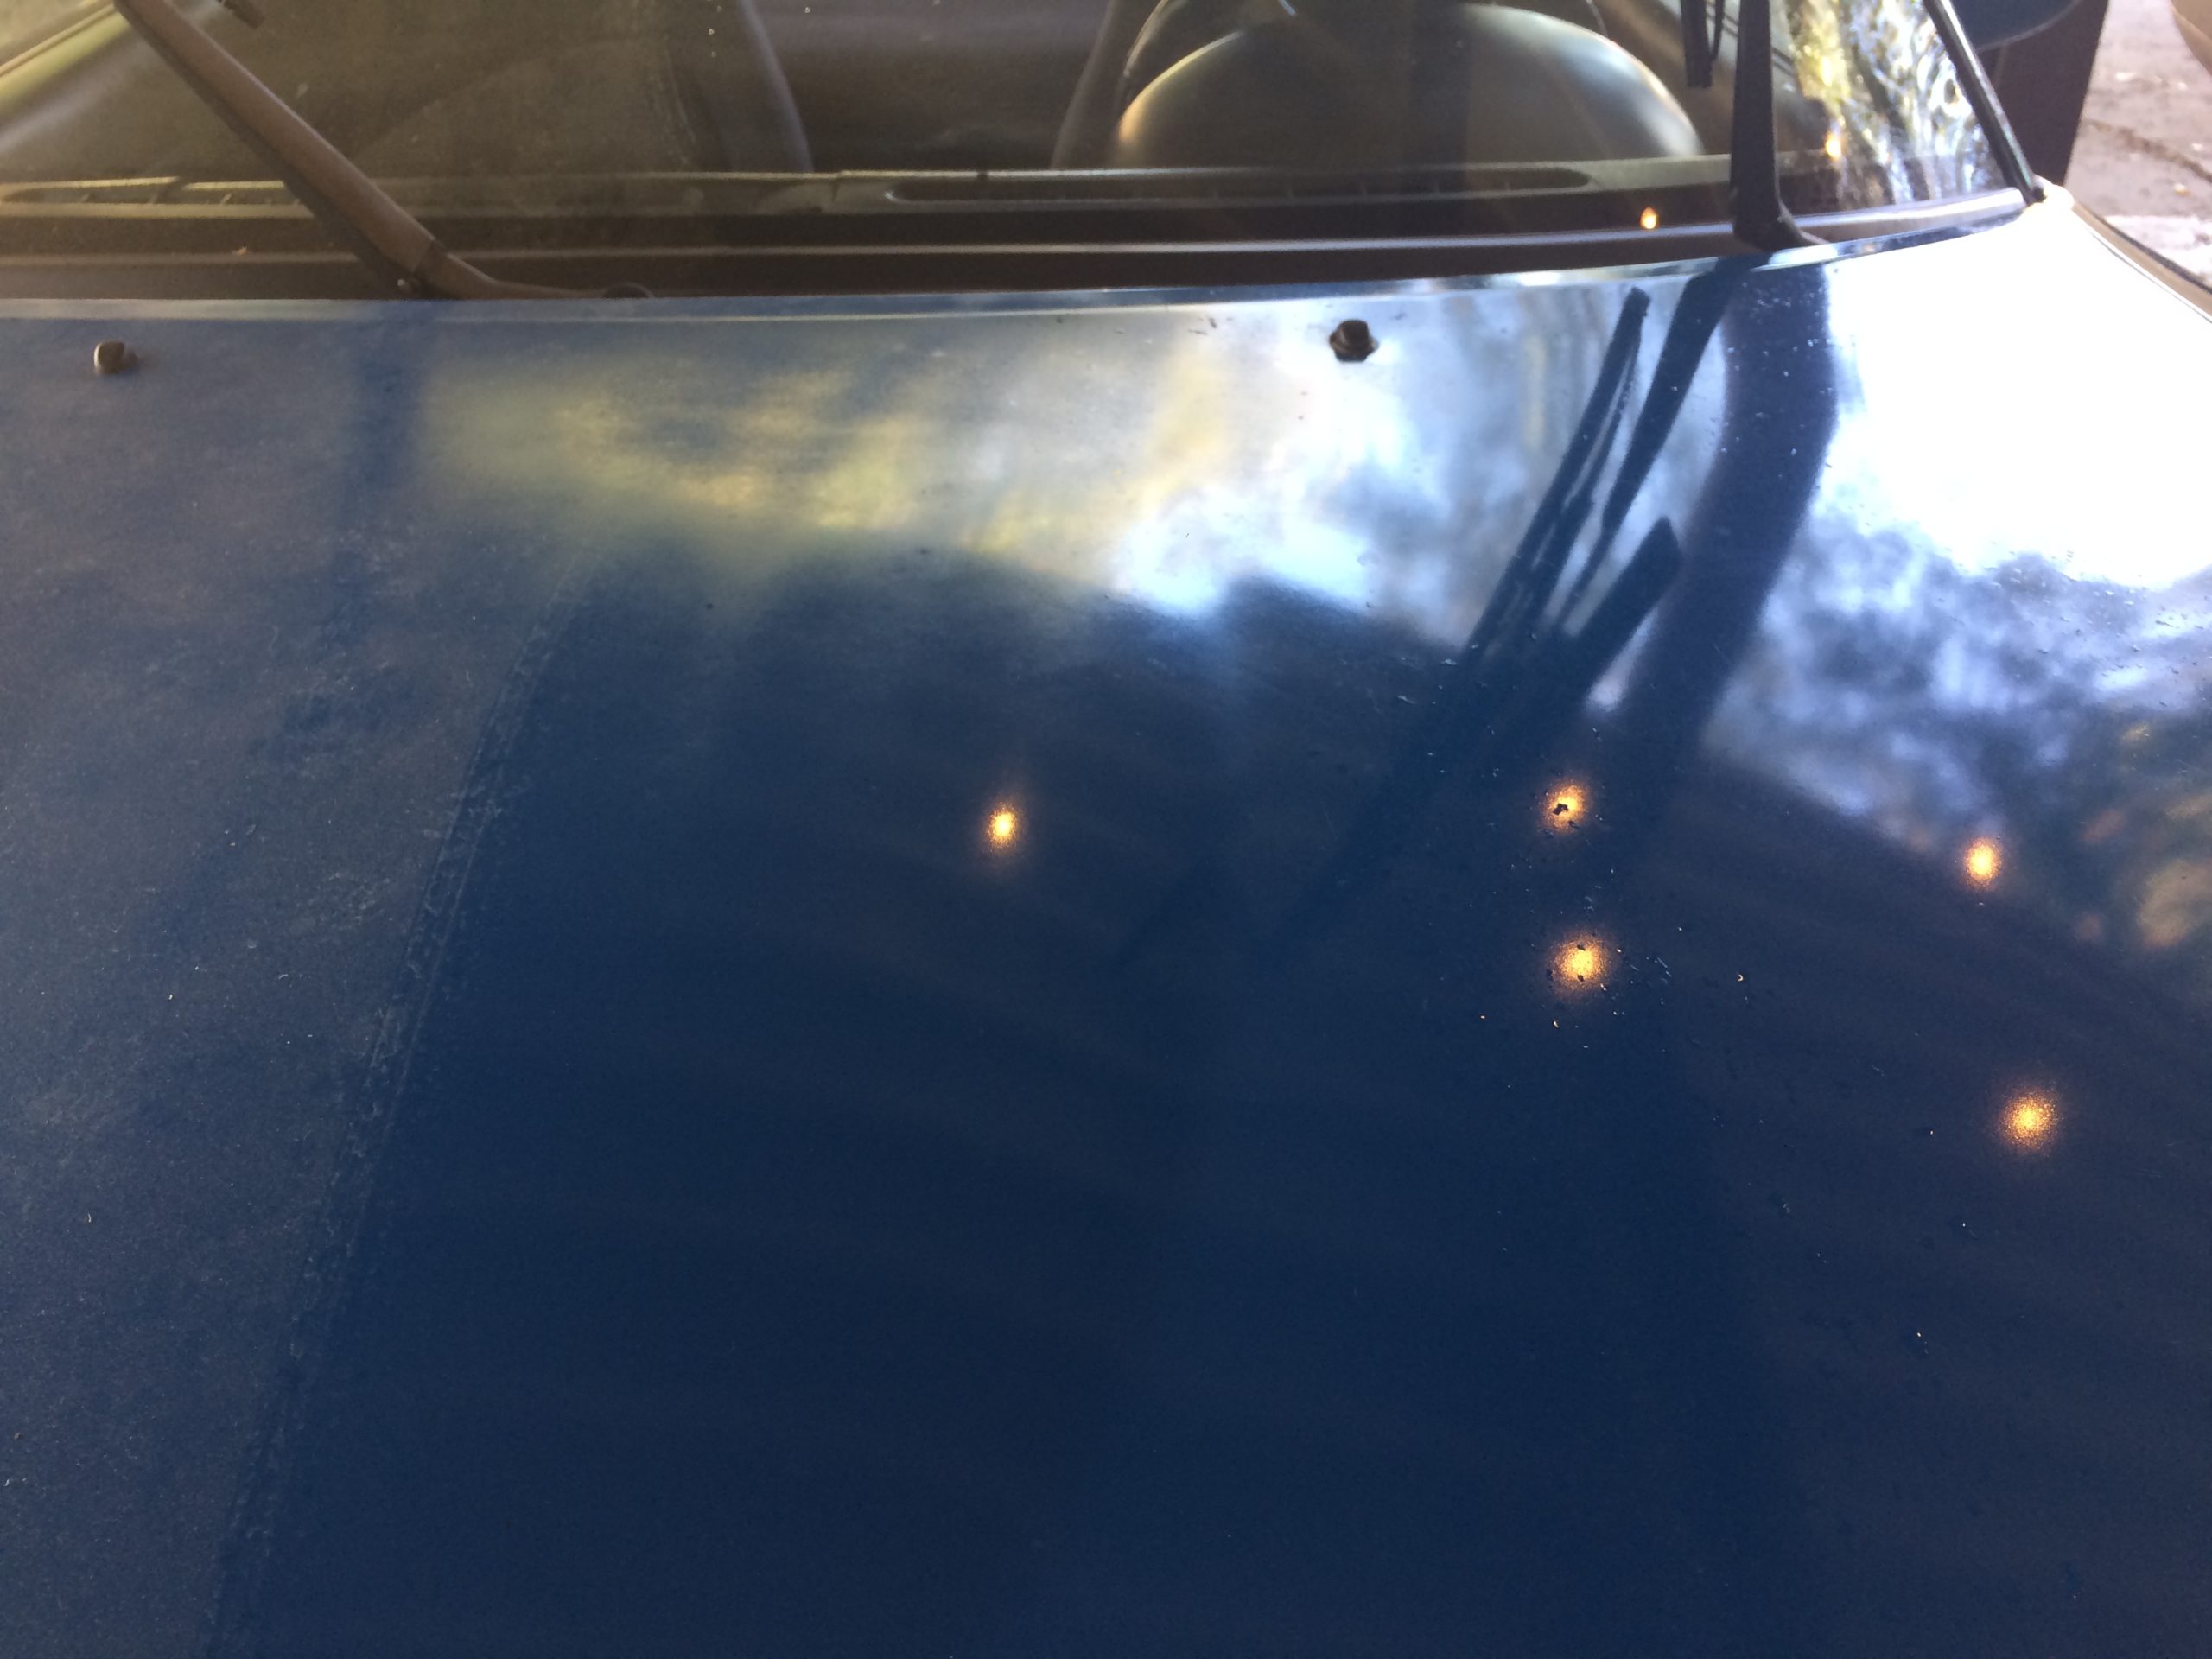
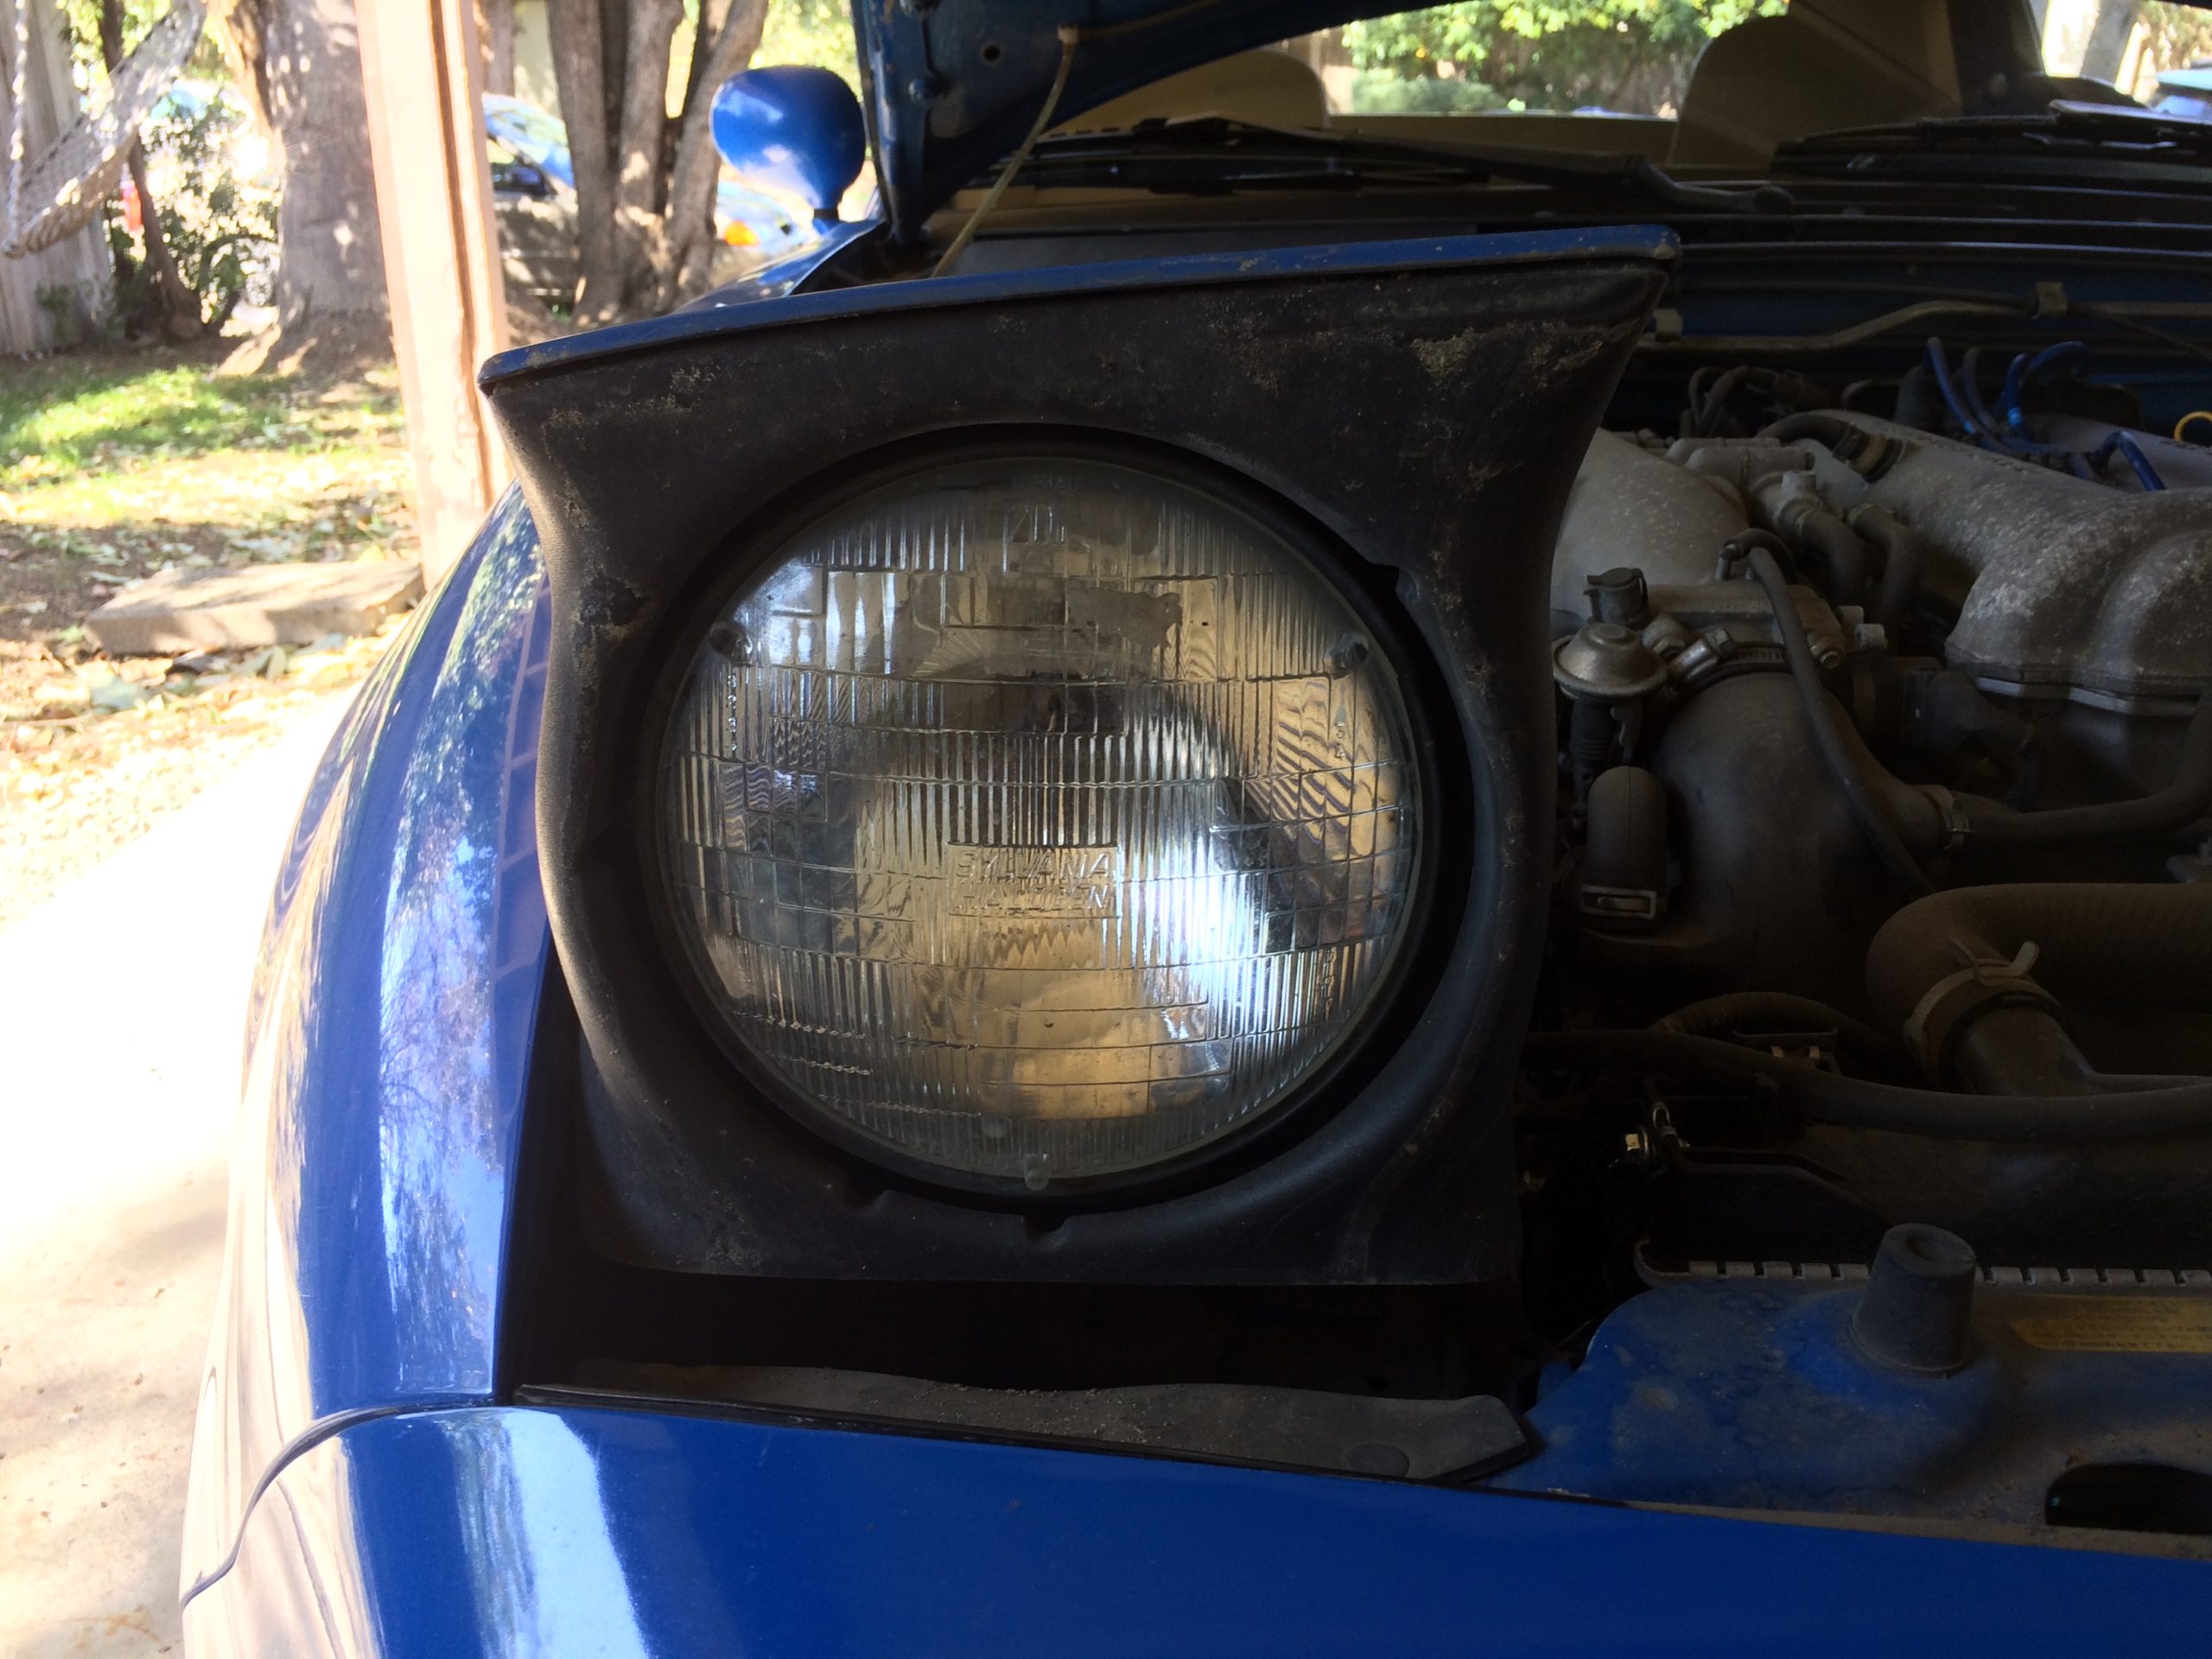
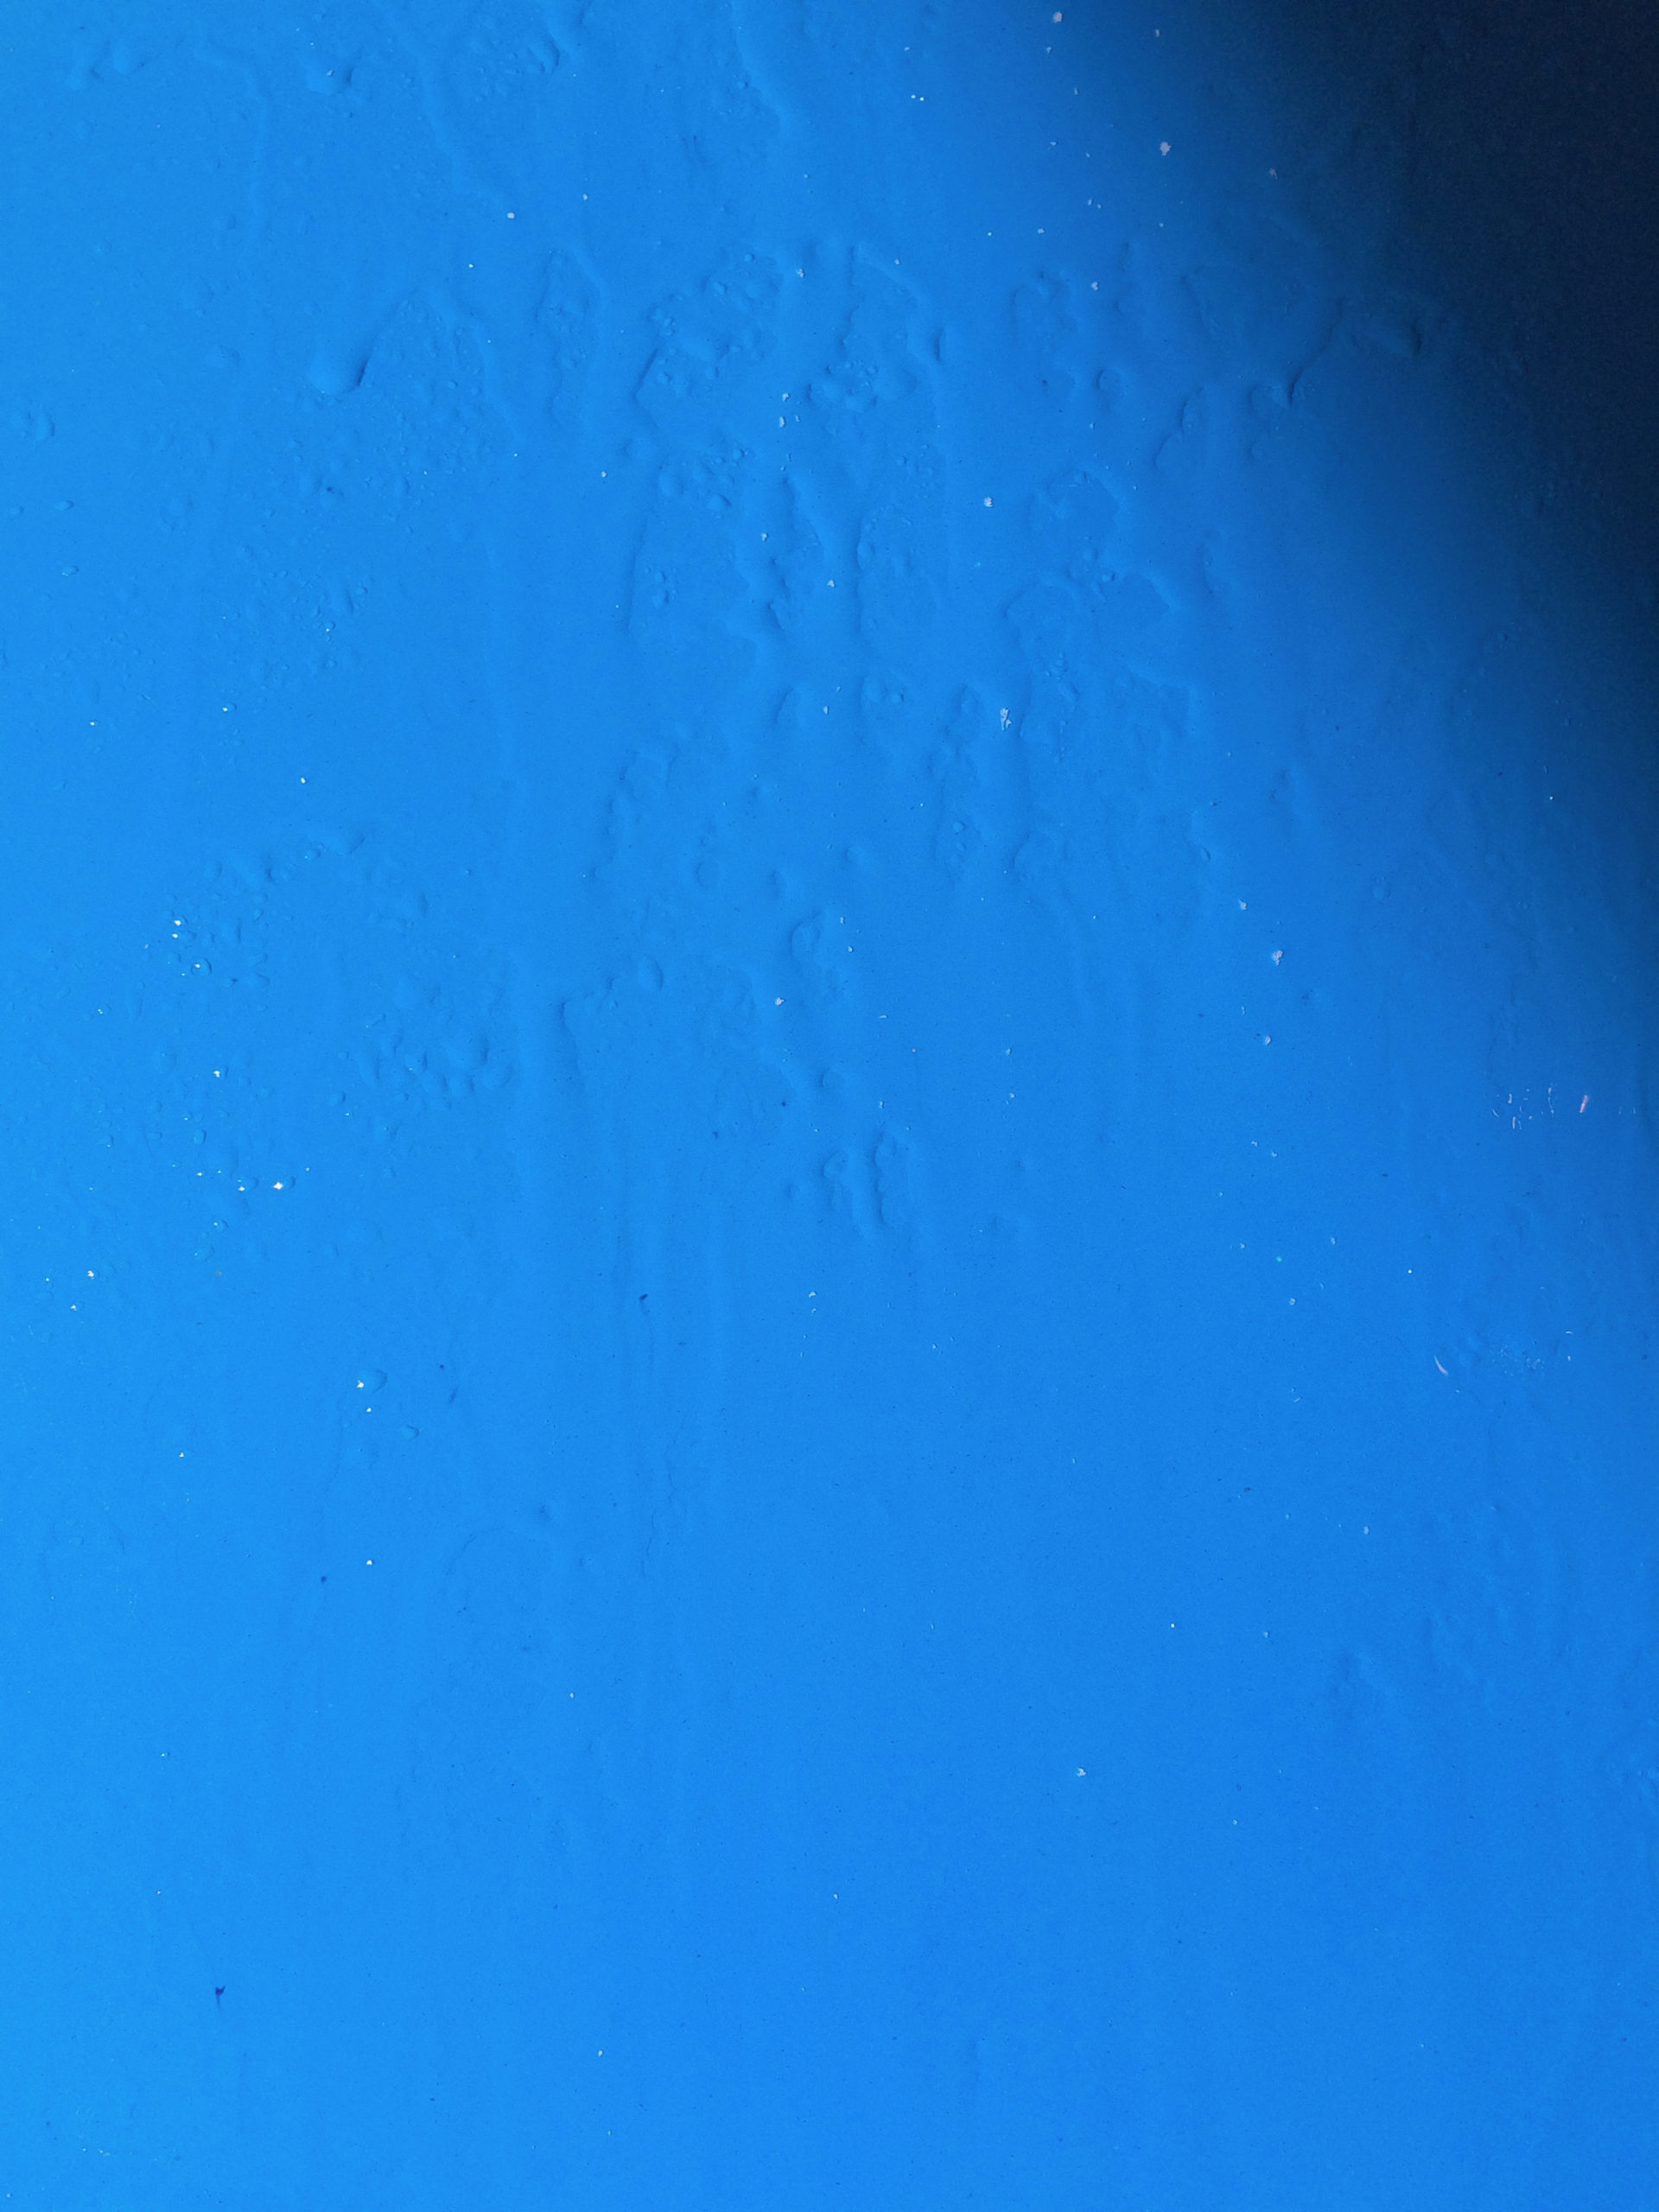
The paint was heavily weathered with a dull tone and covered in dirt.
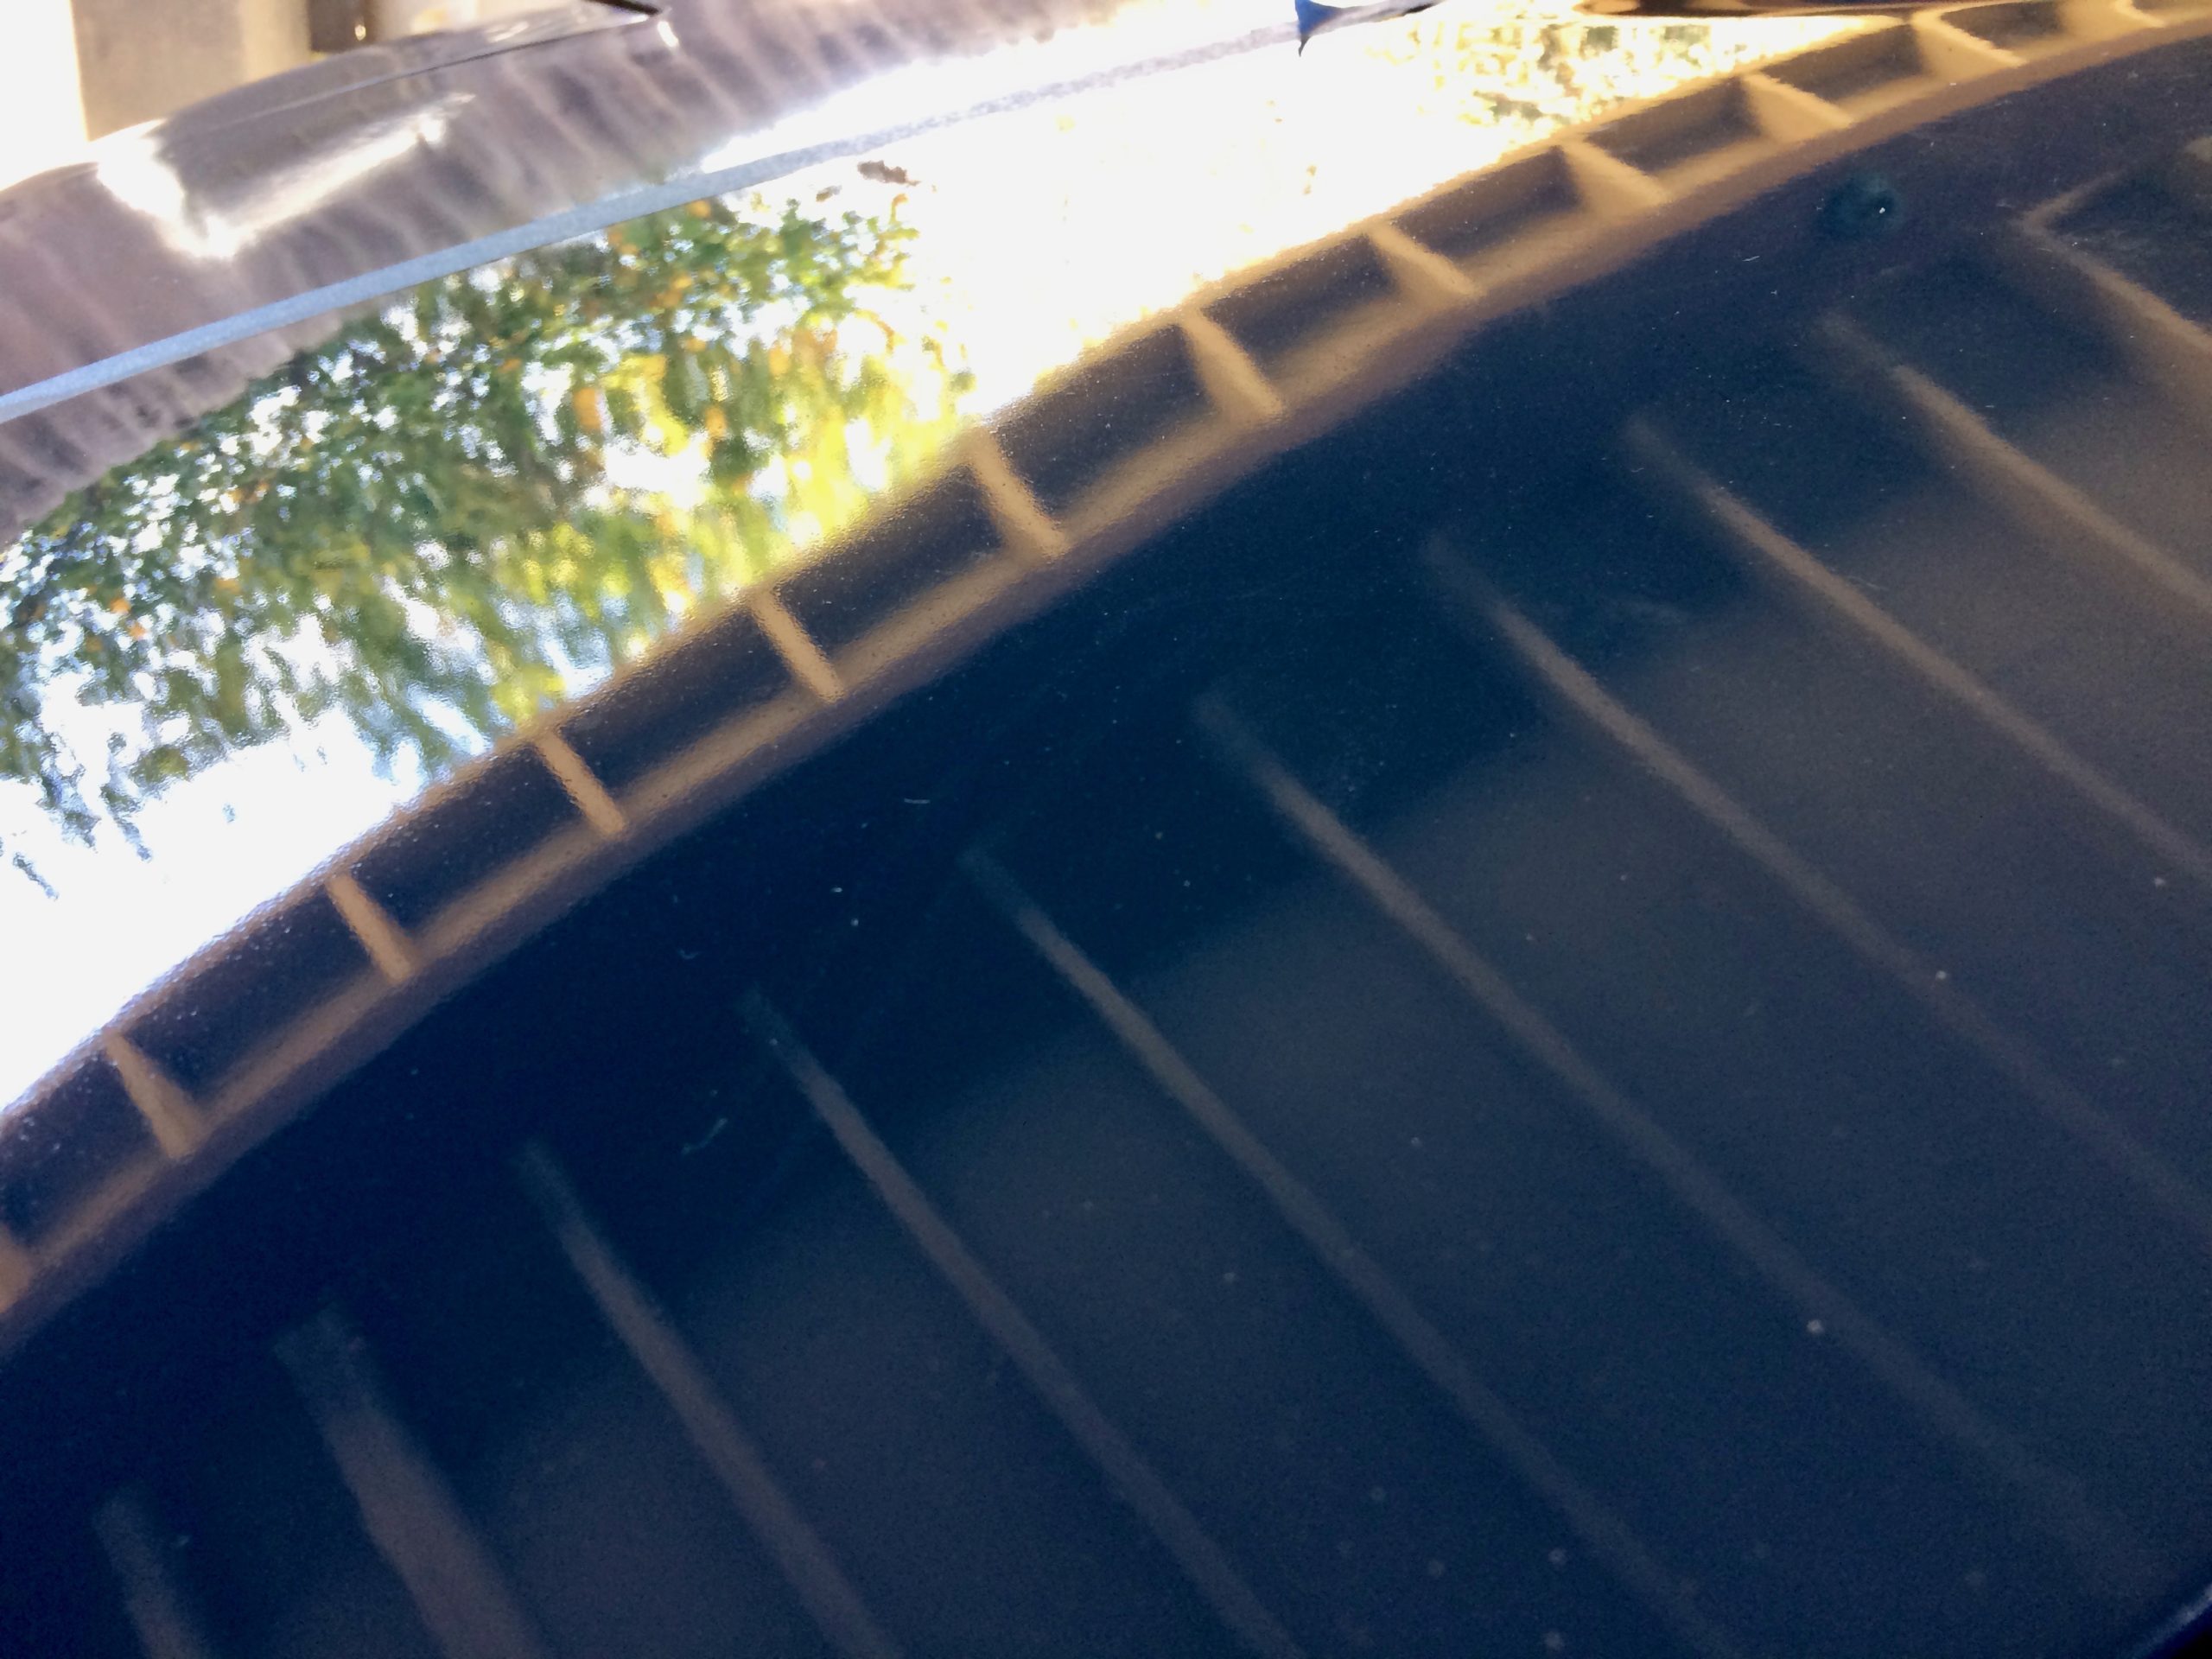
You may notice the paw prints as well. The MX-5’s convertible top happens to be the local cat’s favorite resting place. I would need to keep this in mind after paint correction as his claws and paw pads can easily scratch the finish.
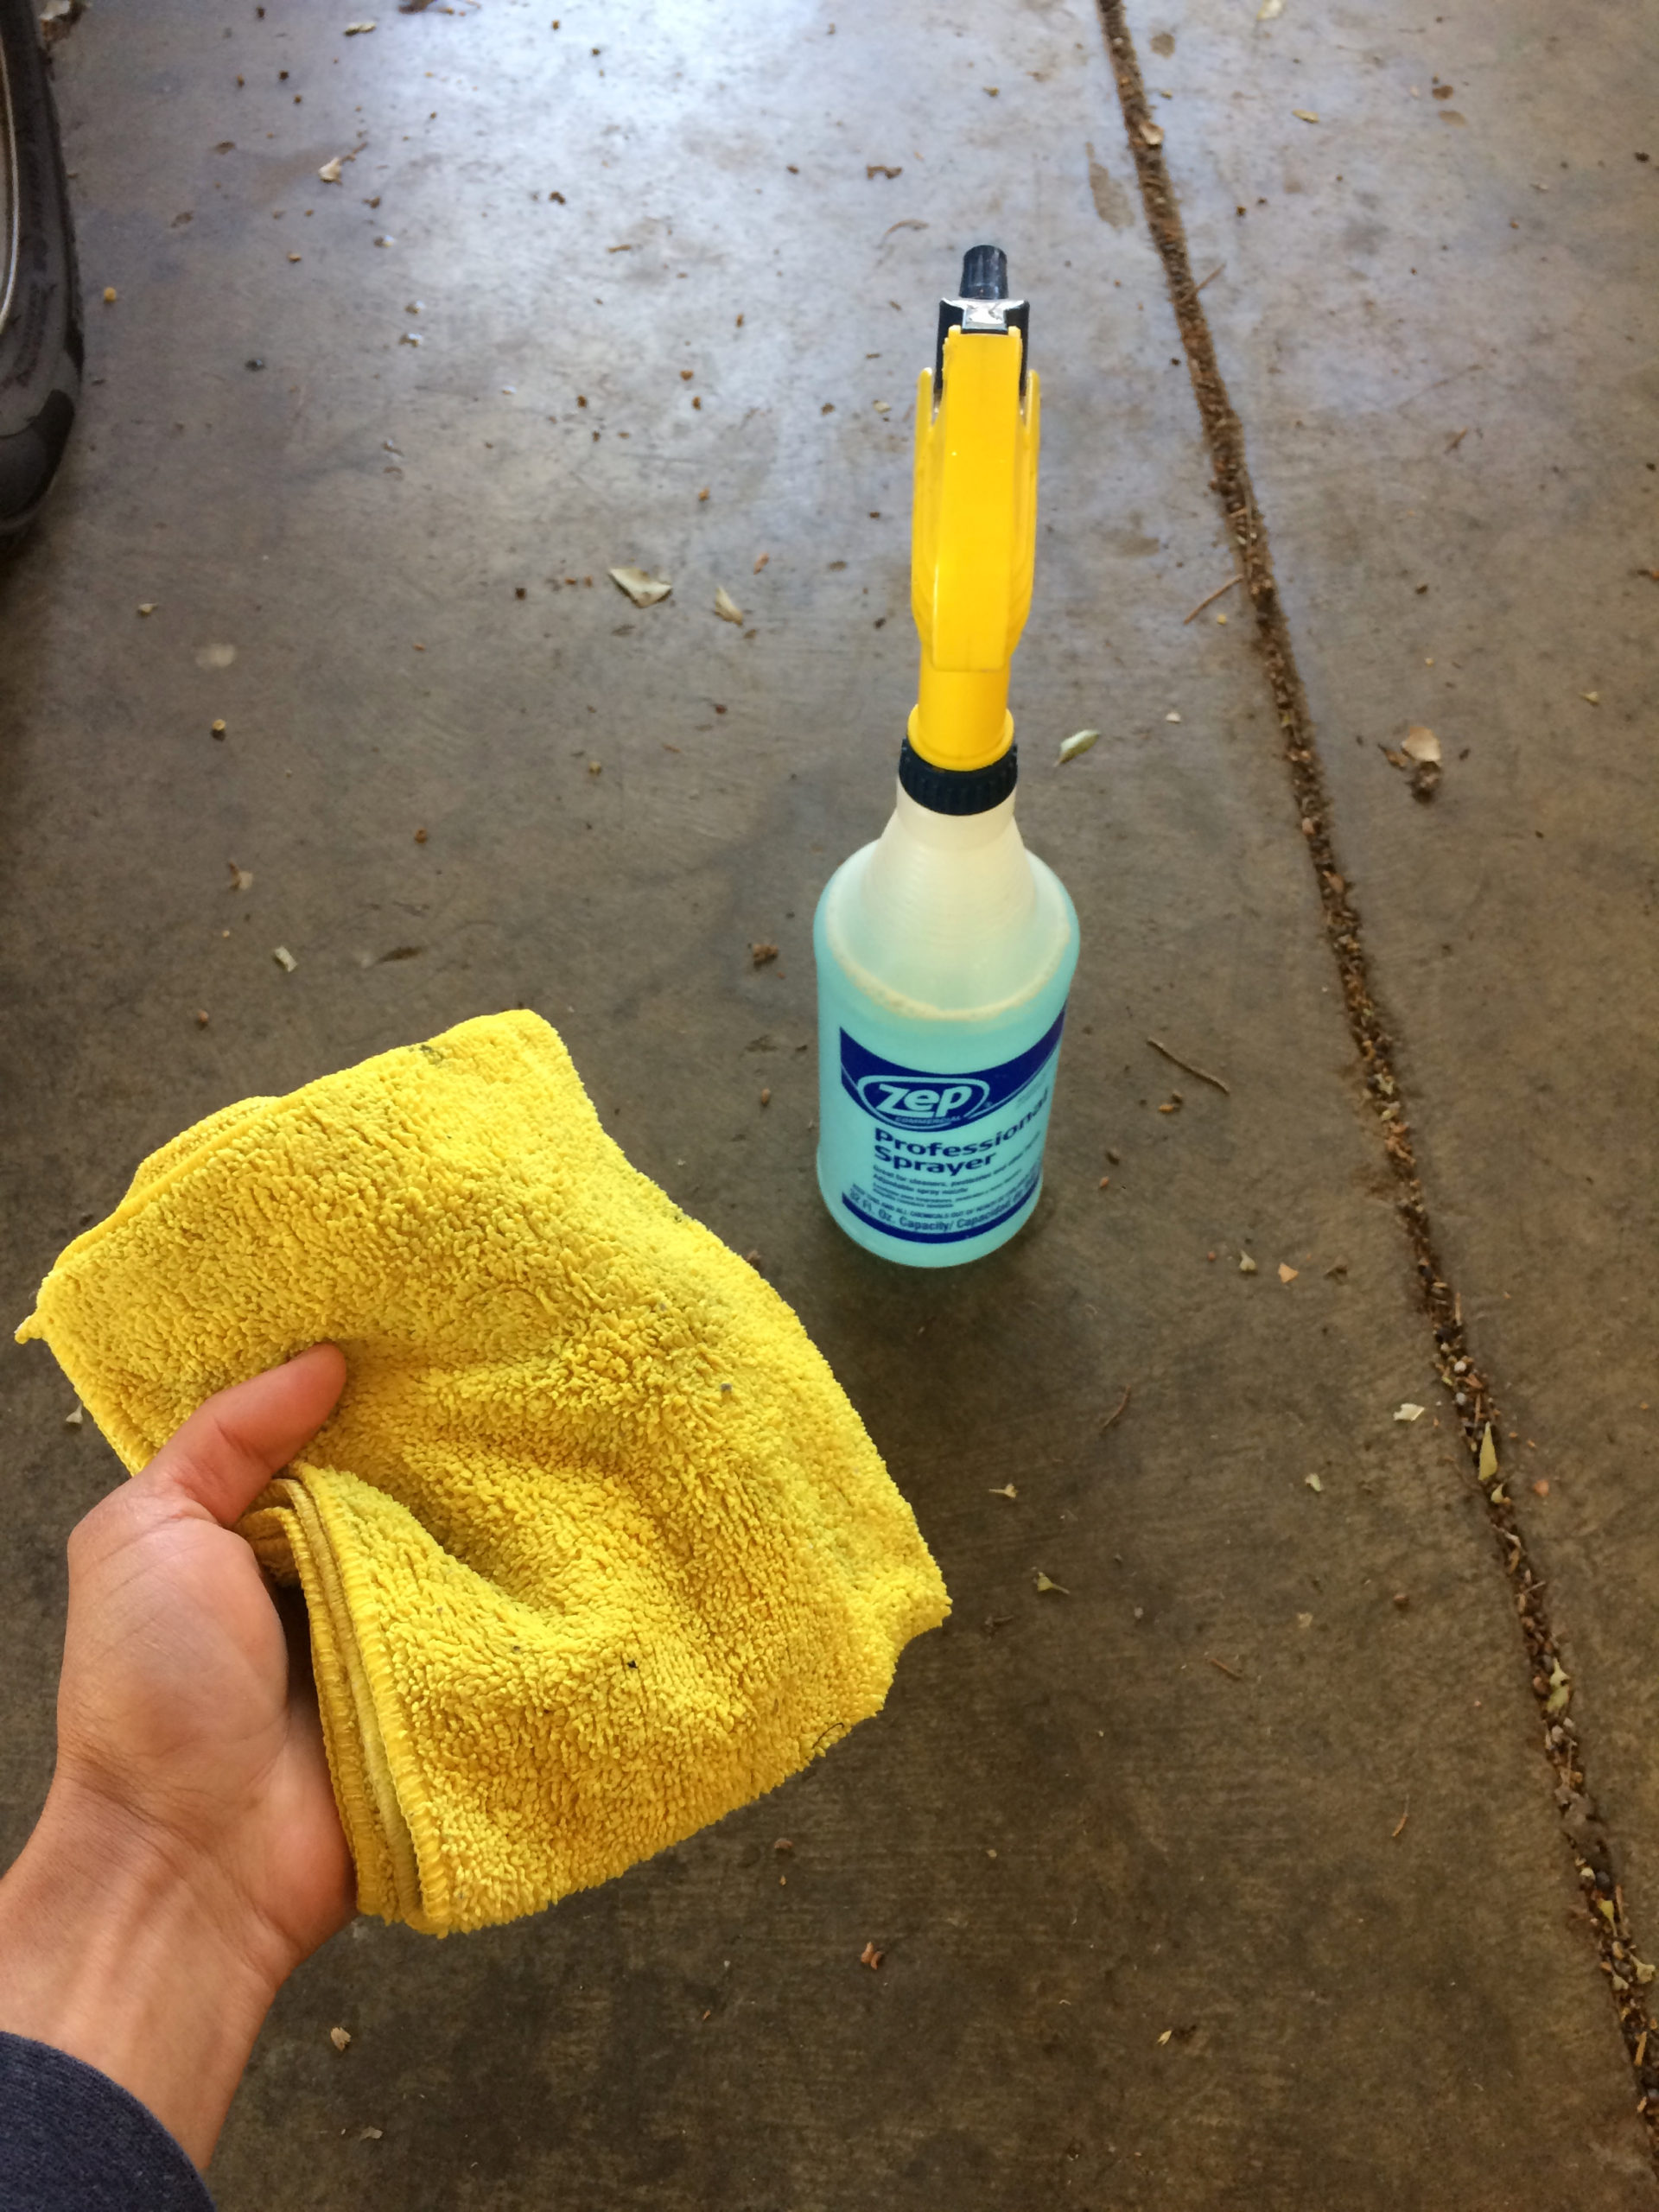
I cleaned the exterior using a microfiber towel paired with Optimum Wash & Shine diluted in a spray bottle. I cleaned both sides of the vehicle, the comparison is primarily for paint correction not for washing. I did leave half of the engine bay dirty though.
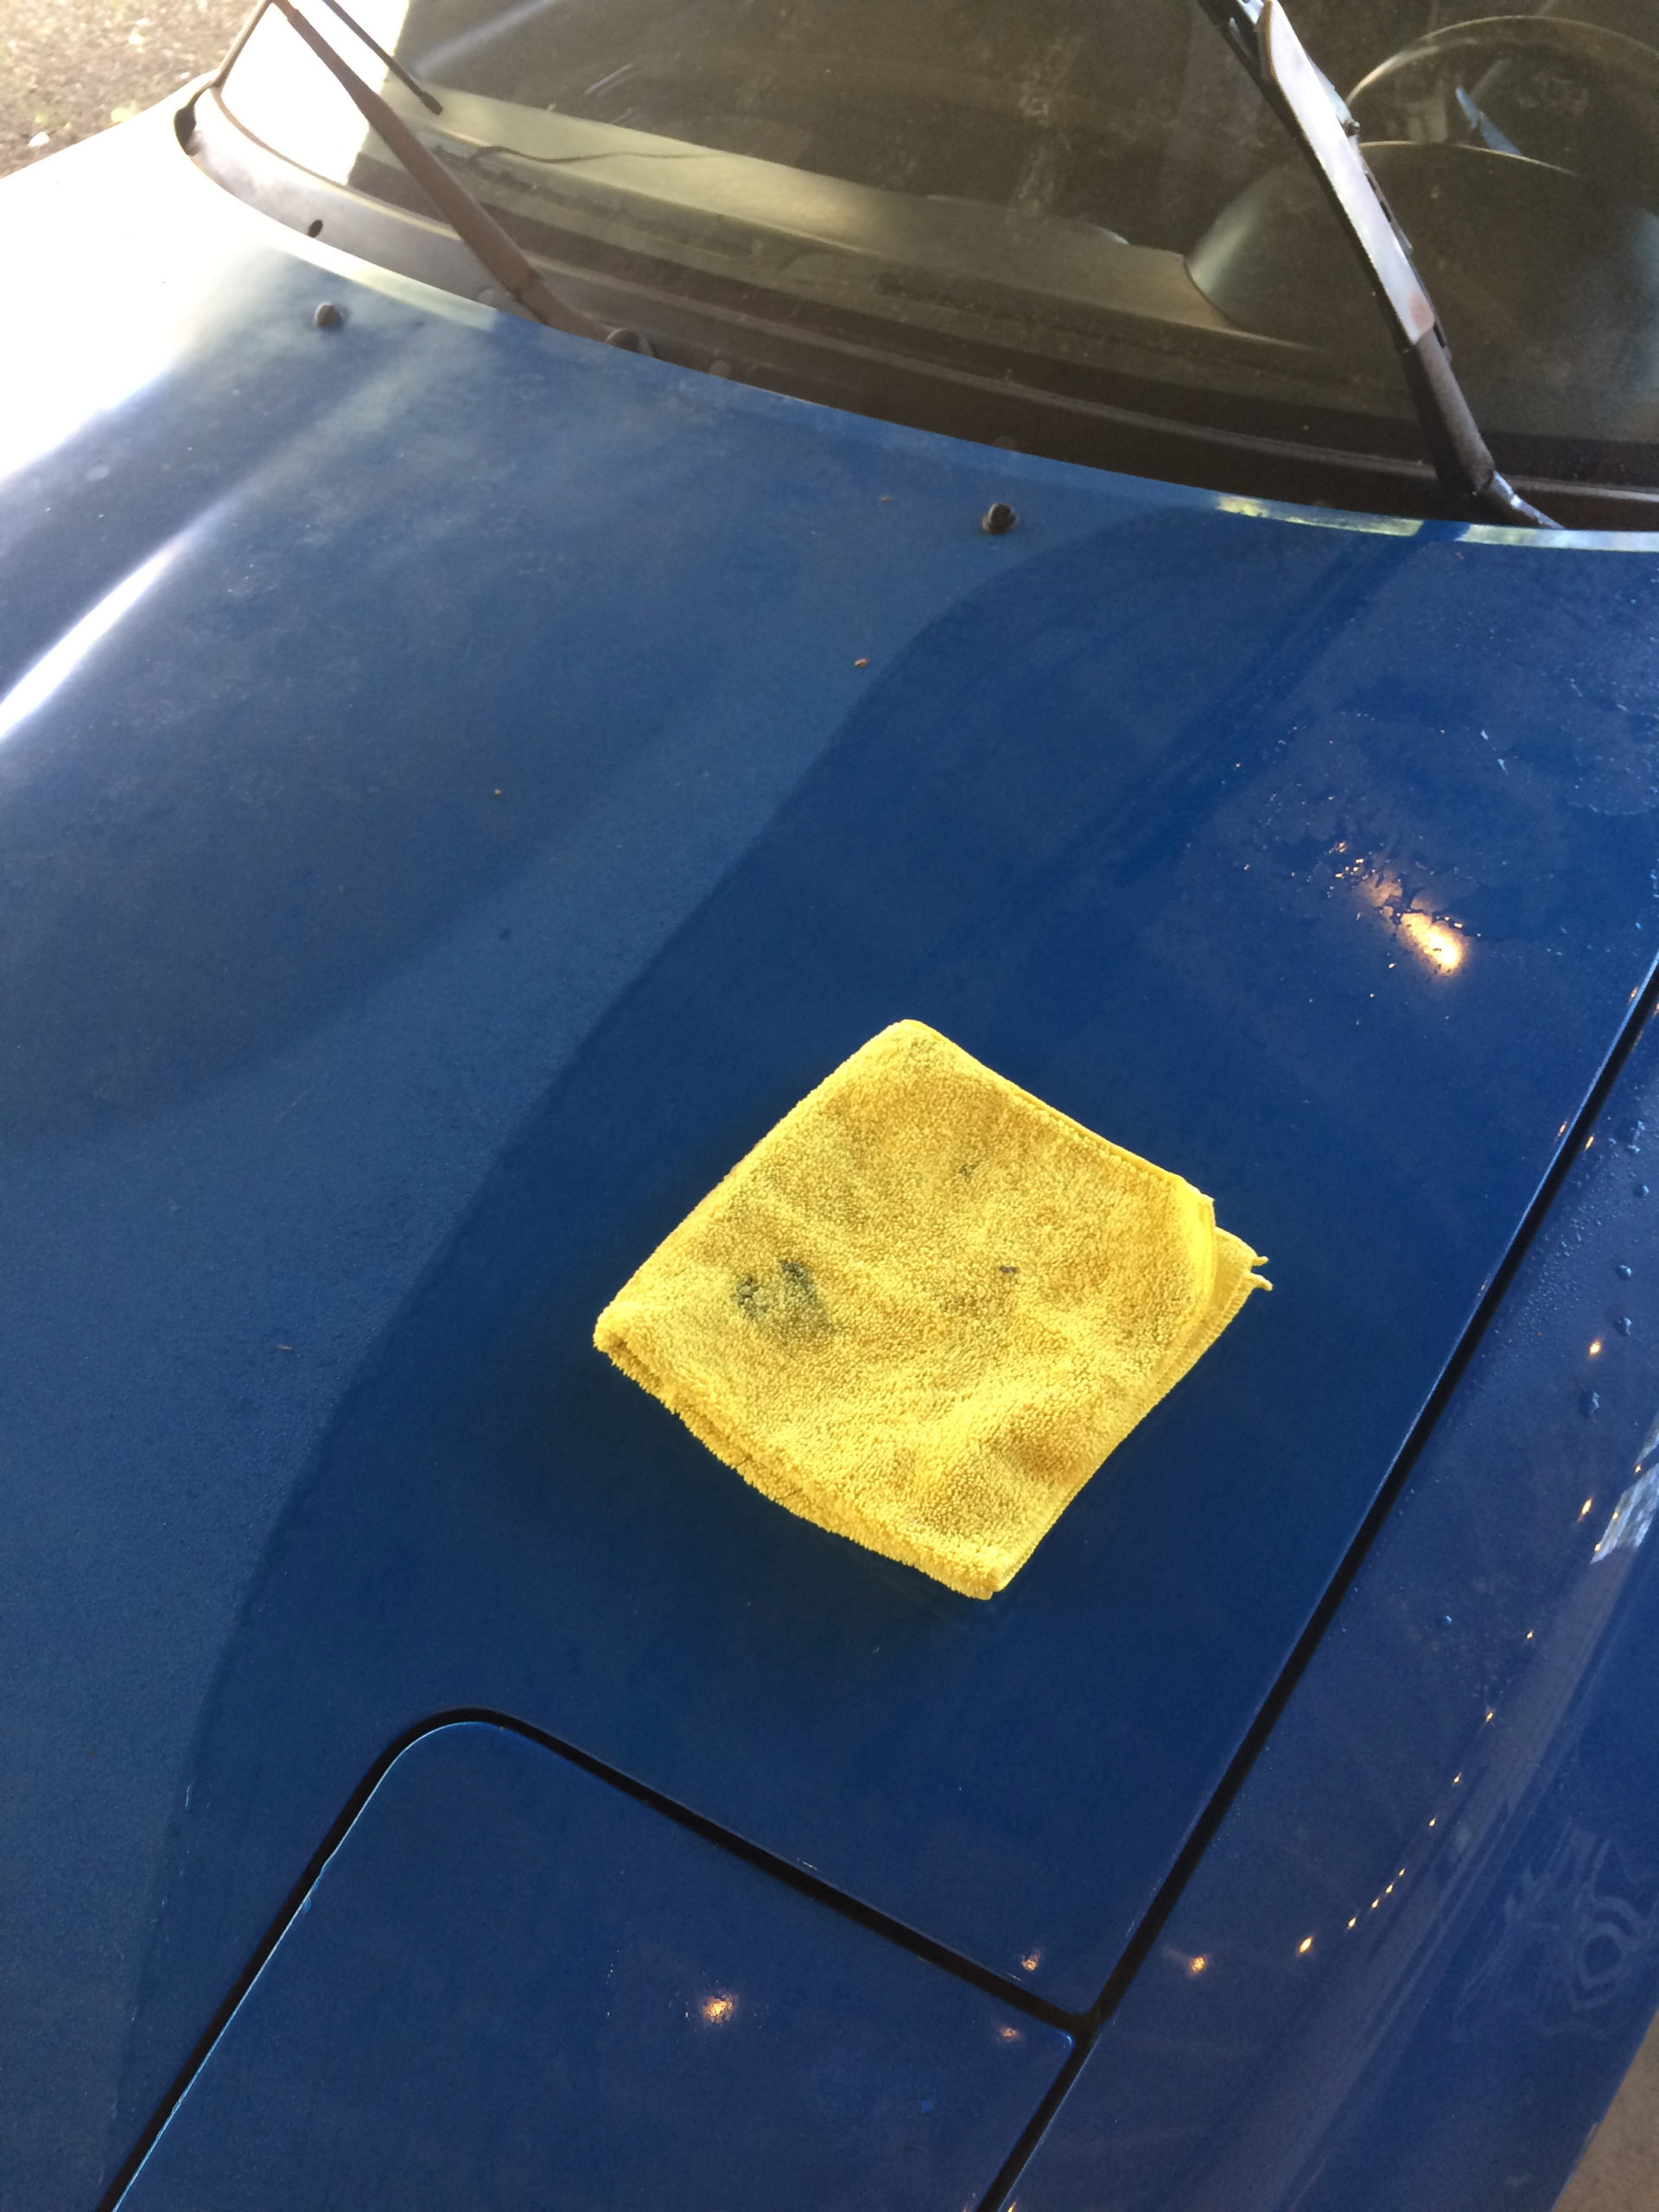
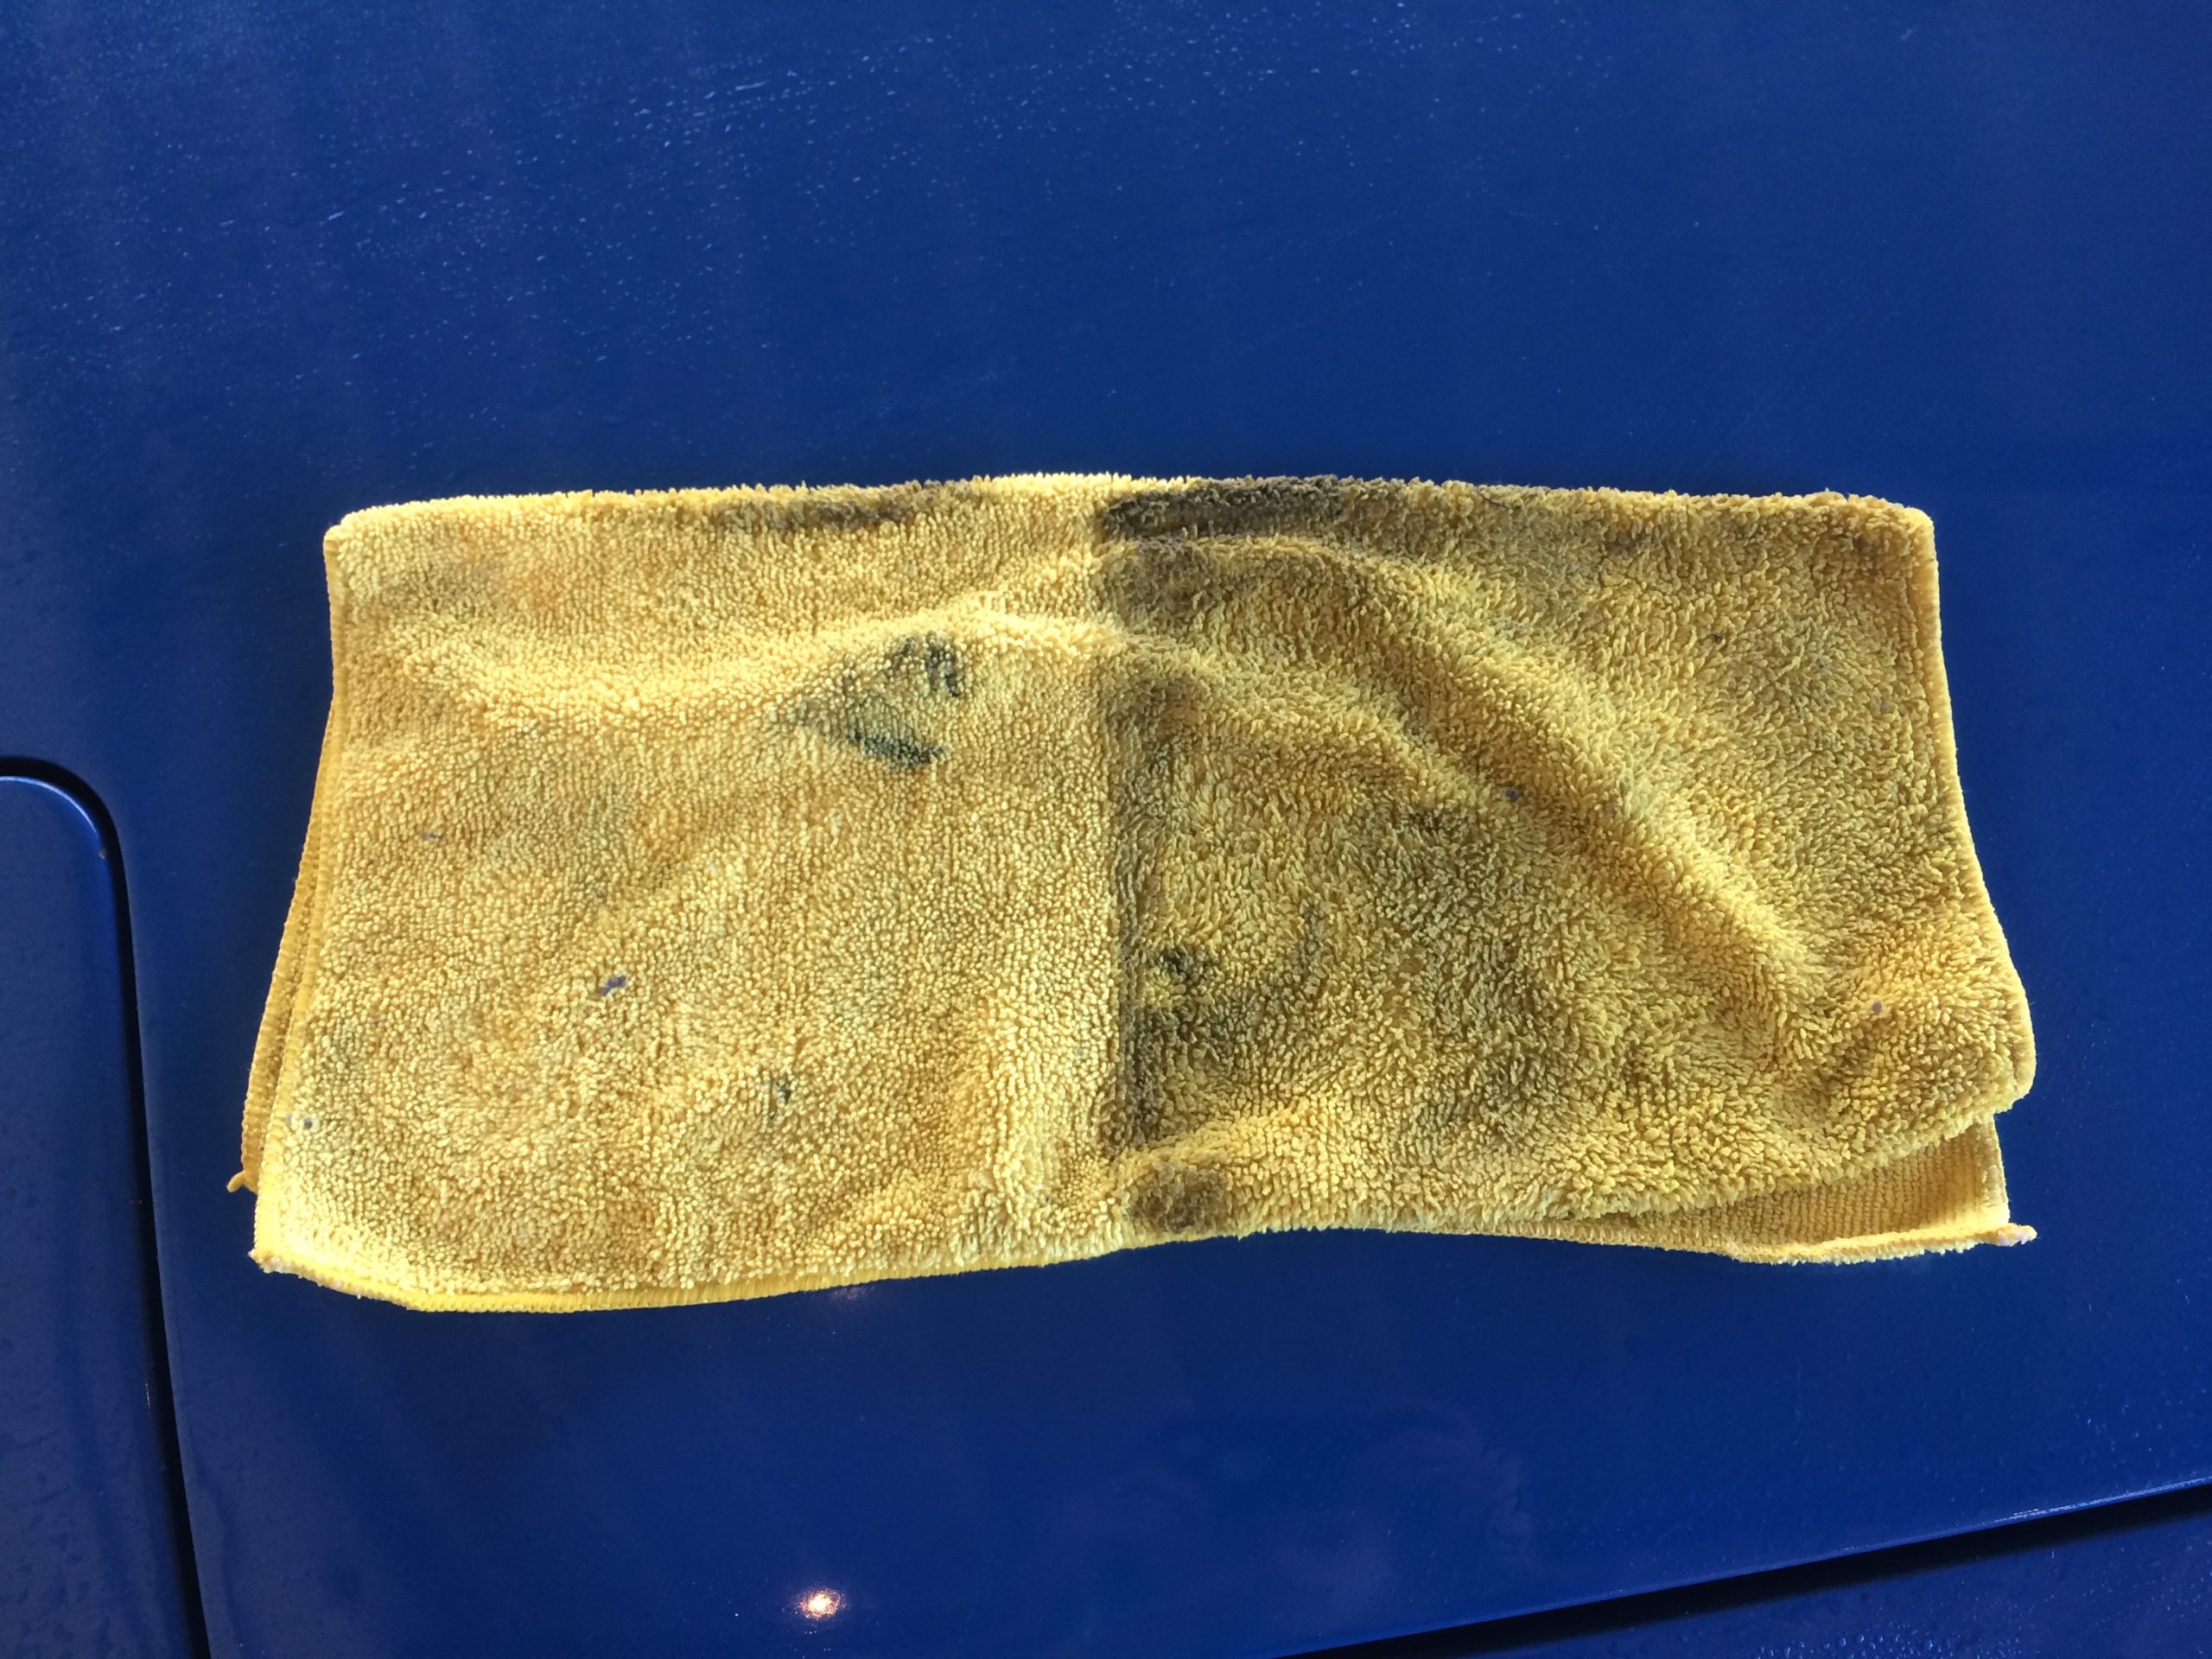
I started with the driver side to show how much dirt was present.
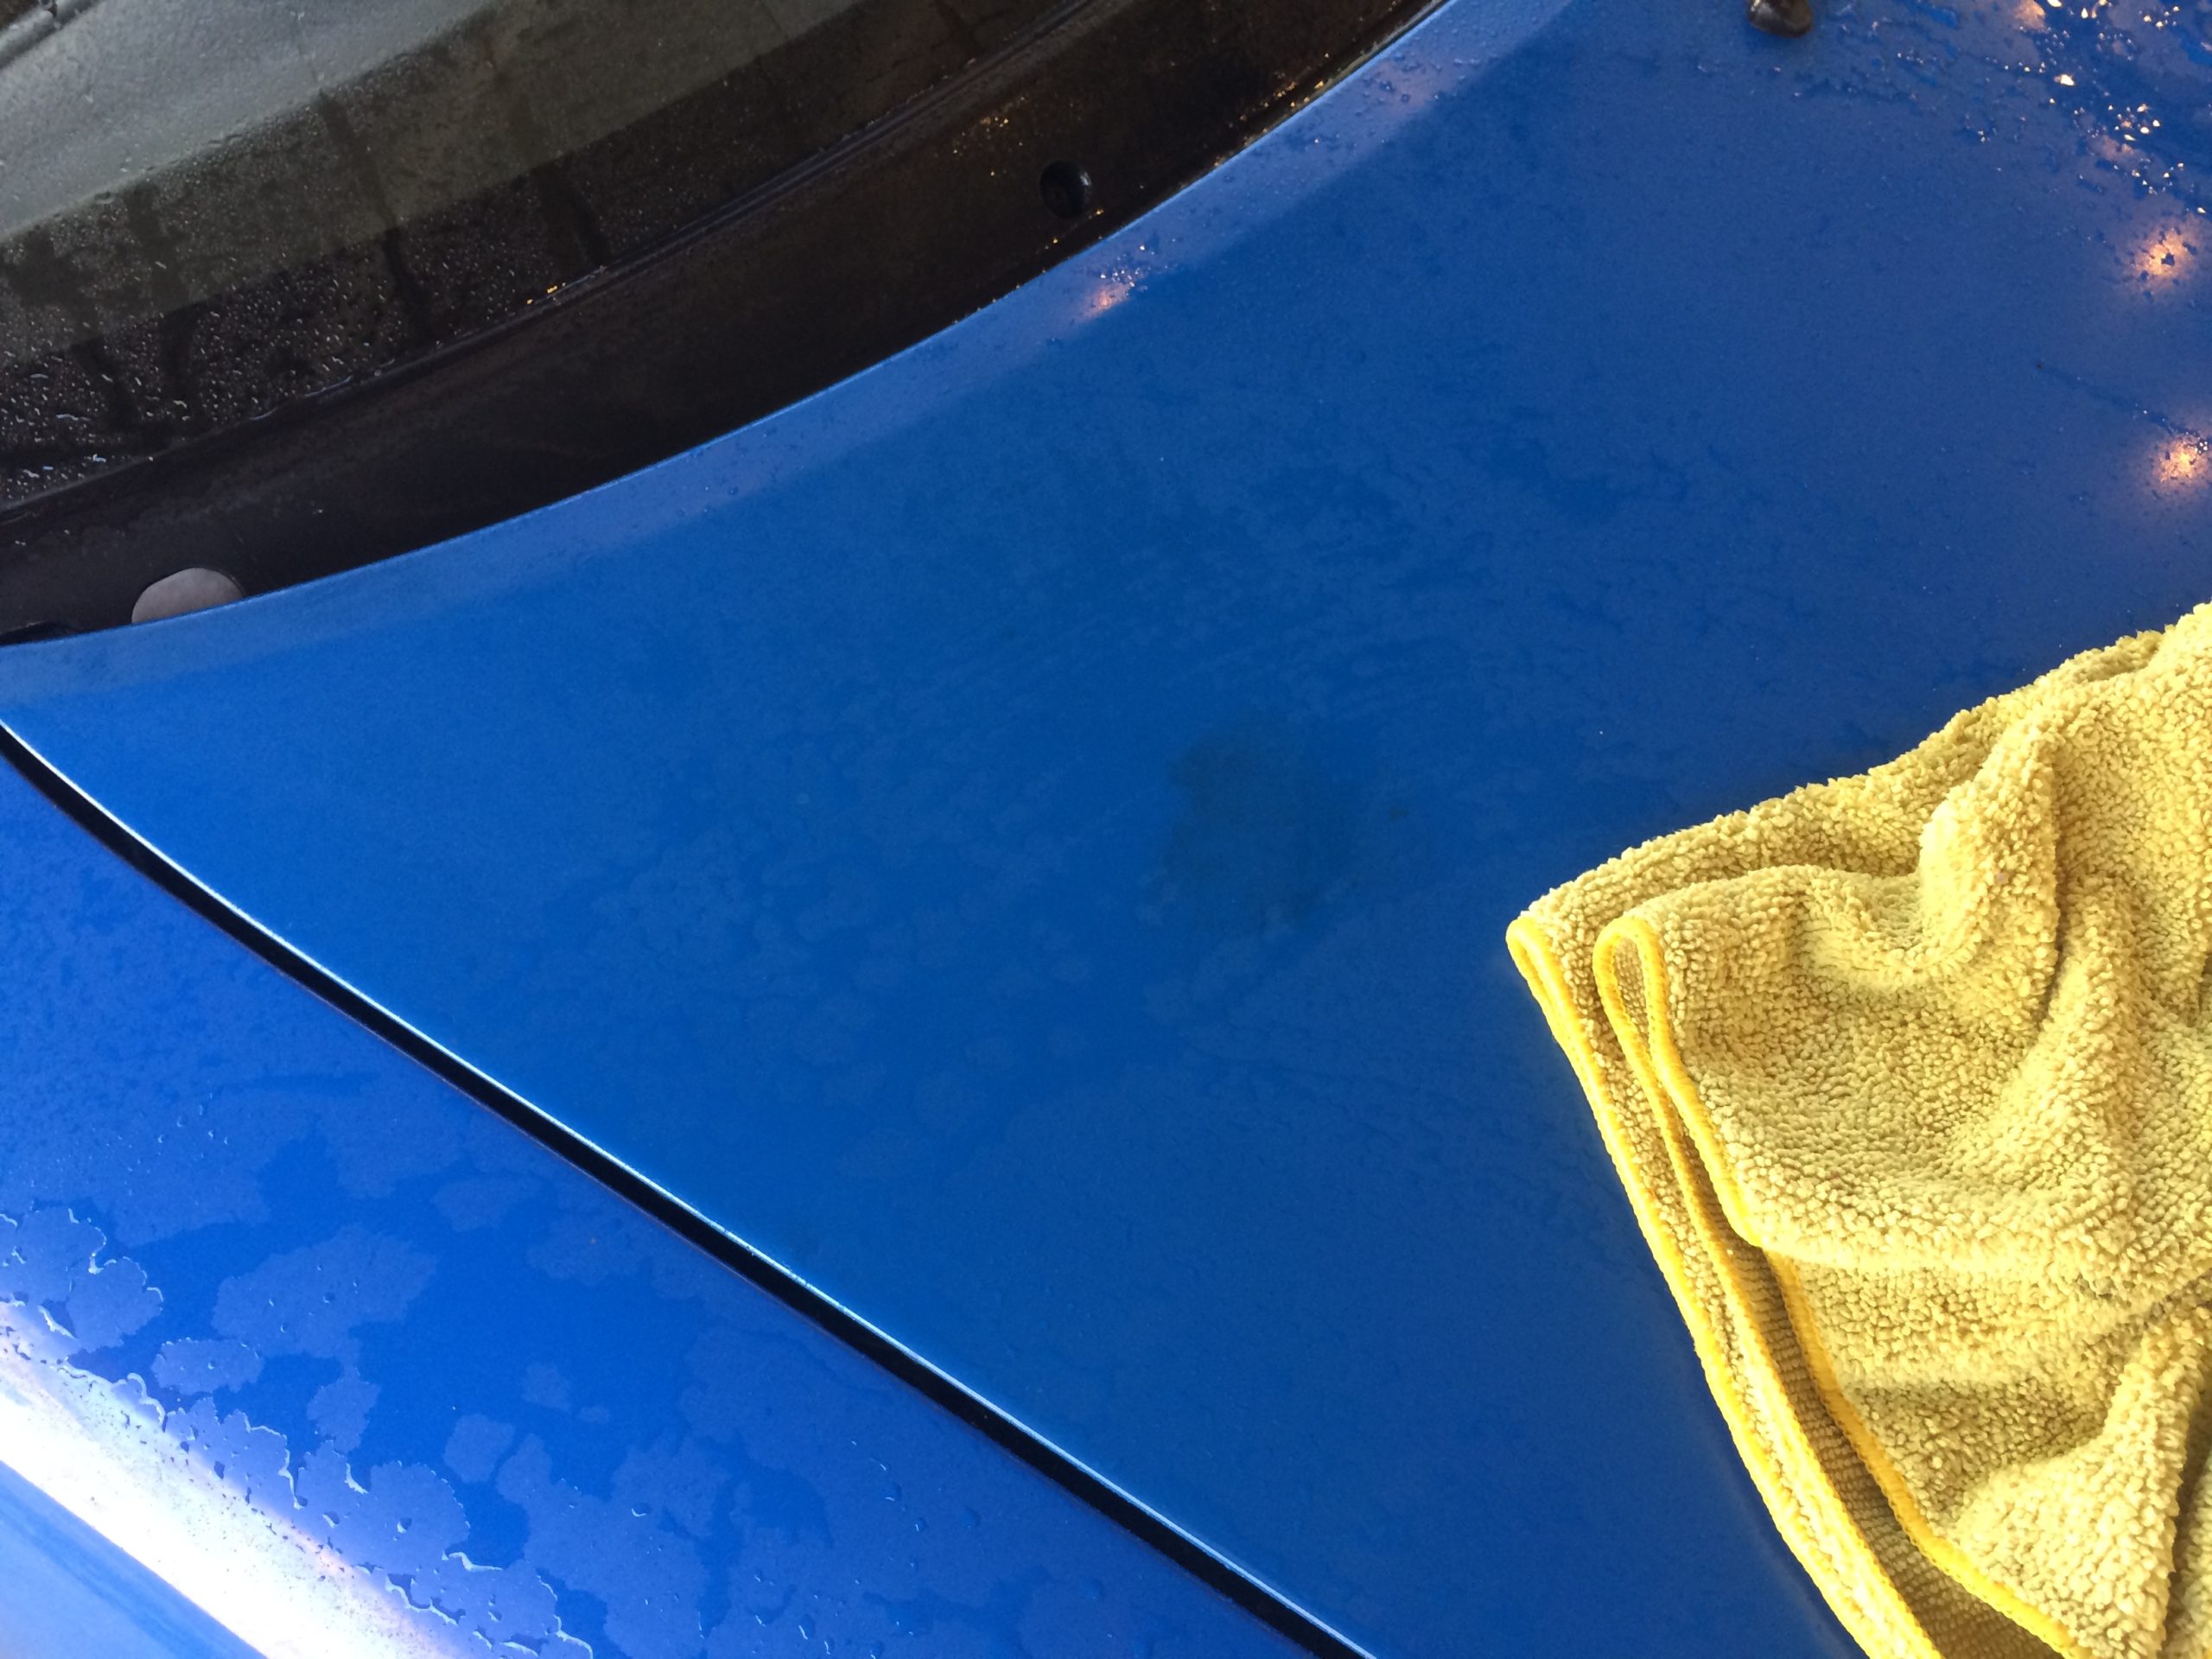
This dark stain is where someone had previously spit on their thumb and rubbed the paint while it was covered in dirt, I know this because I watched it happen while my soul cringed. Spit shine does not work on auto paint!
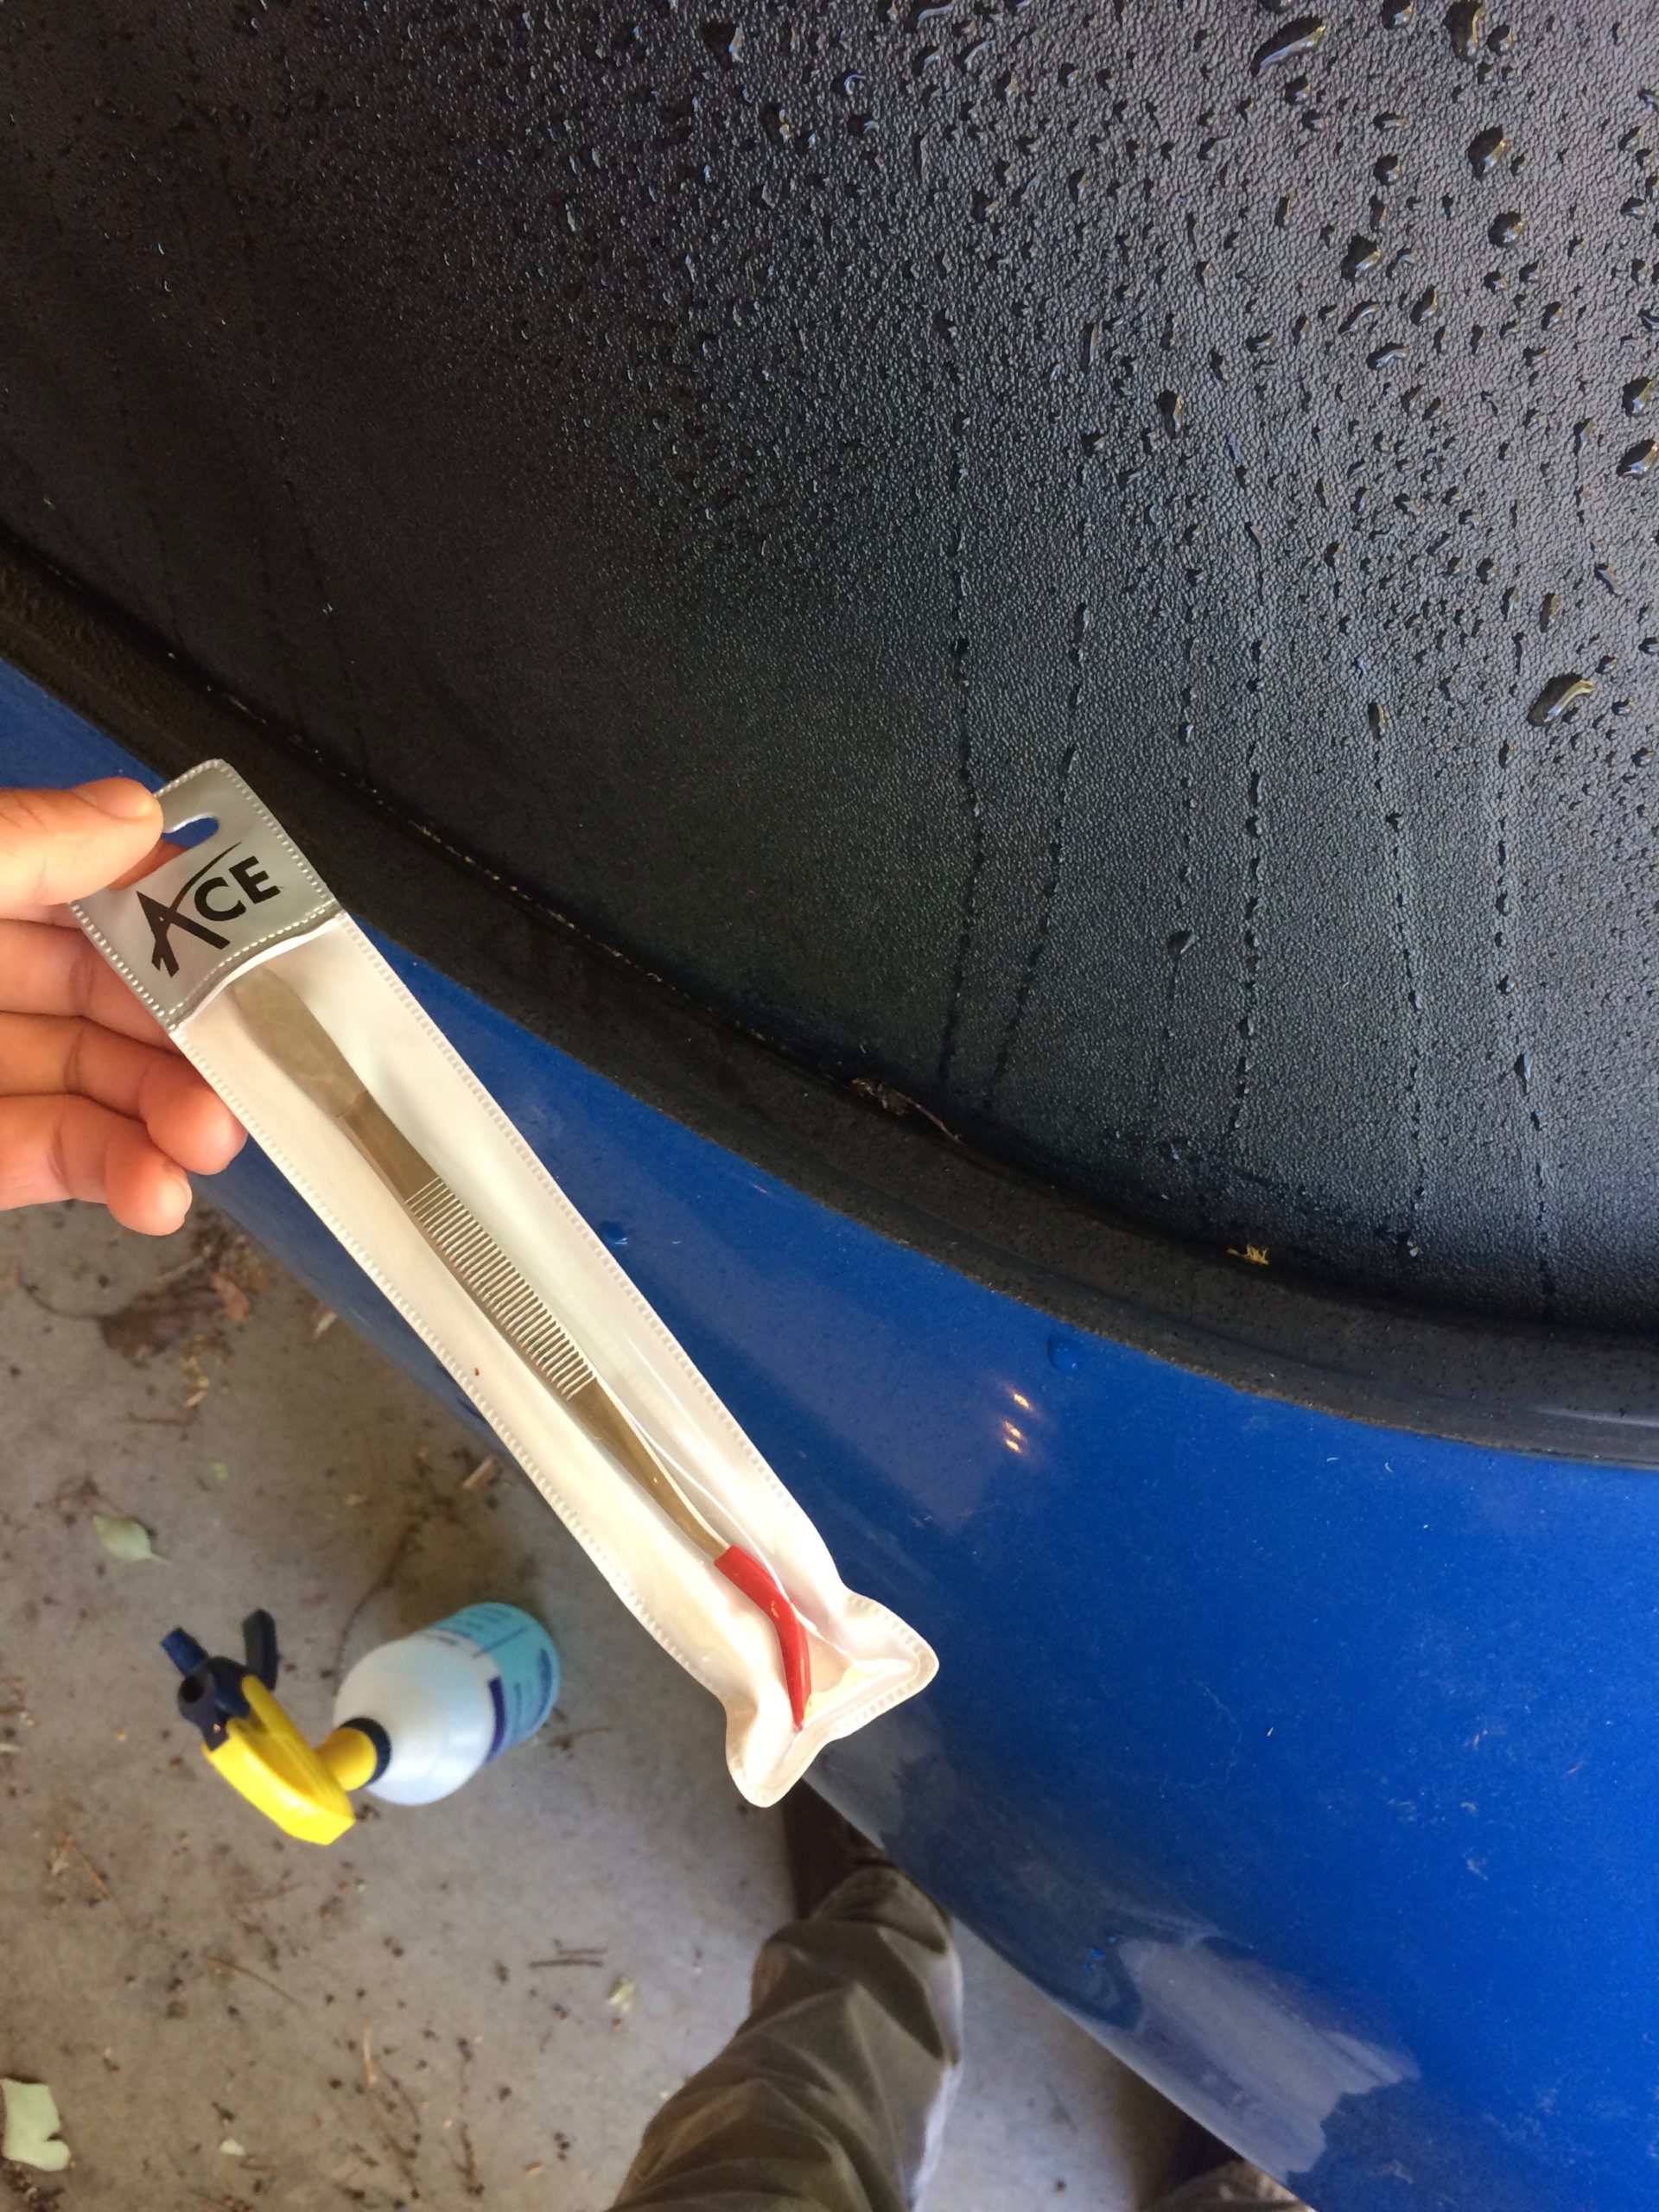
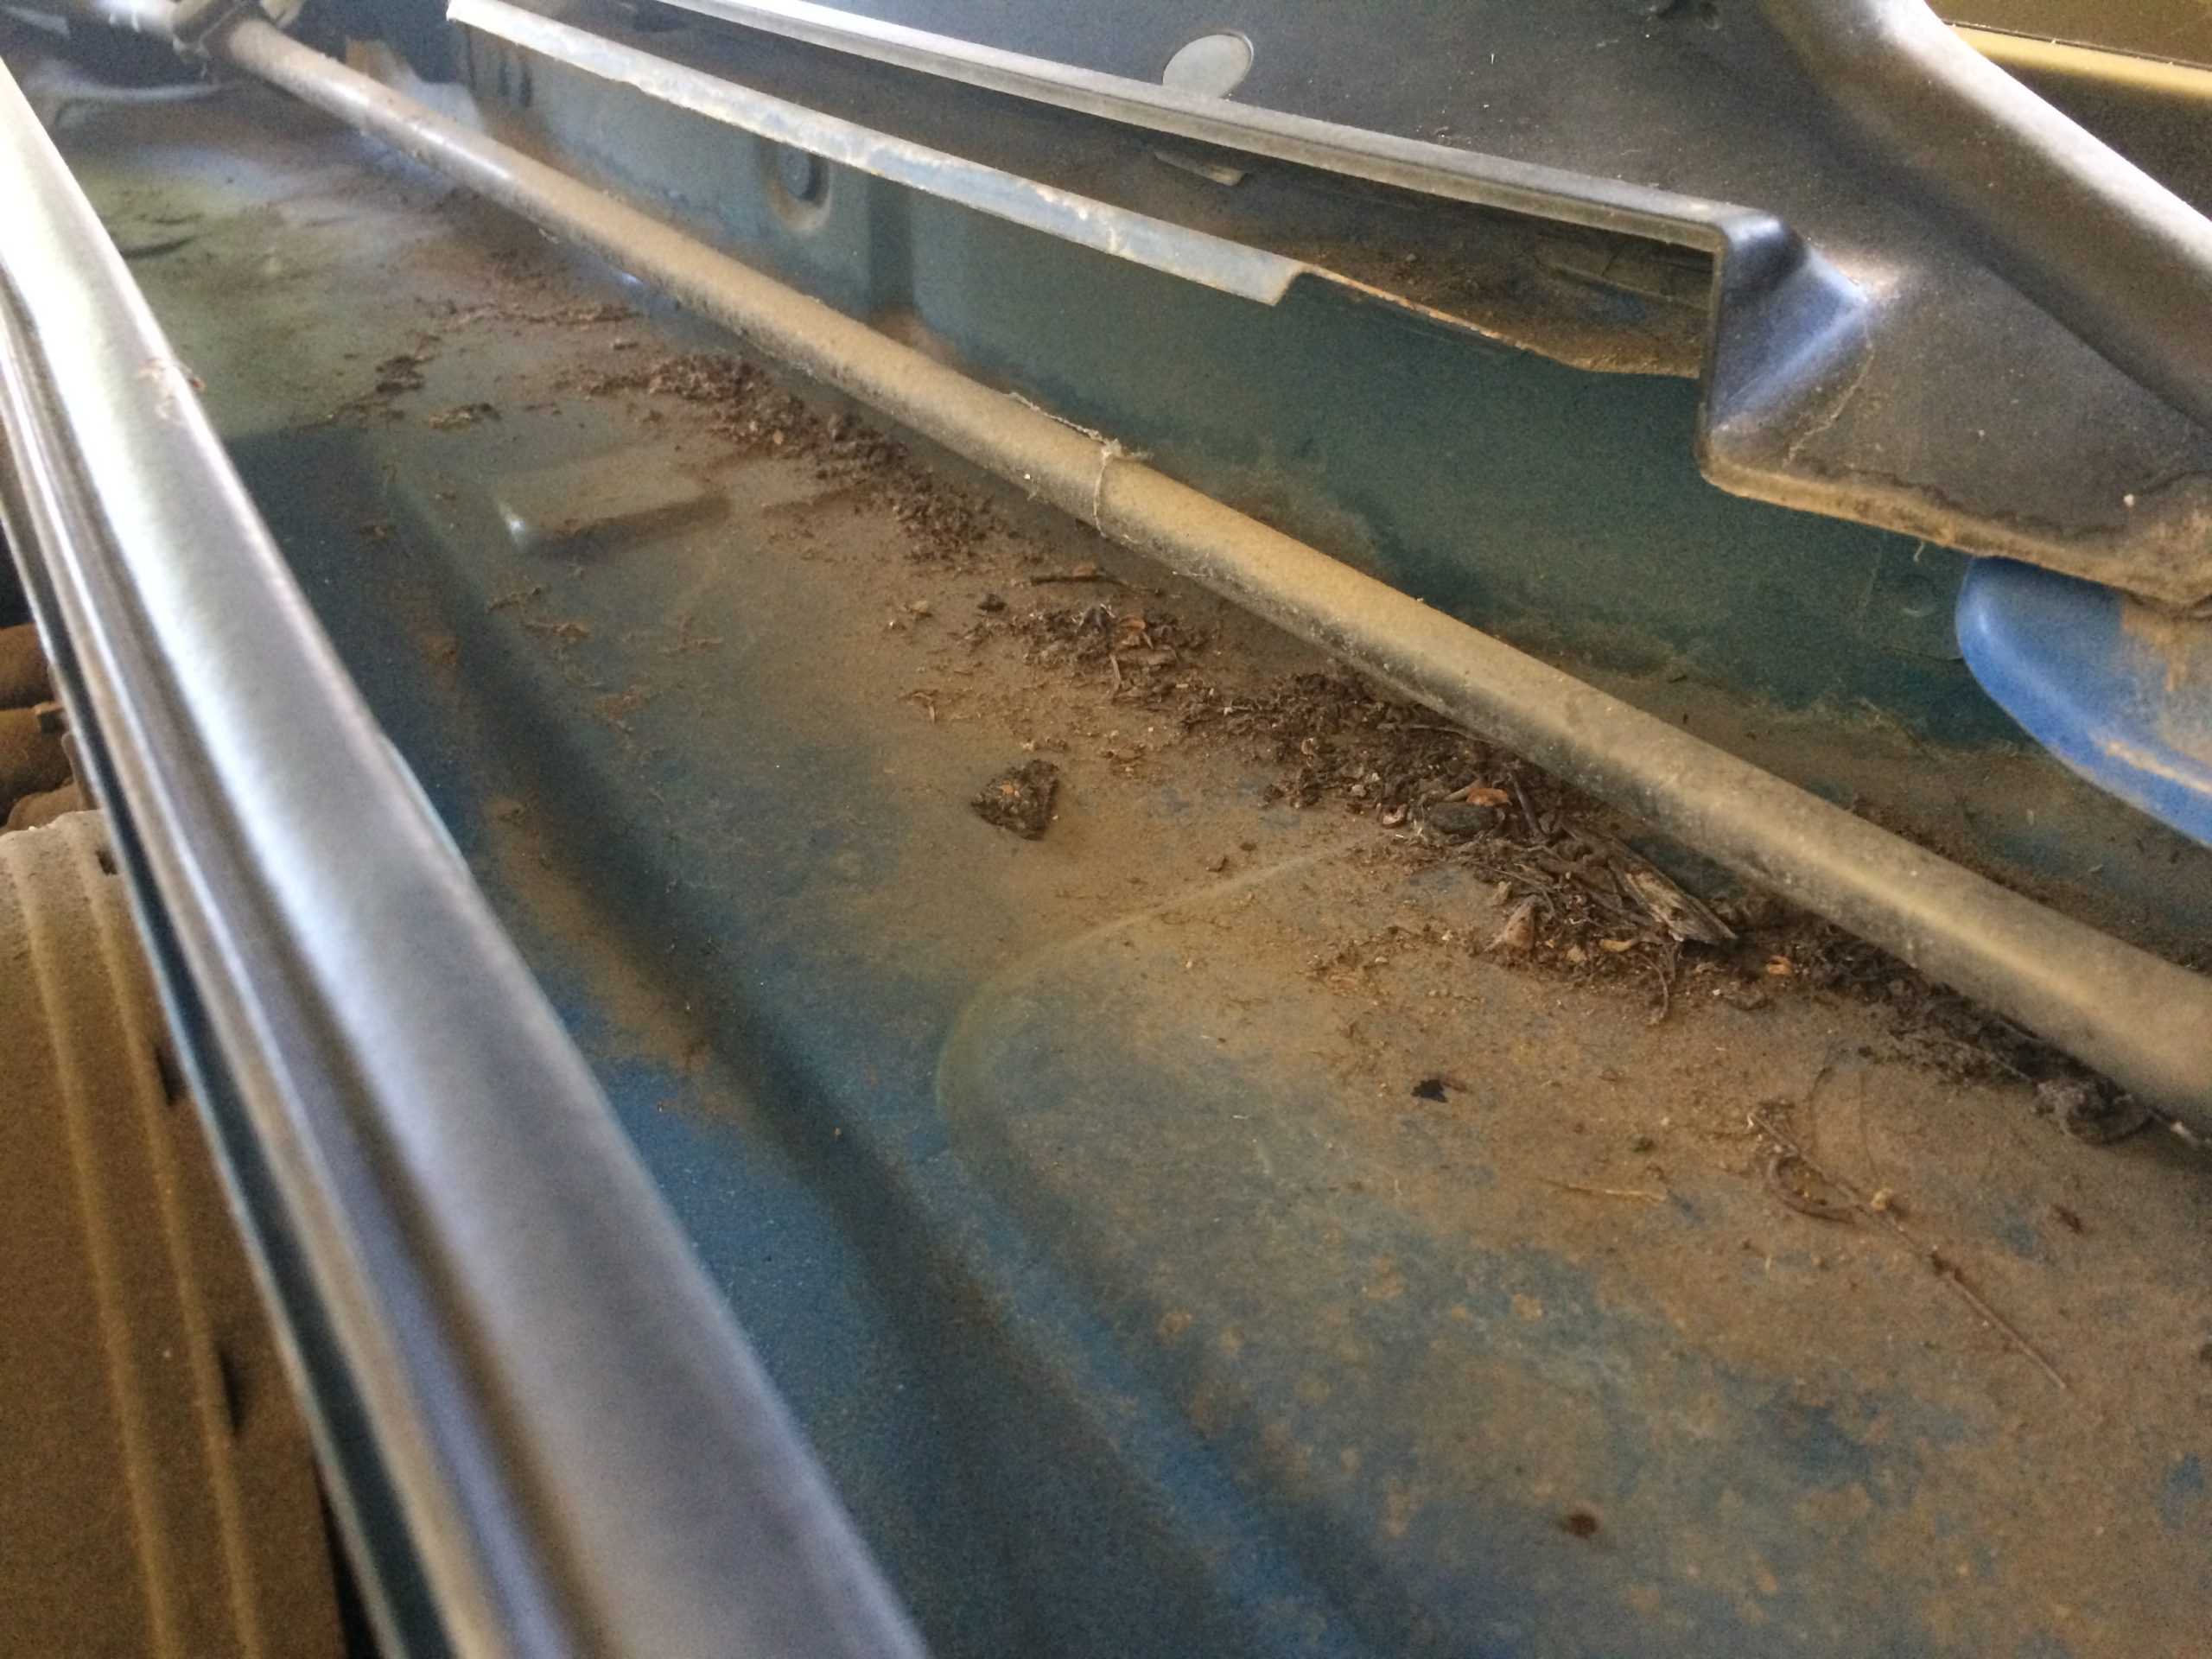
The bottom edge of the soft top had collected organic debris. I like using these rubber tipped forceps for picking debris like this out of tight nooks. Their gentle design is for entomology and jewelry purposes, making them safer for paint too.
I soon realized that I can simply lower the soft top slightly and vacuum this space.

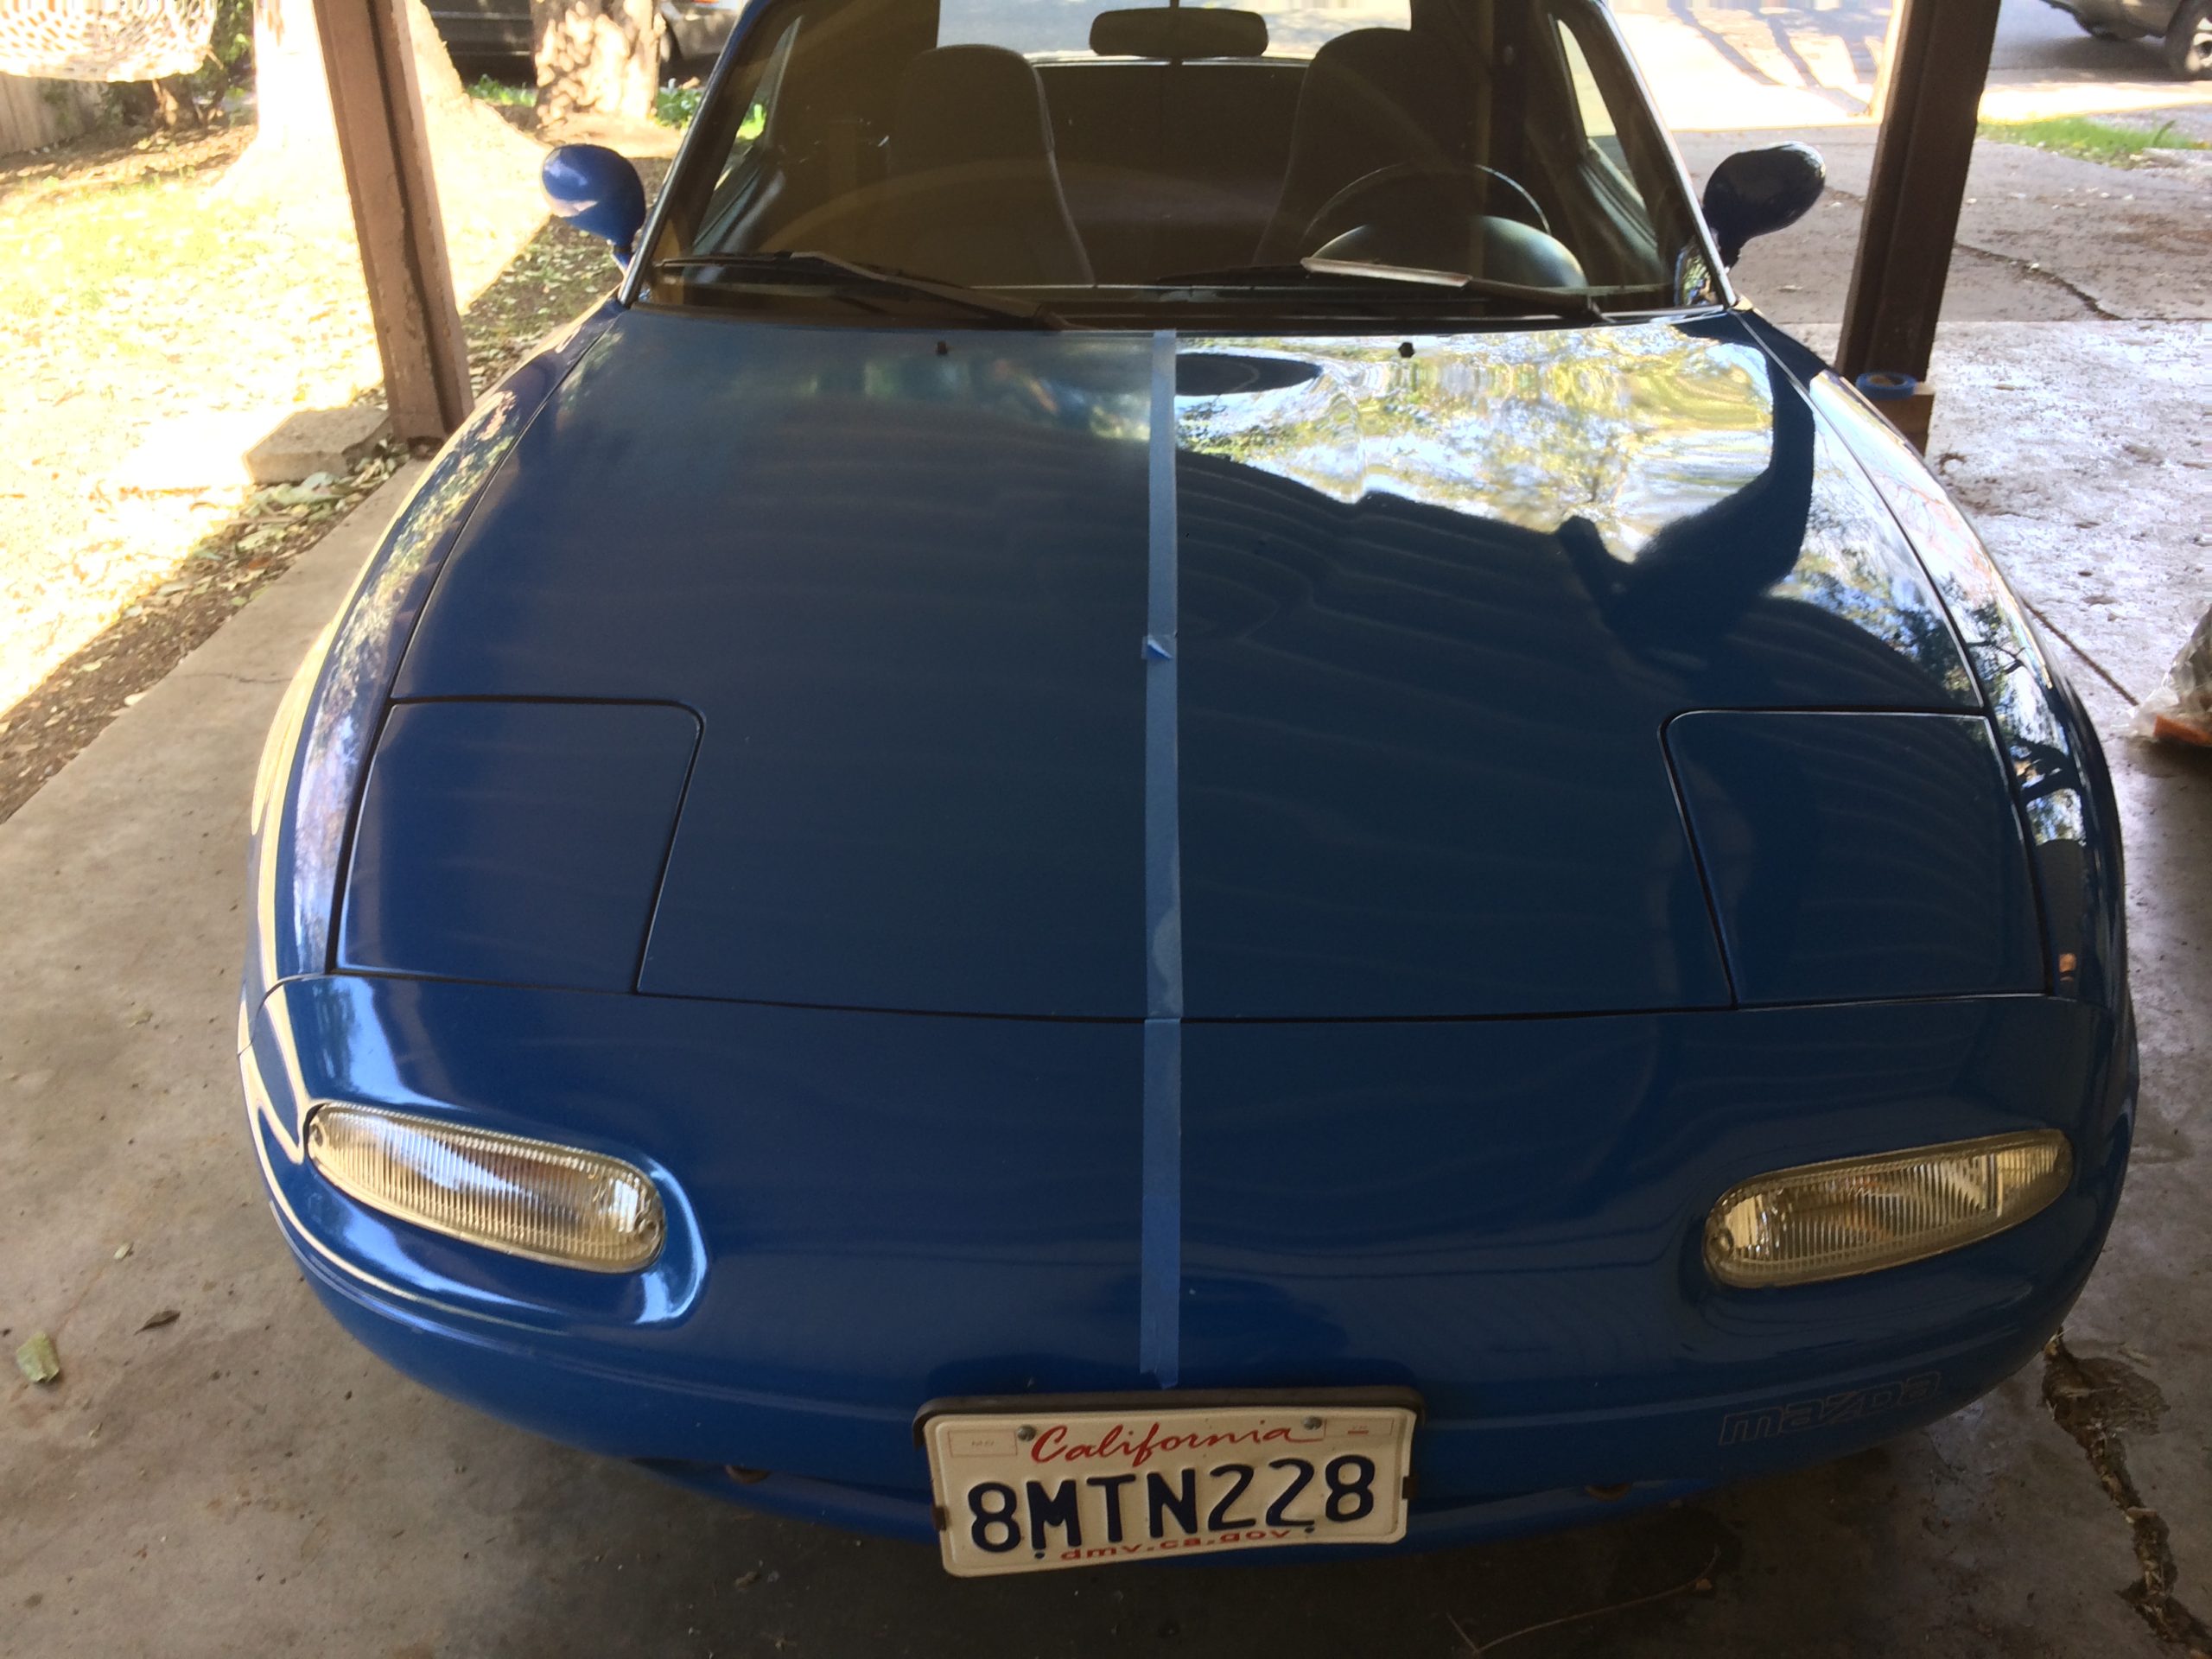
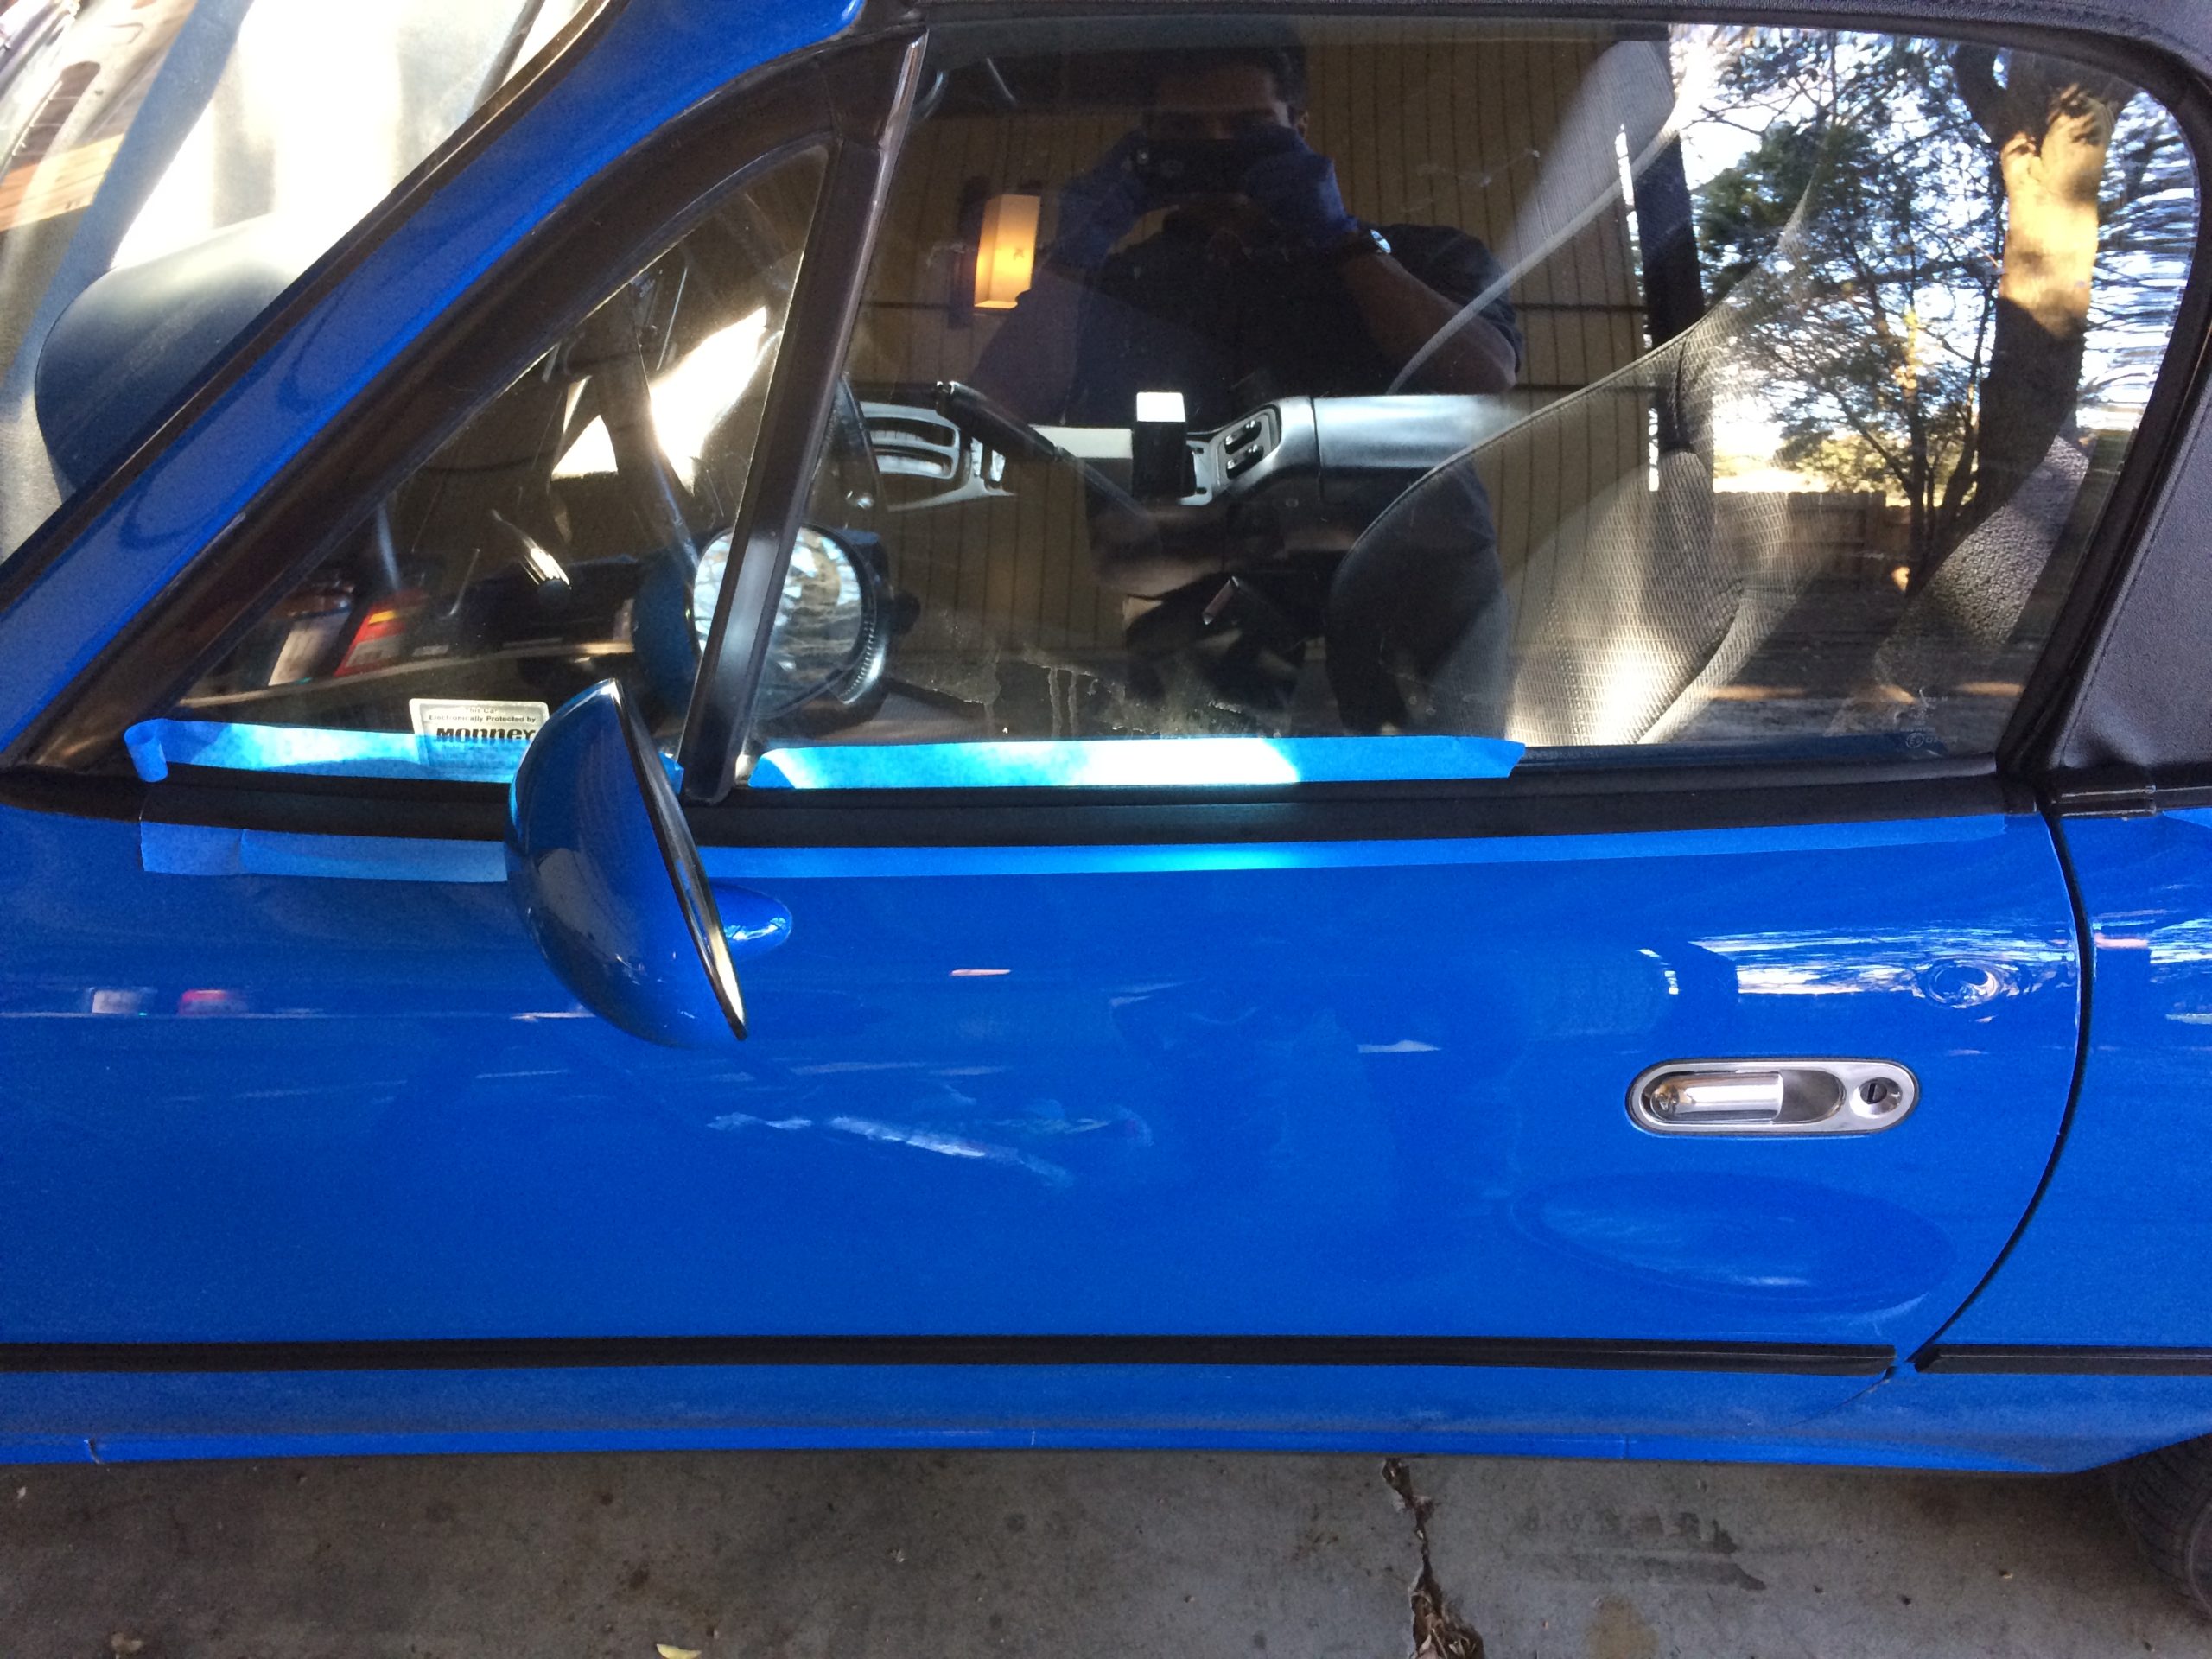
With the primary wash complete, it was then time to choose which side to correct. I chose the driver side since it had some car parts in better condition, such as the window sill trim and seat headrest. I also just like looking over the glossy side of the hood while driving and pretending in my mind that the rest of the car looks that good.
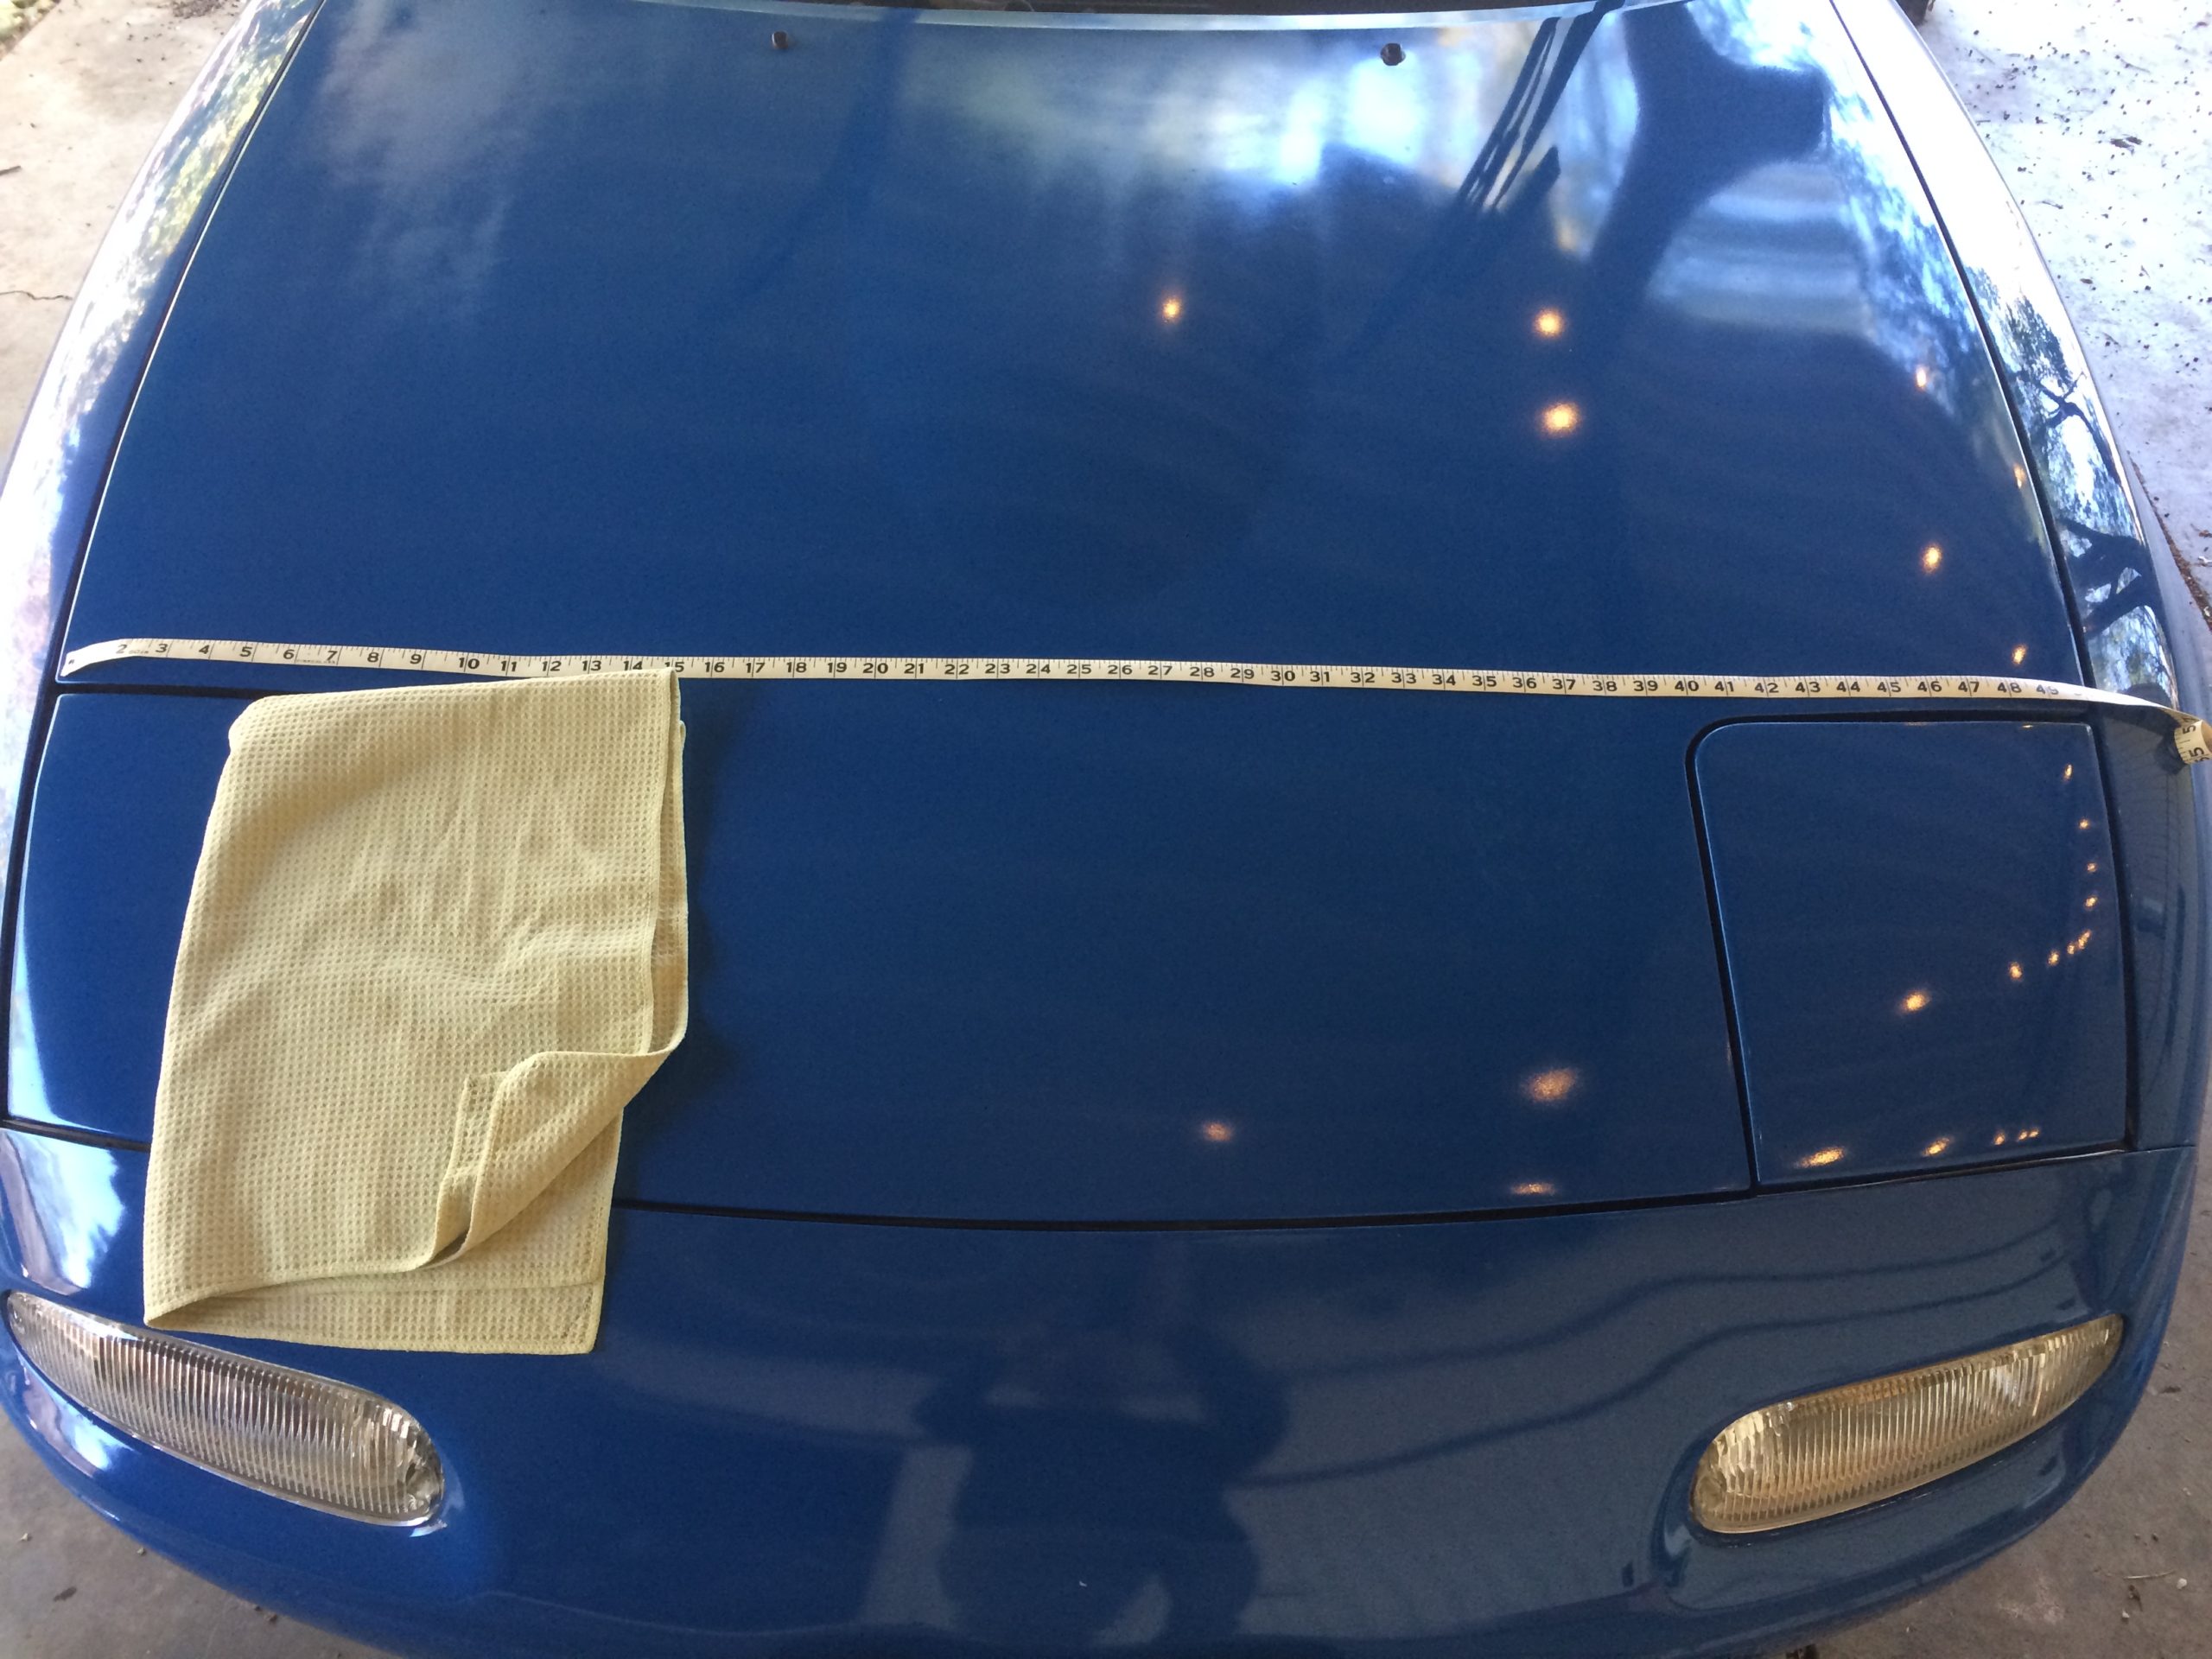
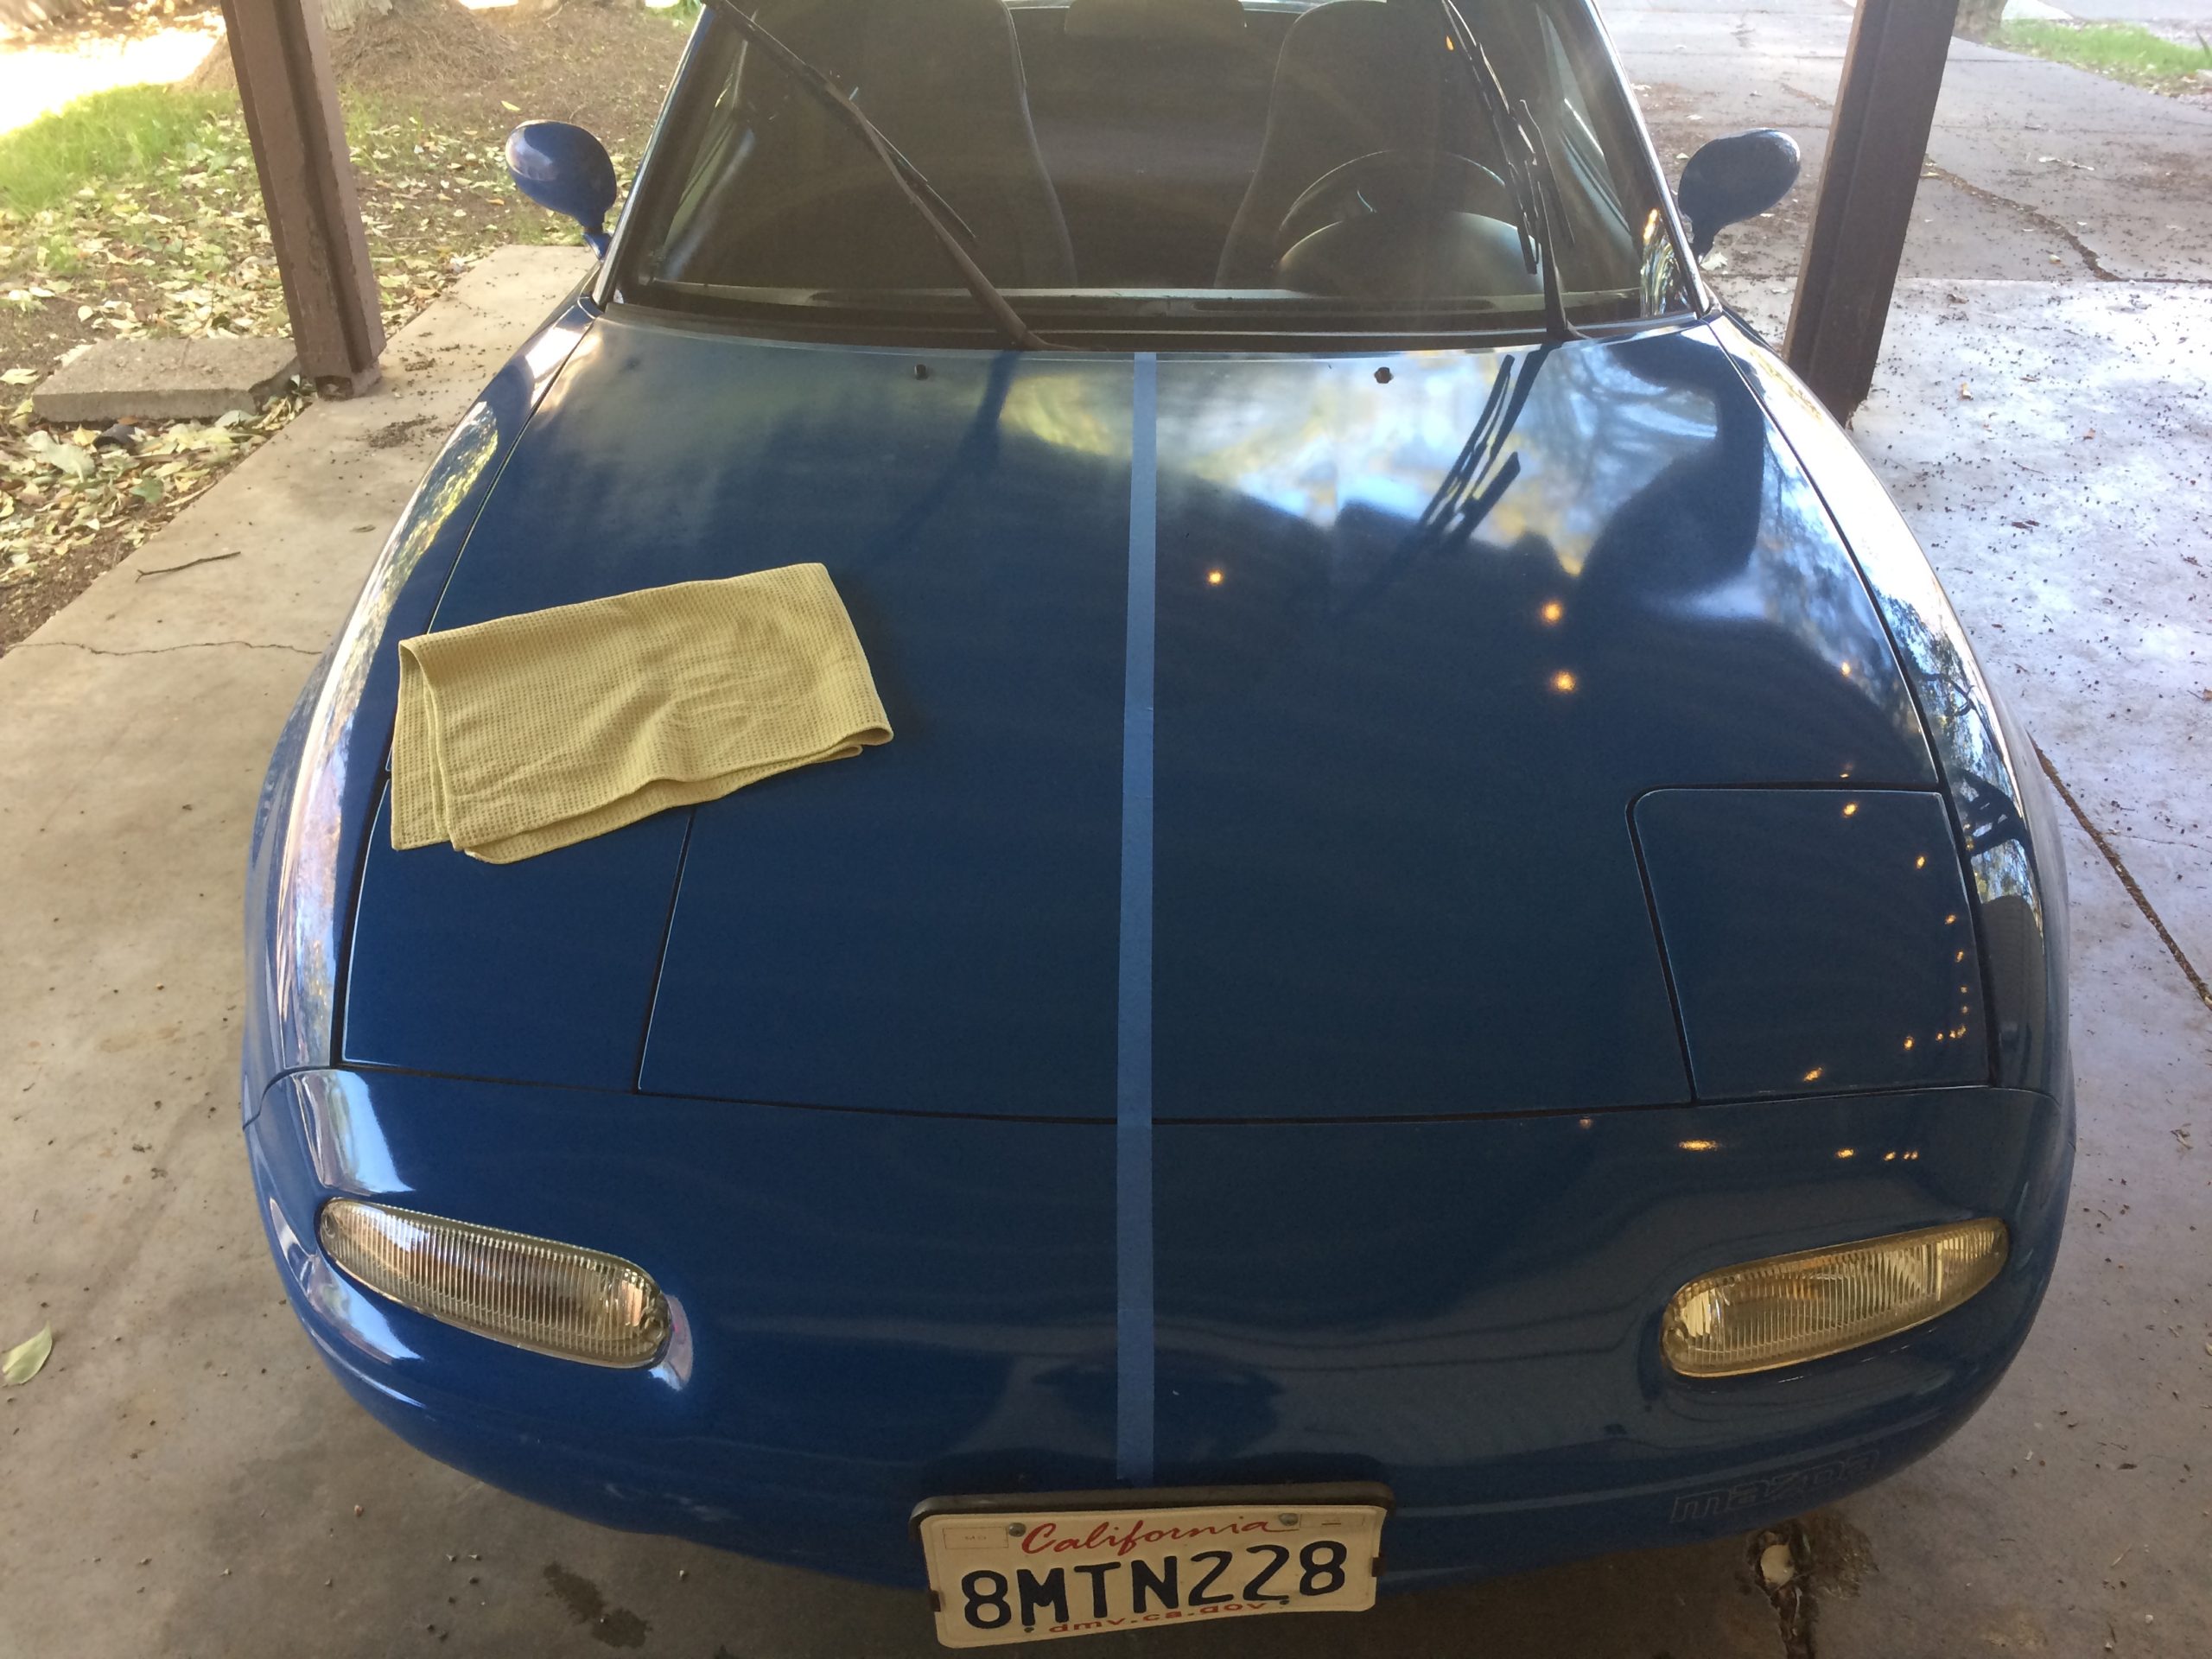
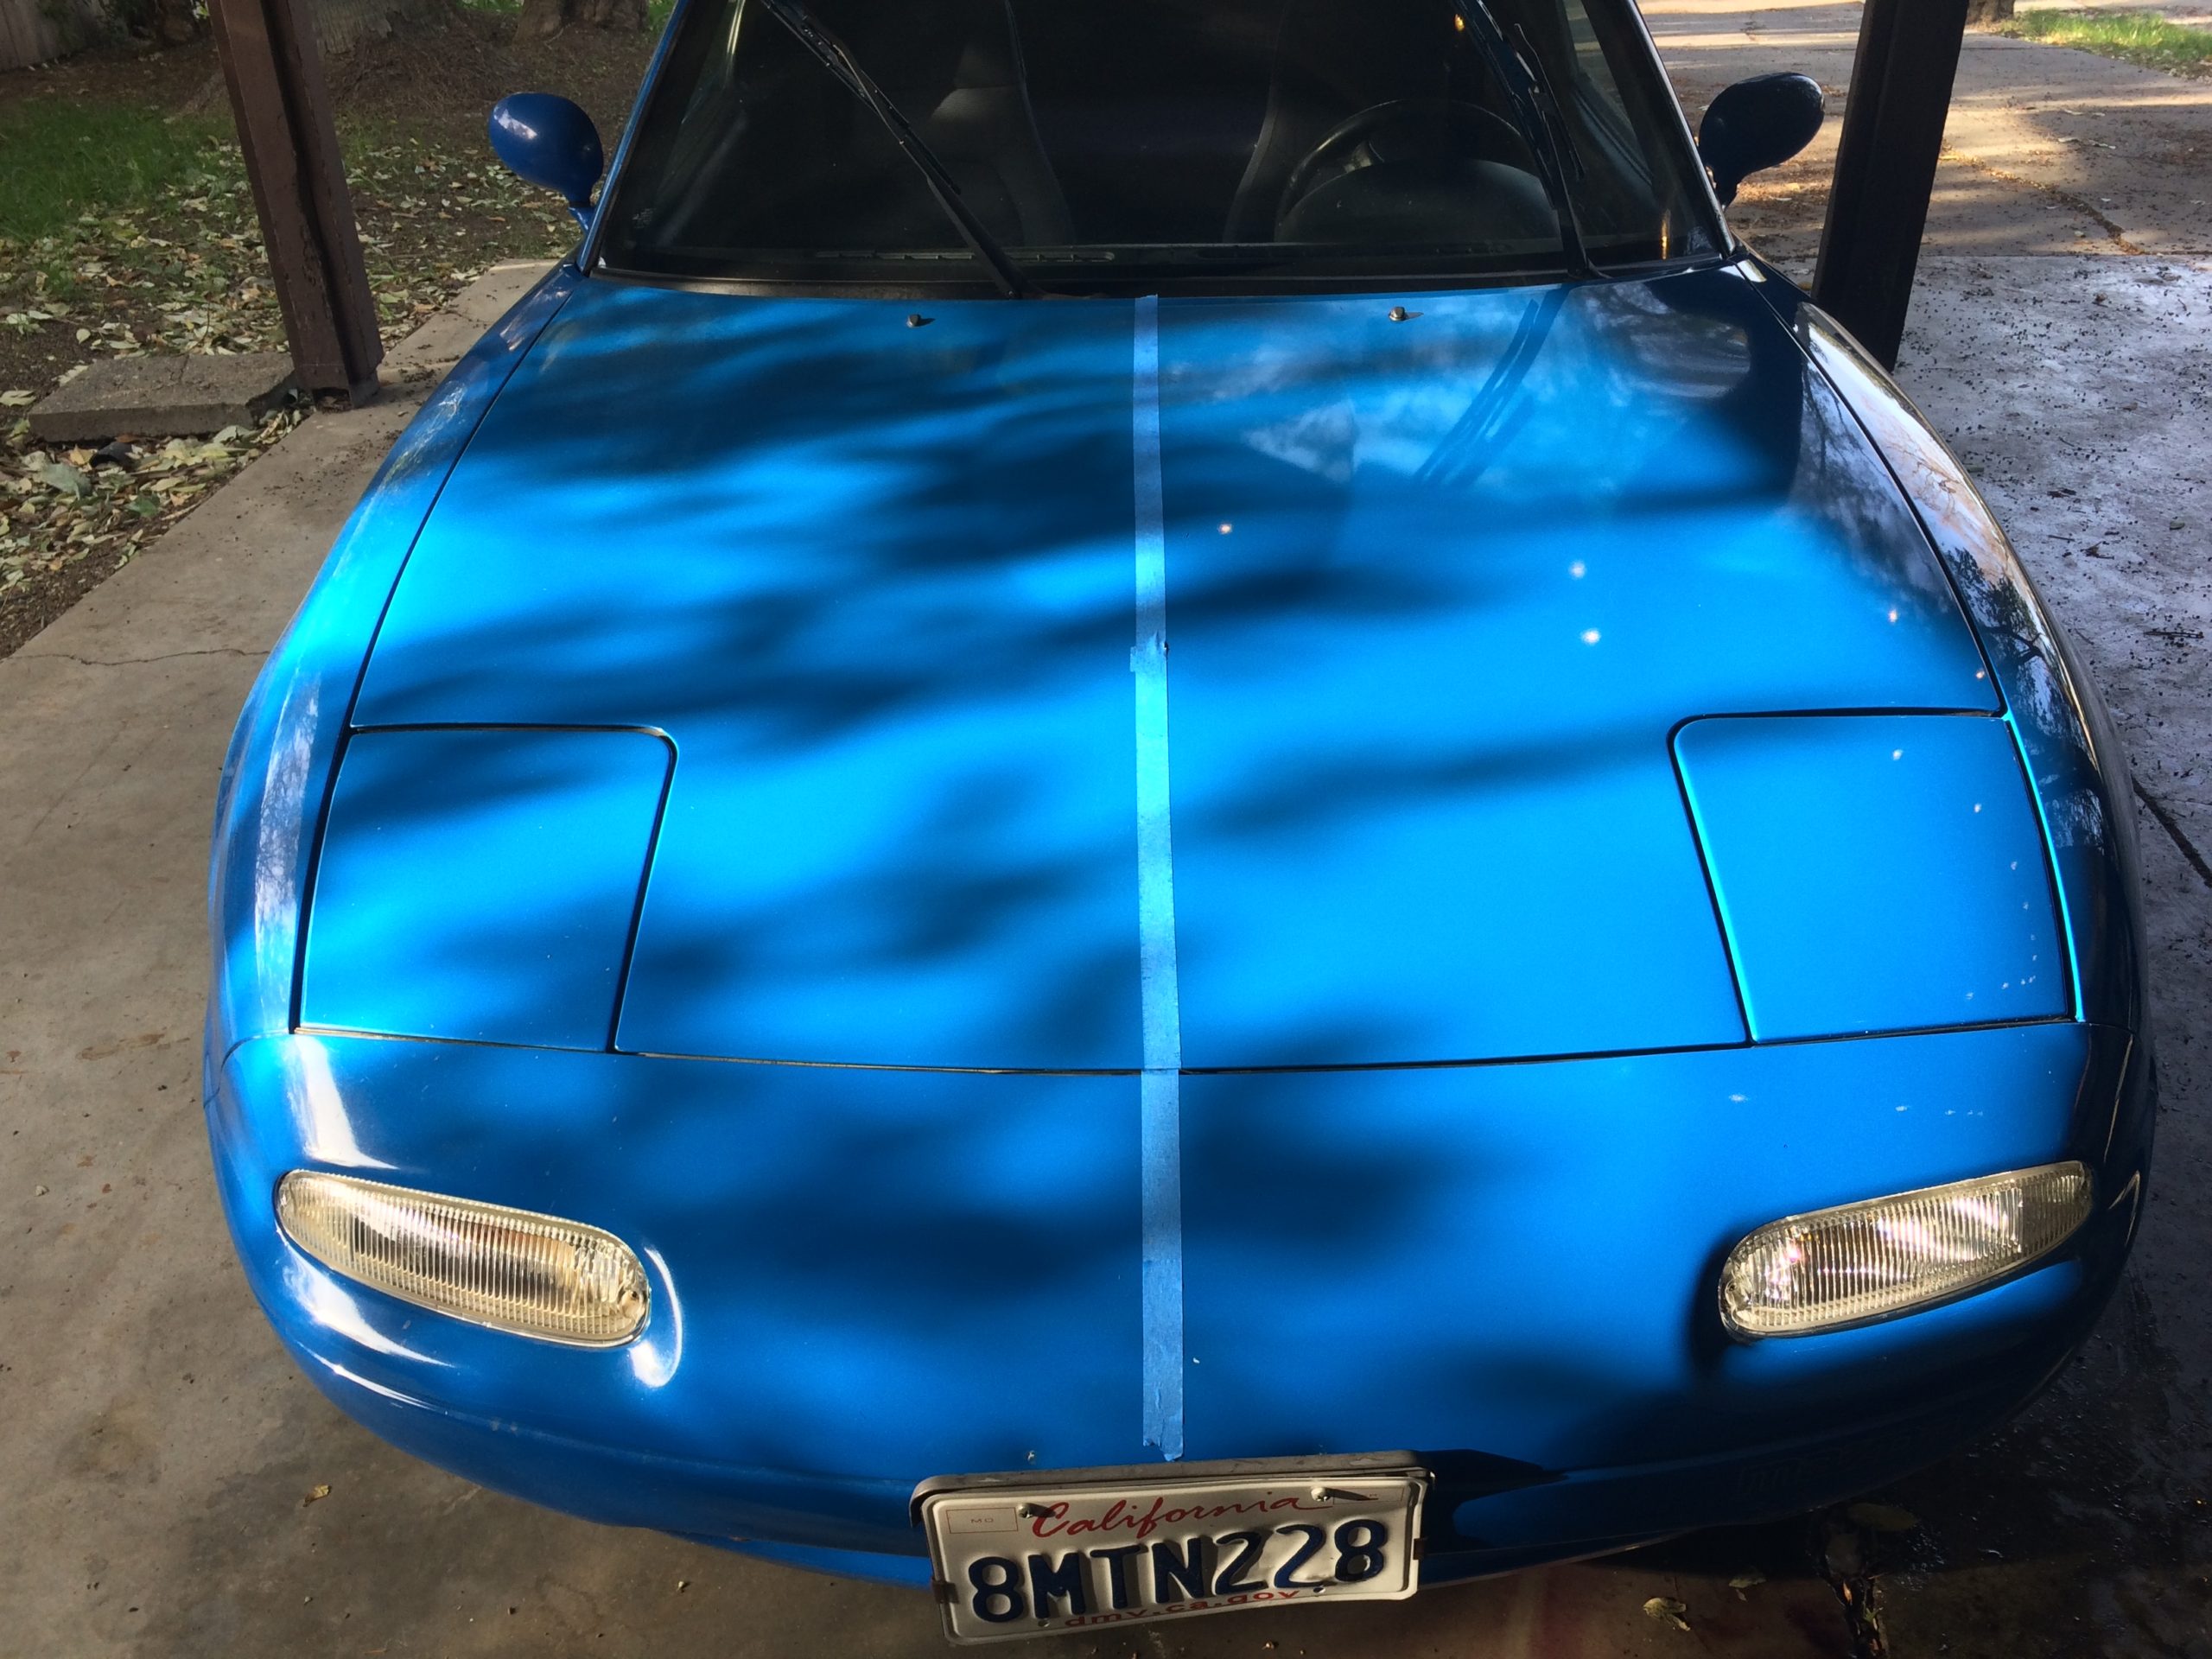
I used measuring tape to help find the center of the vehicle, and I placed masking tape to border it off.
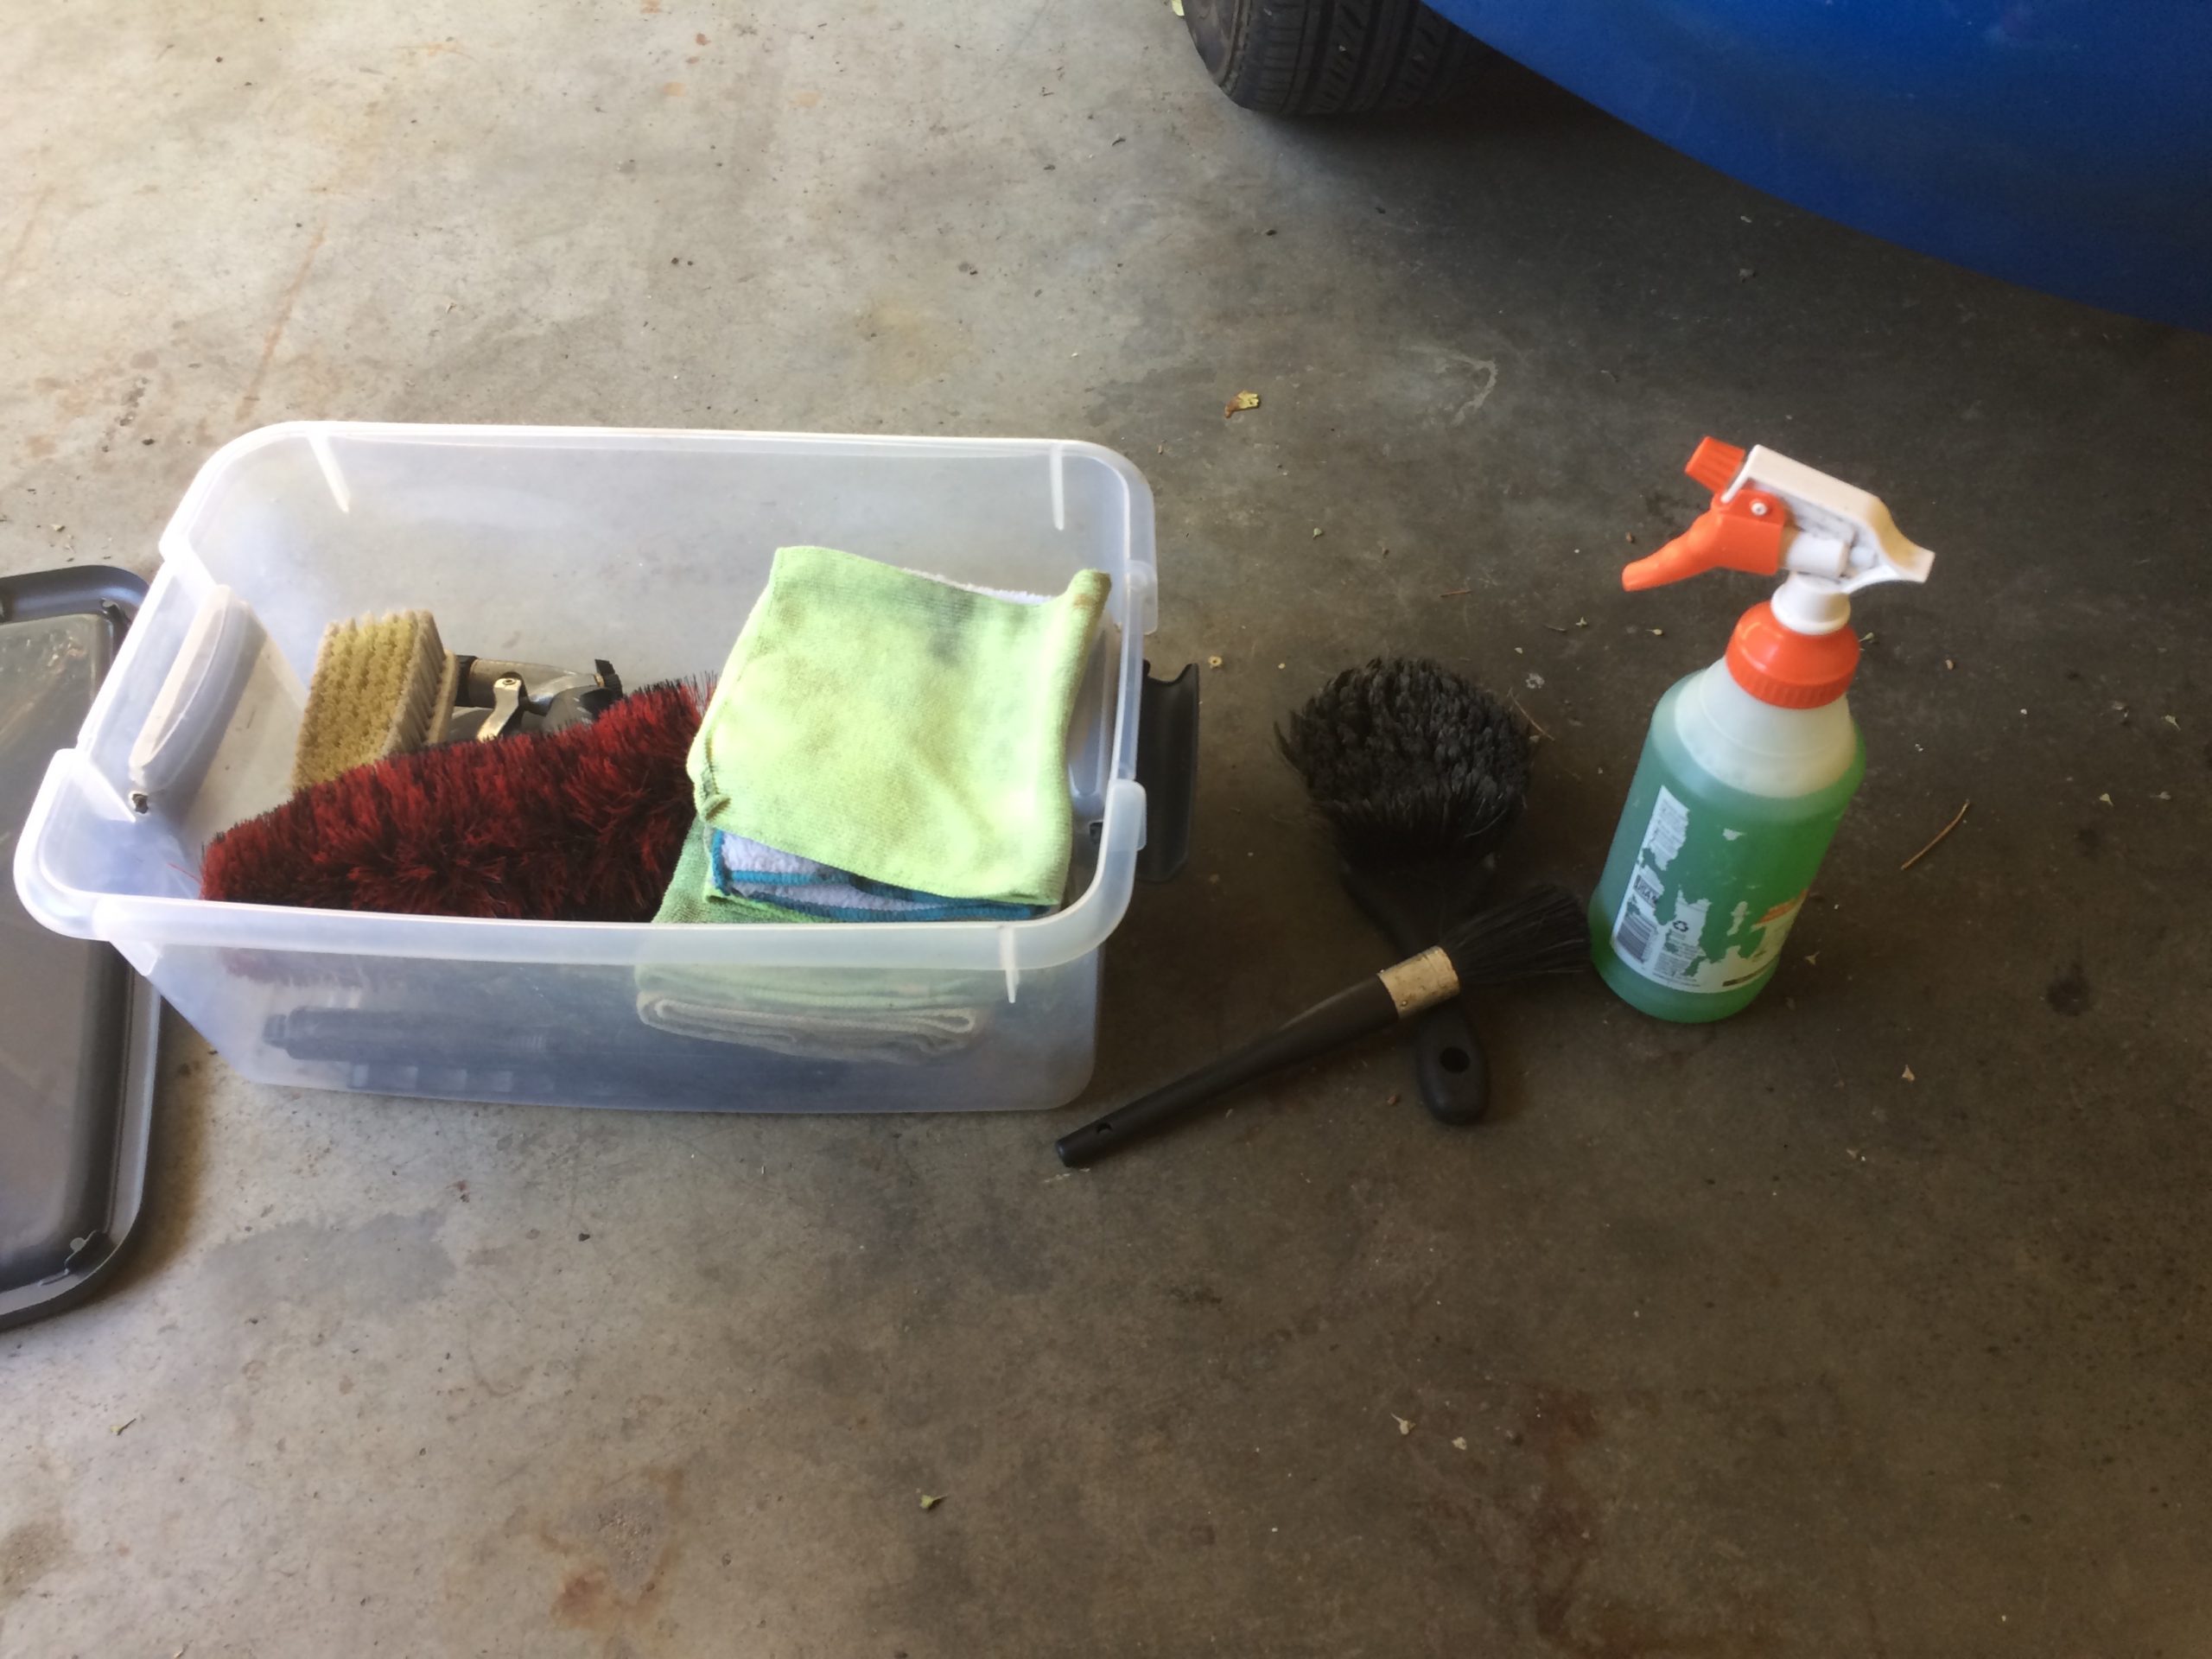
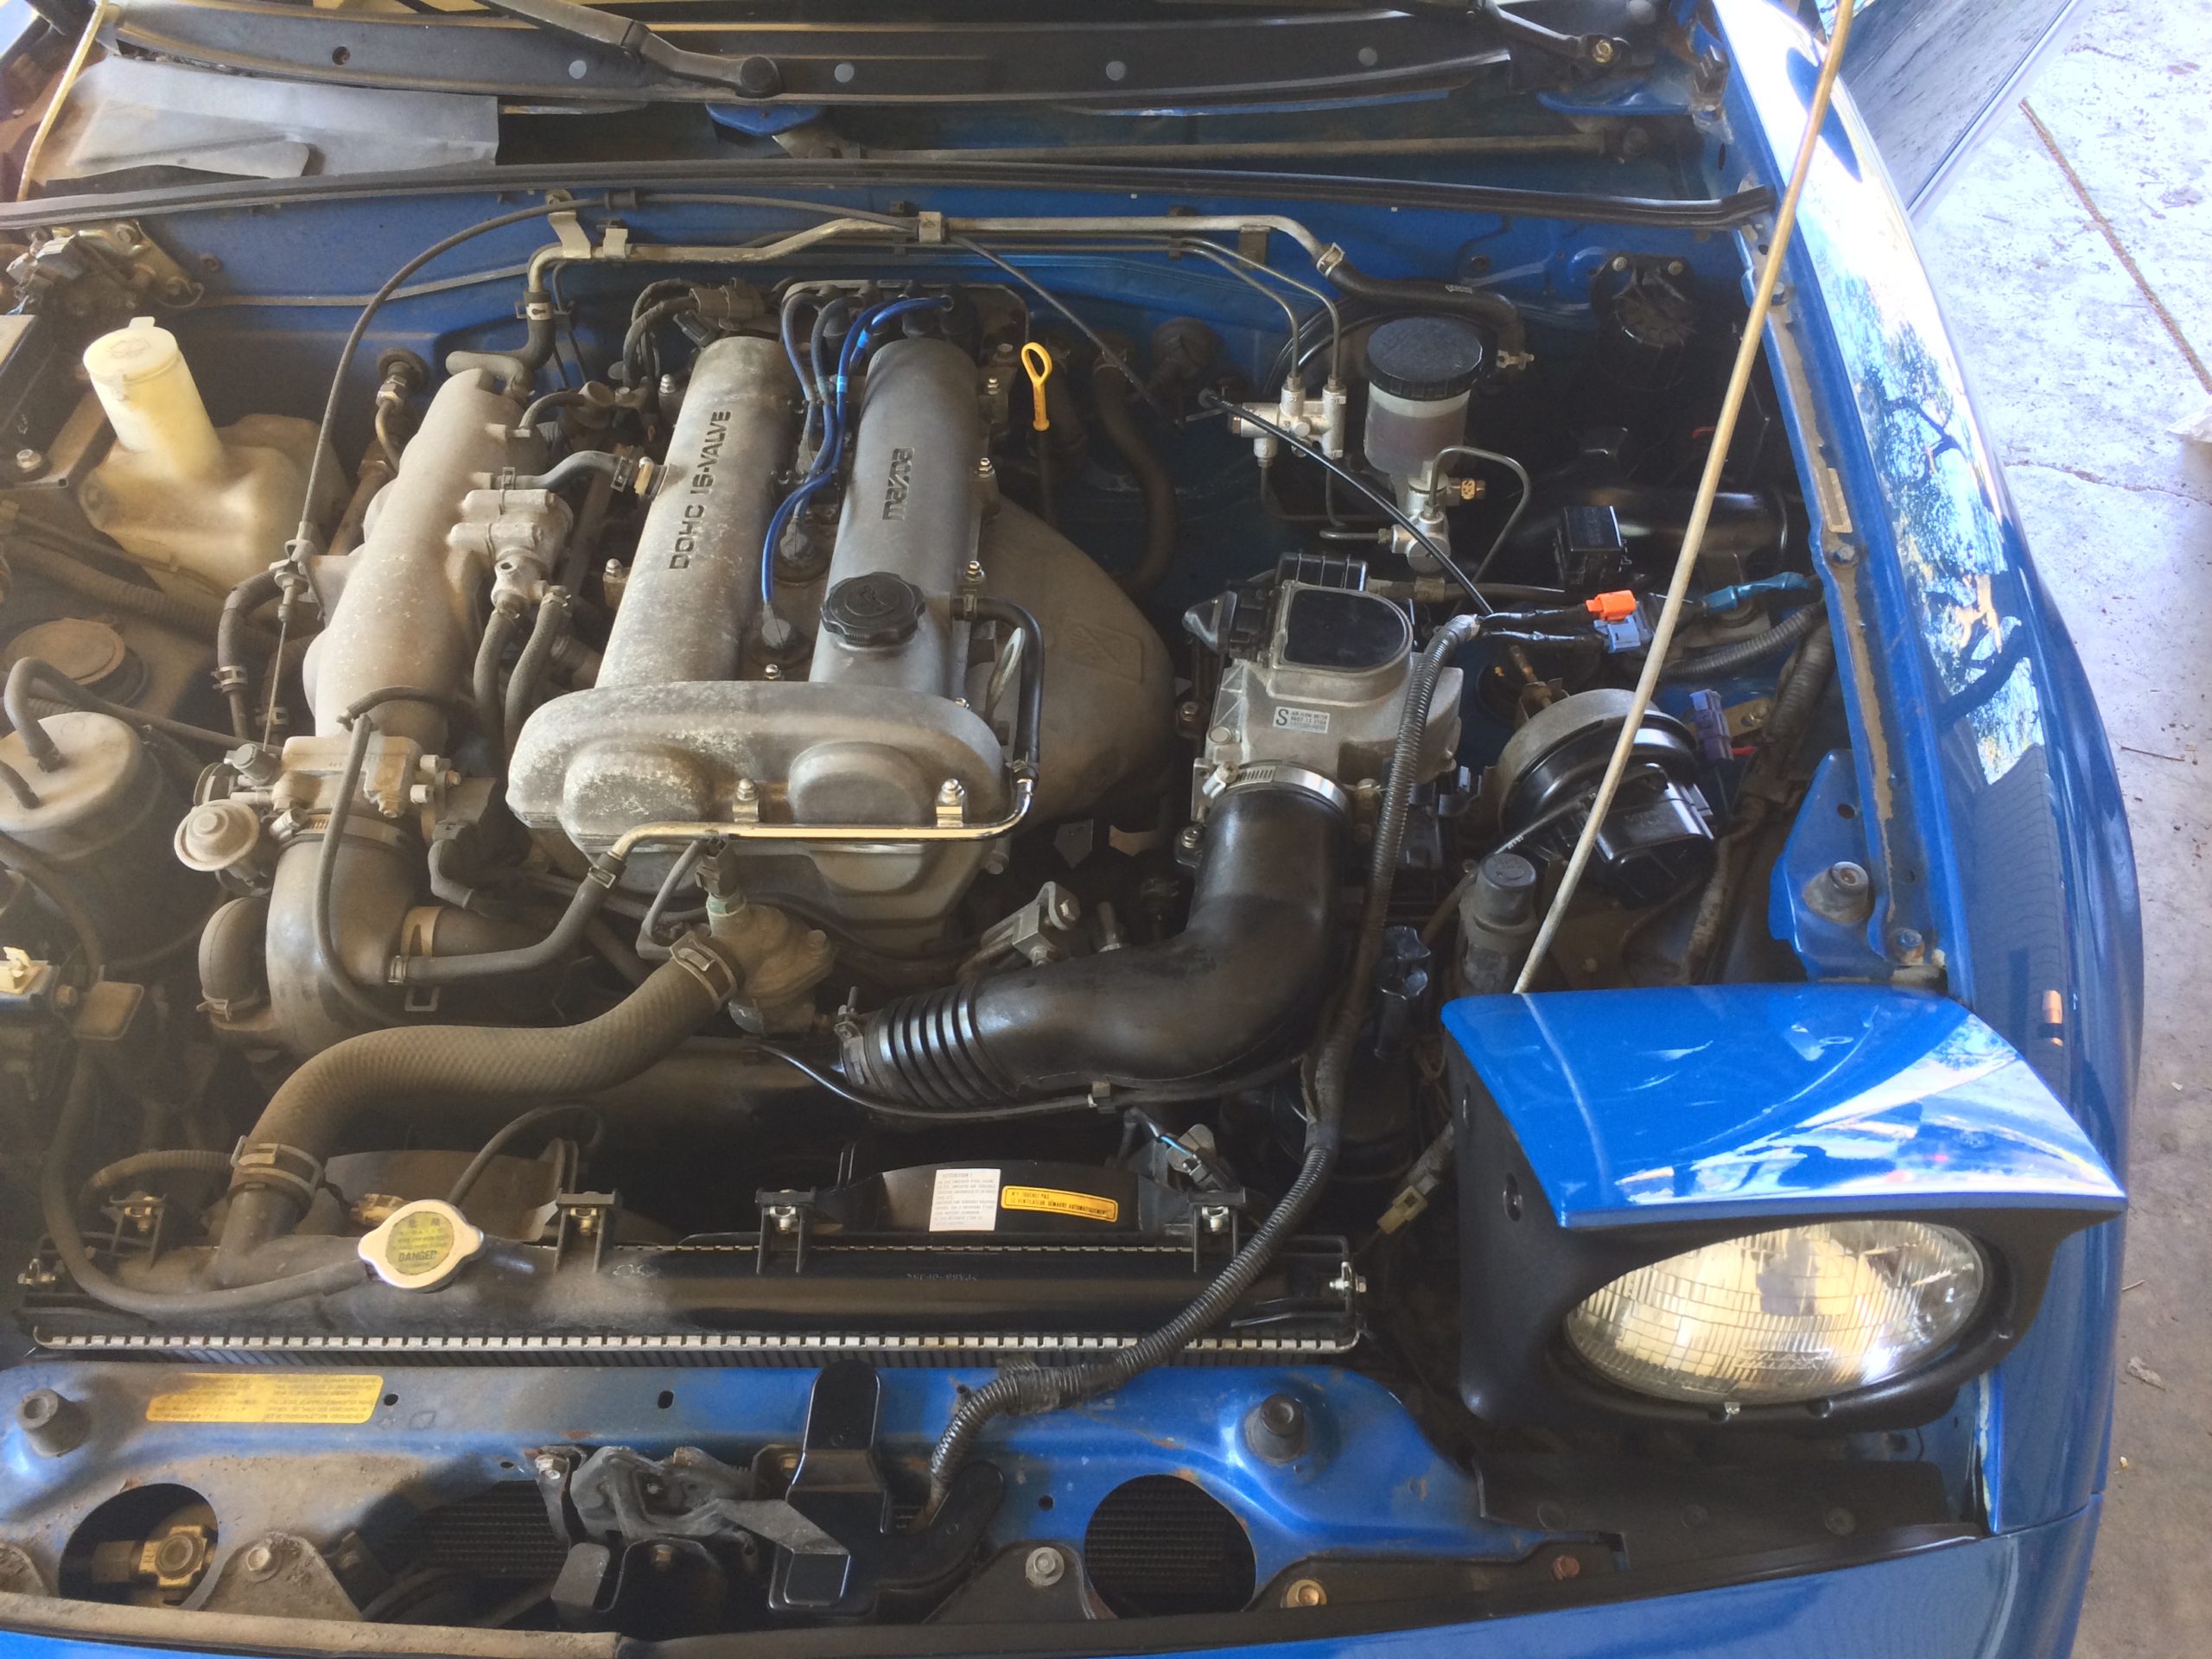
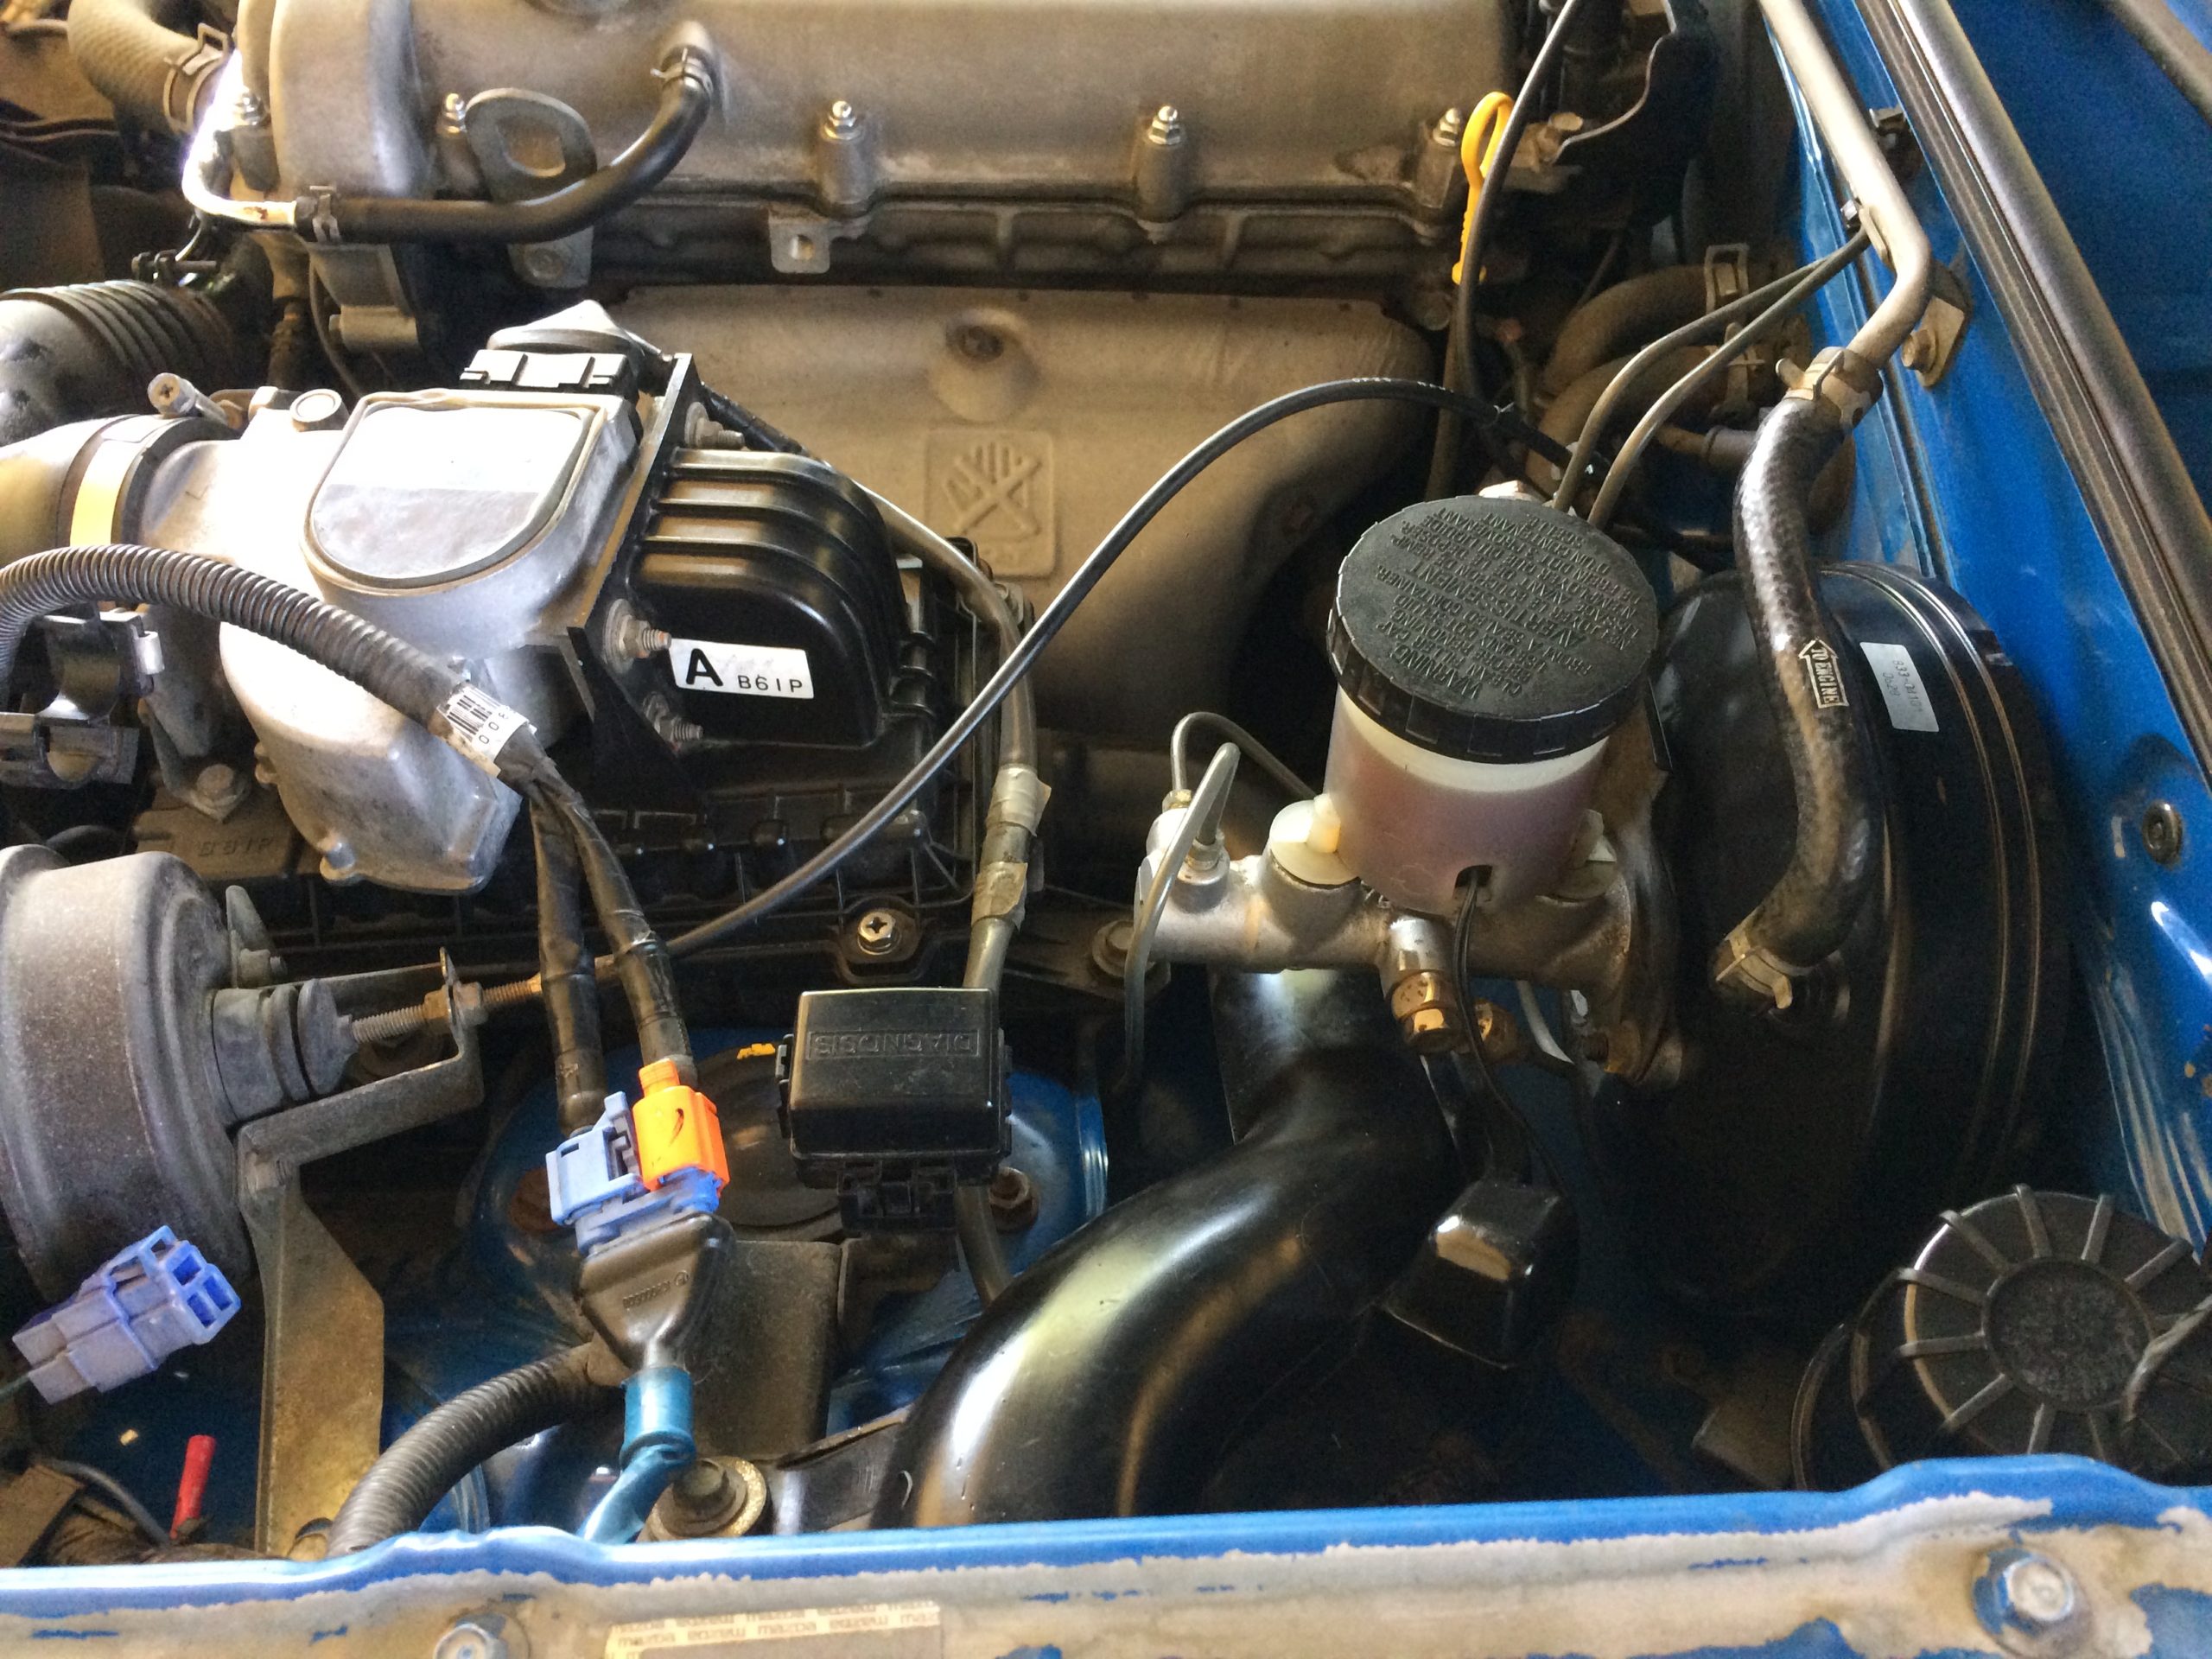
I washed the driver’s side wheels and got started on the driver’s side of the engine bay.
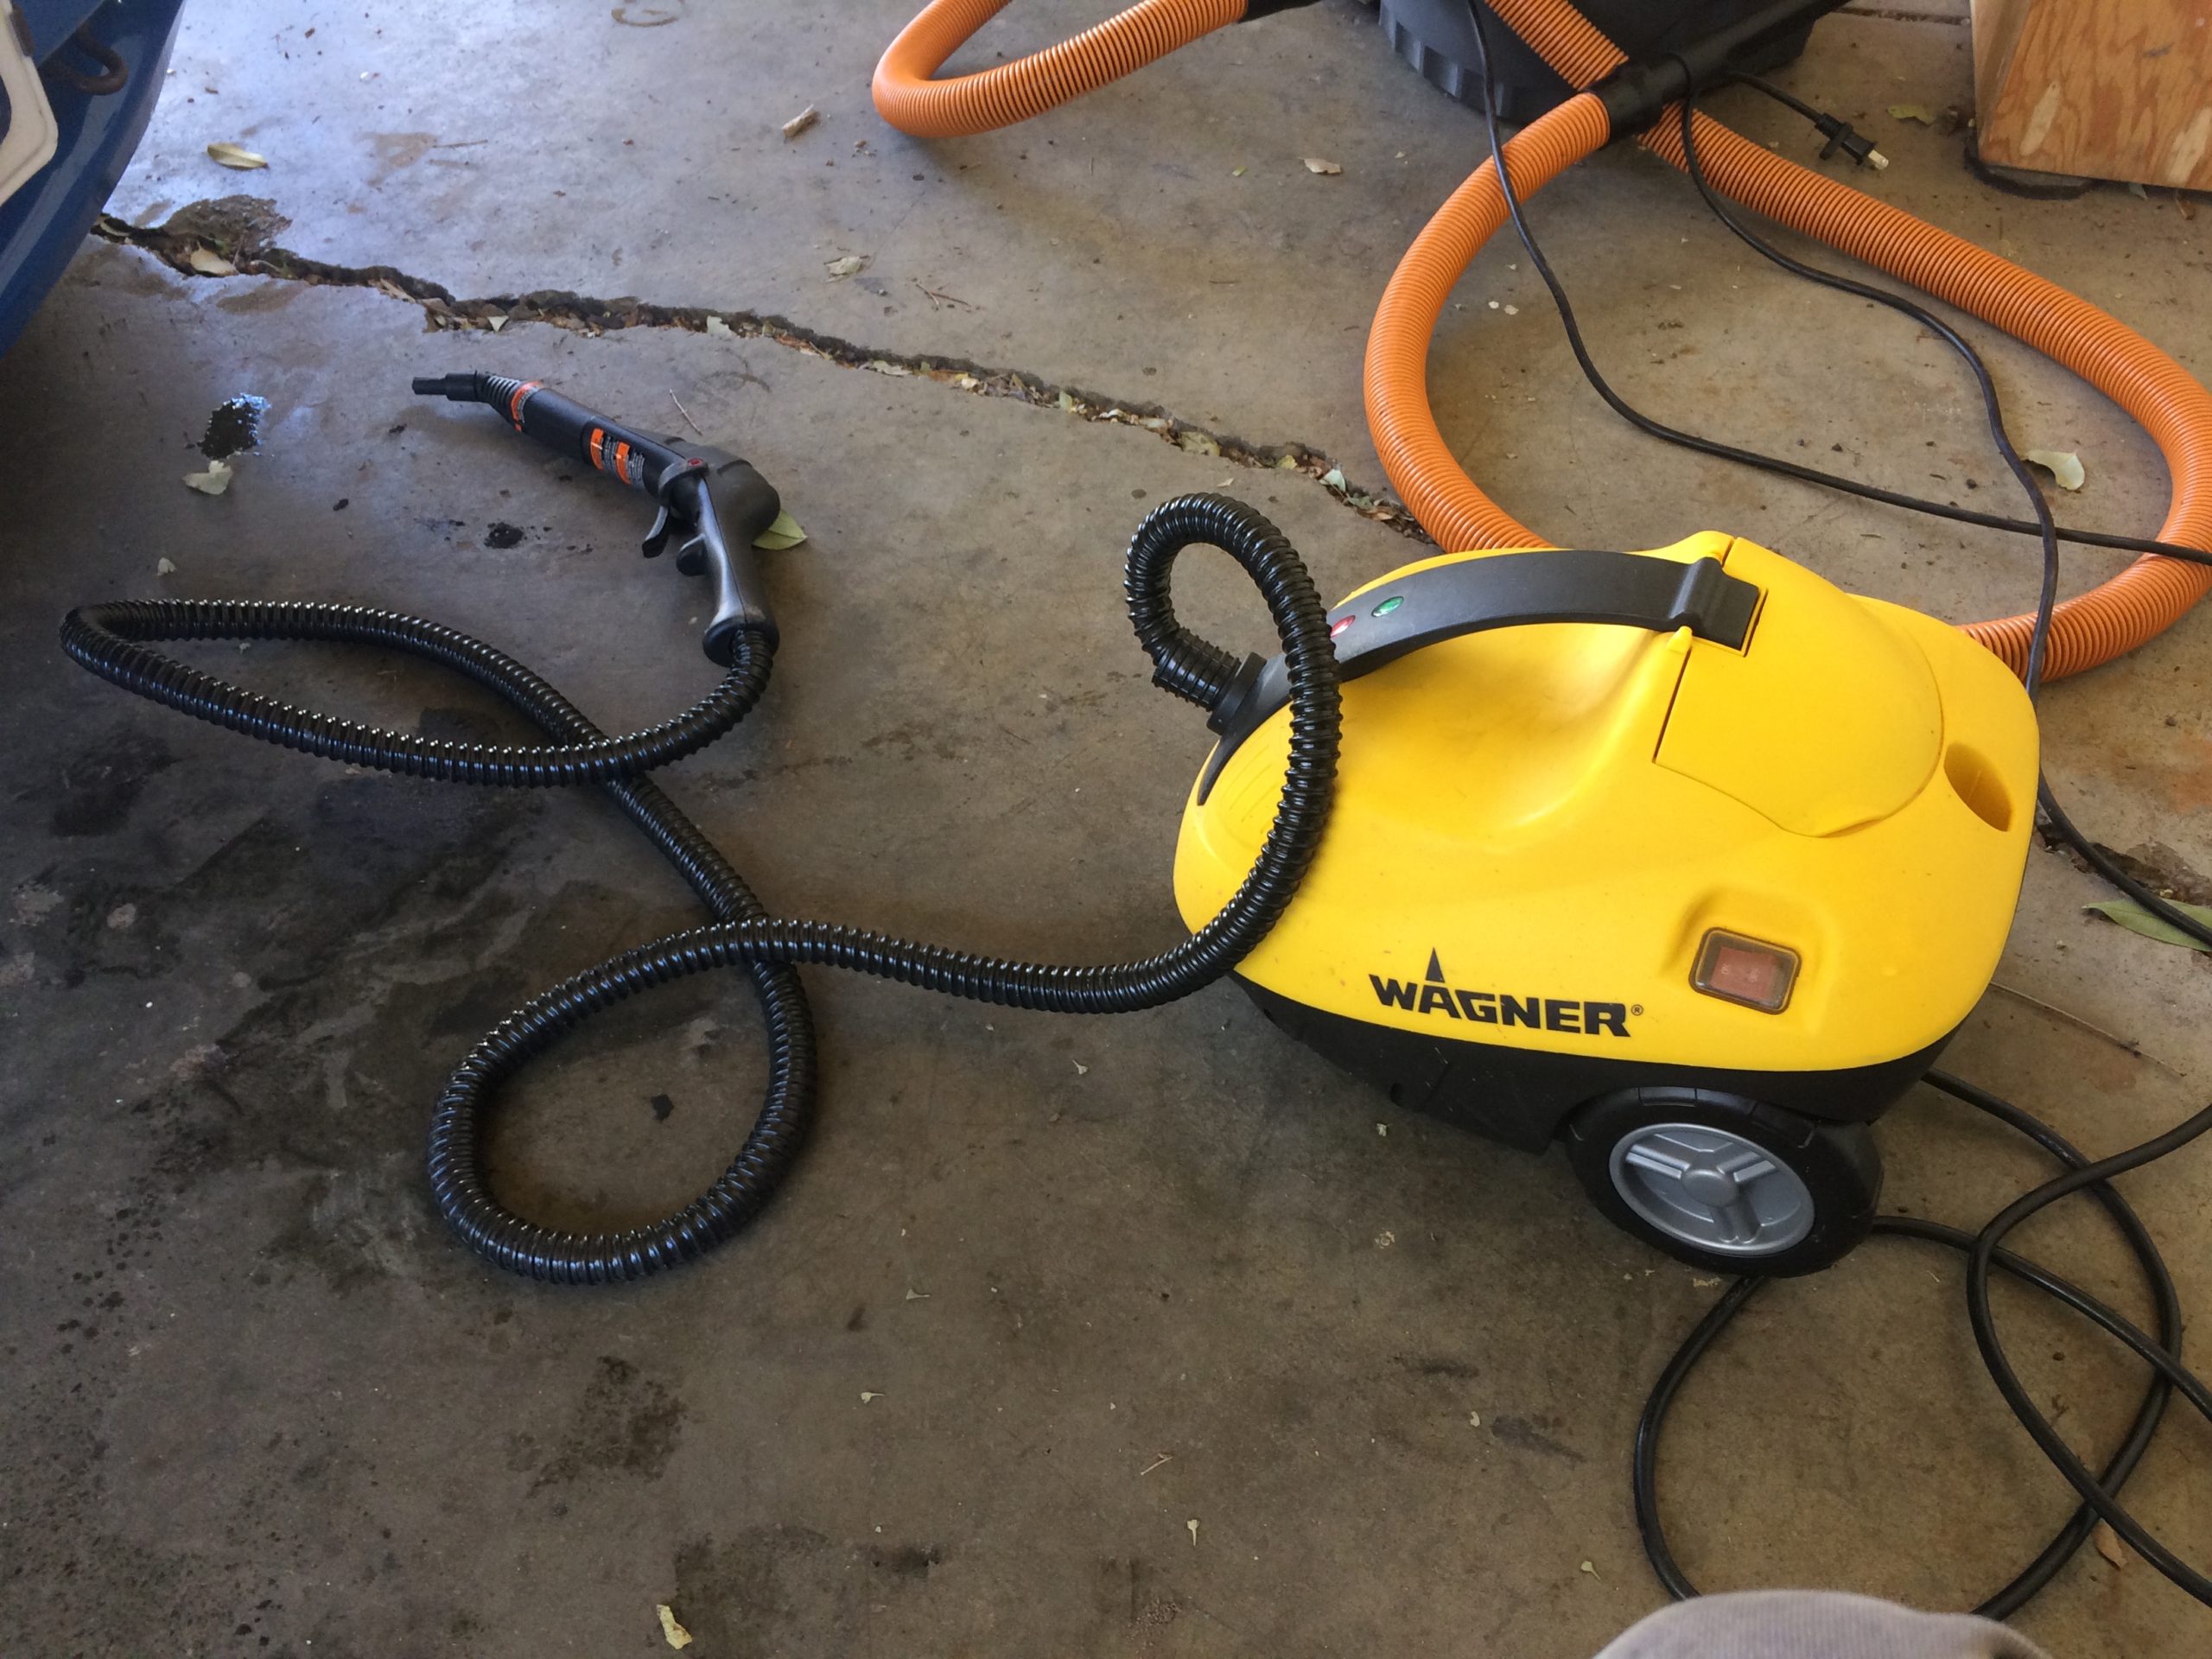
For the engine bay I would soak a section in Simple Green dilution and agitate with a lug nut brush. I would then use a Wagner 915 Steam Cleaner to rinse and a microfiber towel to dry.
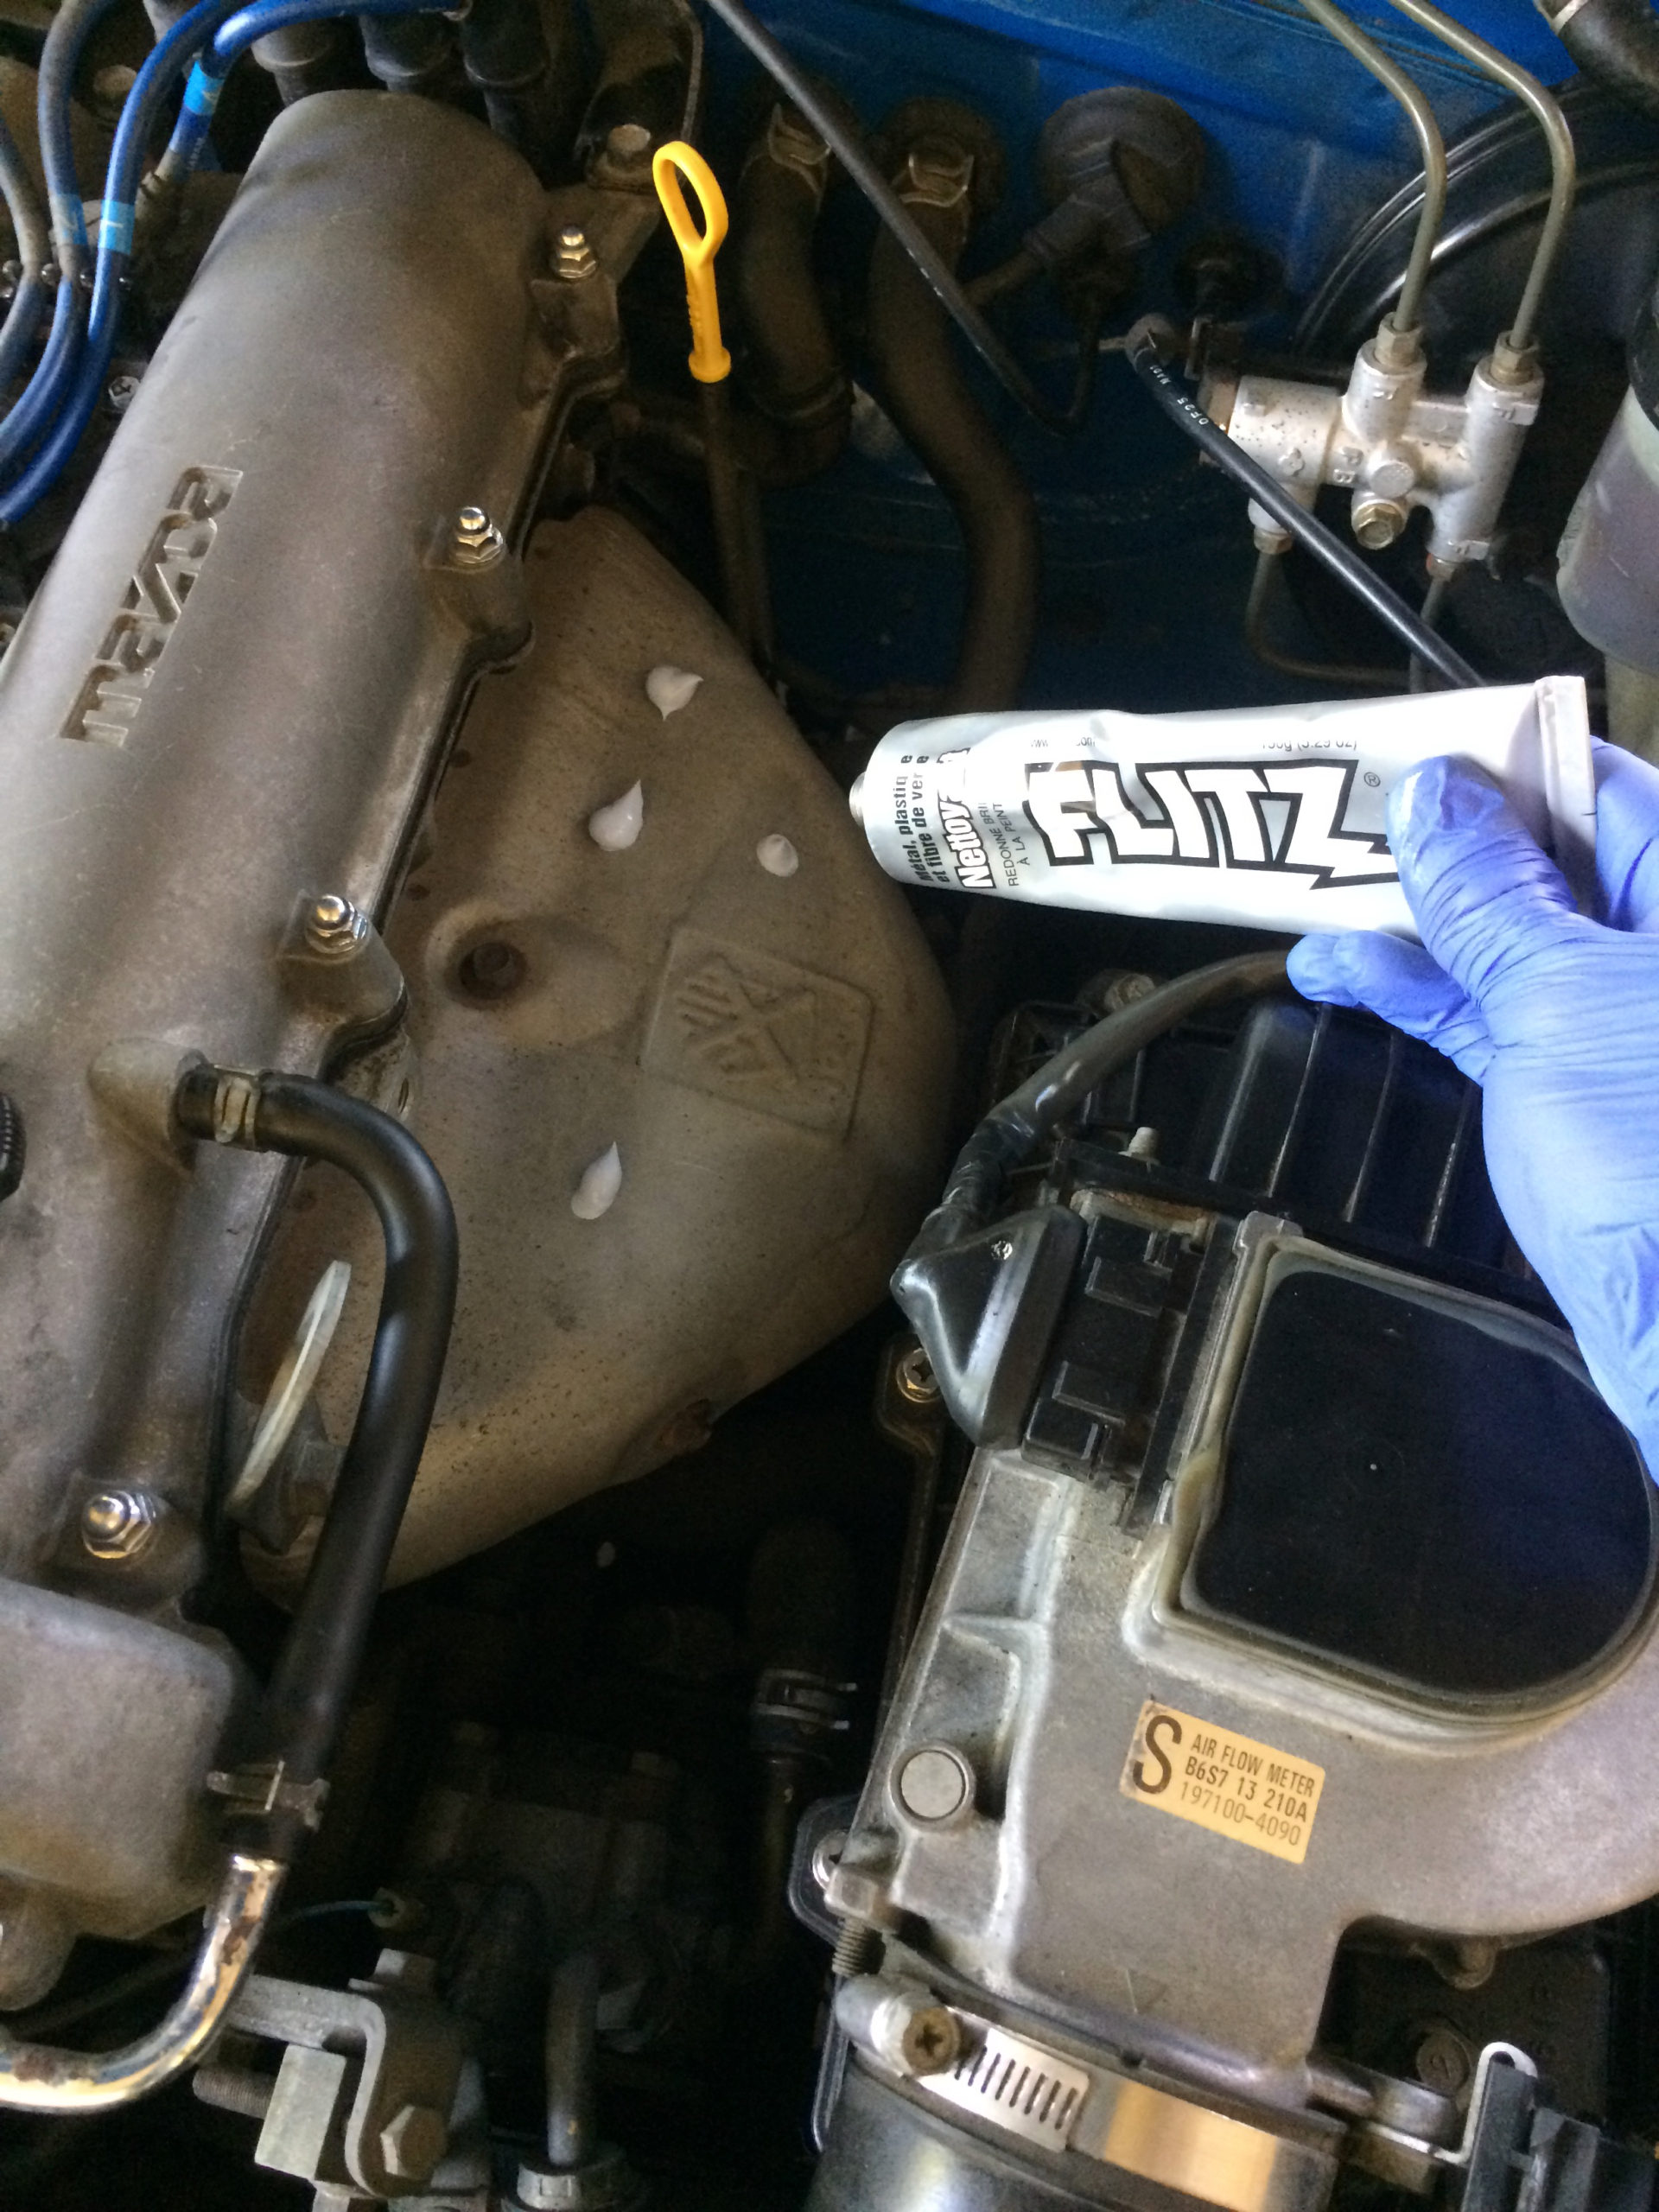
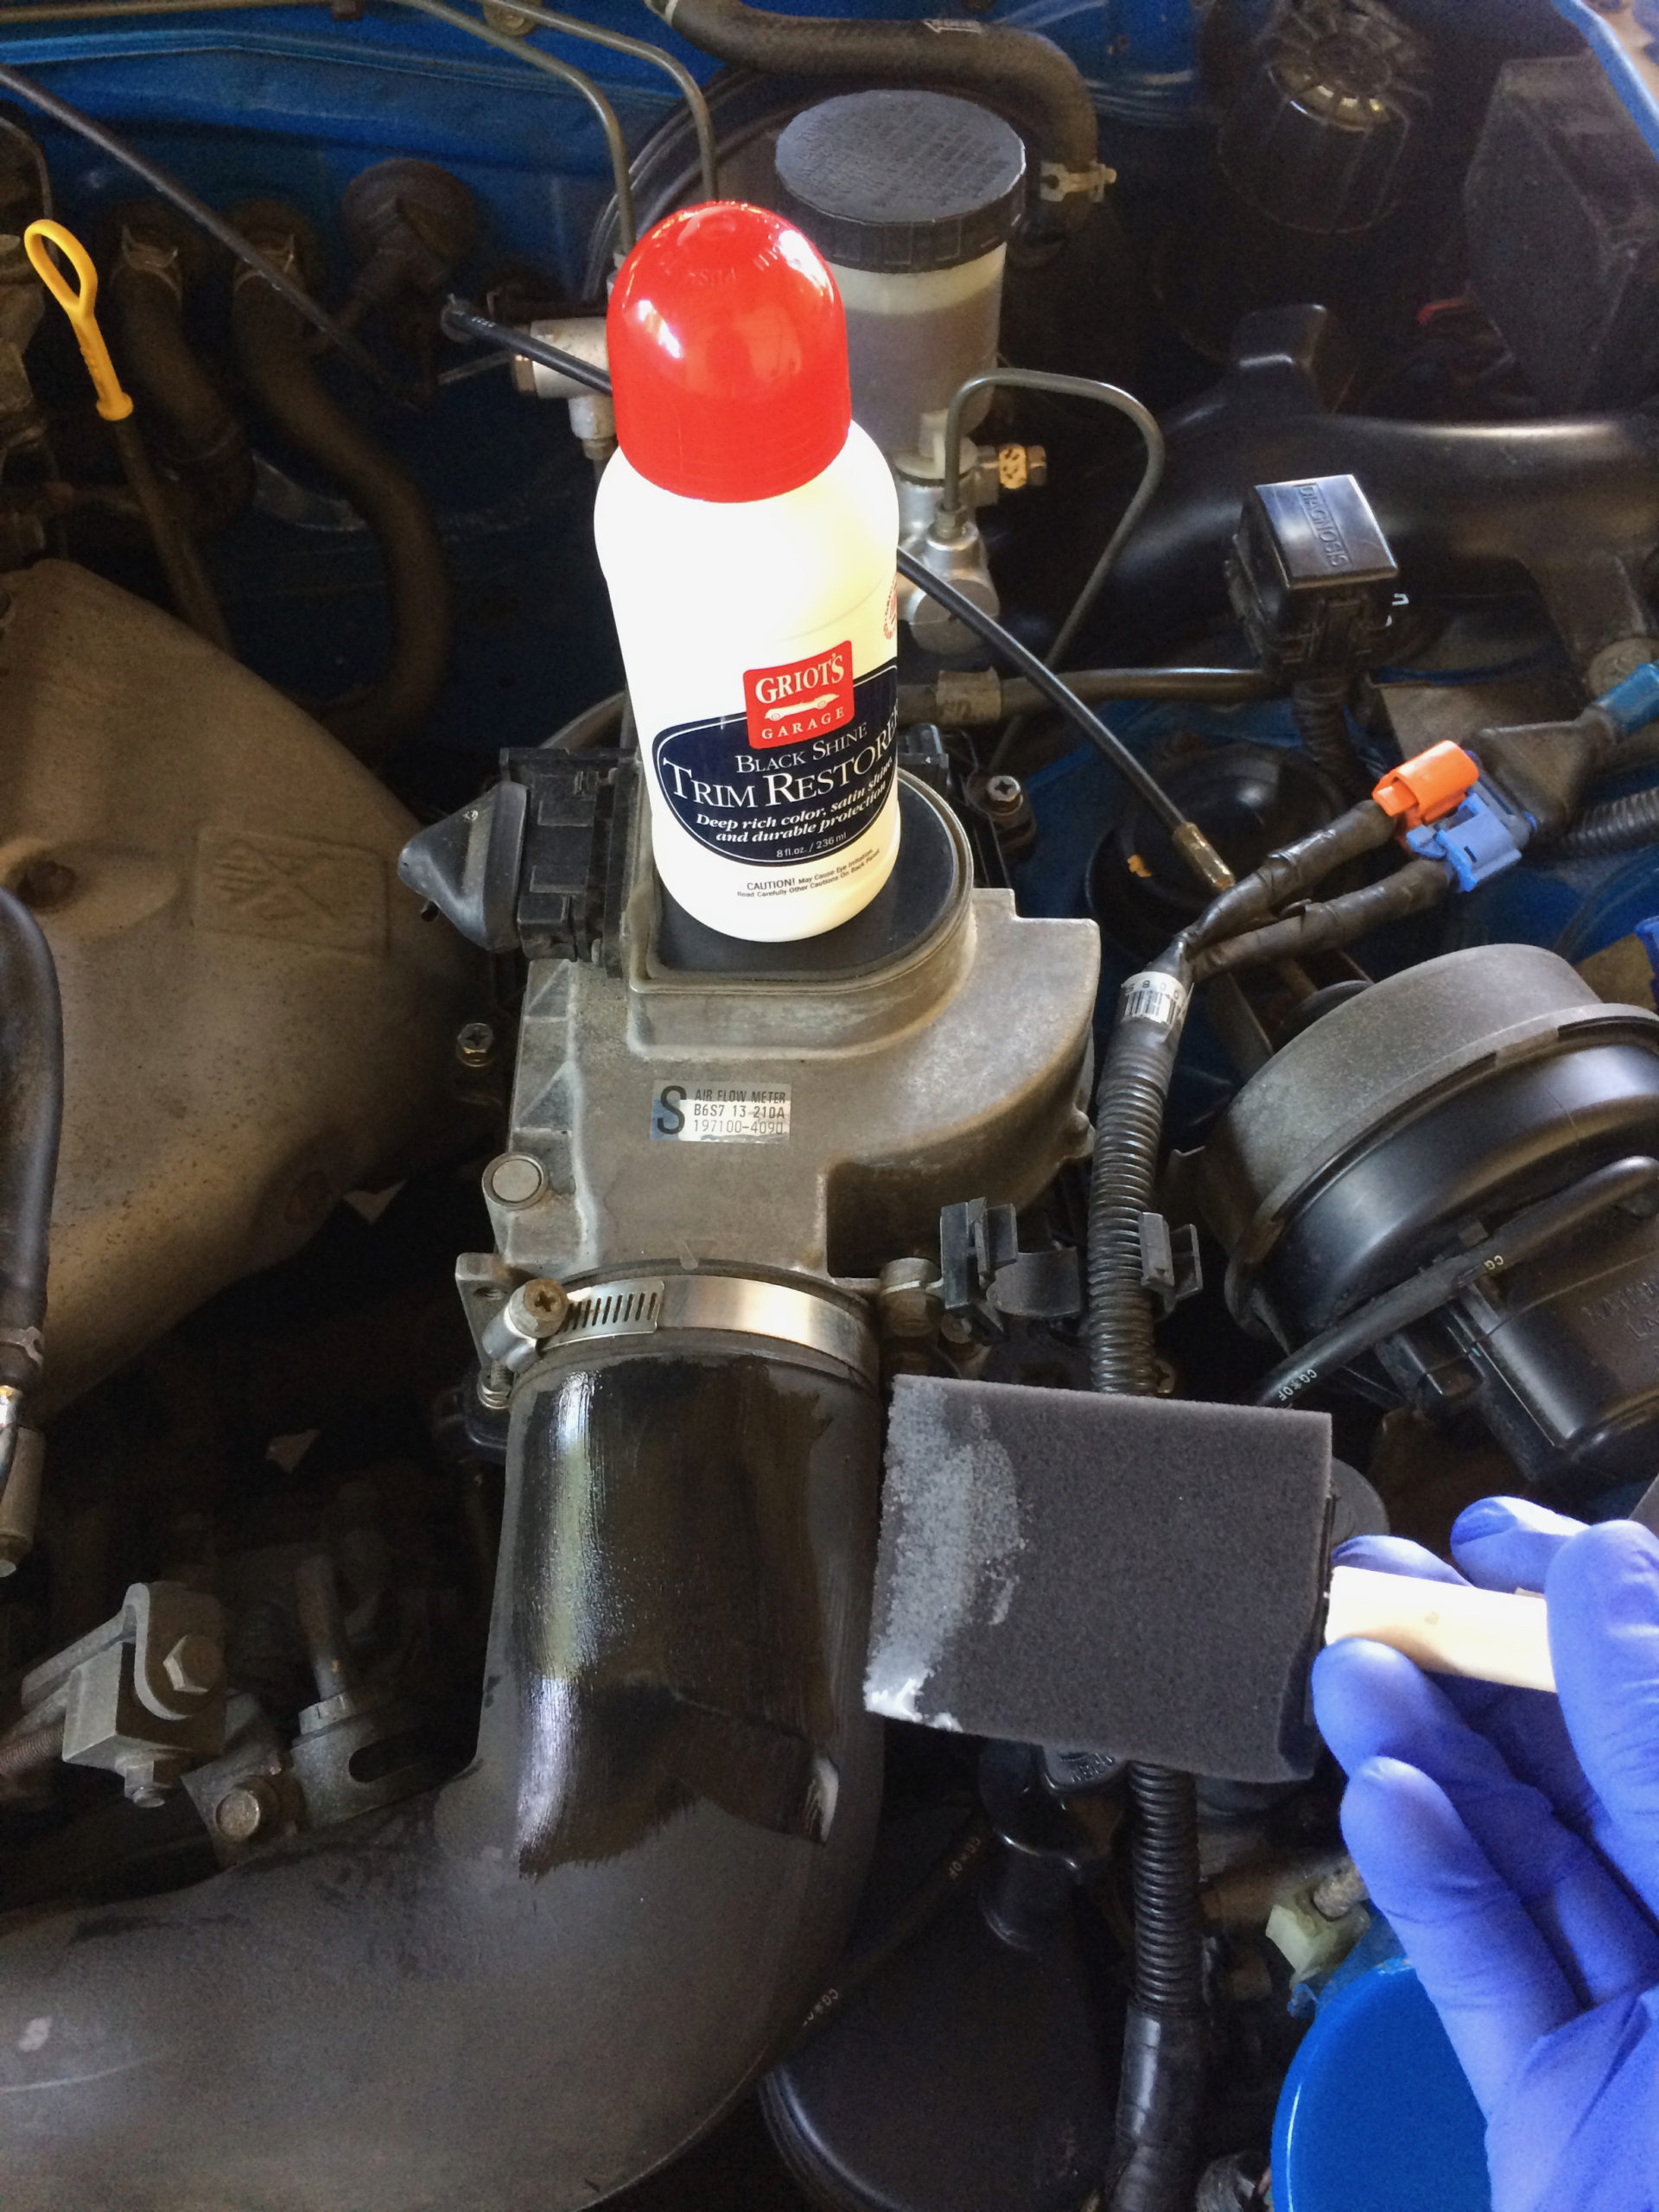
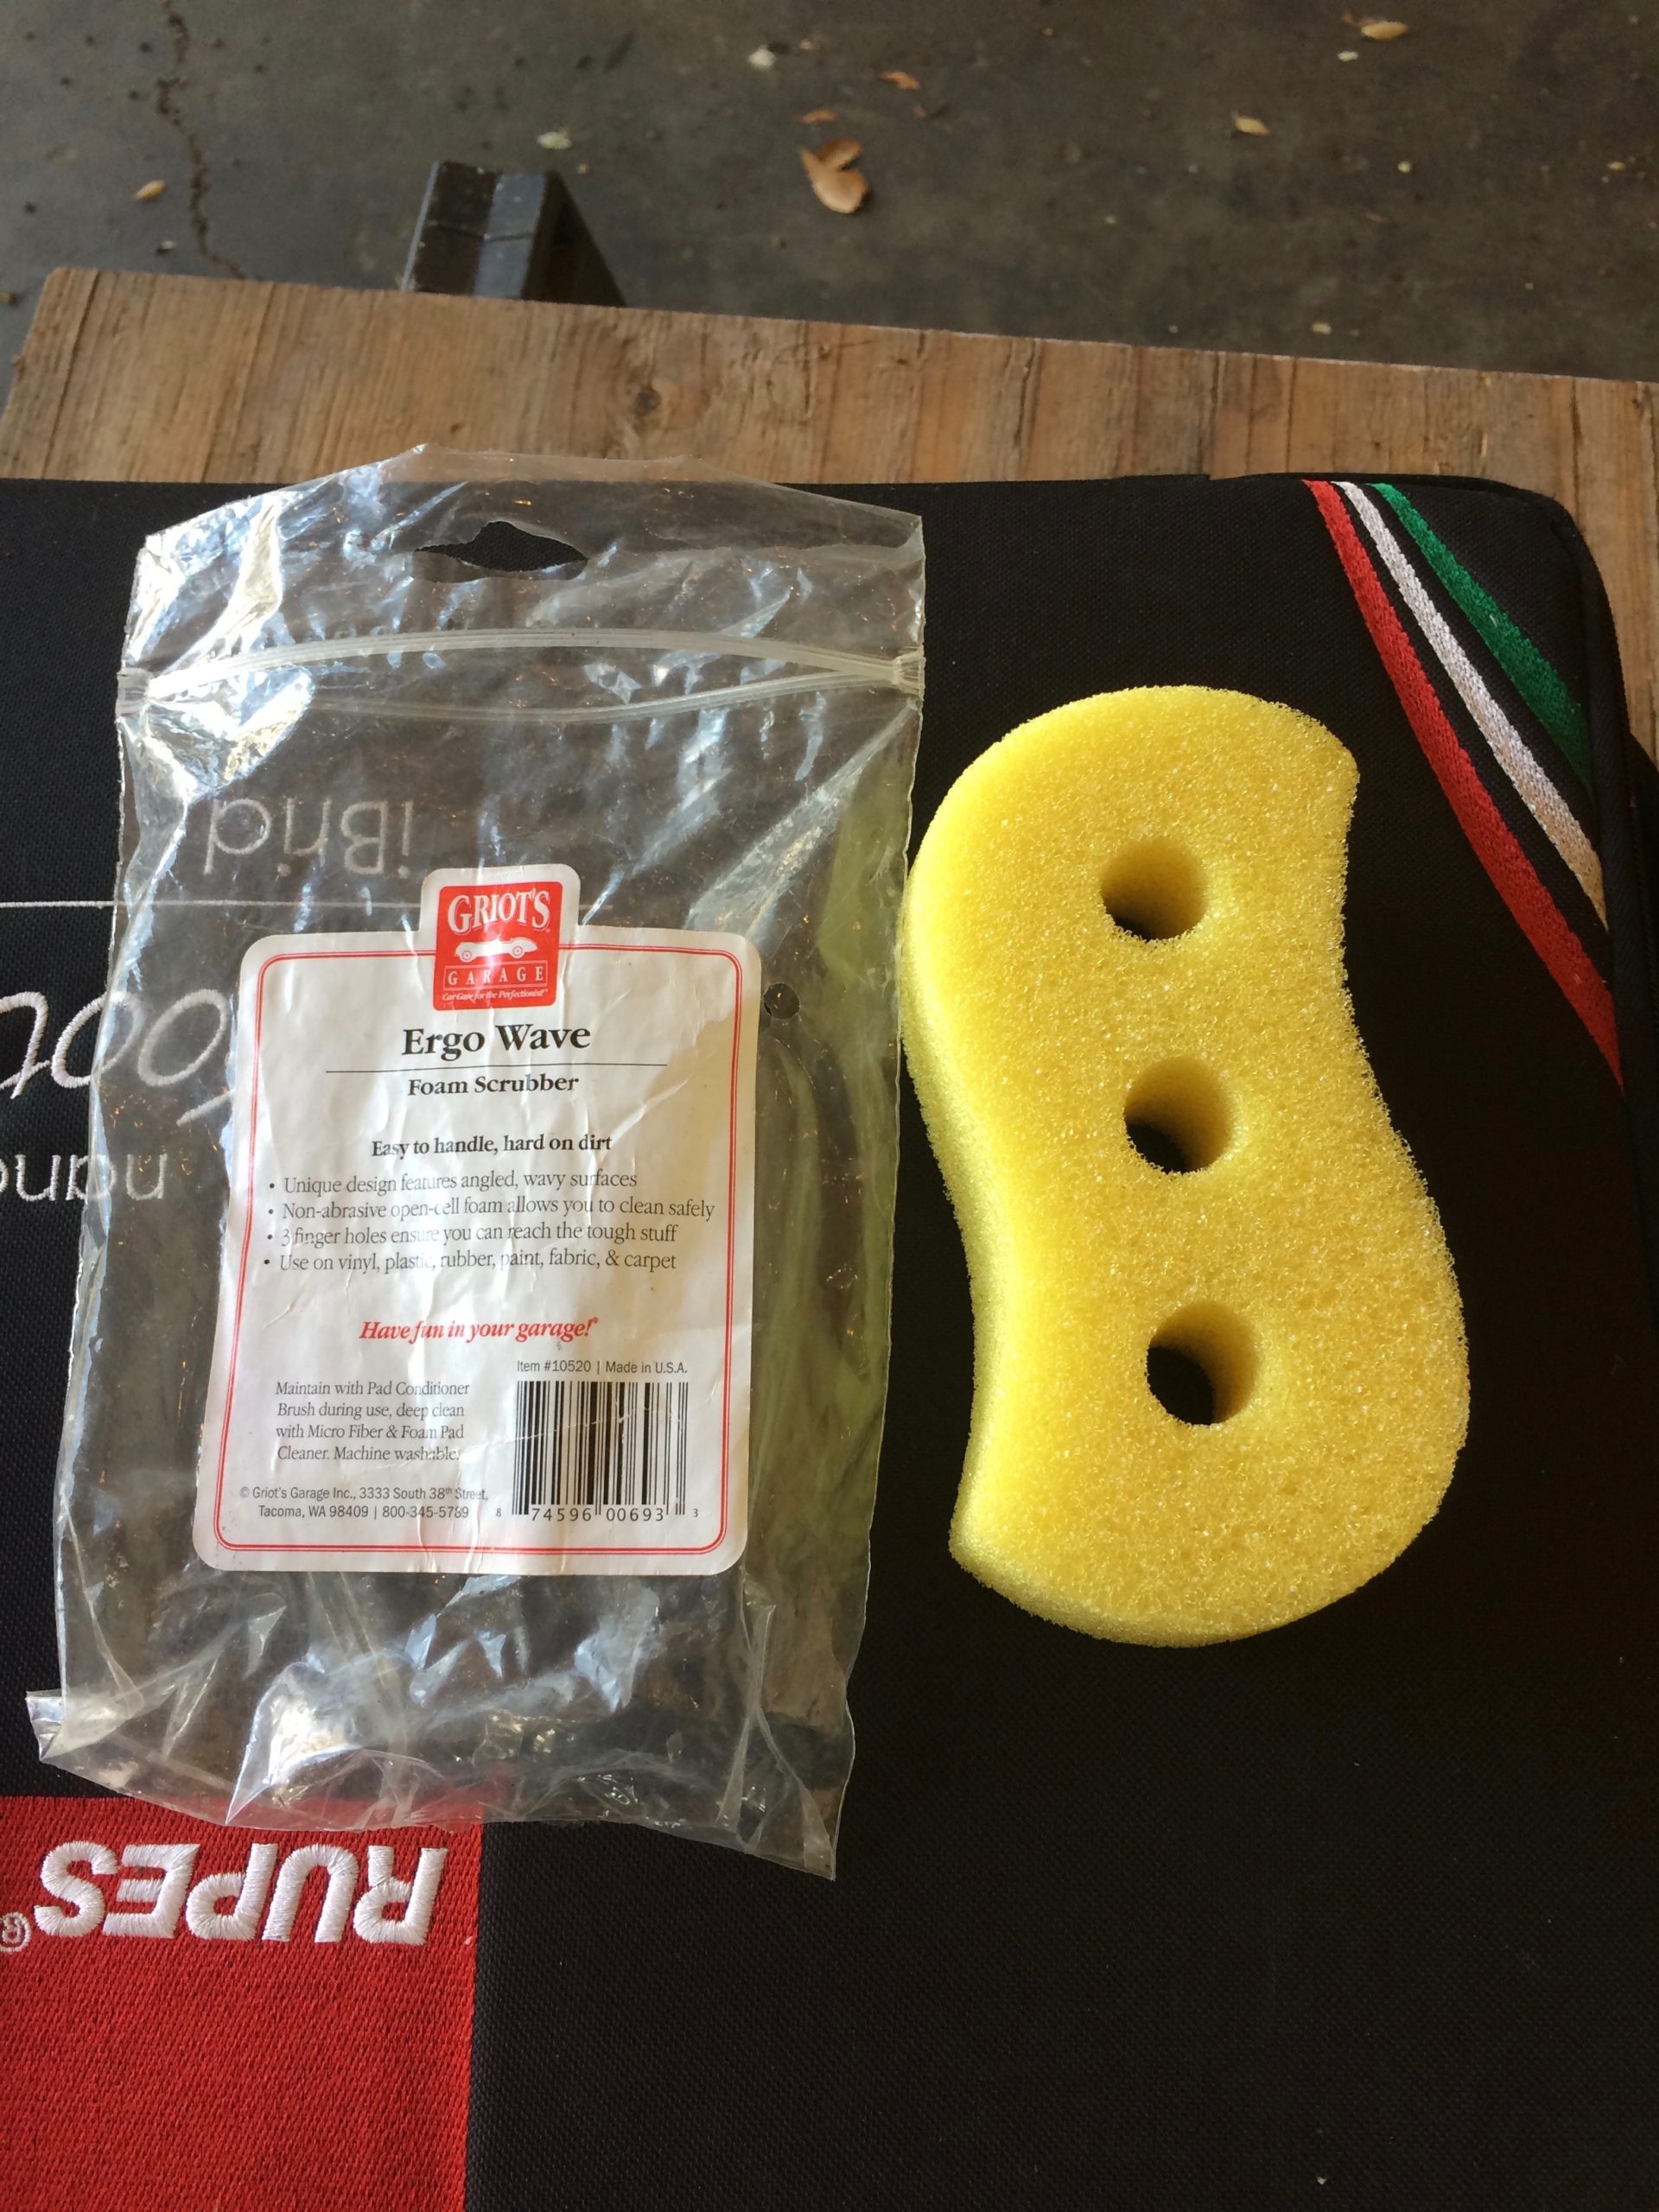
After the bay was cleaned I dressed the rubber and plastics using Griot’s Trim Restorer applied to a foam brush and my nitrile gloves. I also used Flitz Polish on the exhaust manifold cover and engine block.
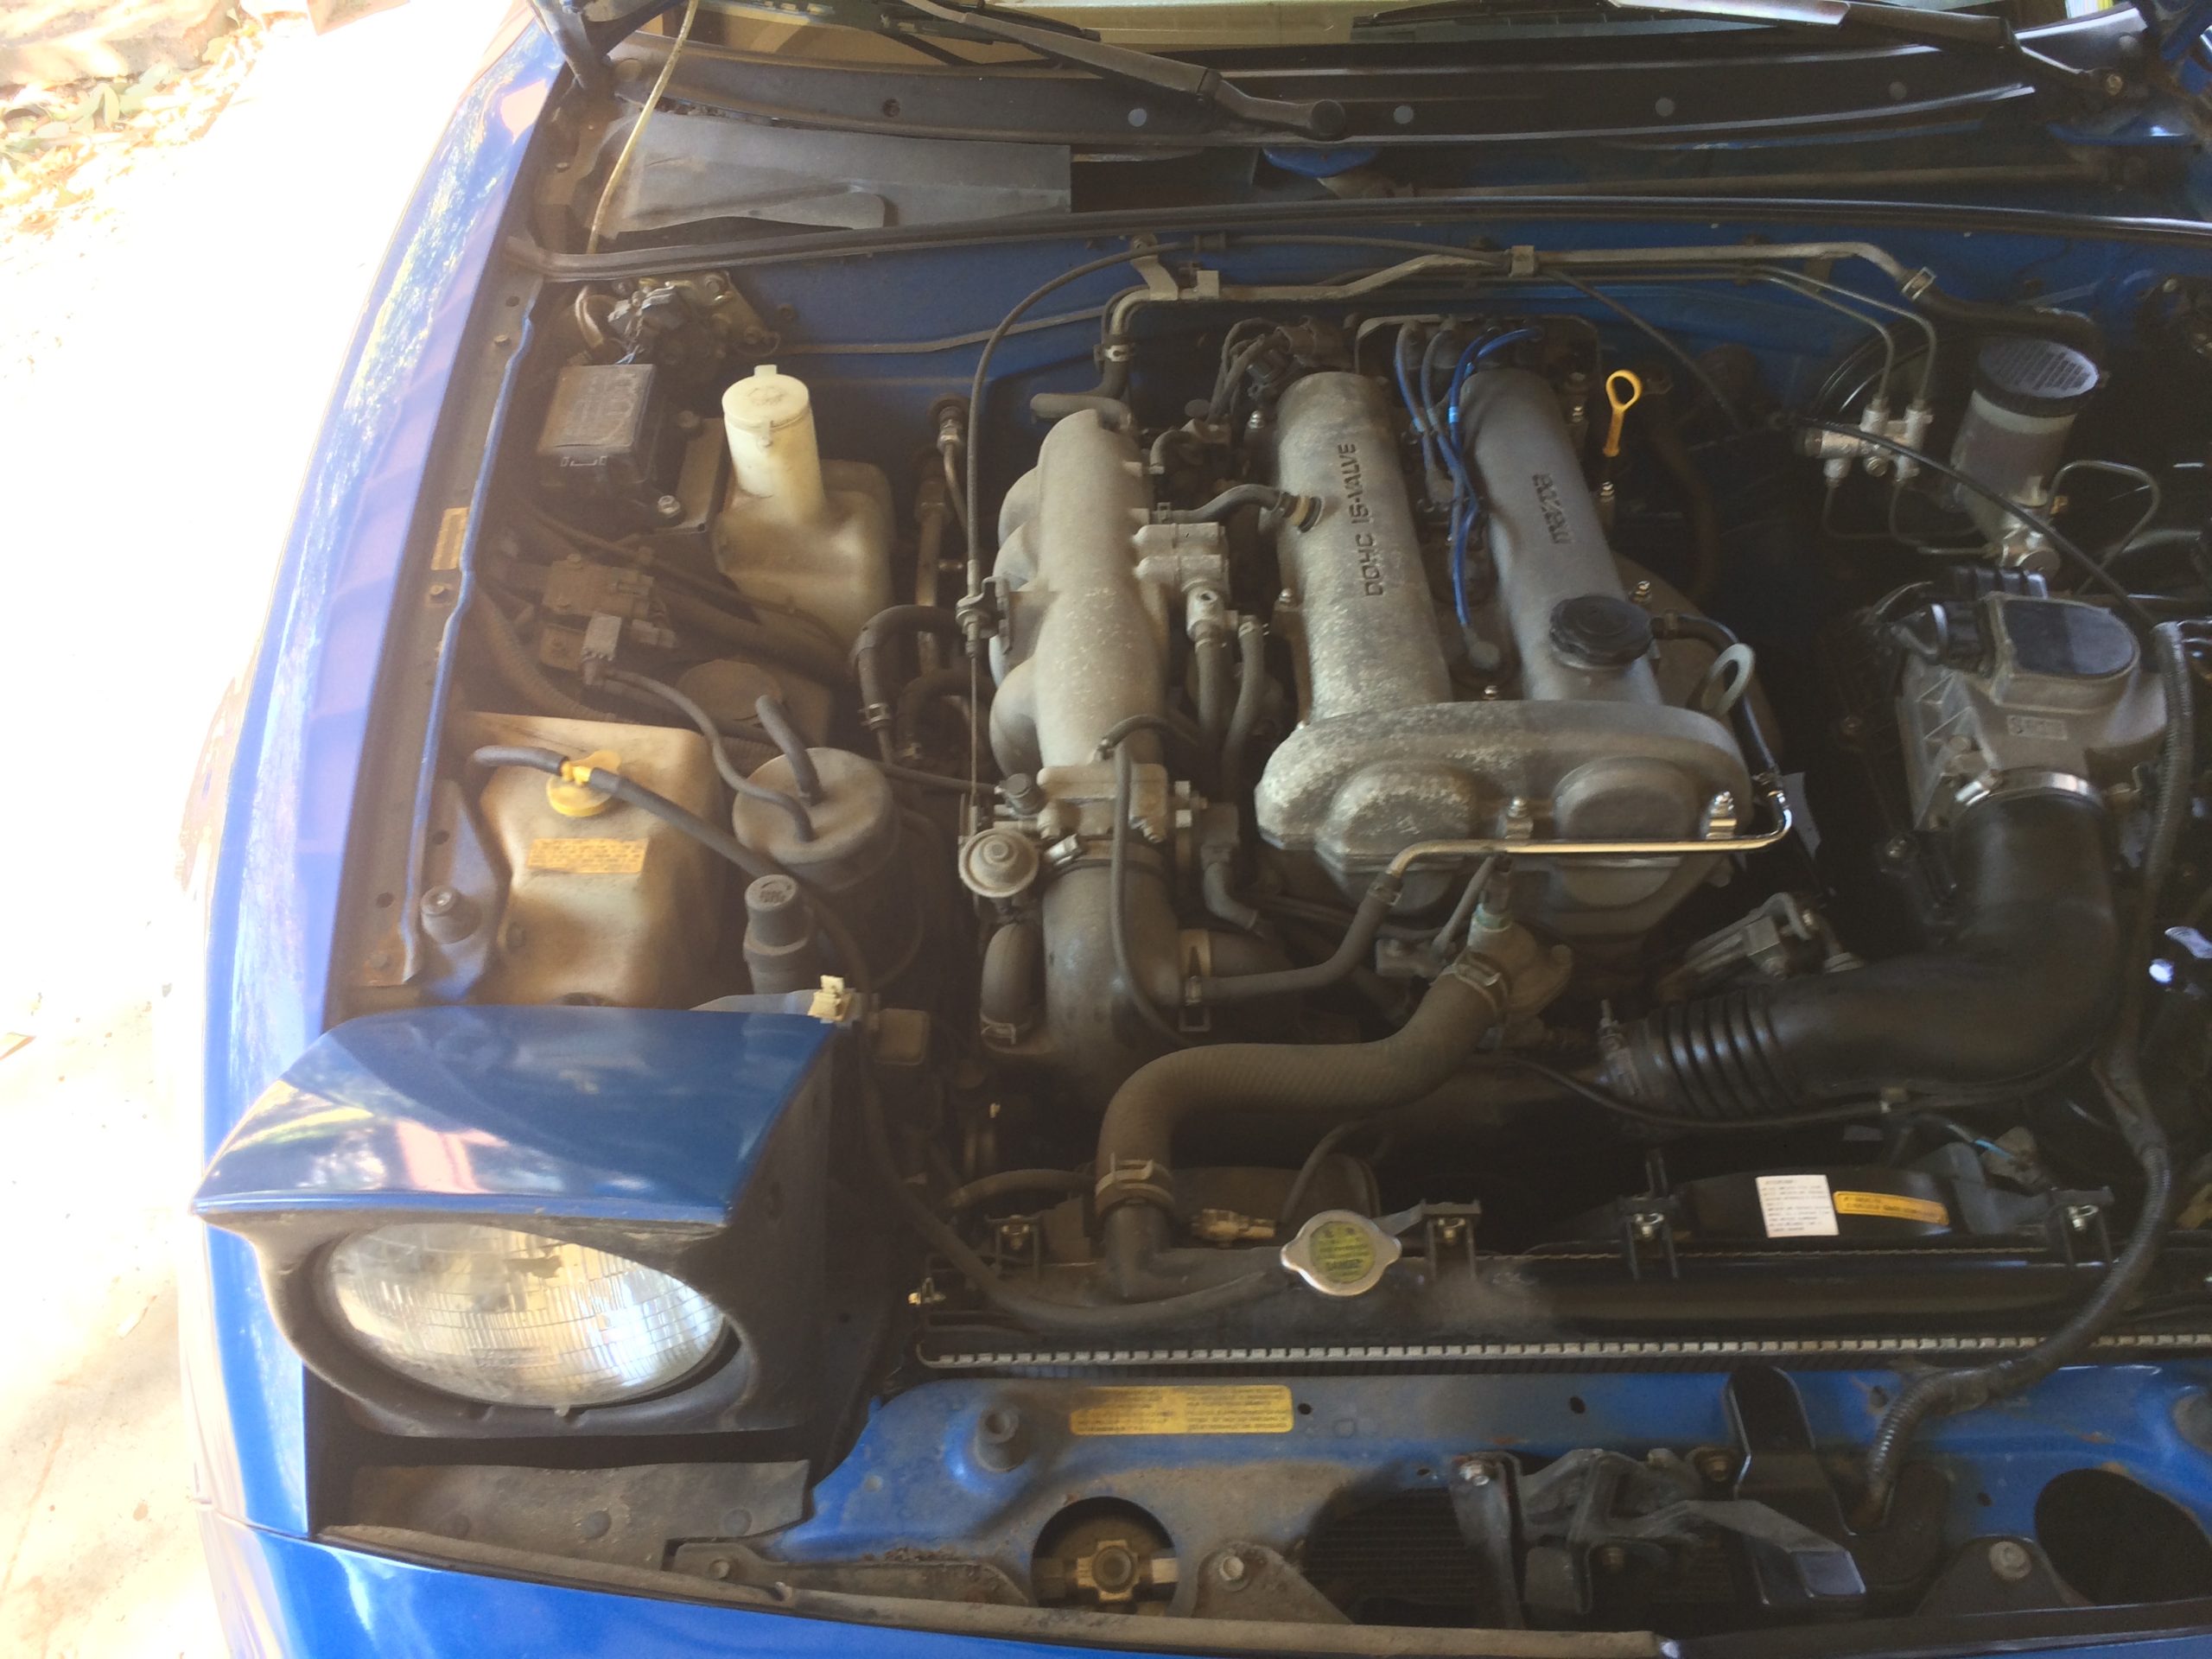
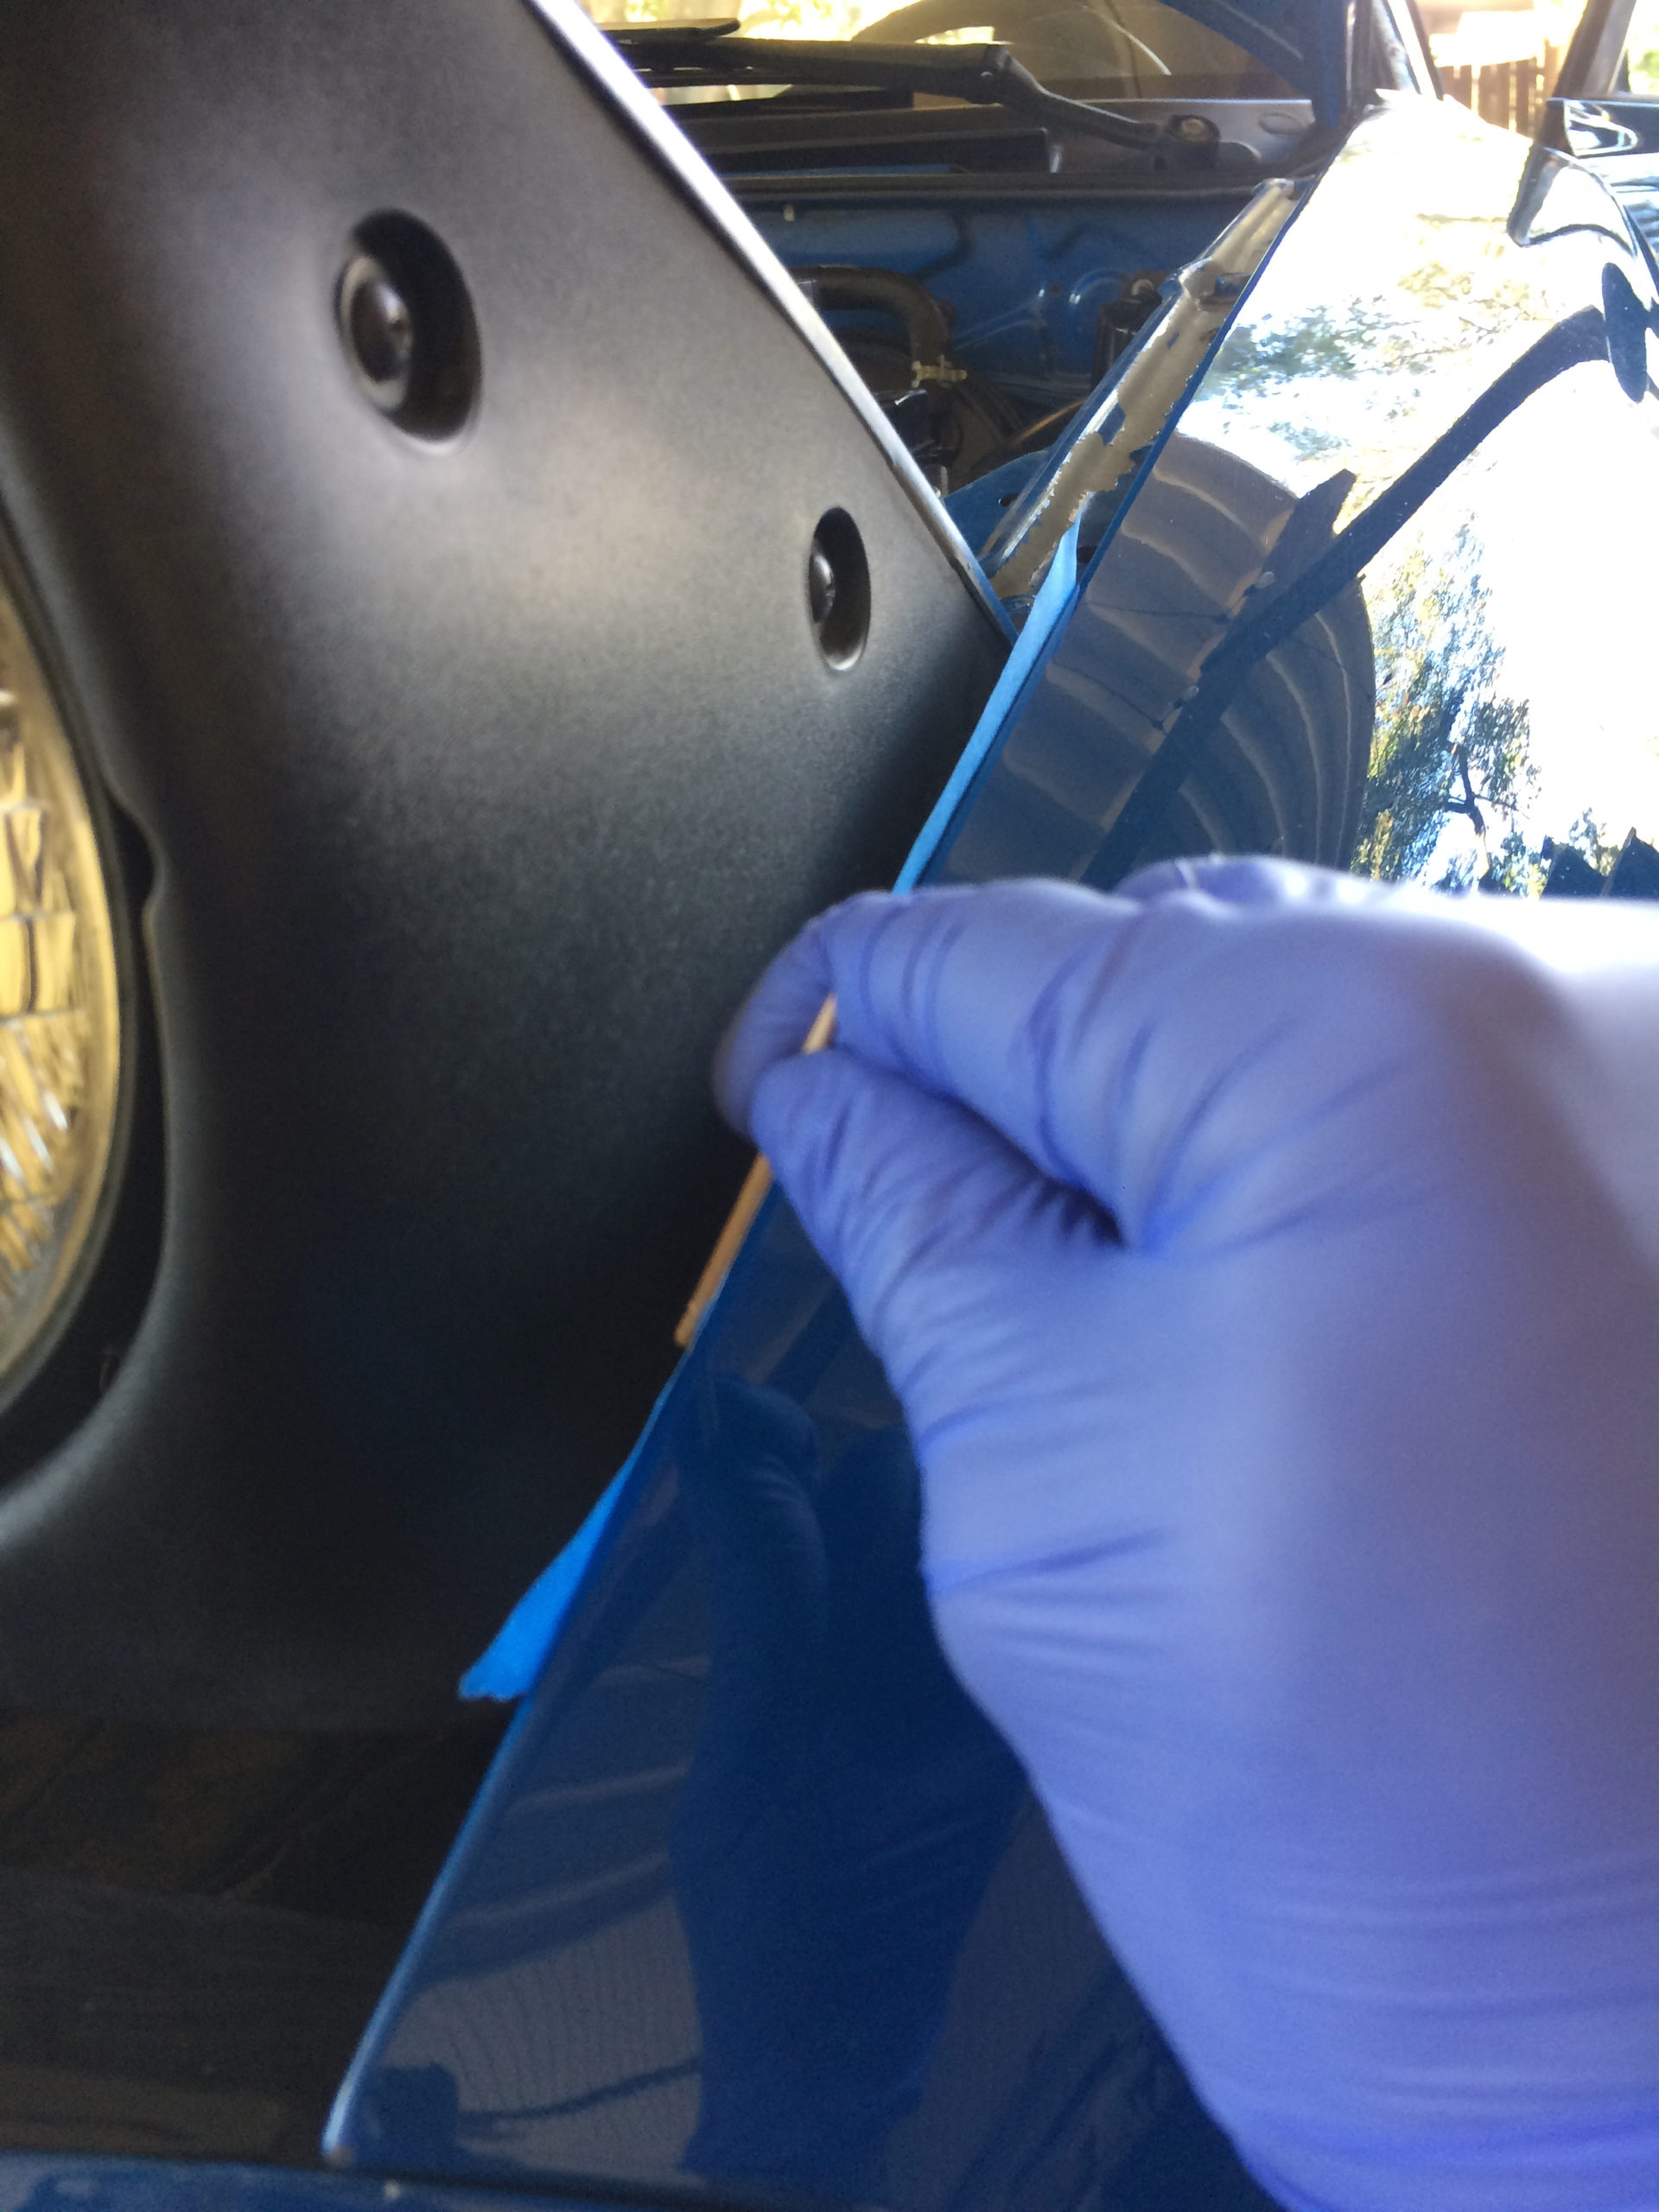
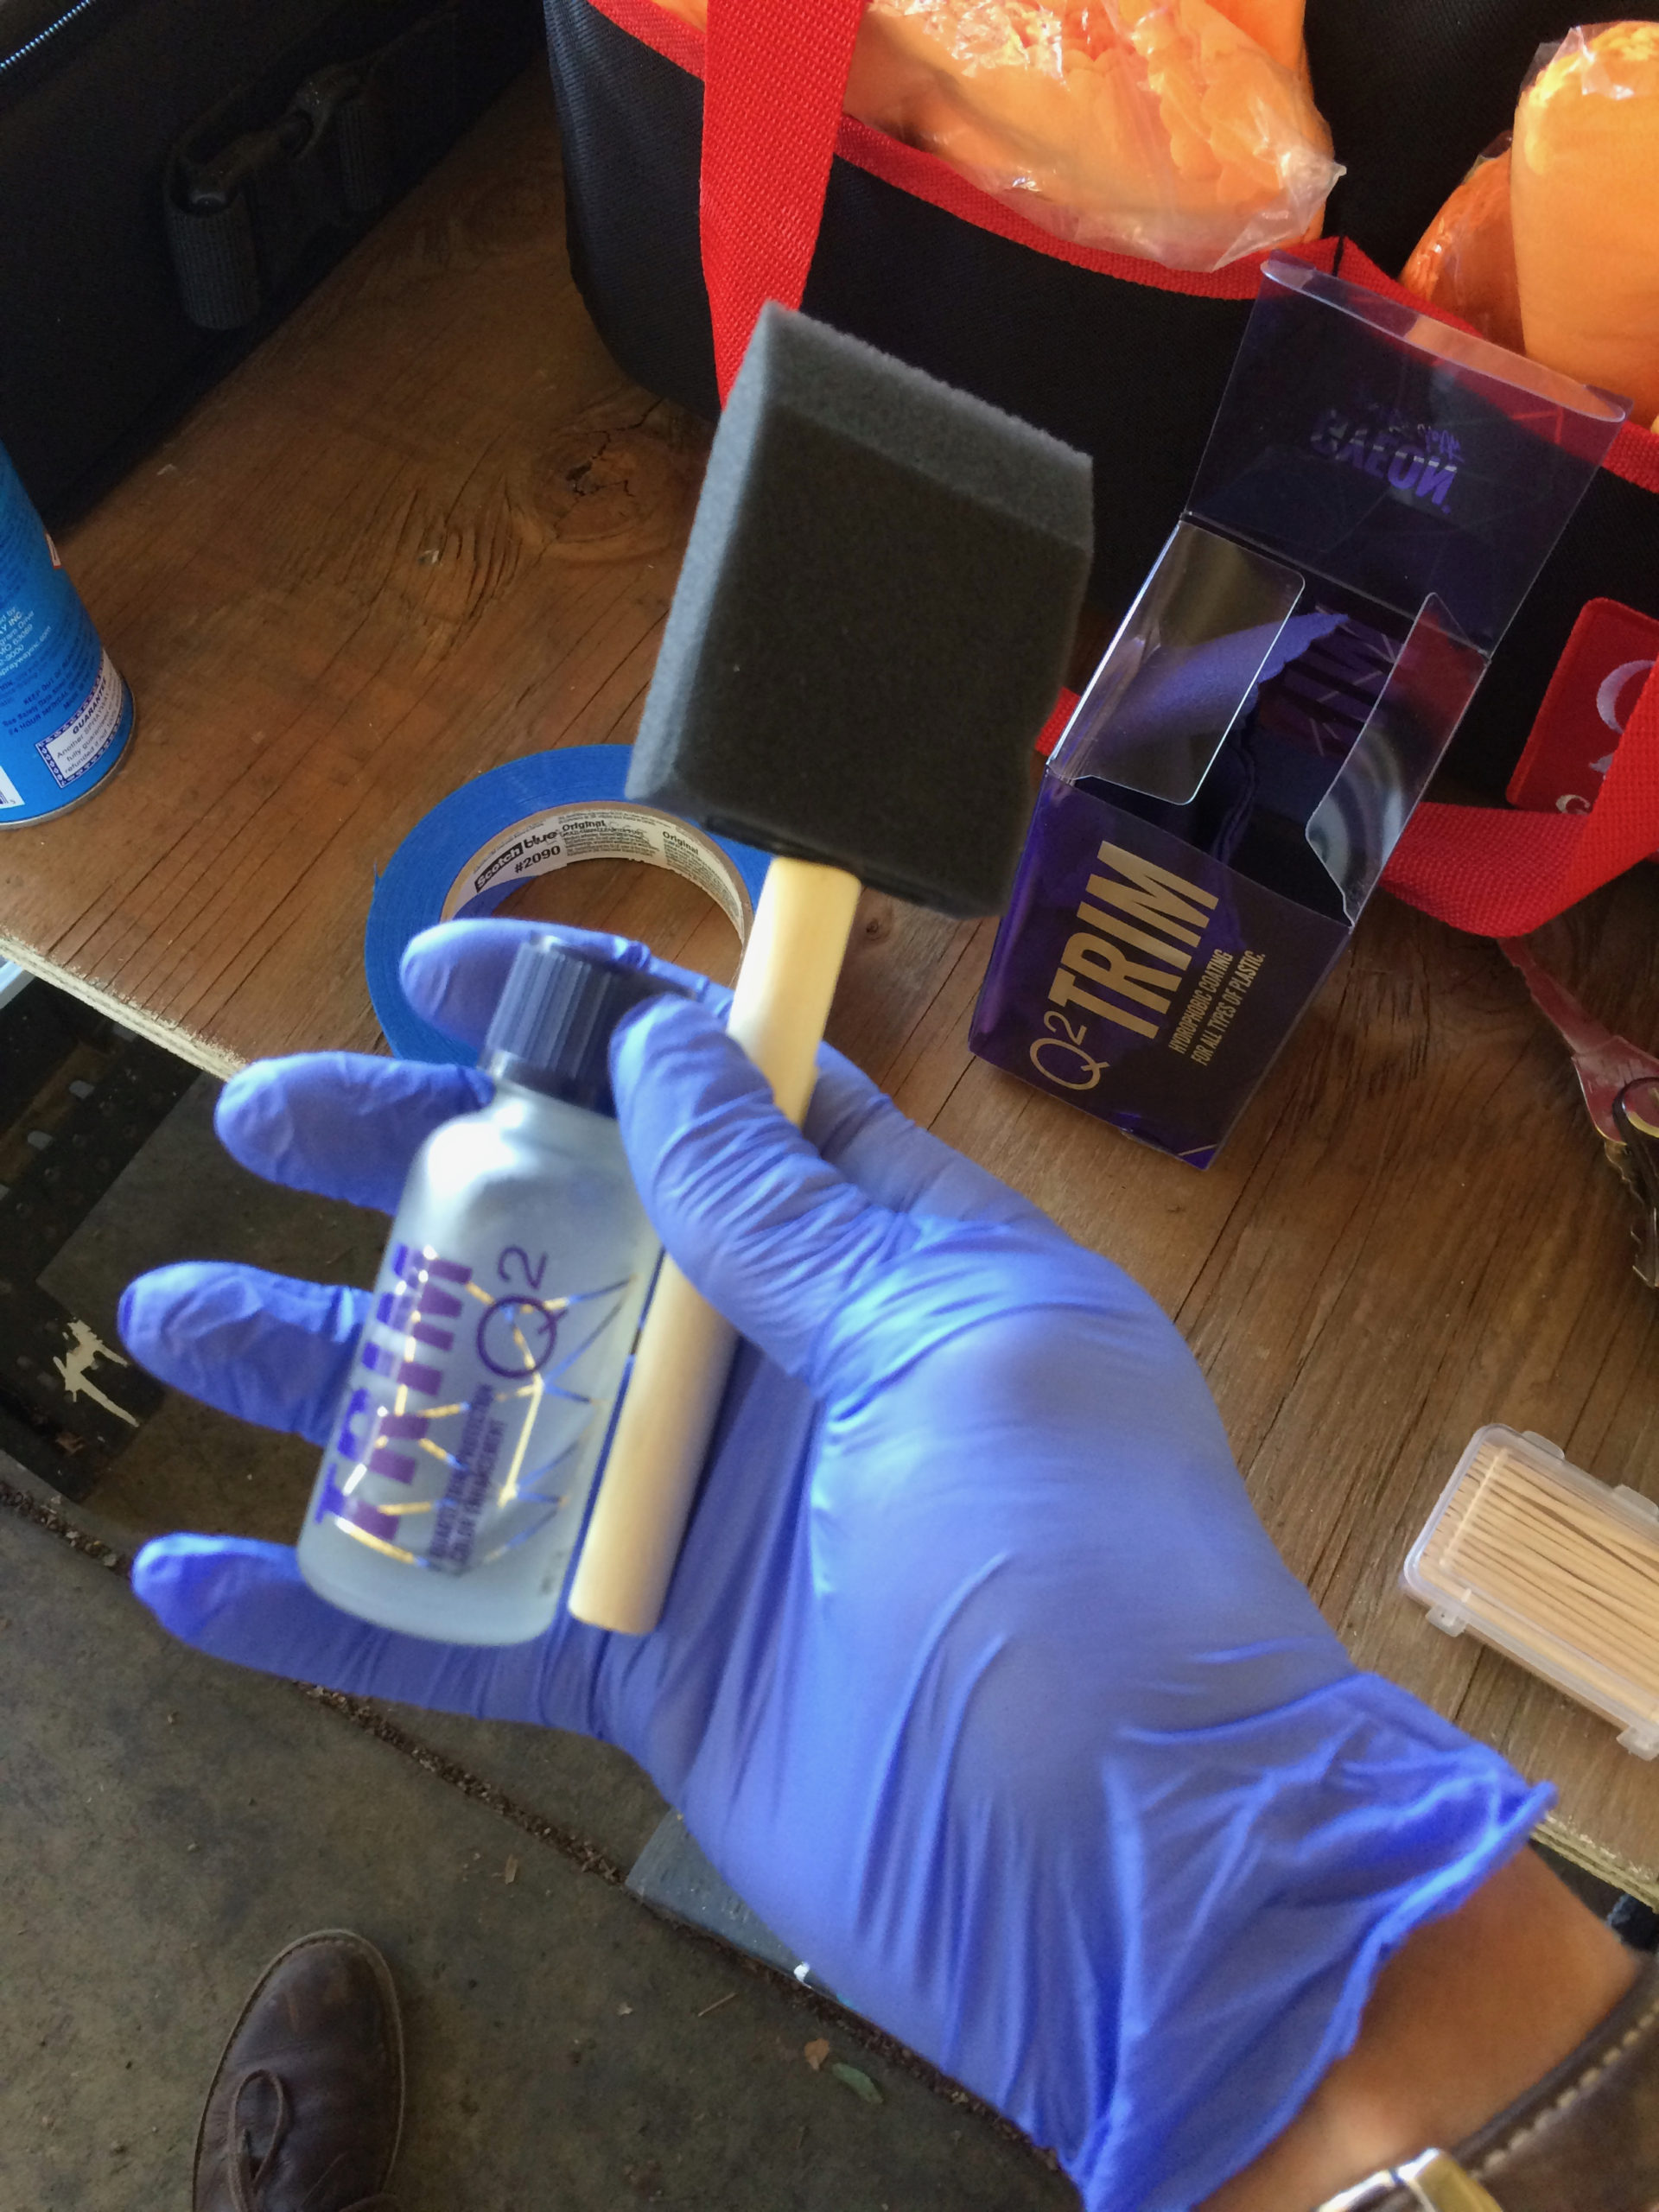
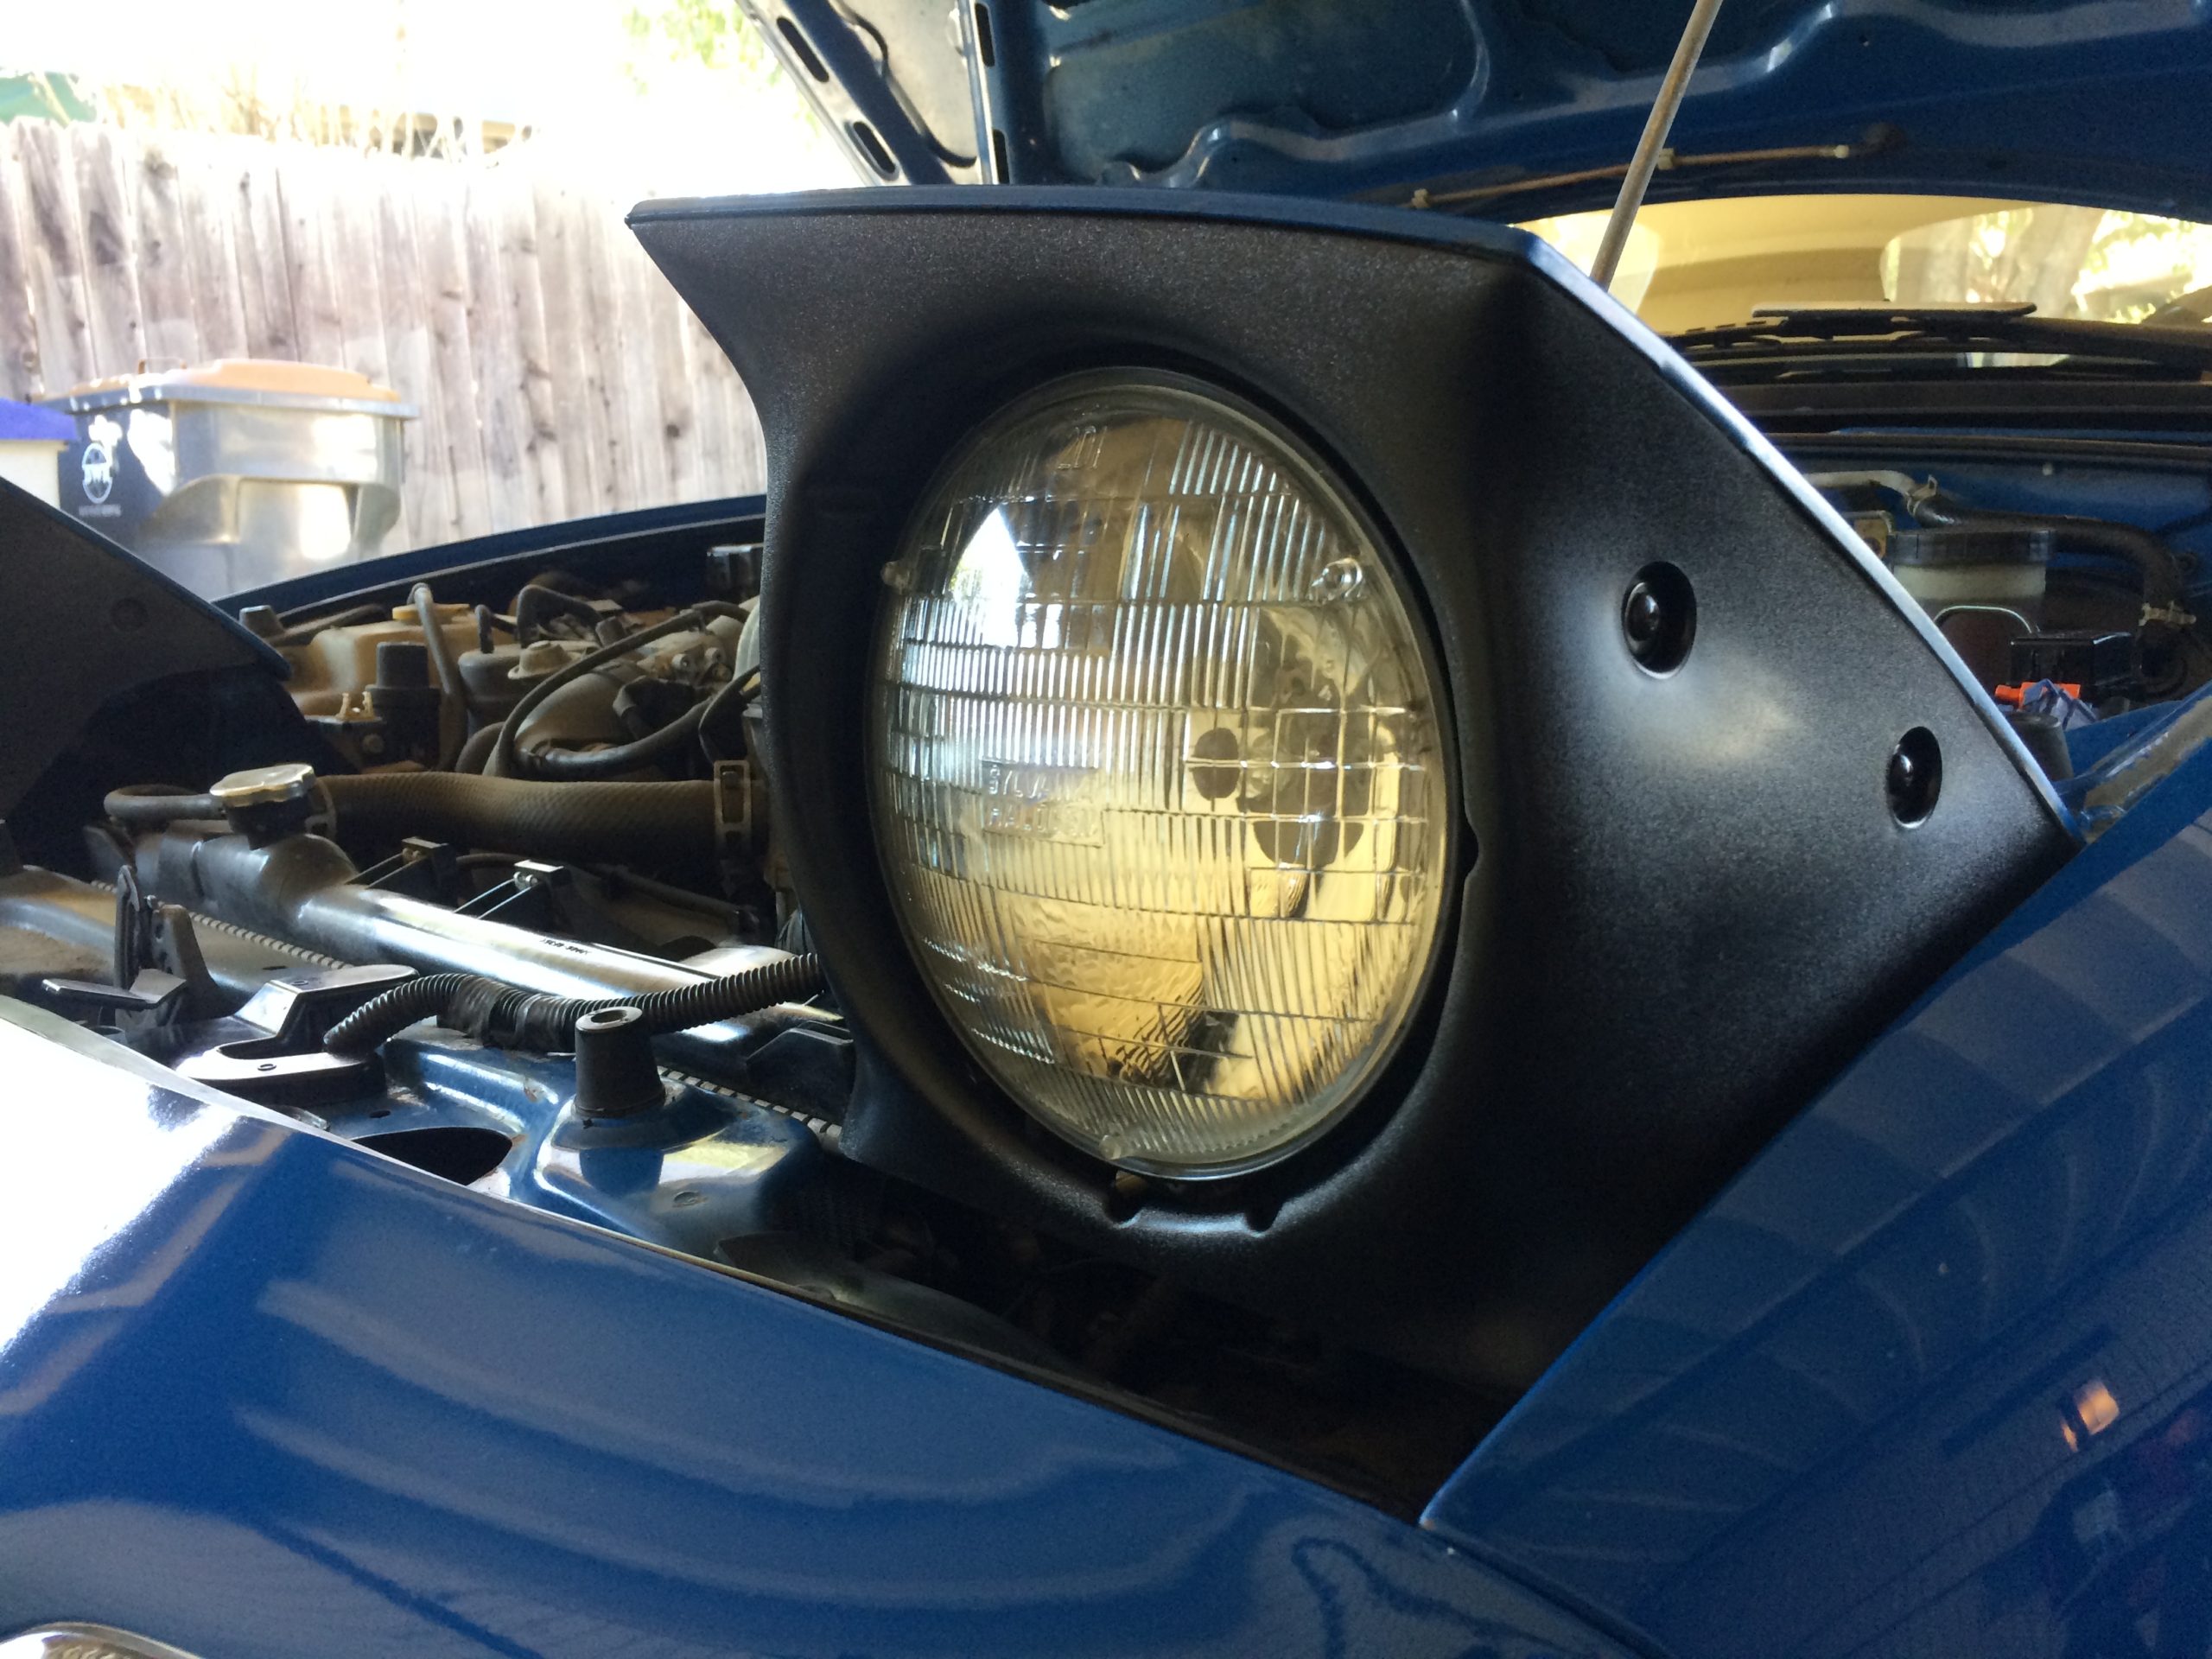
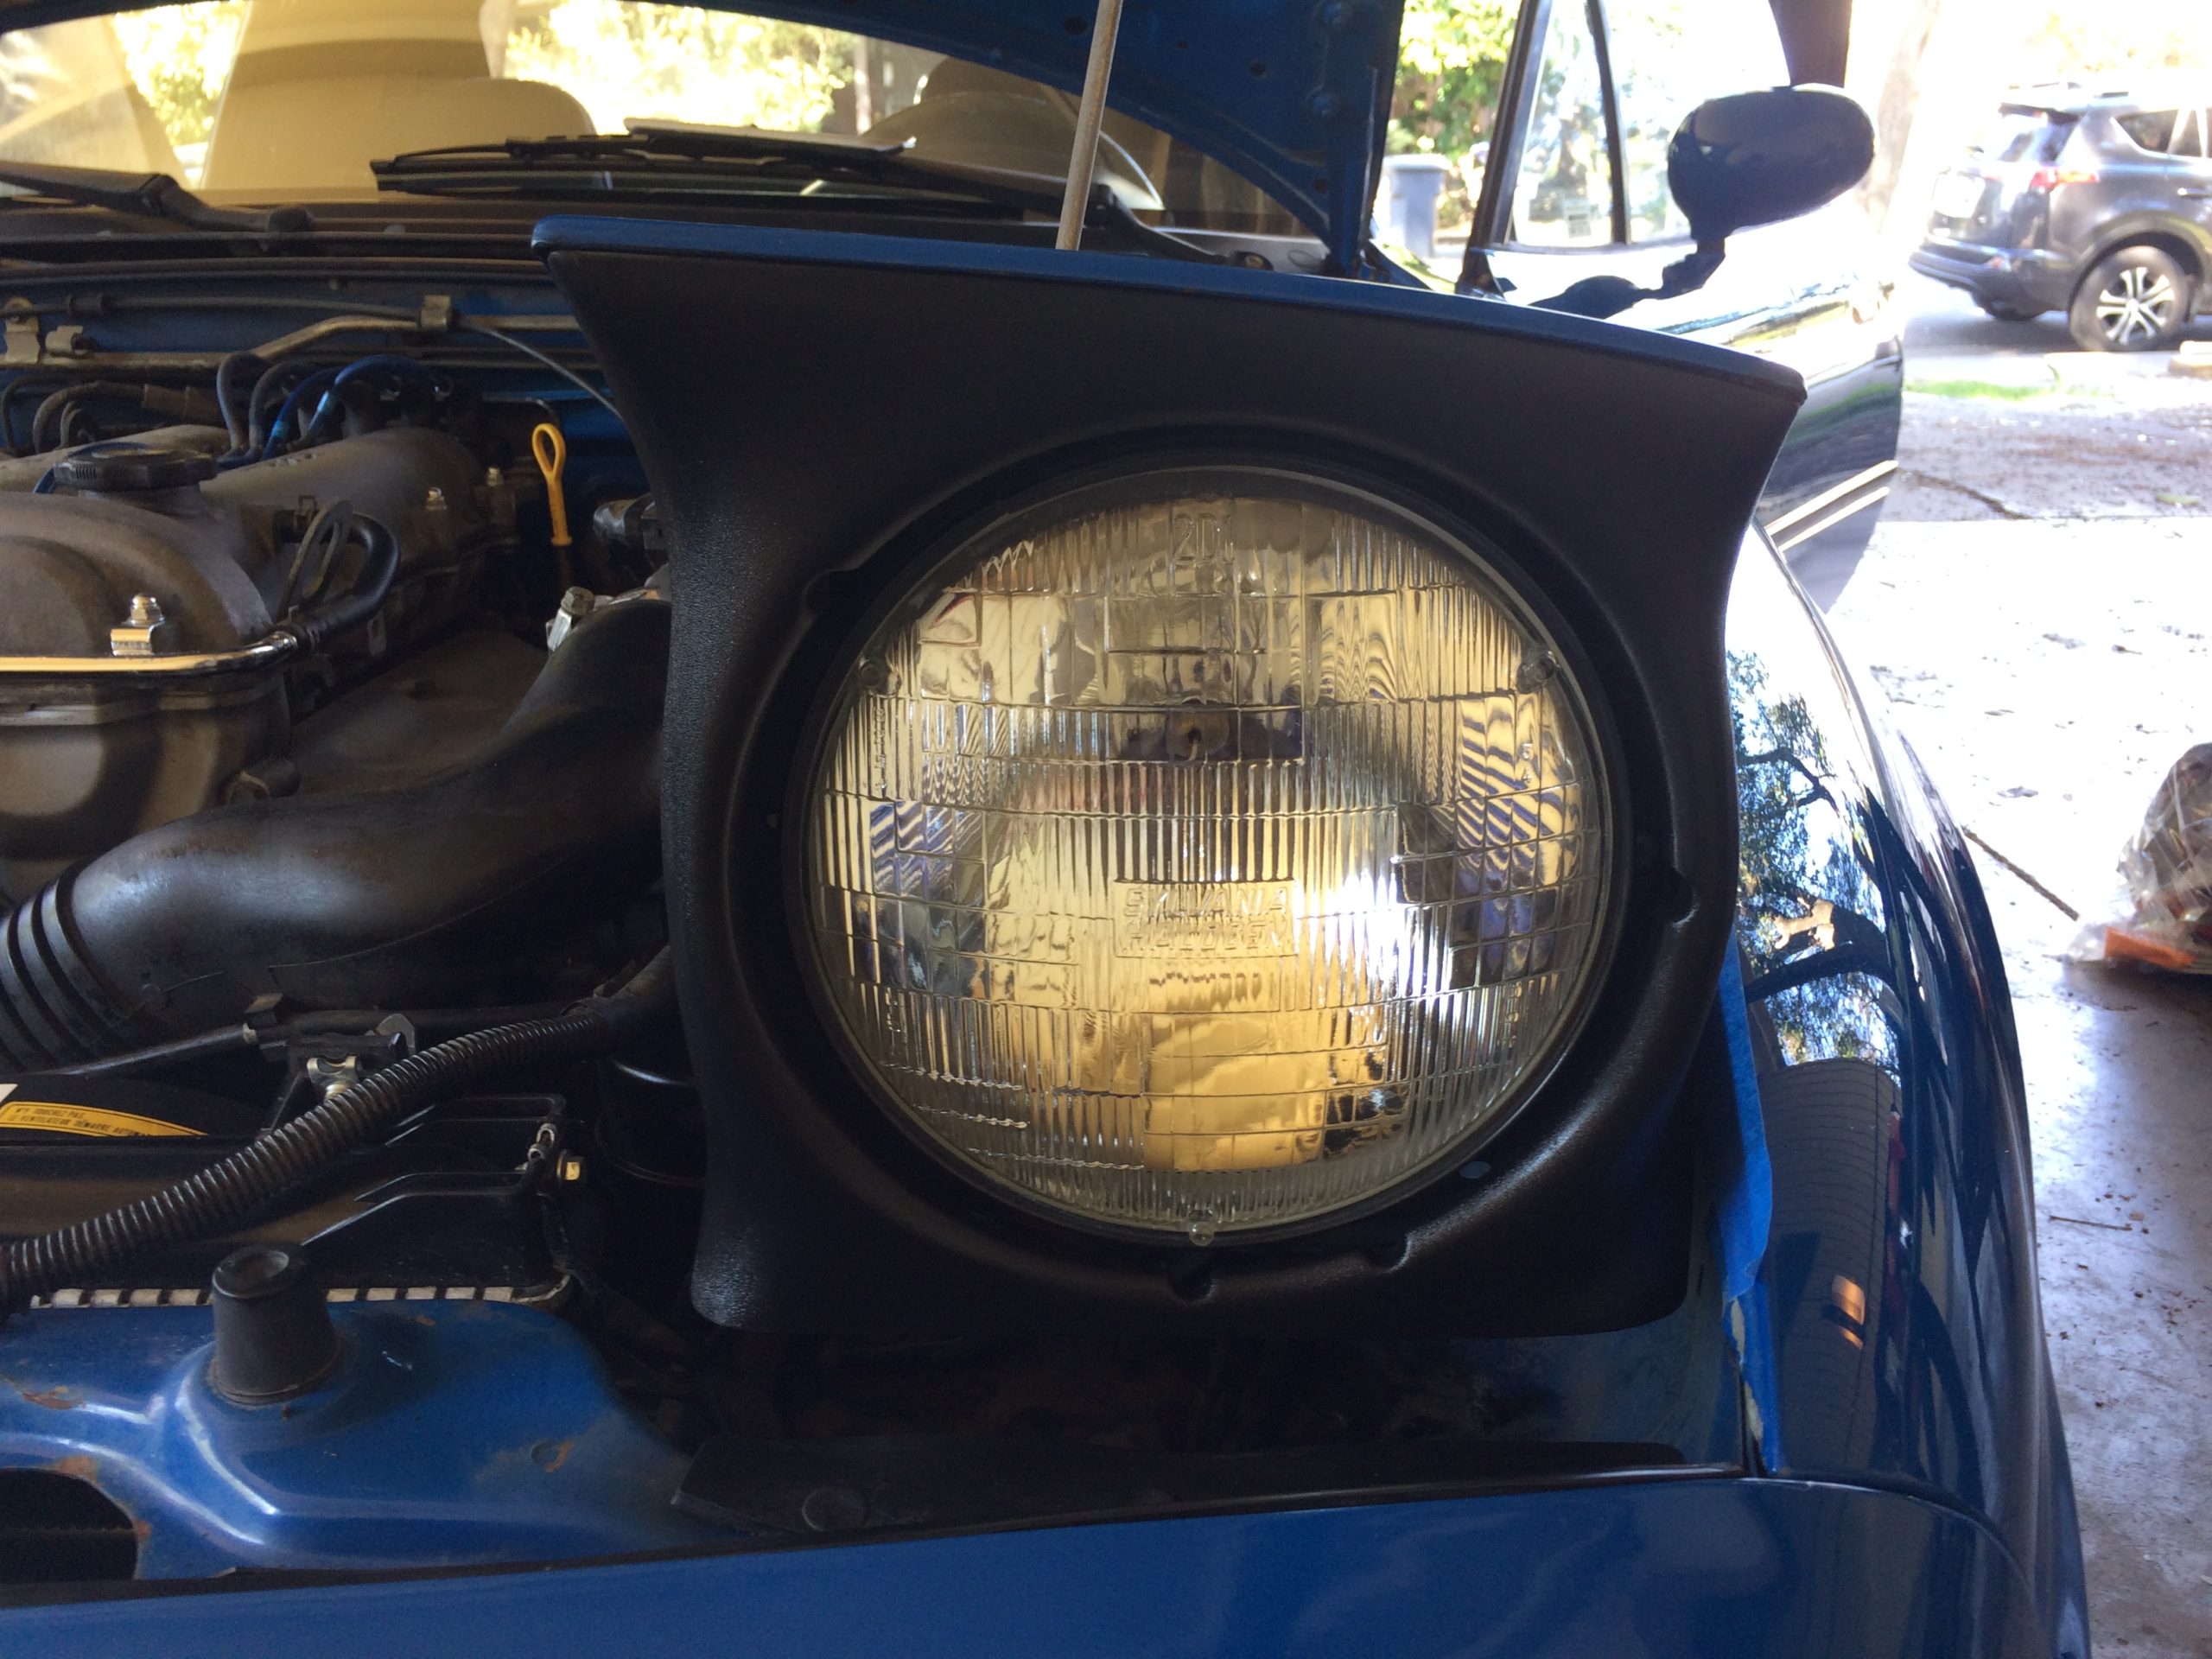
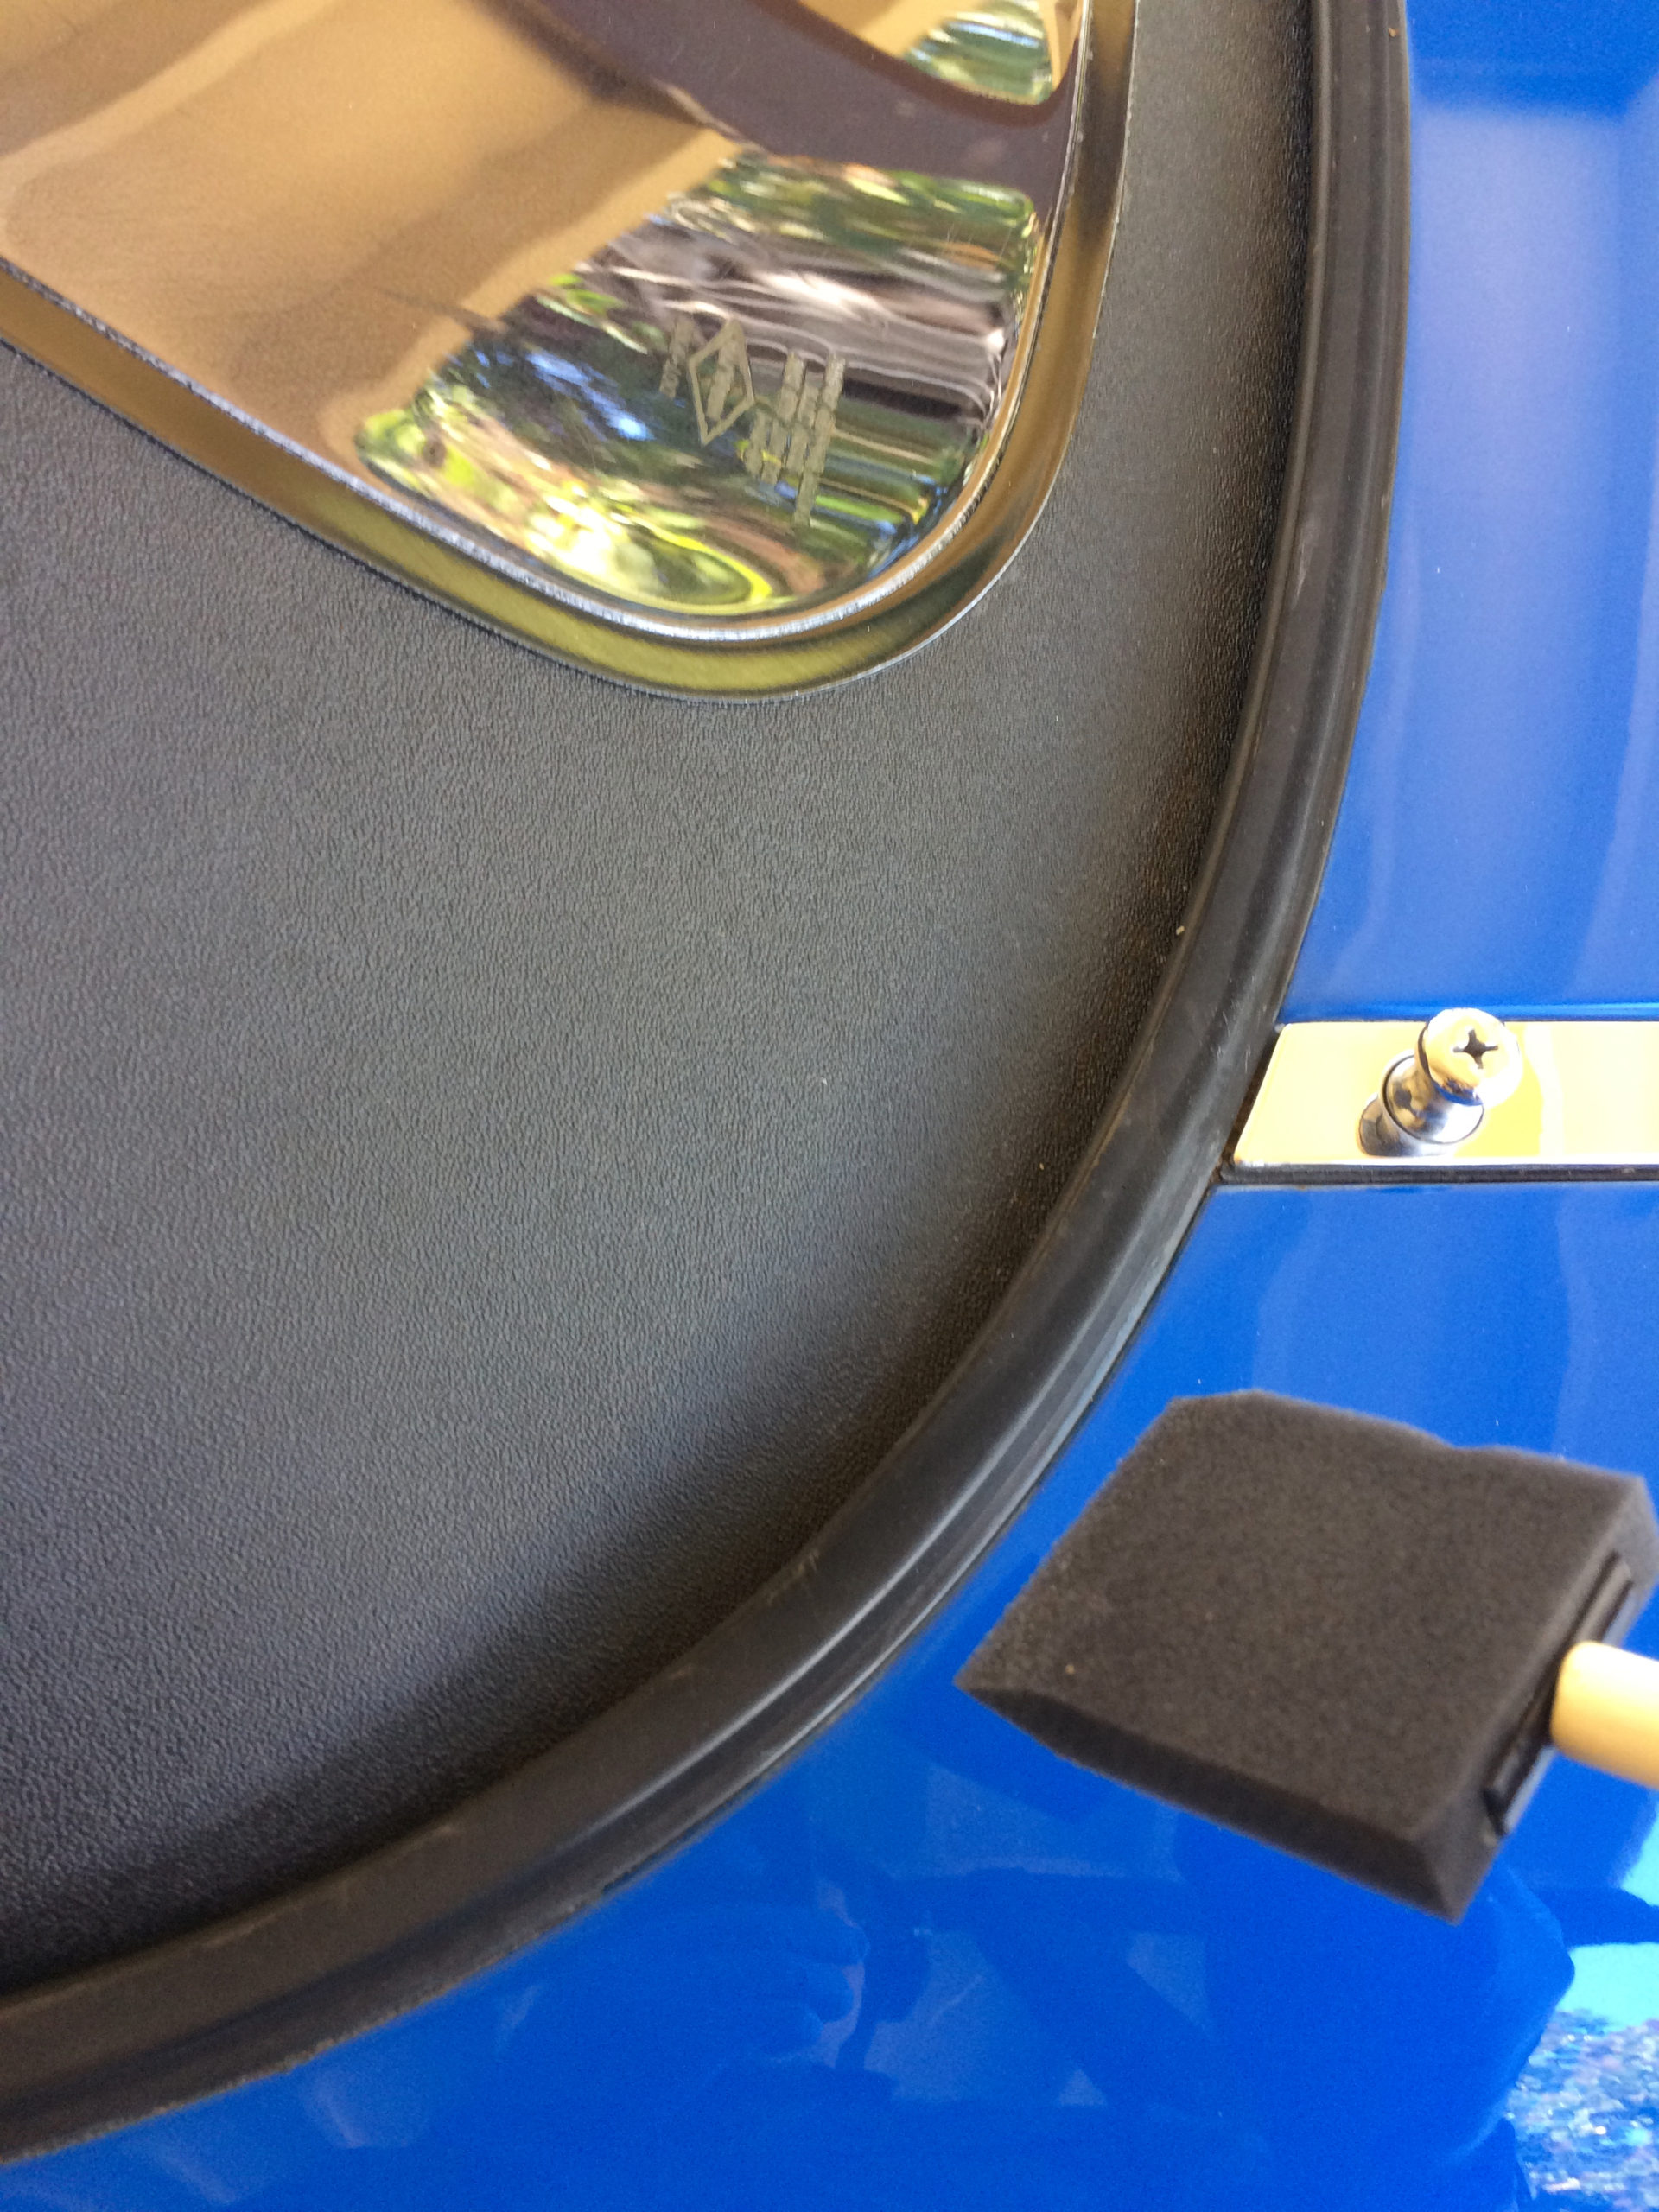
I wanted a more durable plastic coat for the headlight trim since I consider it to be an exterior piece. I opted for a ceramic coating in the form of Gyeon Q2 Trim, it was also applied using a foam brush.
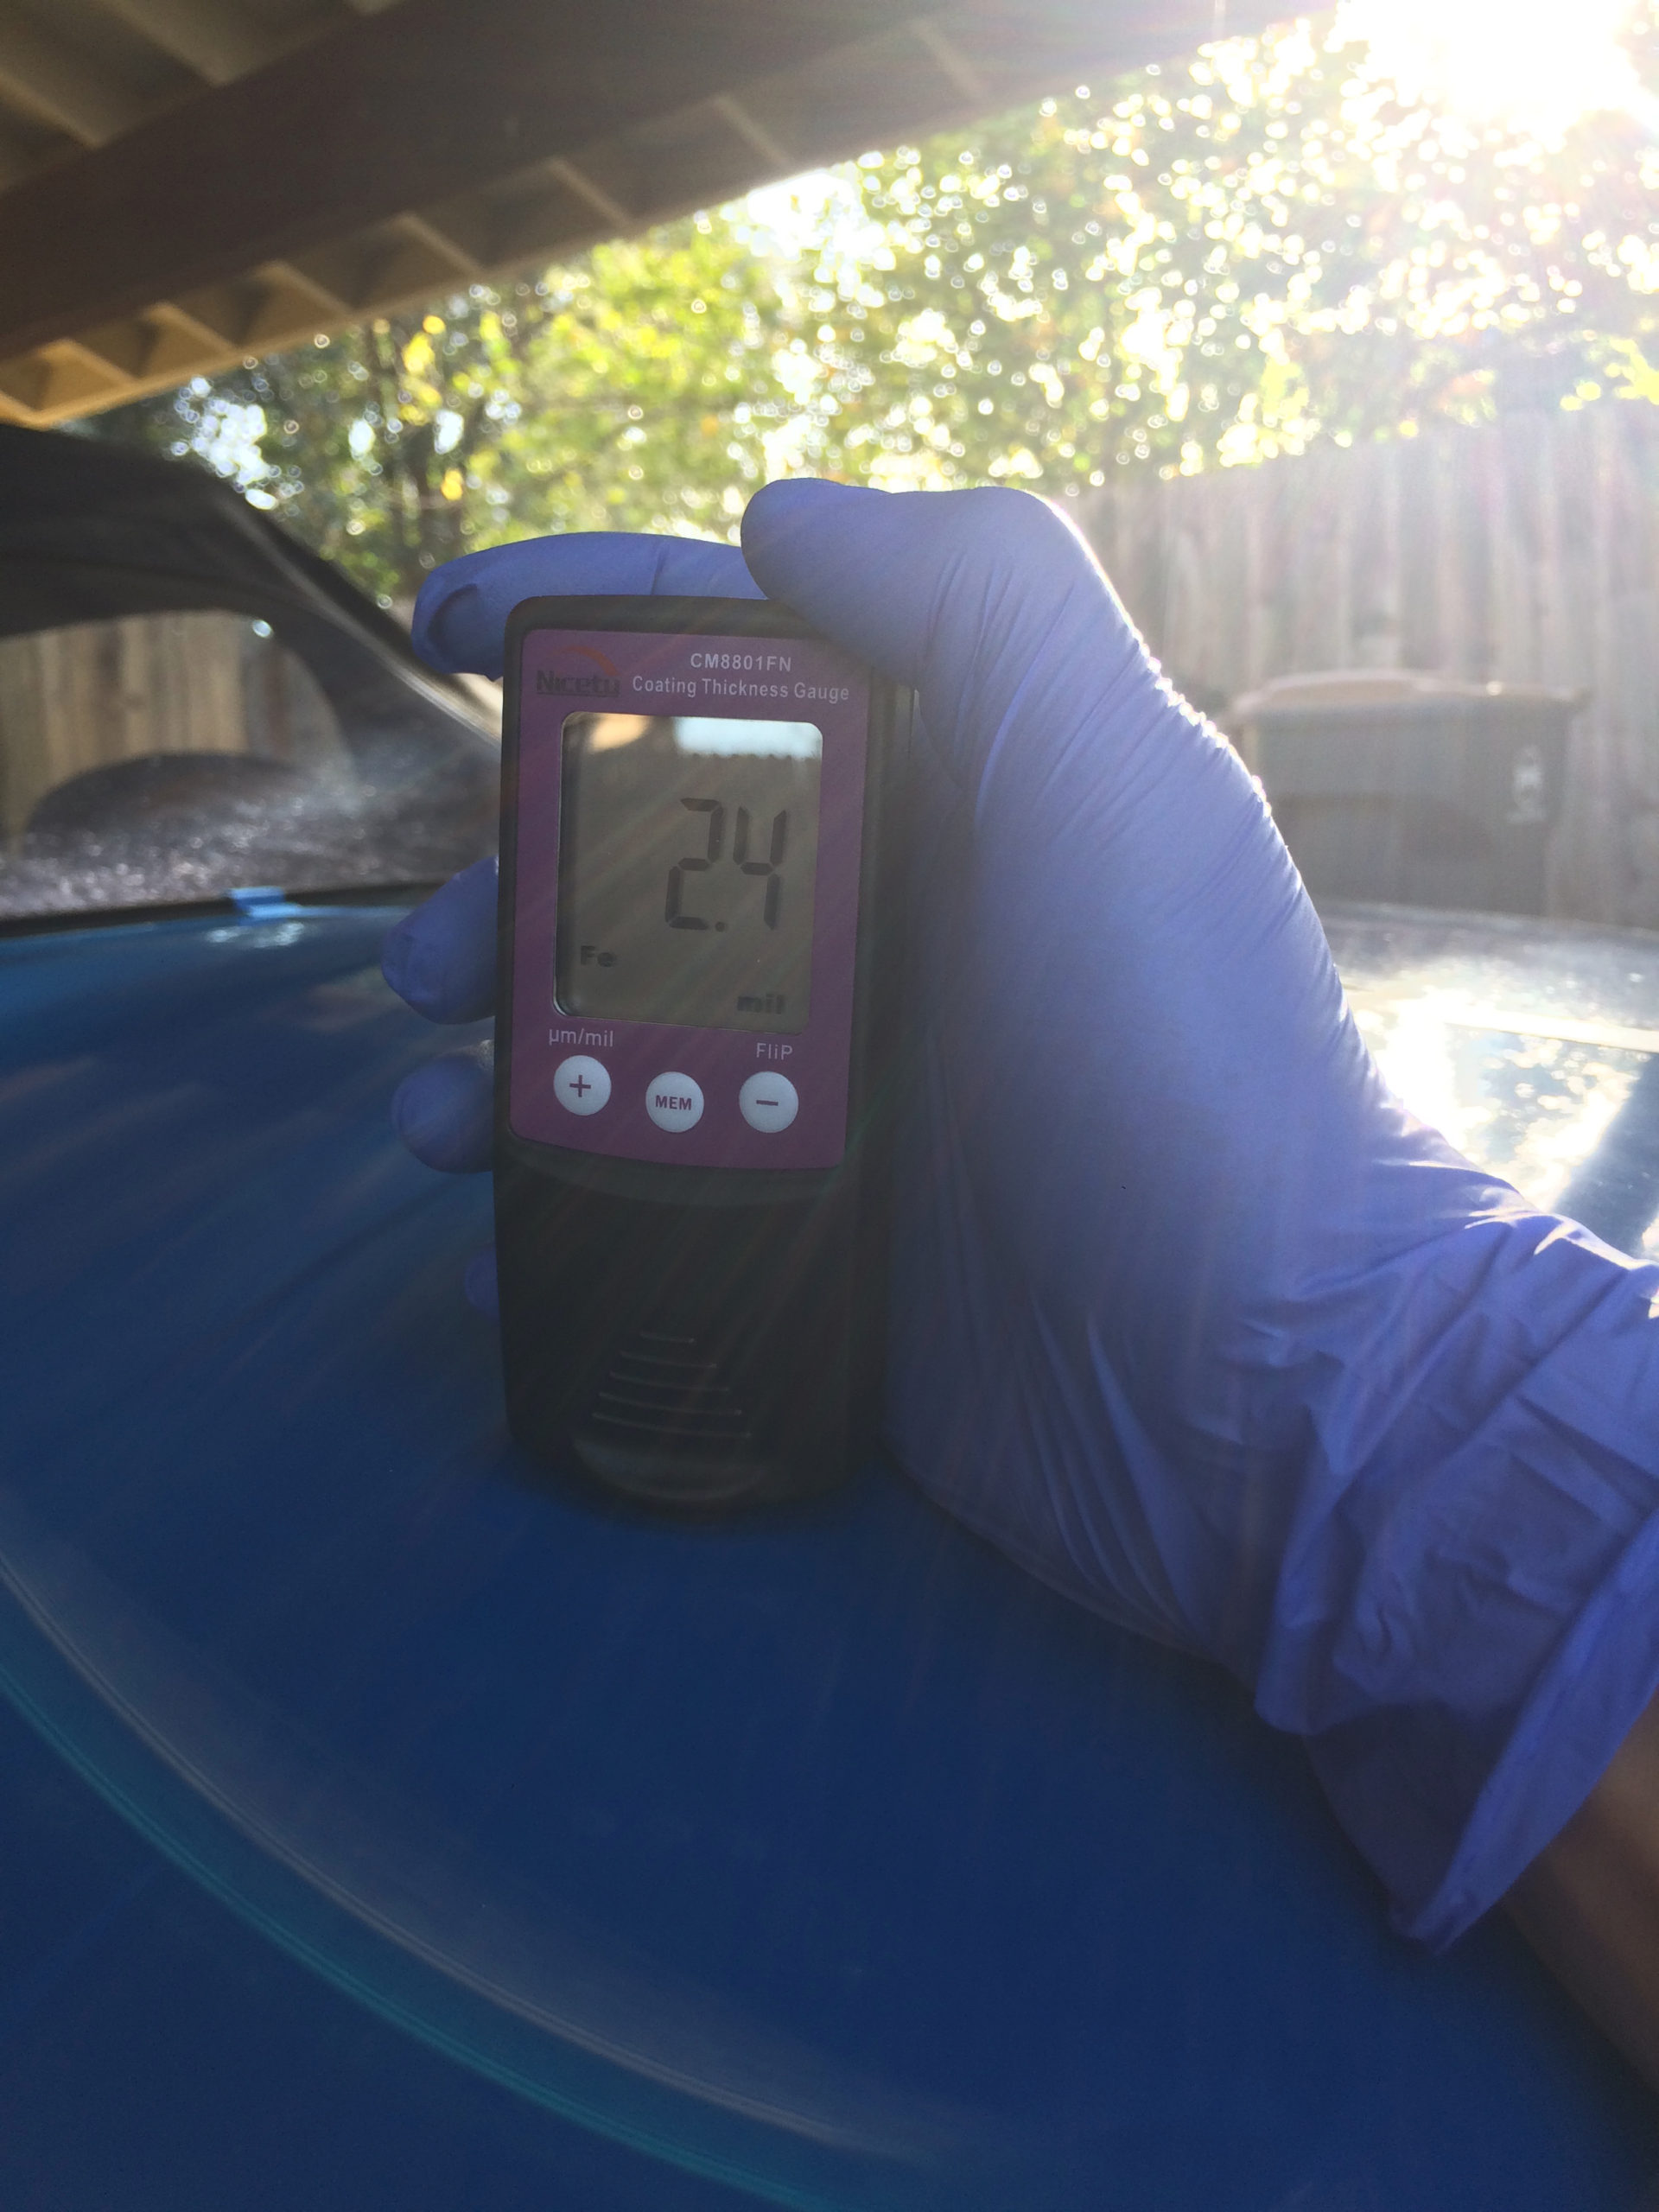
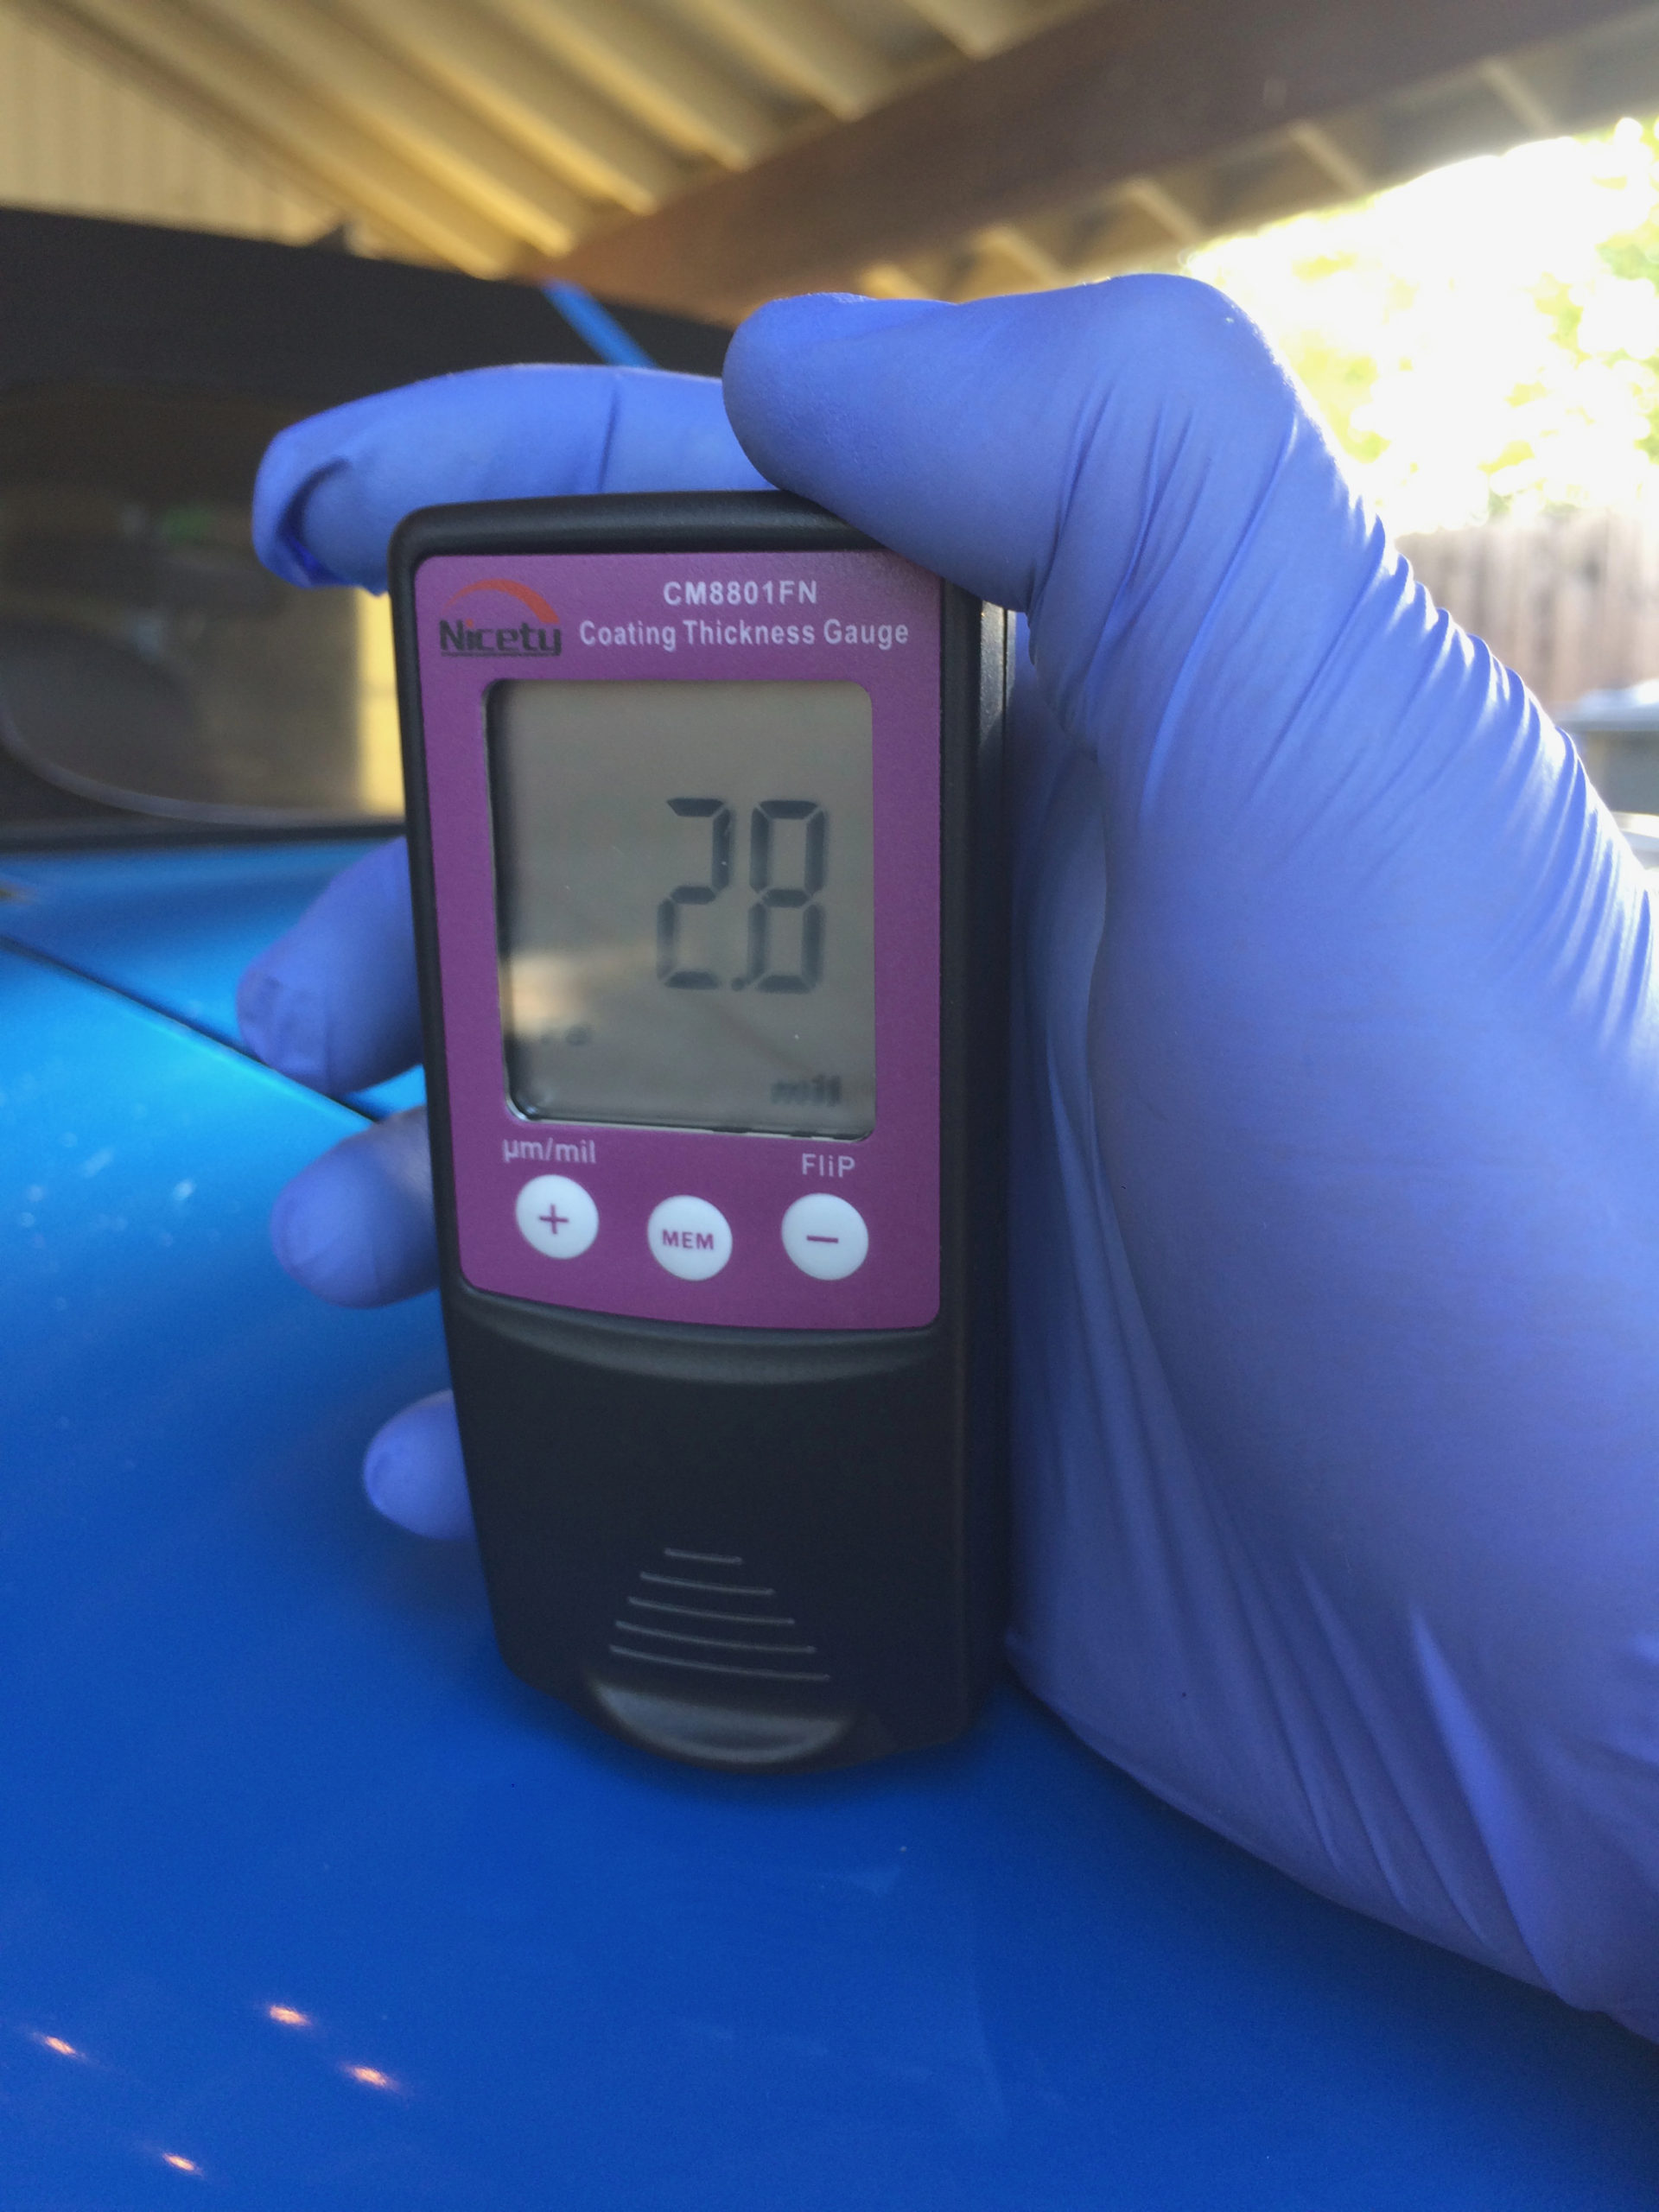
Here are some paint thickness readouts.
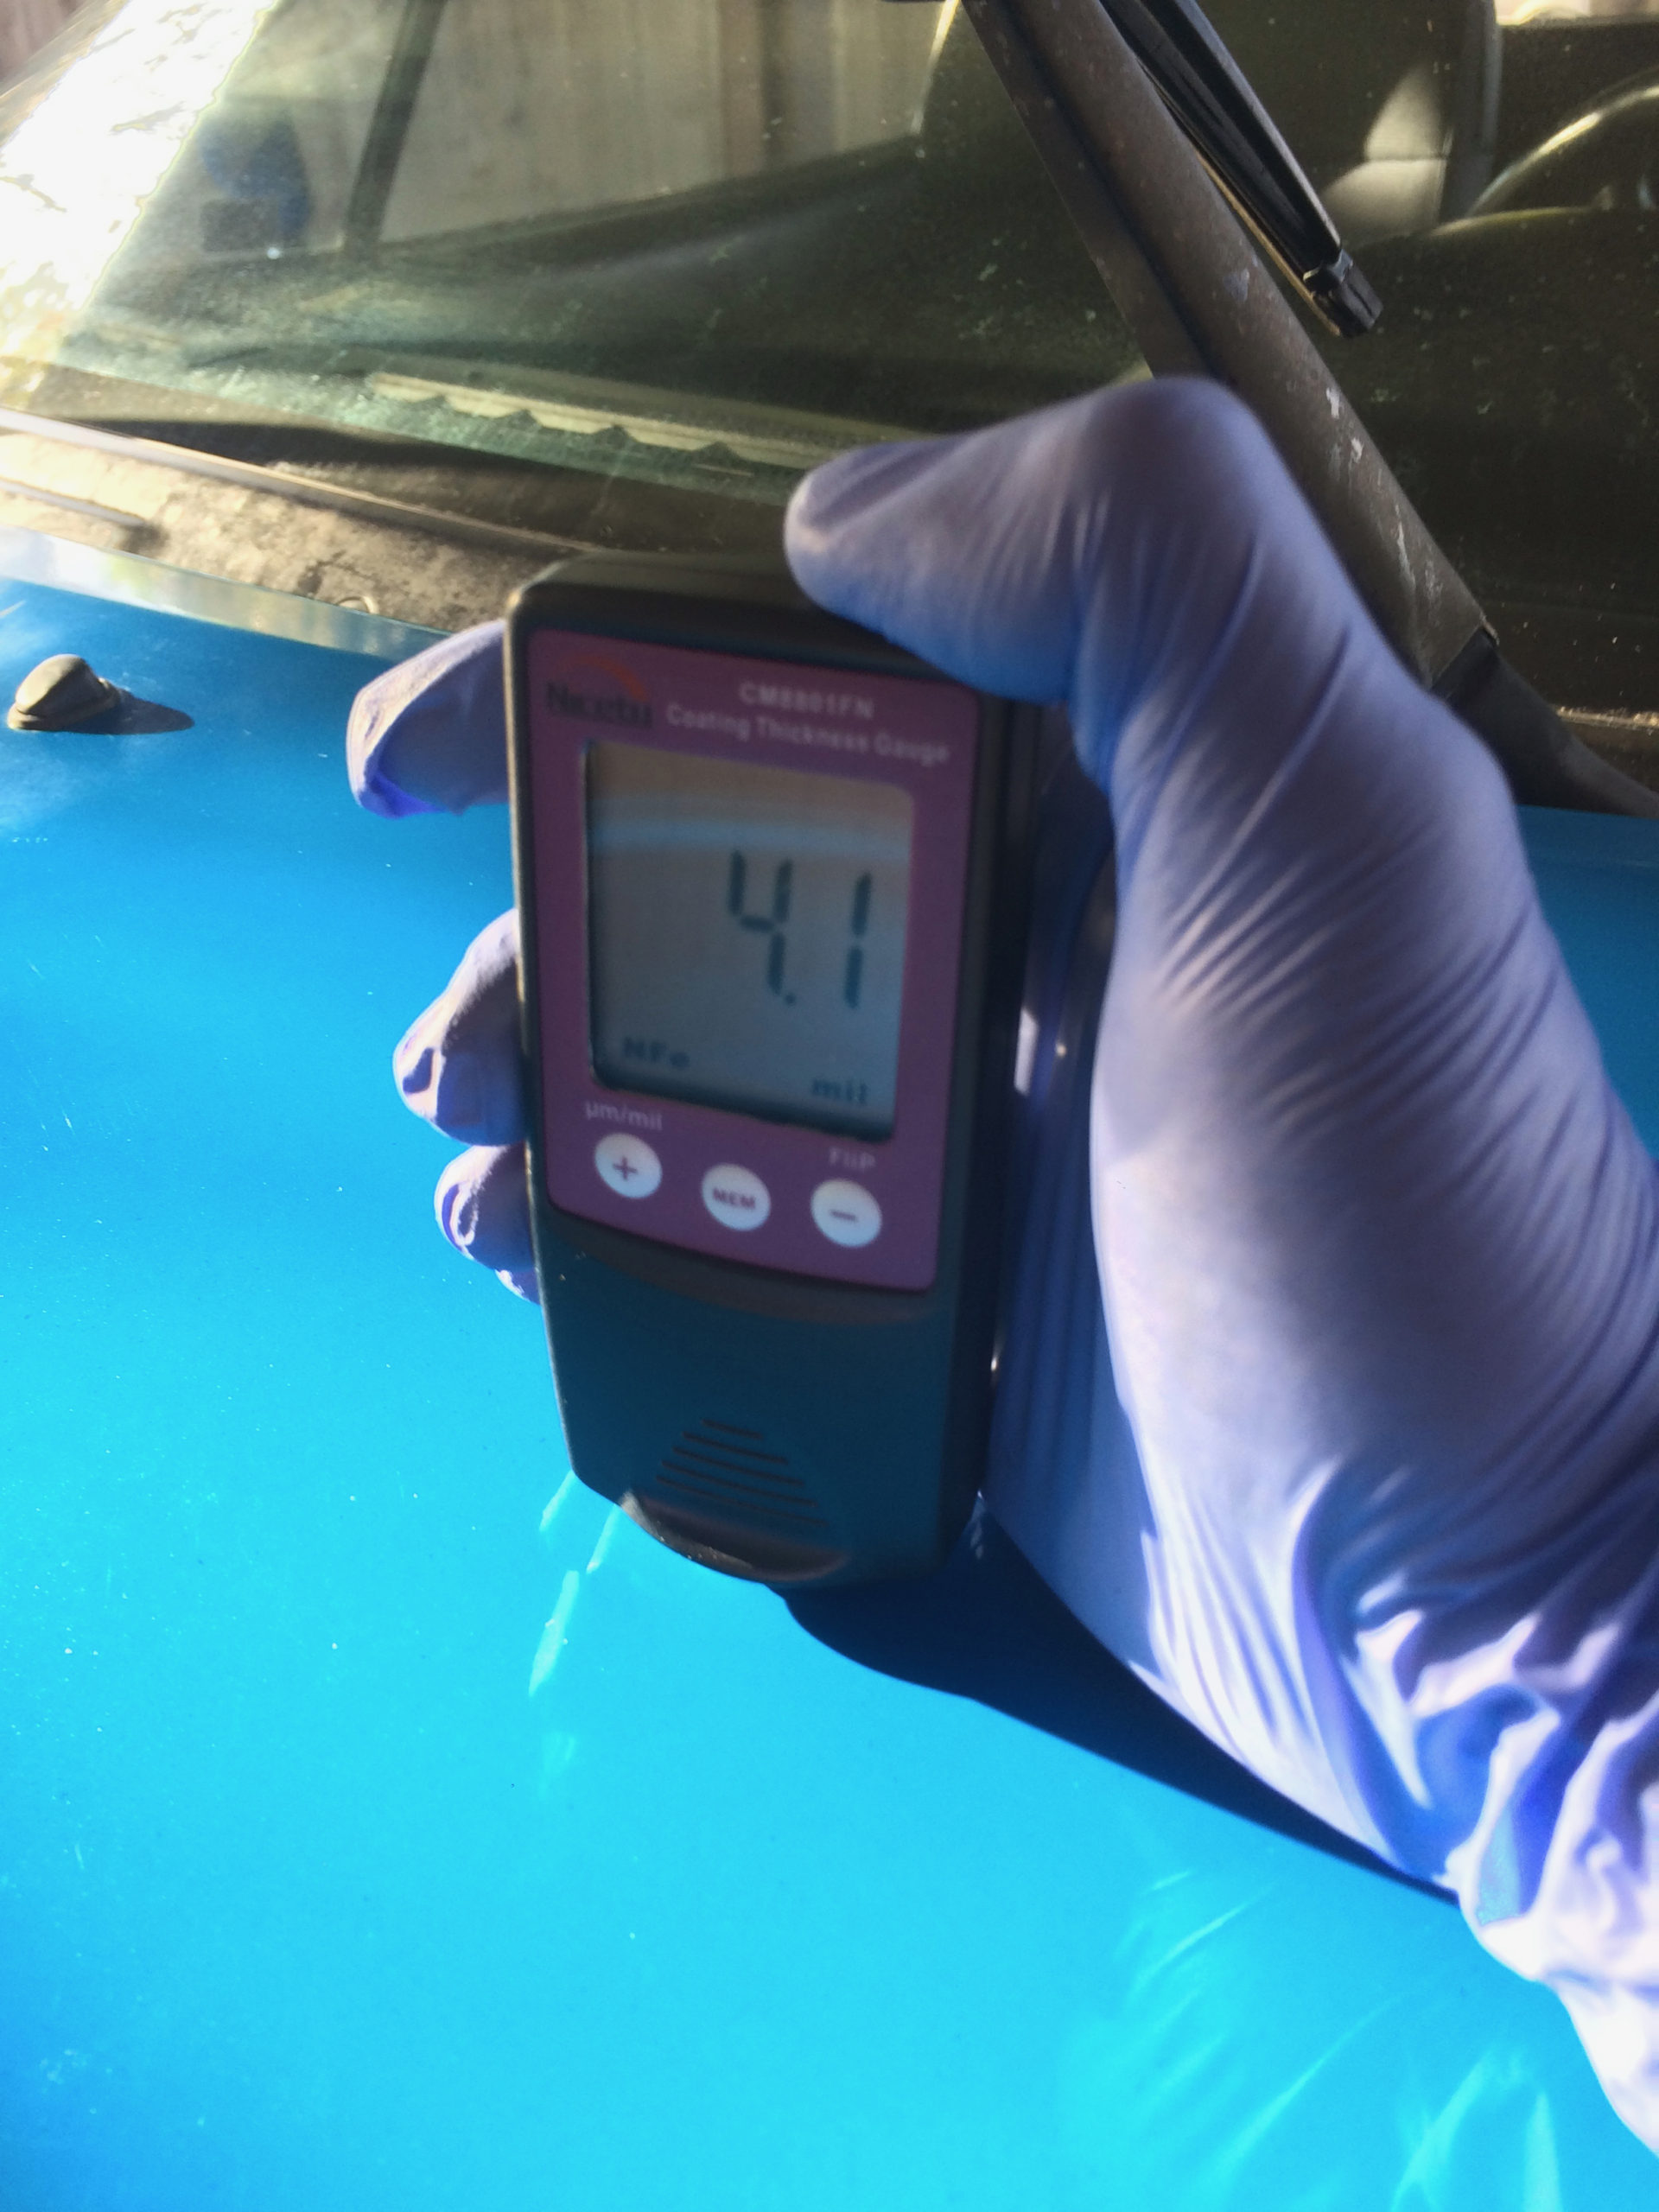
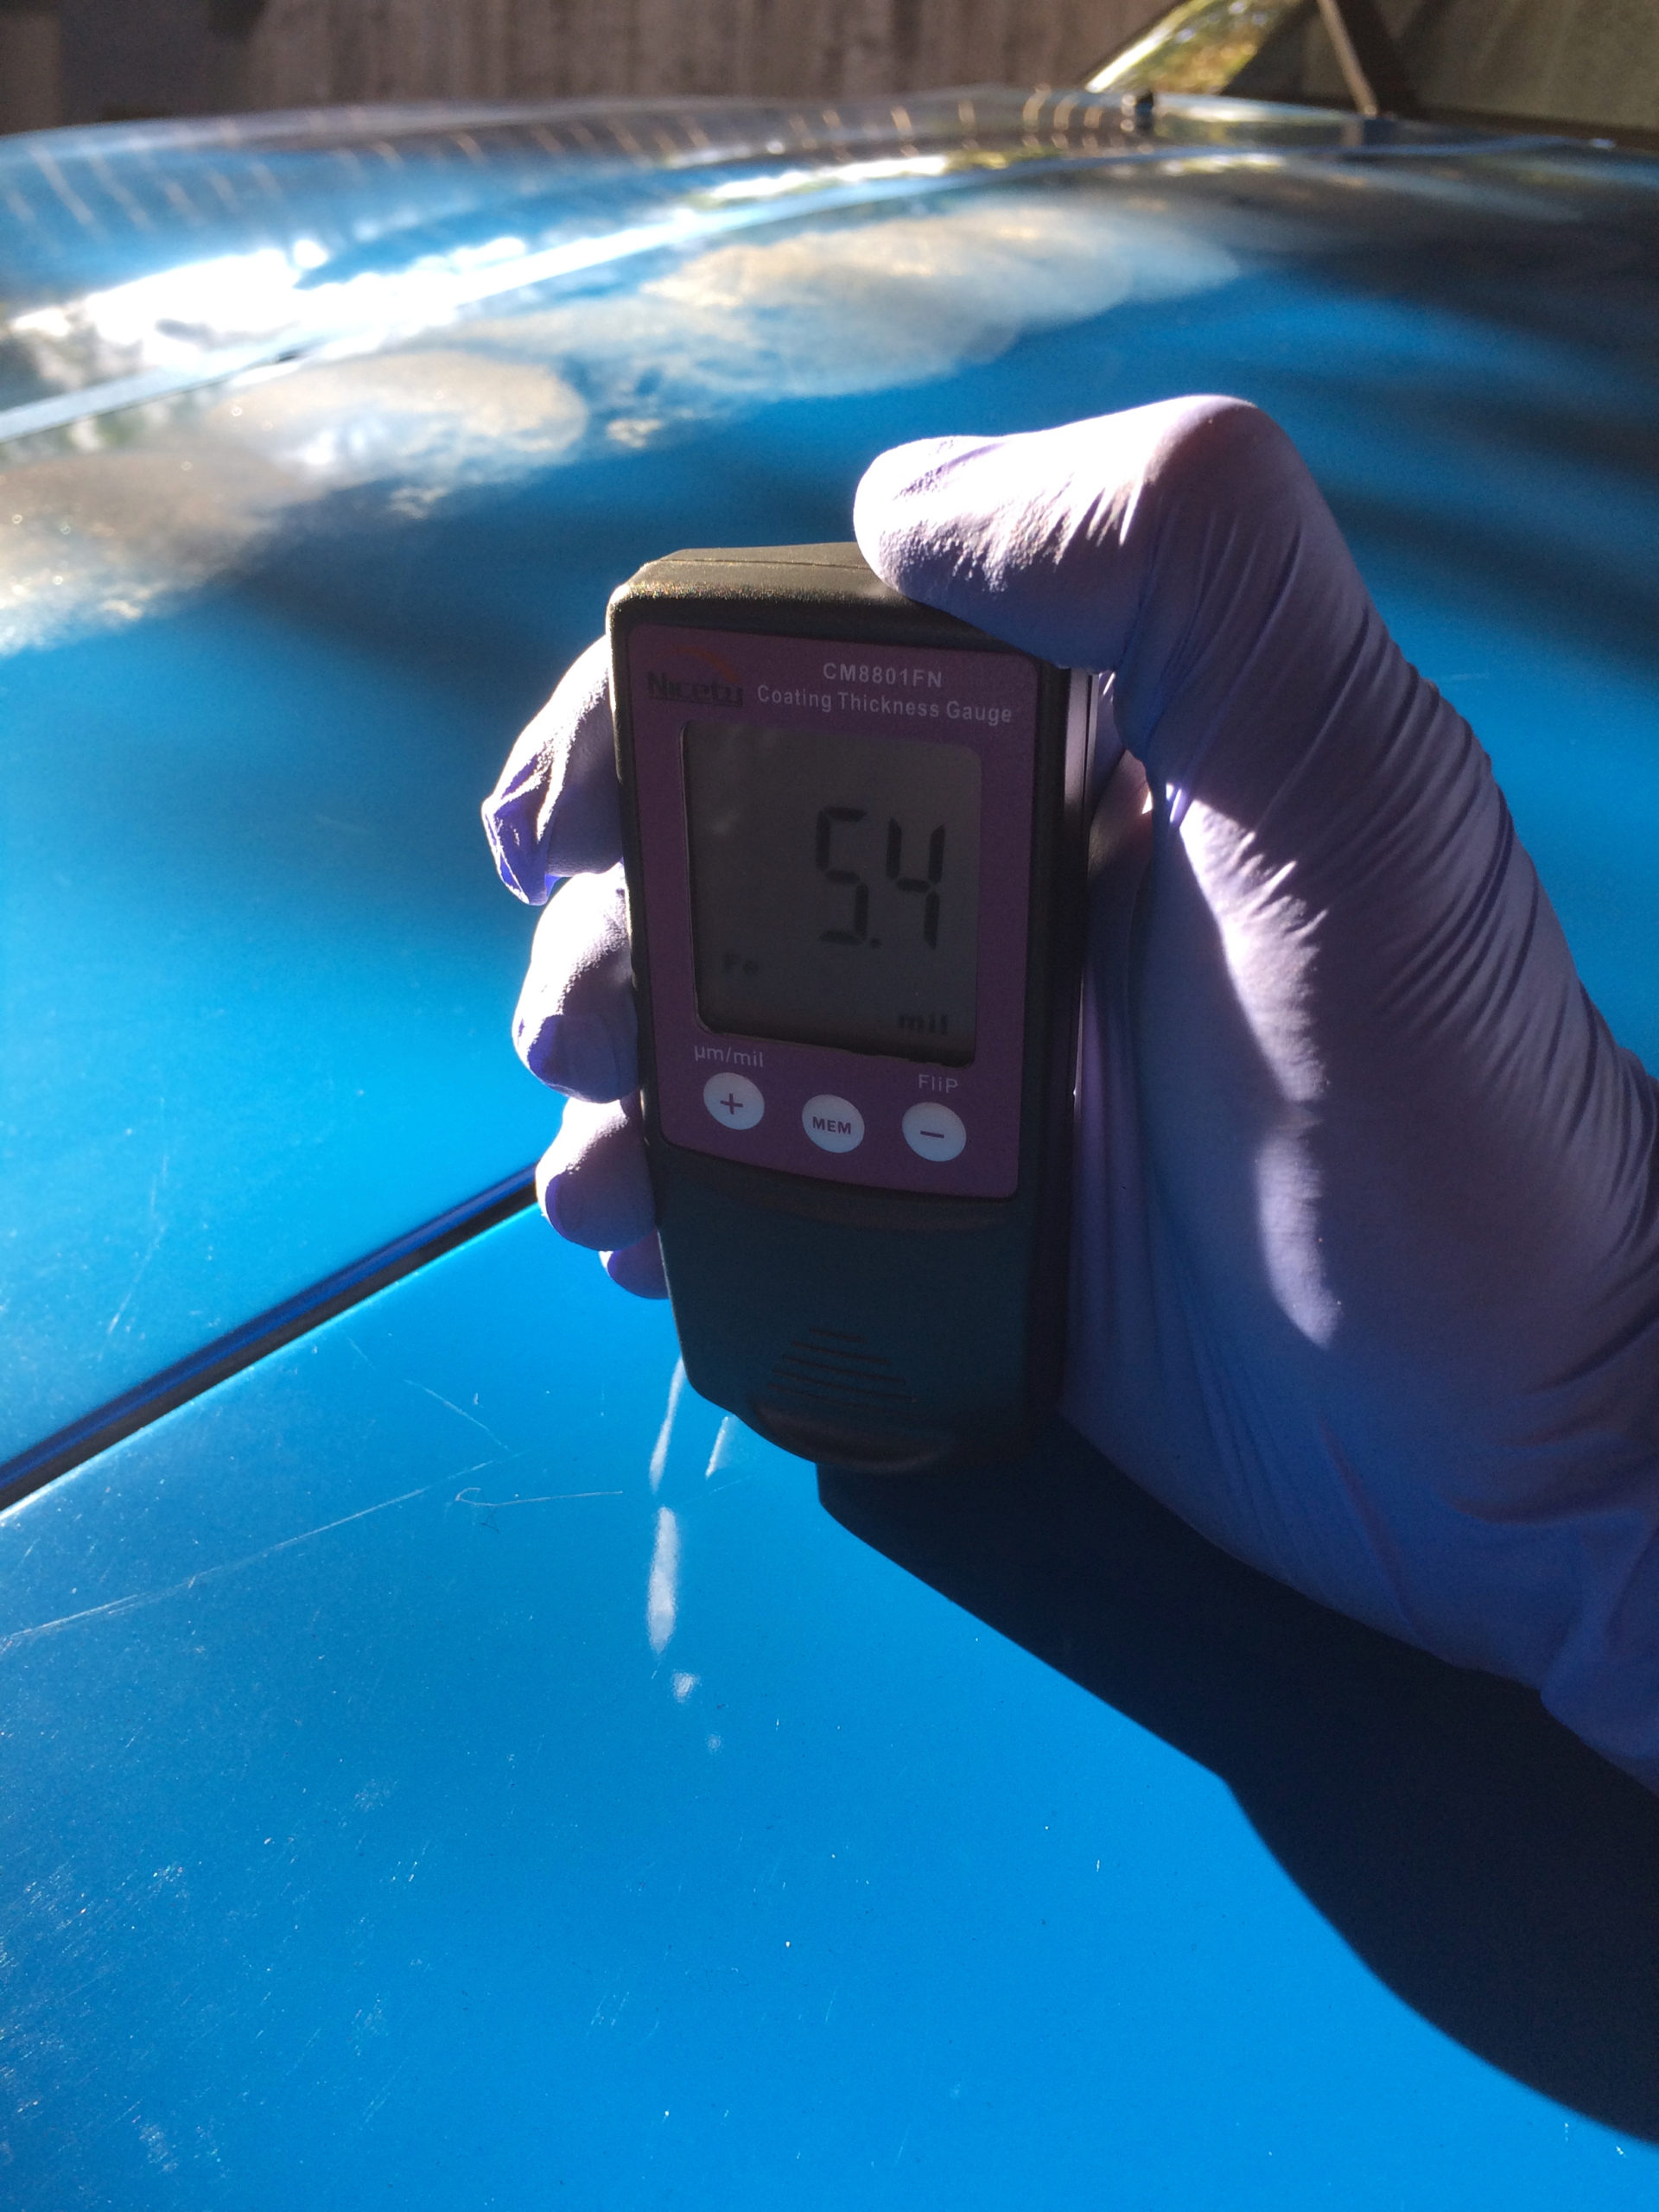
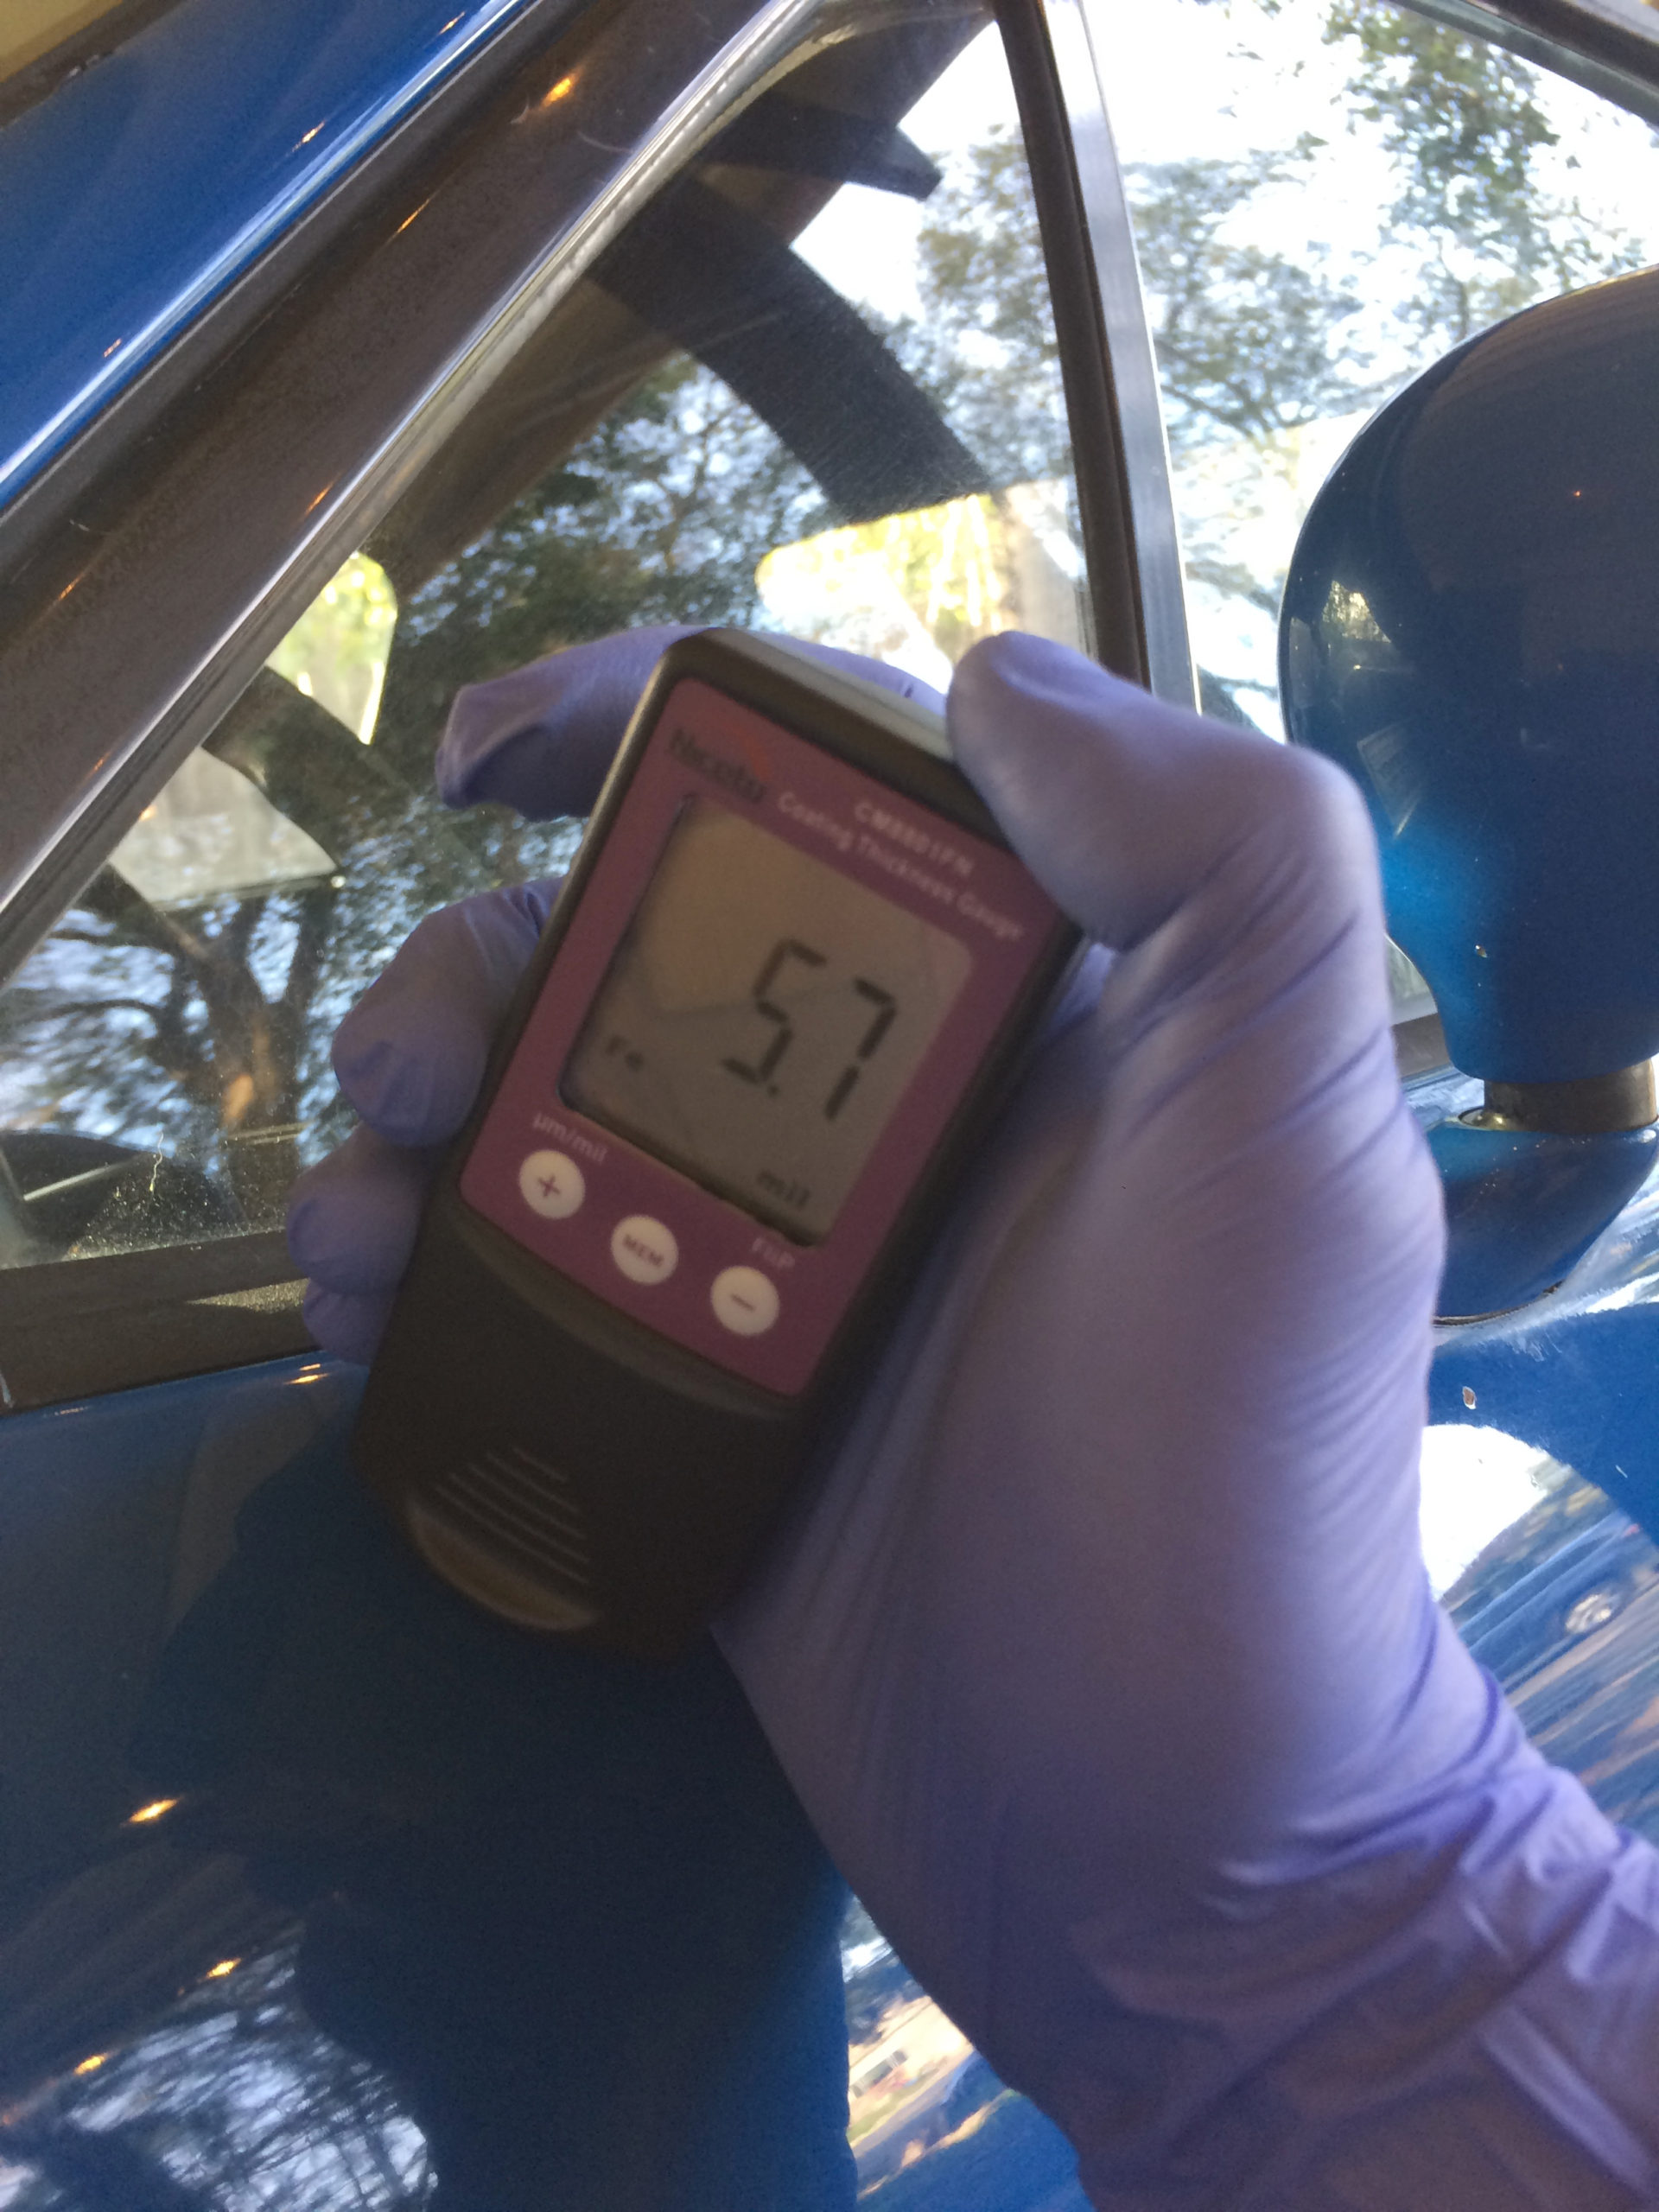
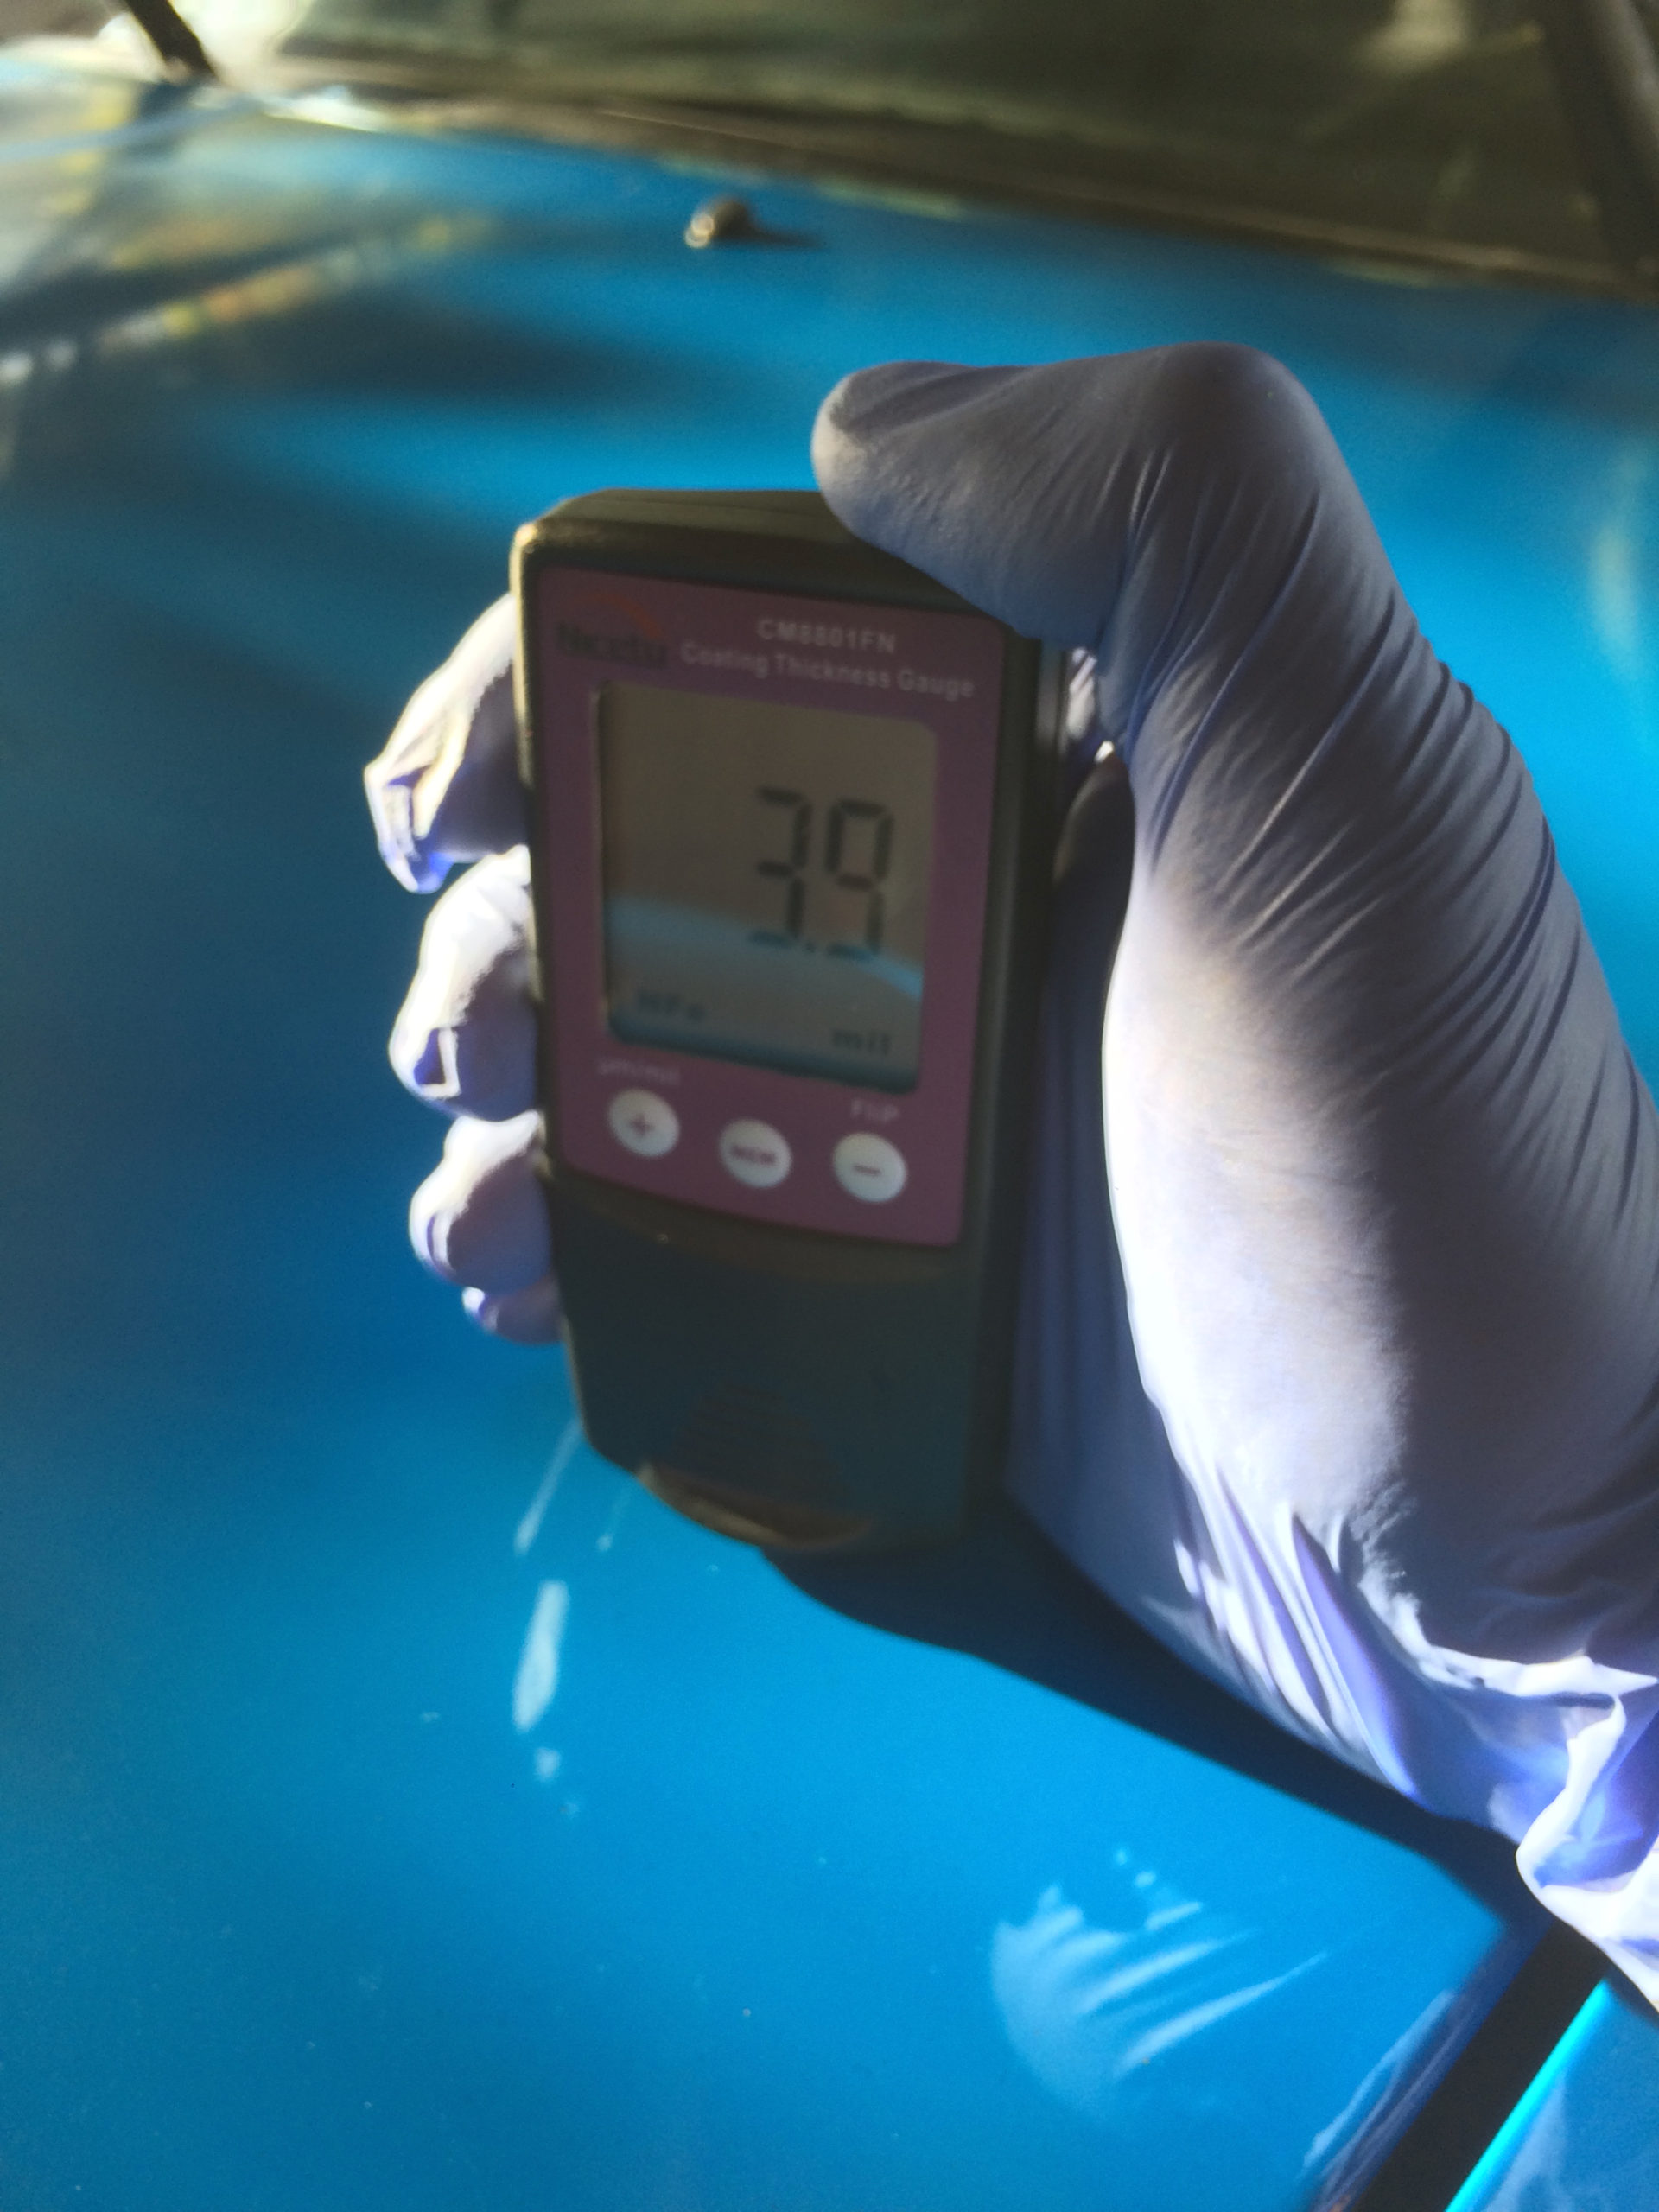
I noticed that the trunk lid and rear quarter panel on the driver side had thinner paint. I later could confirm that the hood, front fender, and door on the driver’s side had been repainted at some point. The trunk and quarter panel were single stage paint, the plastic trim on the rear quarter panel had tighter tolerance, and there were sanding marks visible under the repainted section.

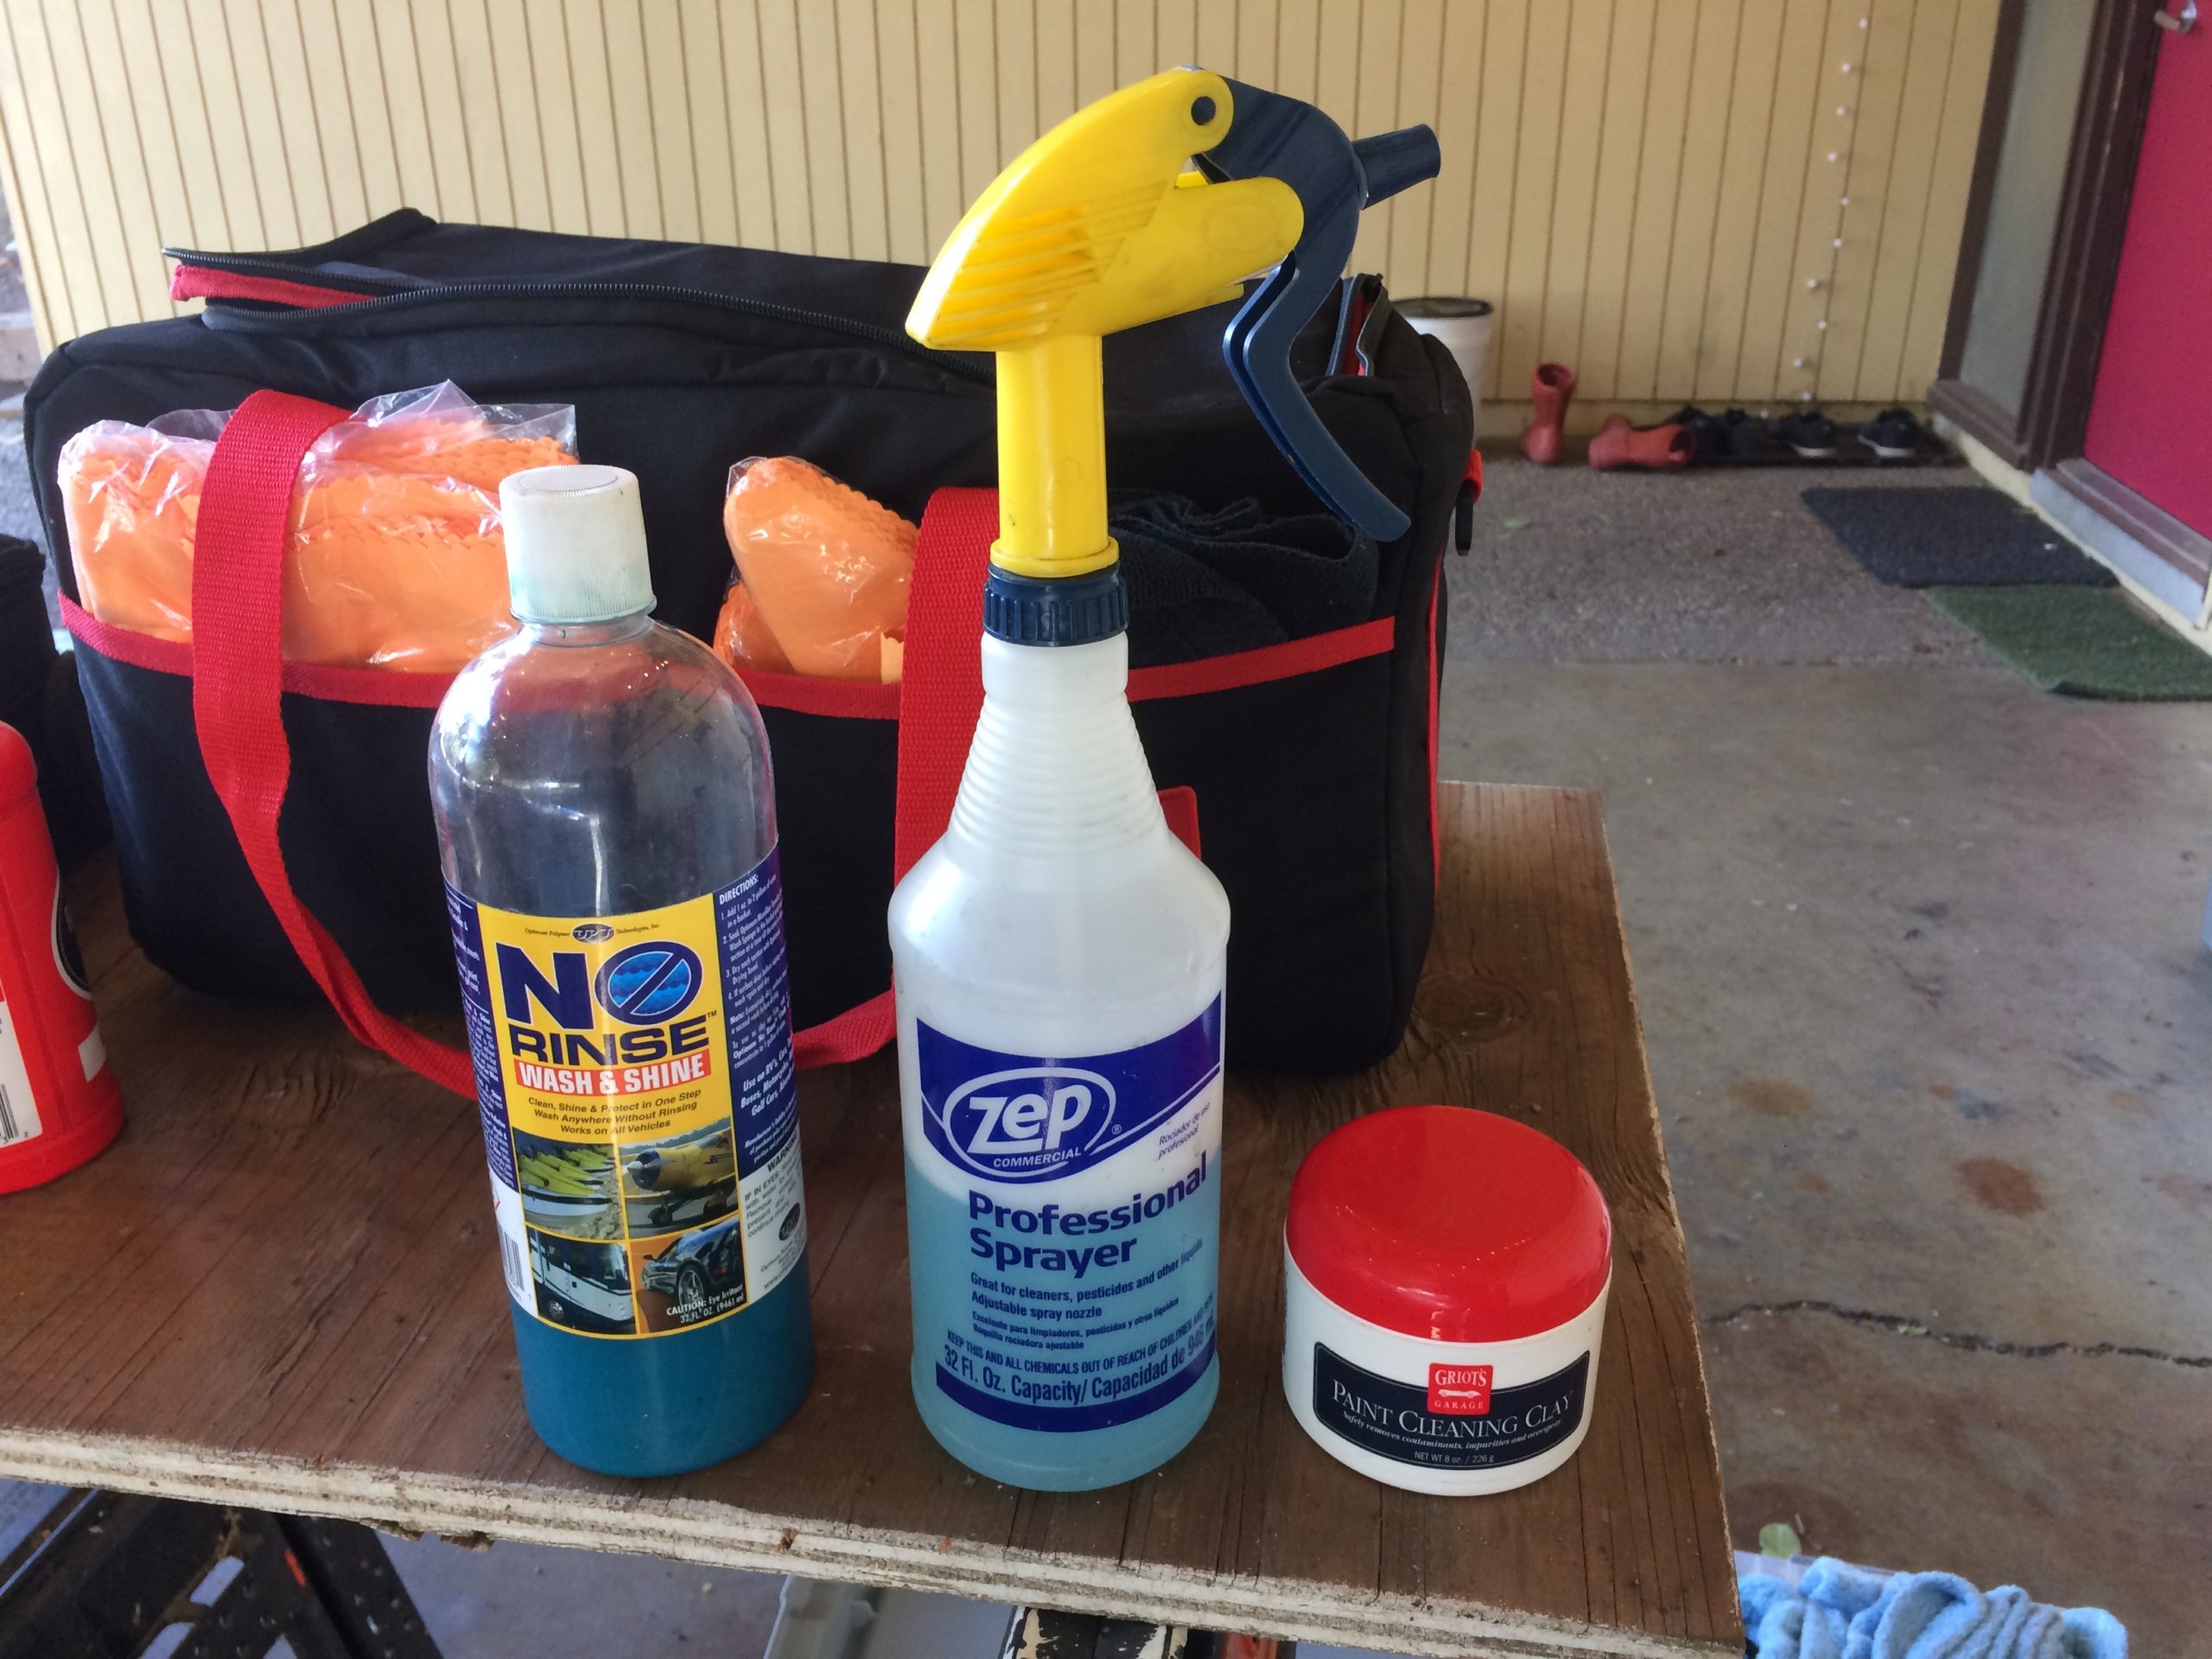
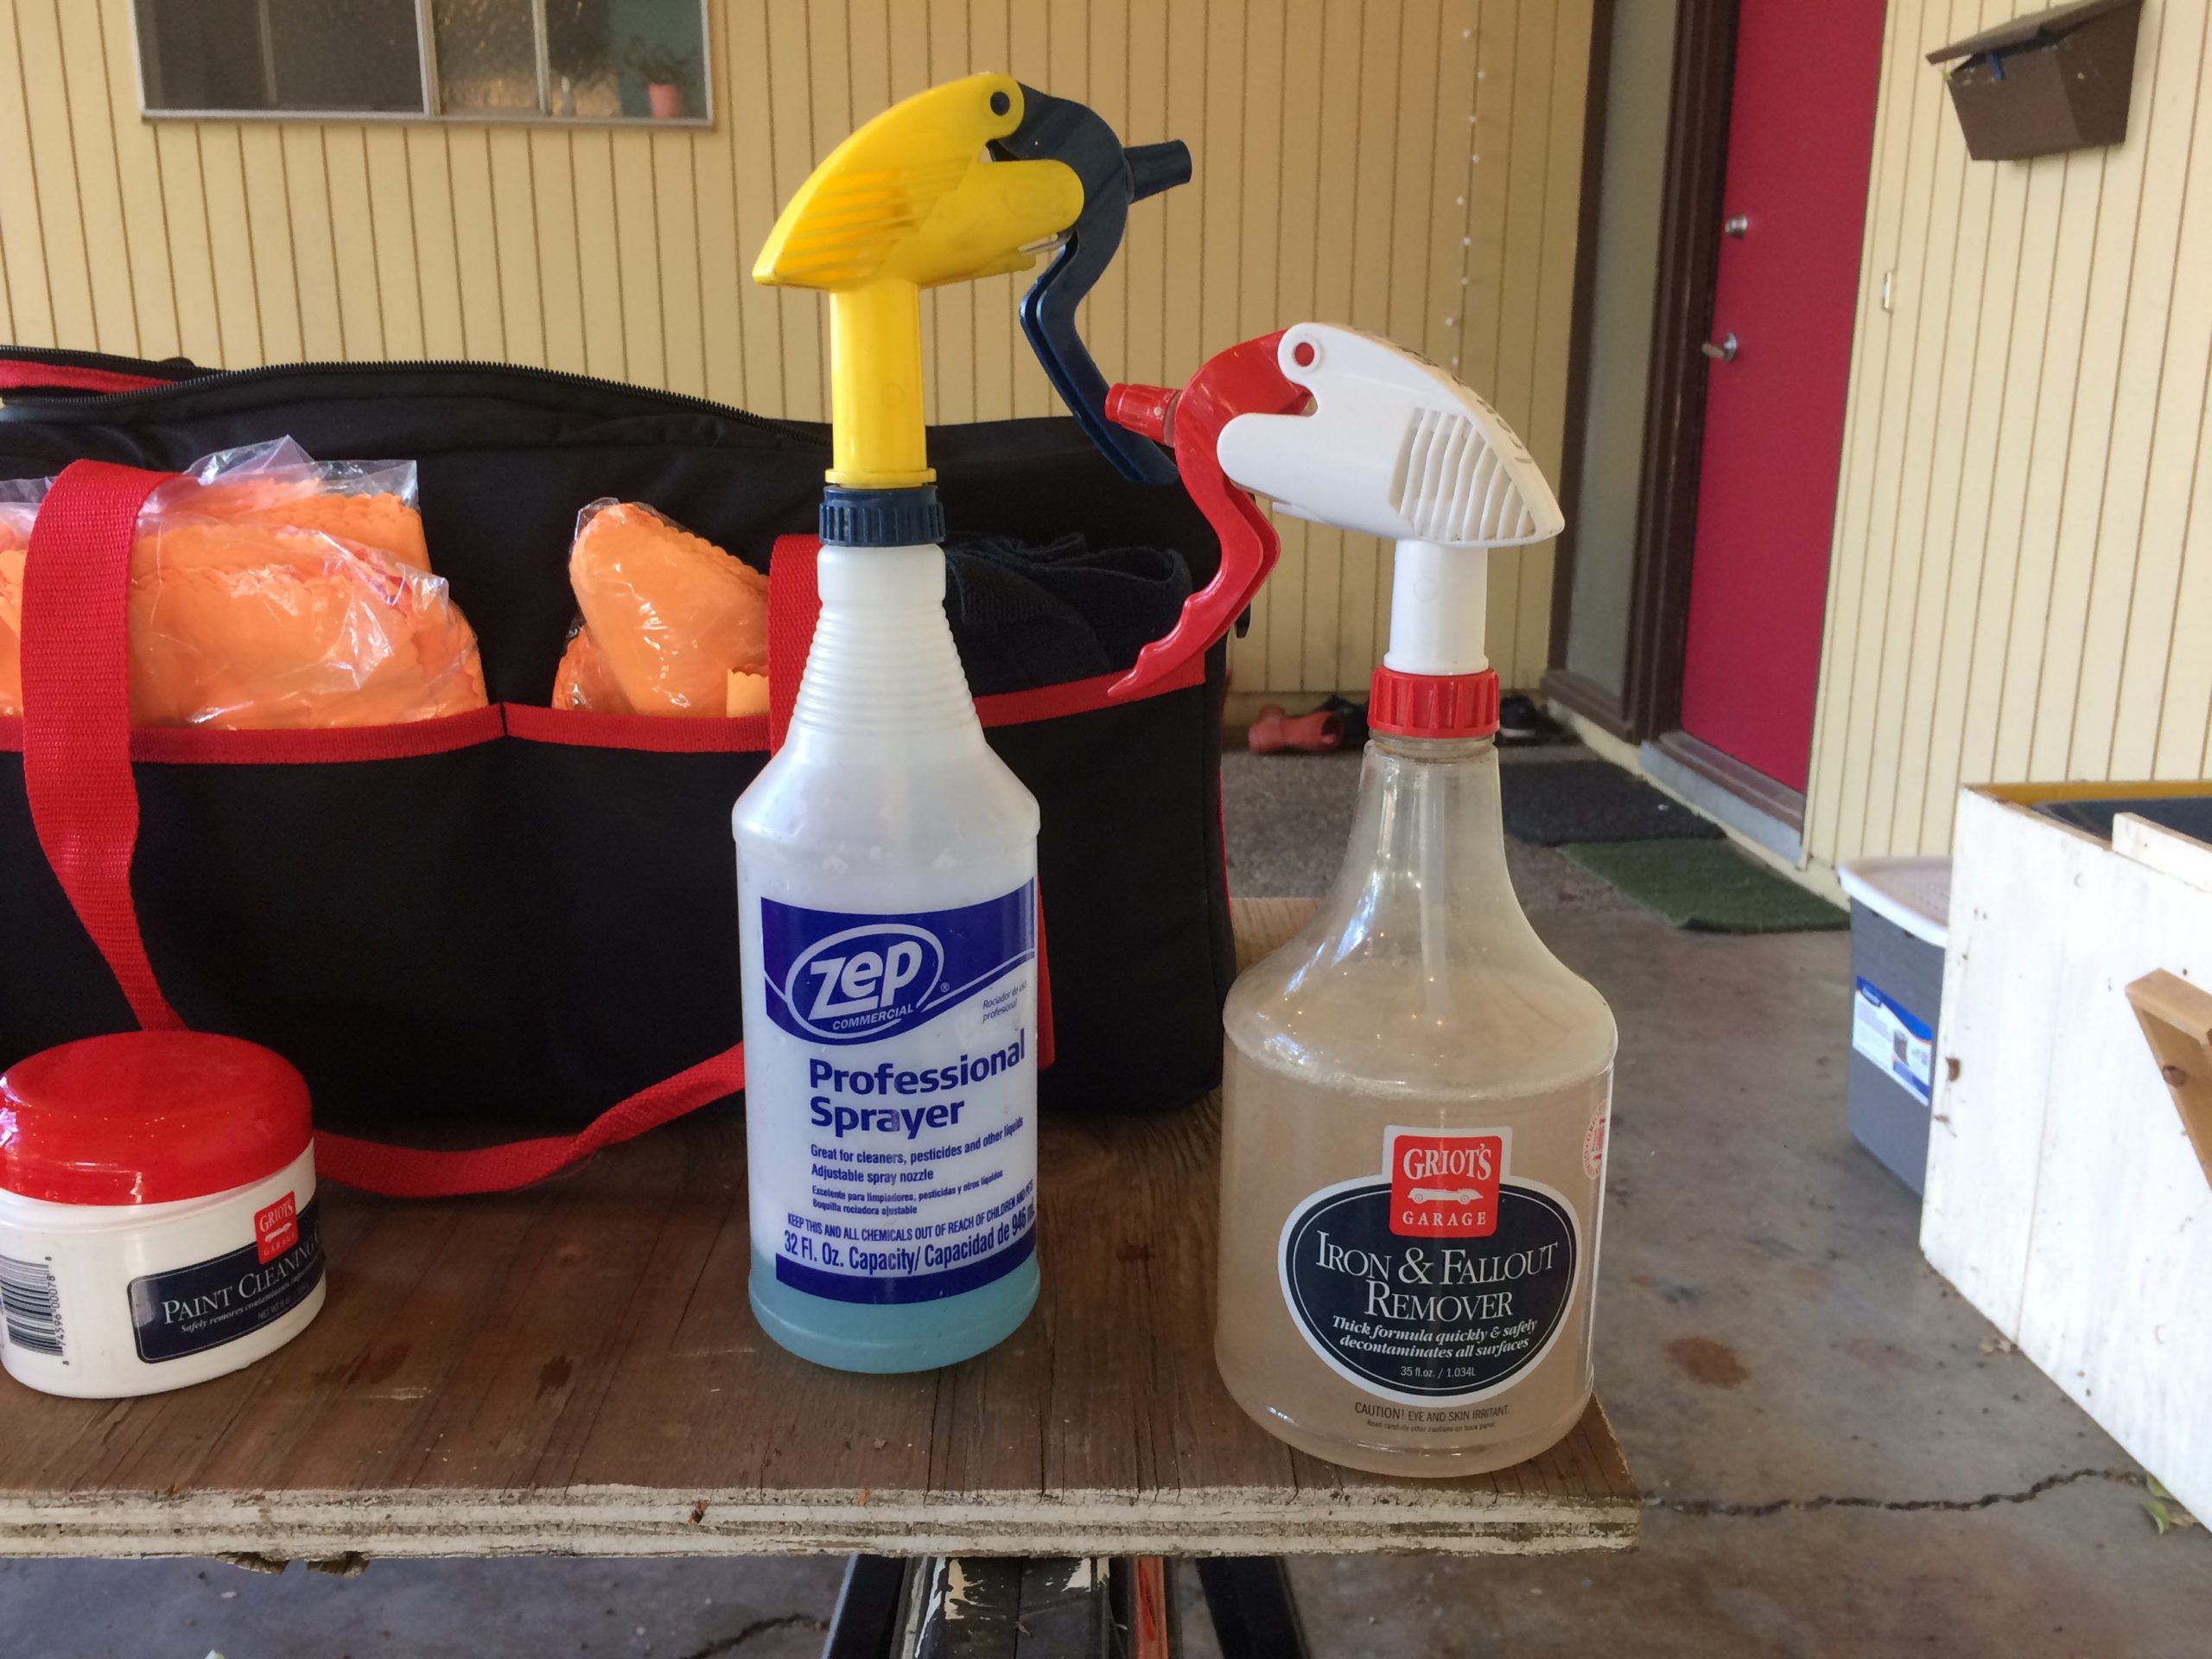
Griot’s Paint Cleaning Clay and Griot’s Iron & Fallout Remover was used to decontaminate the paint. I noticed small black specks within the paint that did not react with the Iron Remover. Curiously, they look less like iron deposits and more like tiny drops of dark paint, I observed them mostly in the repainted sections.
The fully cleansed paint became a slightly lighter shade of blue.
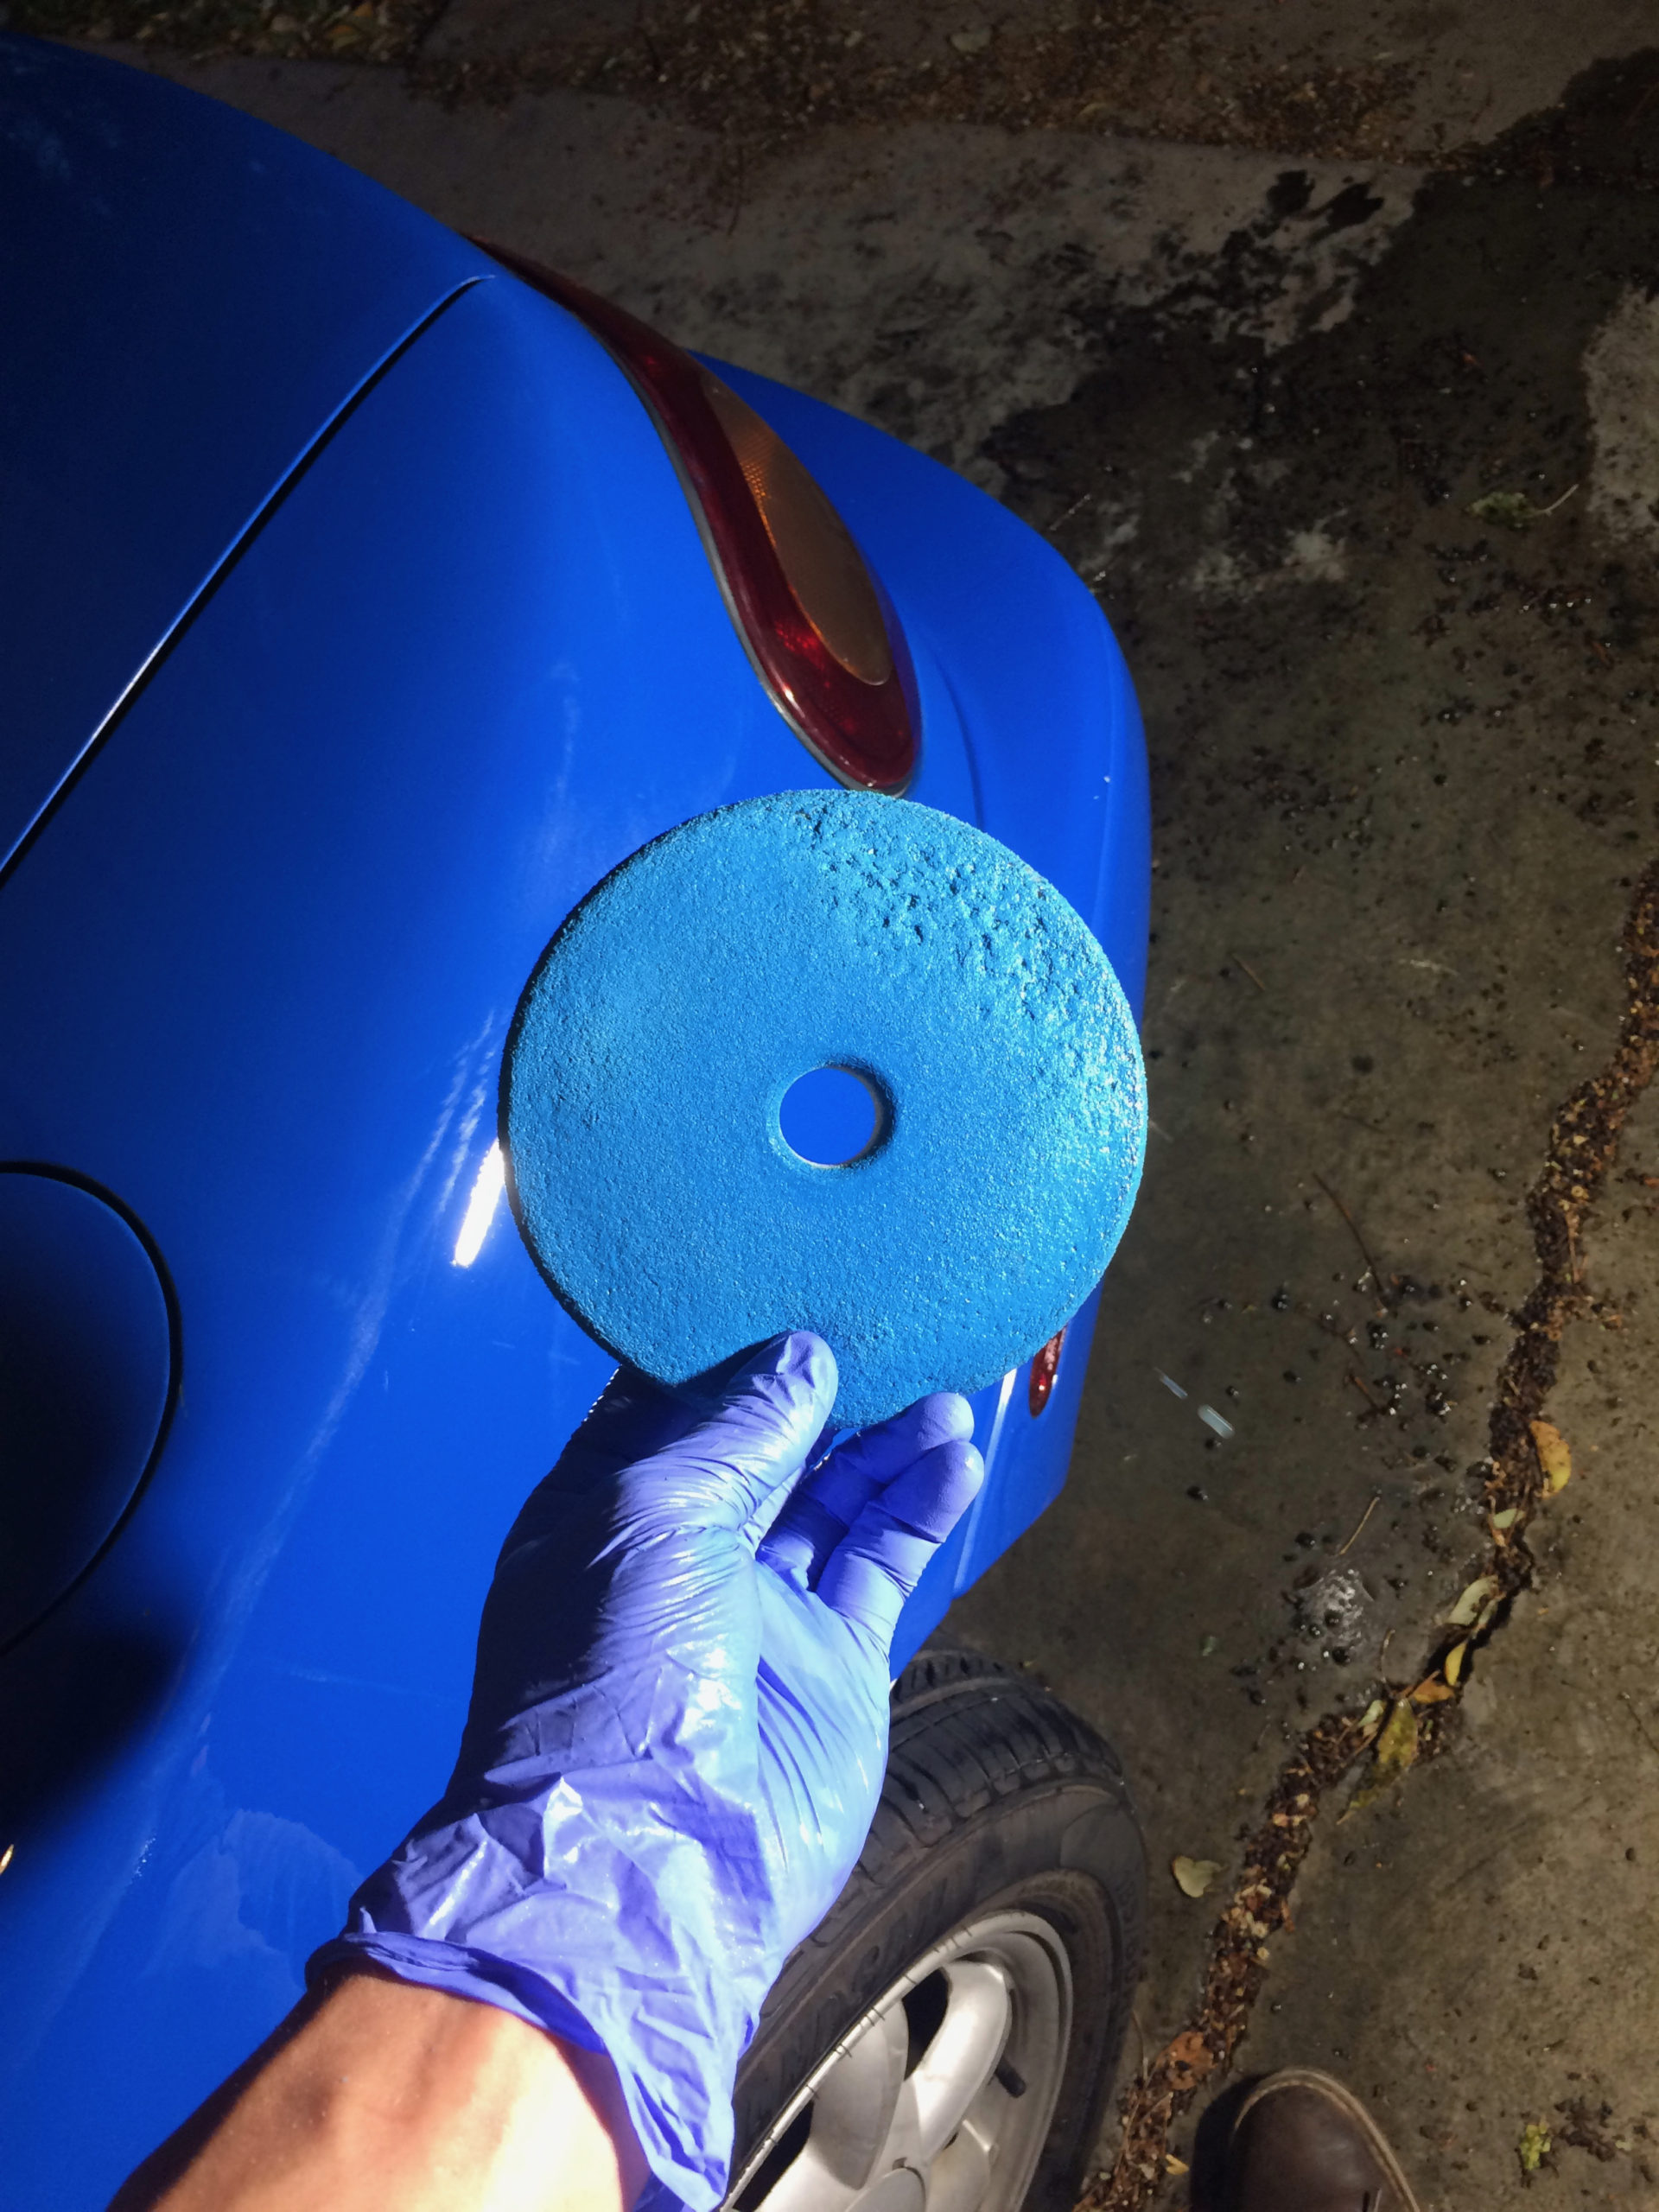
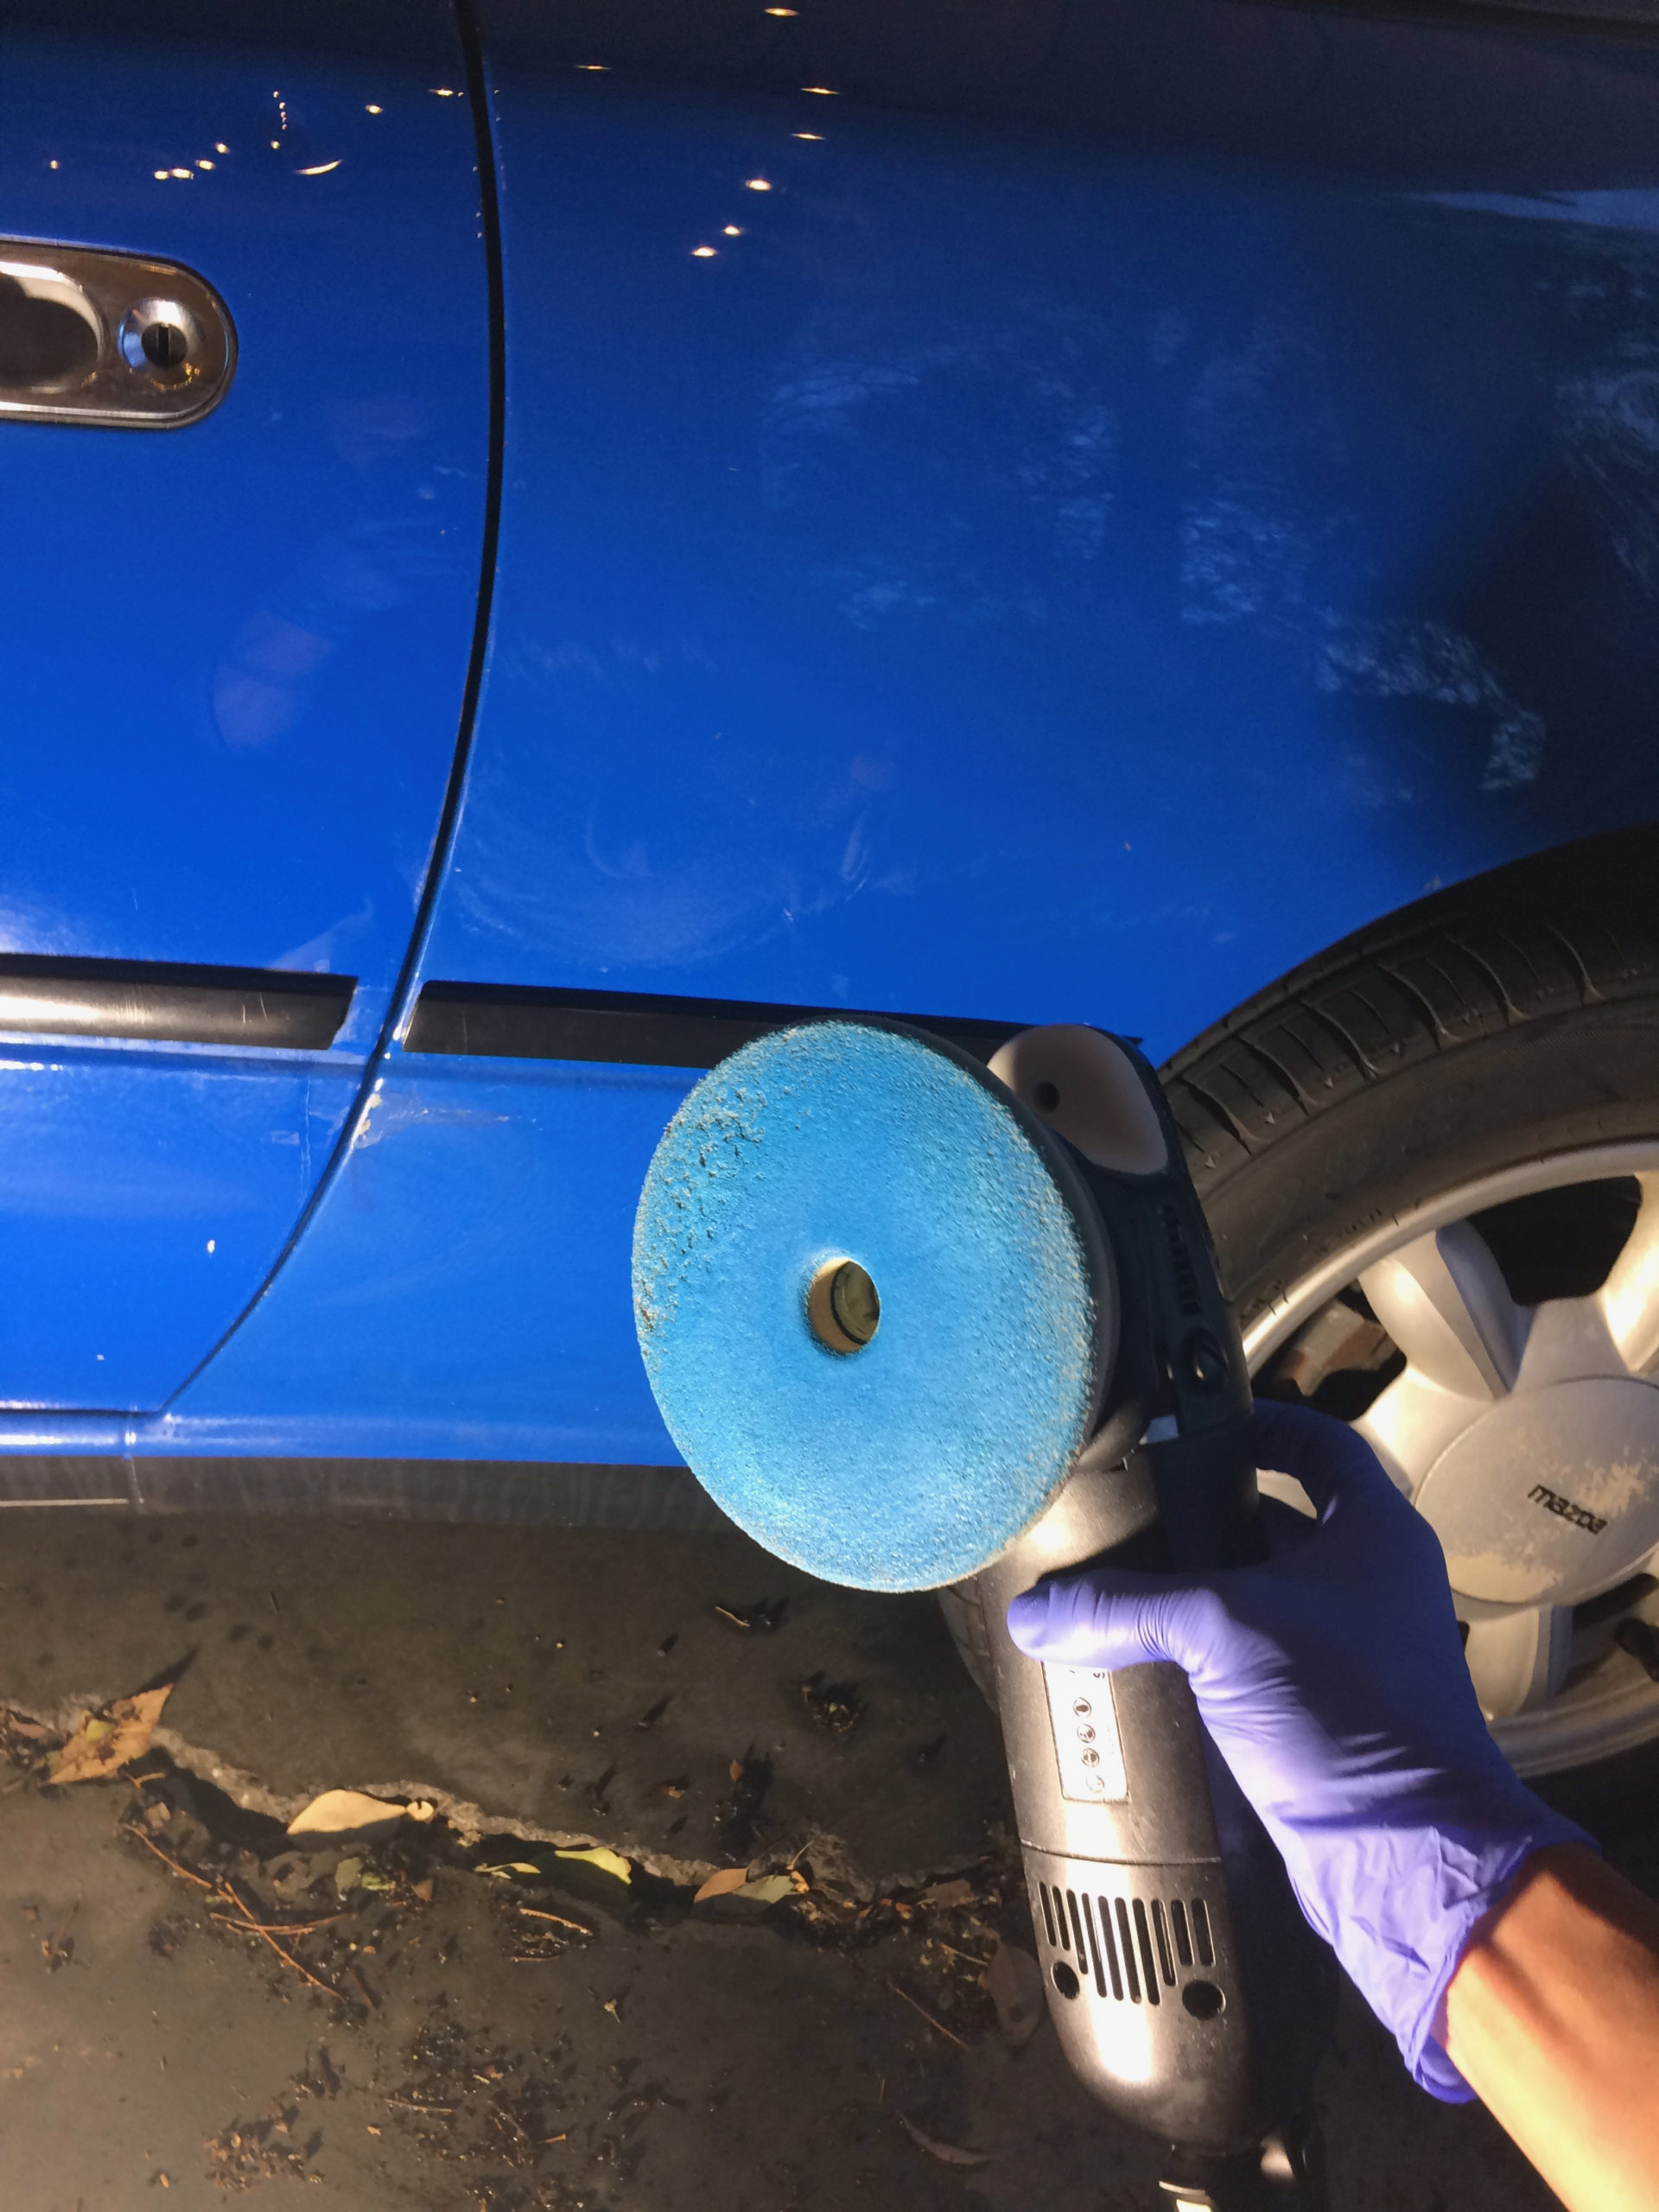
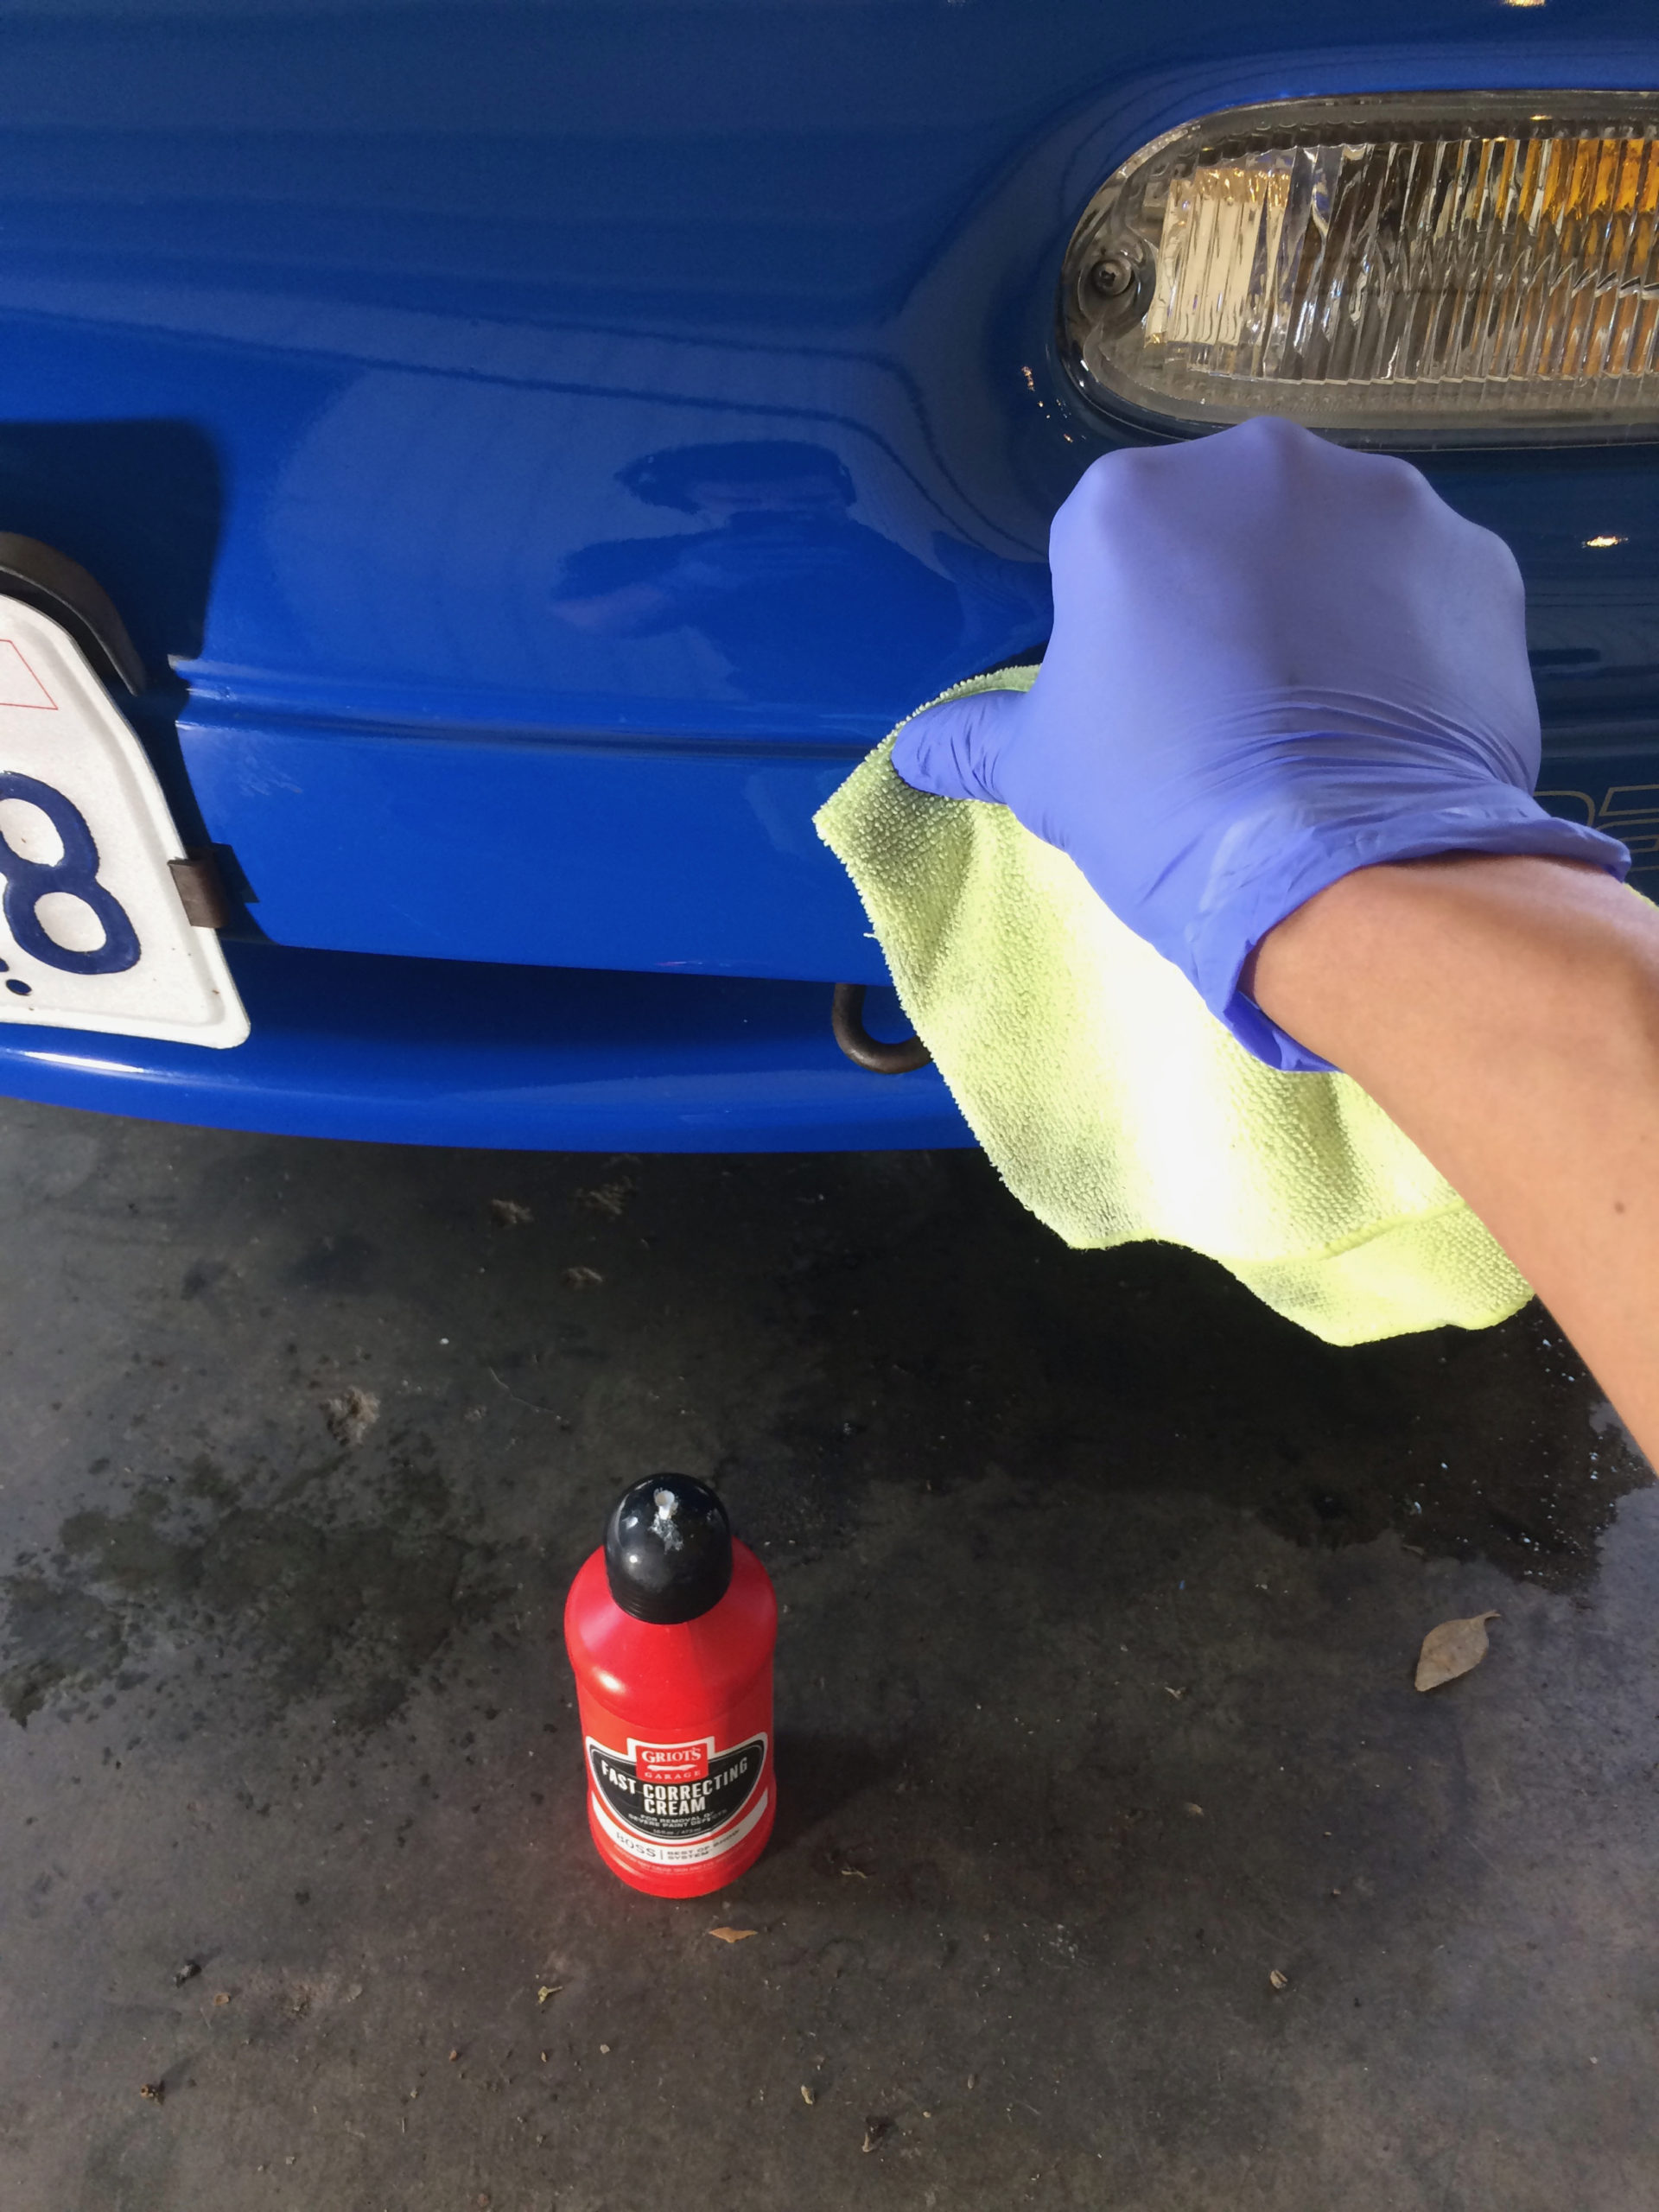
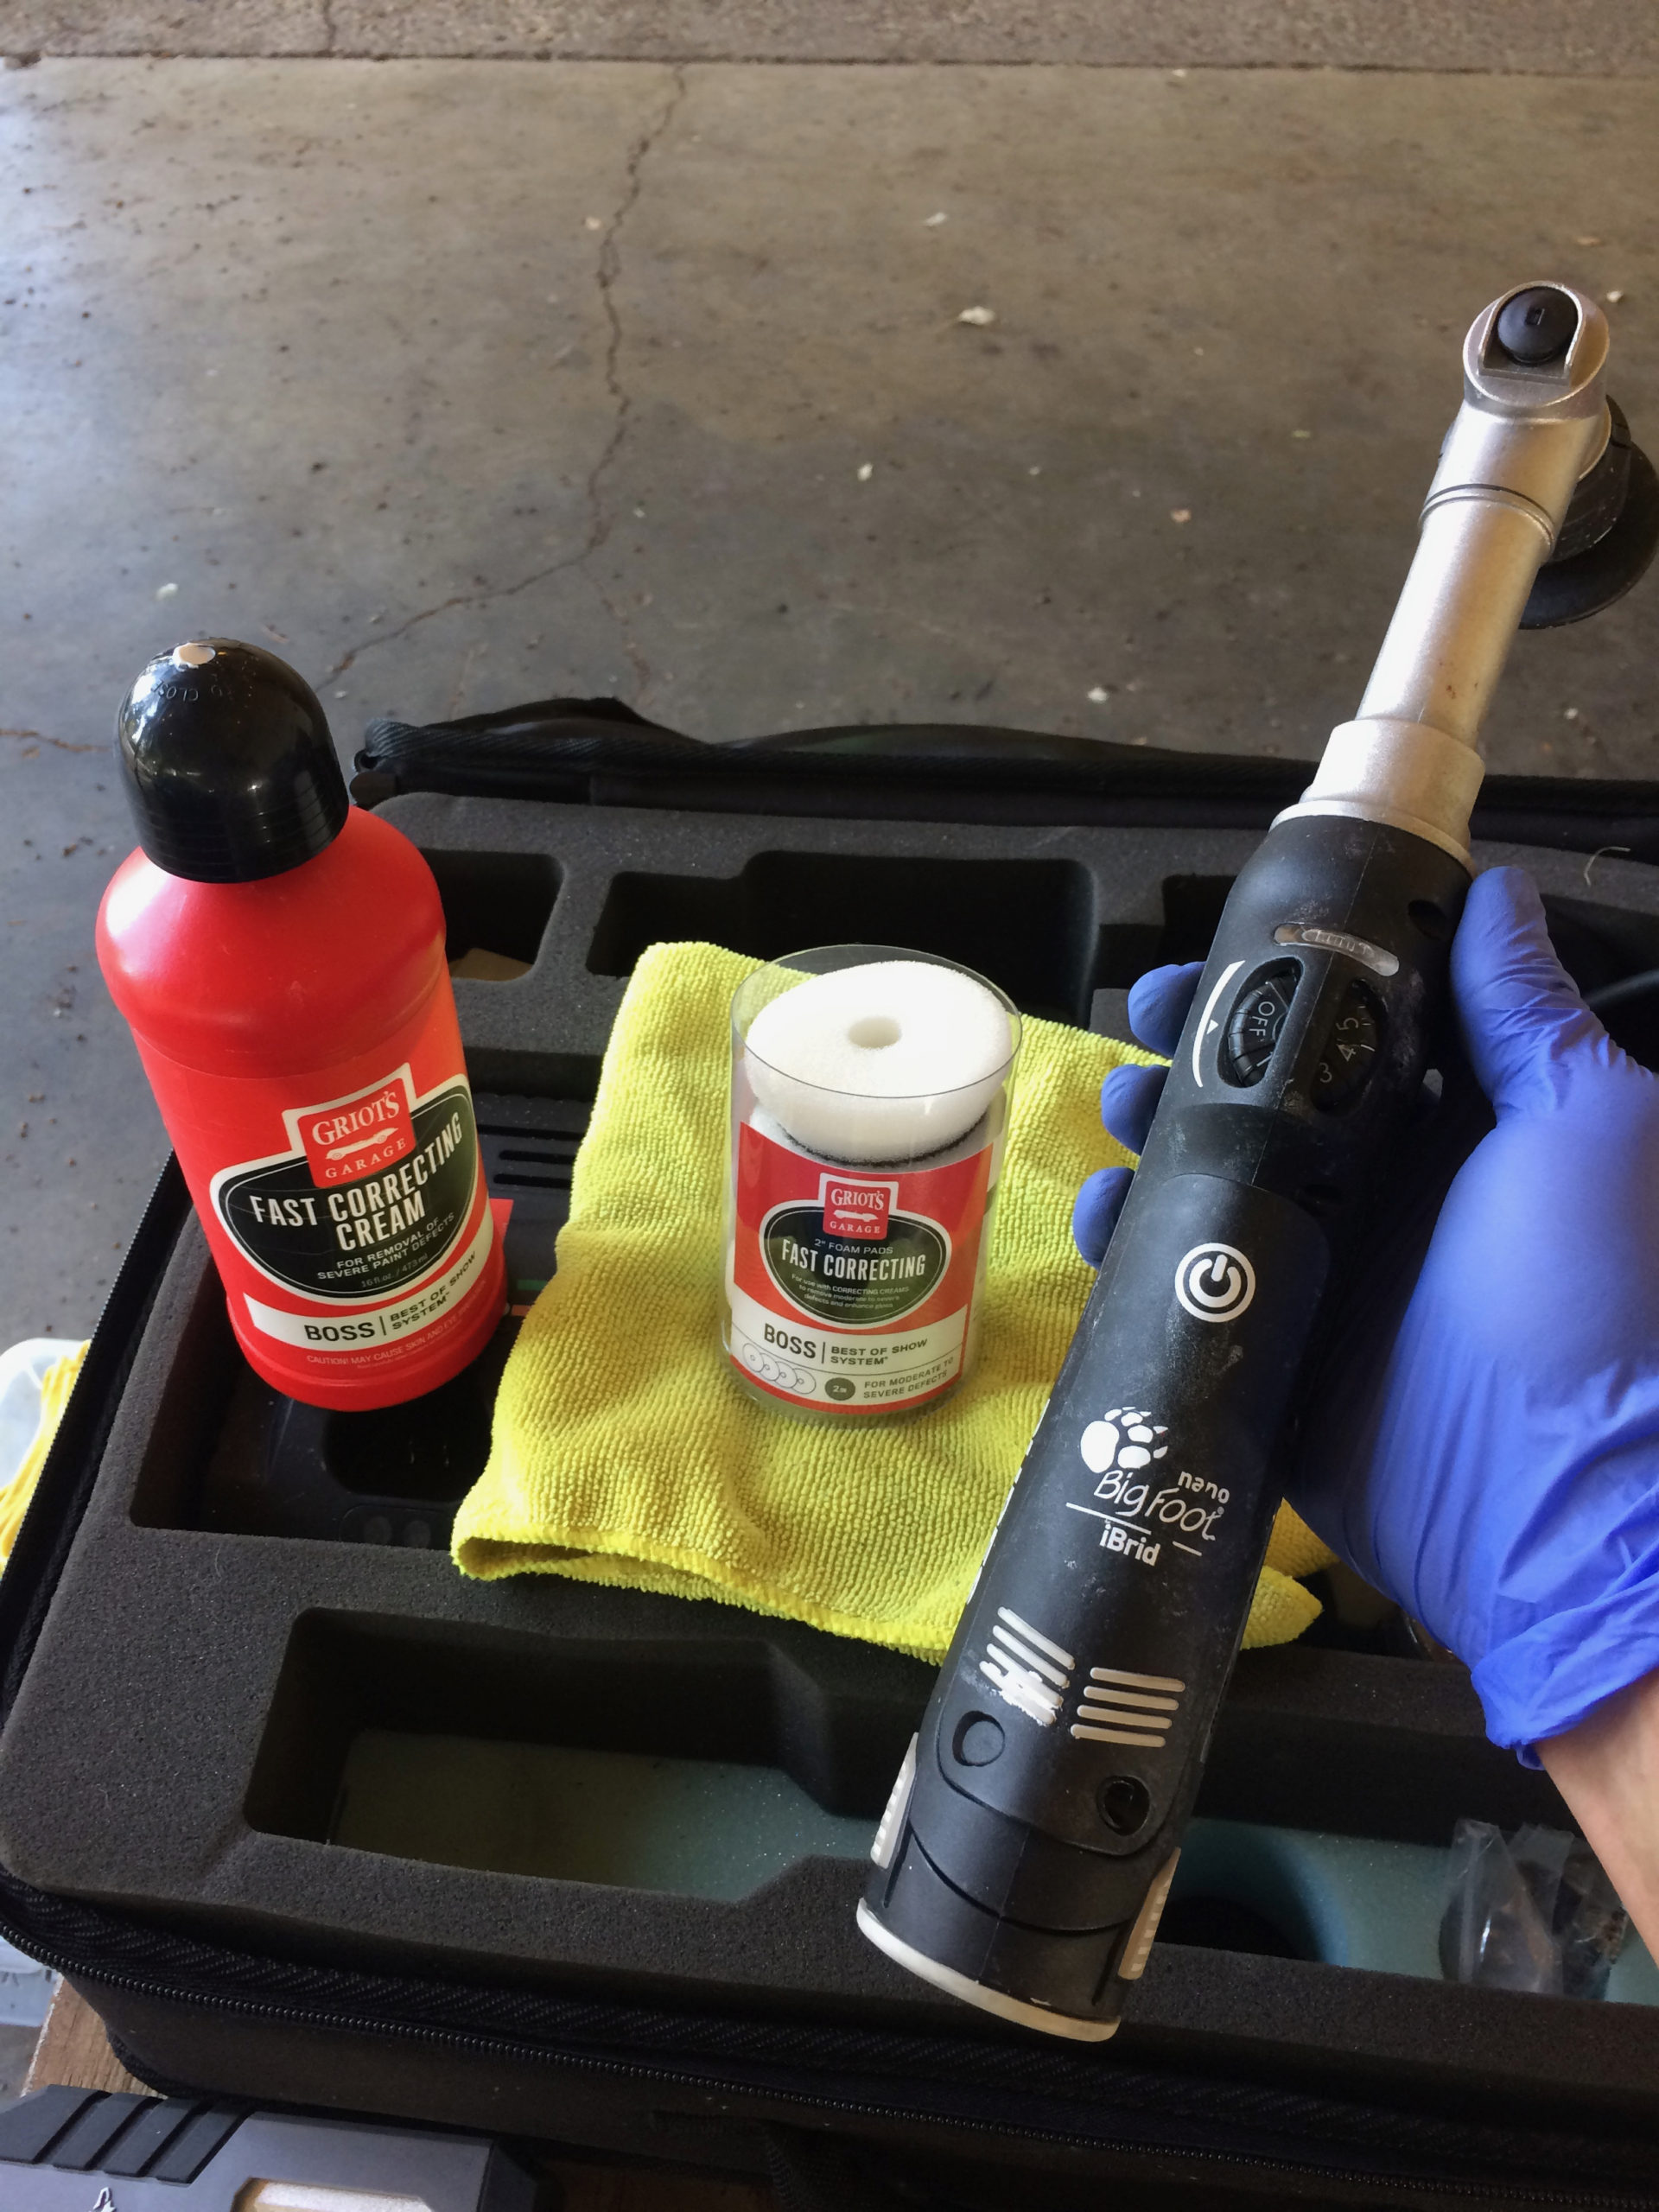
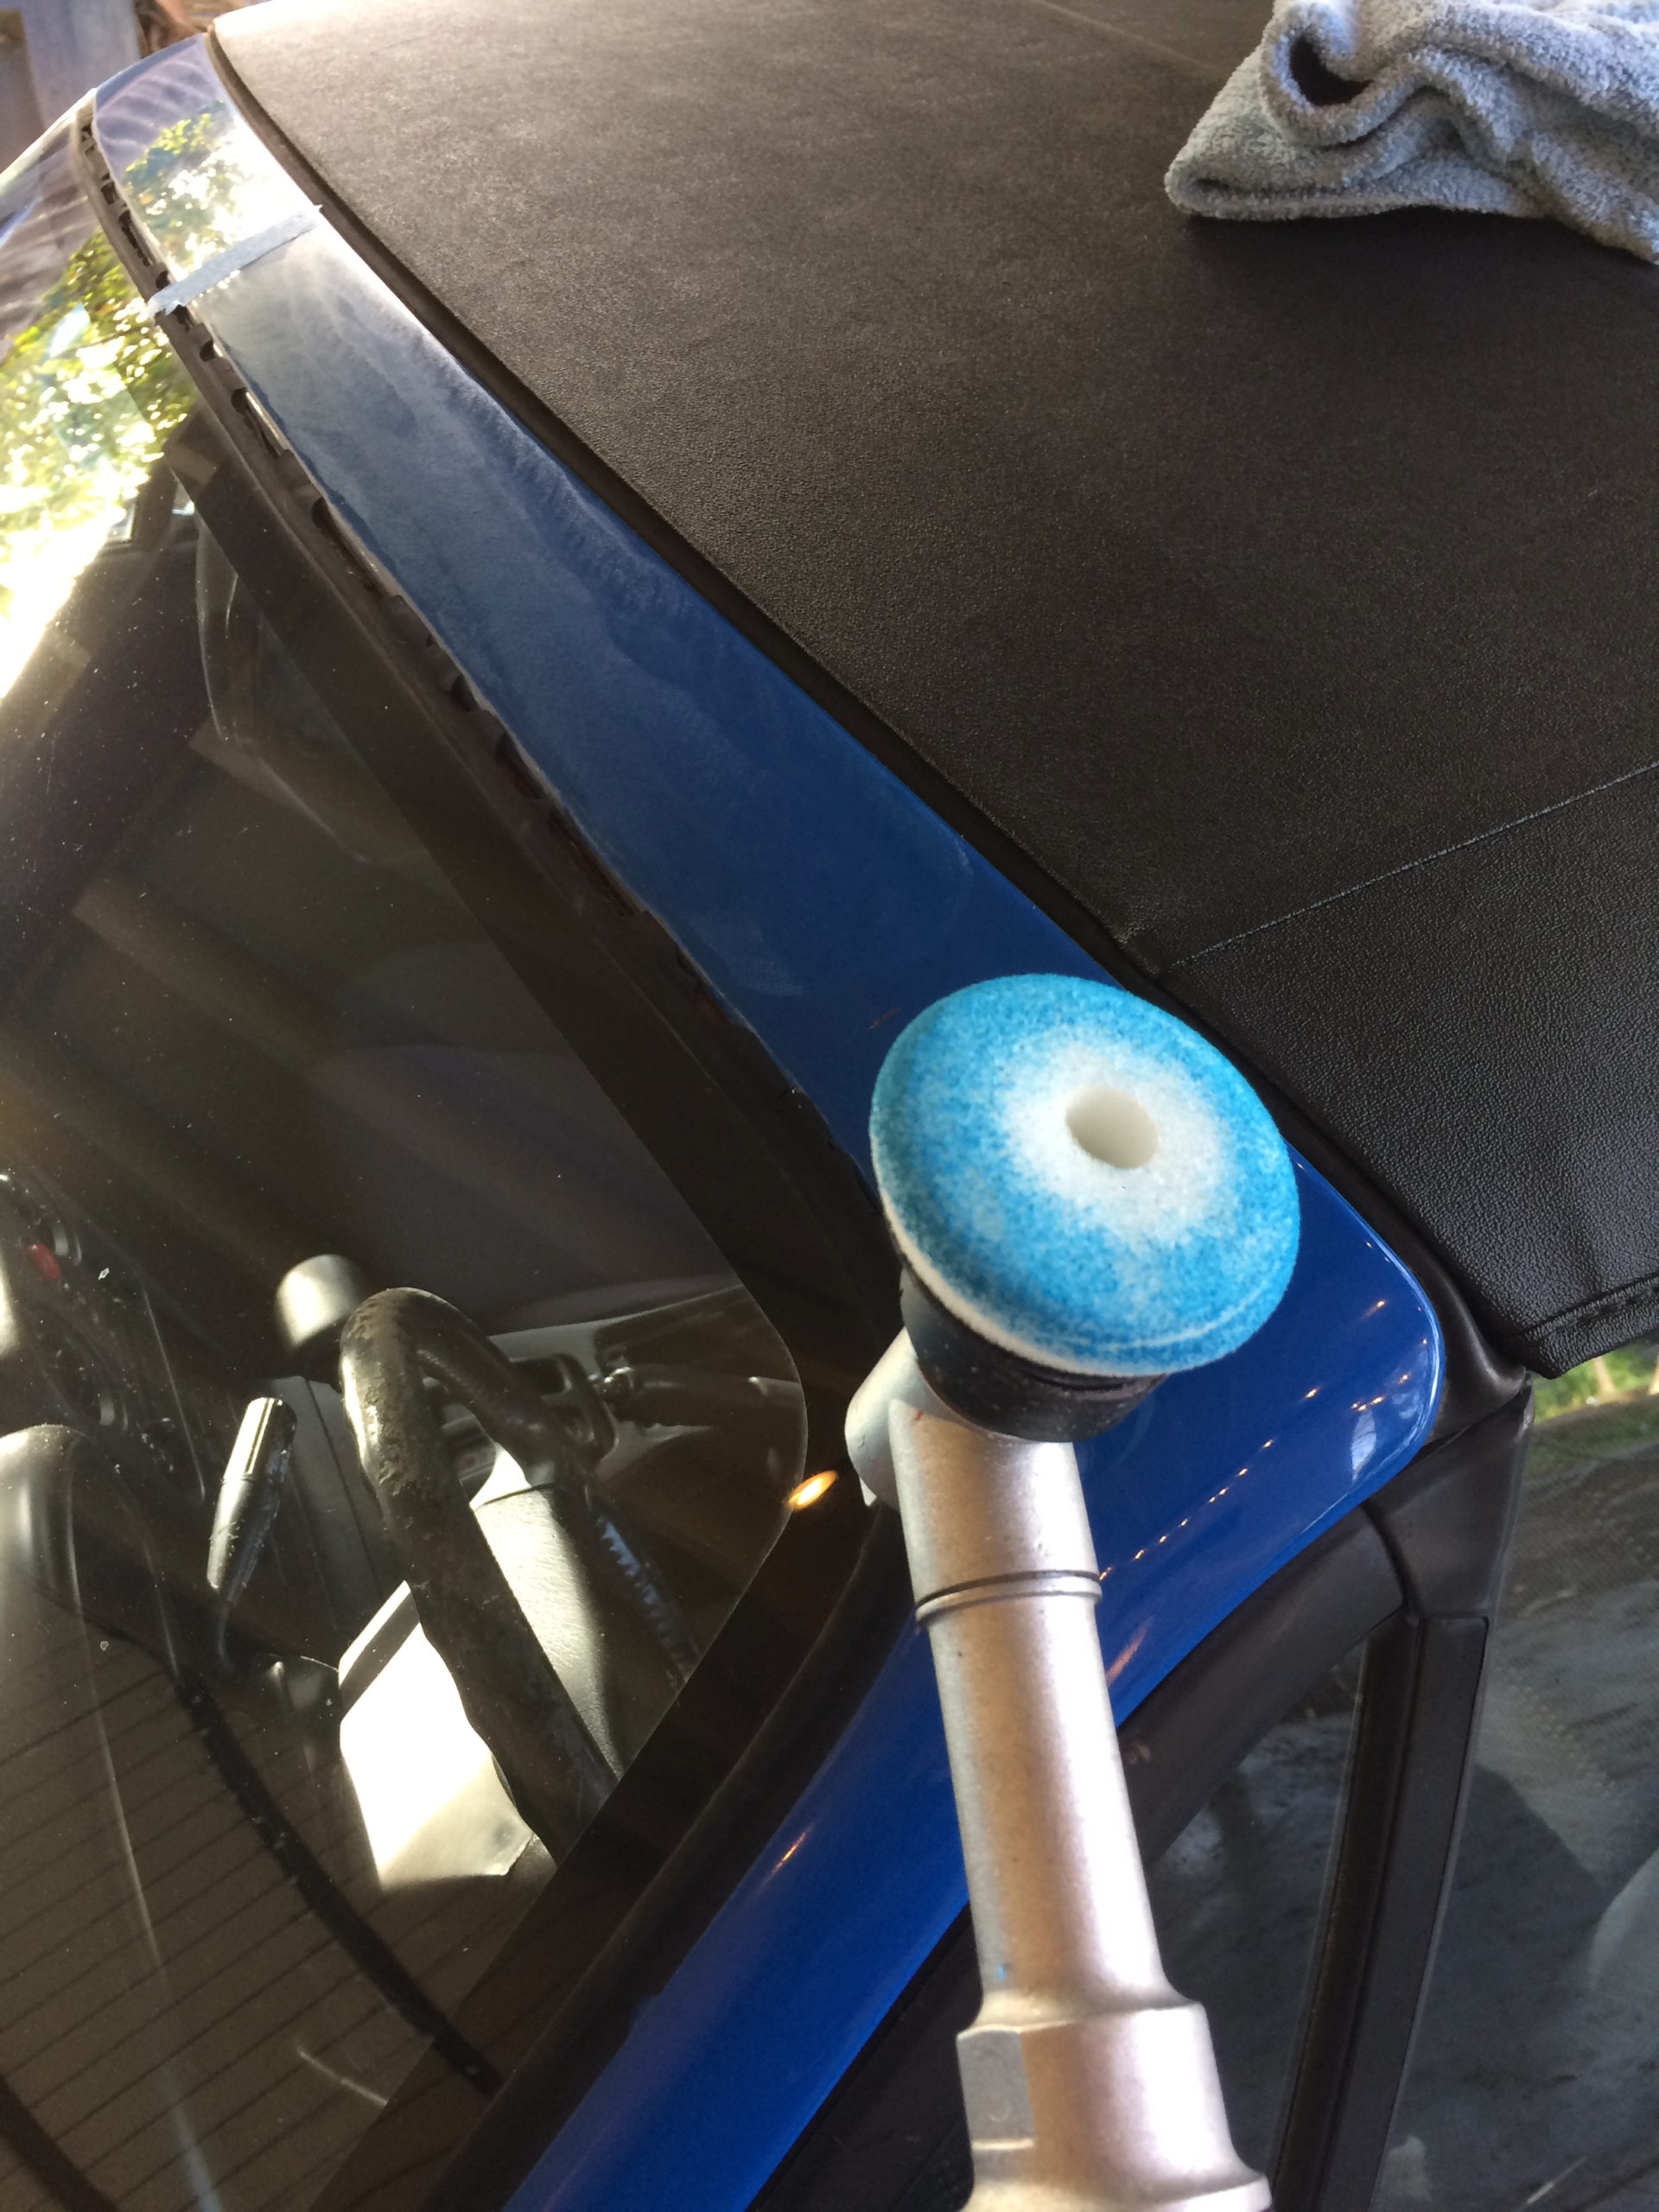
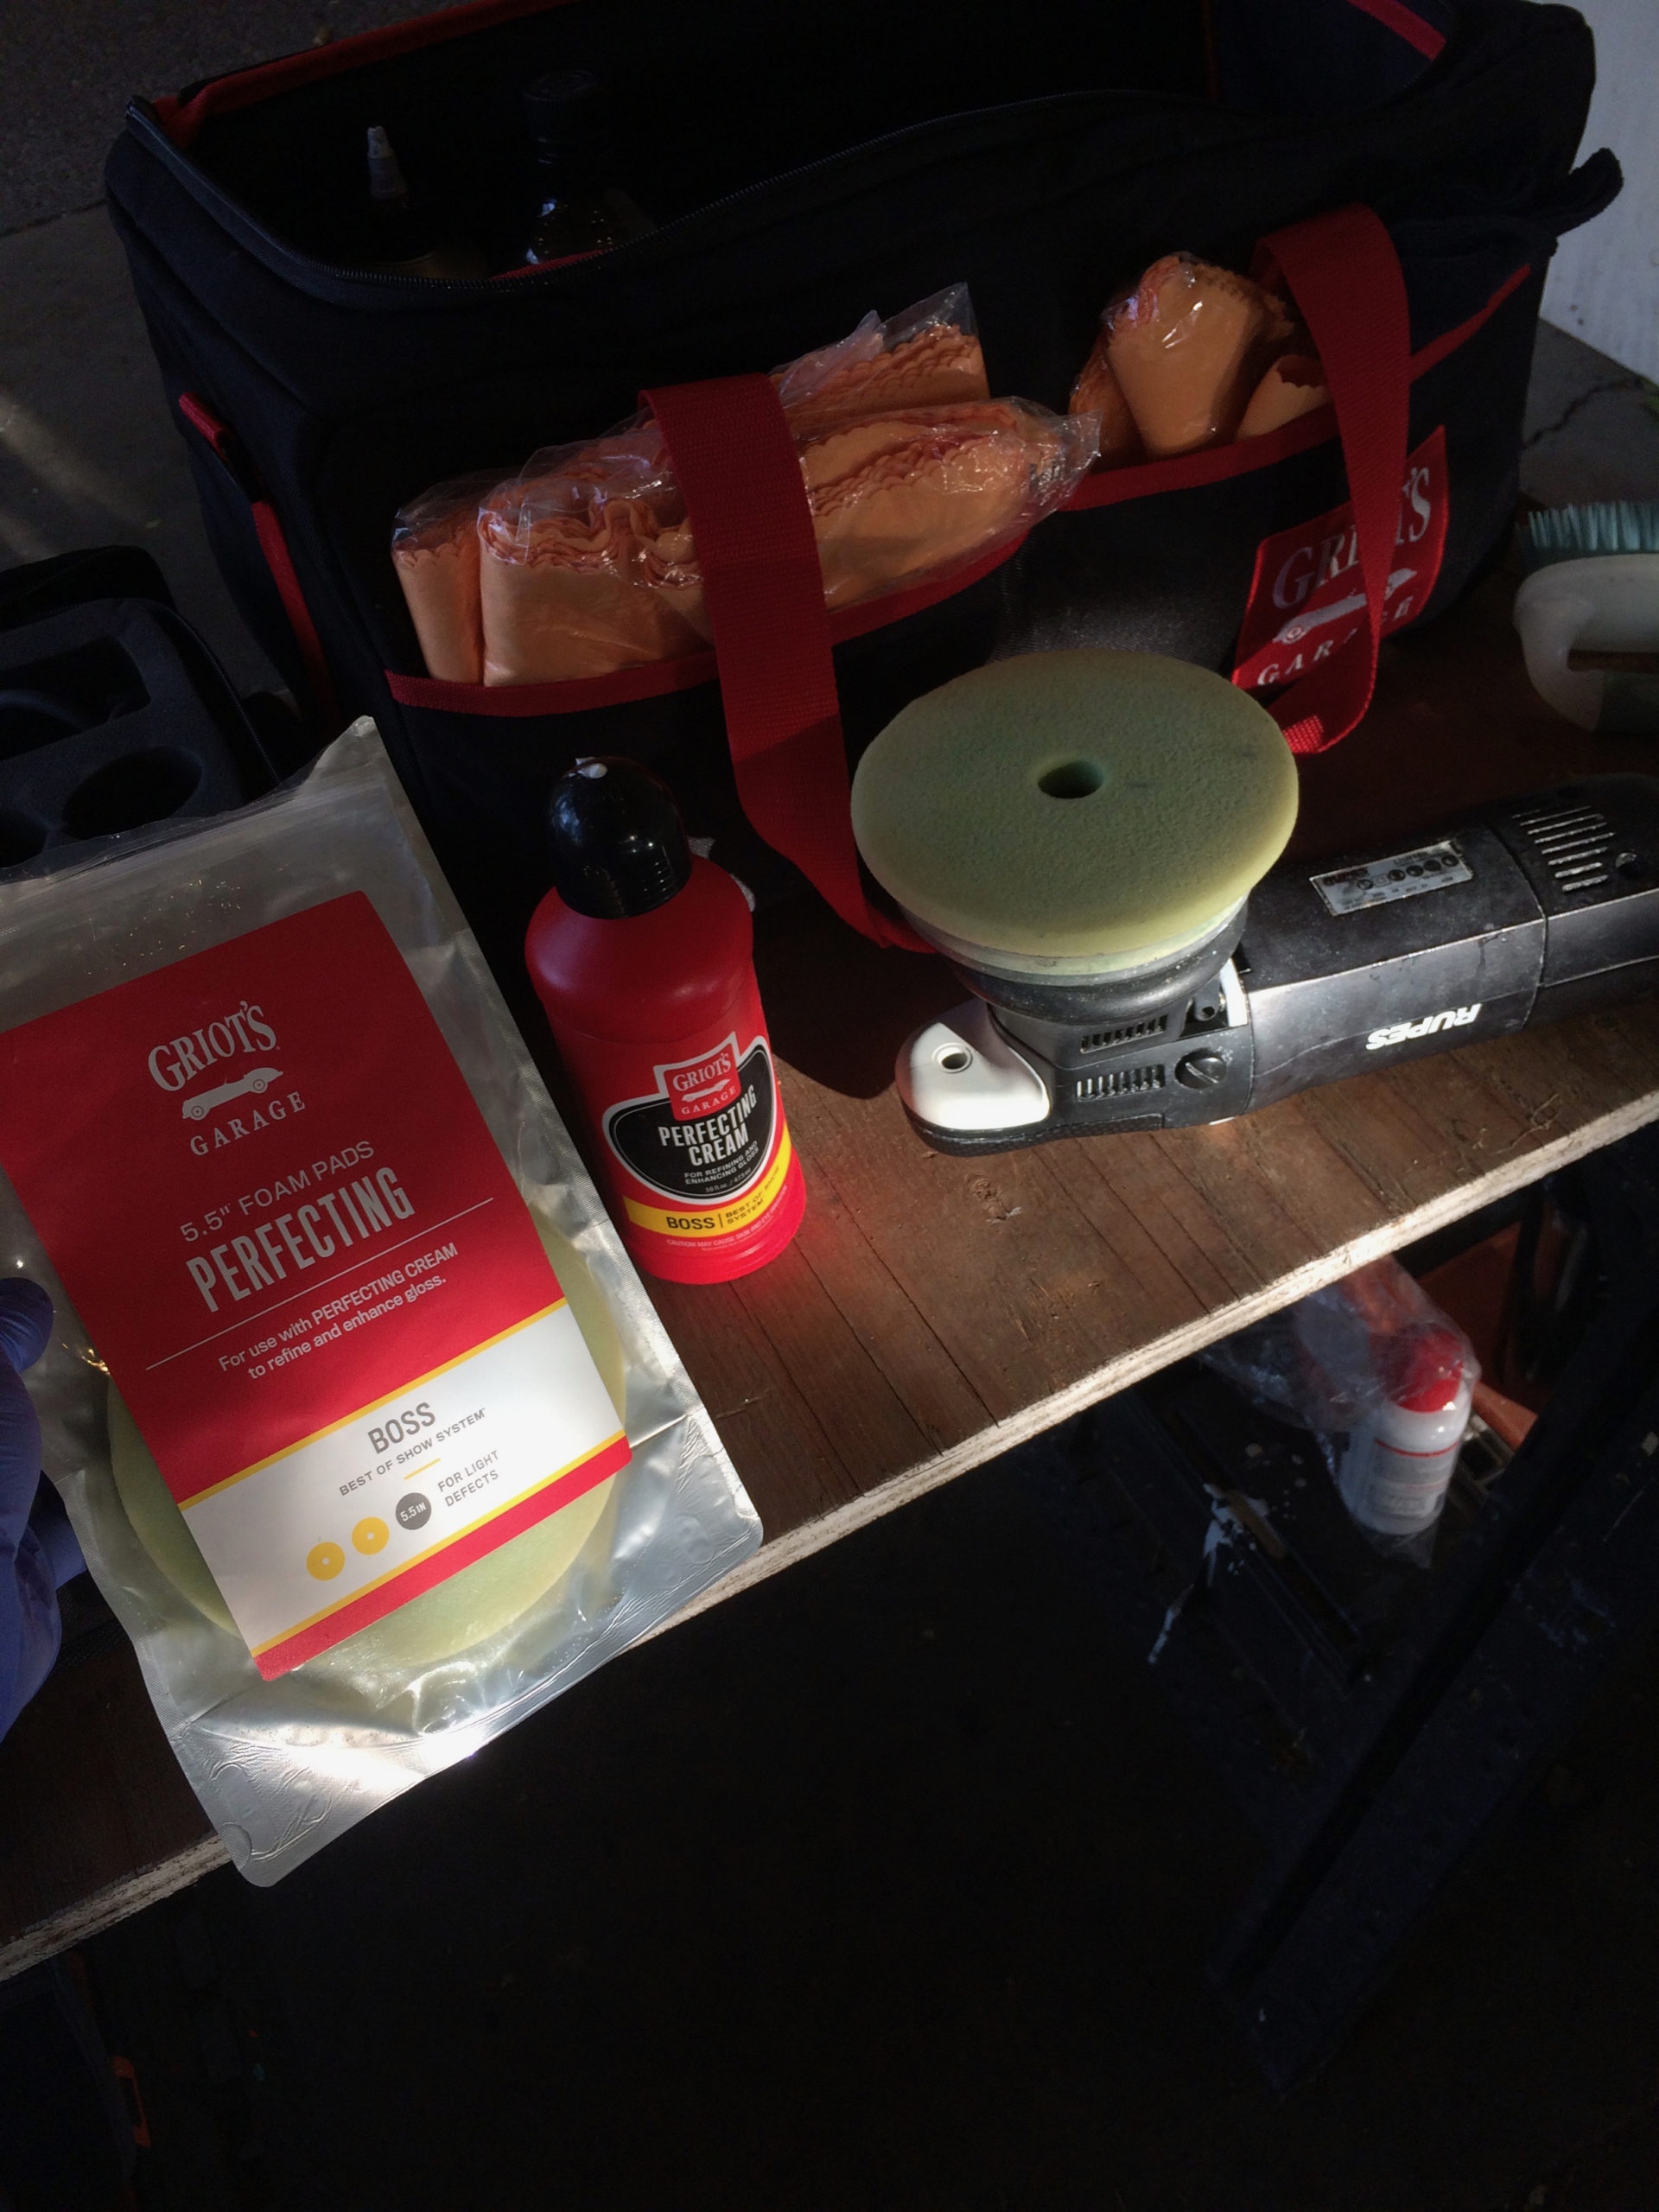
For the compounding phase of paint correction I used a Rupes LHR 15 Mark II Polisher, equipped with Griot’s BOSS Correcting Pads, primed with Griot’s BOSS Fast Correcting Cream.
I was becoming very pleased with the results that ensued.
Here is what the pads looked like when I worked over the single stage sections.
I corrected the channel that runs the length of the vehicle by hand with a microfiber towel.
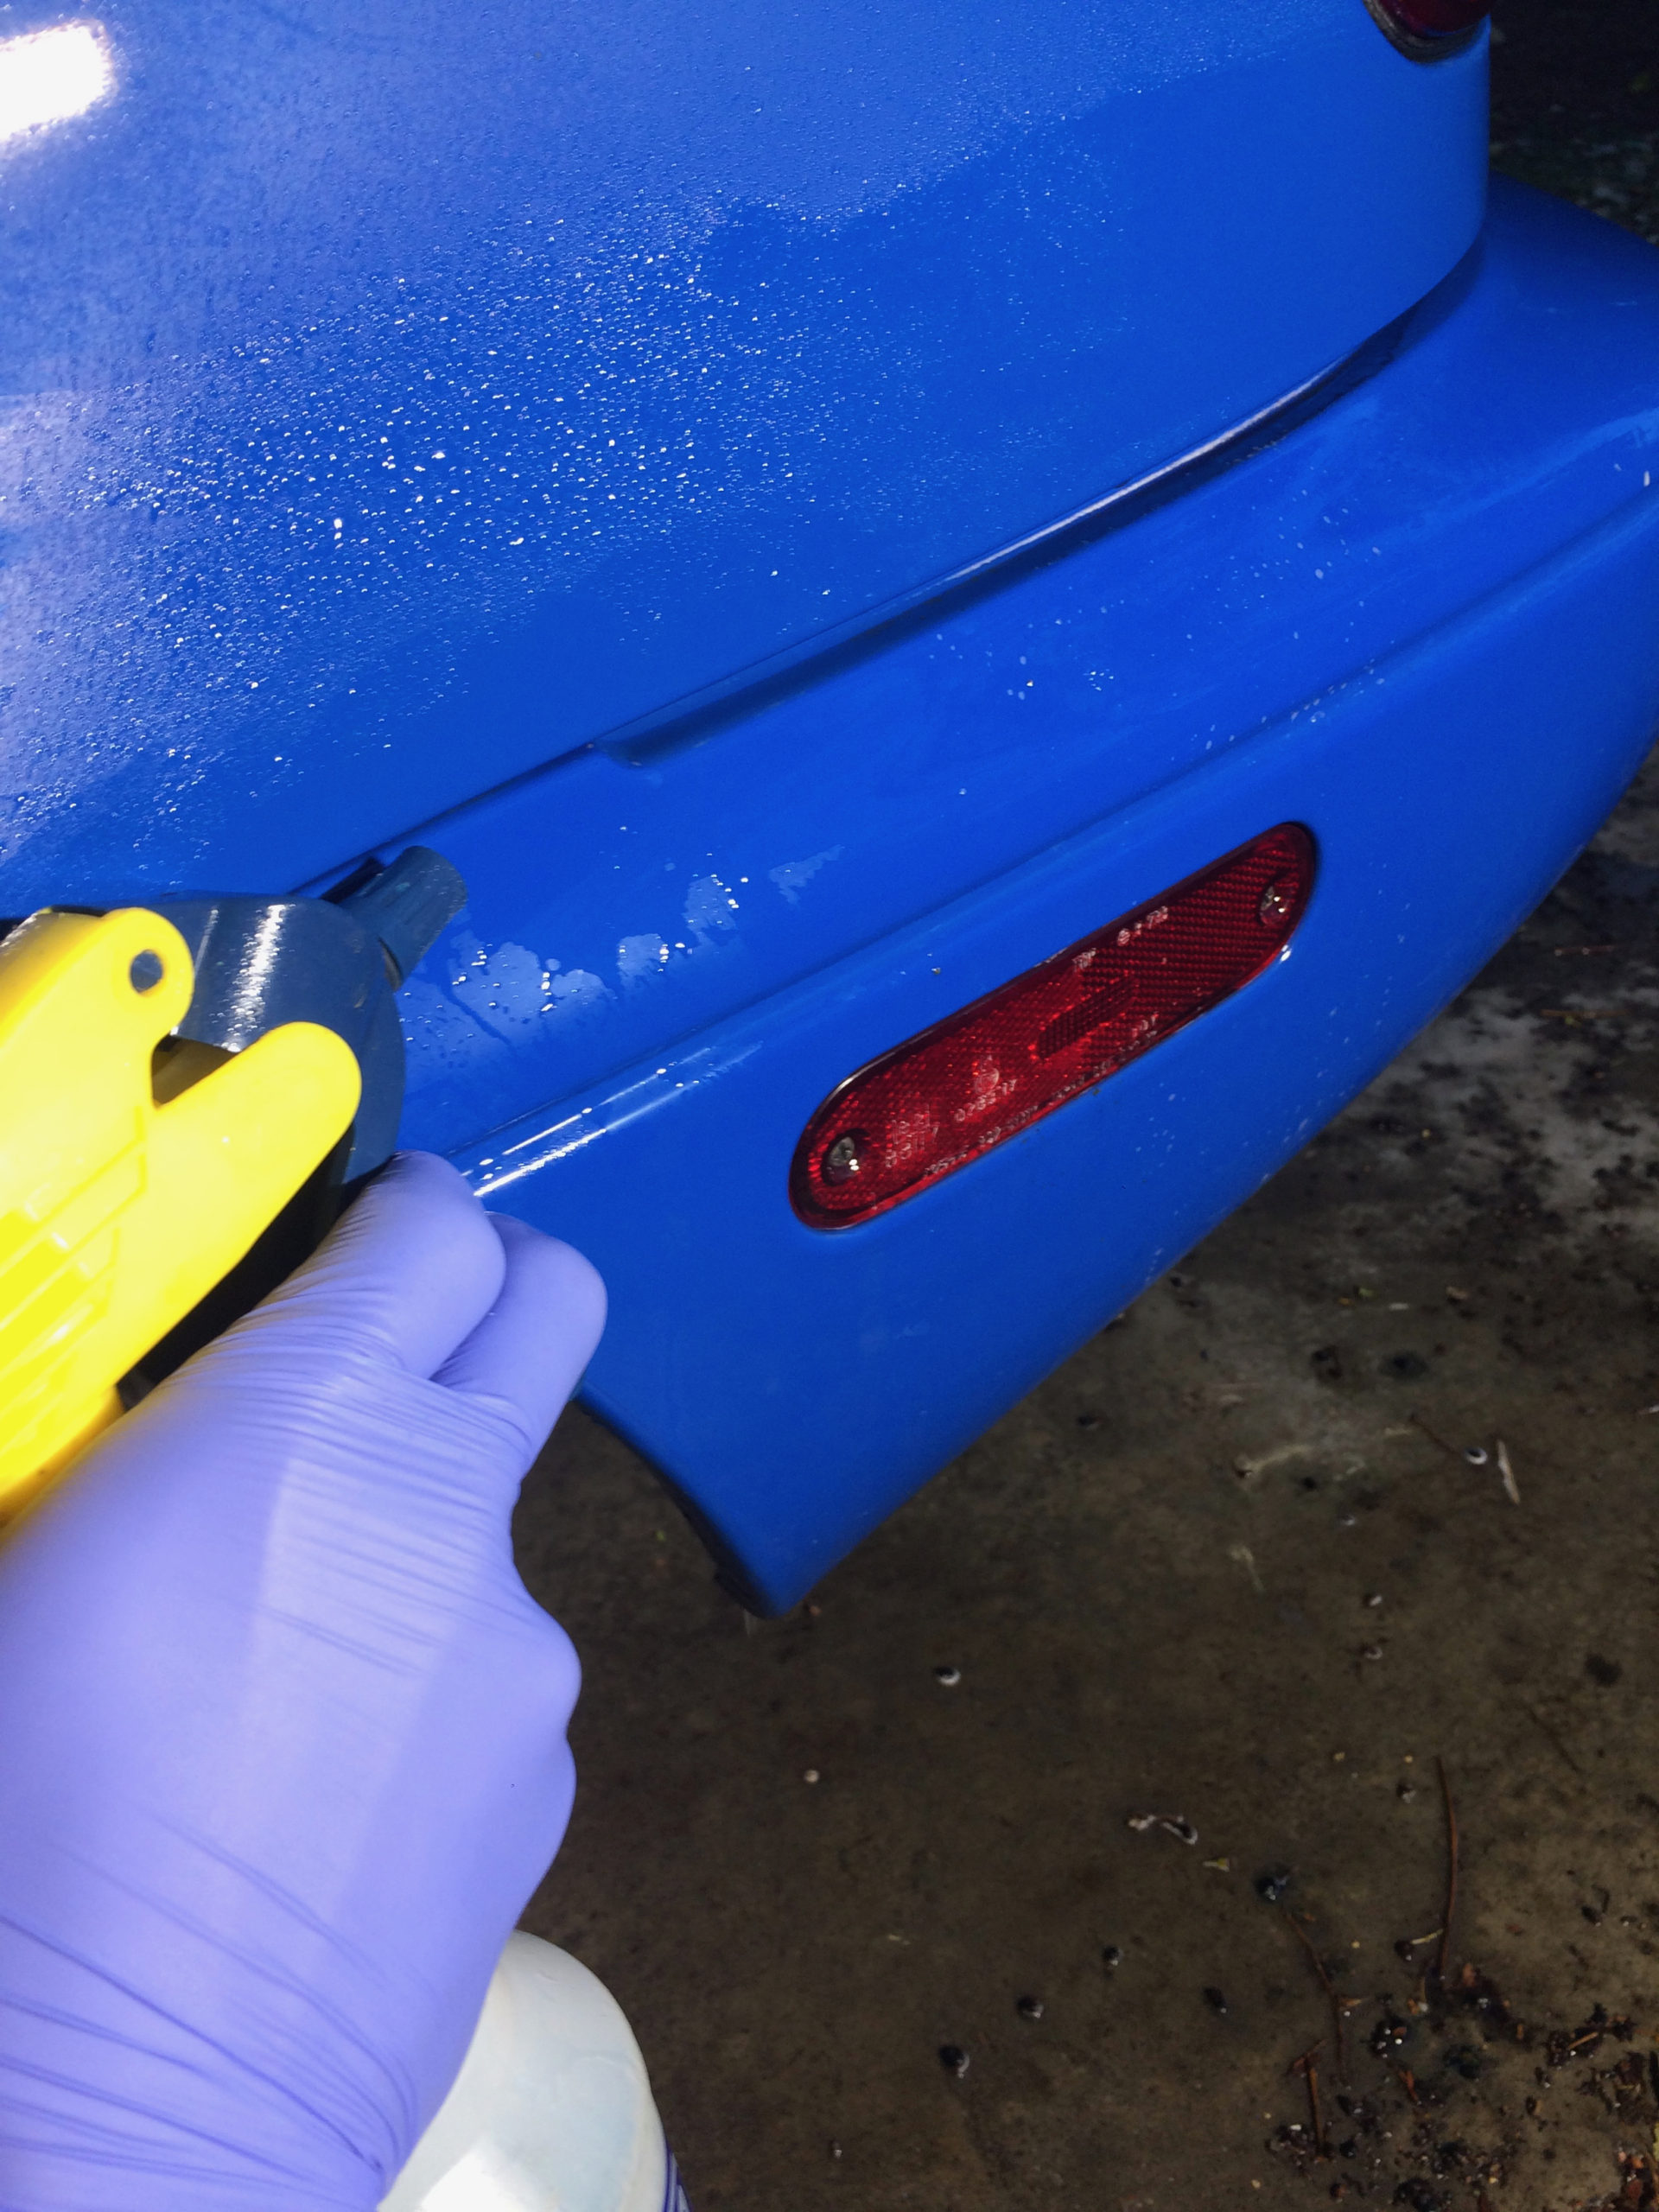
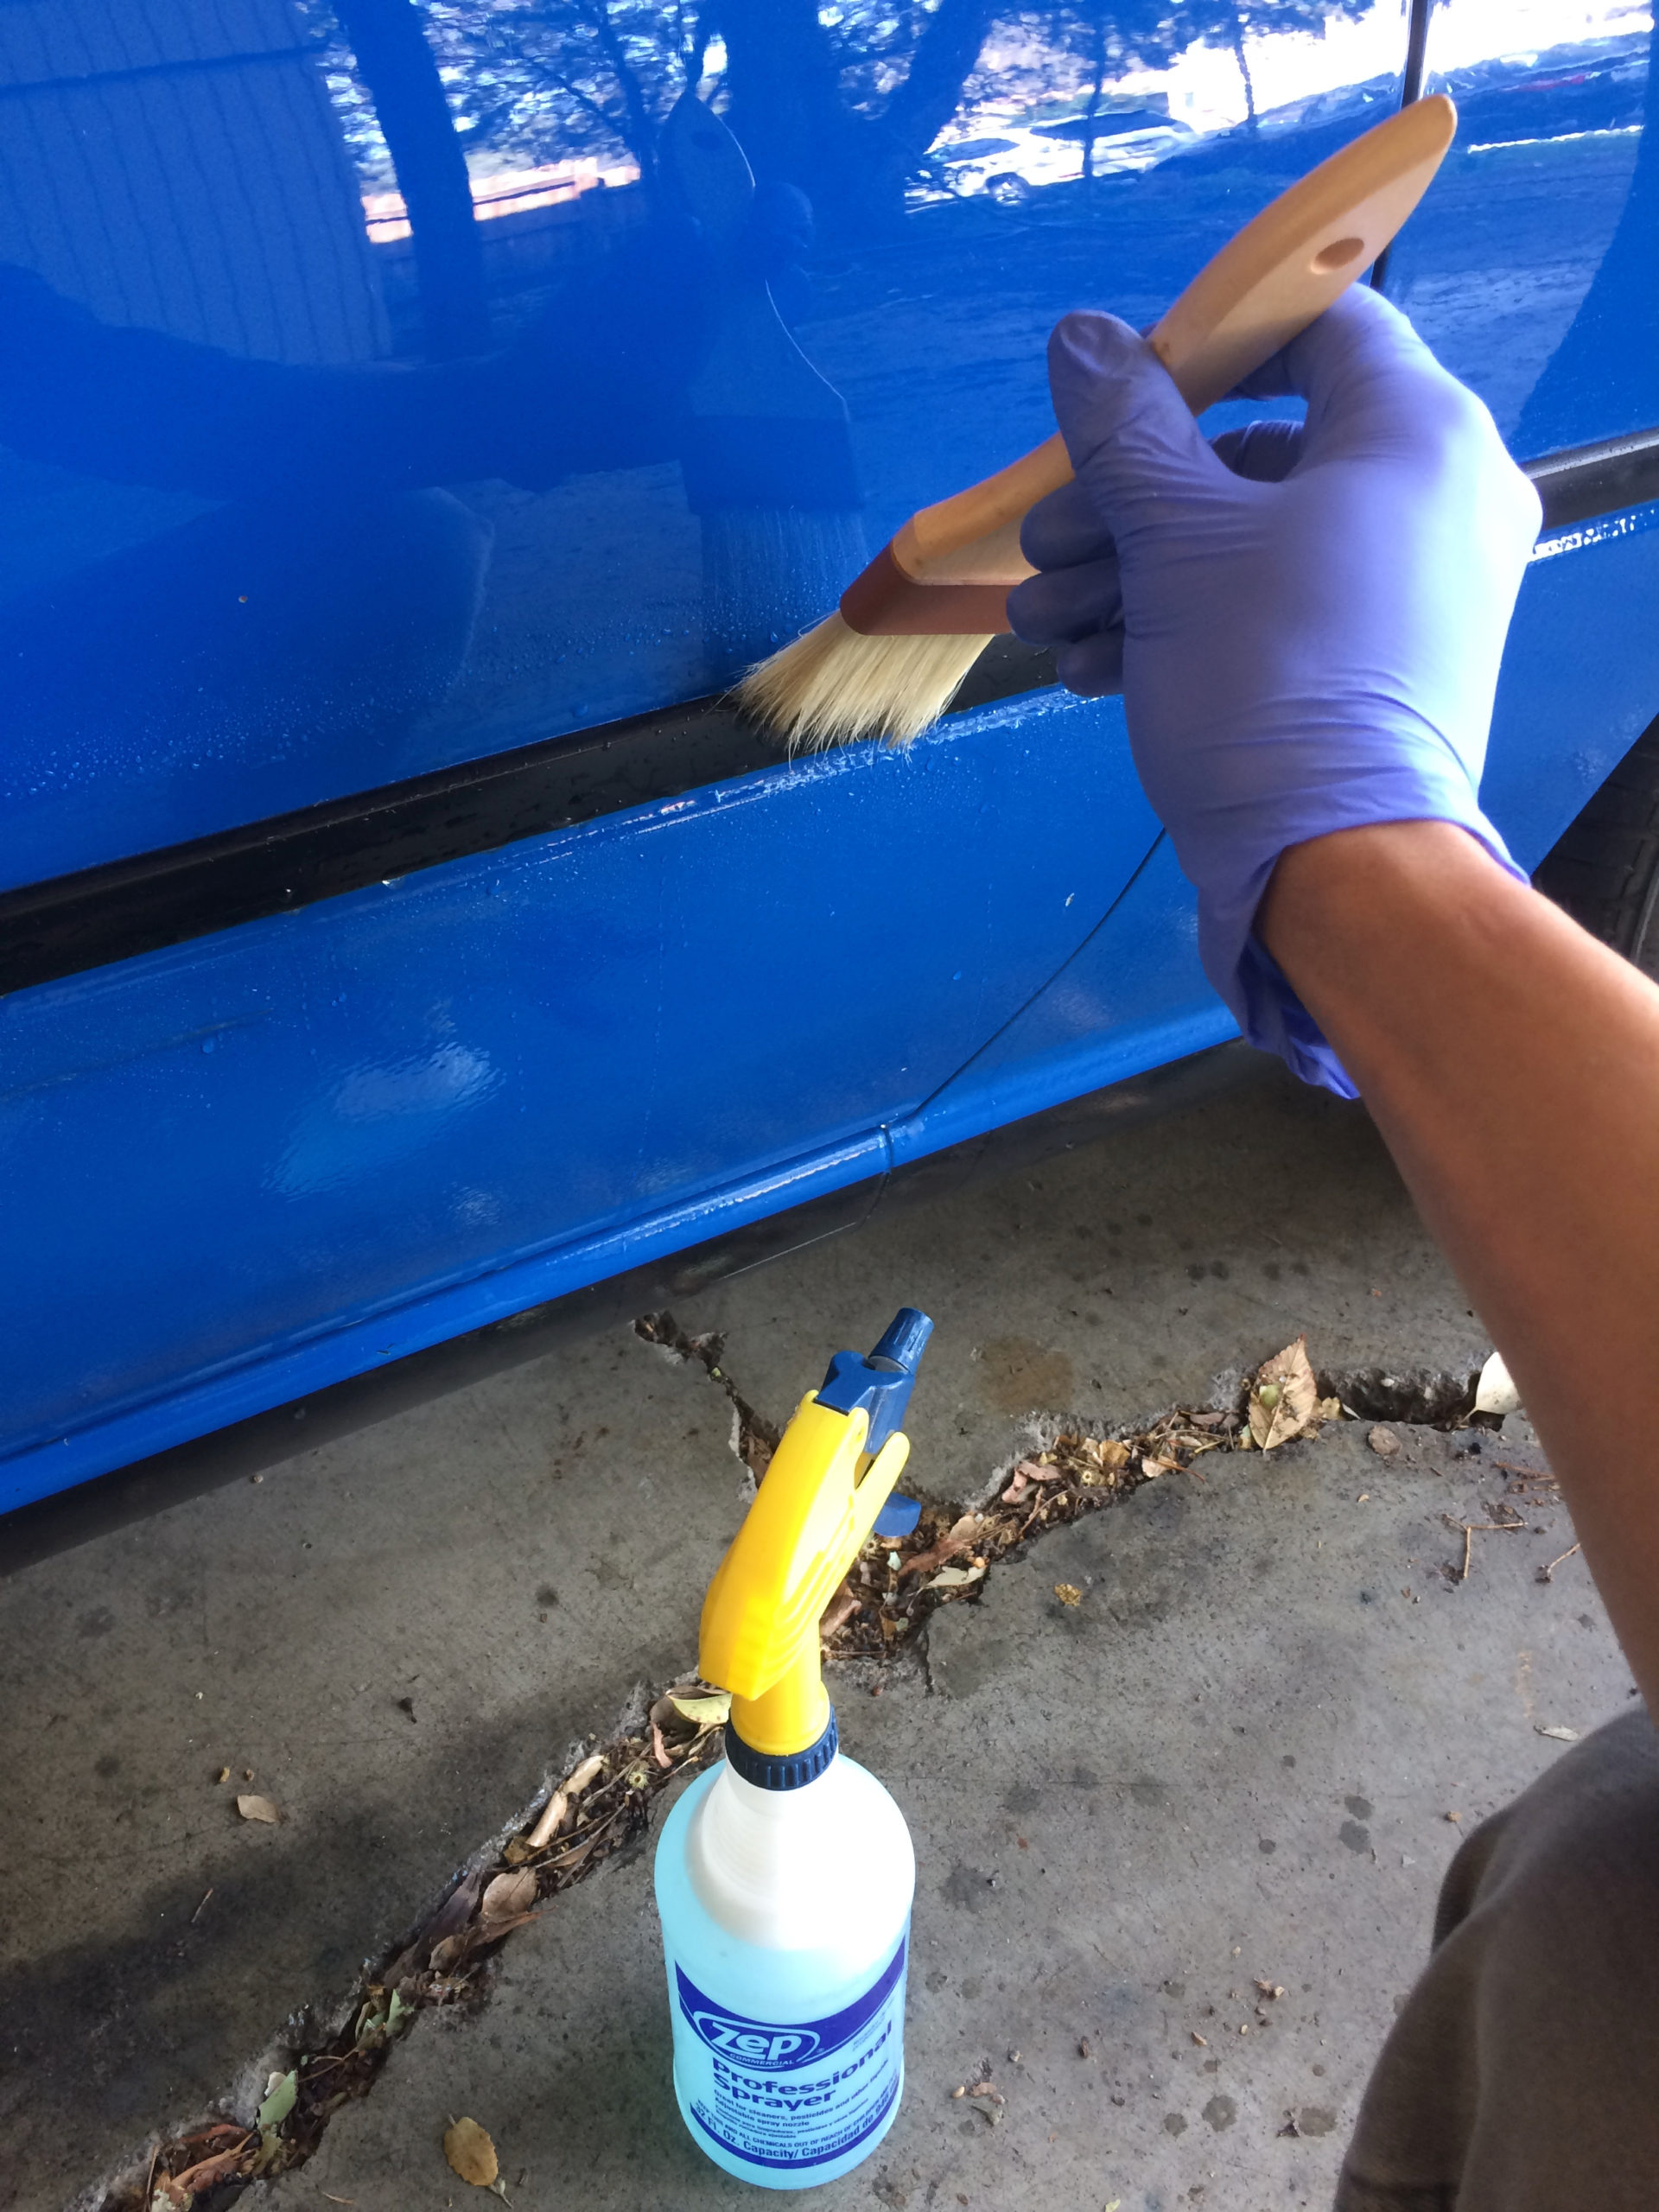
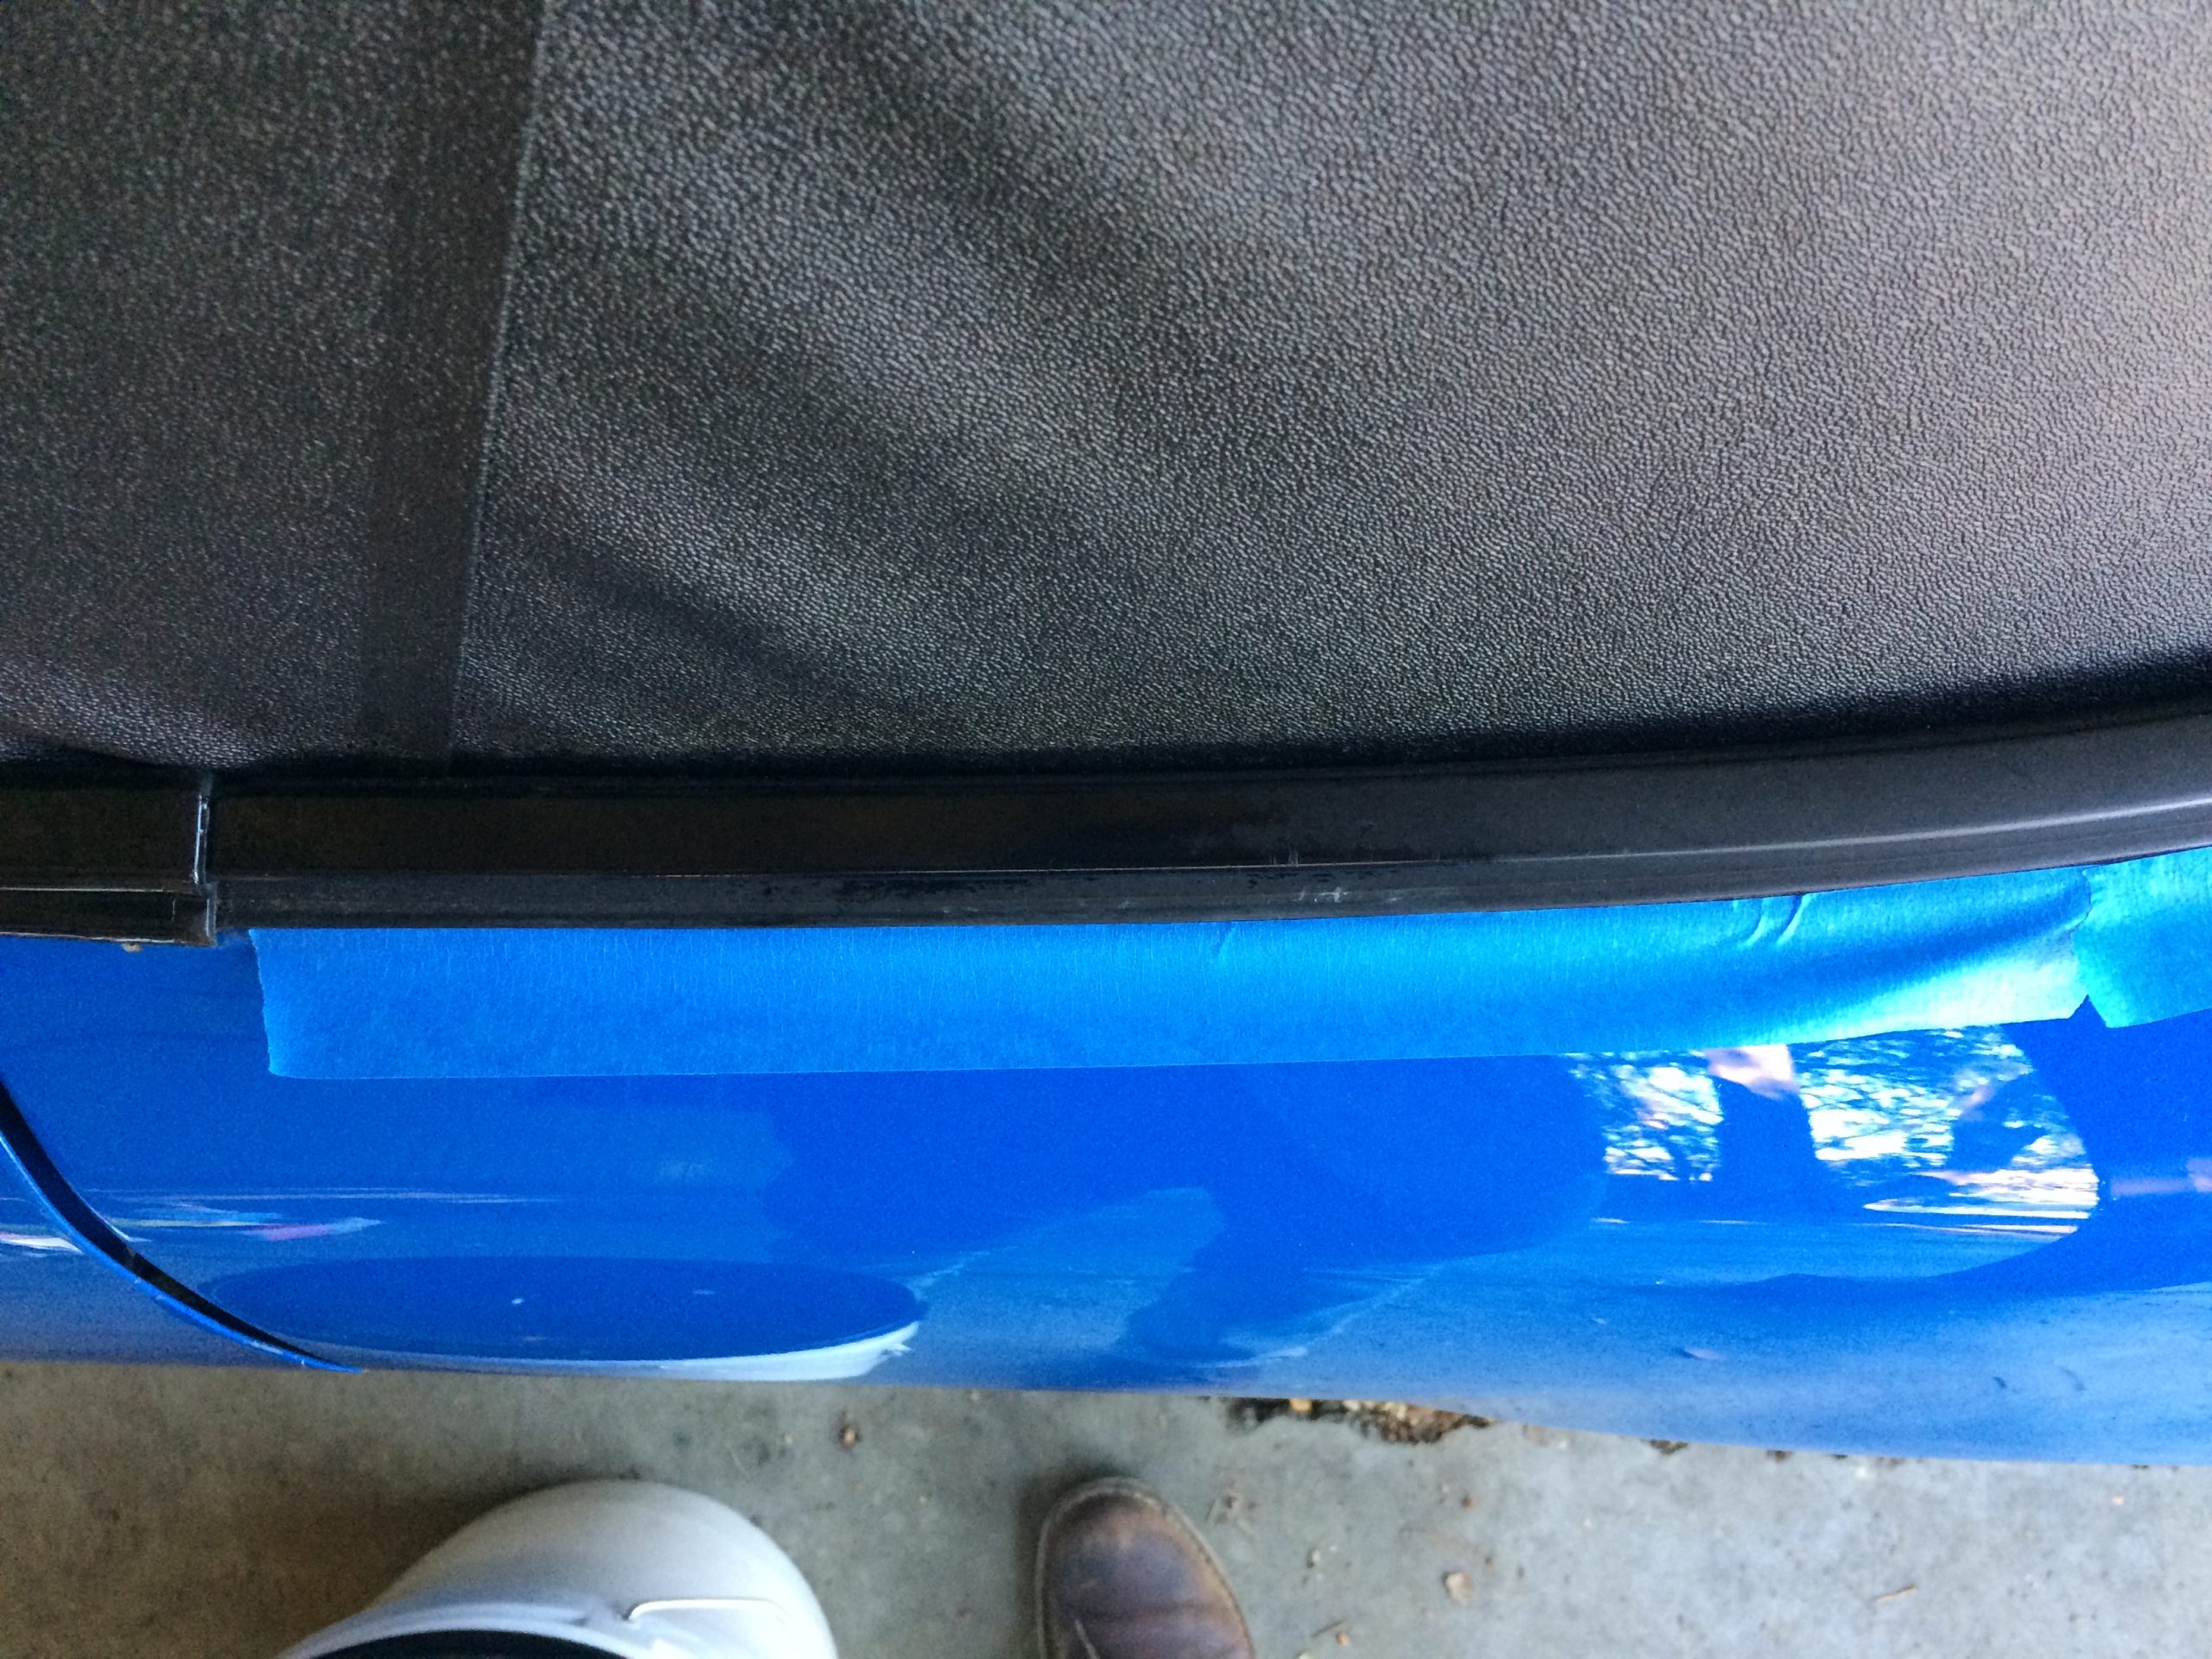
I noticed a couple areas that needed more cleaning during the paint correction process. Particularly the top edge of the door trim and the rear bumper gap. The bumper gap had quite a lot of mildew debris in it, I used the pressure of the Optimum Wash & Shine sprayer to rinse it out.
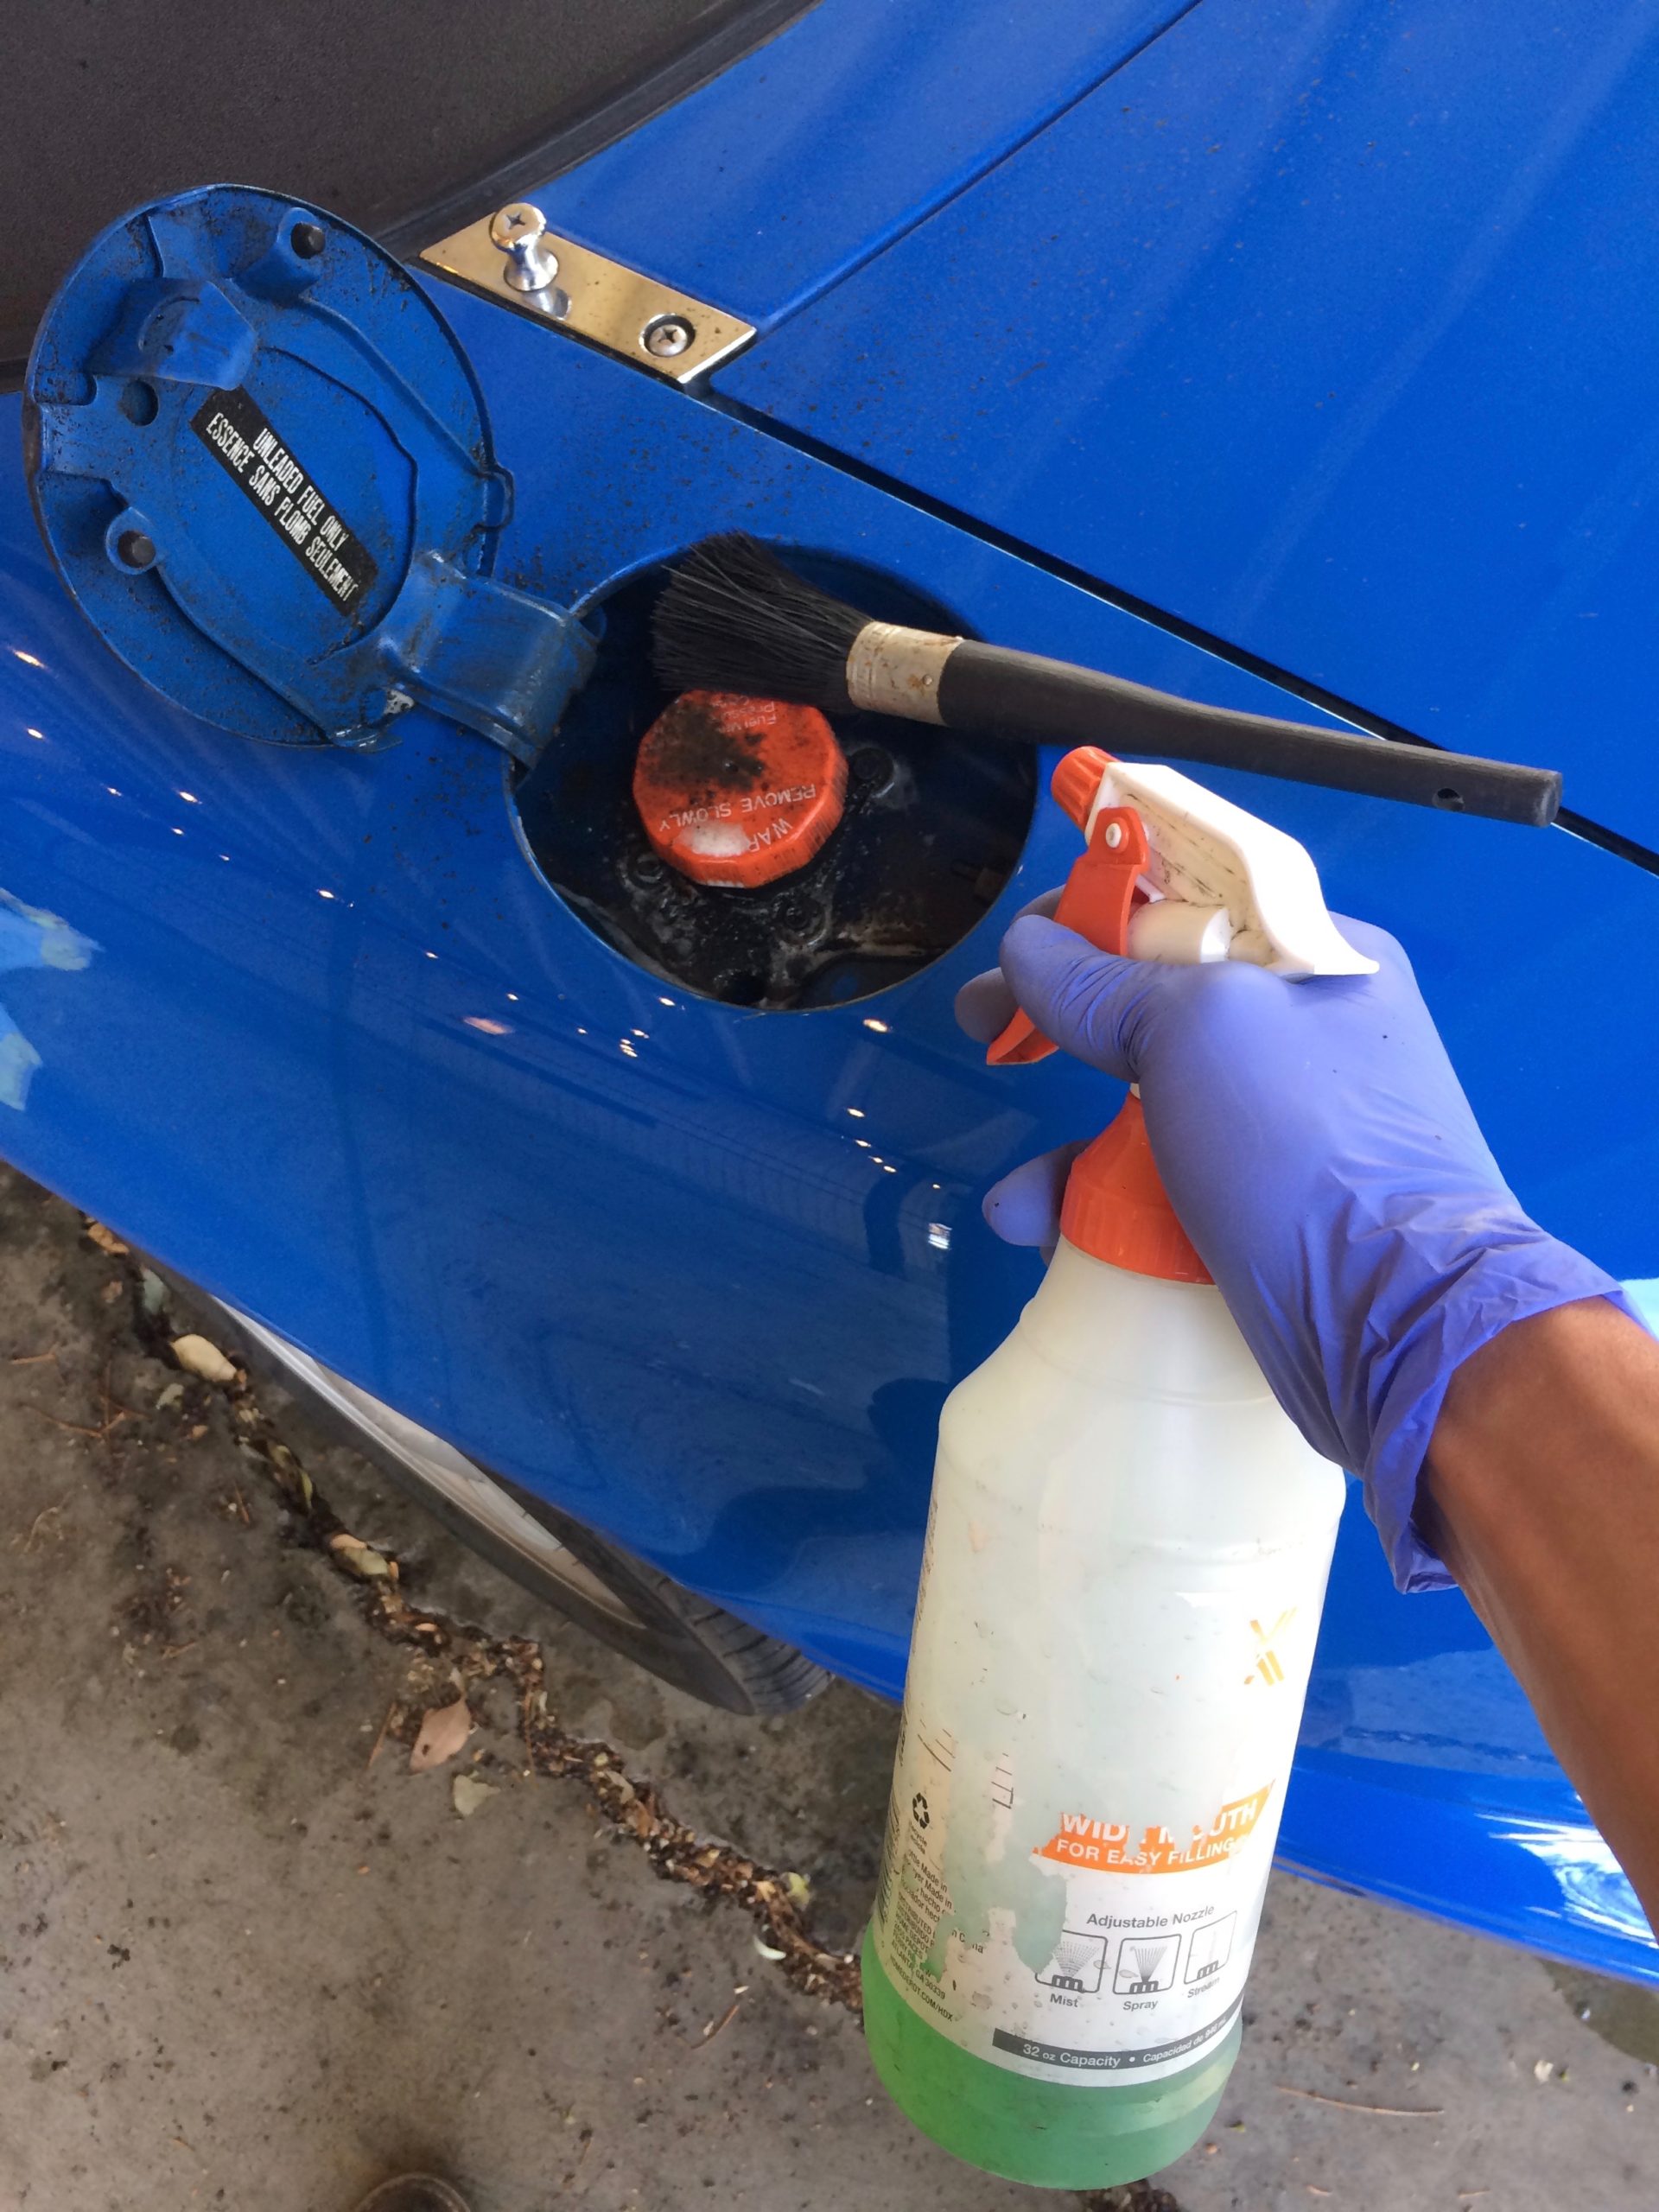
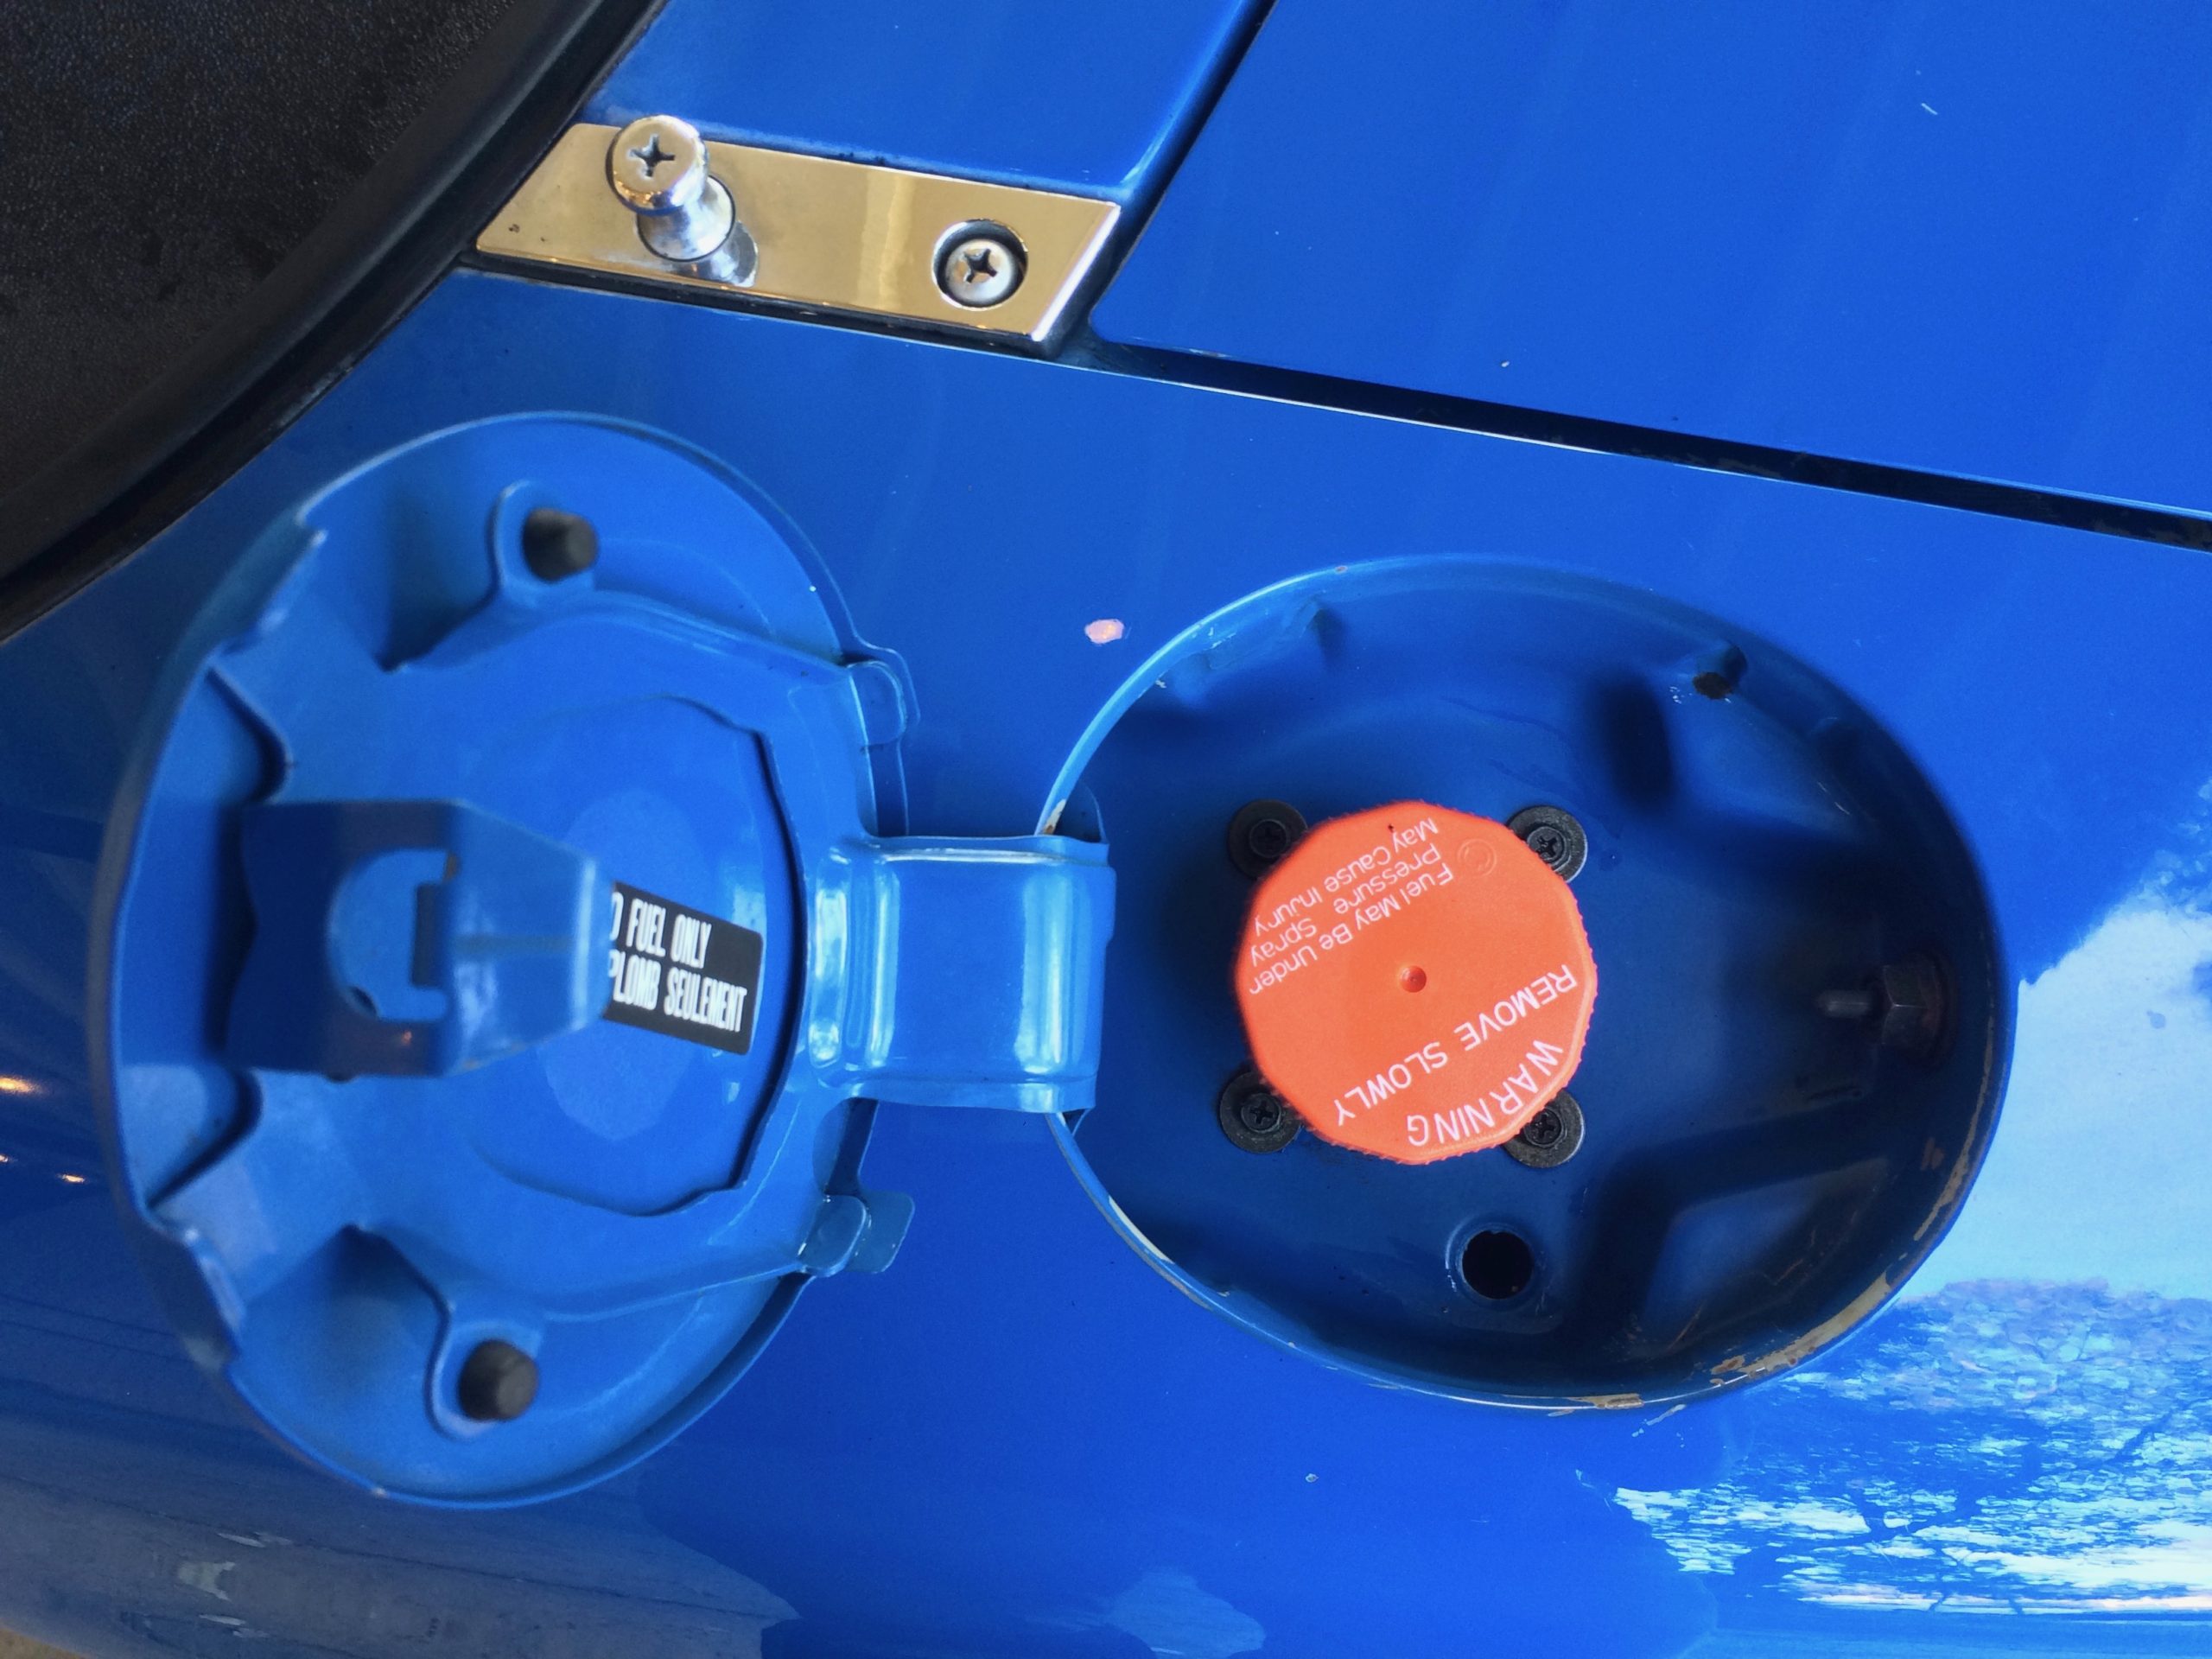
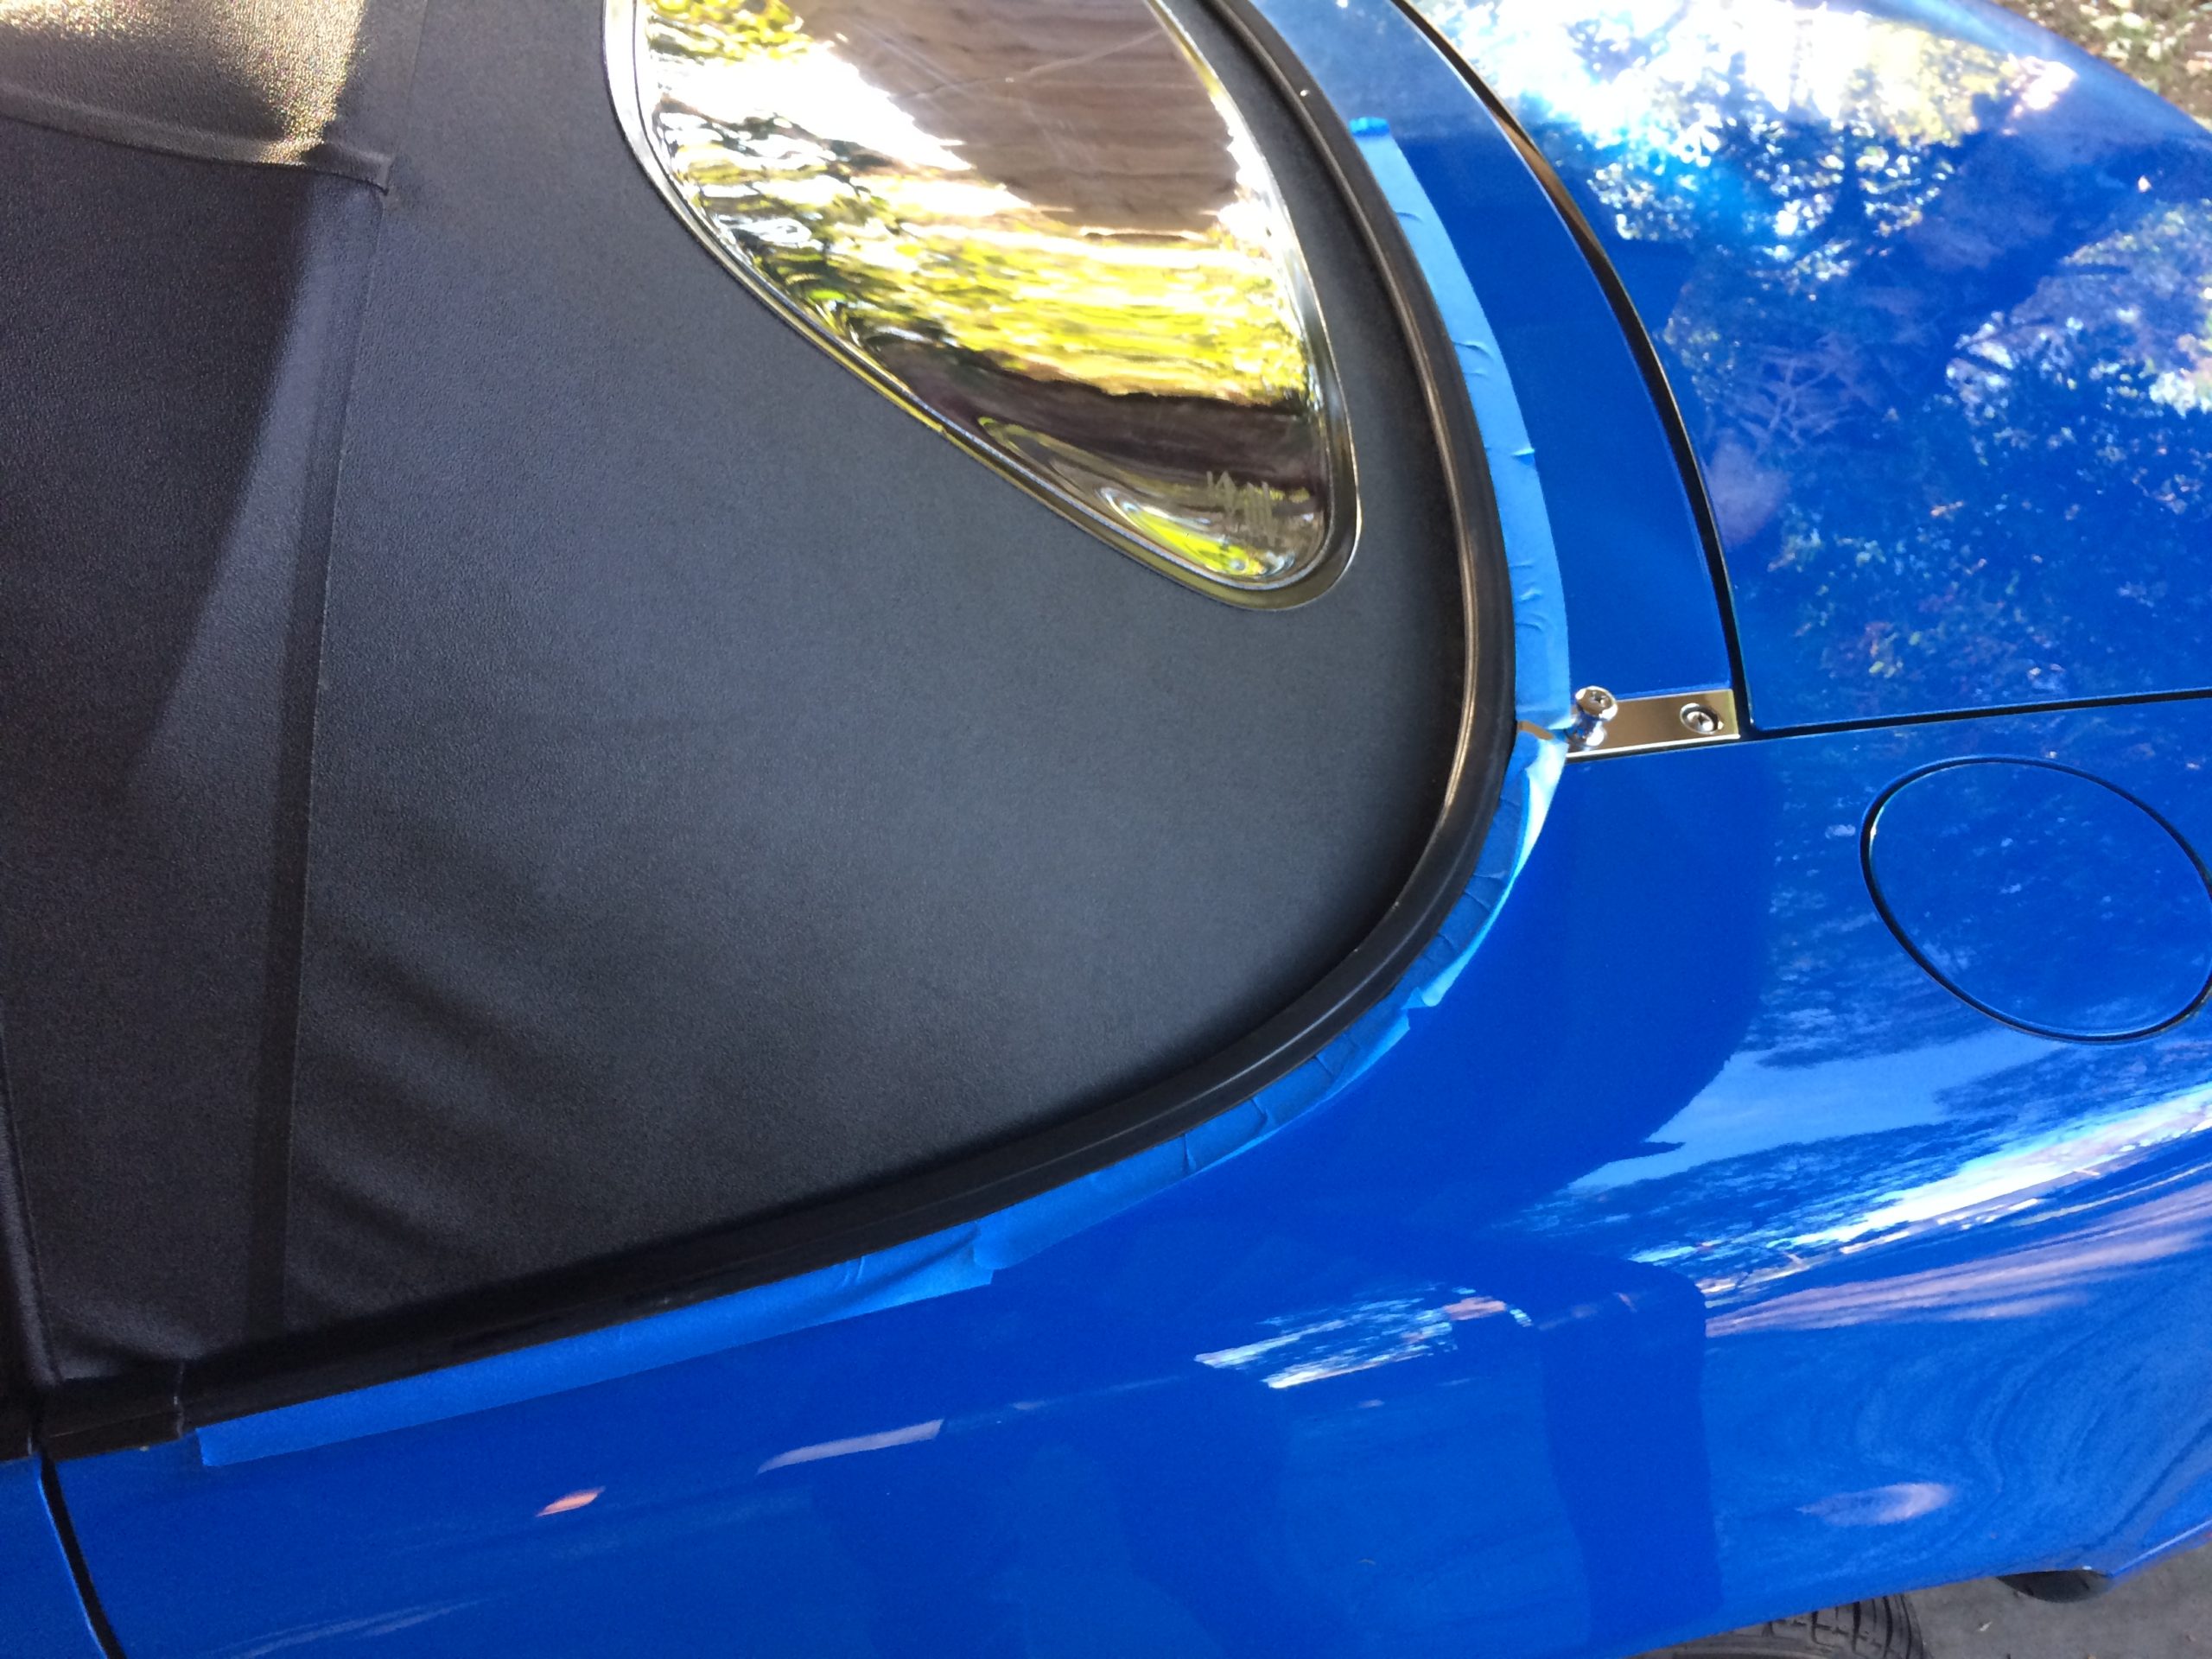
I opened the gas cap door and discovered it was filthy in there too. I soaked it with Simple Green dilution and agitated with the lug nut brush, followed by a rinse down with the Optimum dilution.
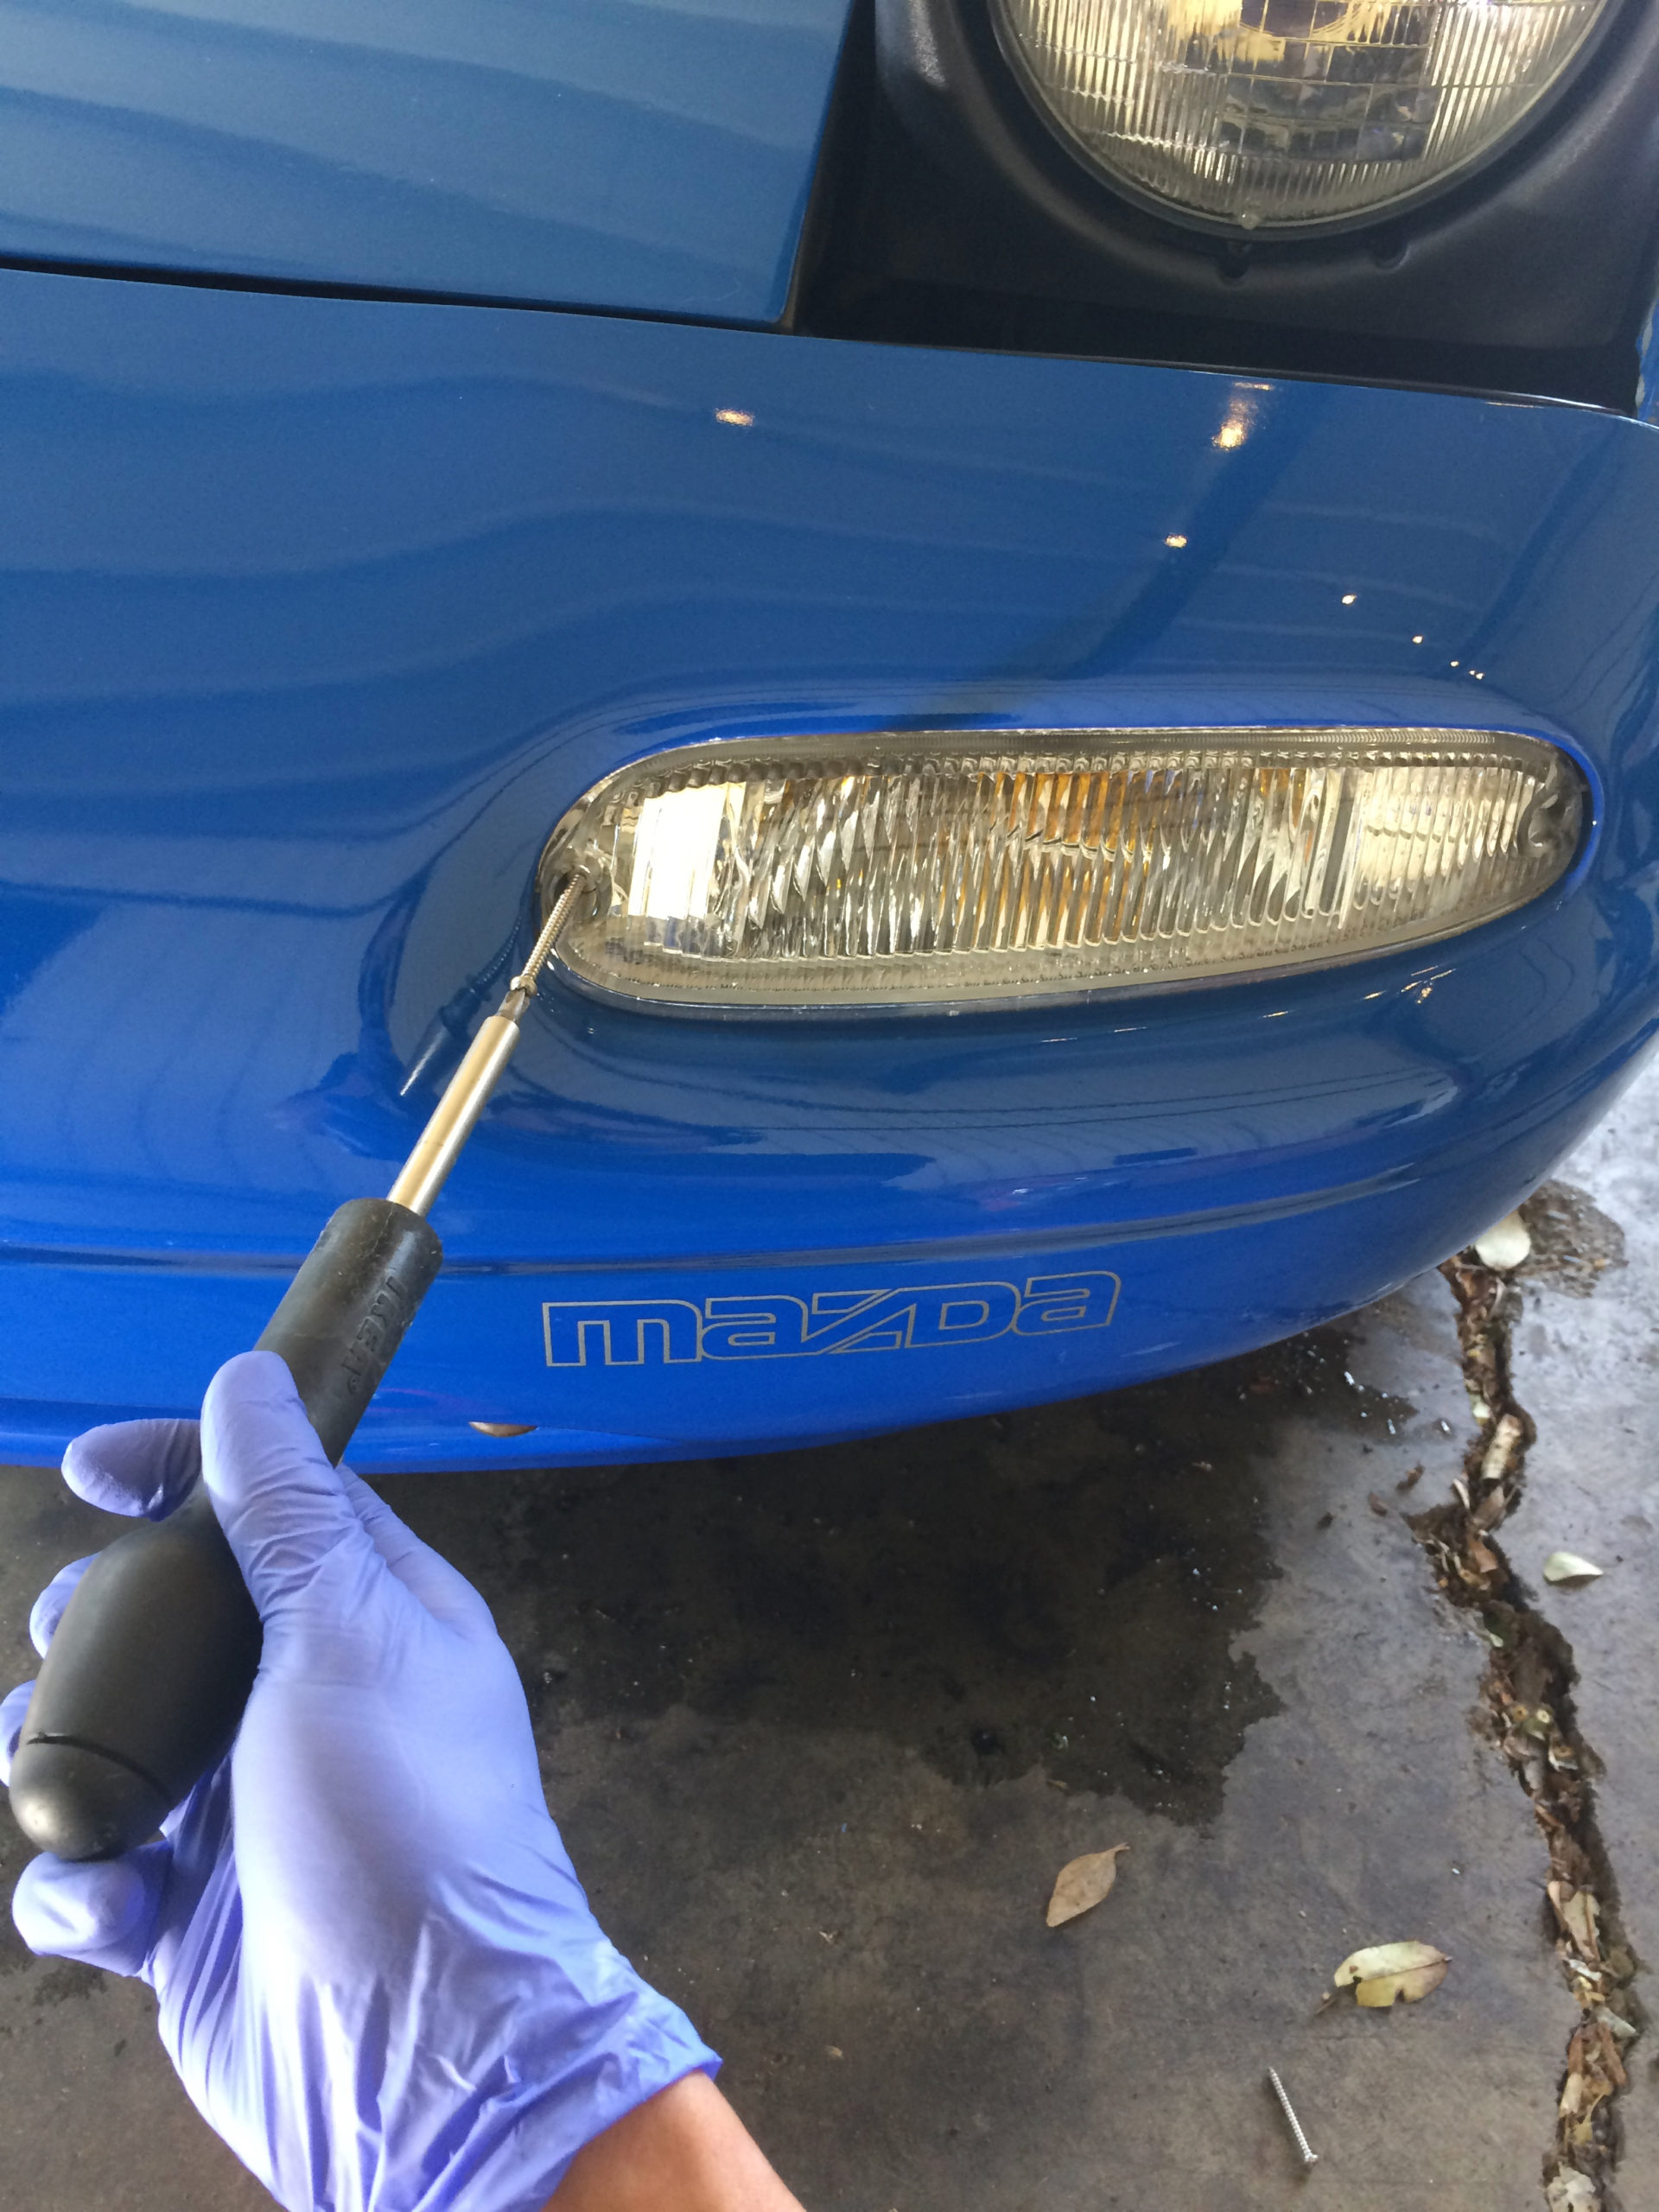
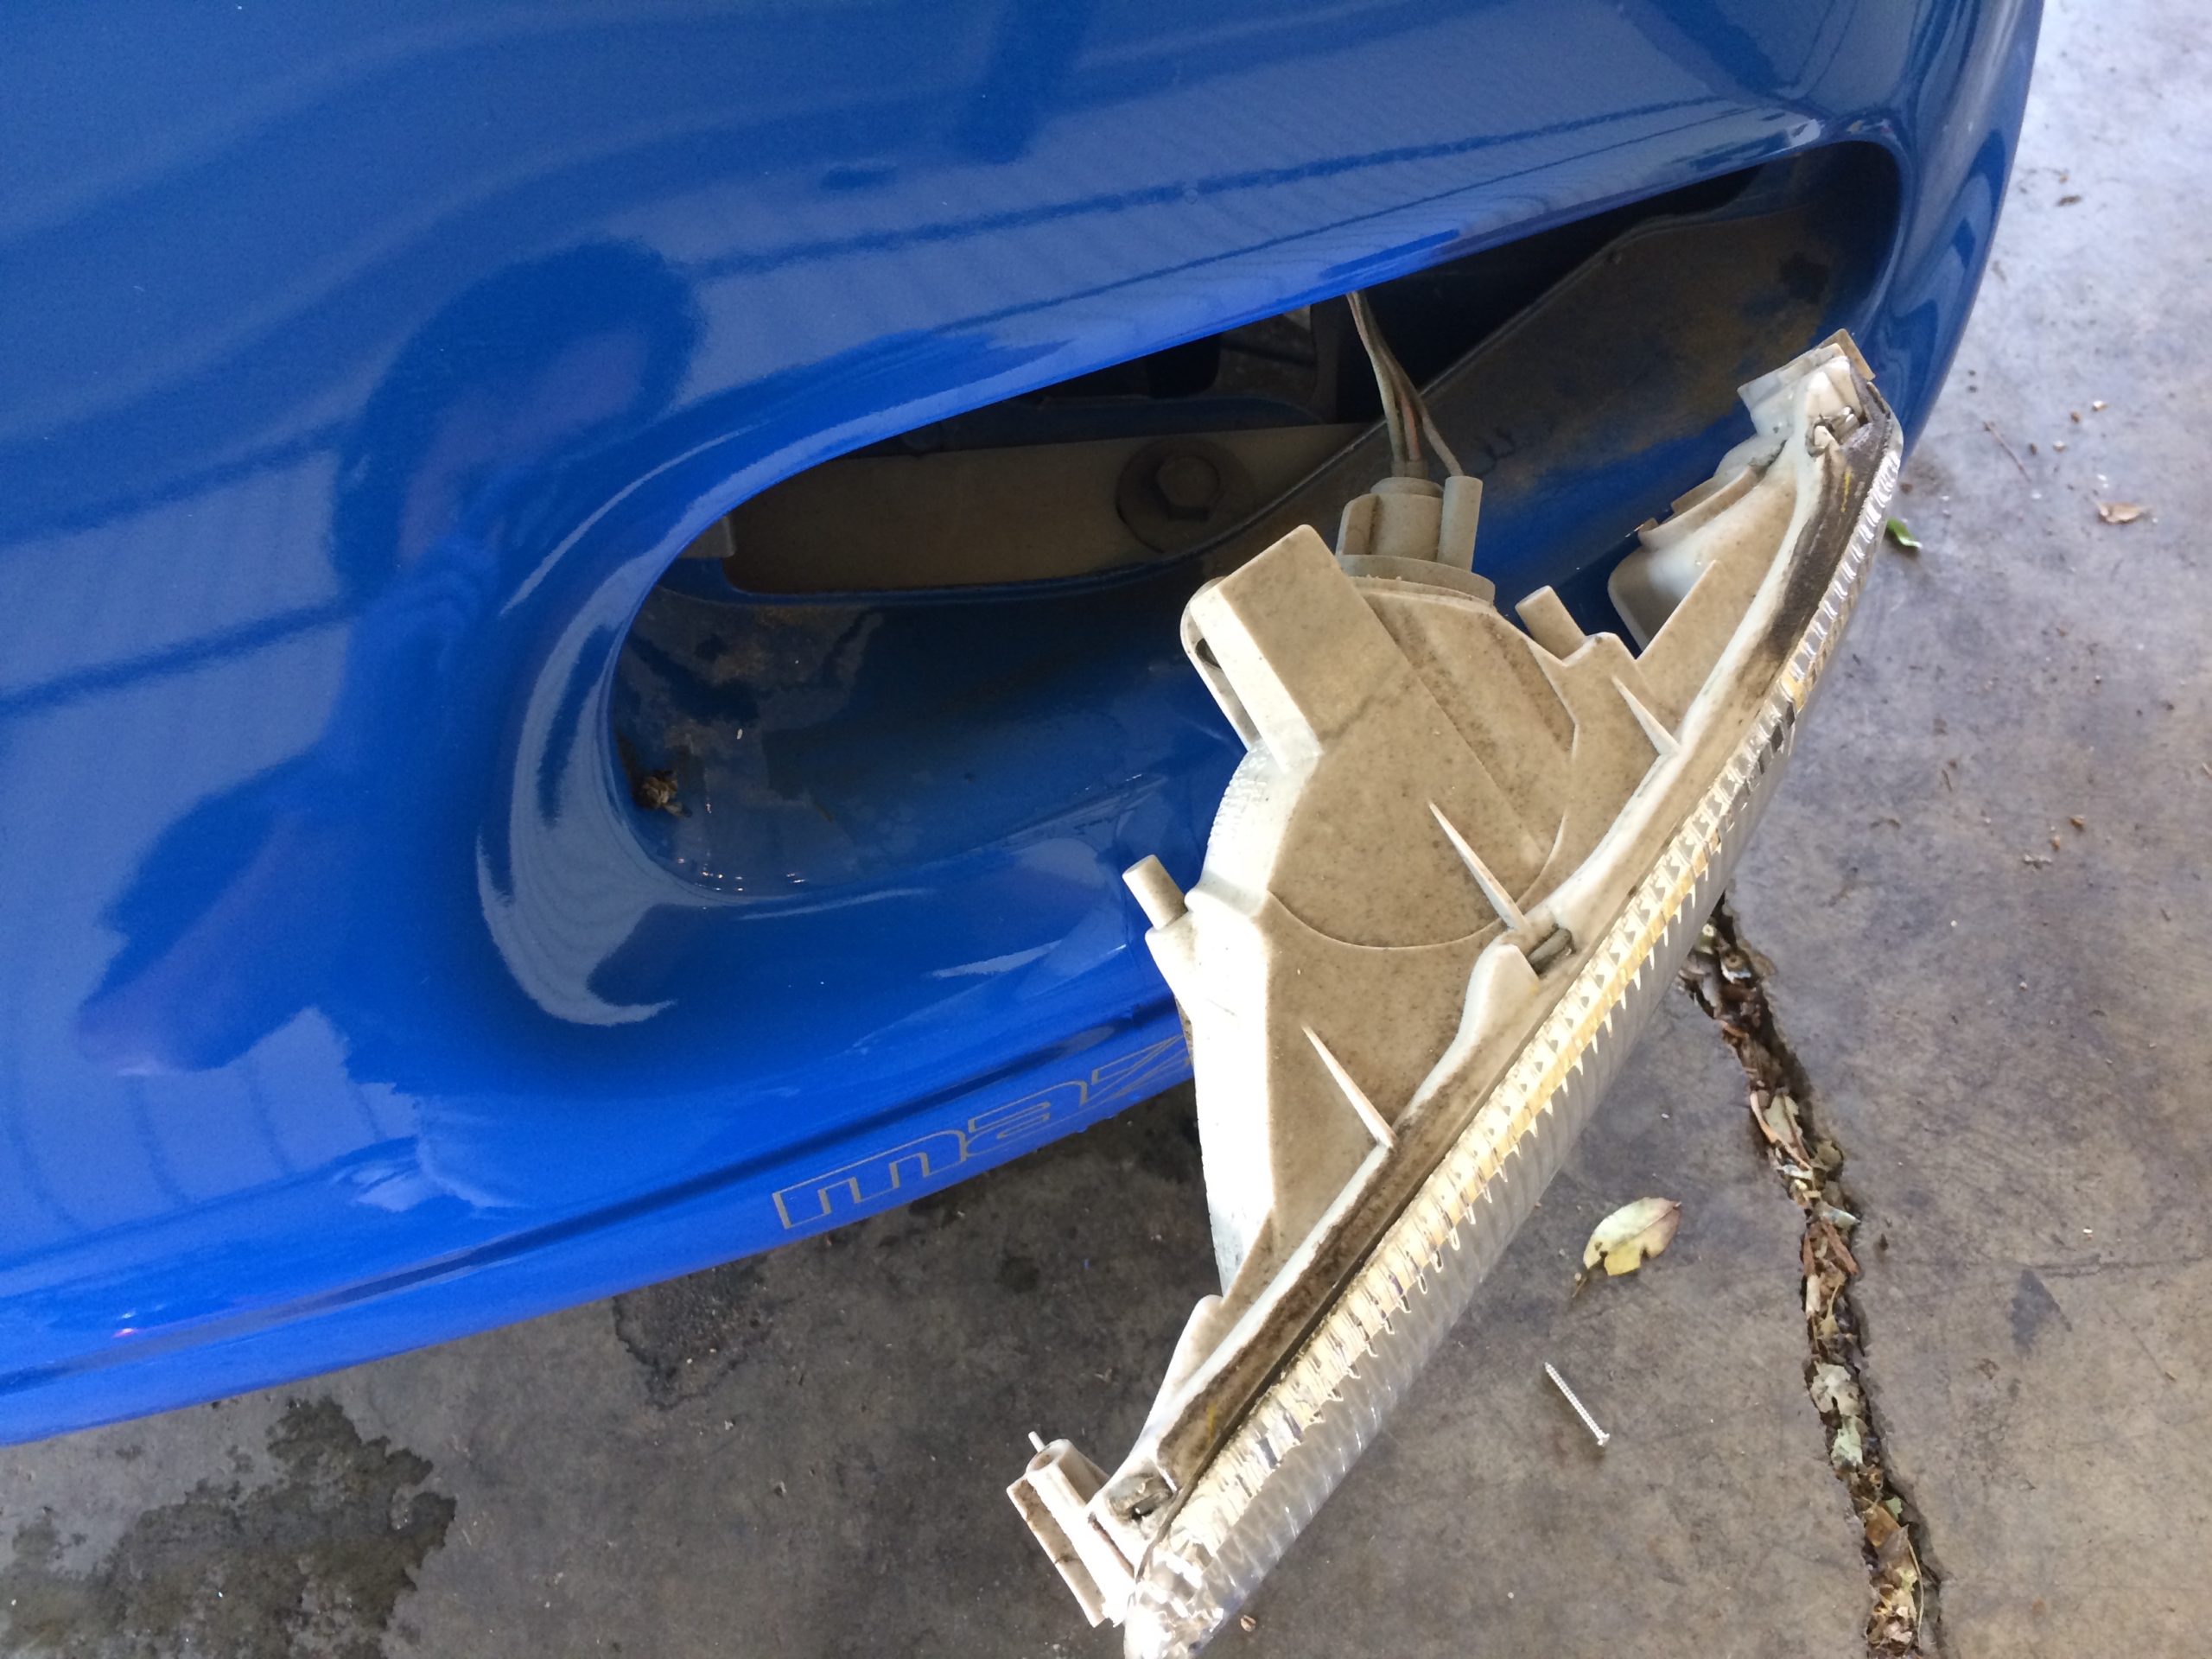
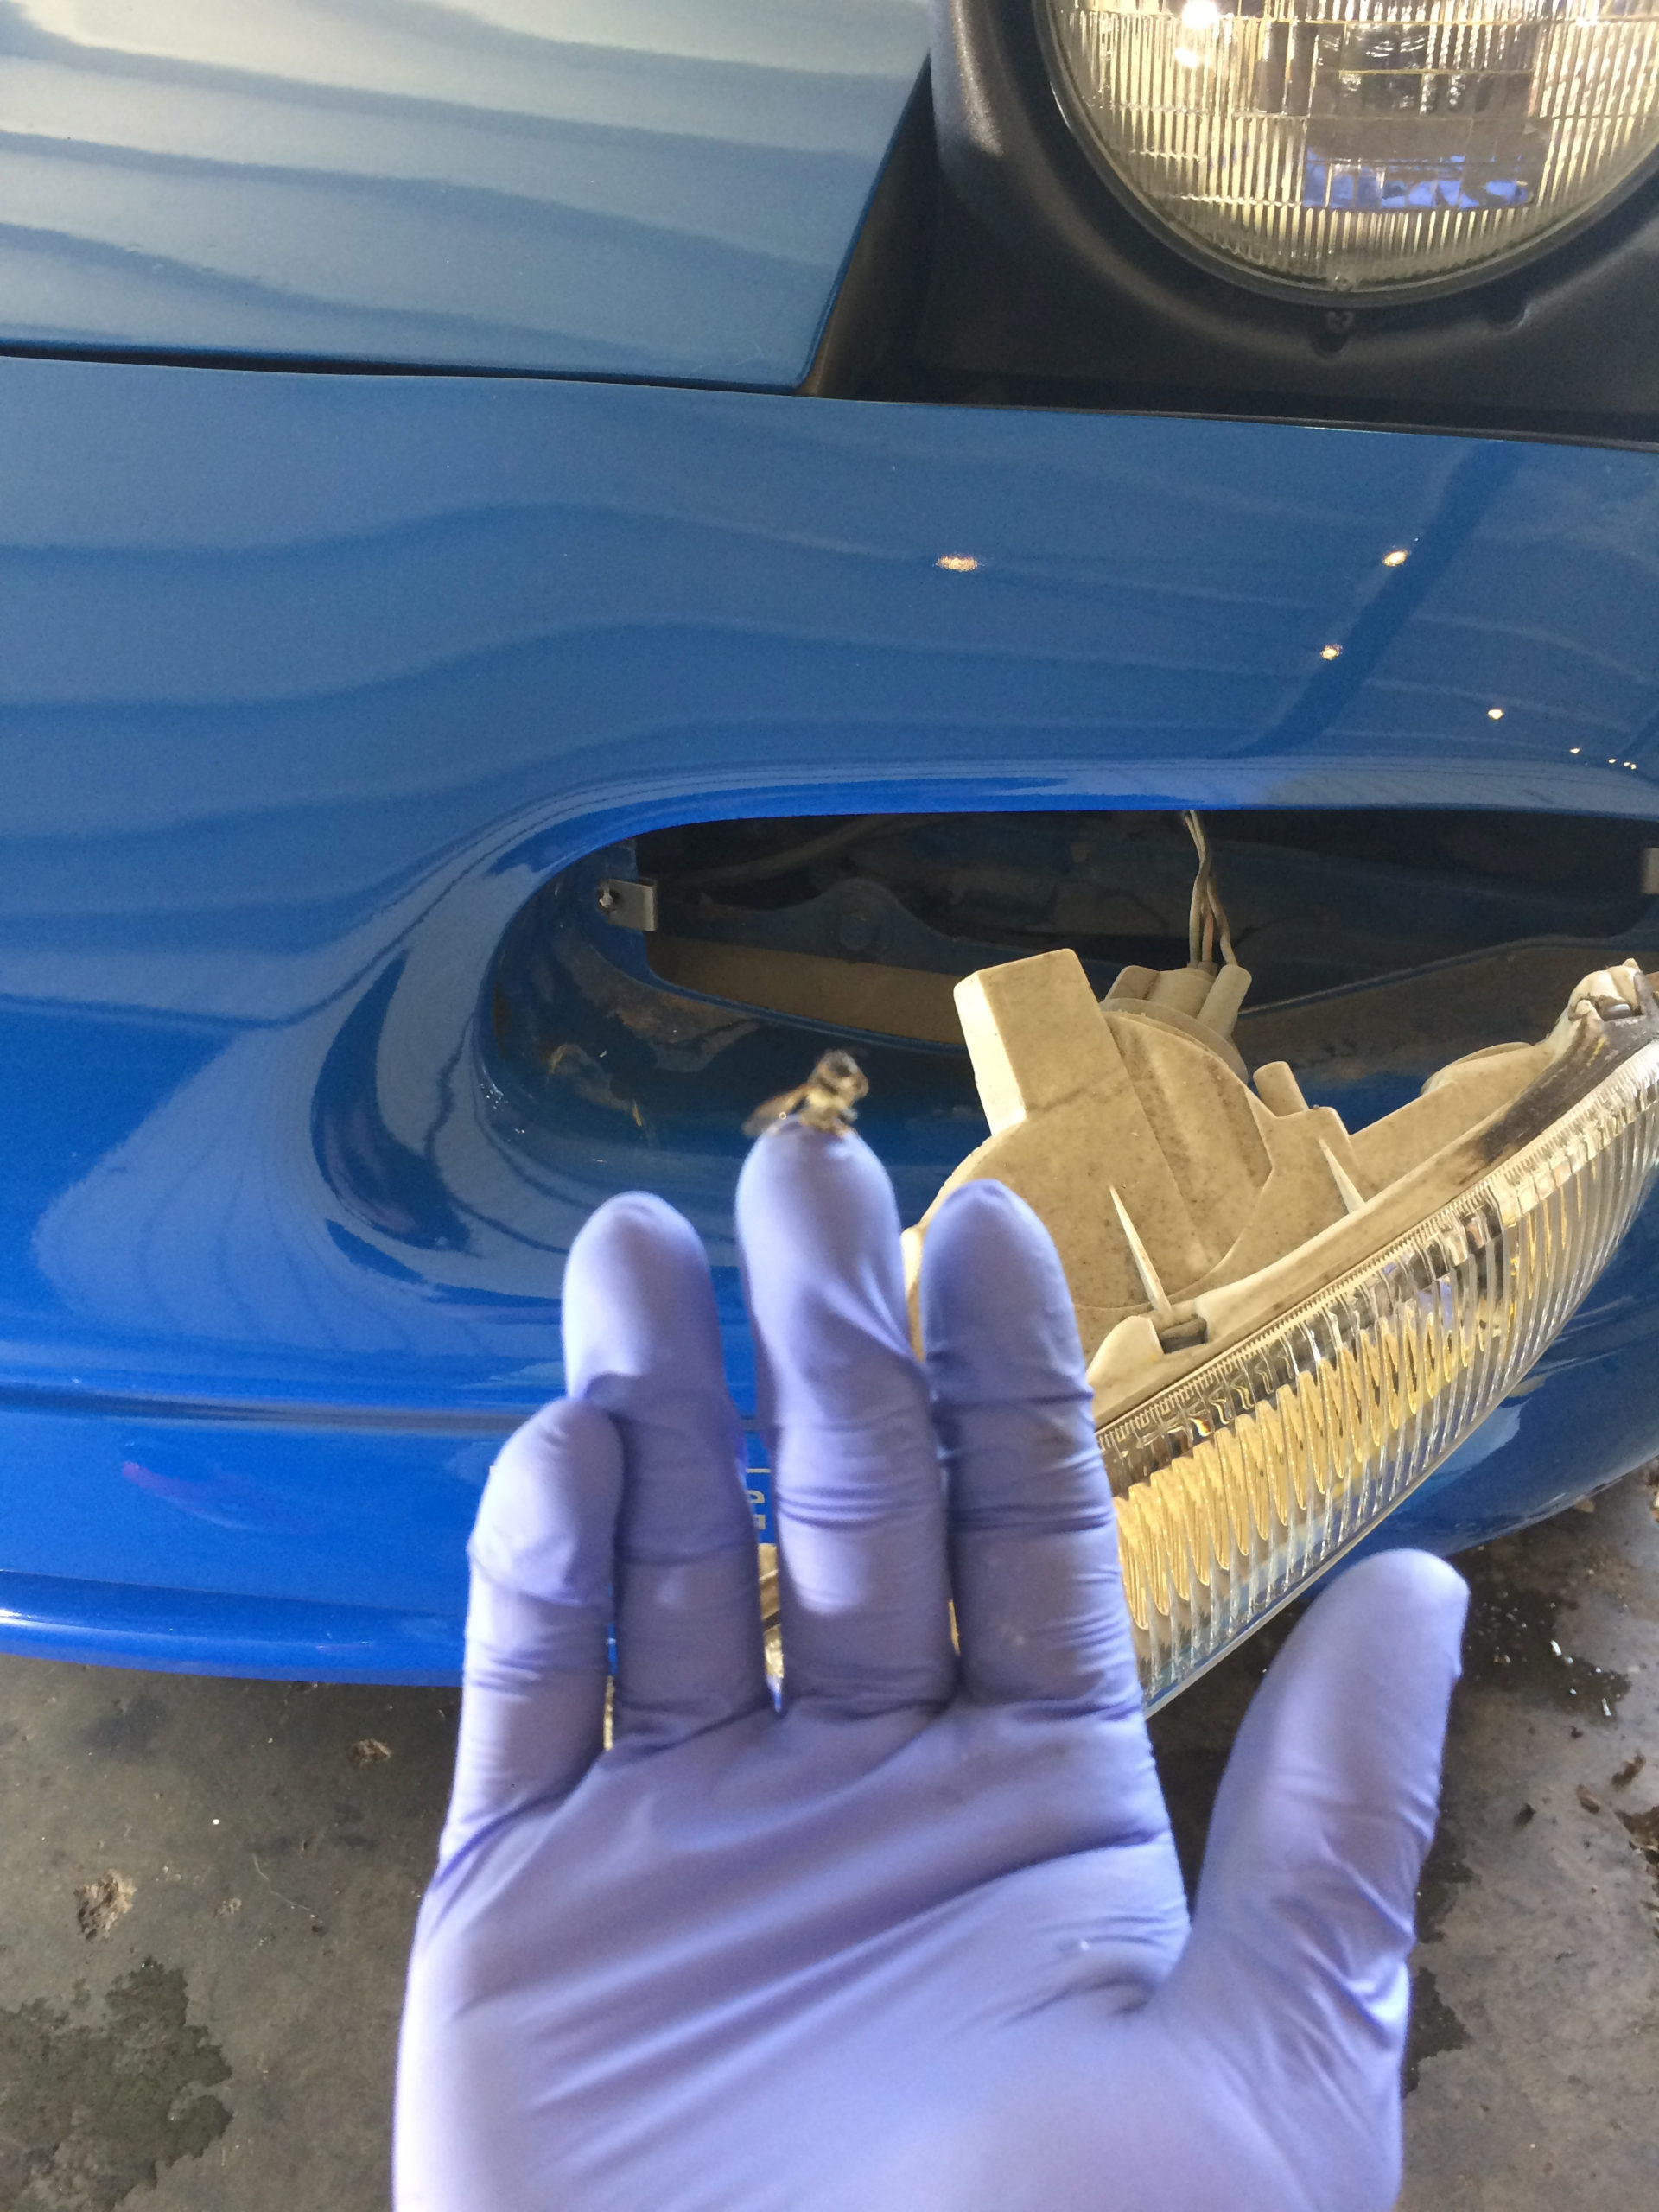
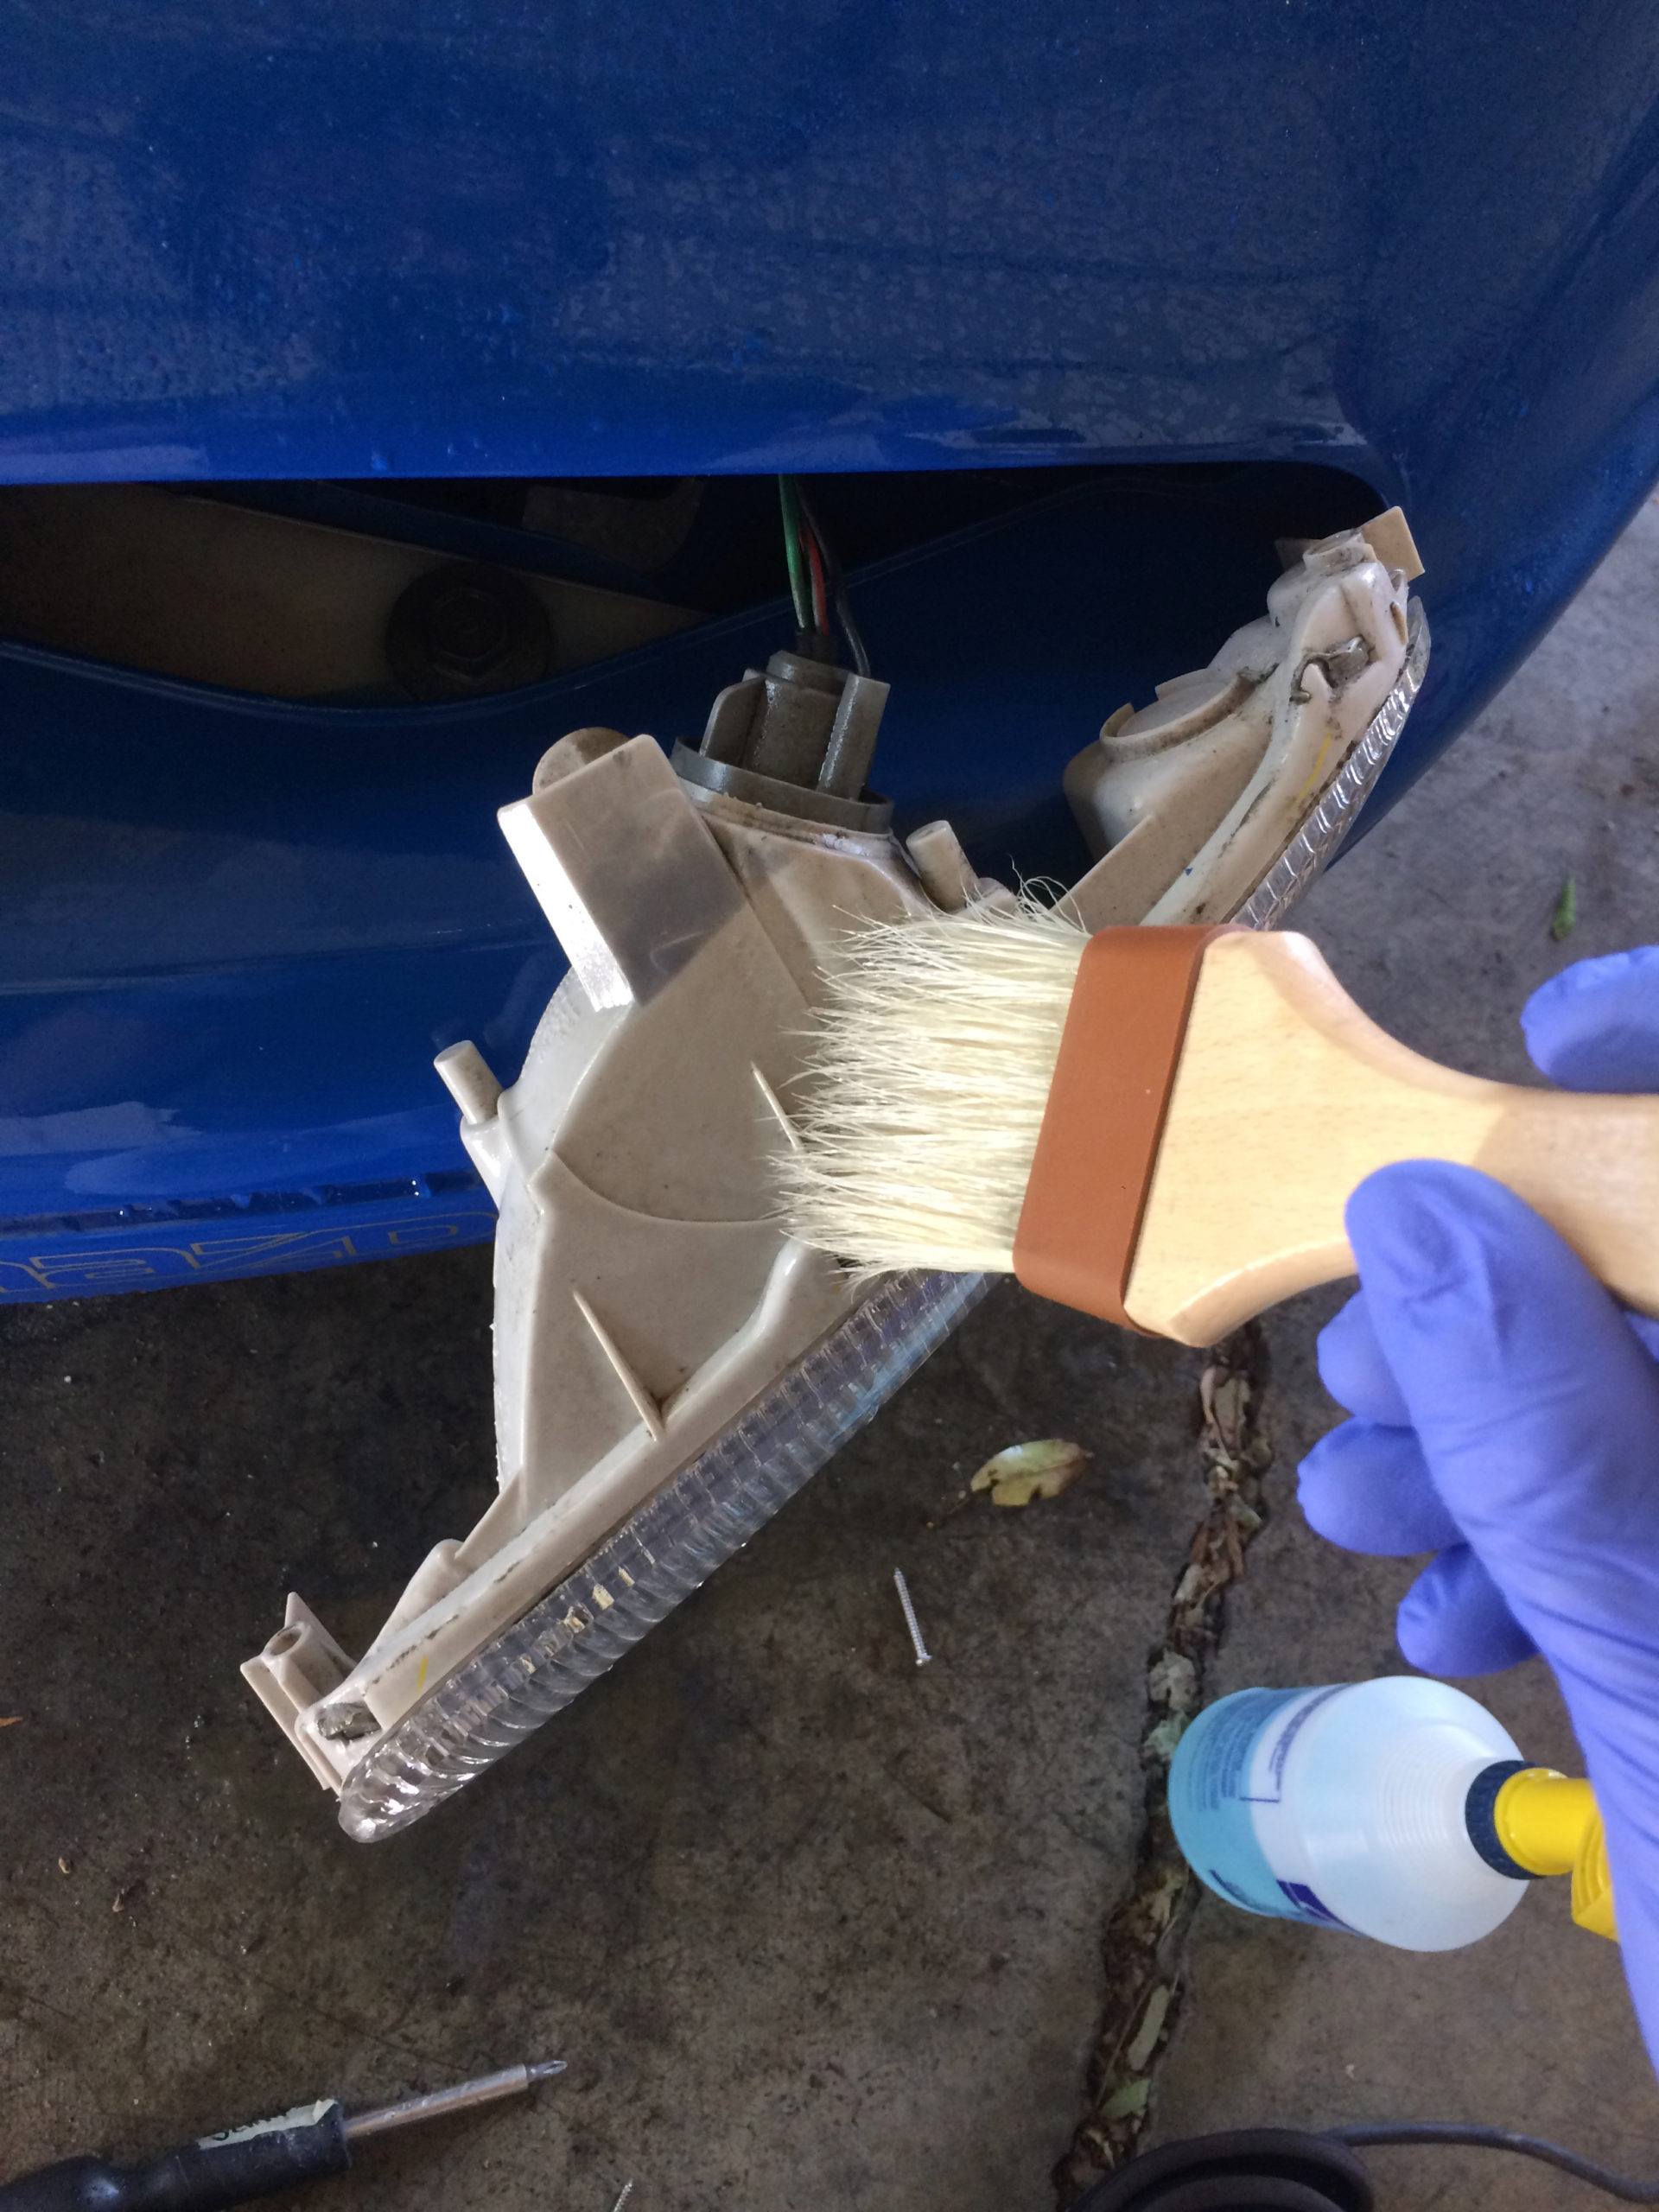
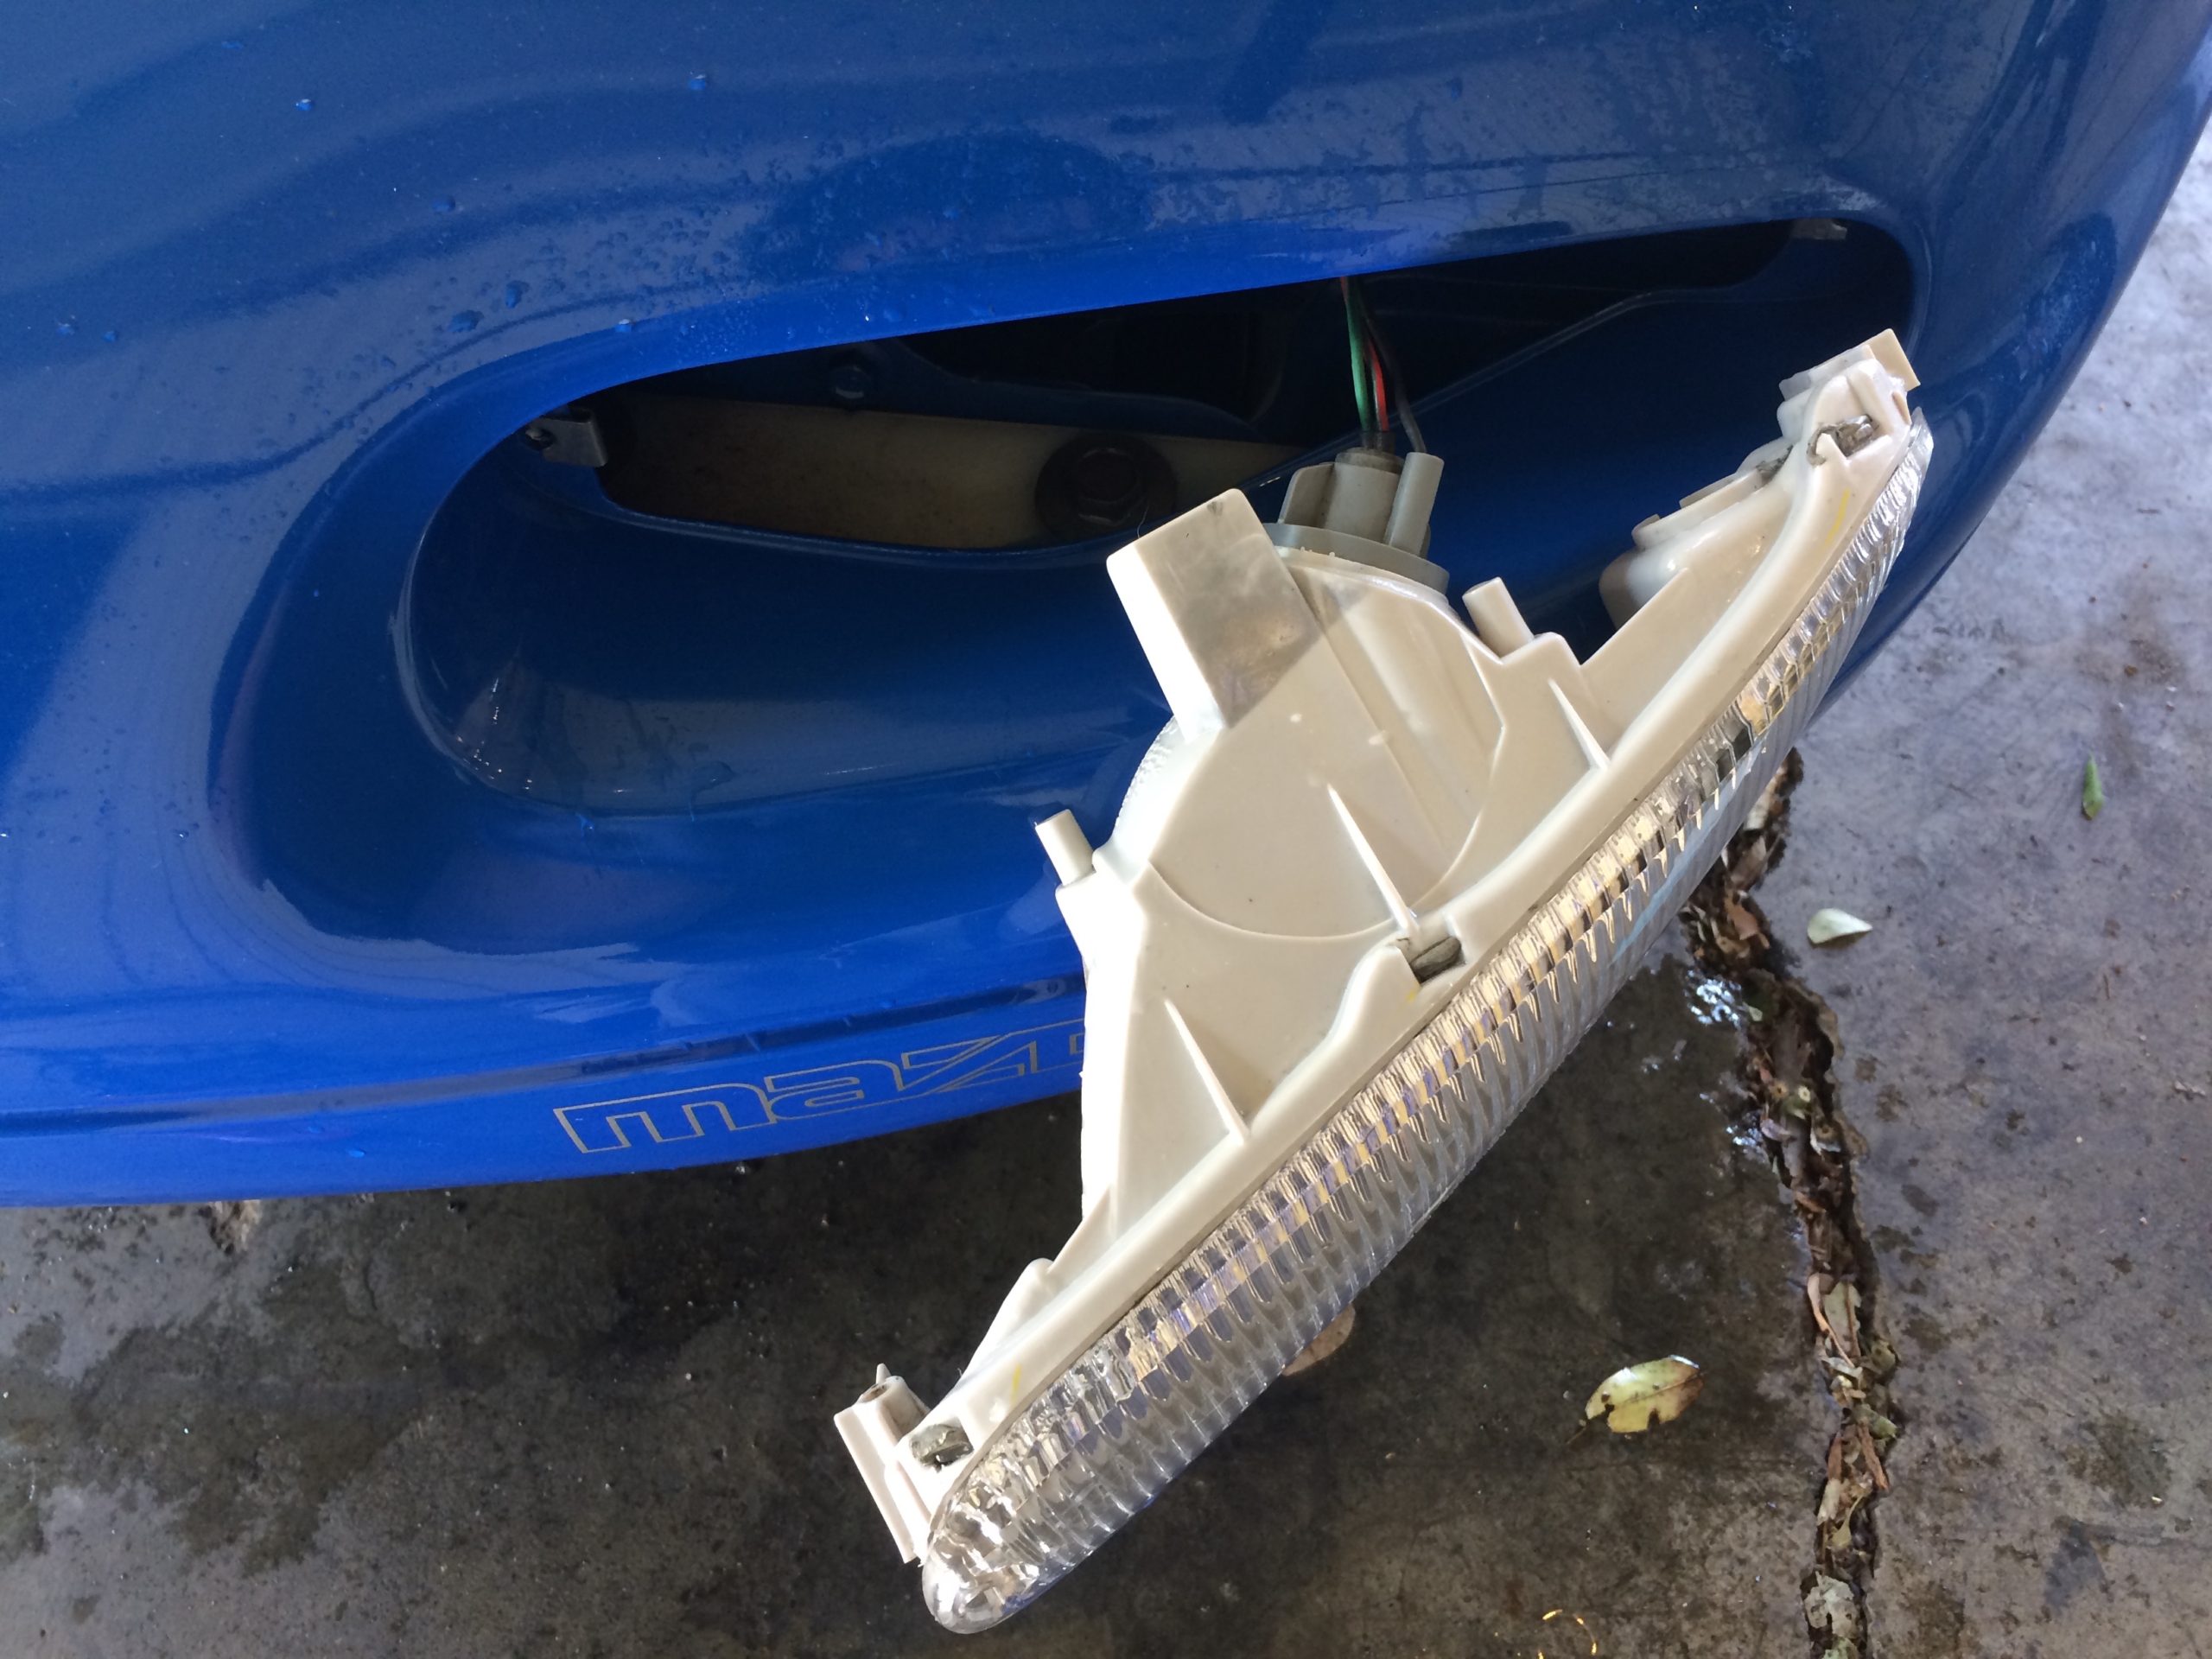
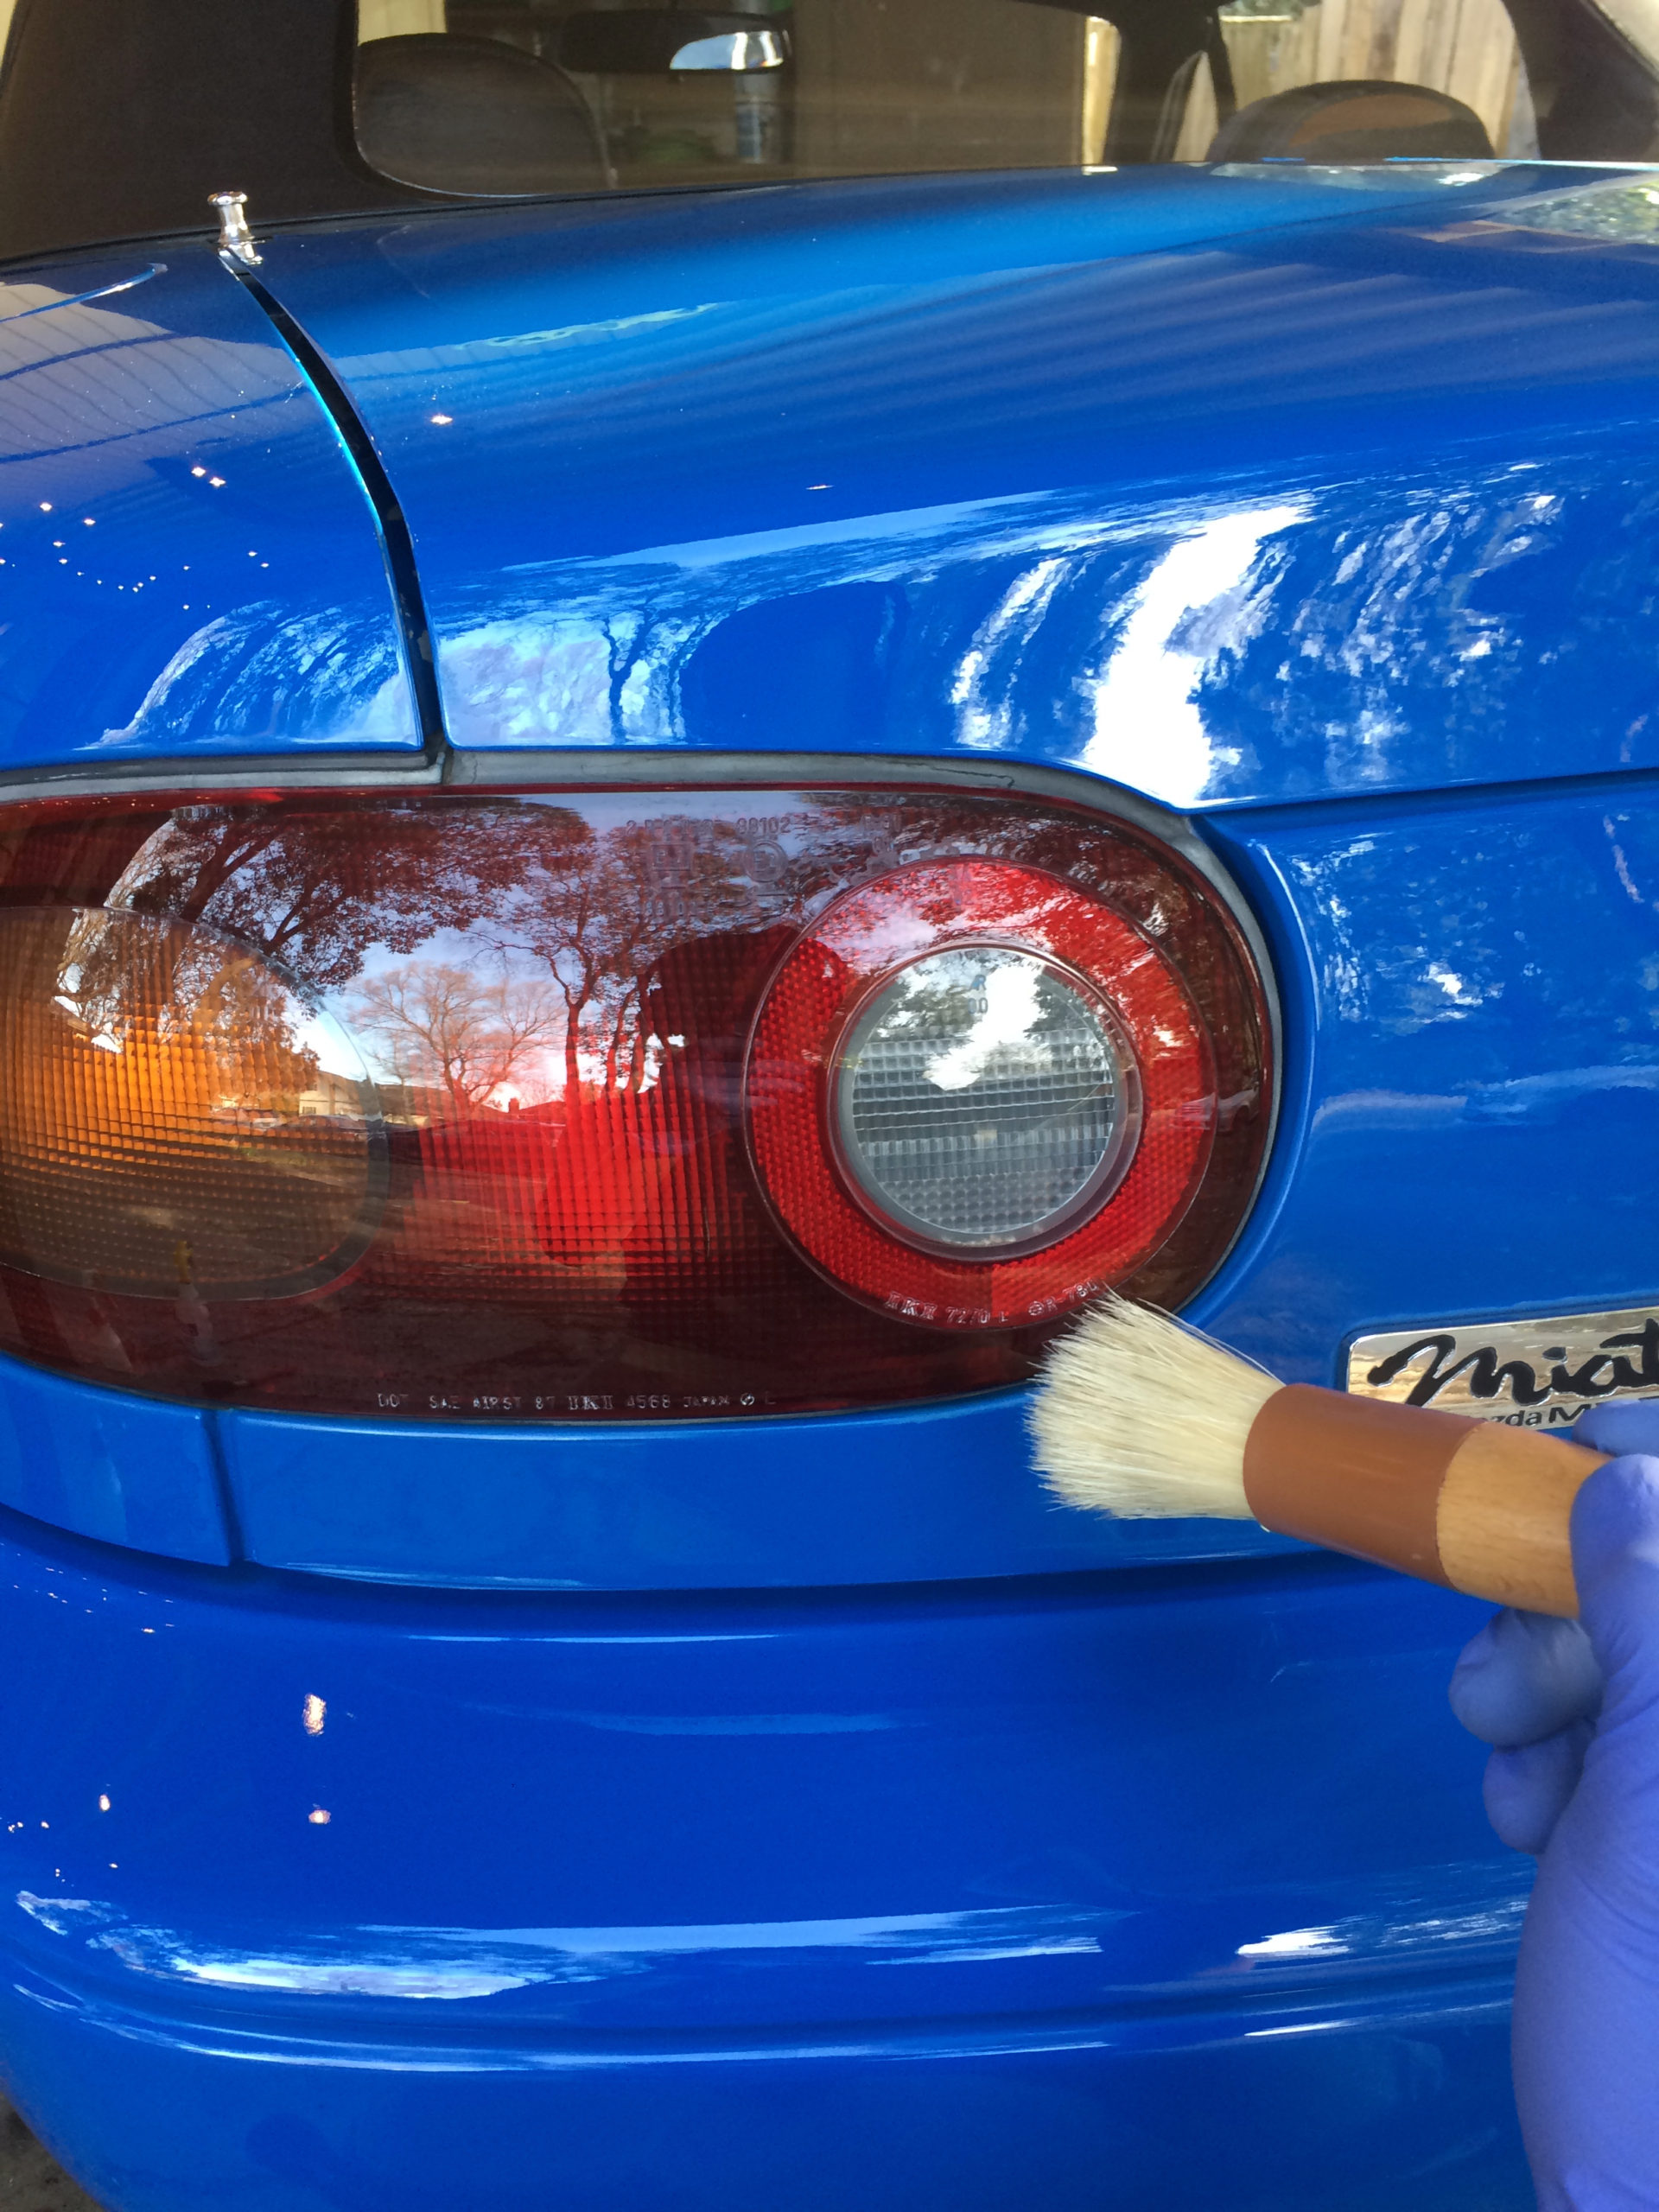
While I was correcting the front bumper I spotted a bee stuck behind the turn signal light, even the entomology forceps couldn’t reach the bee. This bugged me enough that I decided to remove the light. I cleaned the light housing while it was accessible using Optimum dilution and a boar’s hair brush.
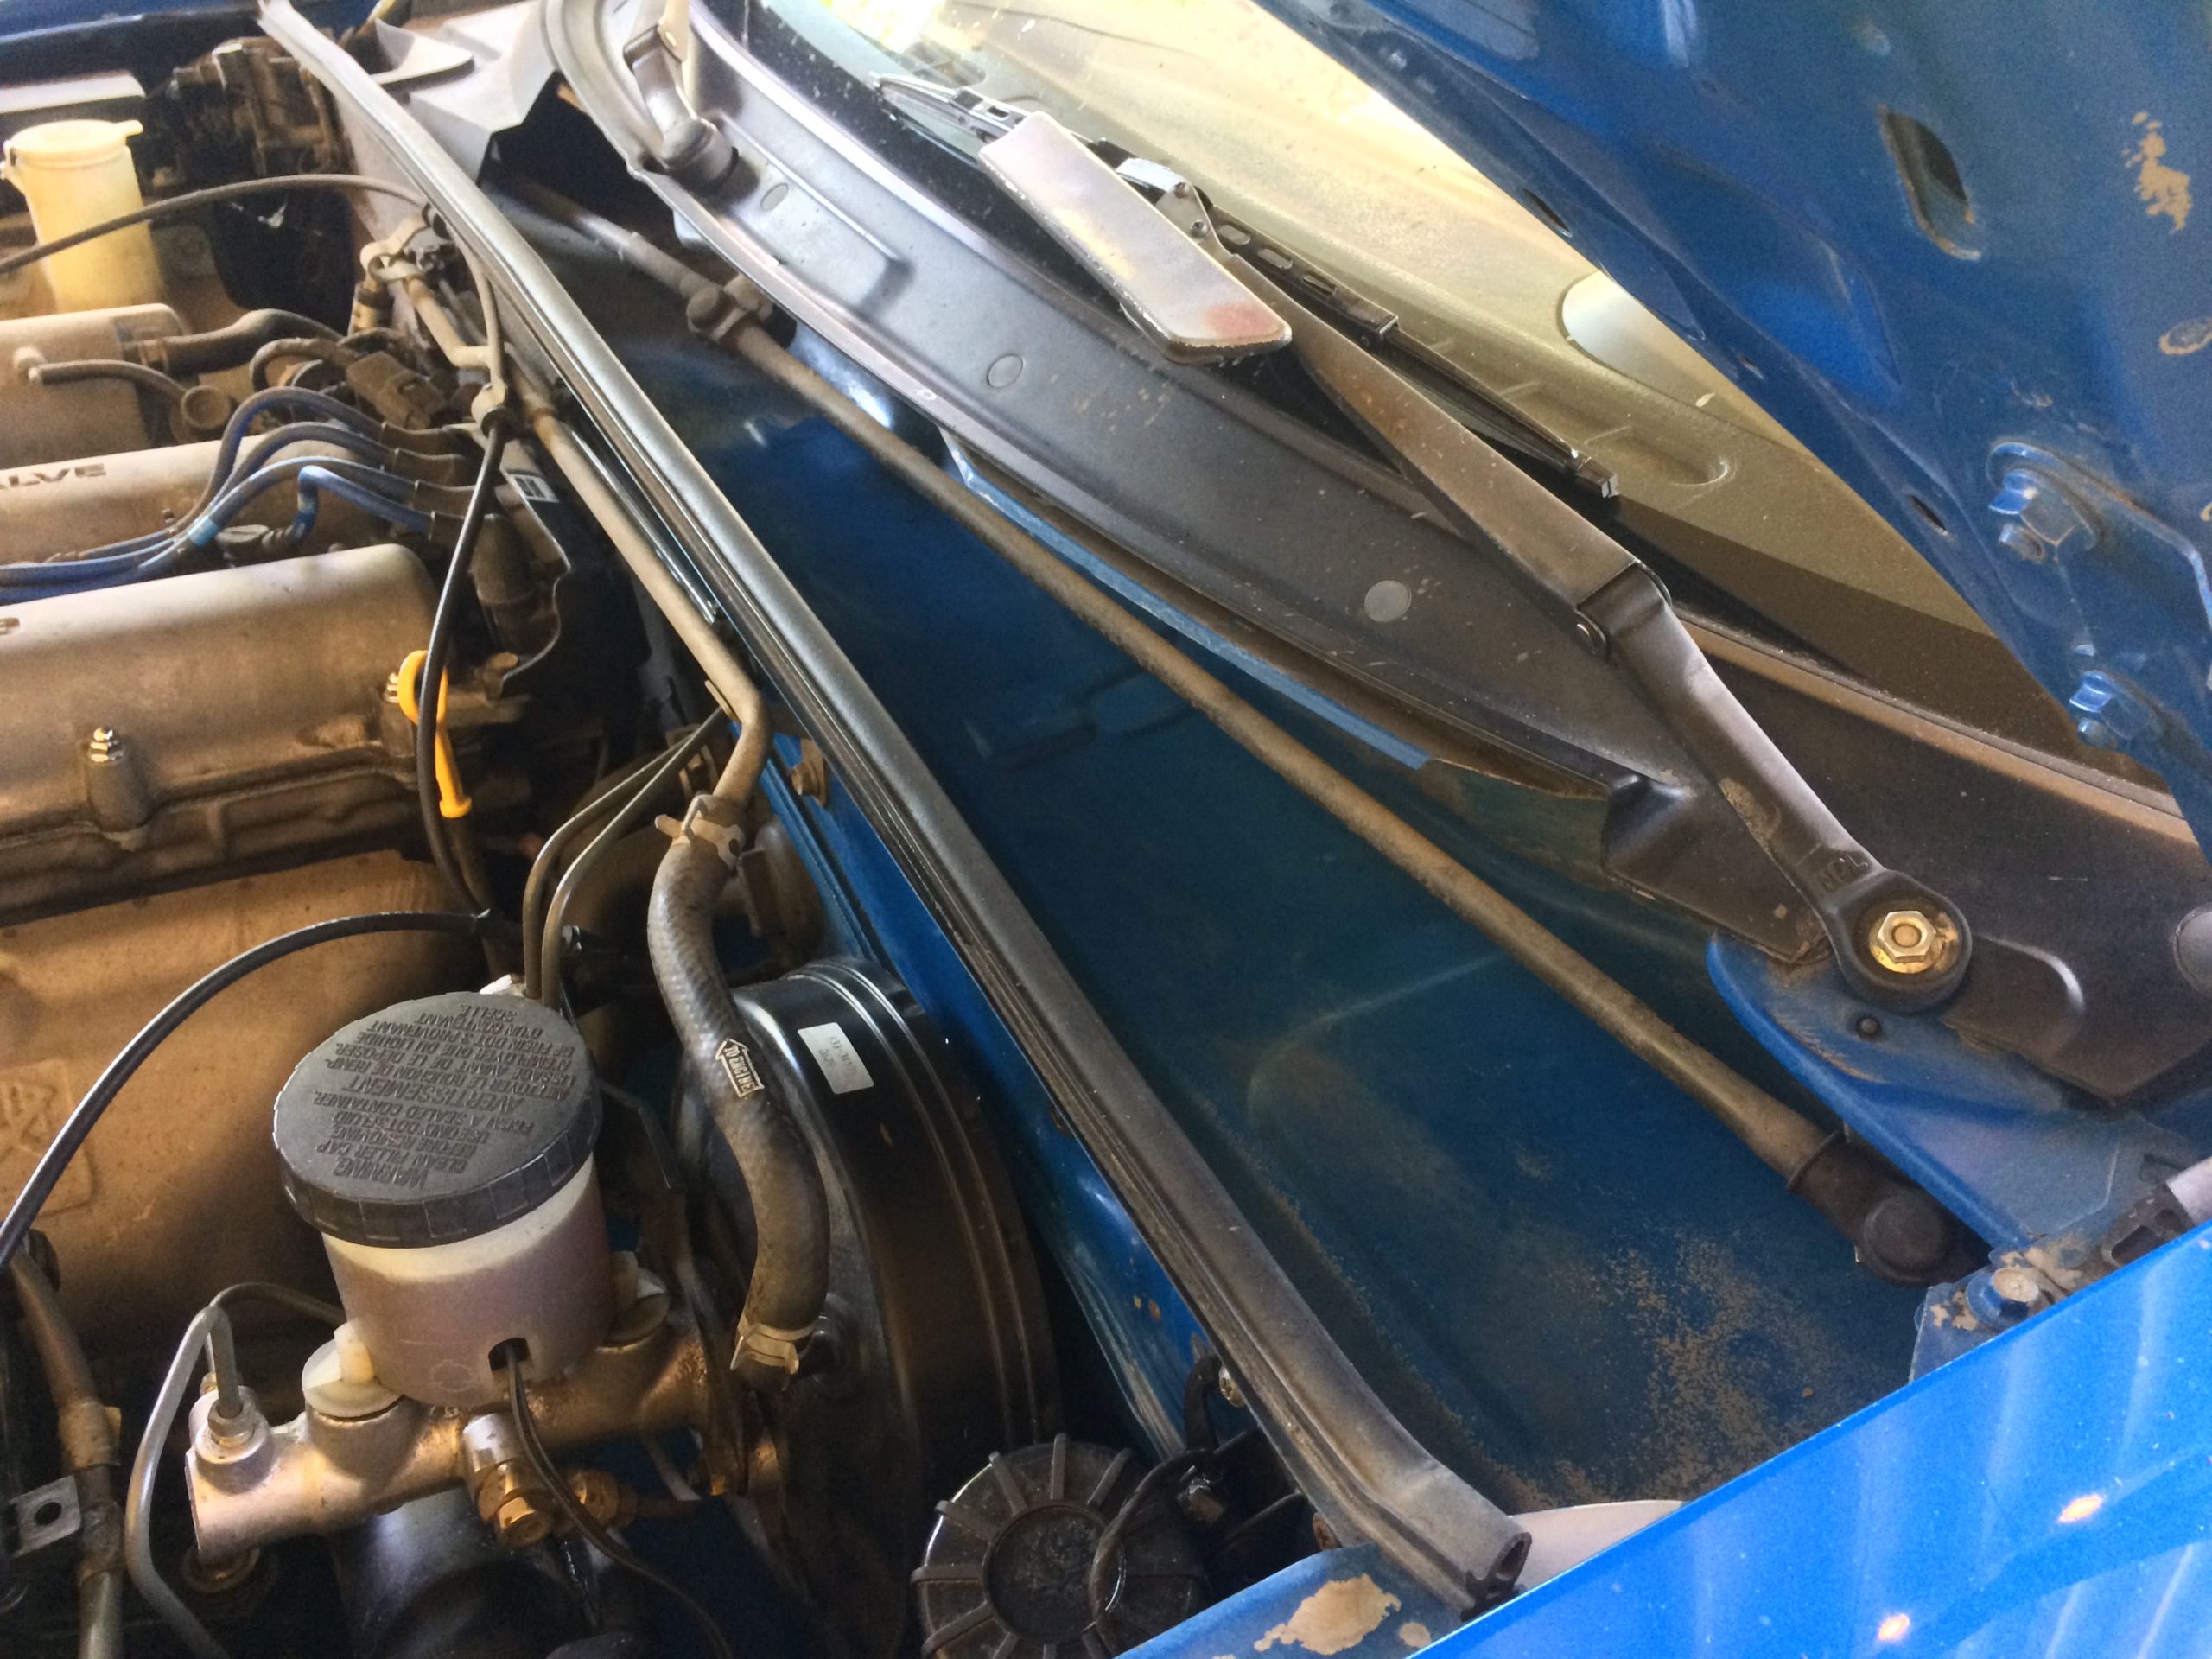
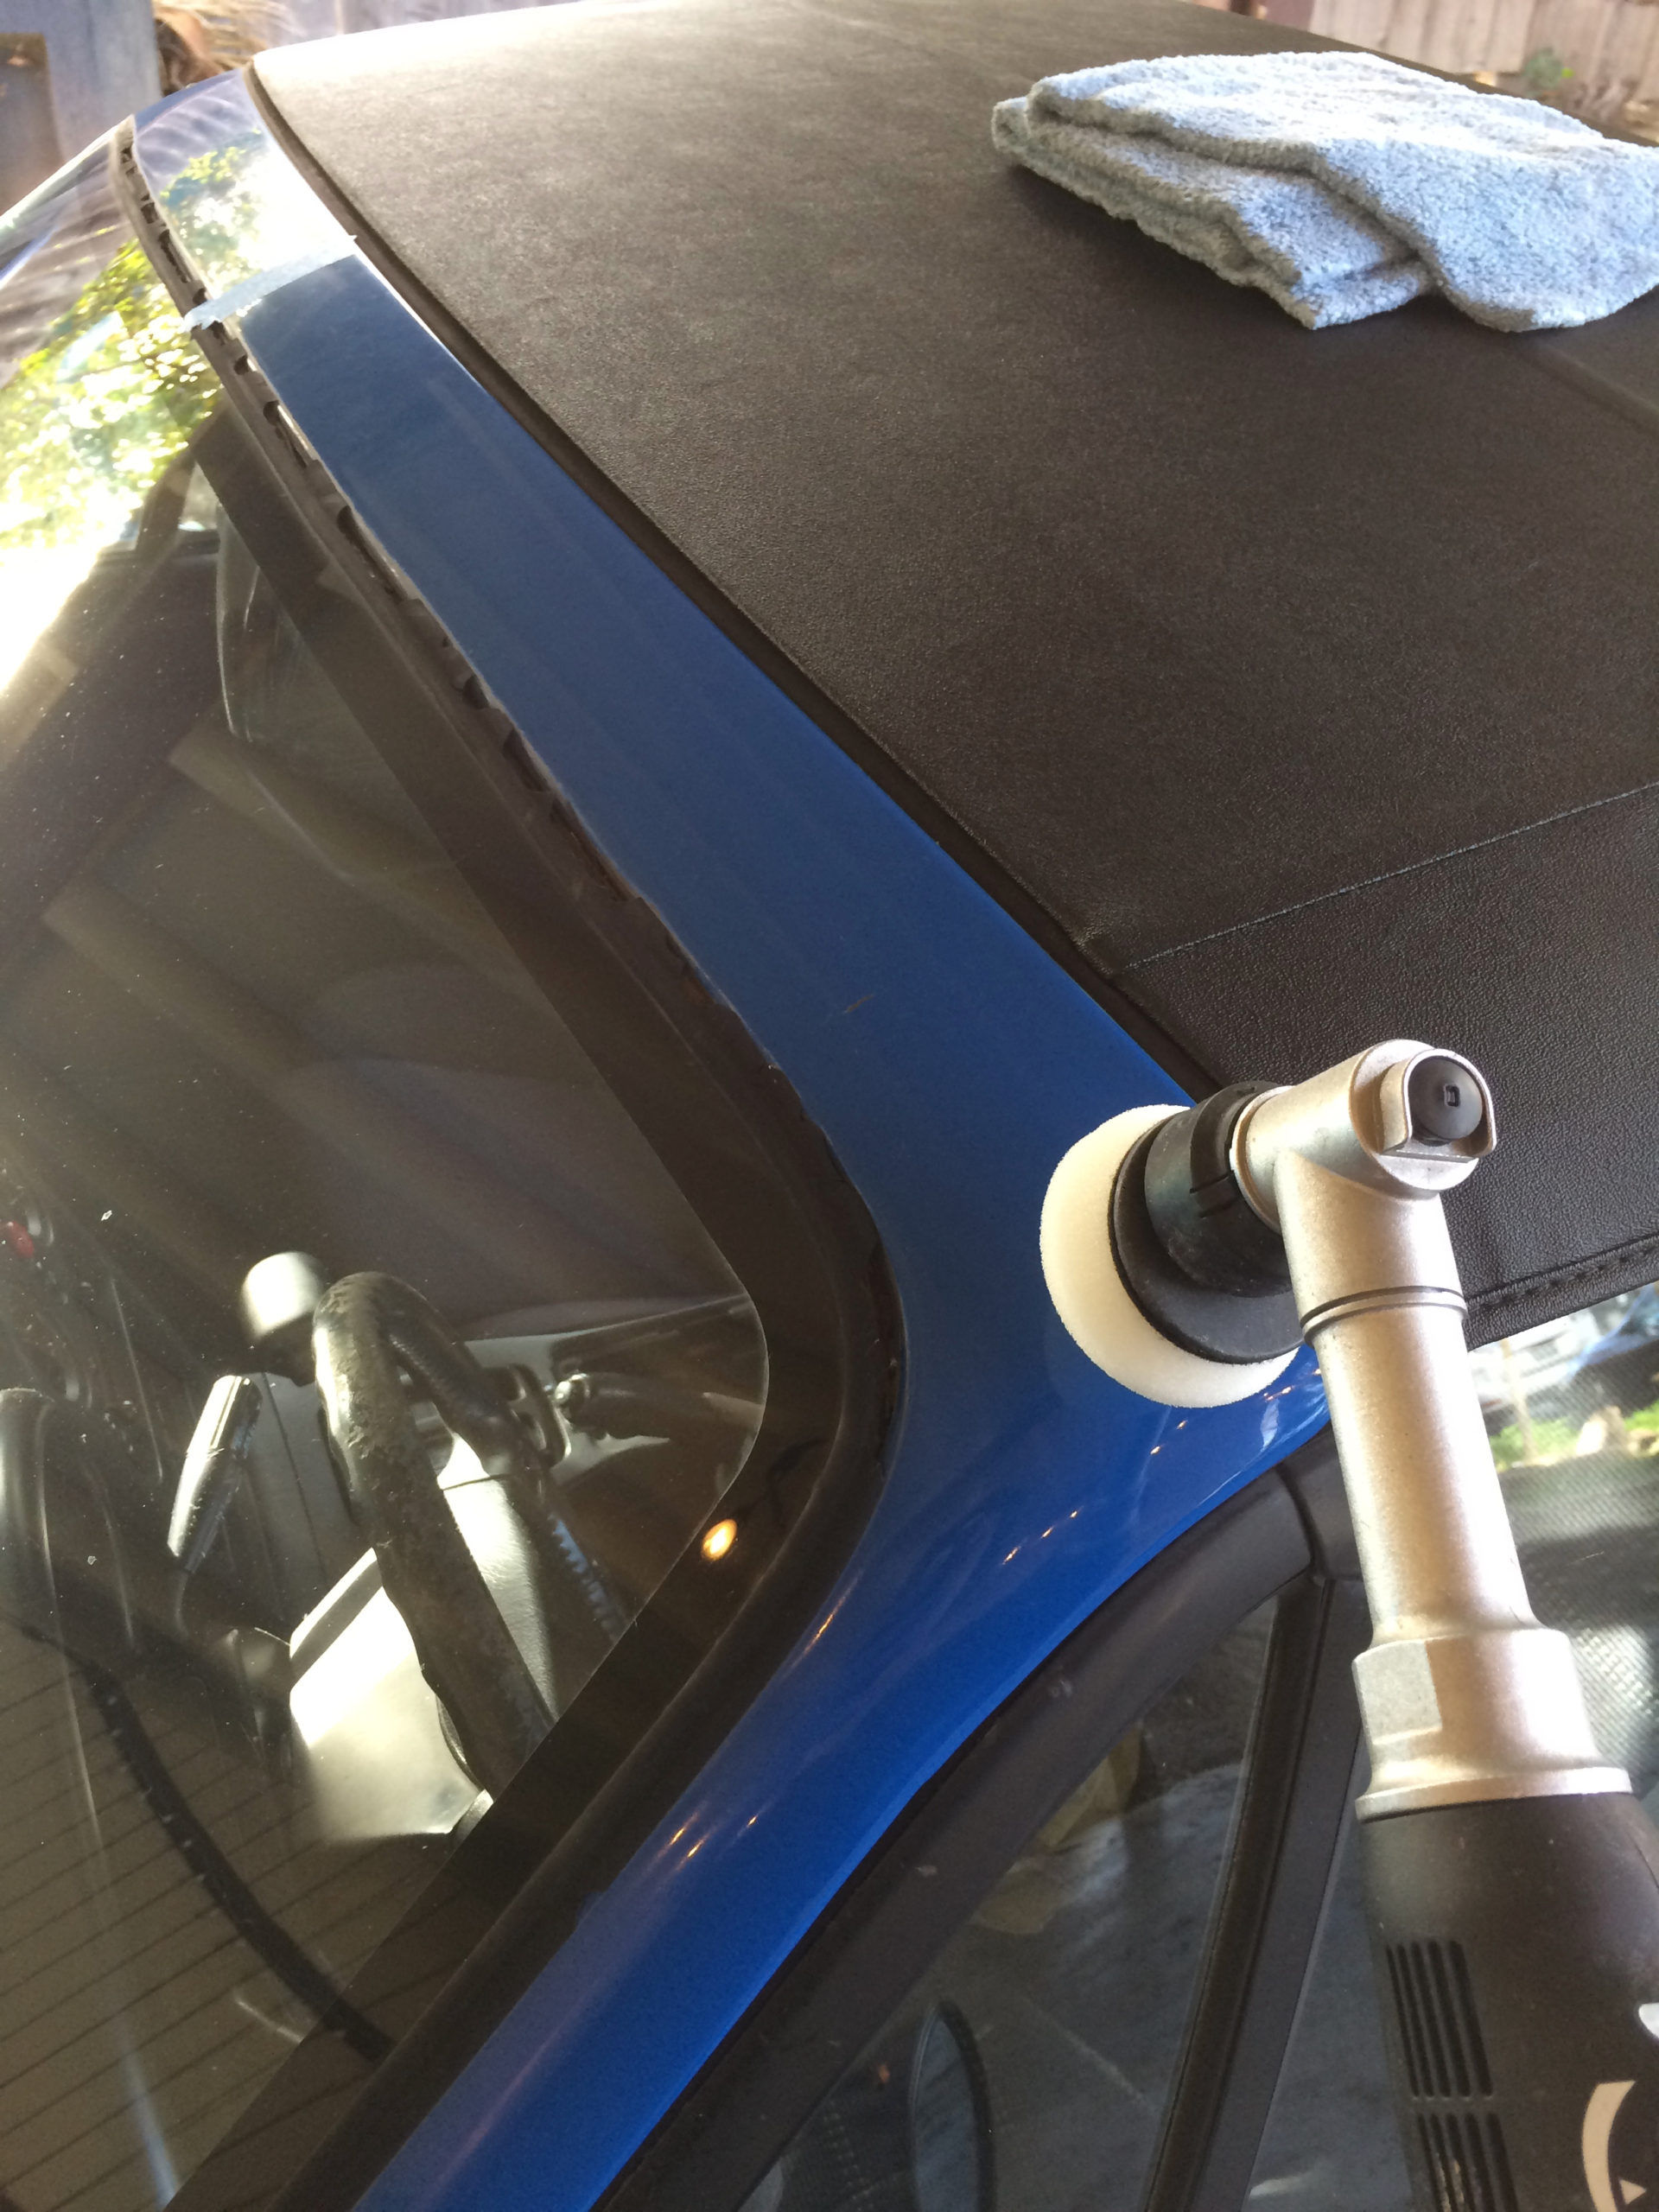
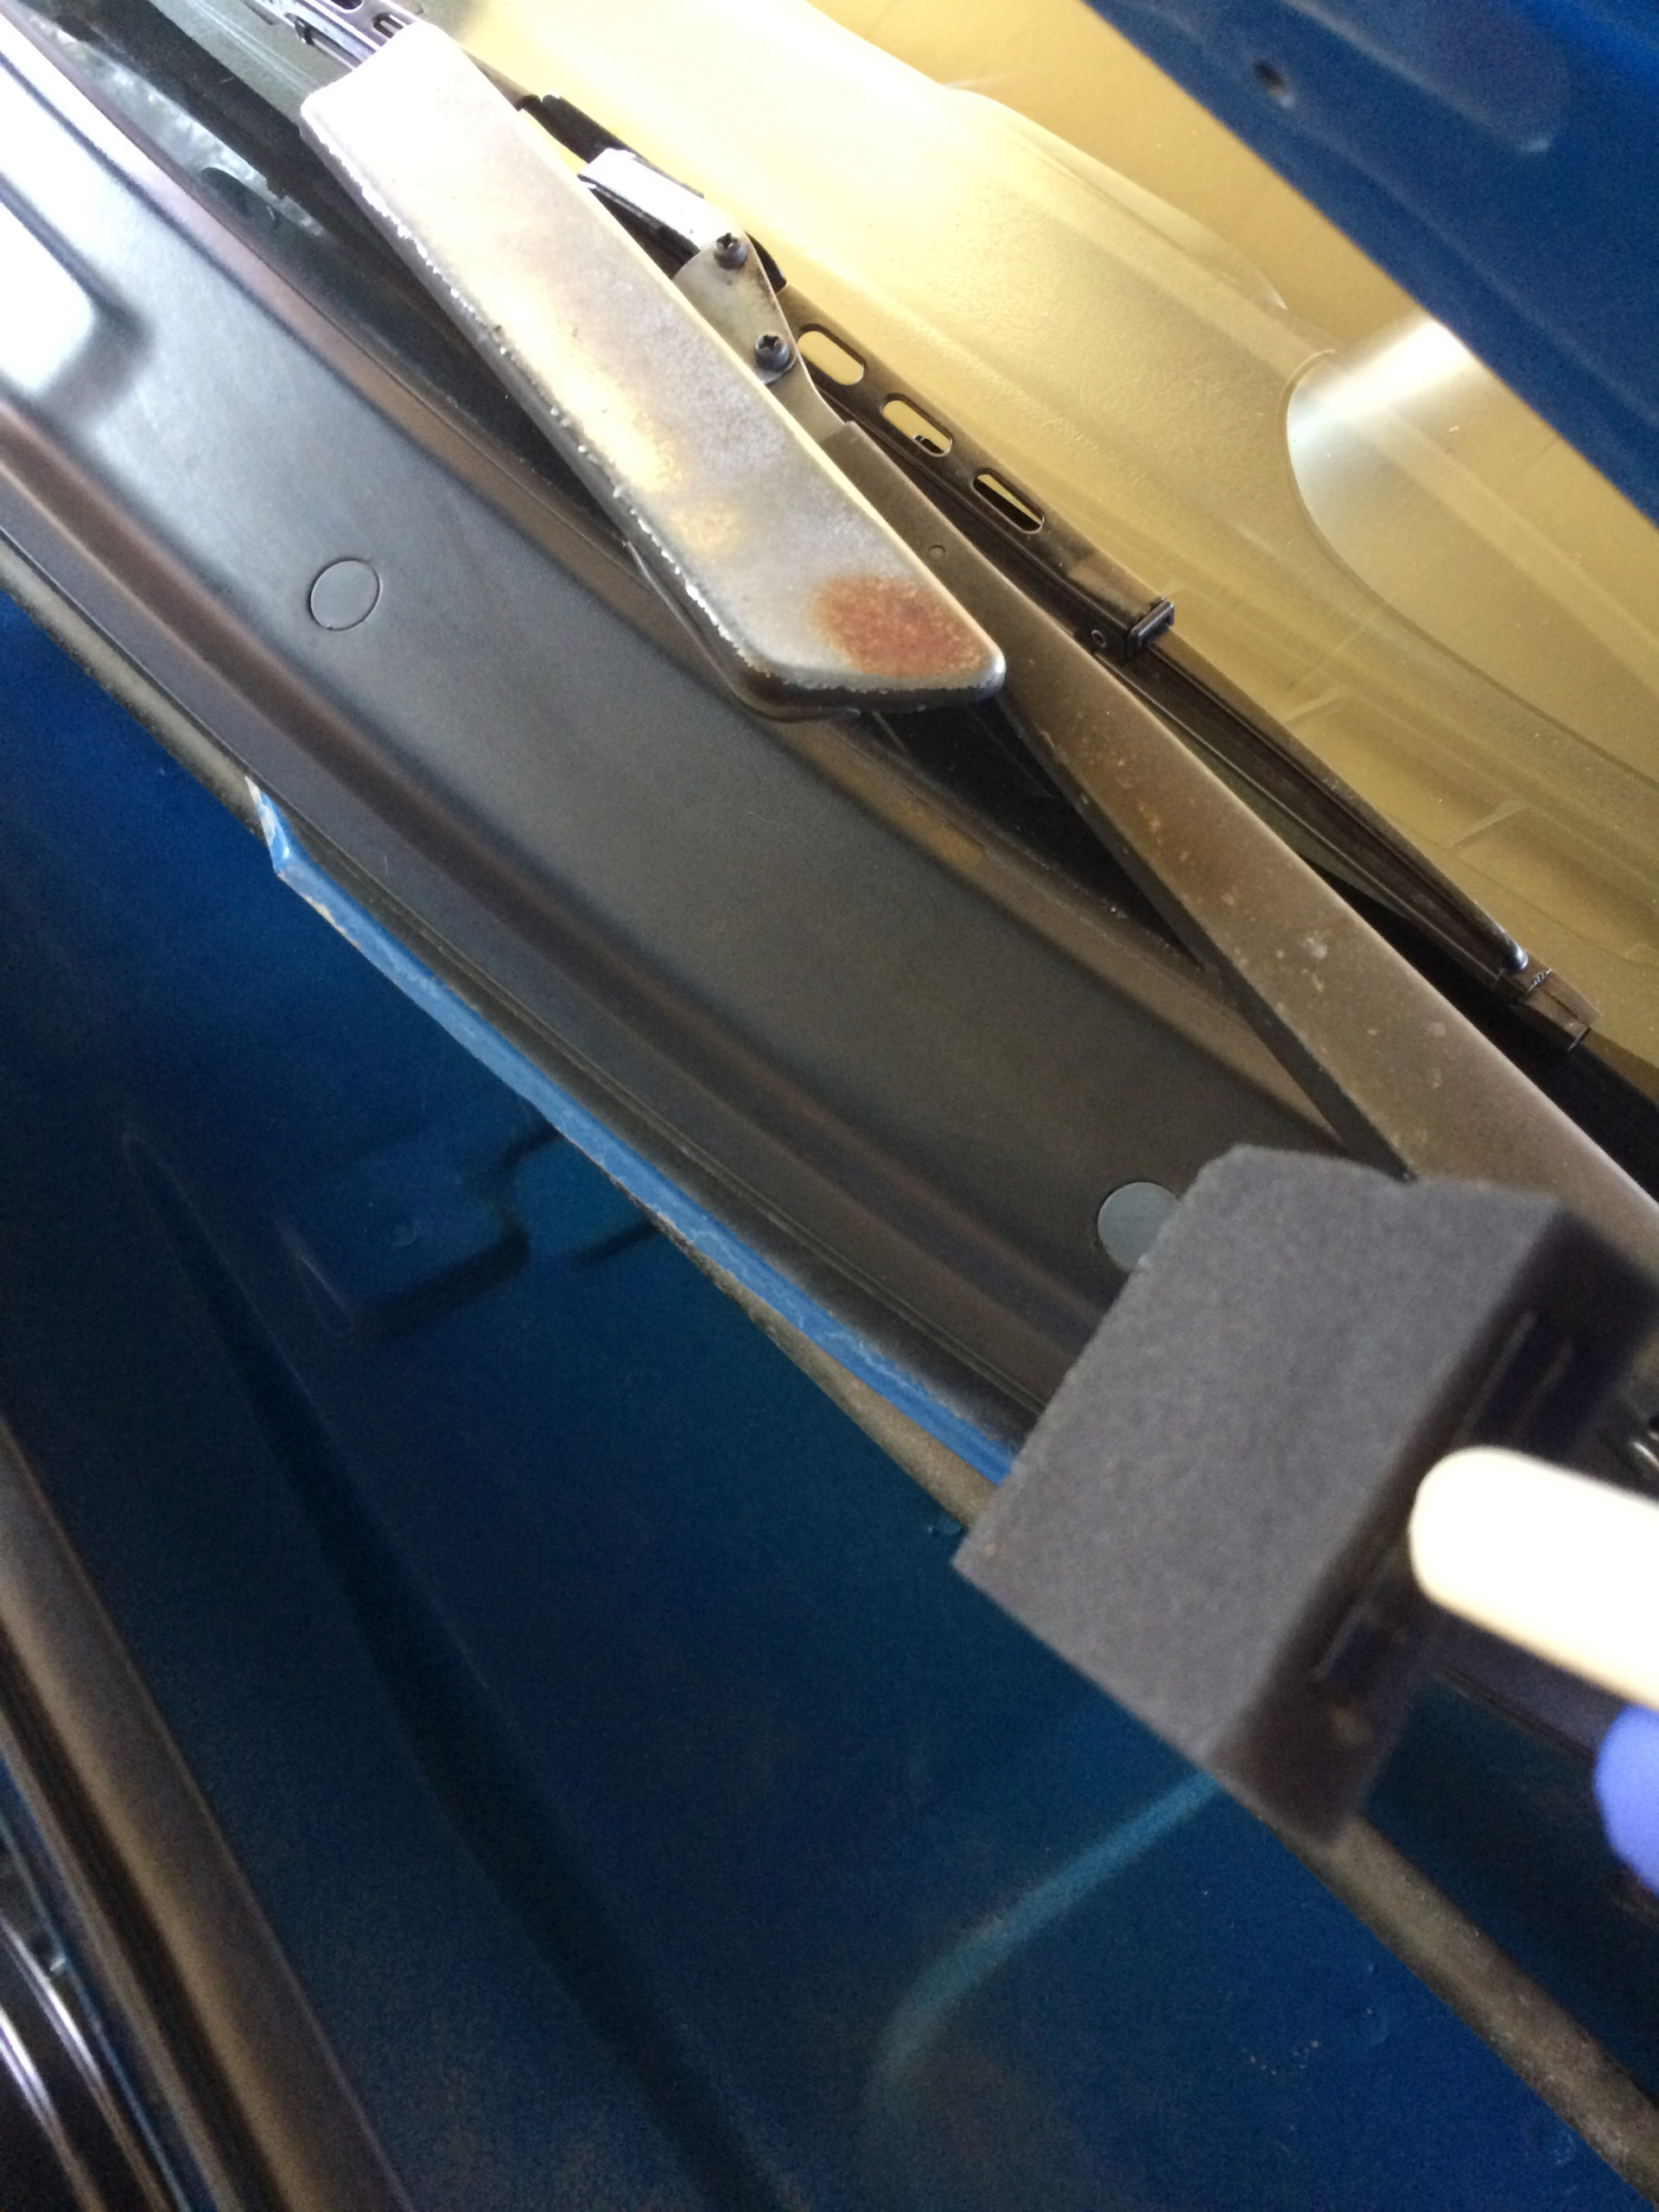
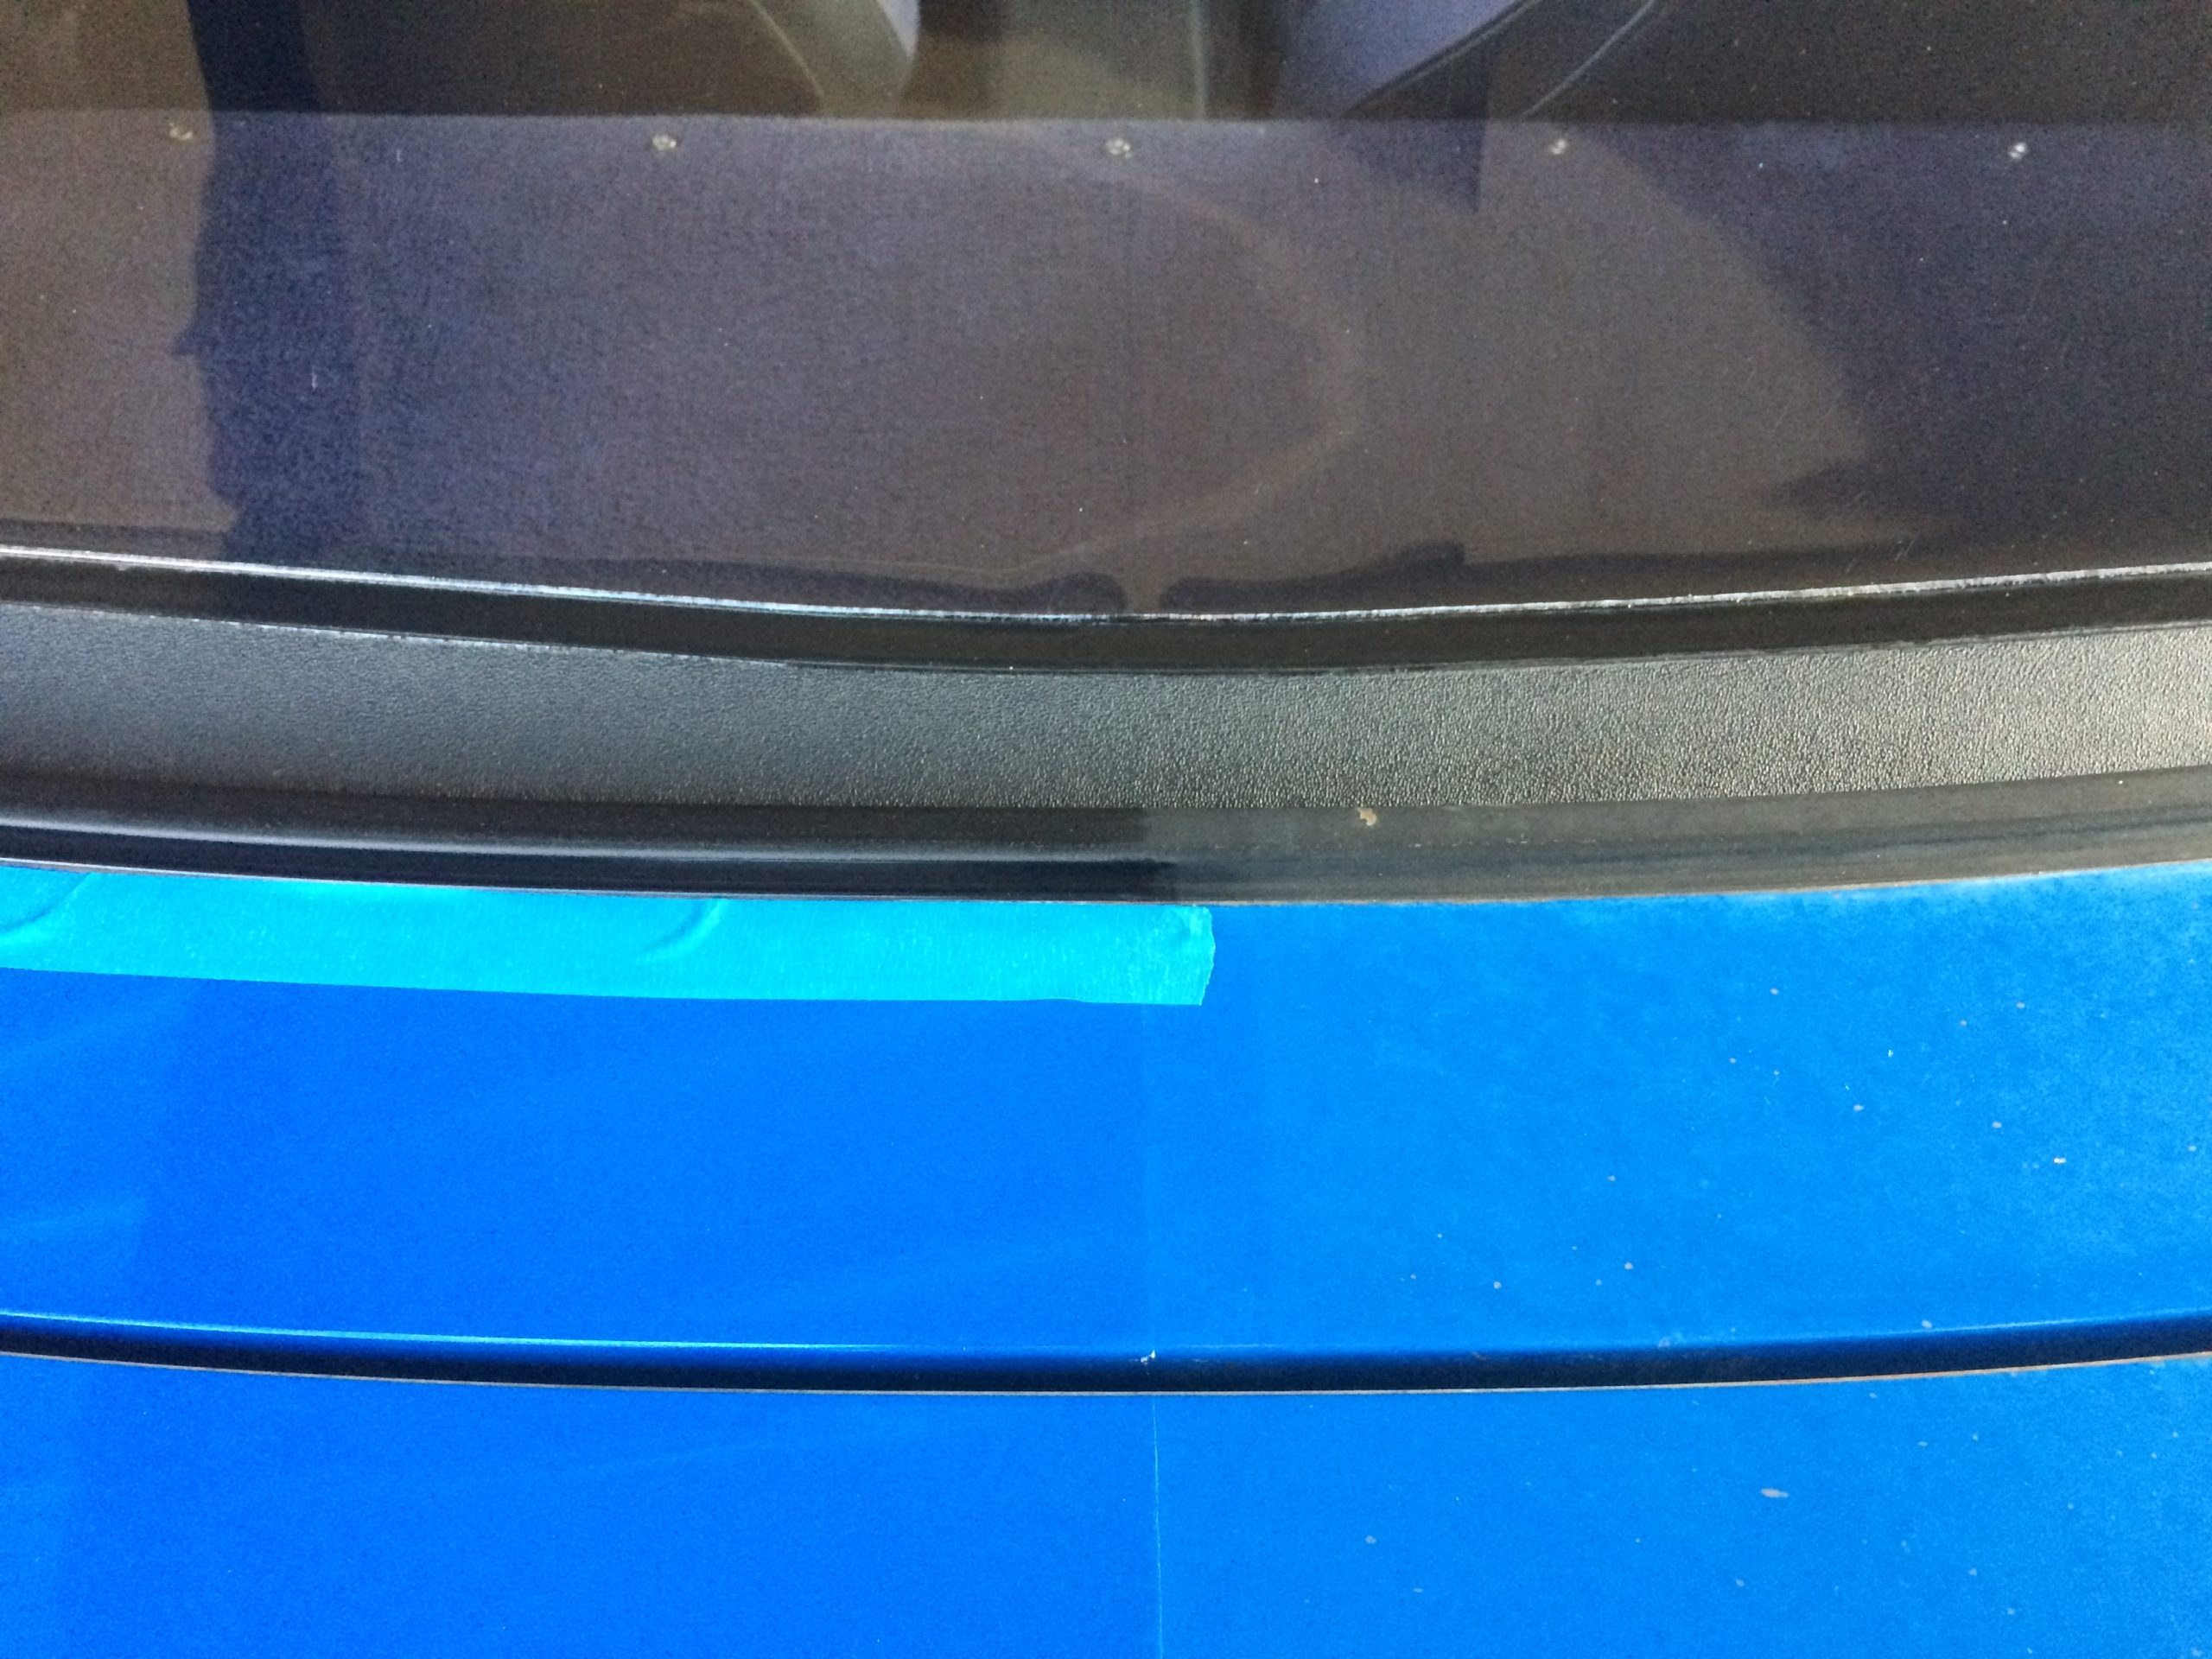
I made use of a Rupes Nano iBrid for the windshield frame and sections of the tail. I equipped it with Griot’s BOSS Fast Correcting Pads.
The windshield frame appeared to have original single stage paint too.
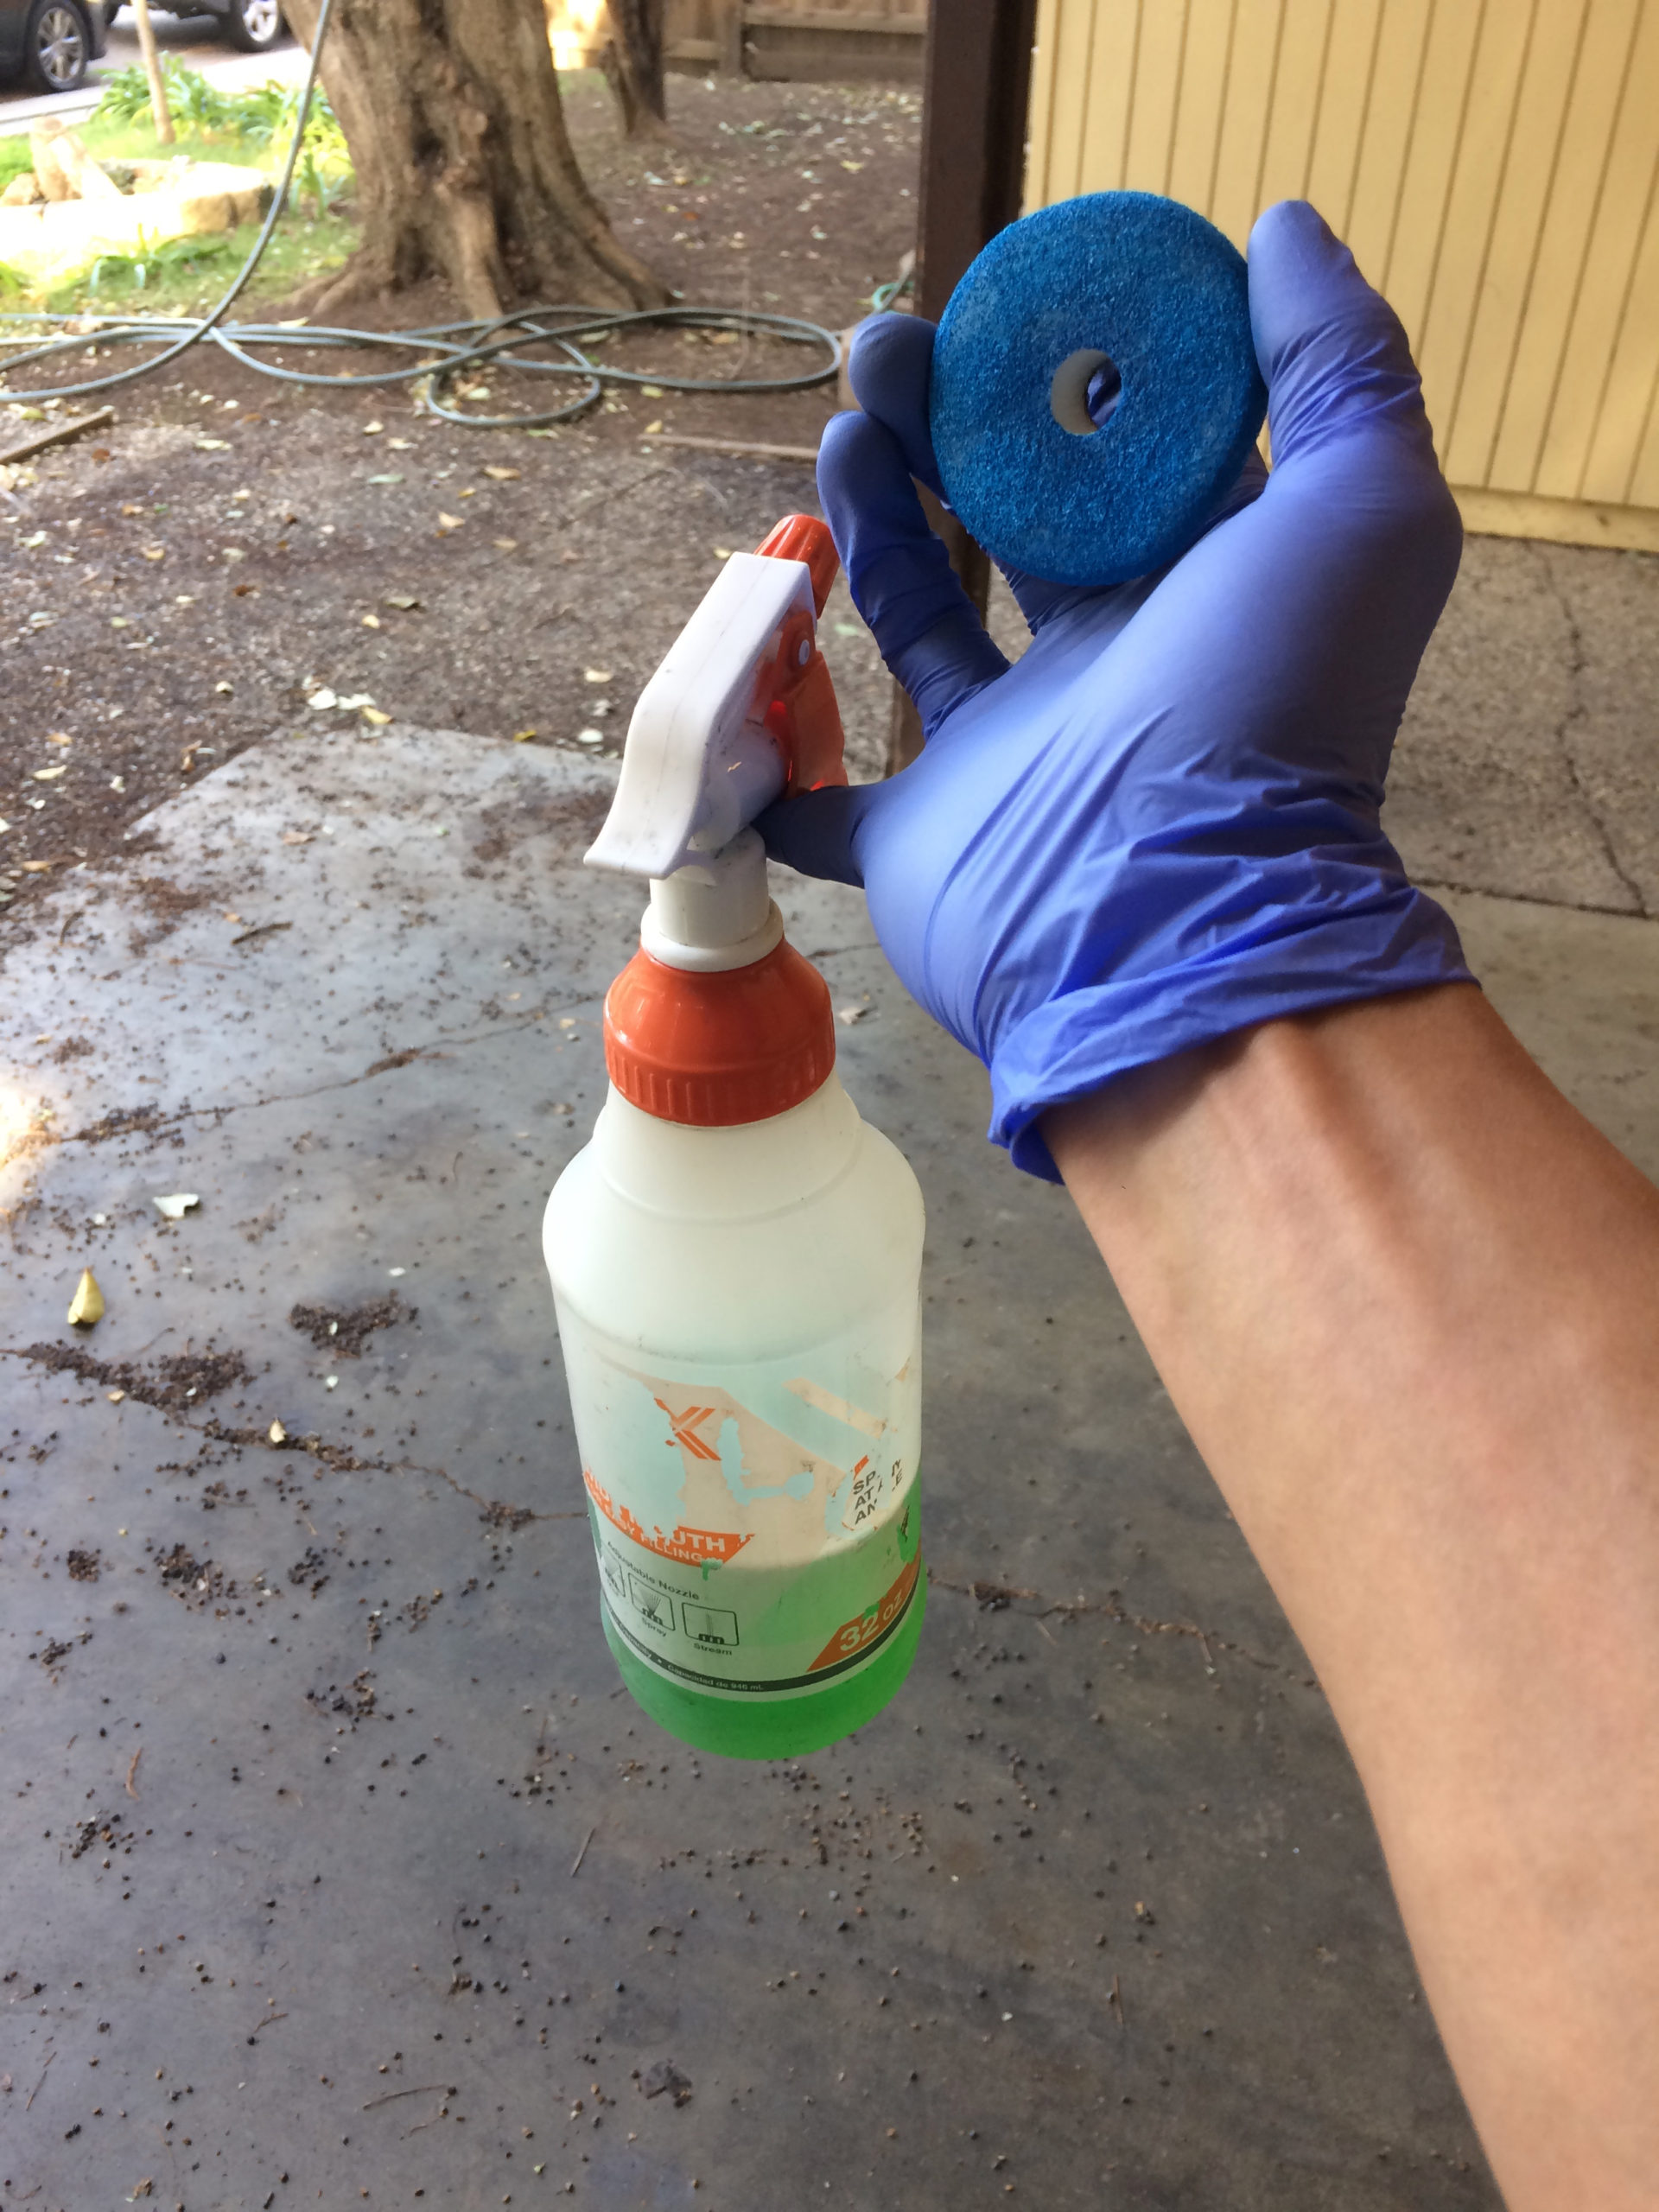
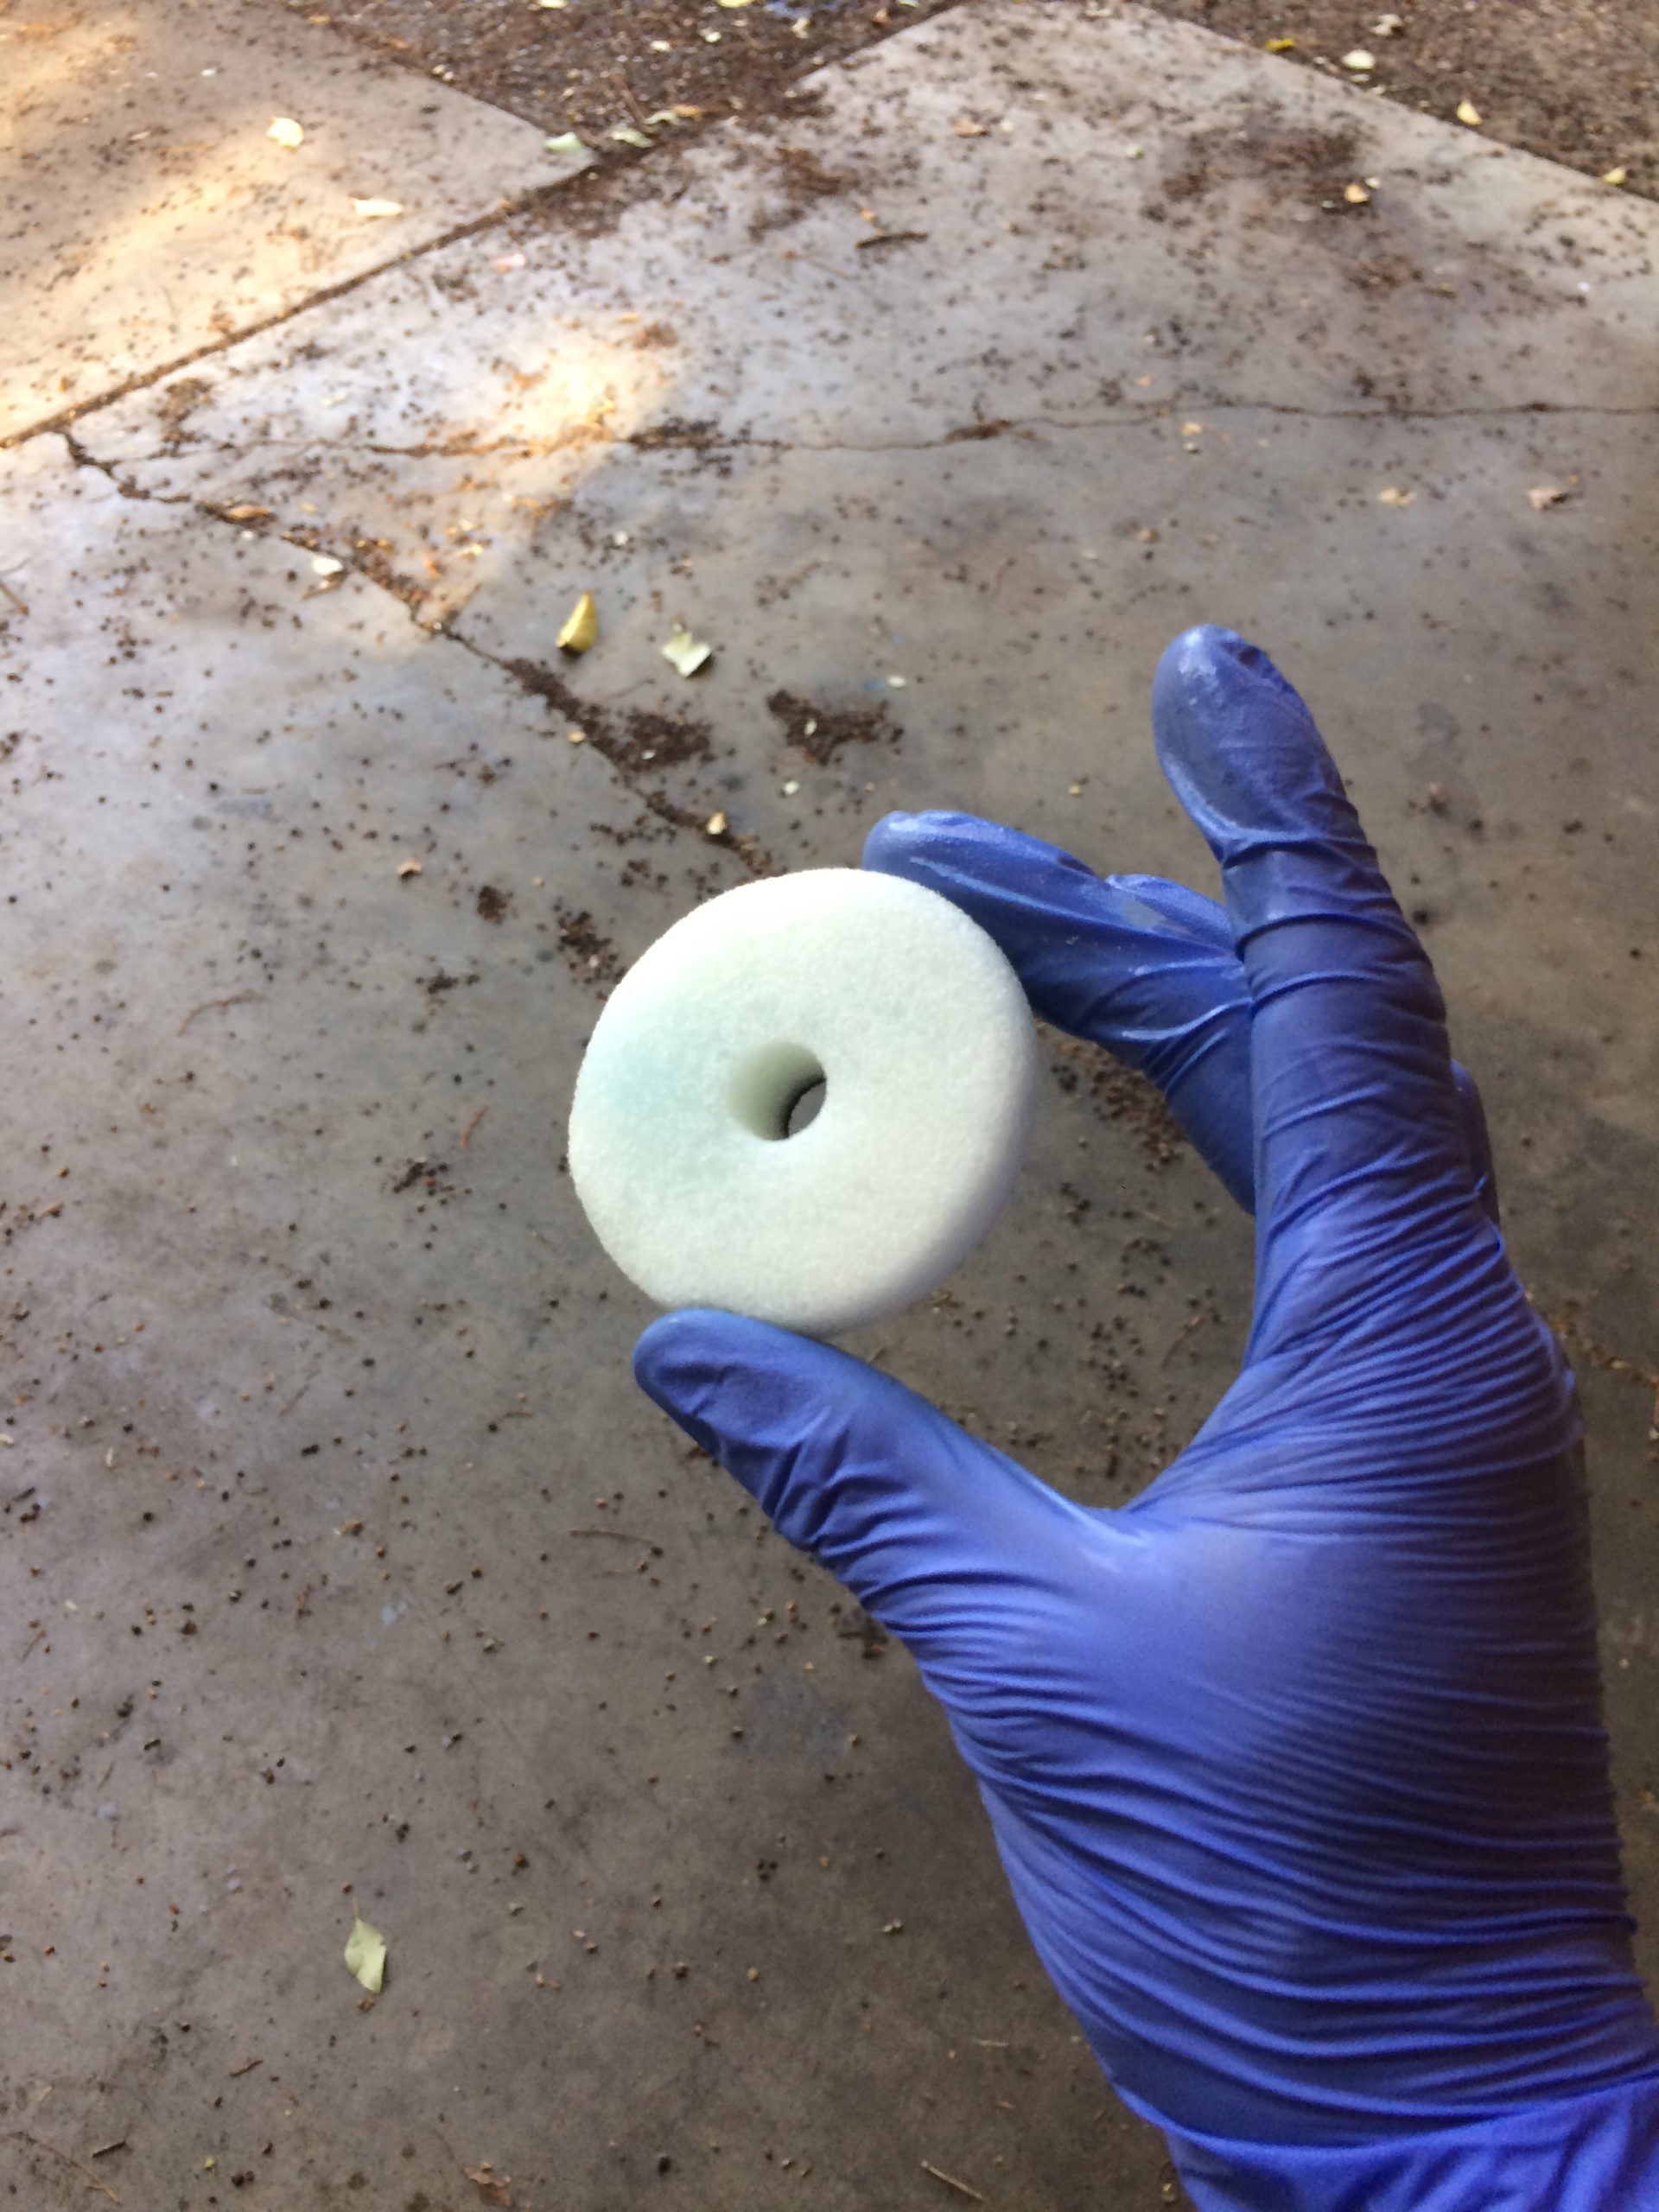
When I am done with a pad I soak it with Simple Green and then hose it off before it goes in the laundry.
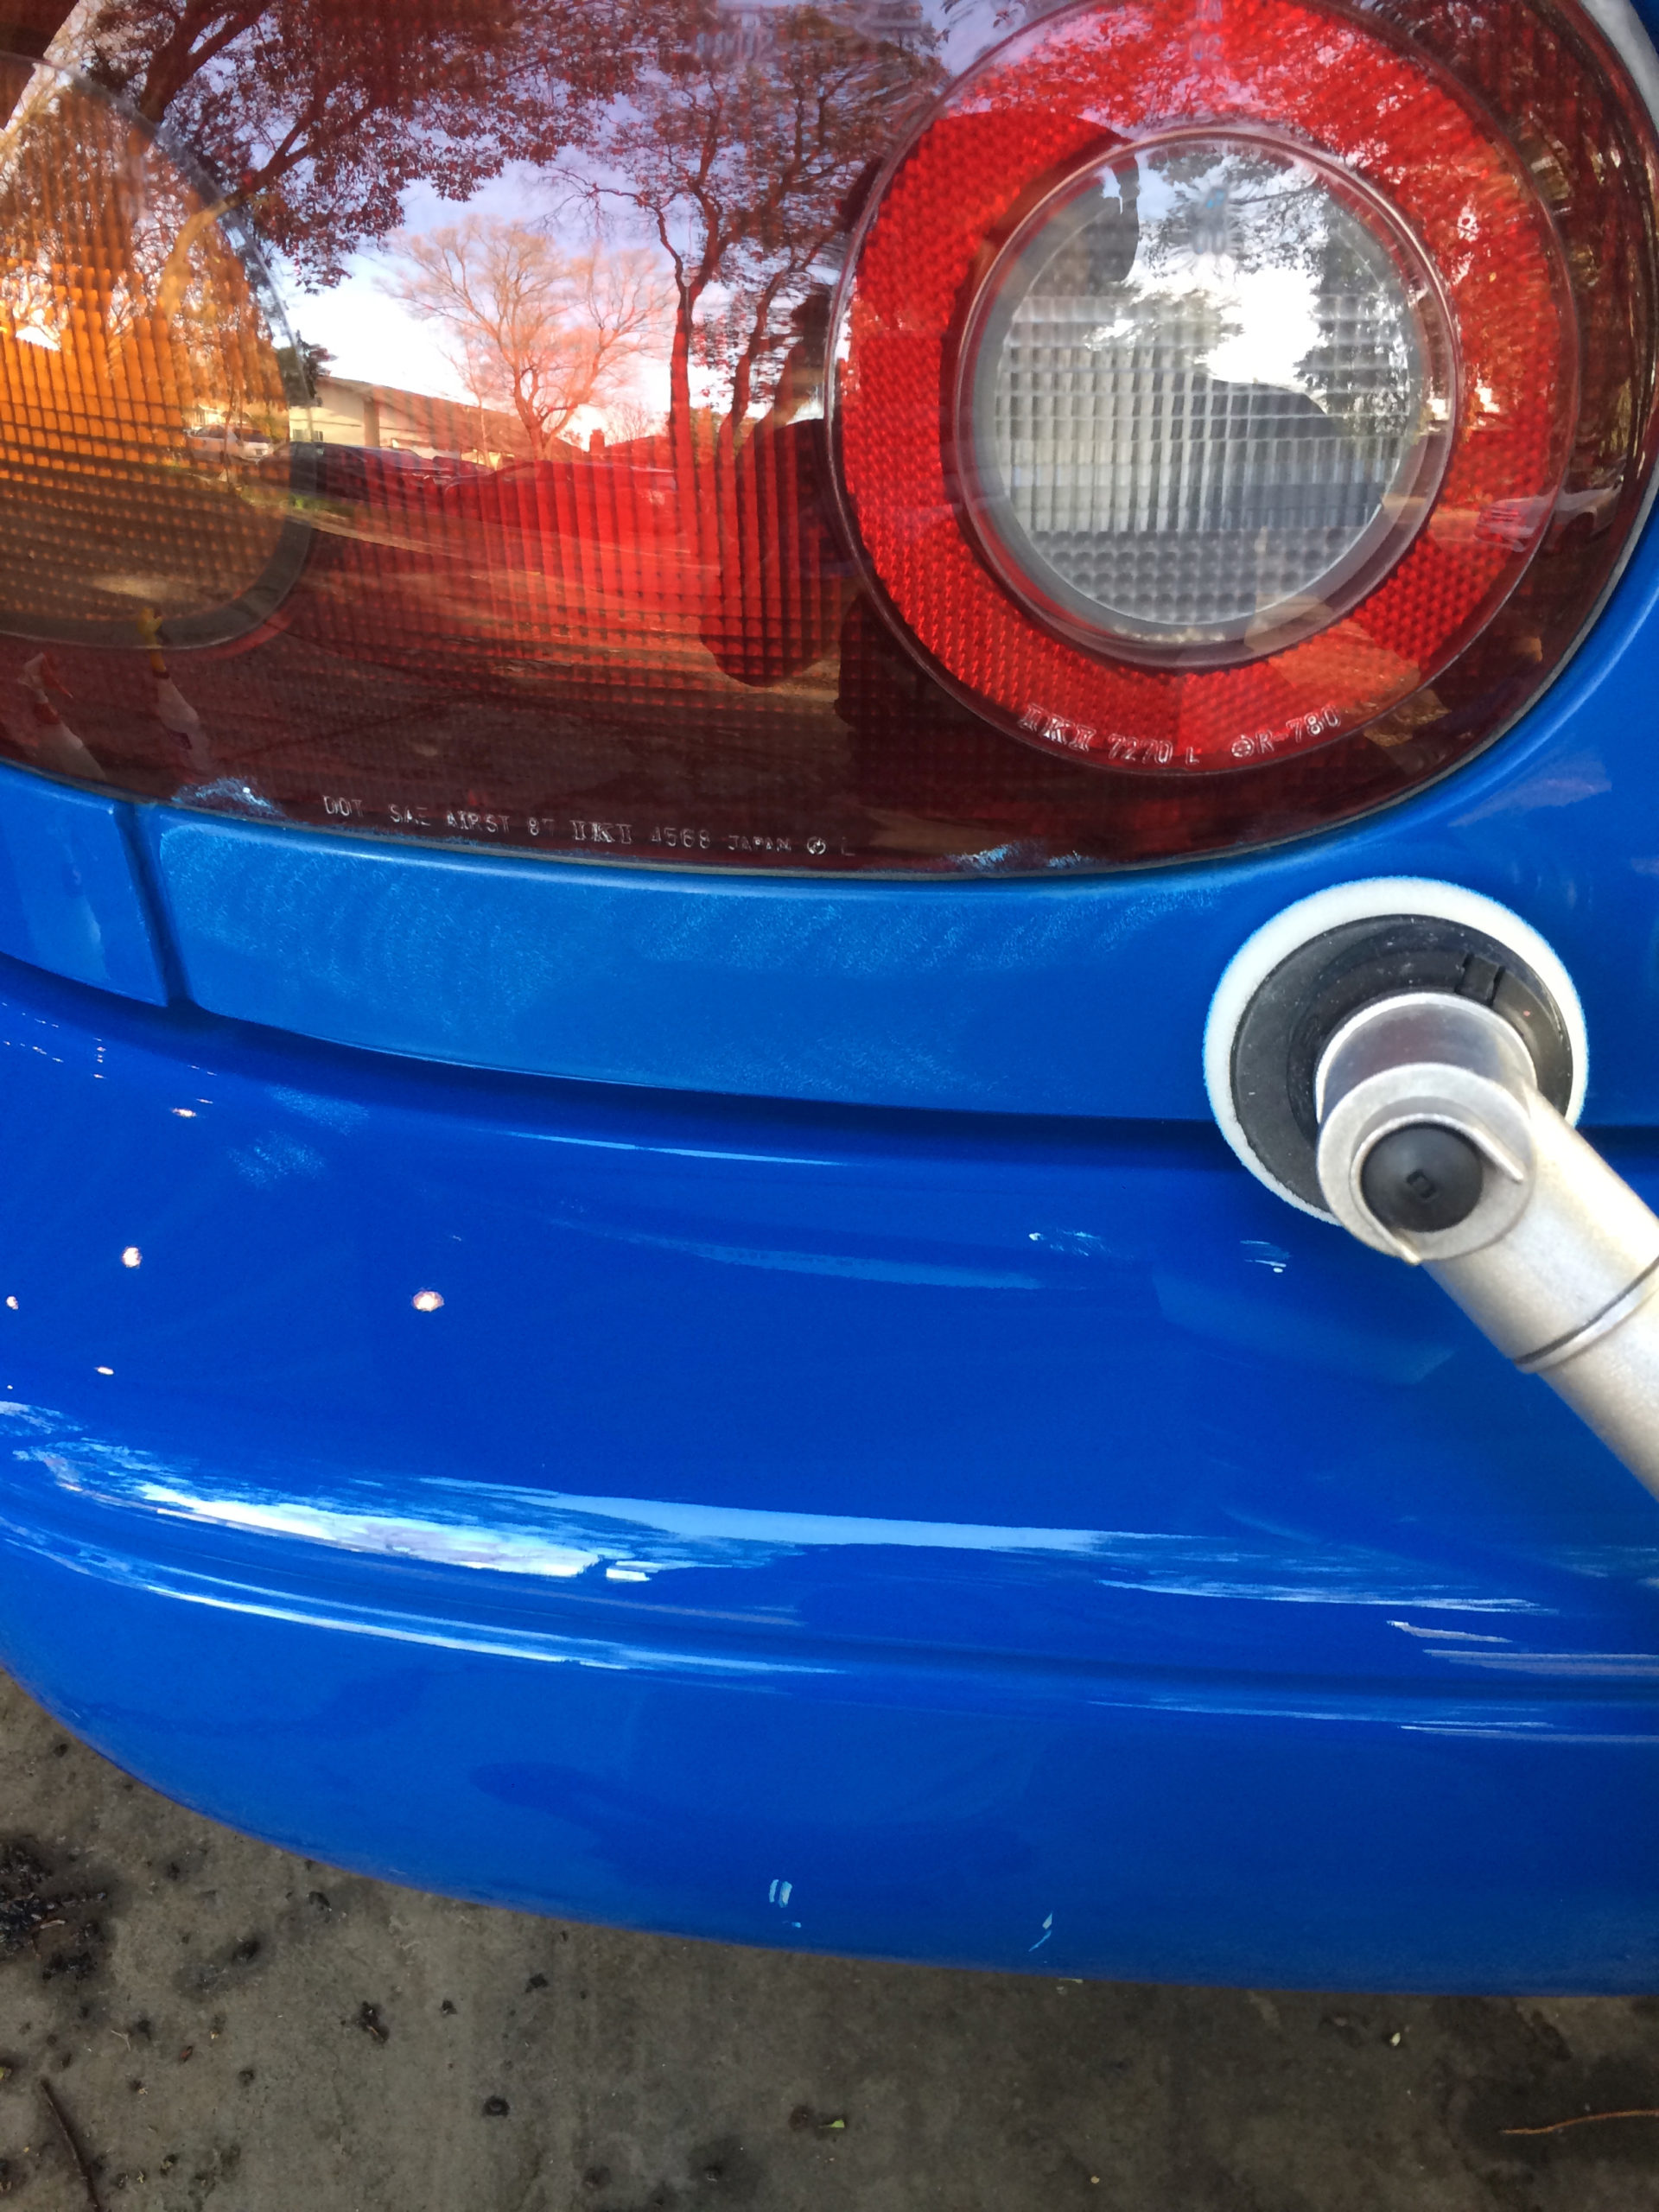
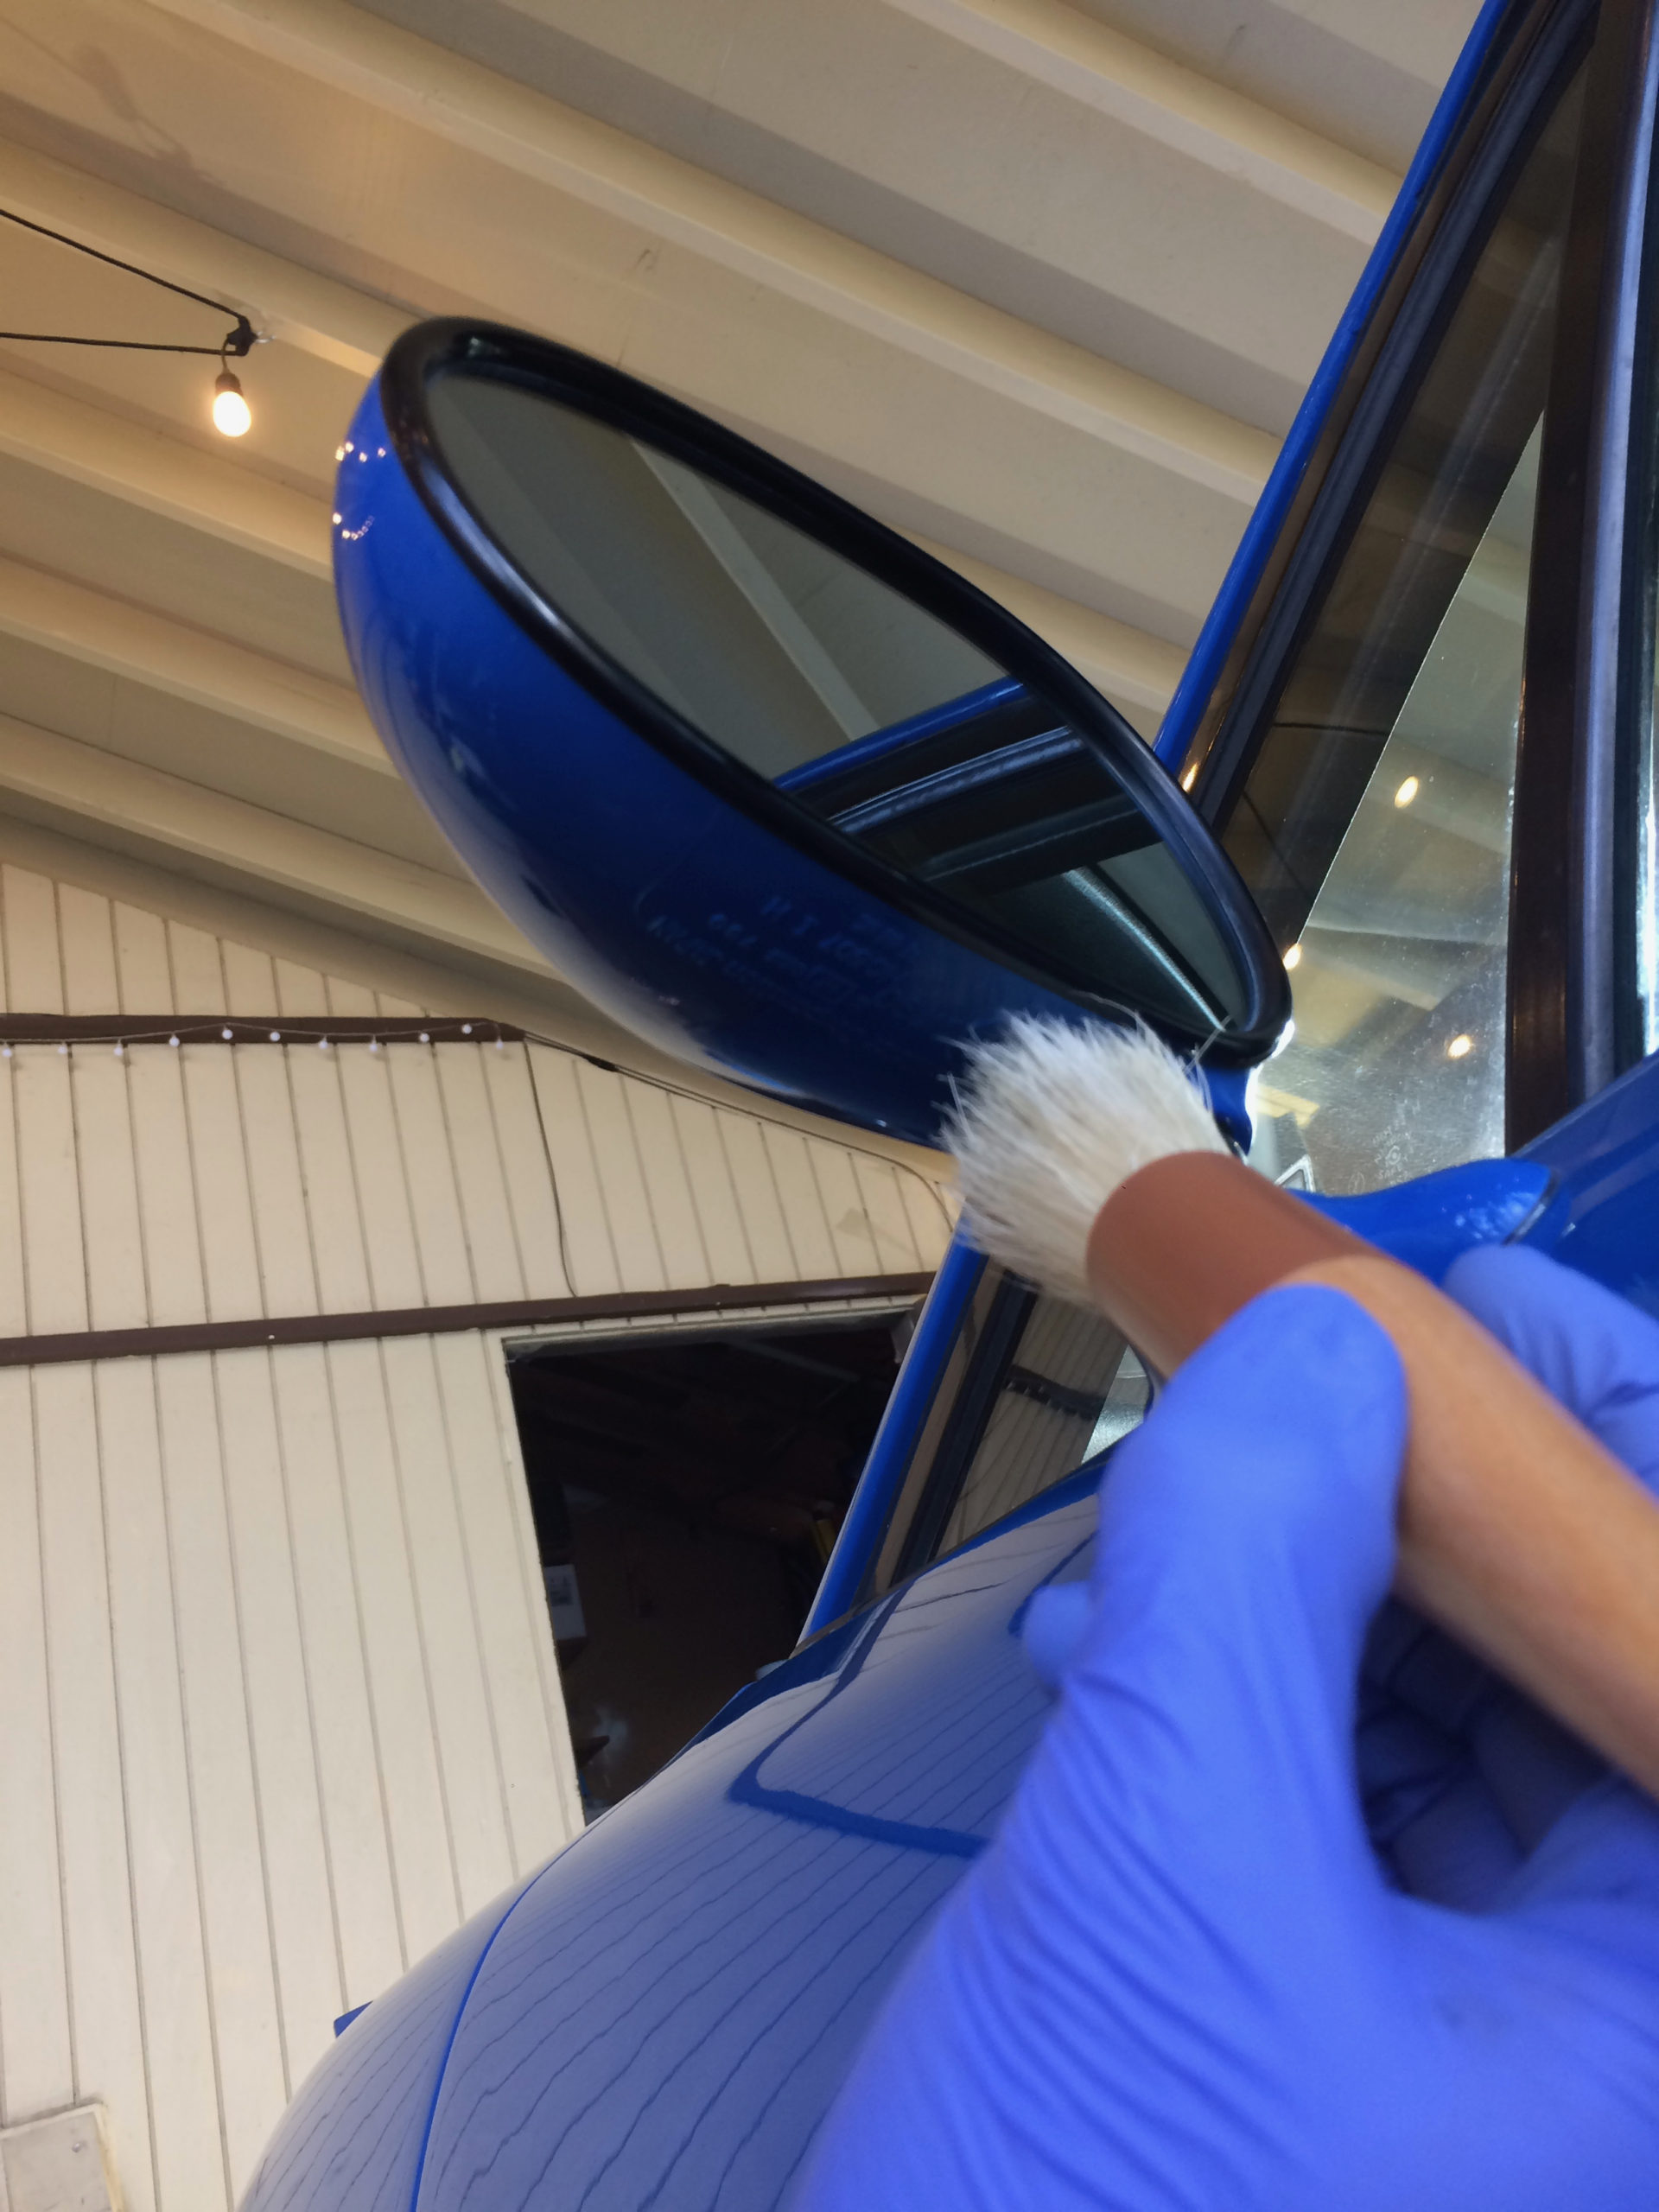
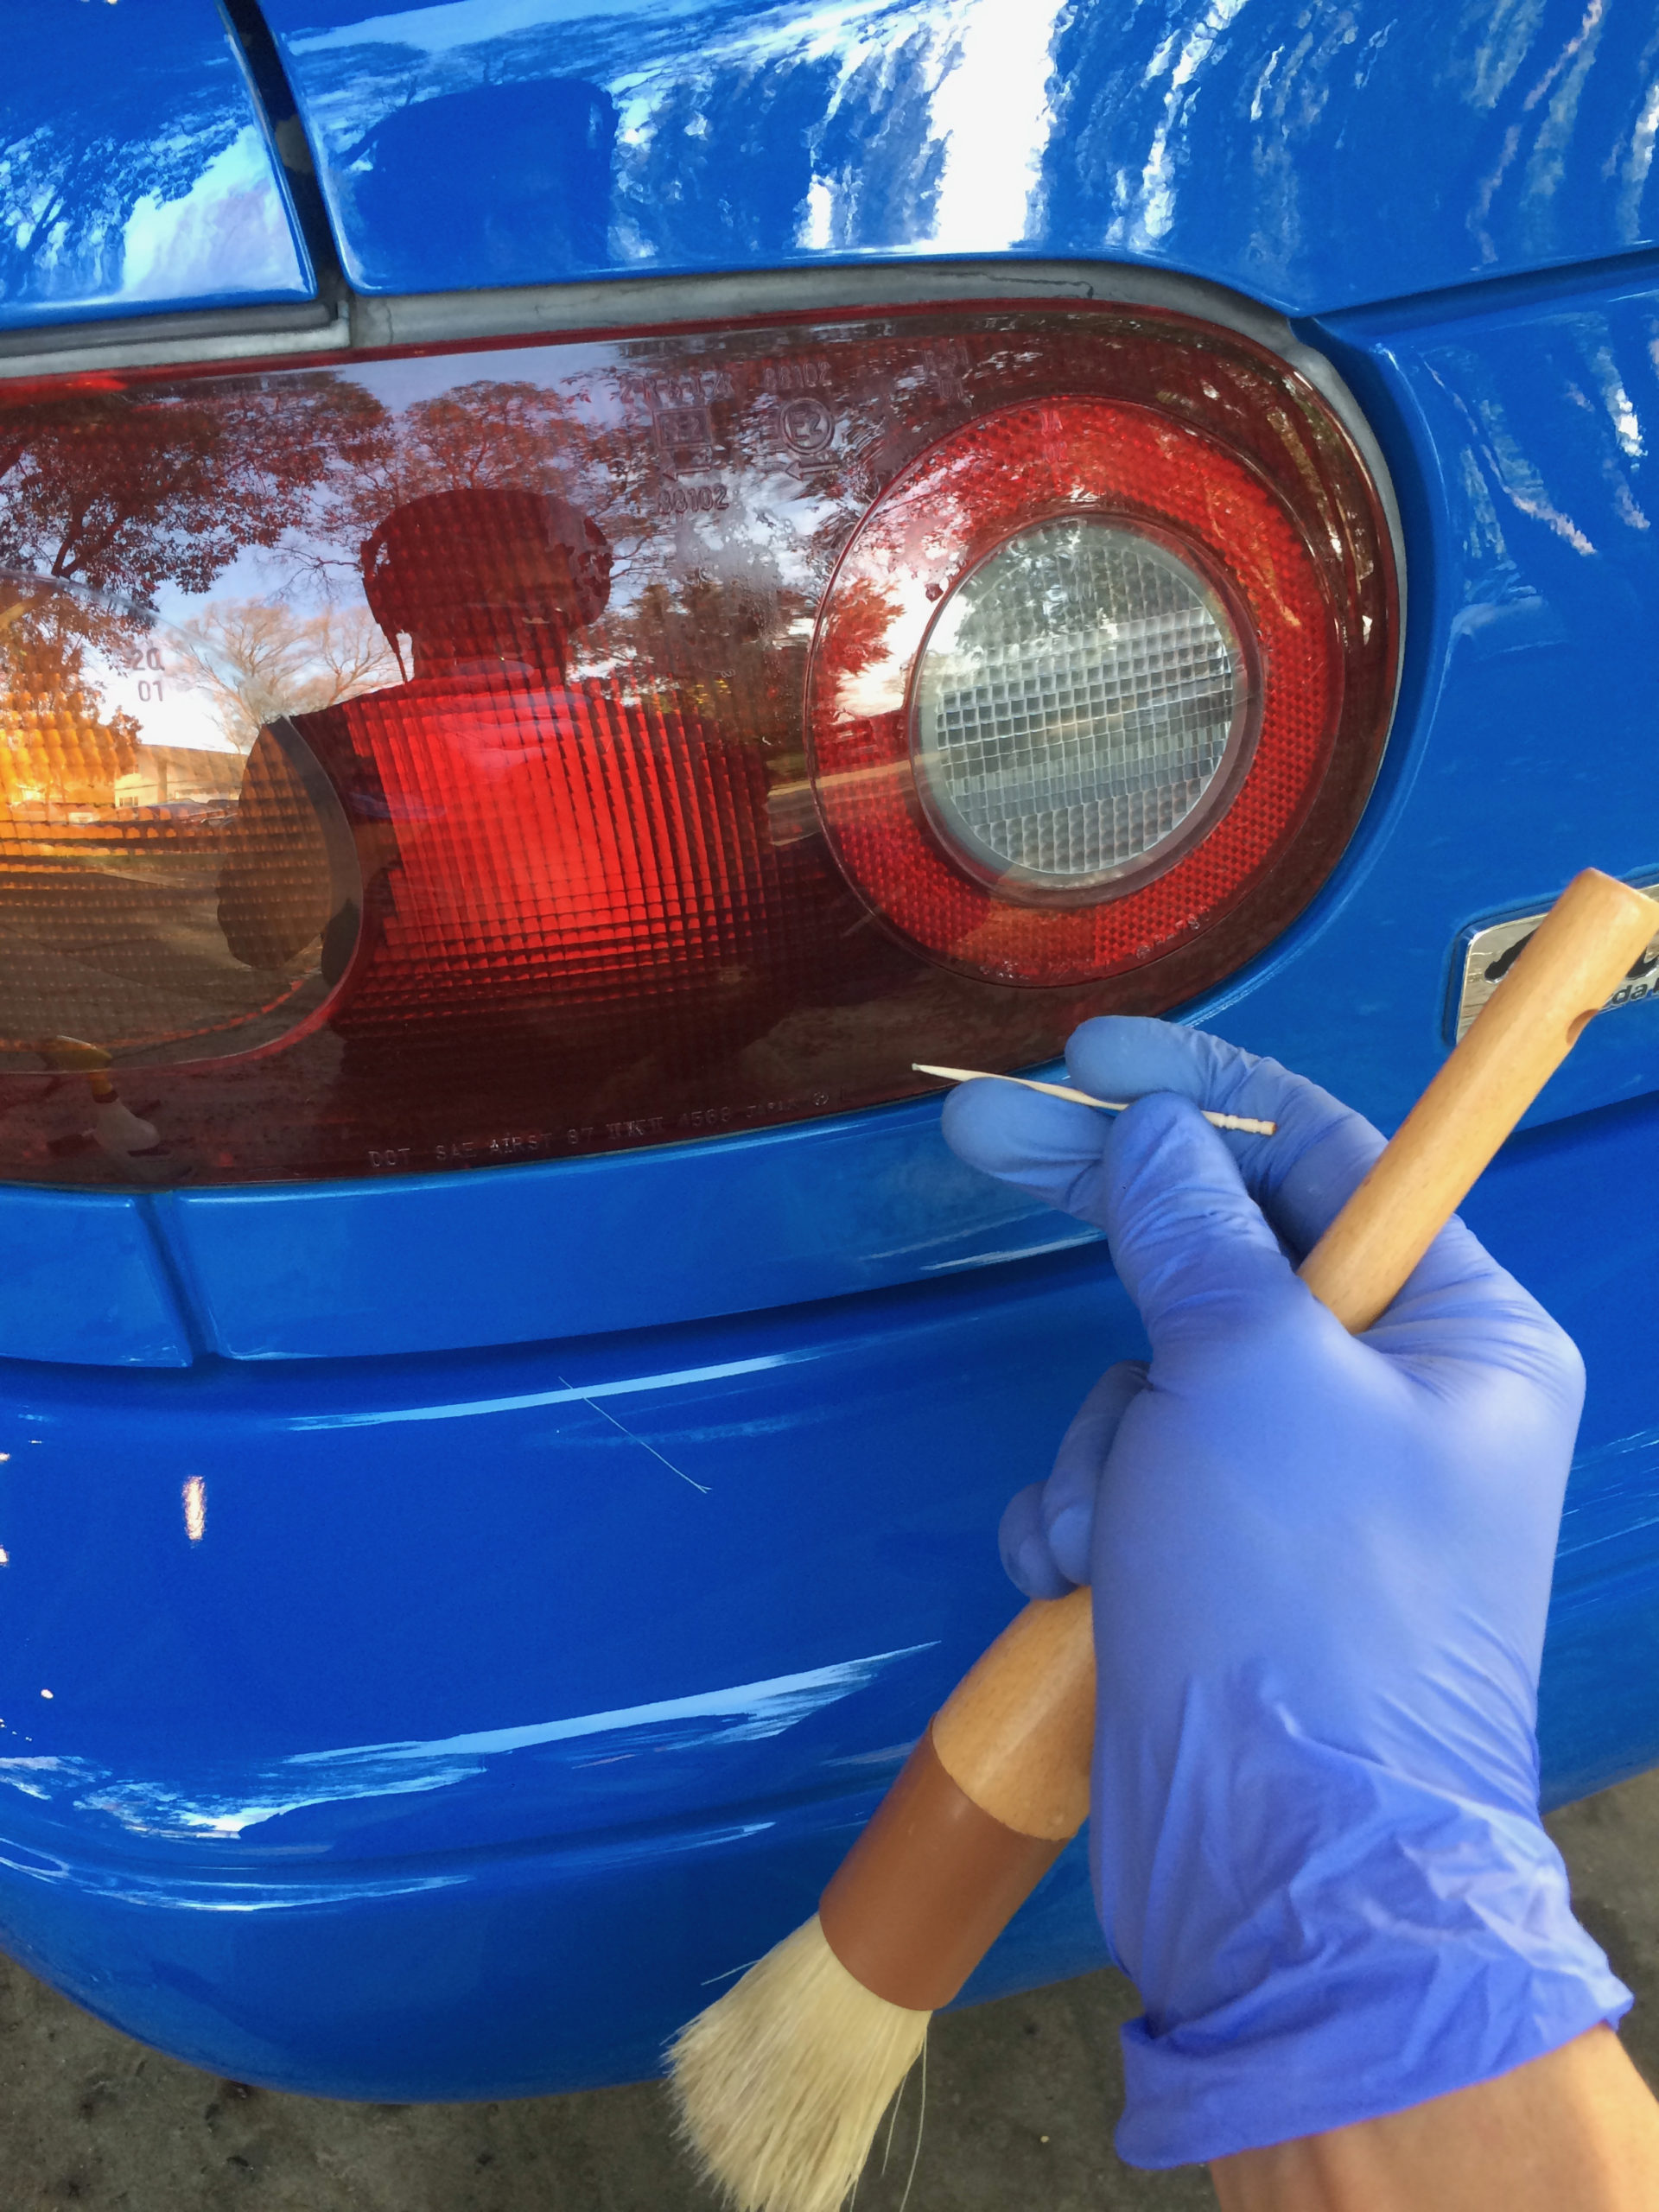
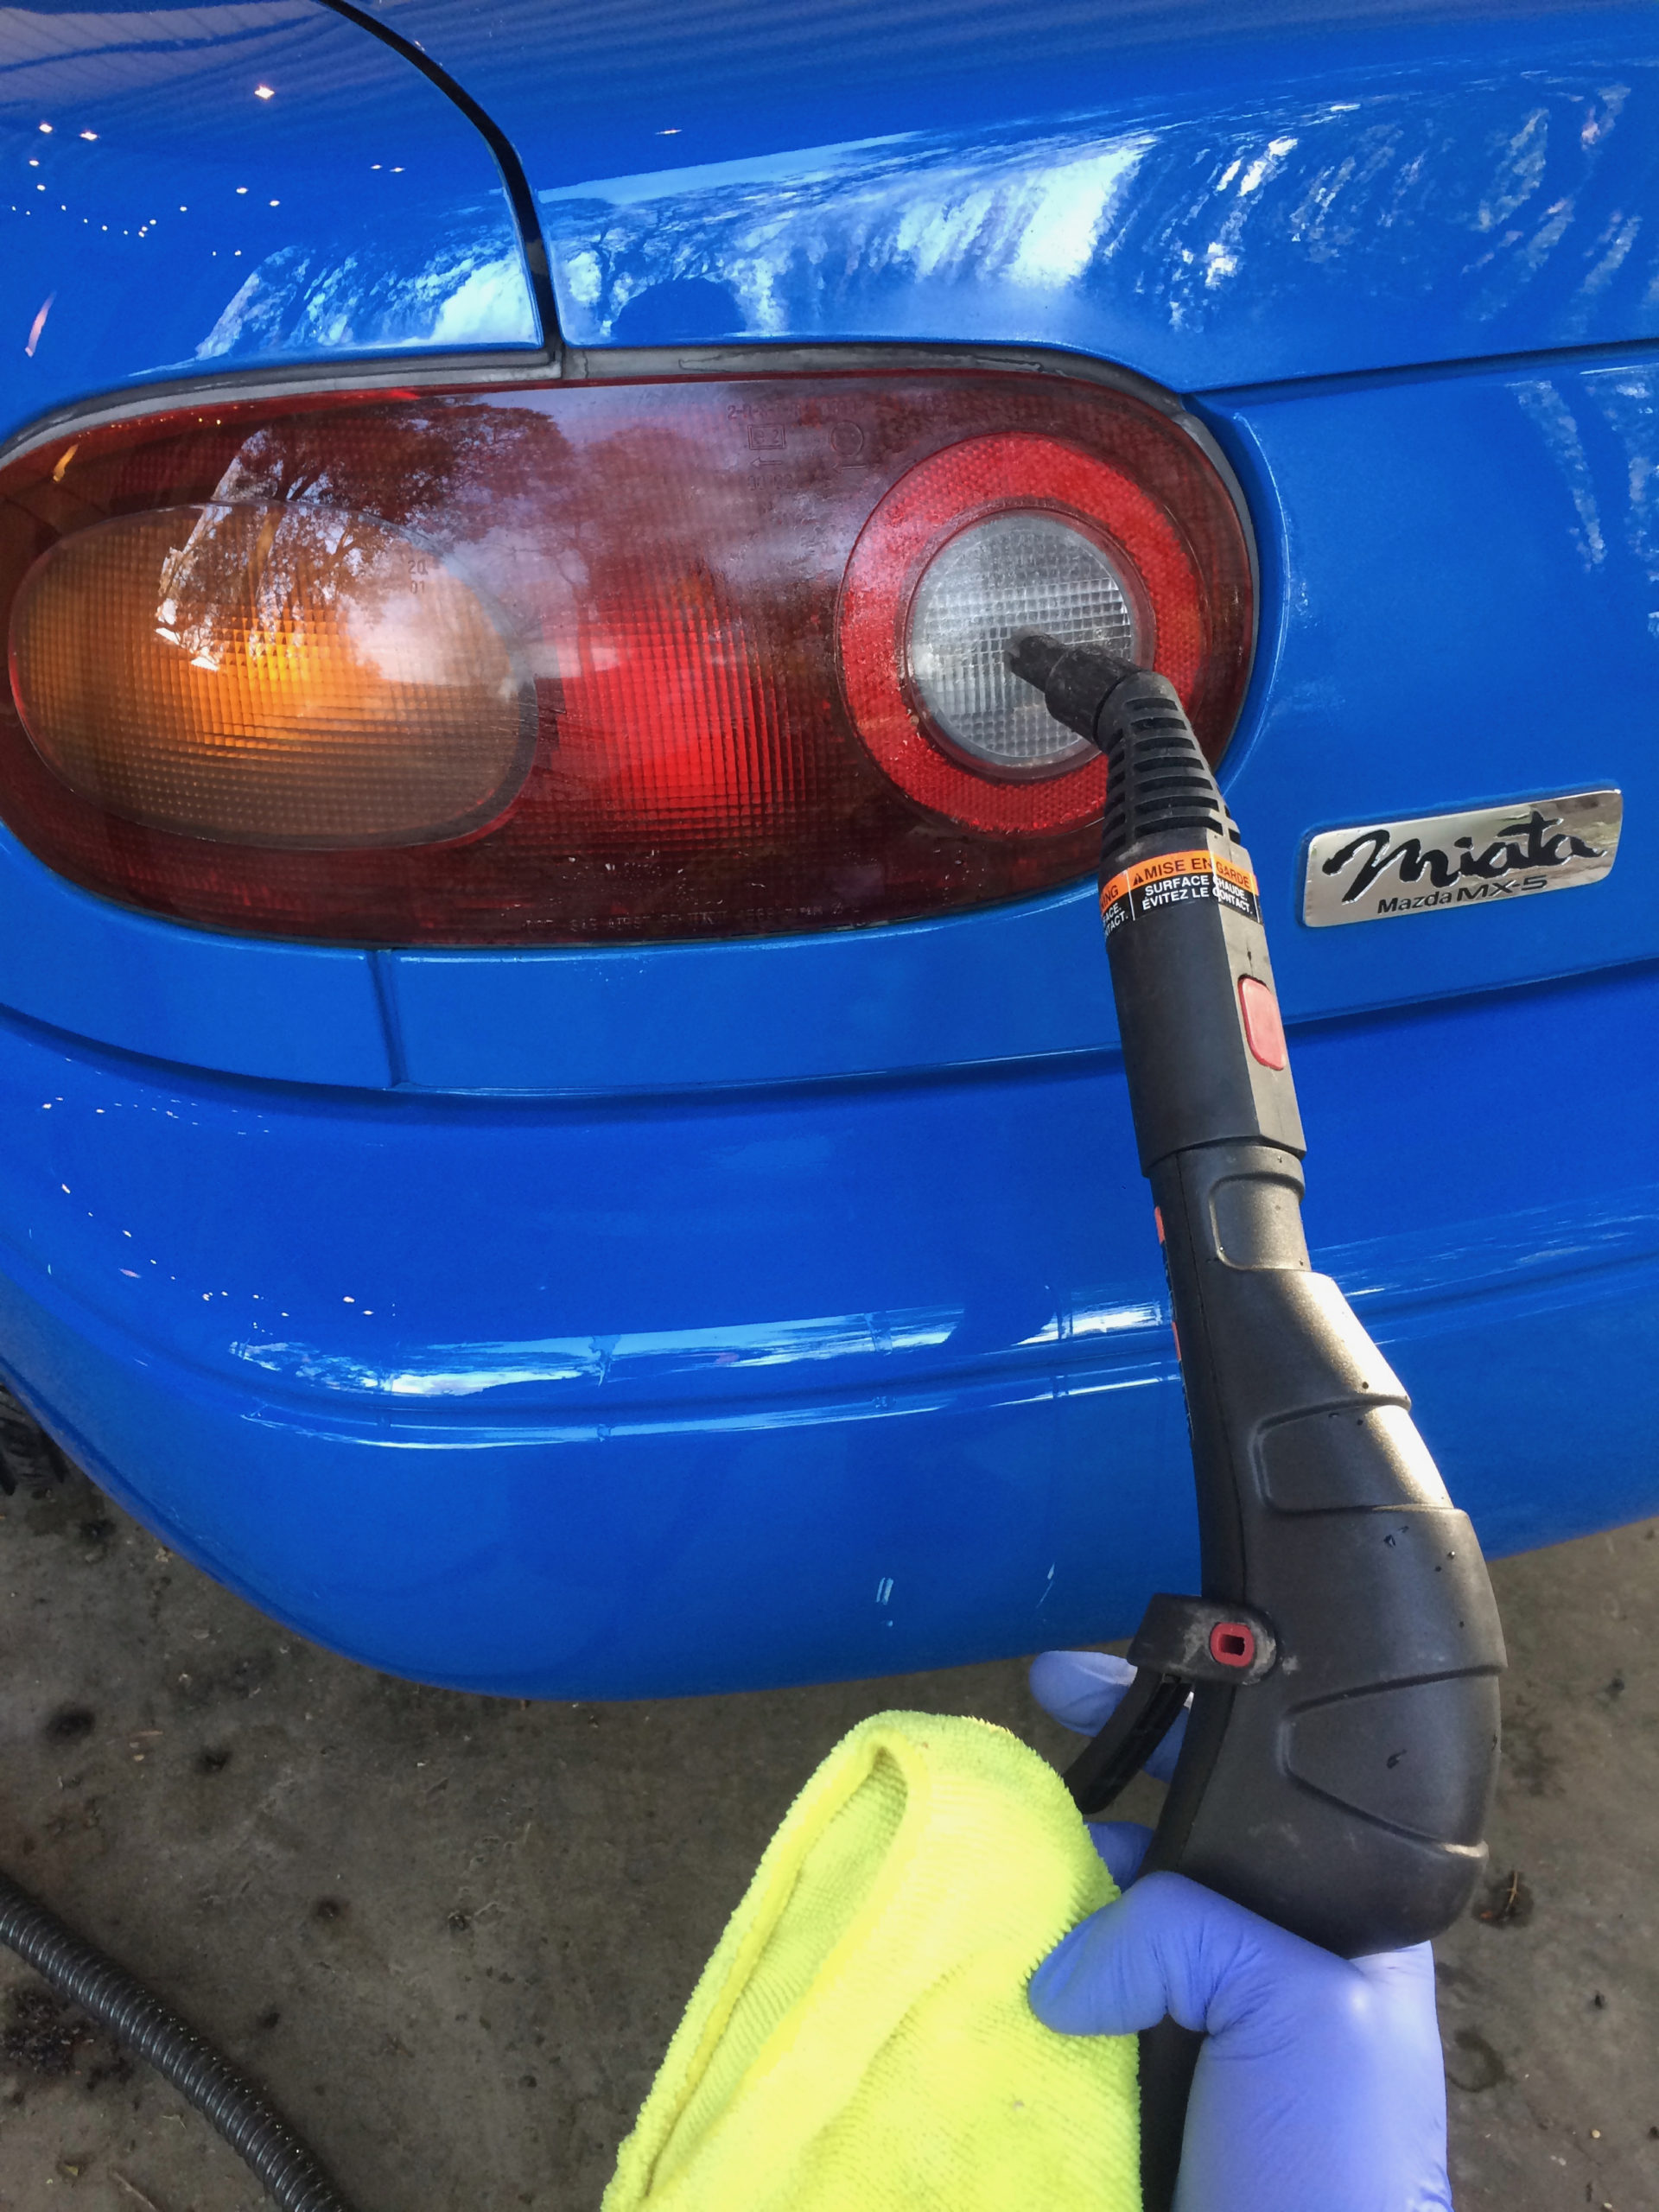
Before the polish phase of correction I cleaned some raised text on the taillight and underneath the side view mirror. I used a boar’s hair brush, toothpick, and lastly a blast from the Wagner Steam Cleaner.
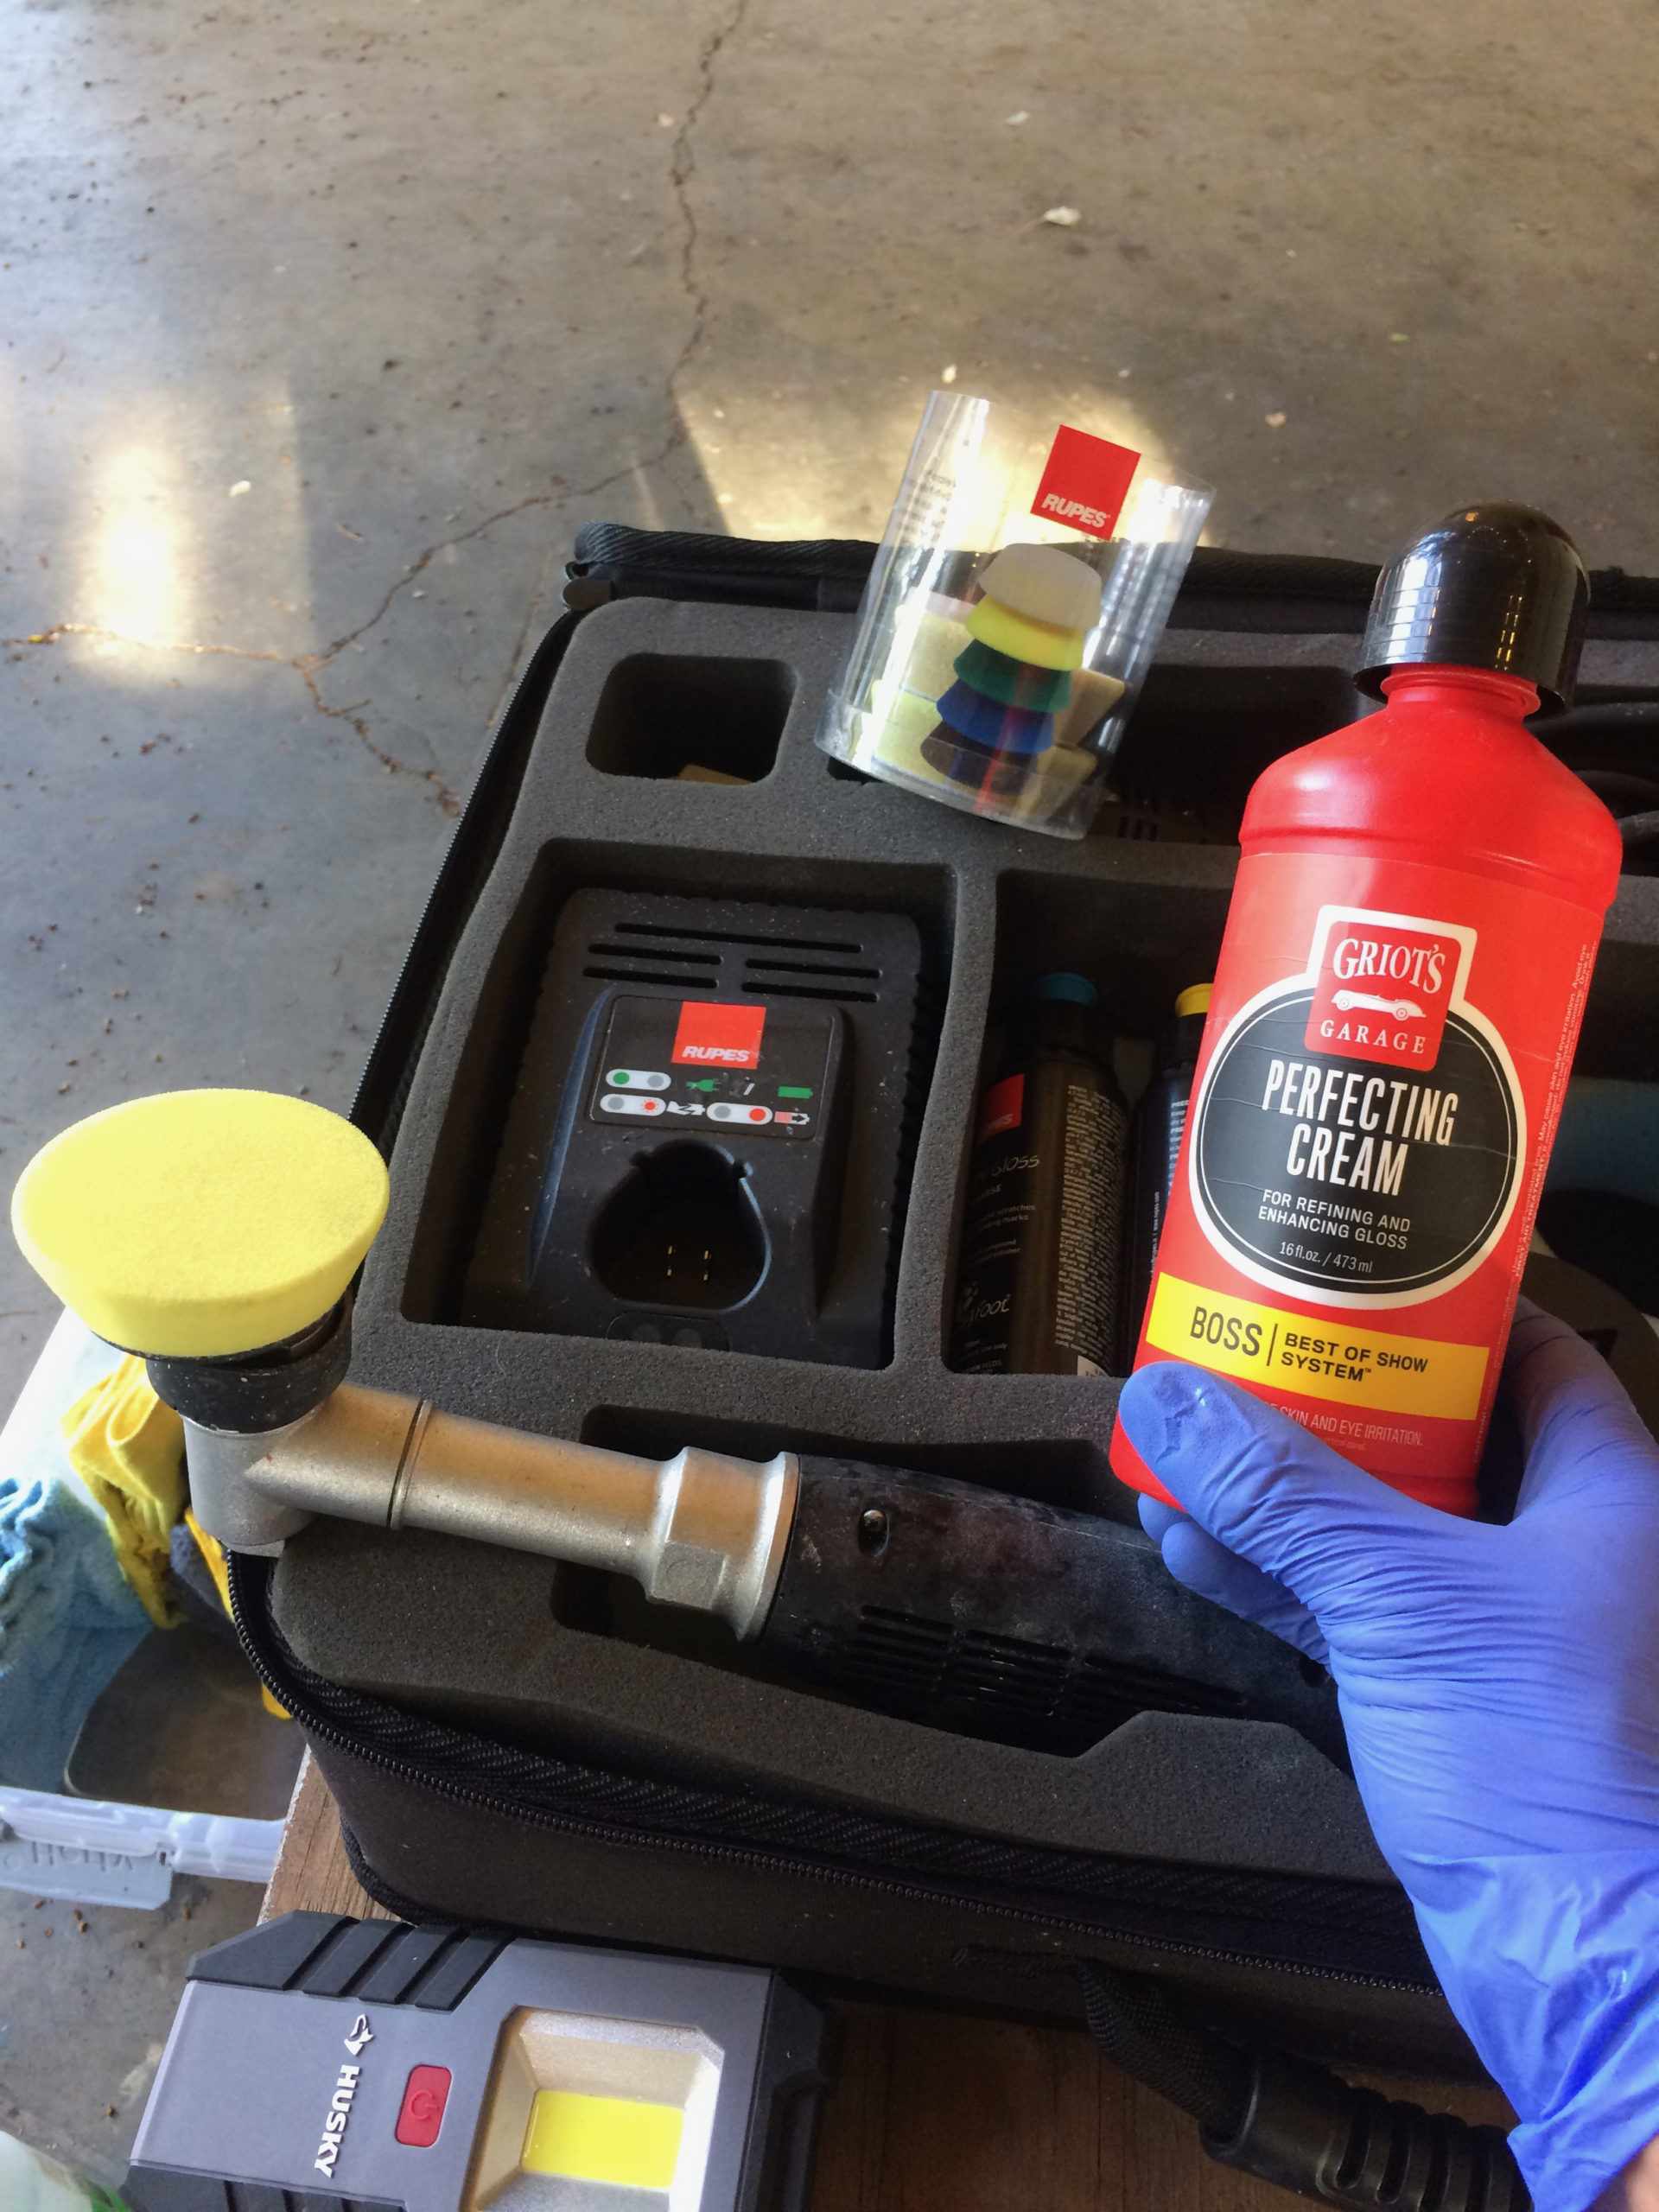
For the polish phase I swapped with Griot’s BOSS Perfecting Pads primed using Griot’s Perfecting Cream.
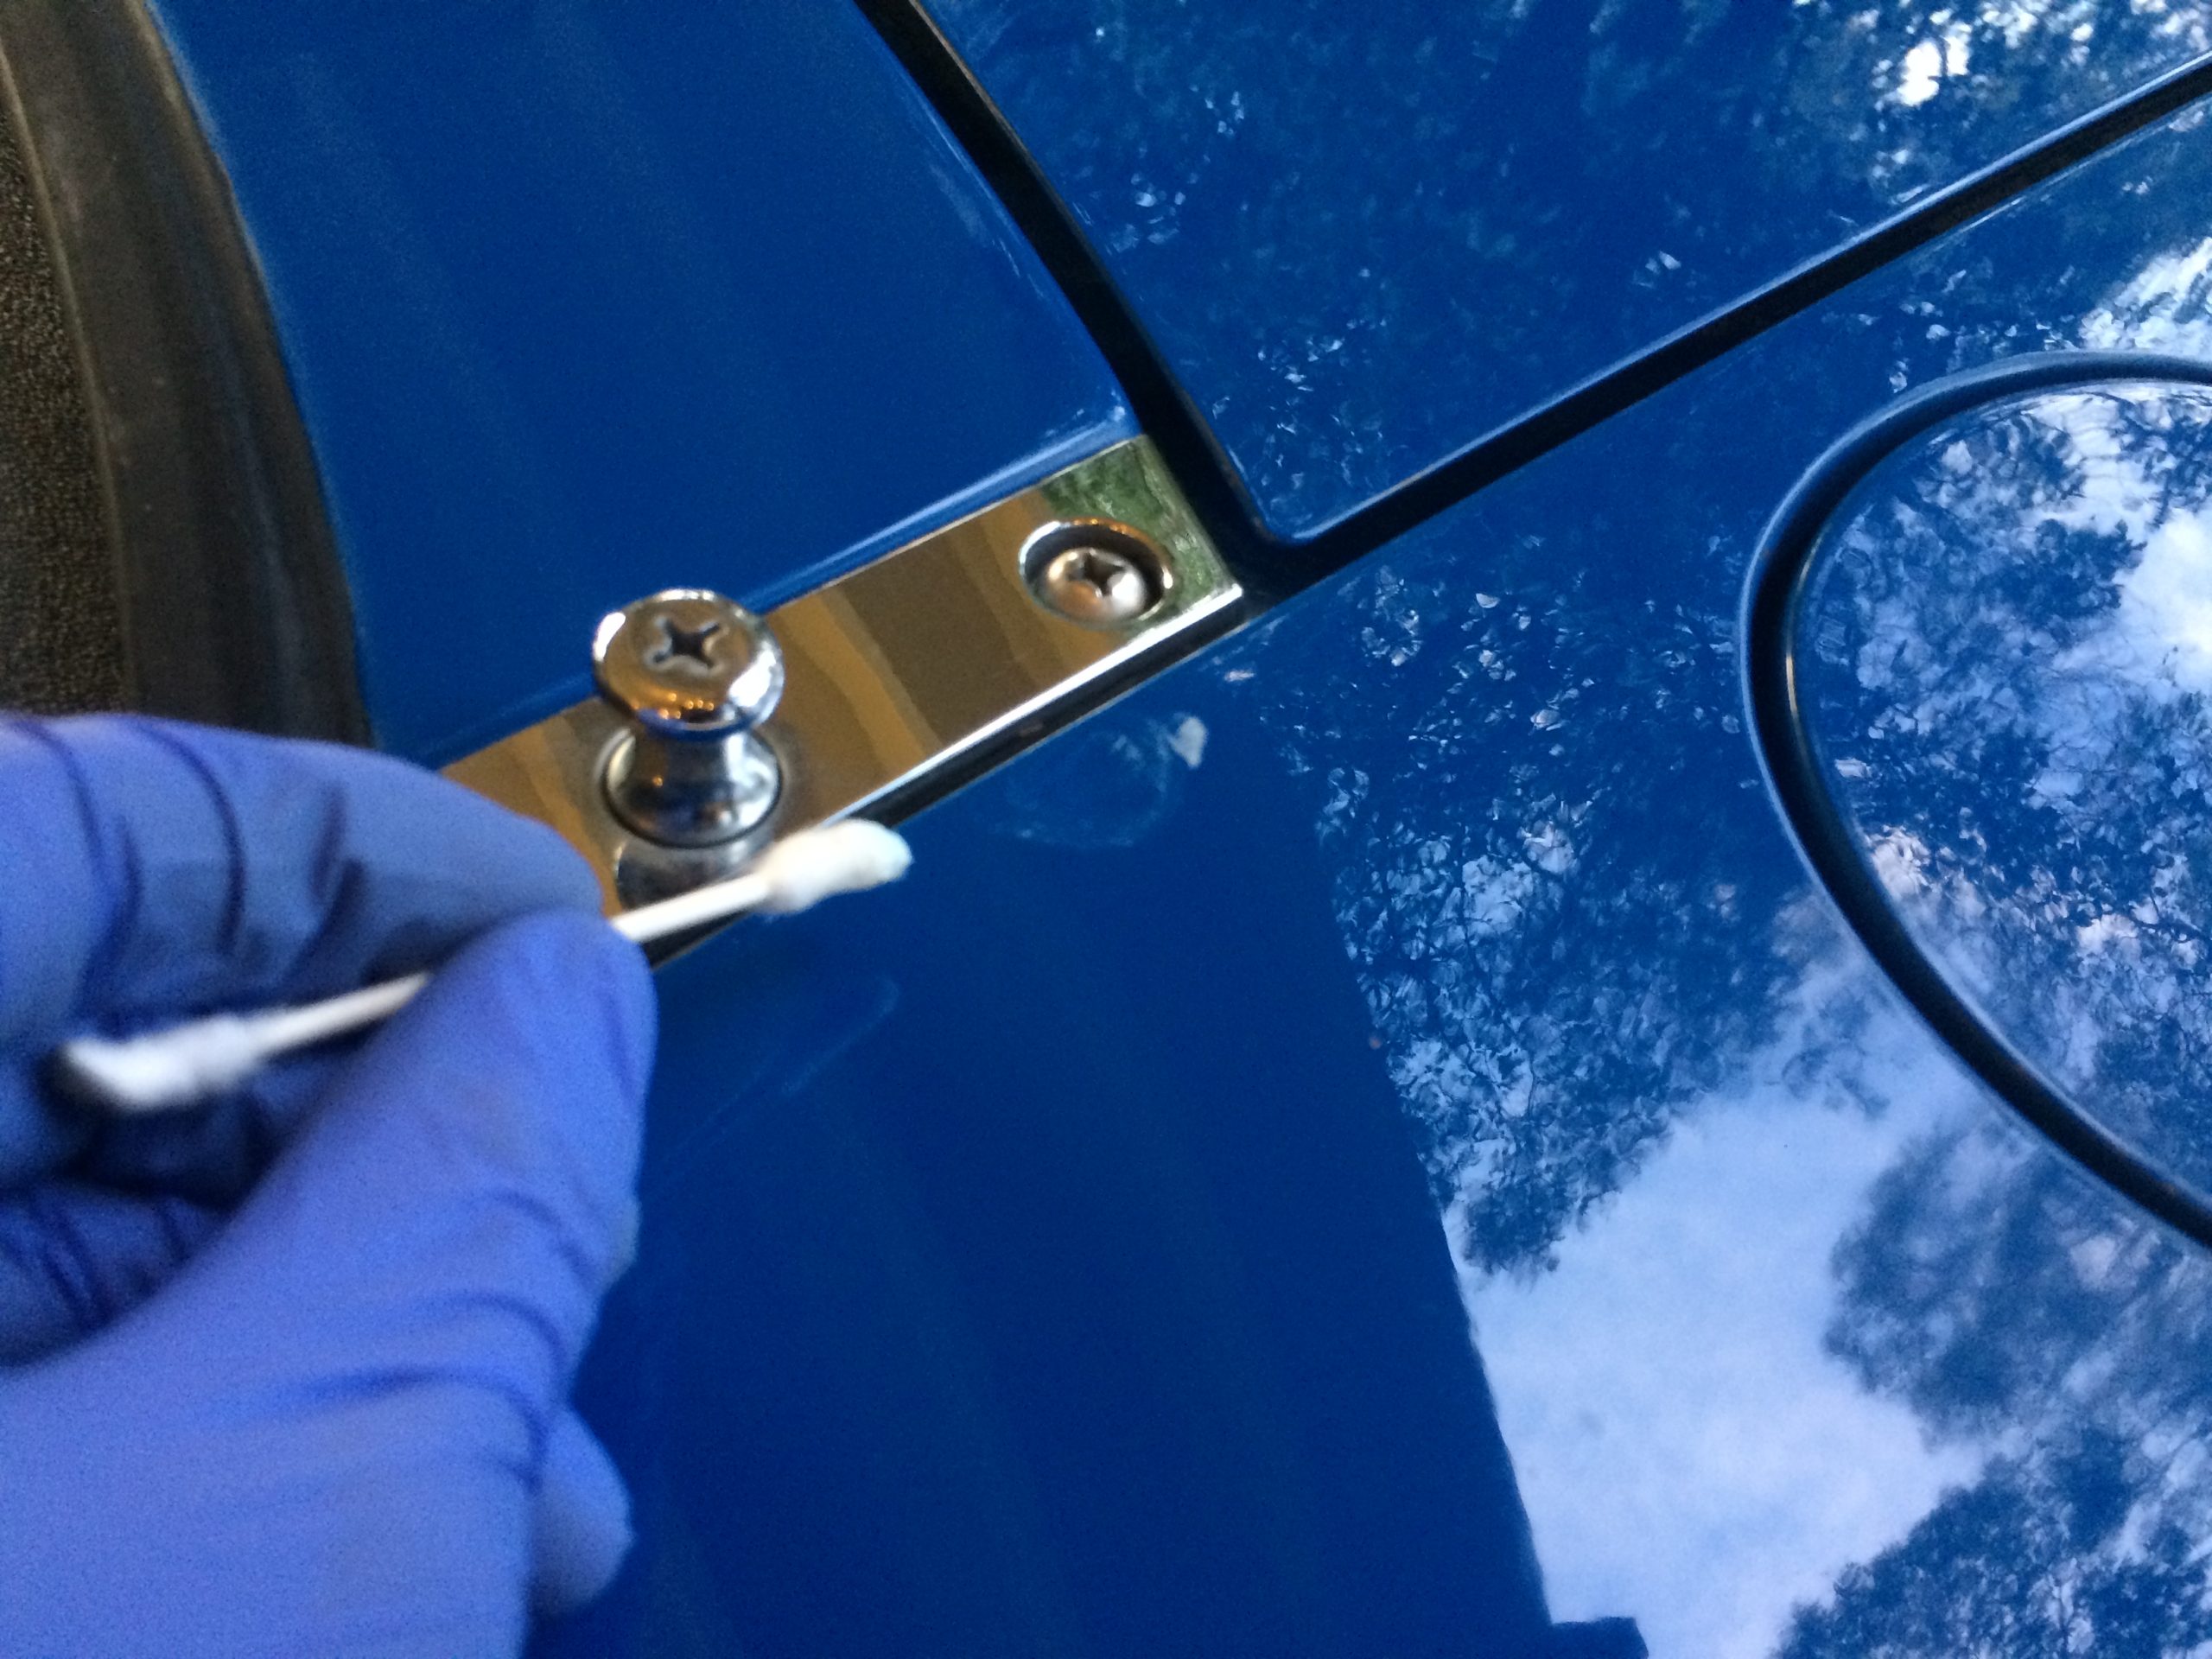
I did a final inspection for missed paint defects and found a small dent on the rear quarter panel where the Rupes passed over. A cotton swab and Perfecting Cream fixed the defect.
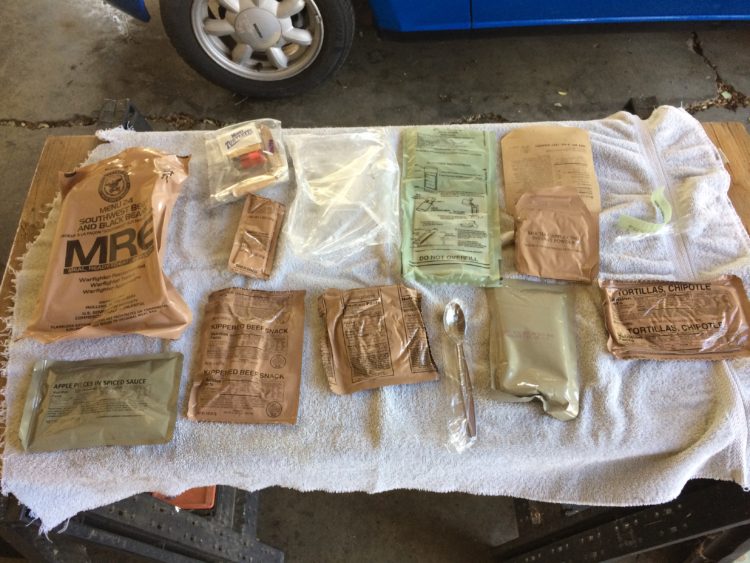
It was lunch time and I almost decided to go out to eat when I remembered that the cat could ruin the paint at any moment that I am gone. I decided to have an MRE with the MX-5 instead.
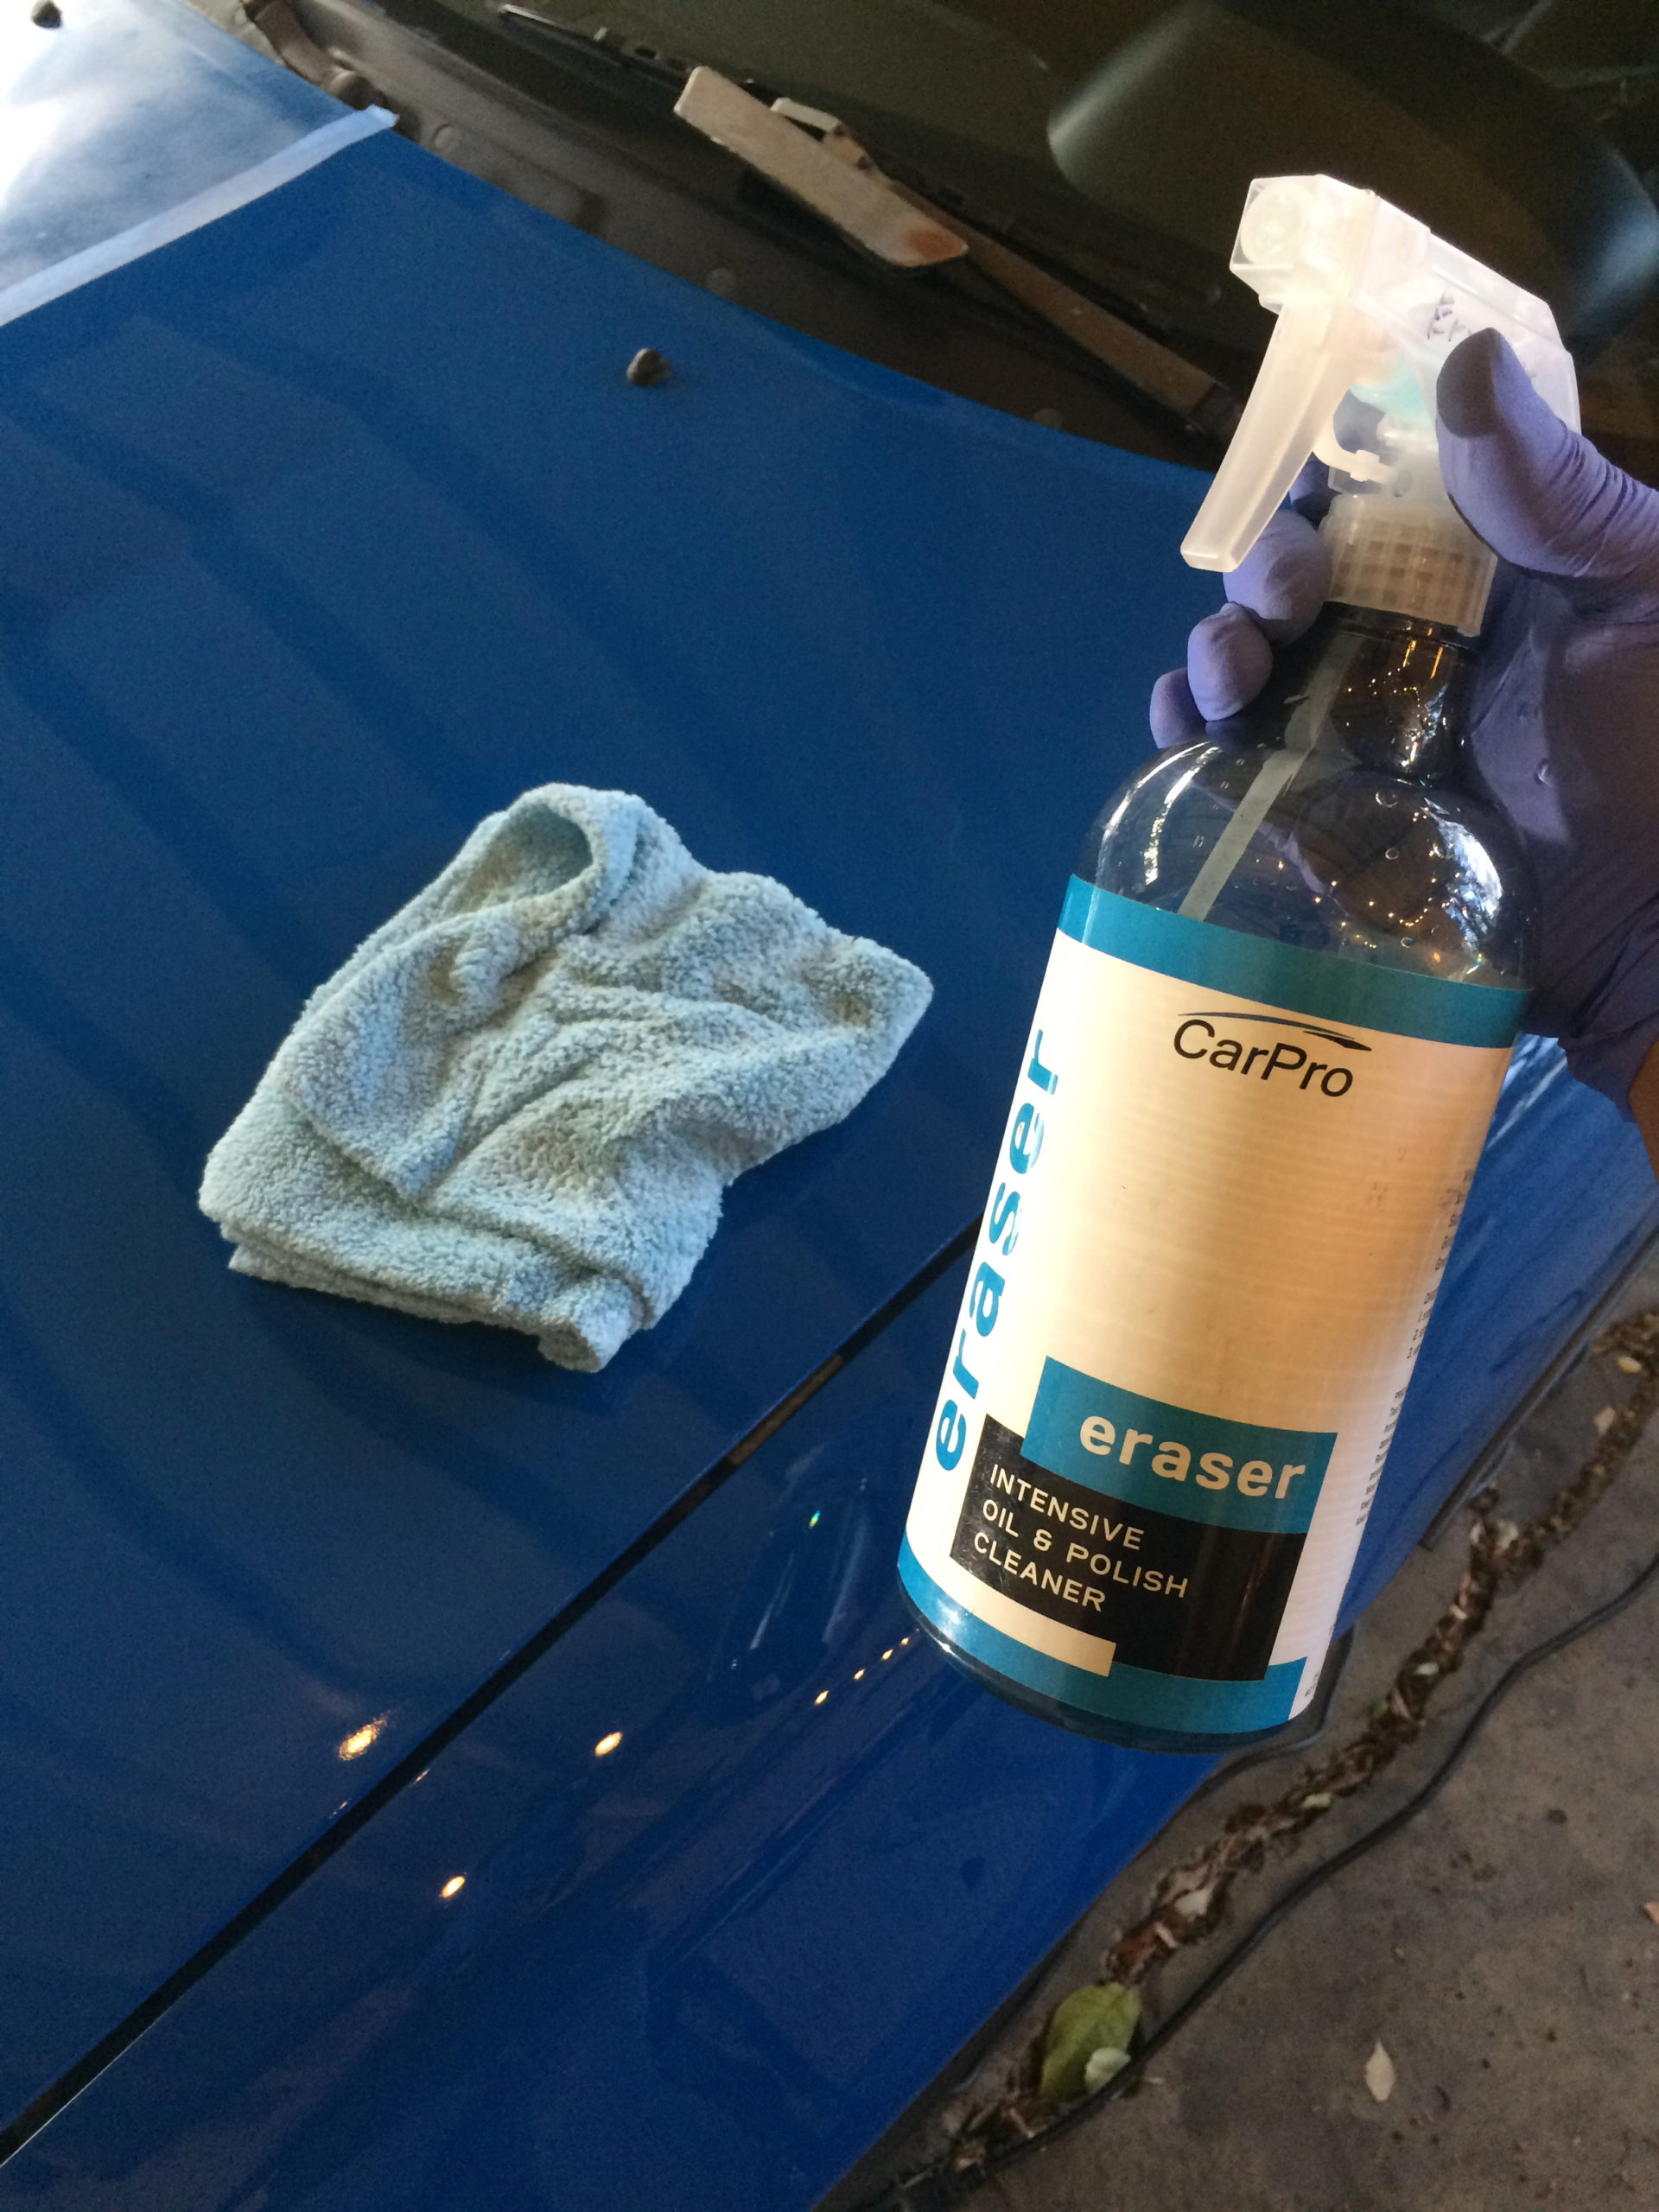
Fully nourished, I continued by removing any polish residue left behind using CarPro Eraser paired with Griot’s Plush Edgeless Towels.
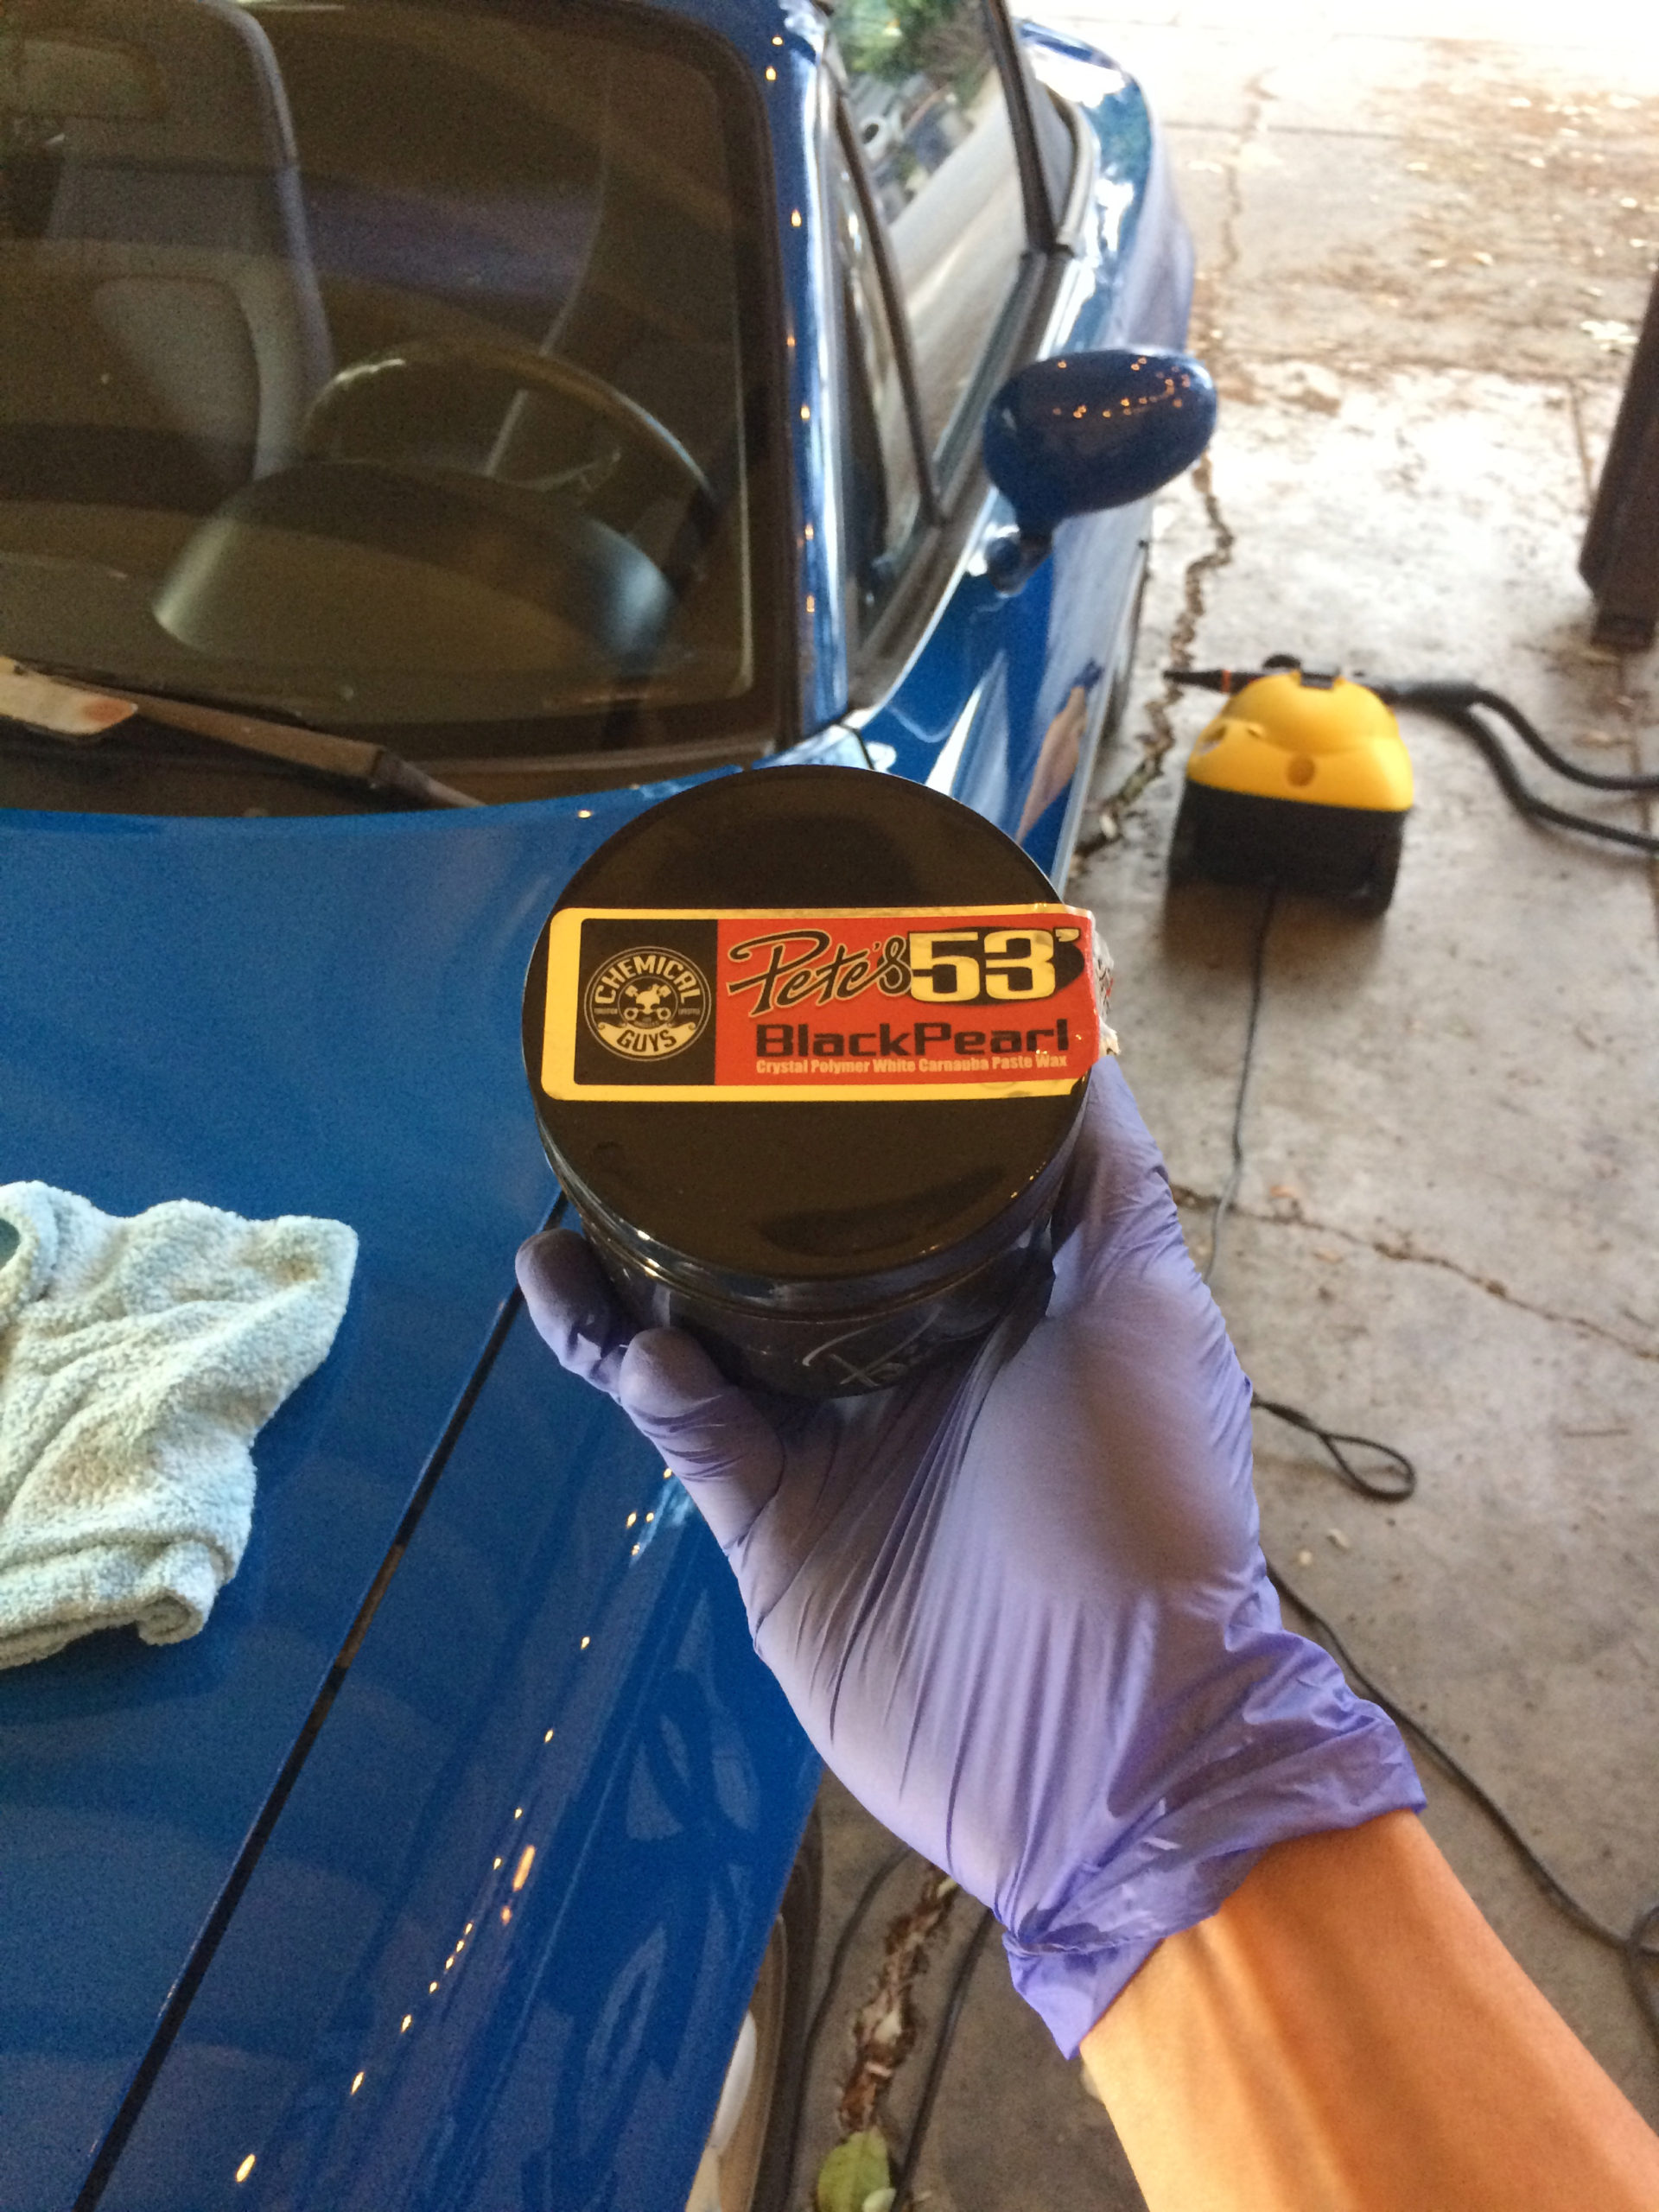
For the wax, I decided to use Pete’s 53 Black Pearl by Chemical Guys. This wax was given to me by a friend and I expected the Brazilian white carnauba would provide extra depth to the paint.
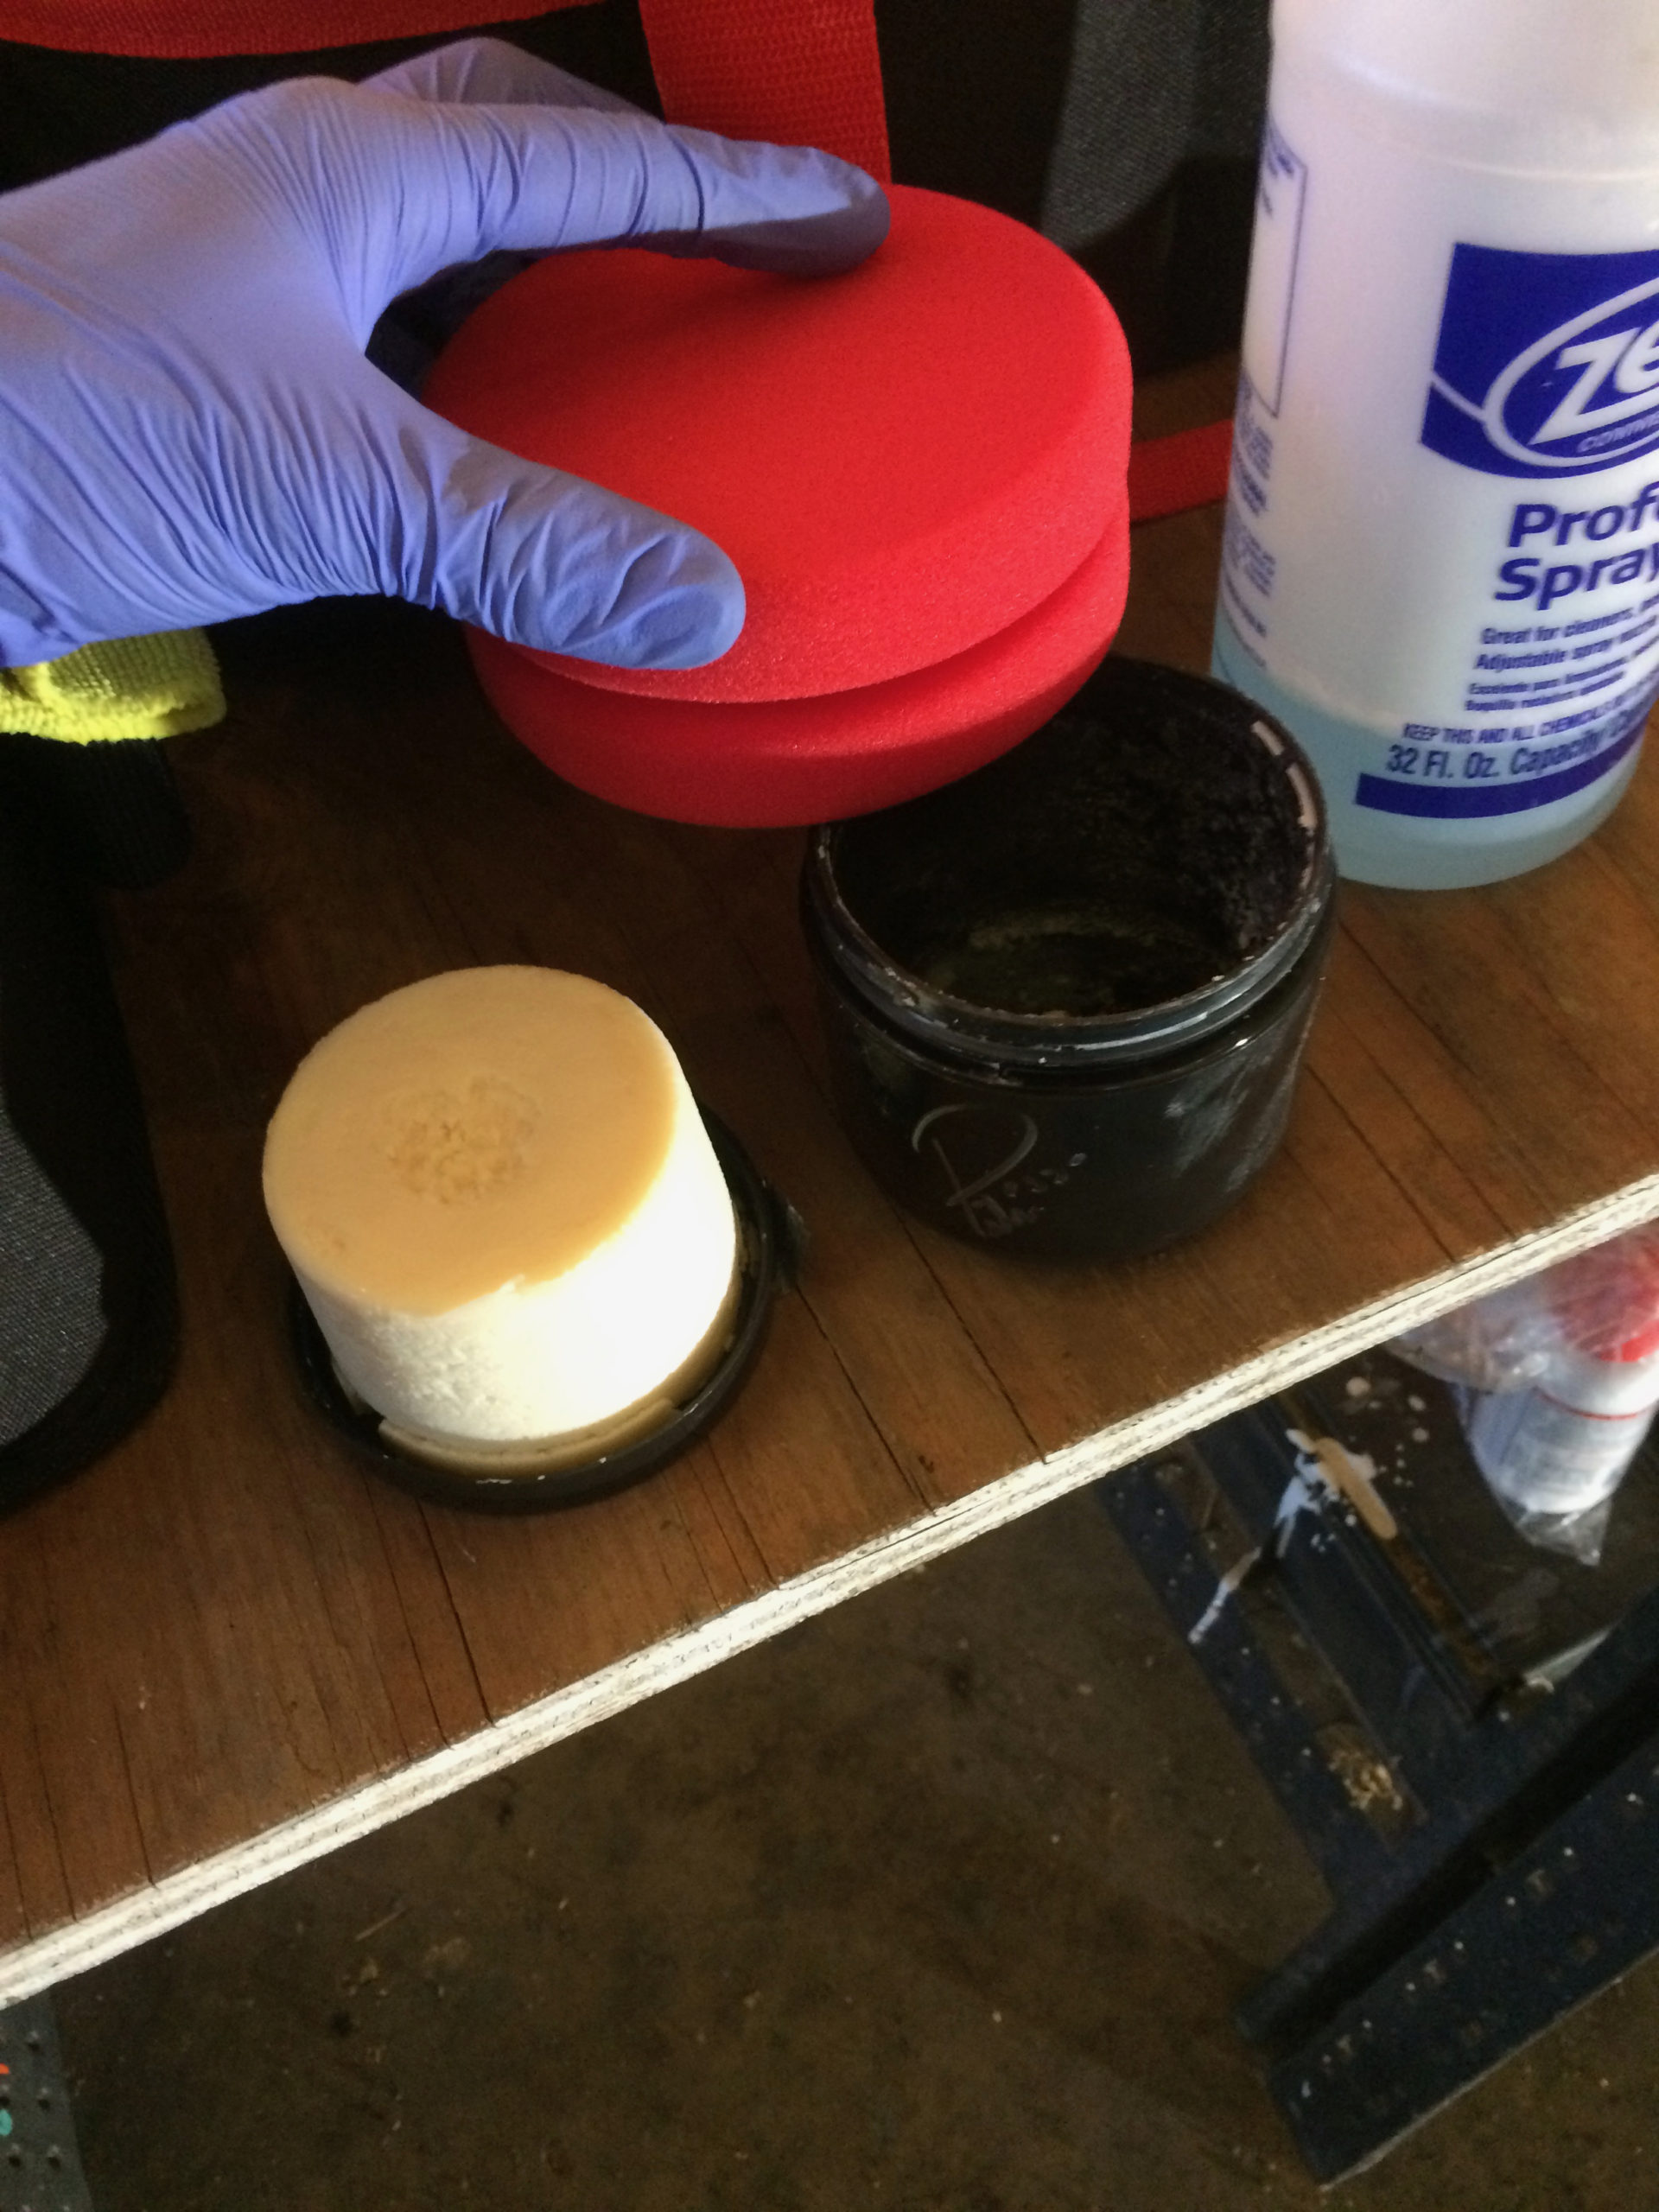
Several reviewers of this wax have criticized the jar opening for being too small for applicators, I agree, but I was able to drop the block of wax out of the jar and onto the lid. I would then rub the block of wax against the applicator.
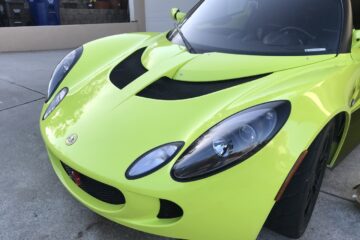
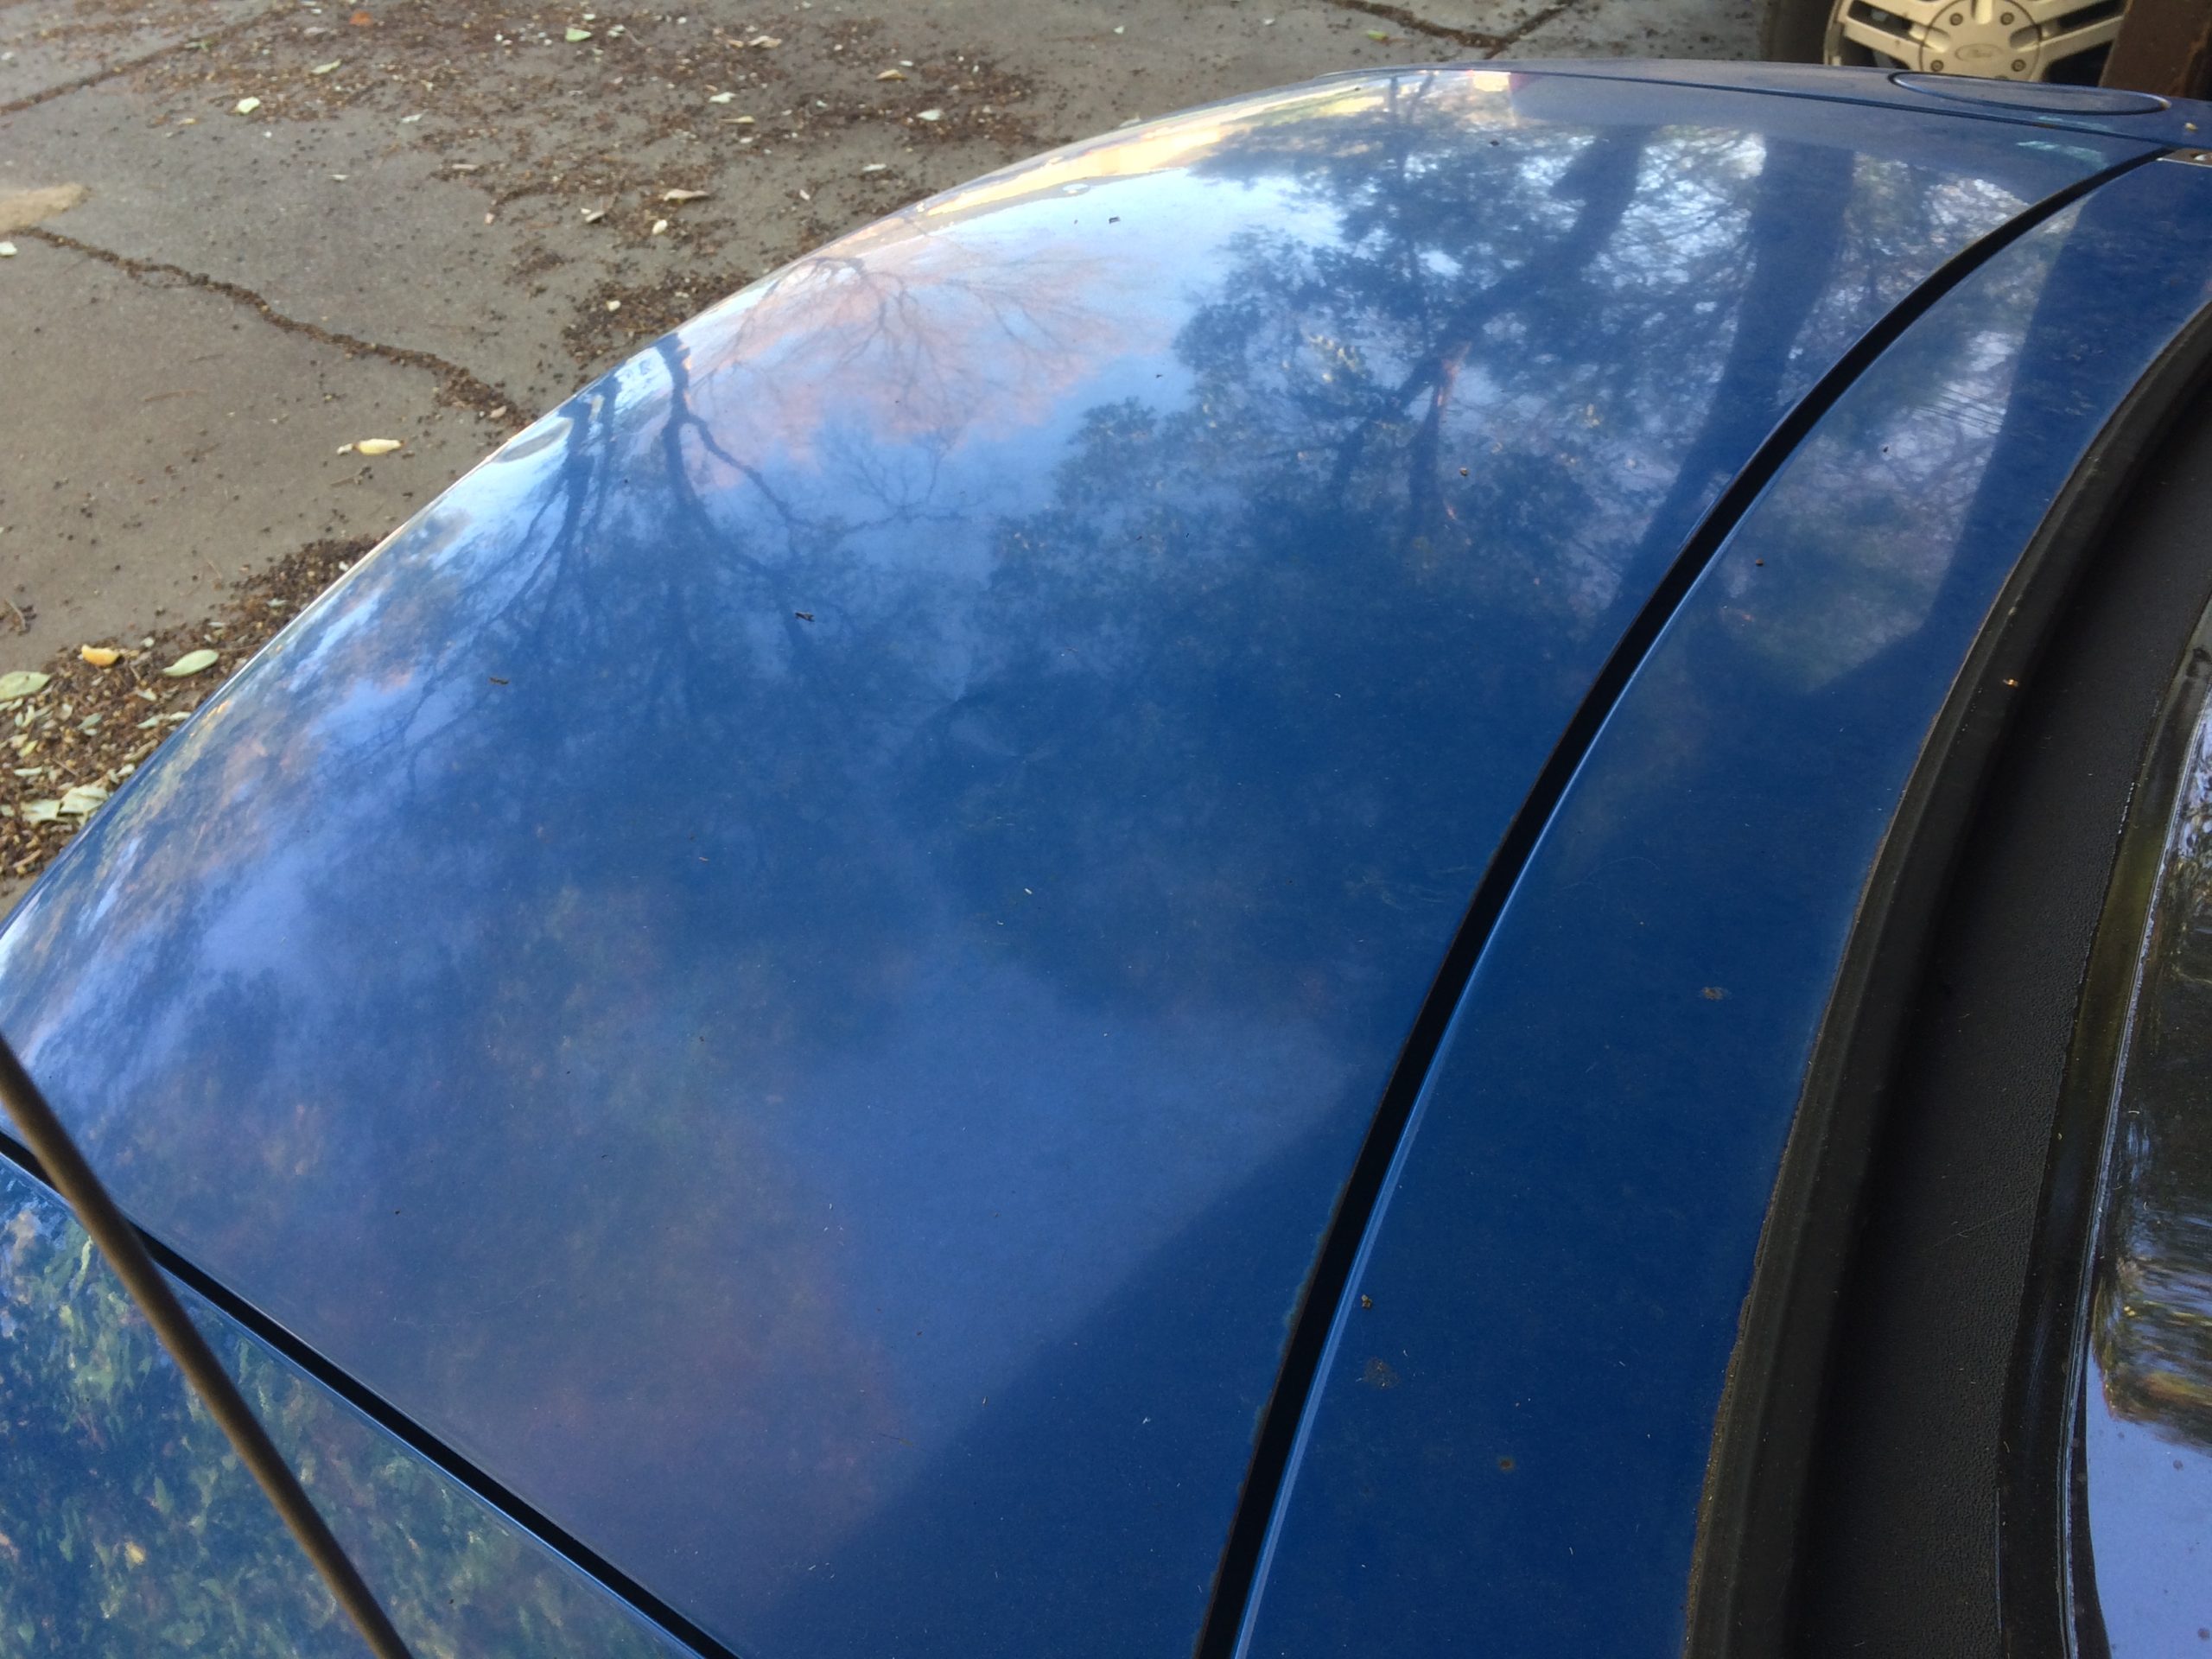
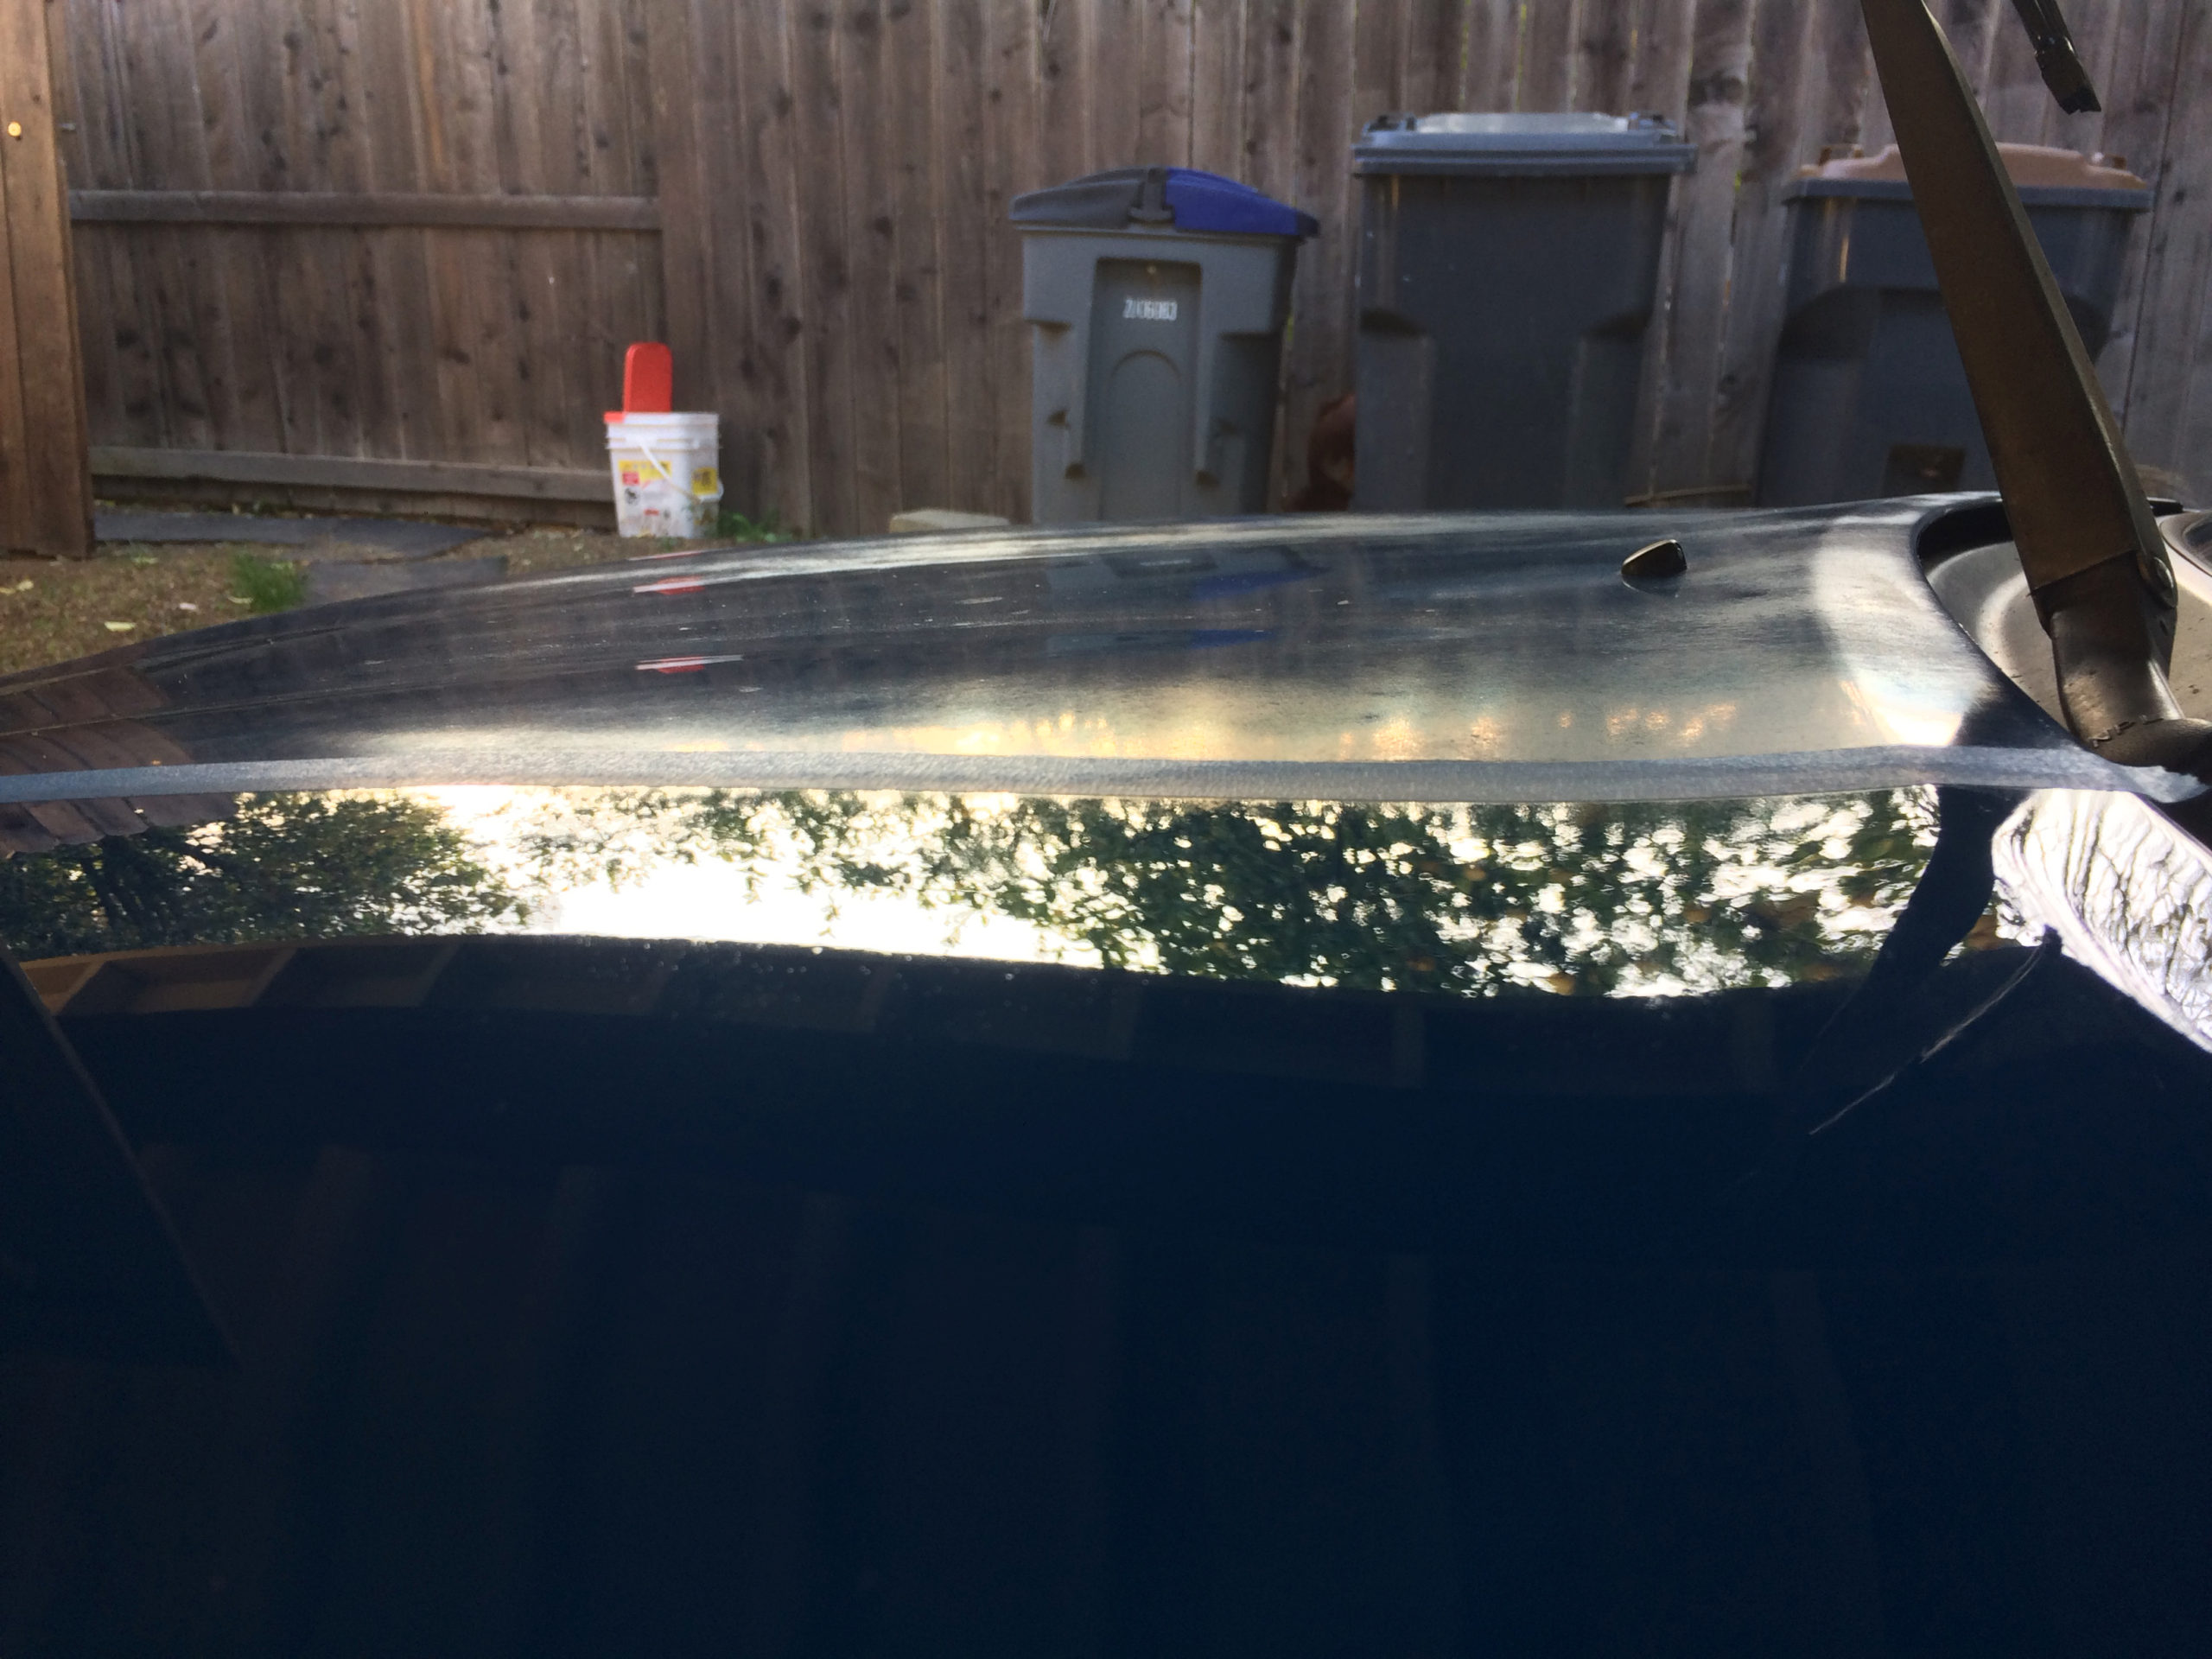
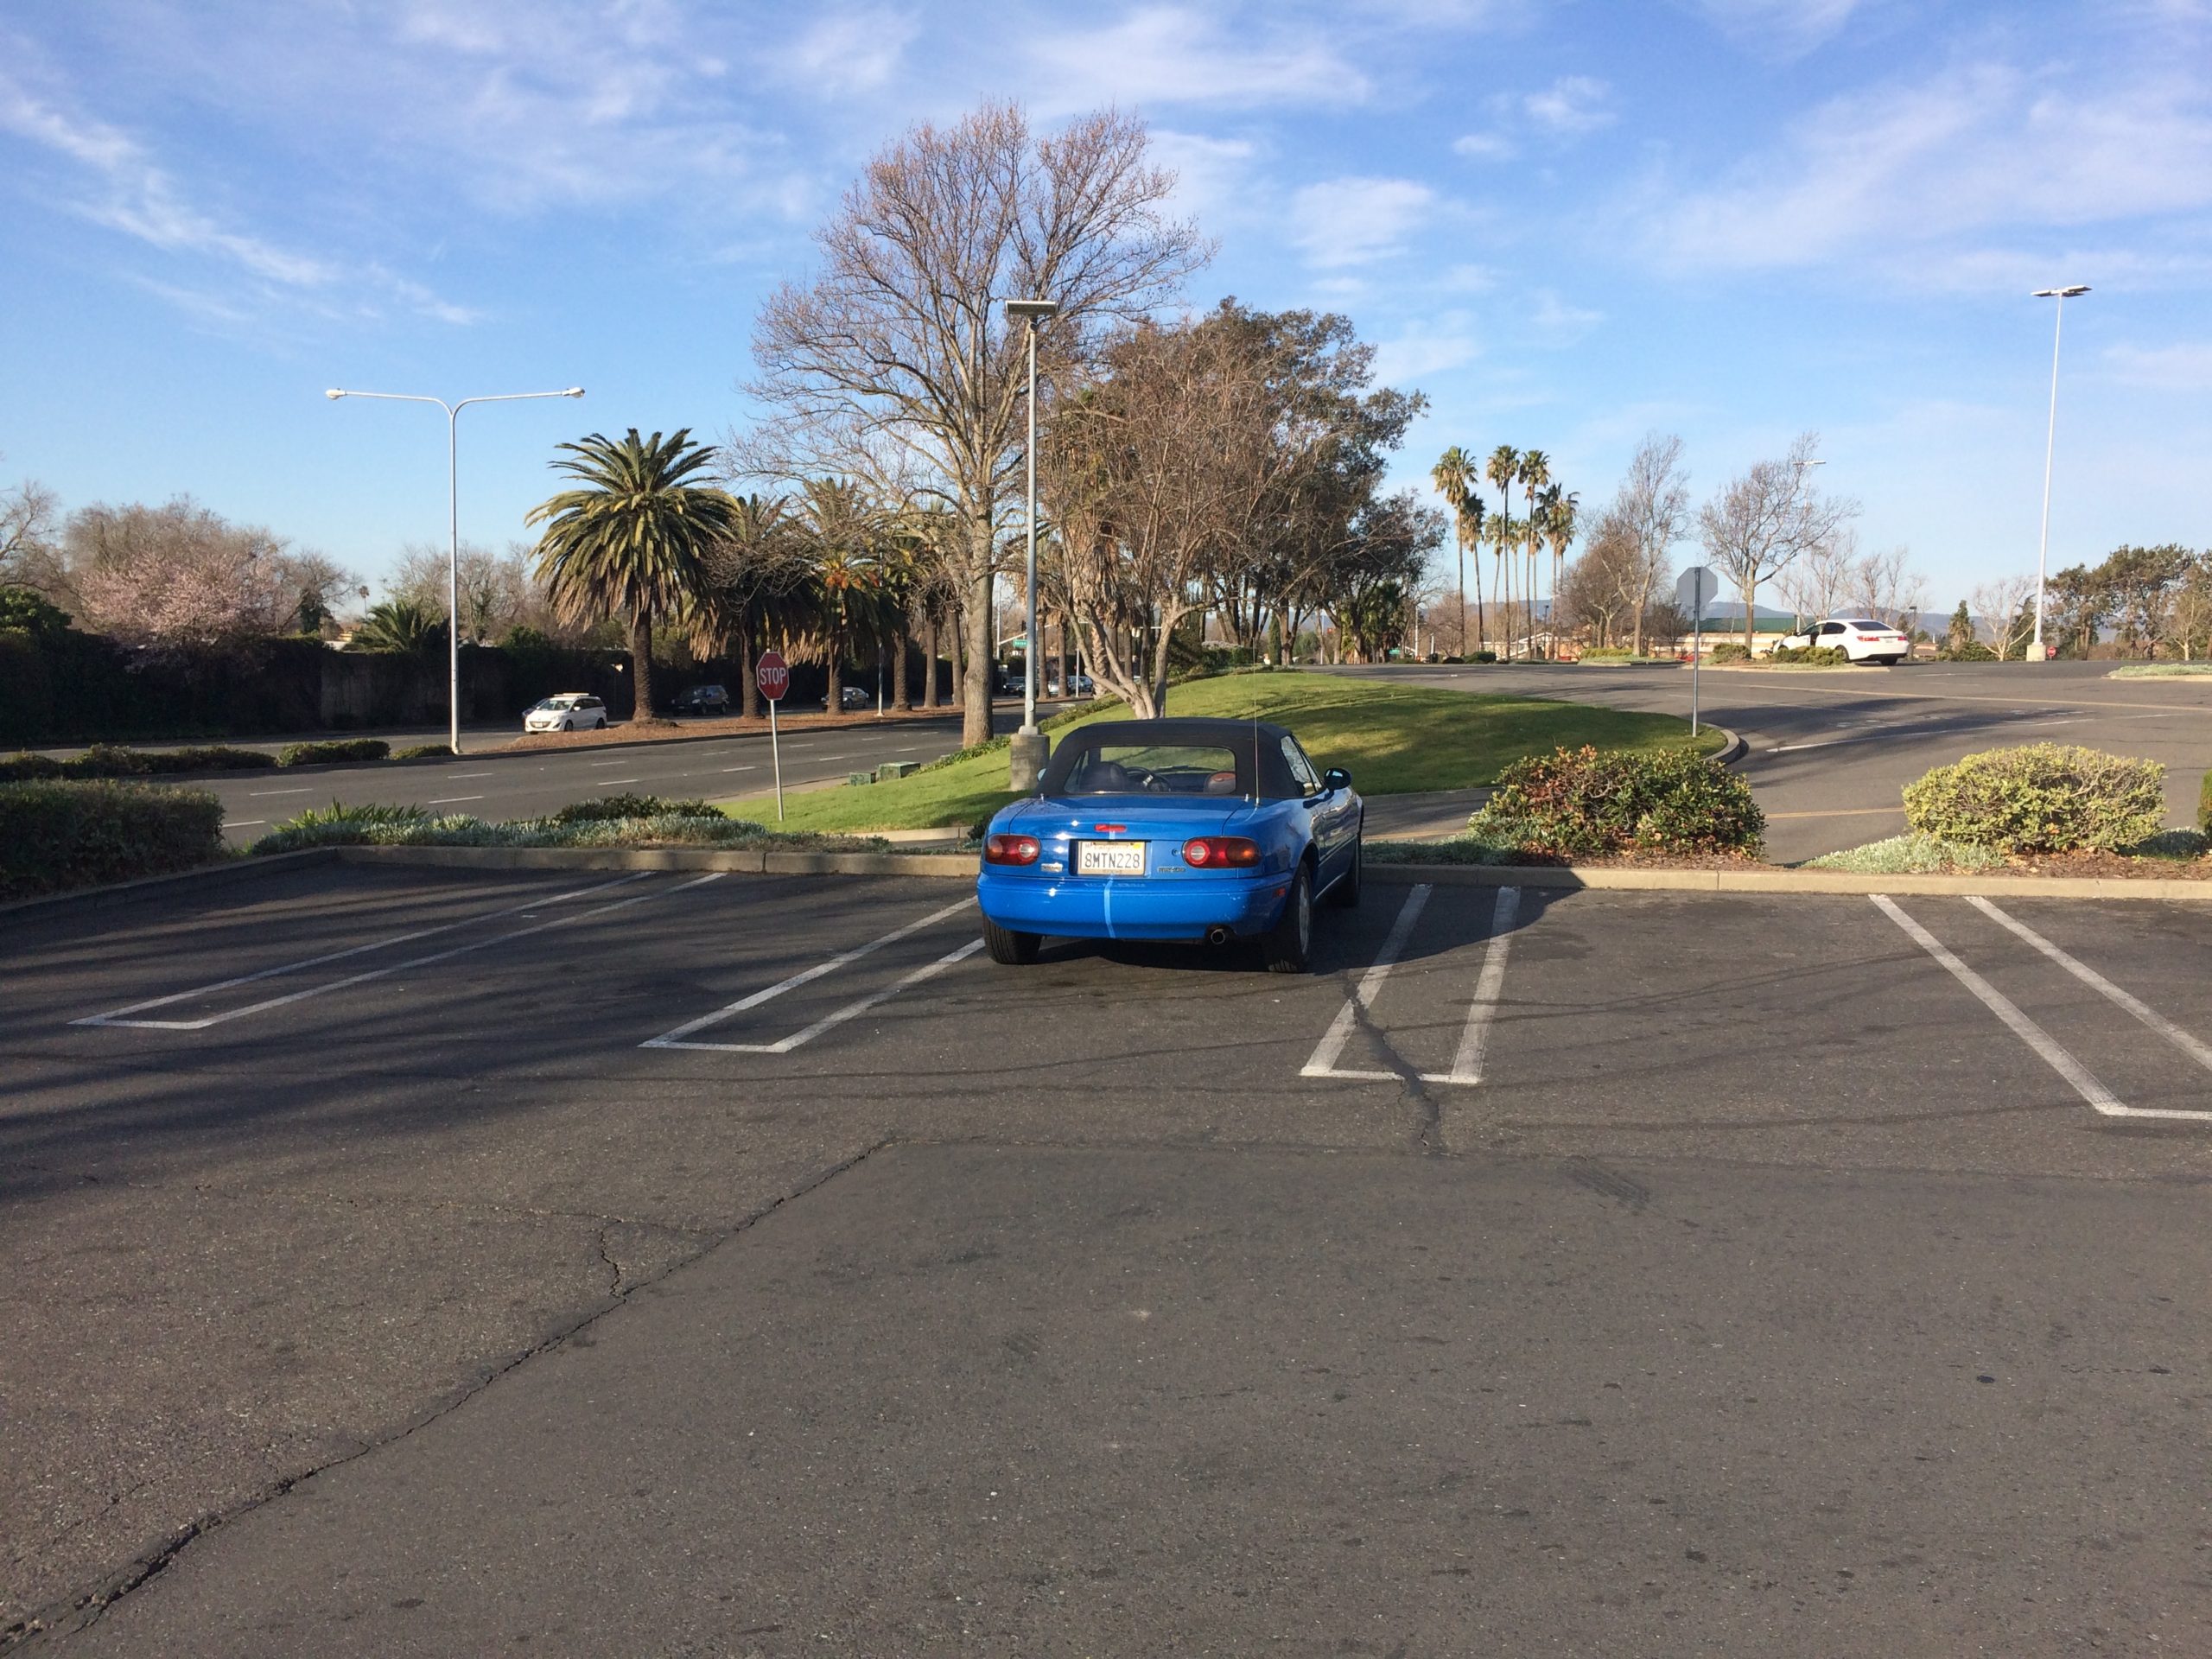
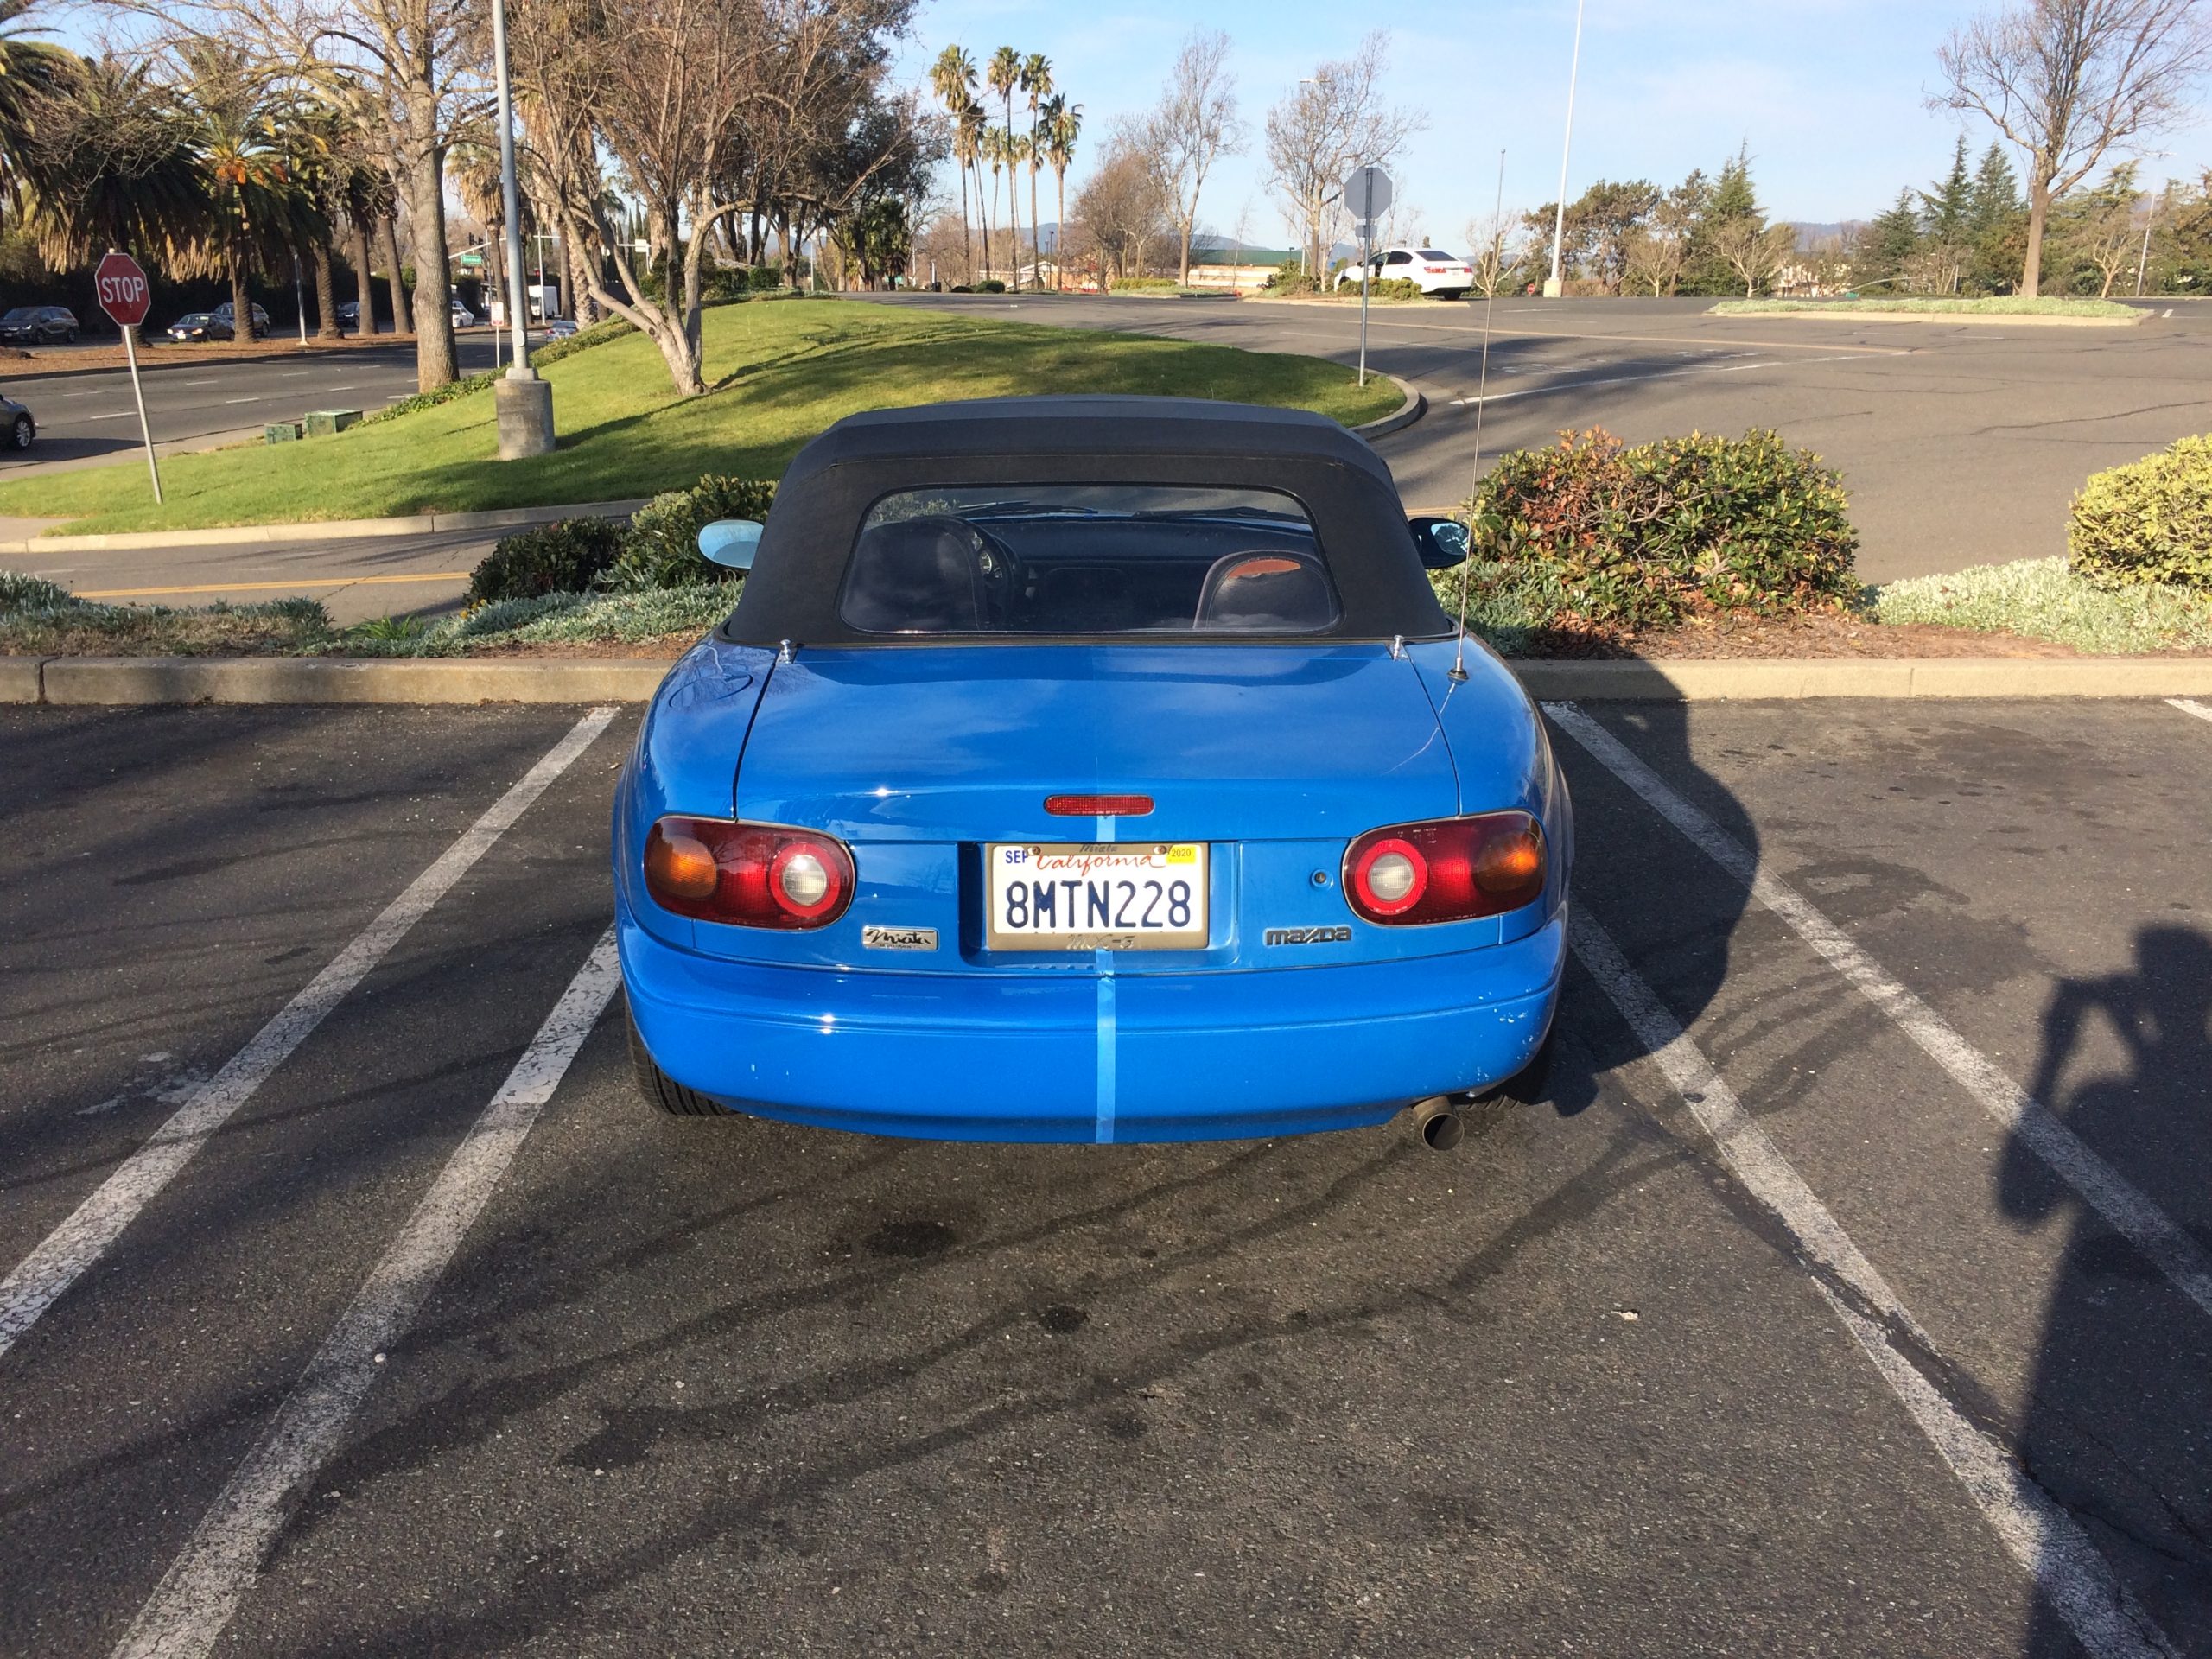
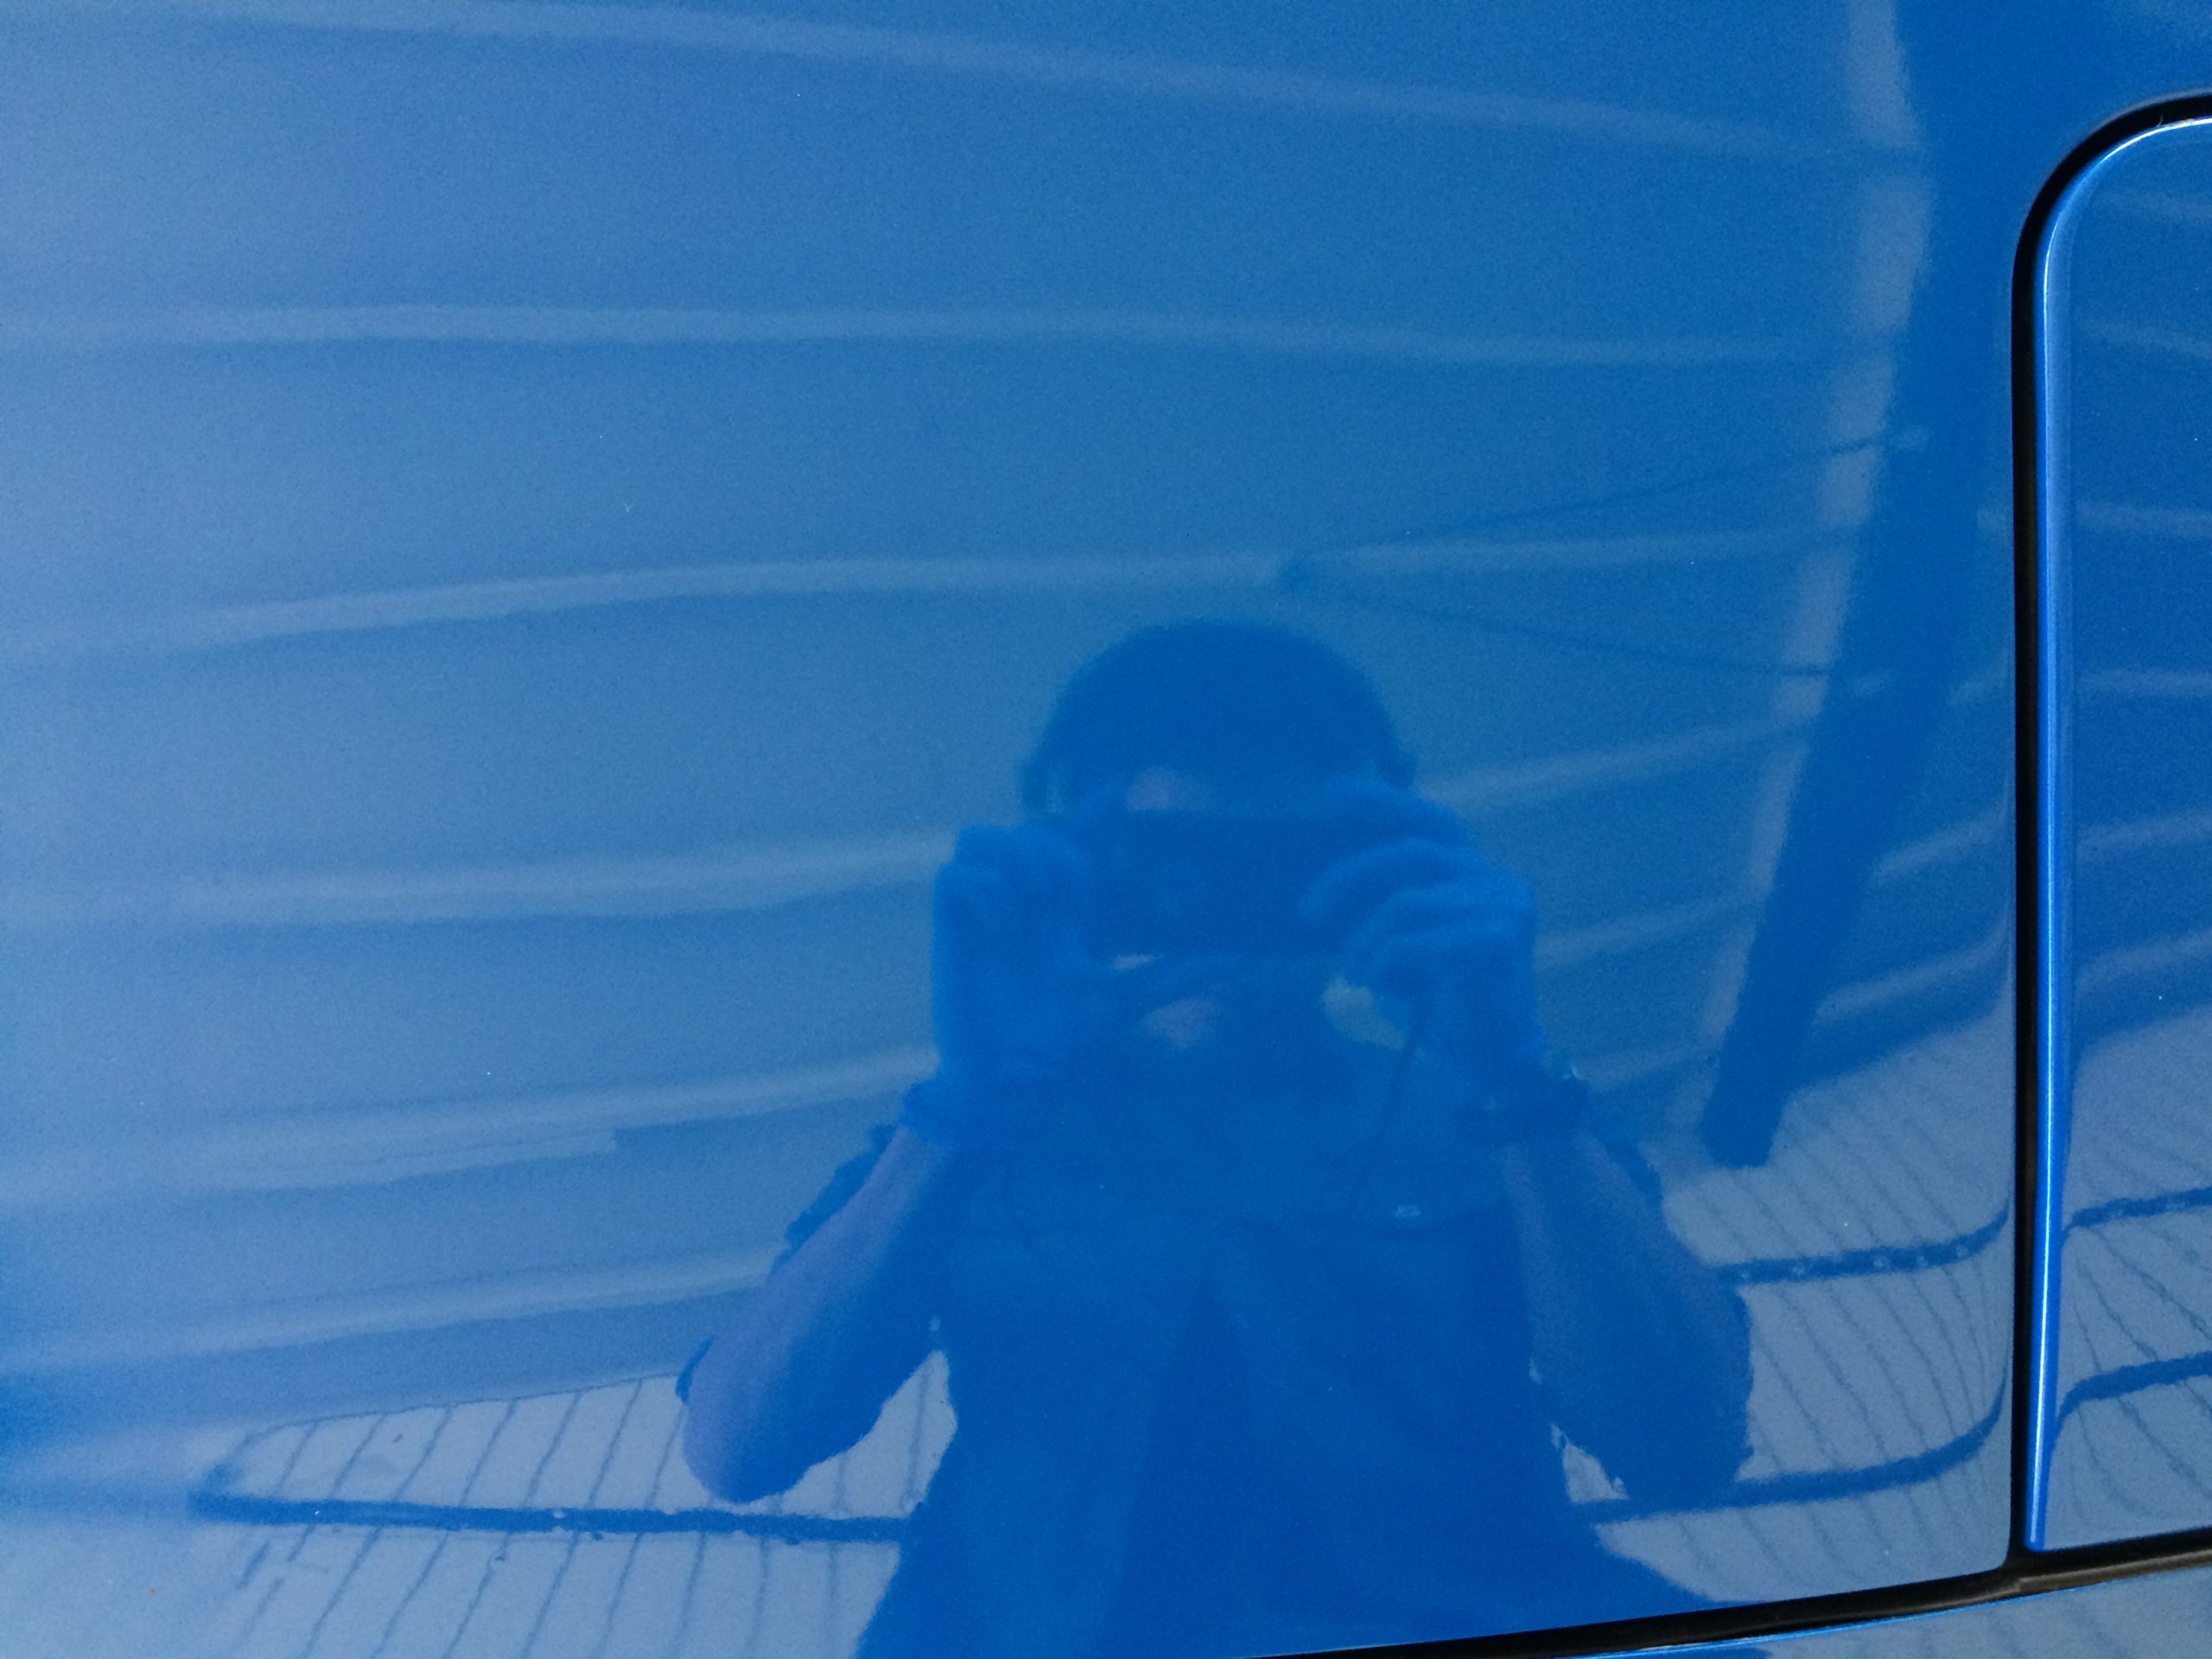
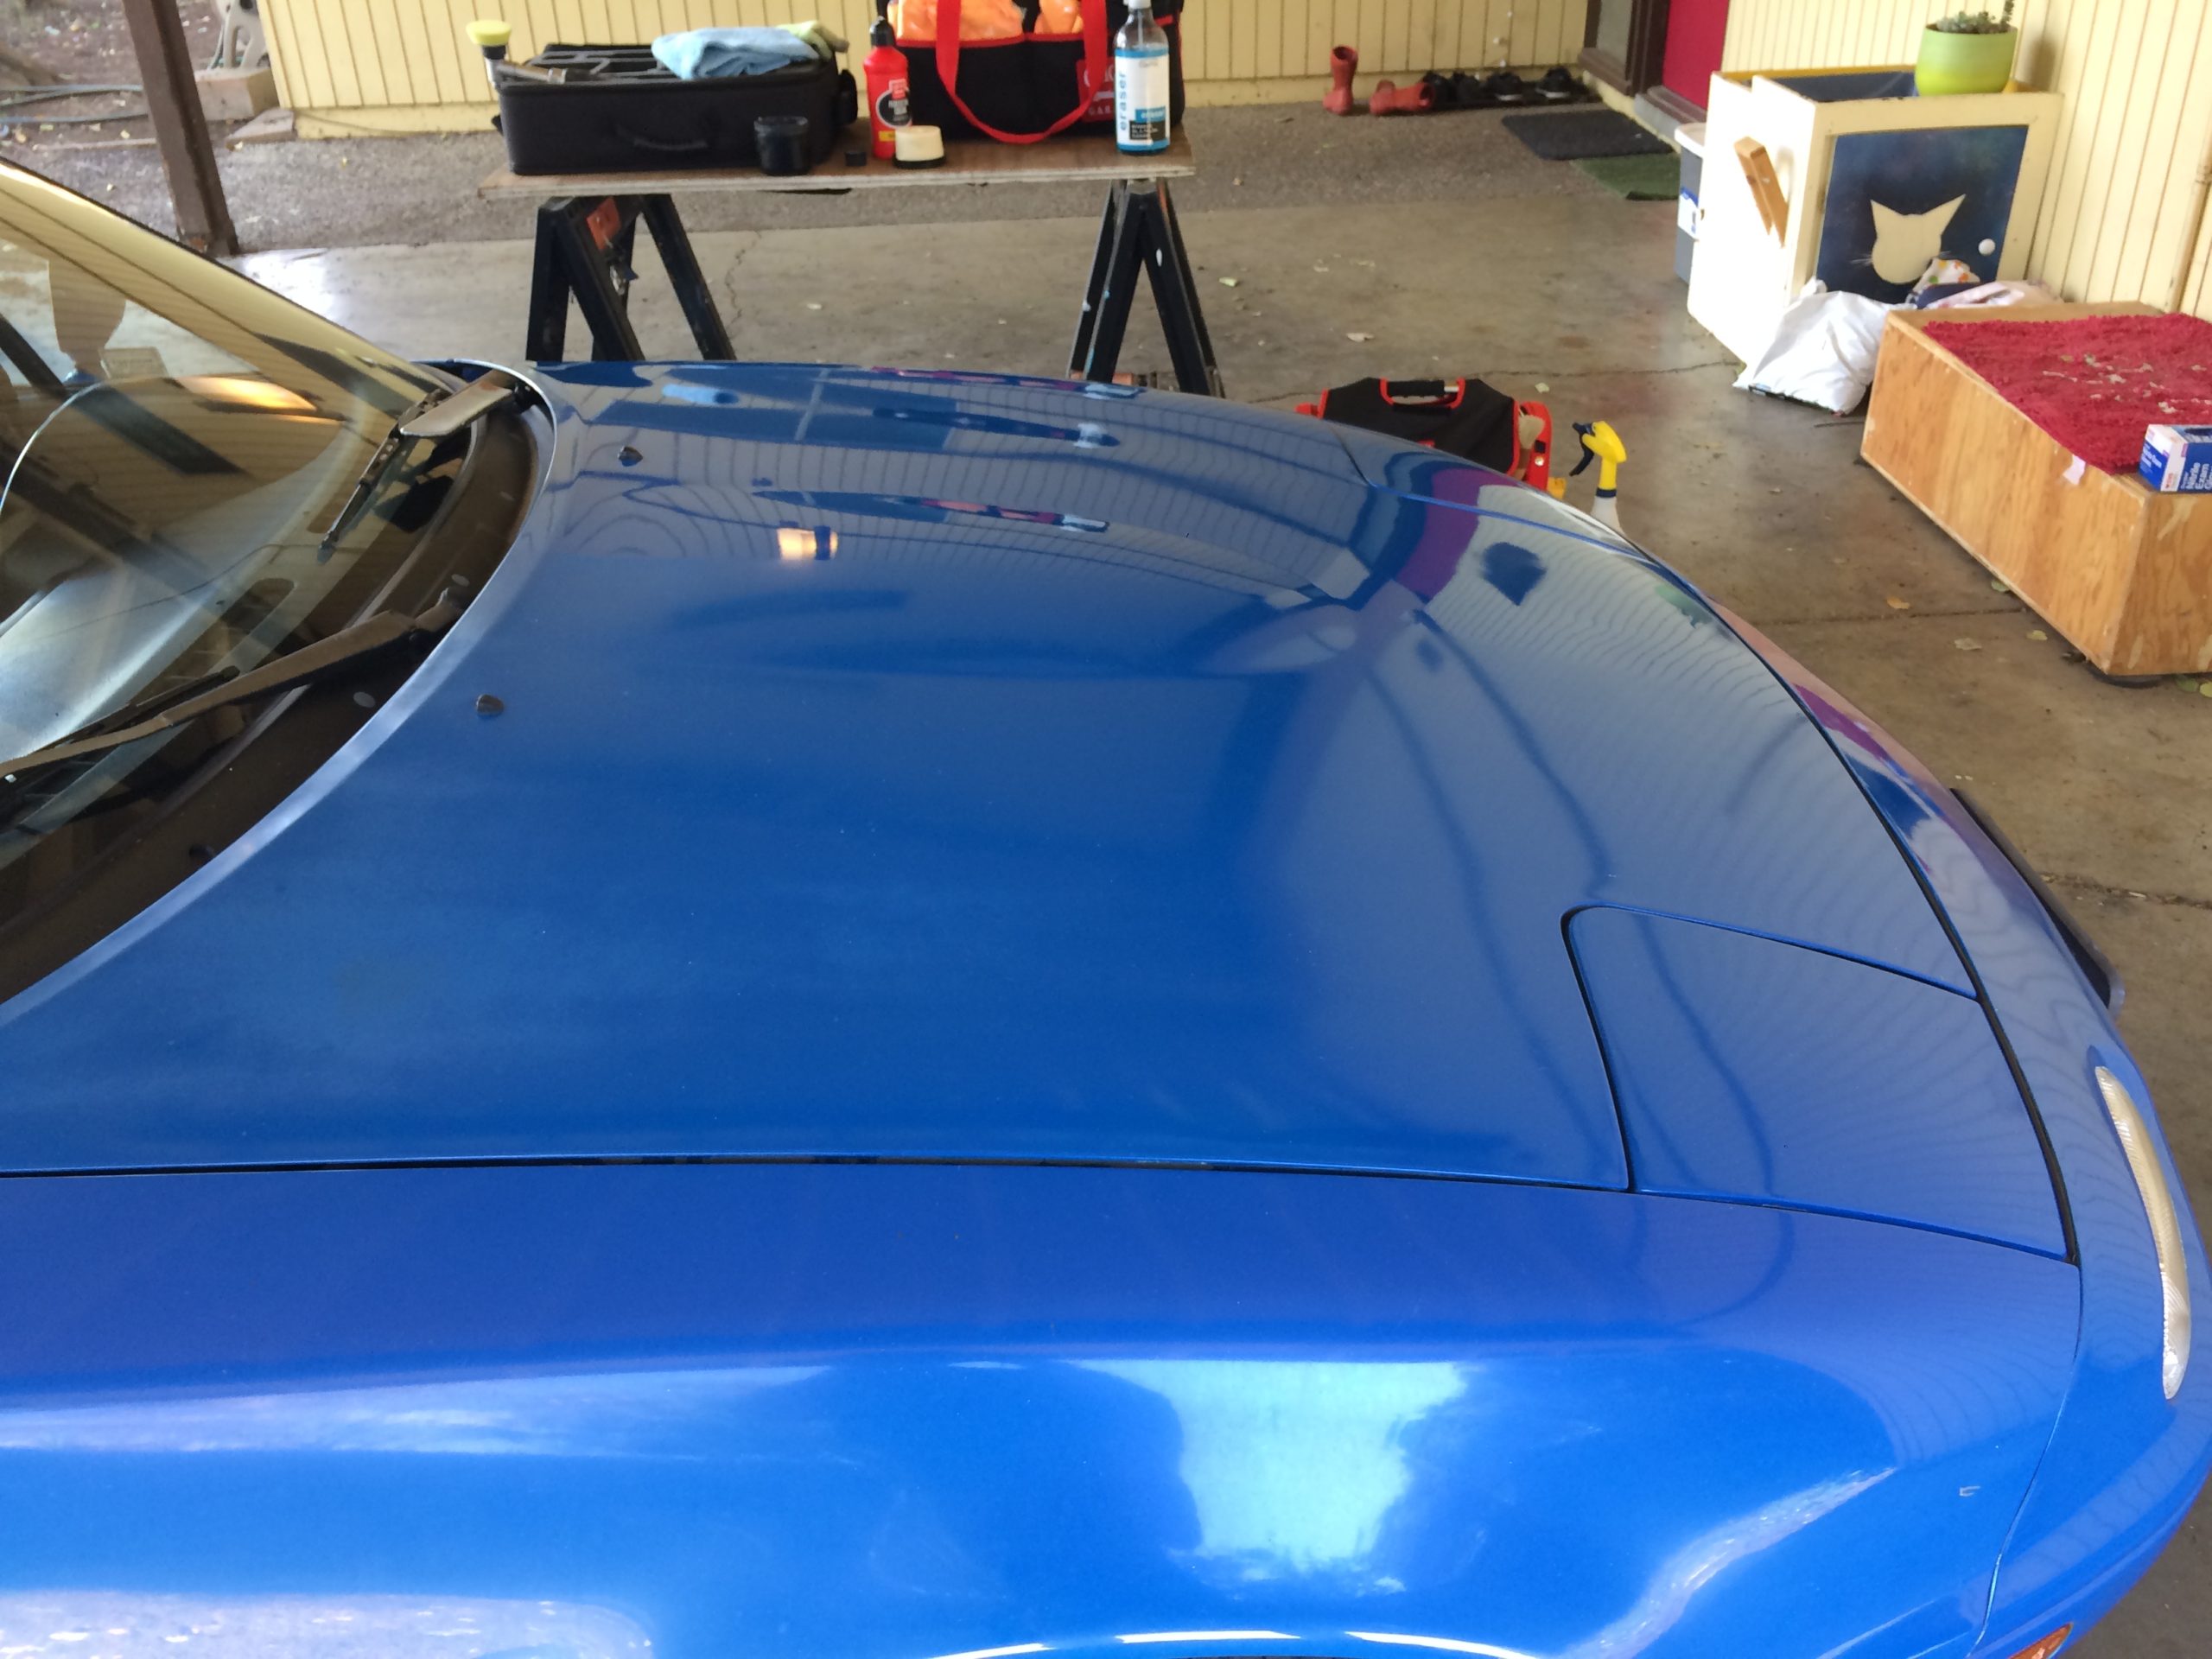
As expected, the wax noticeably darkened the blue paint. A drive out into the sun revealed major results of the process.
CarPro Eraser was used to remove tape residue.


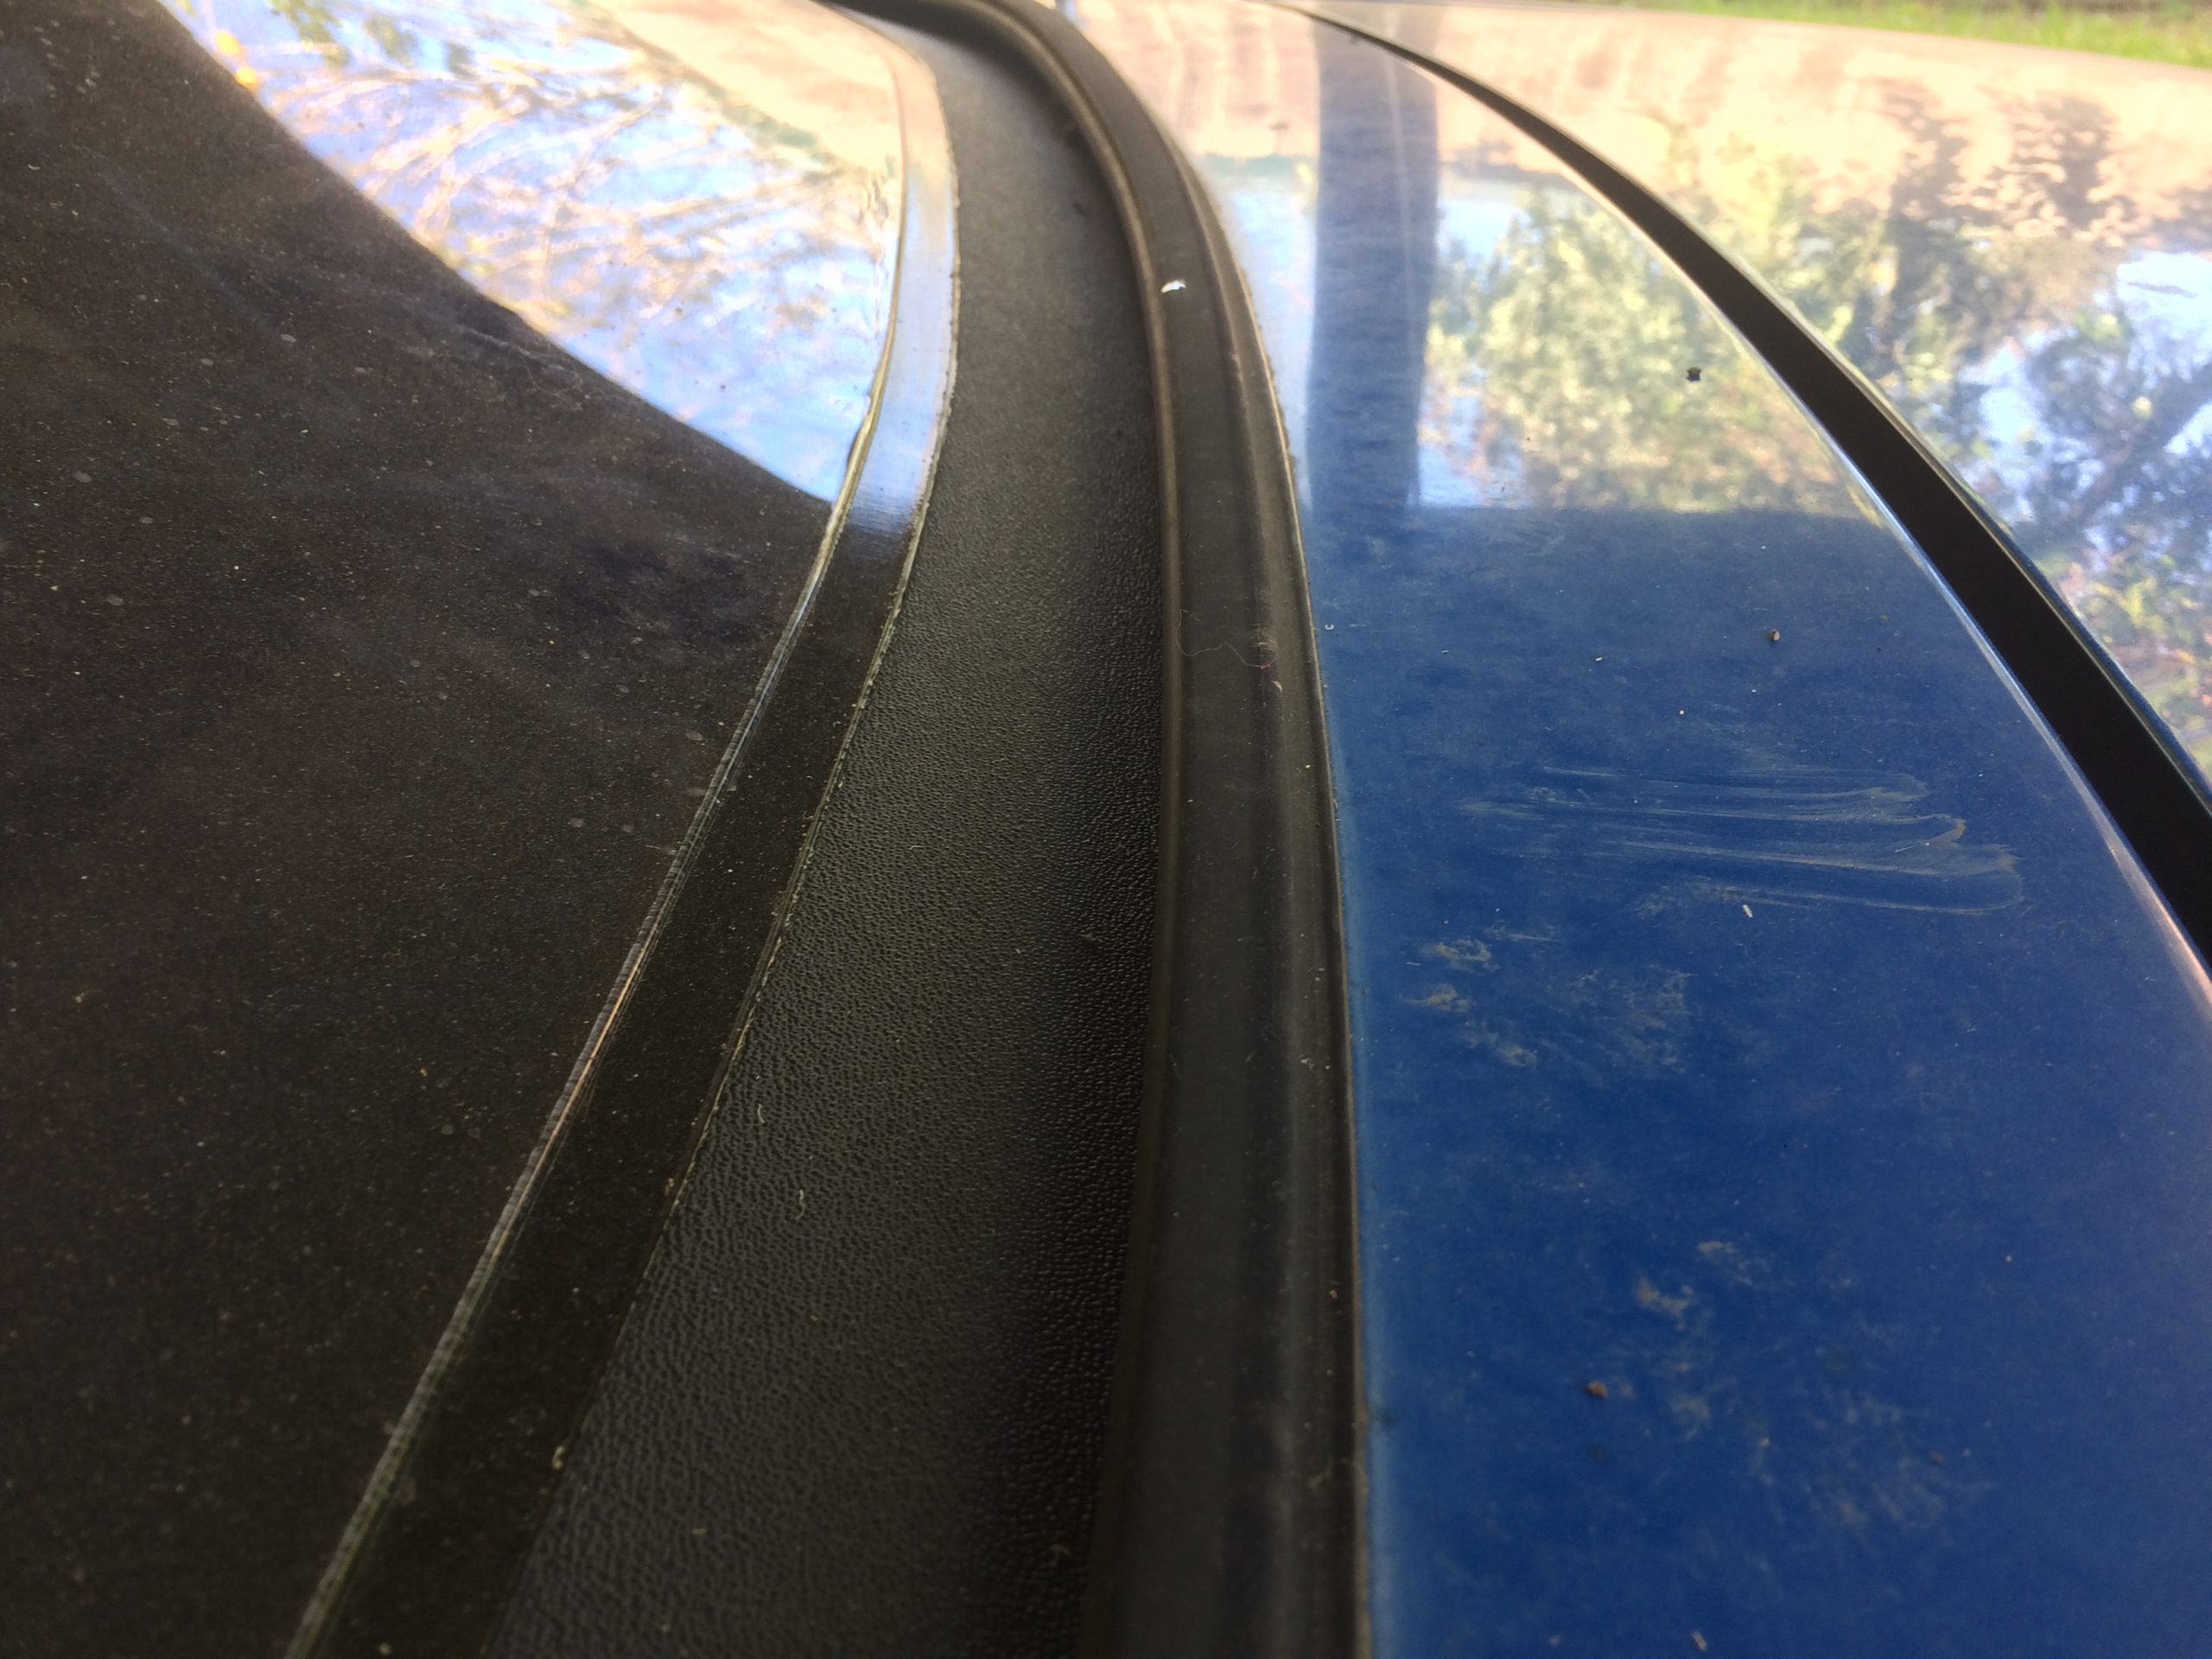
Back at home, while I was inside, the cat took his chance at a 2 minute window to jump onto the hood… The waxed surface is likely slicker than he expected causing him to slide even more. This resulted in several scrapes.
Not as apparent in the shade, but they will stand out in sunlight.
I wiped the area down with CarPro Eraser, corrected with Perfecting Cream, wiped again with Eraser, and reapplied Black Pearl Wax.
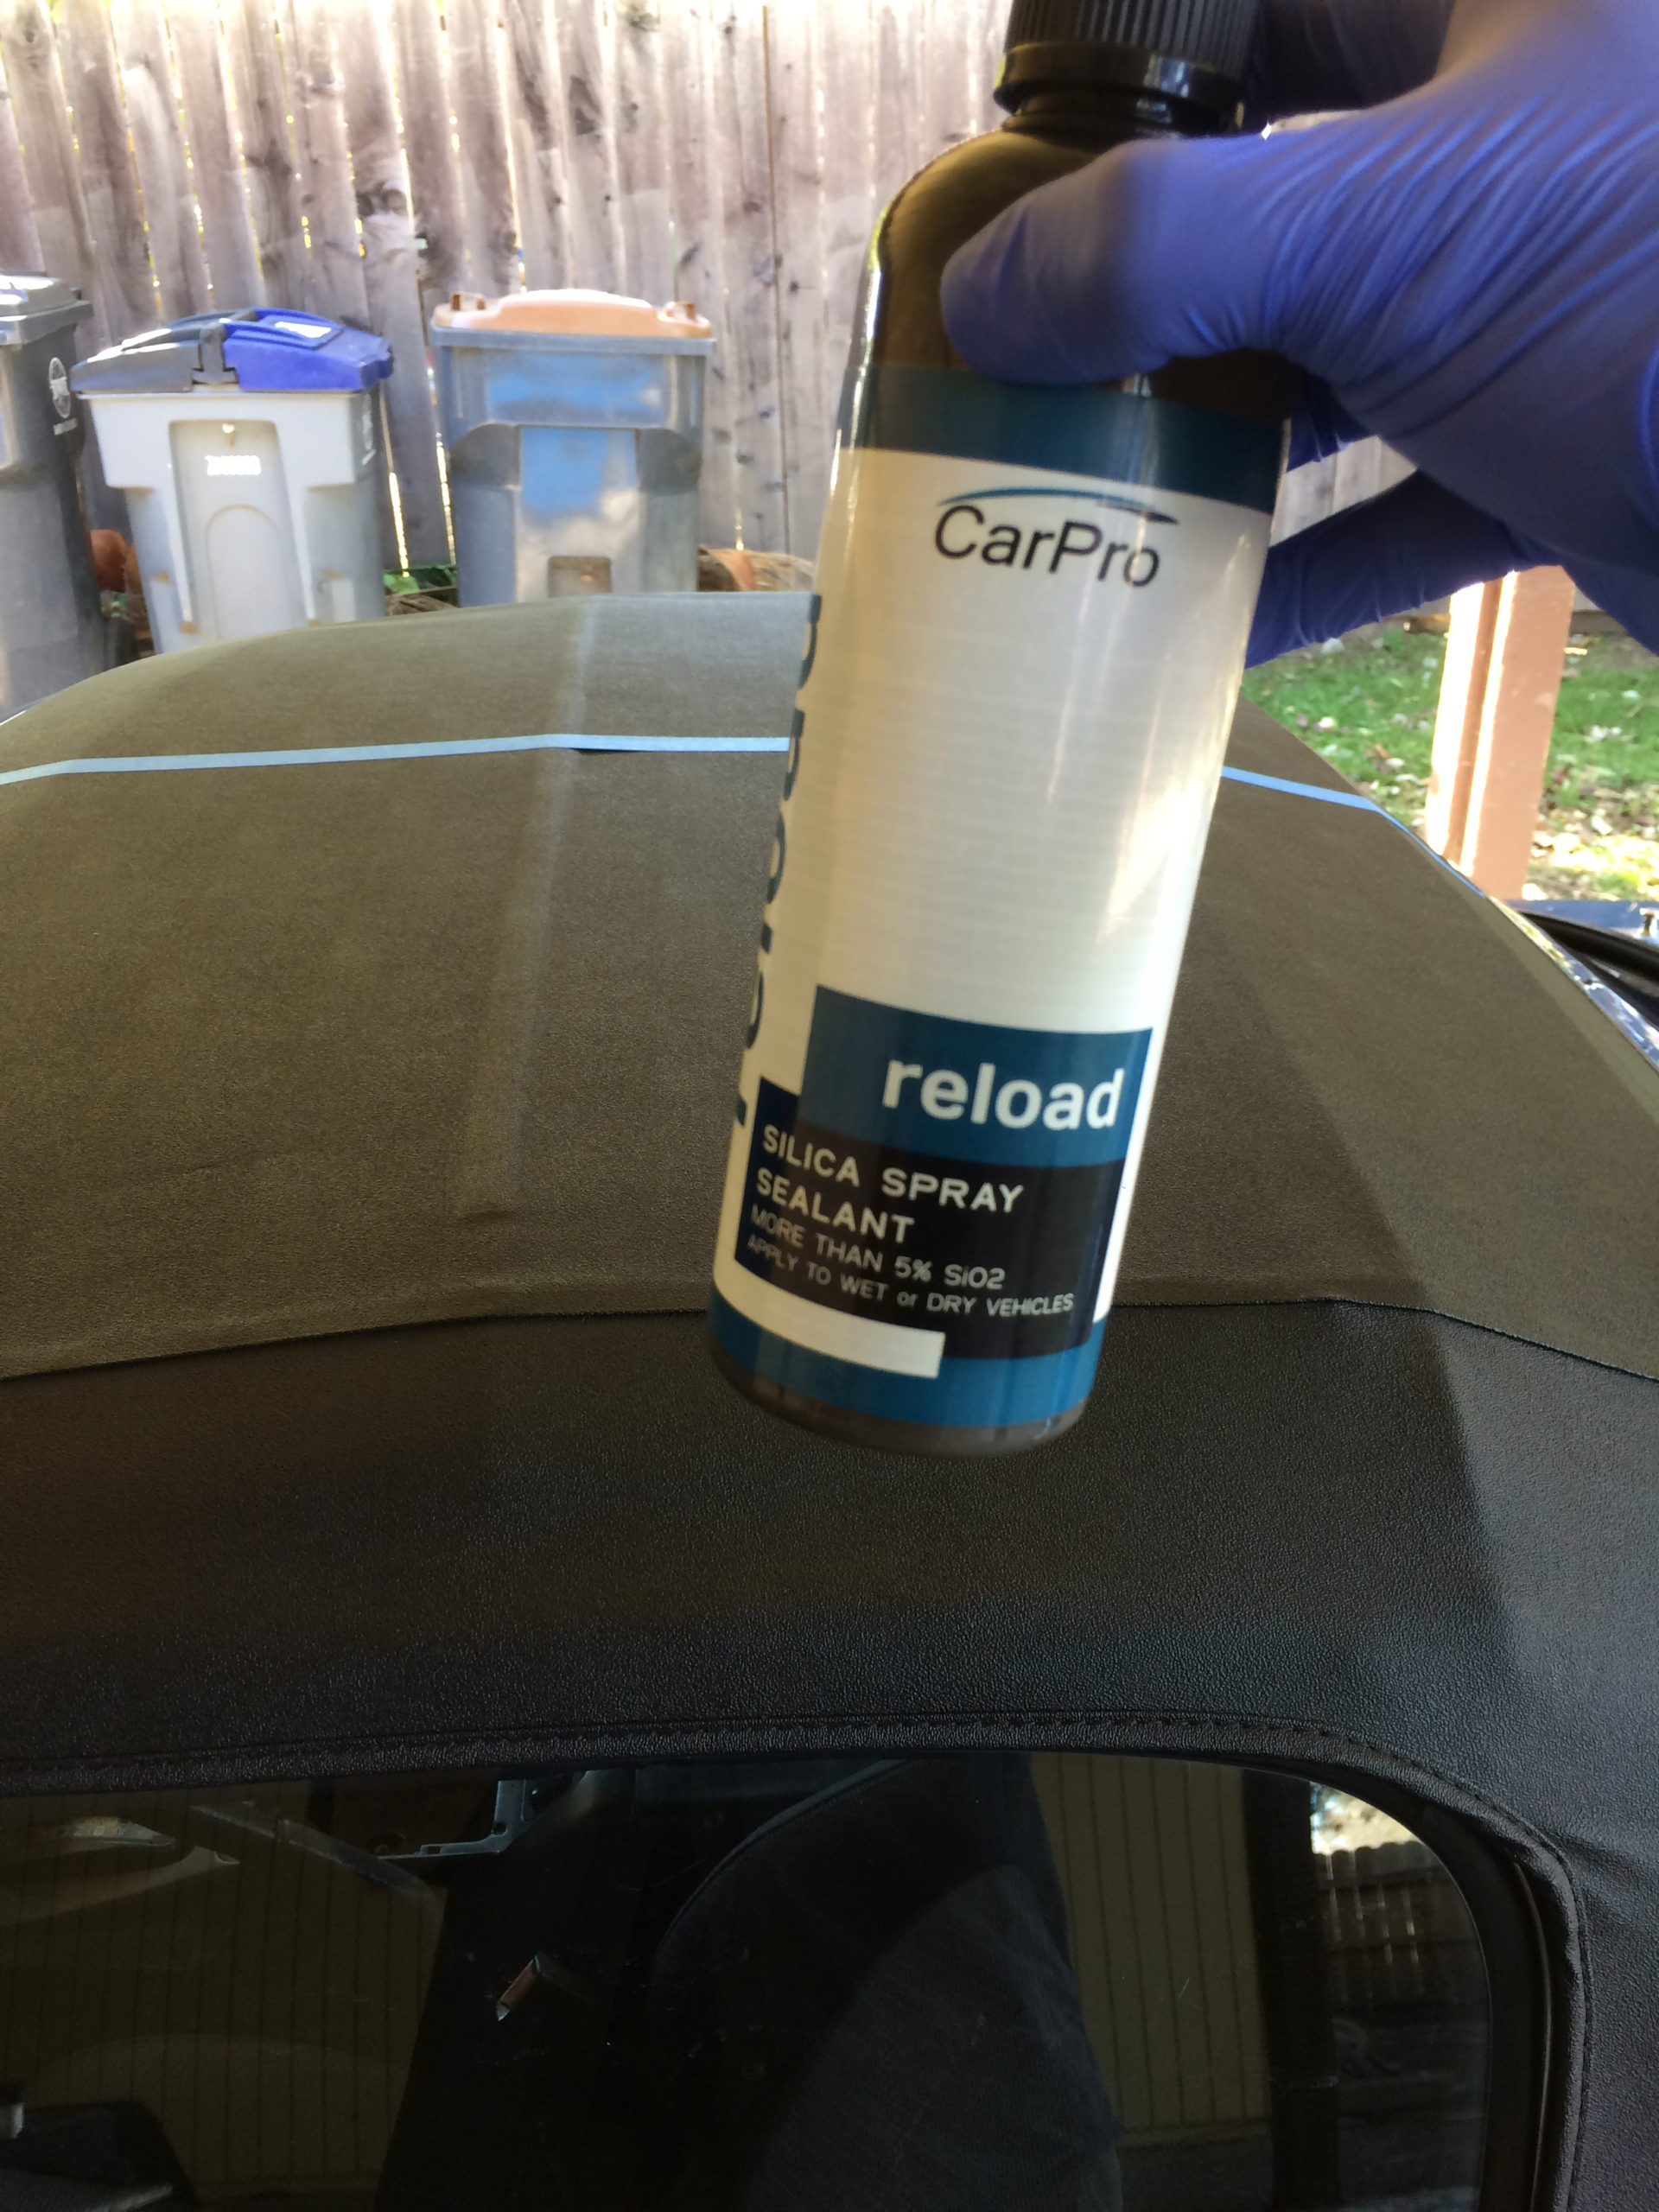
I chose to coat the roof with CarPro Reload, this darkened the vinyl and provided hydrophobic behaviour.
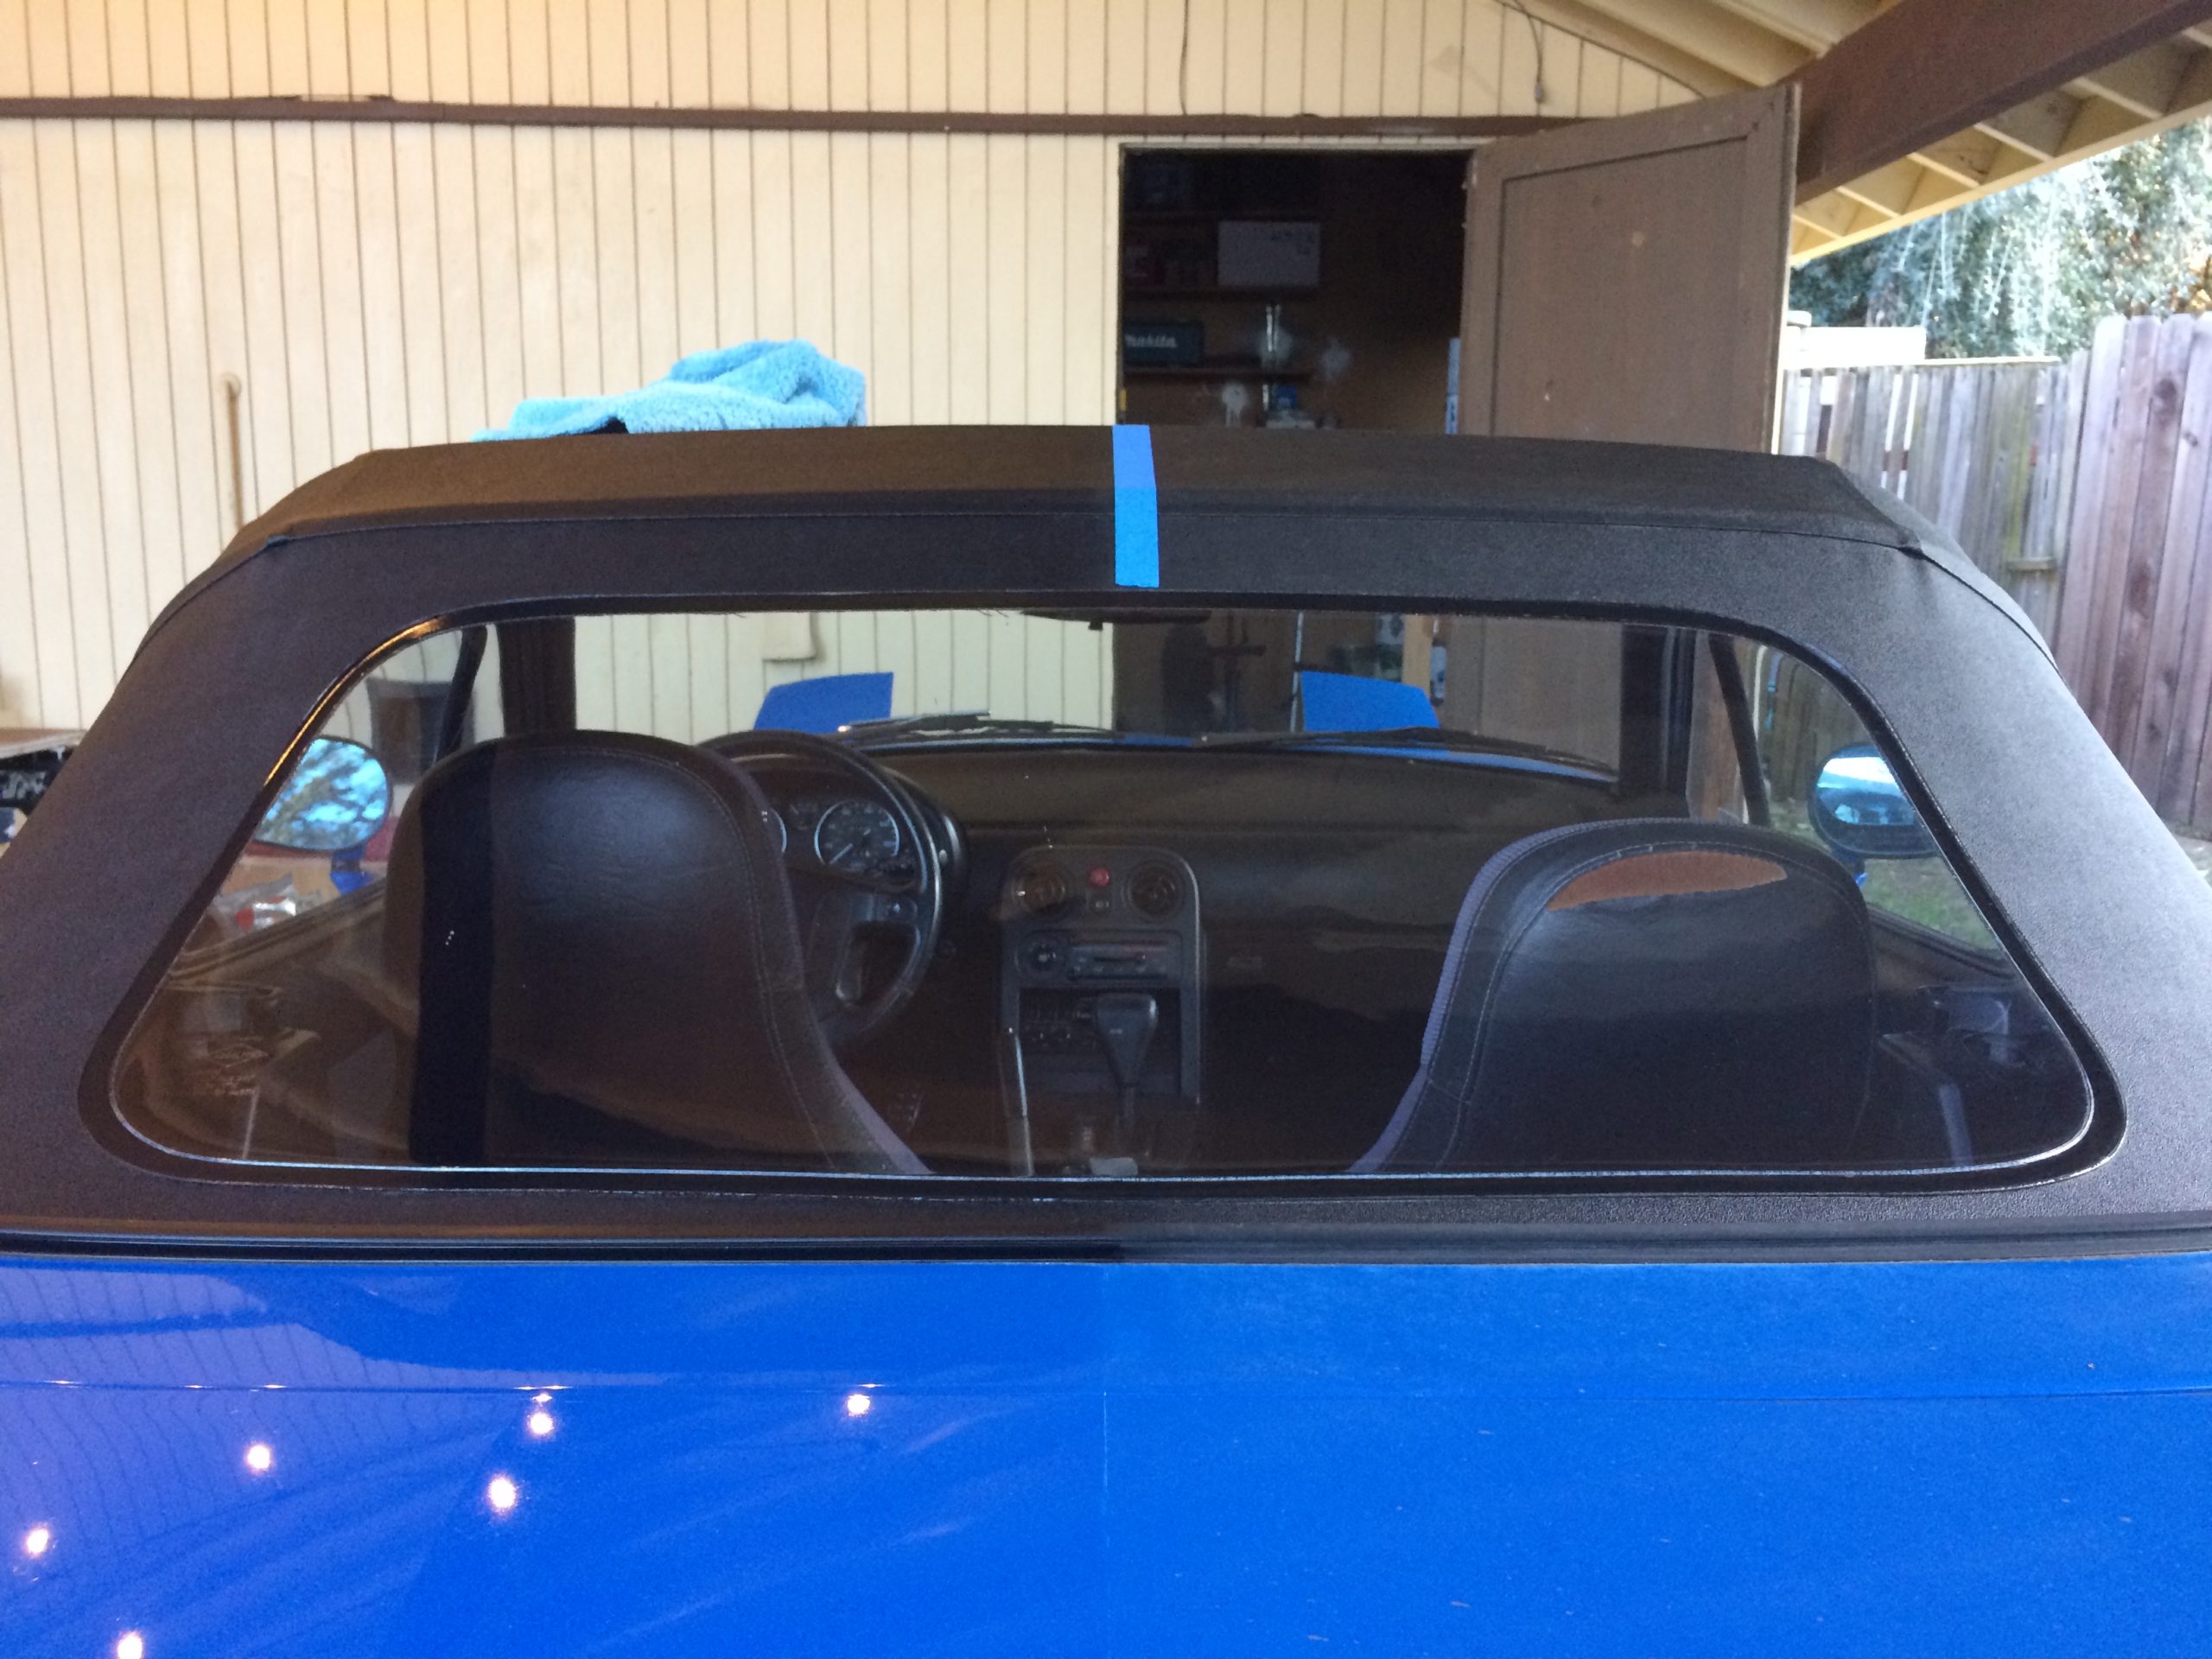
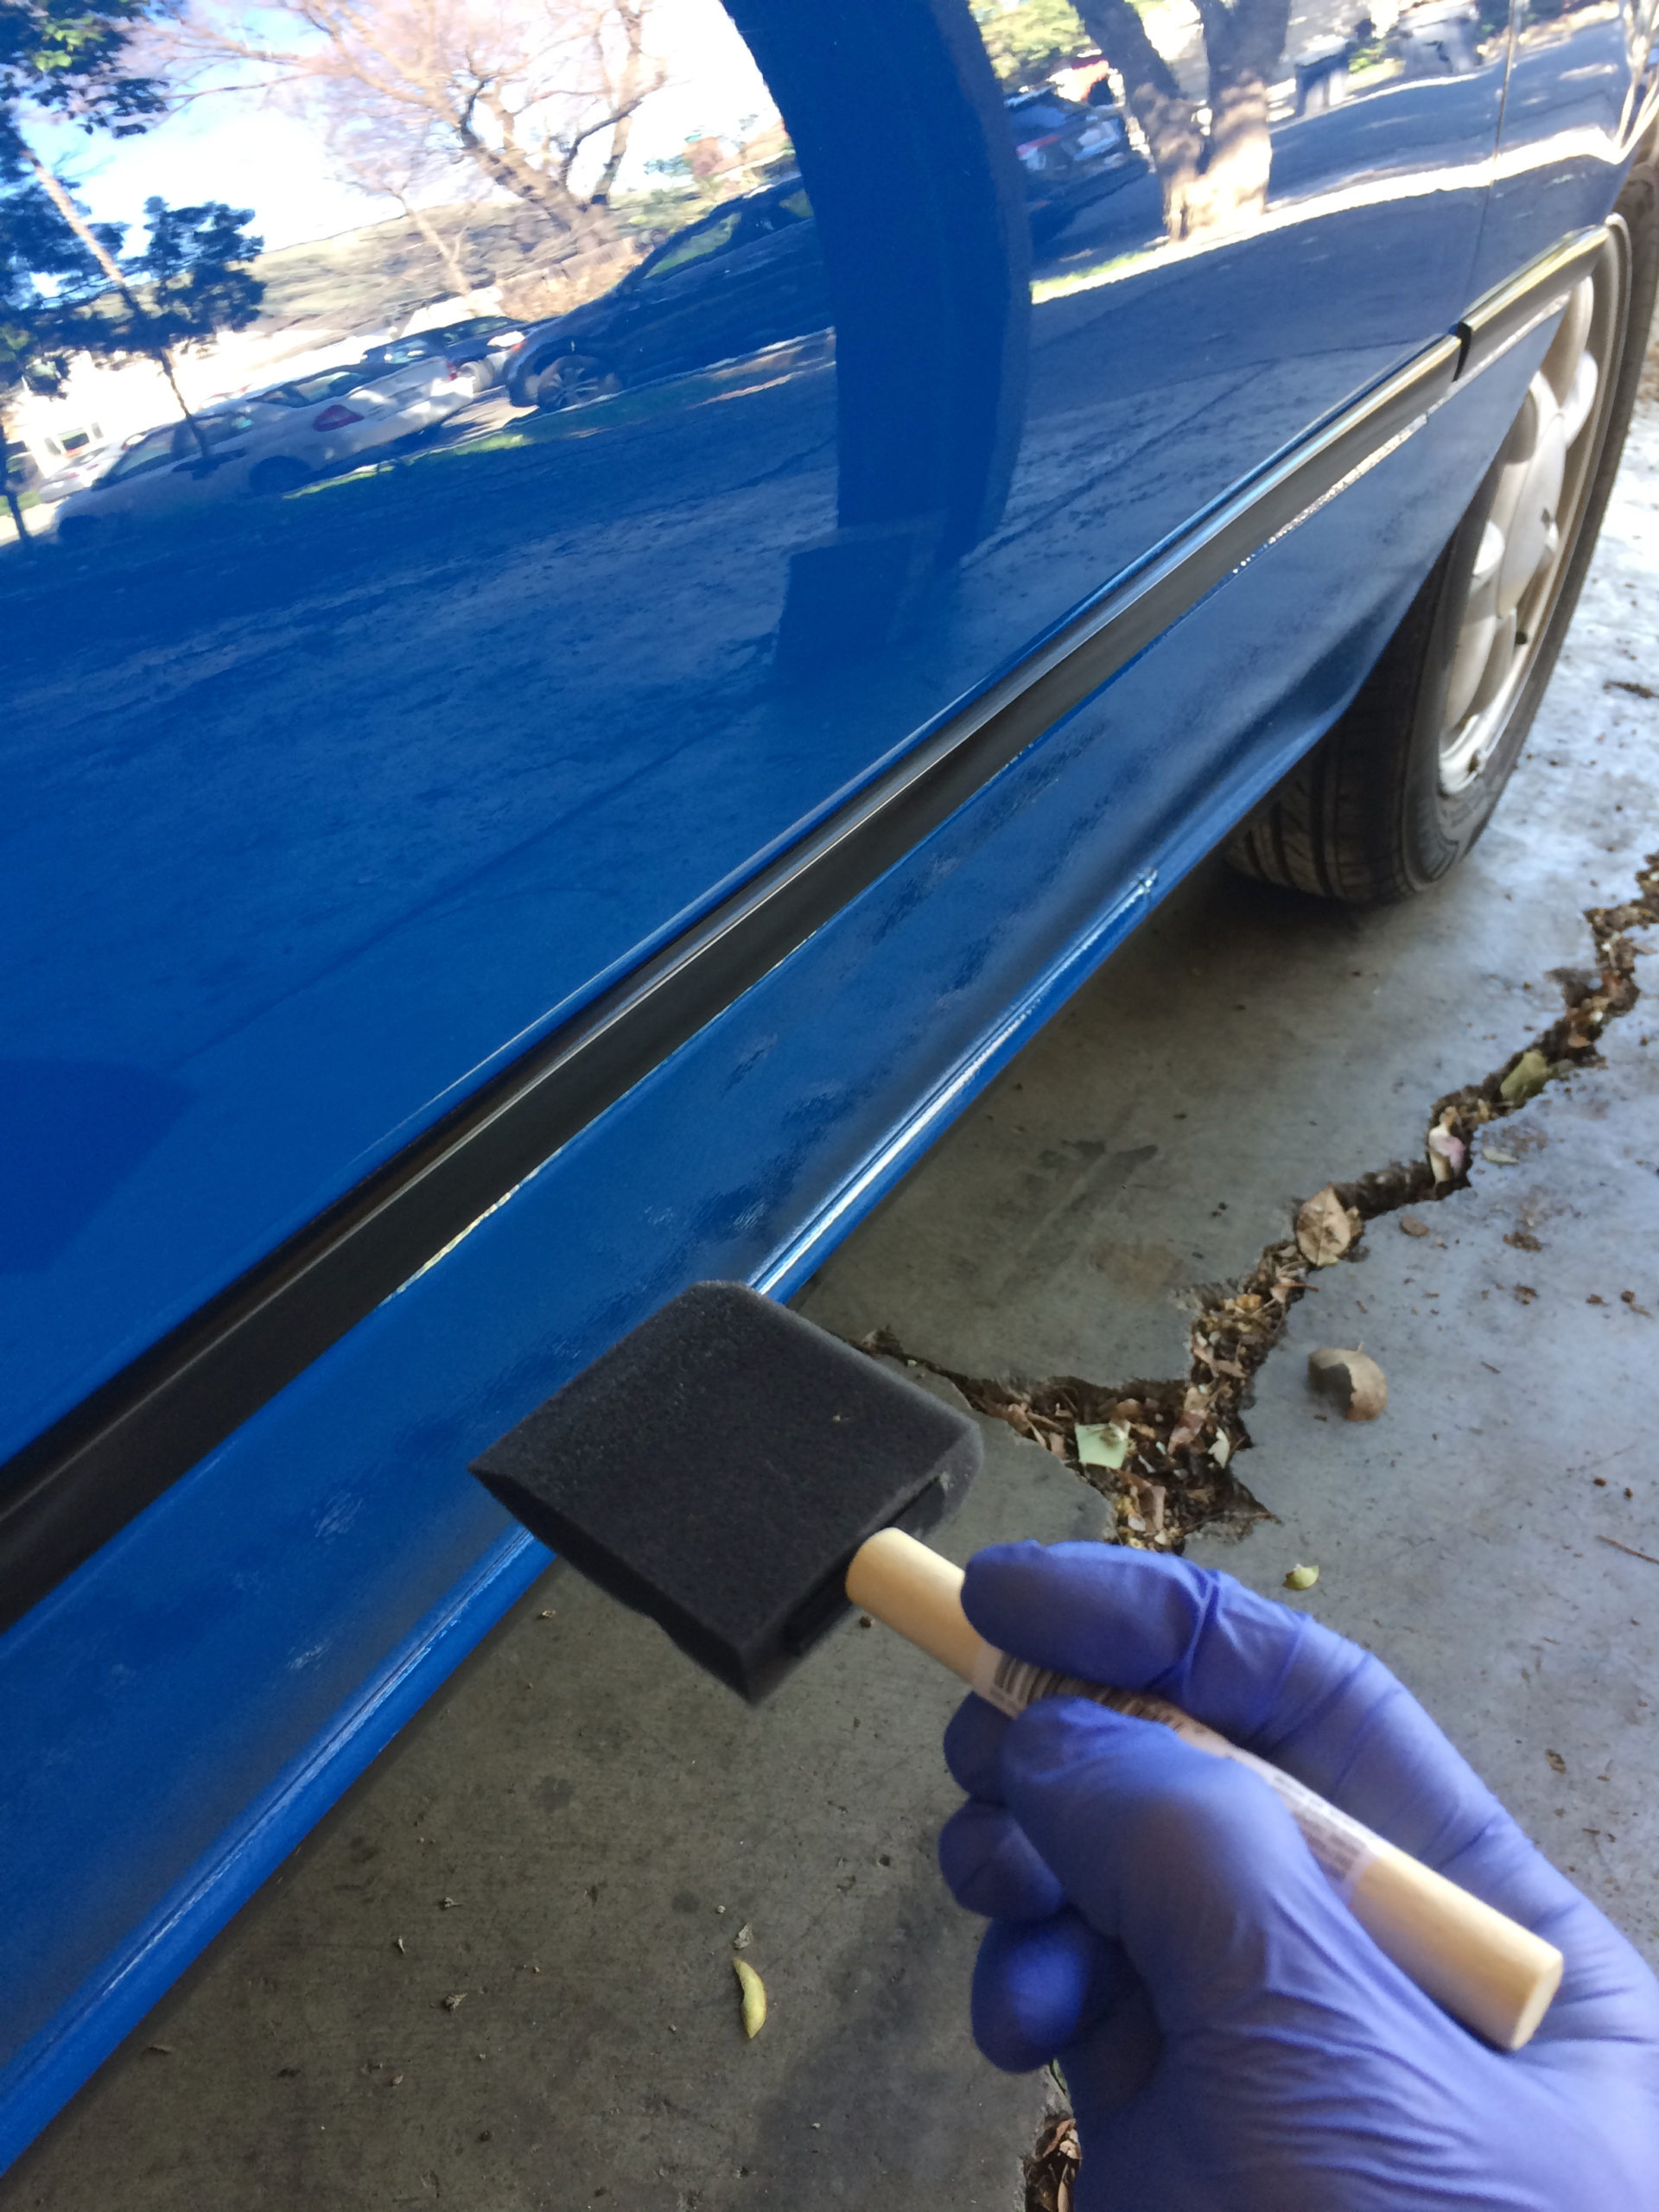
The last step was taping around the exterior trim and coating it with Gyeon Q2 Trim.
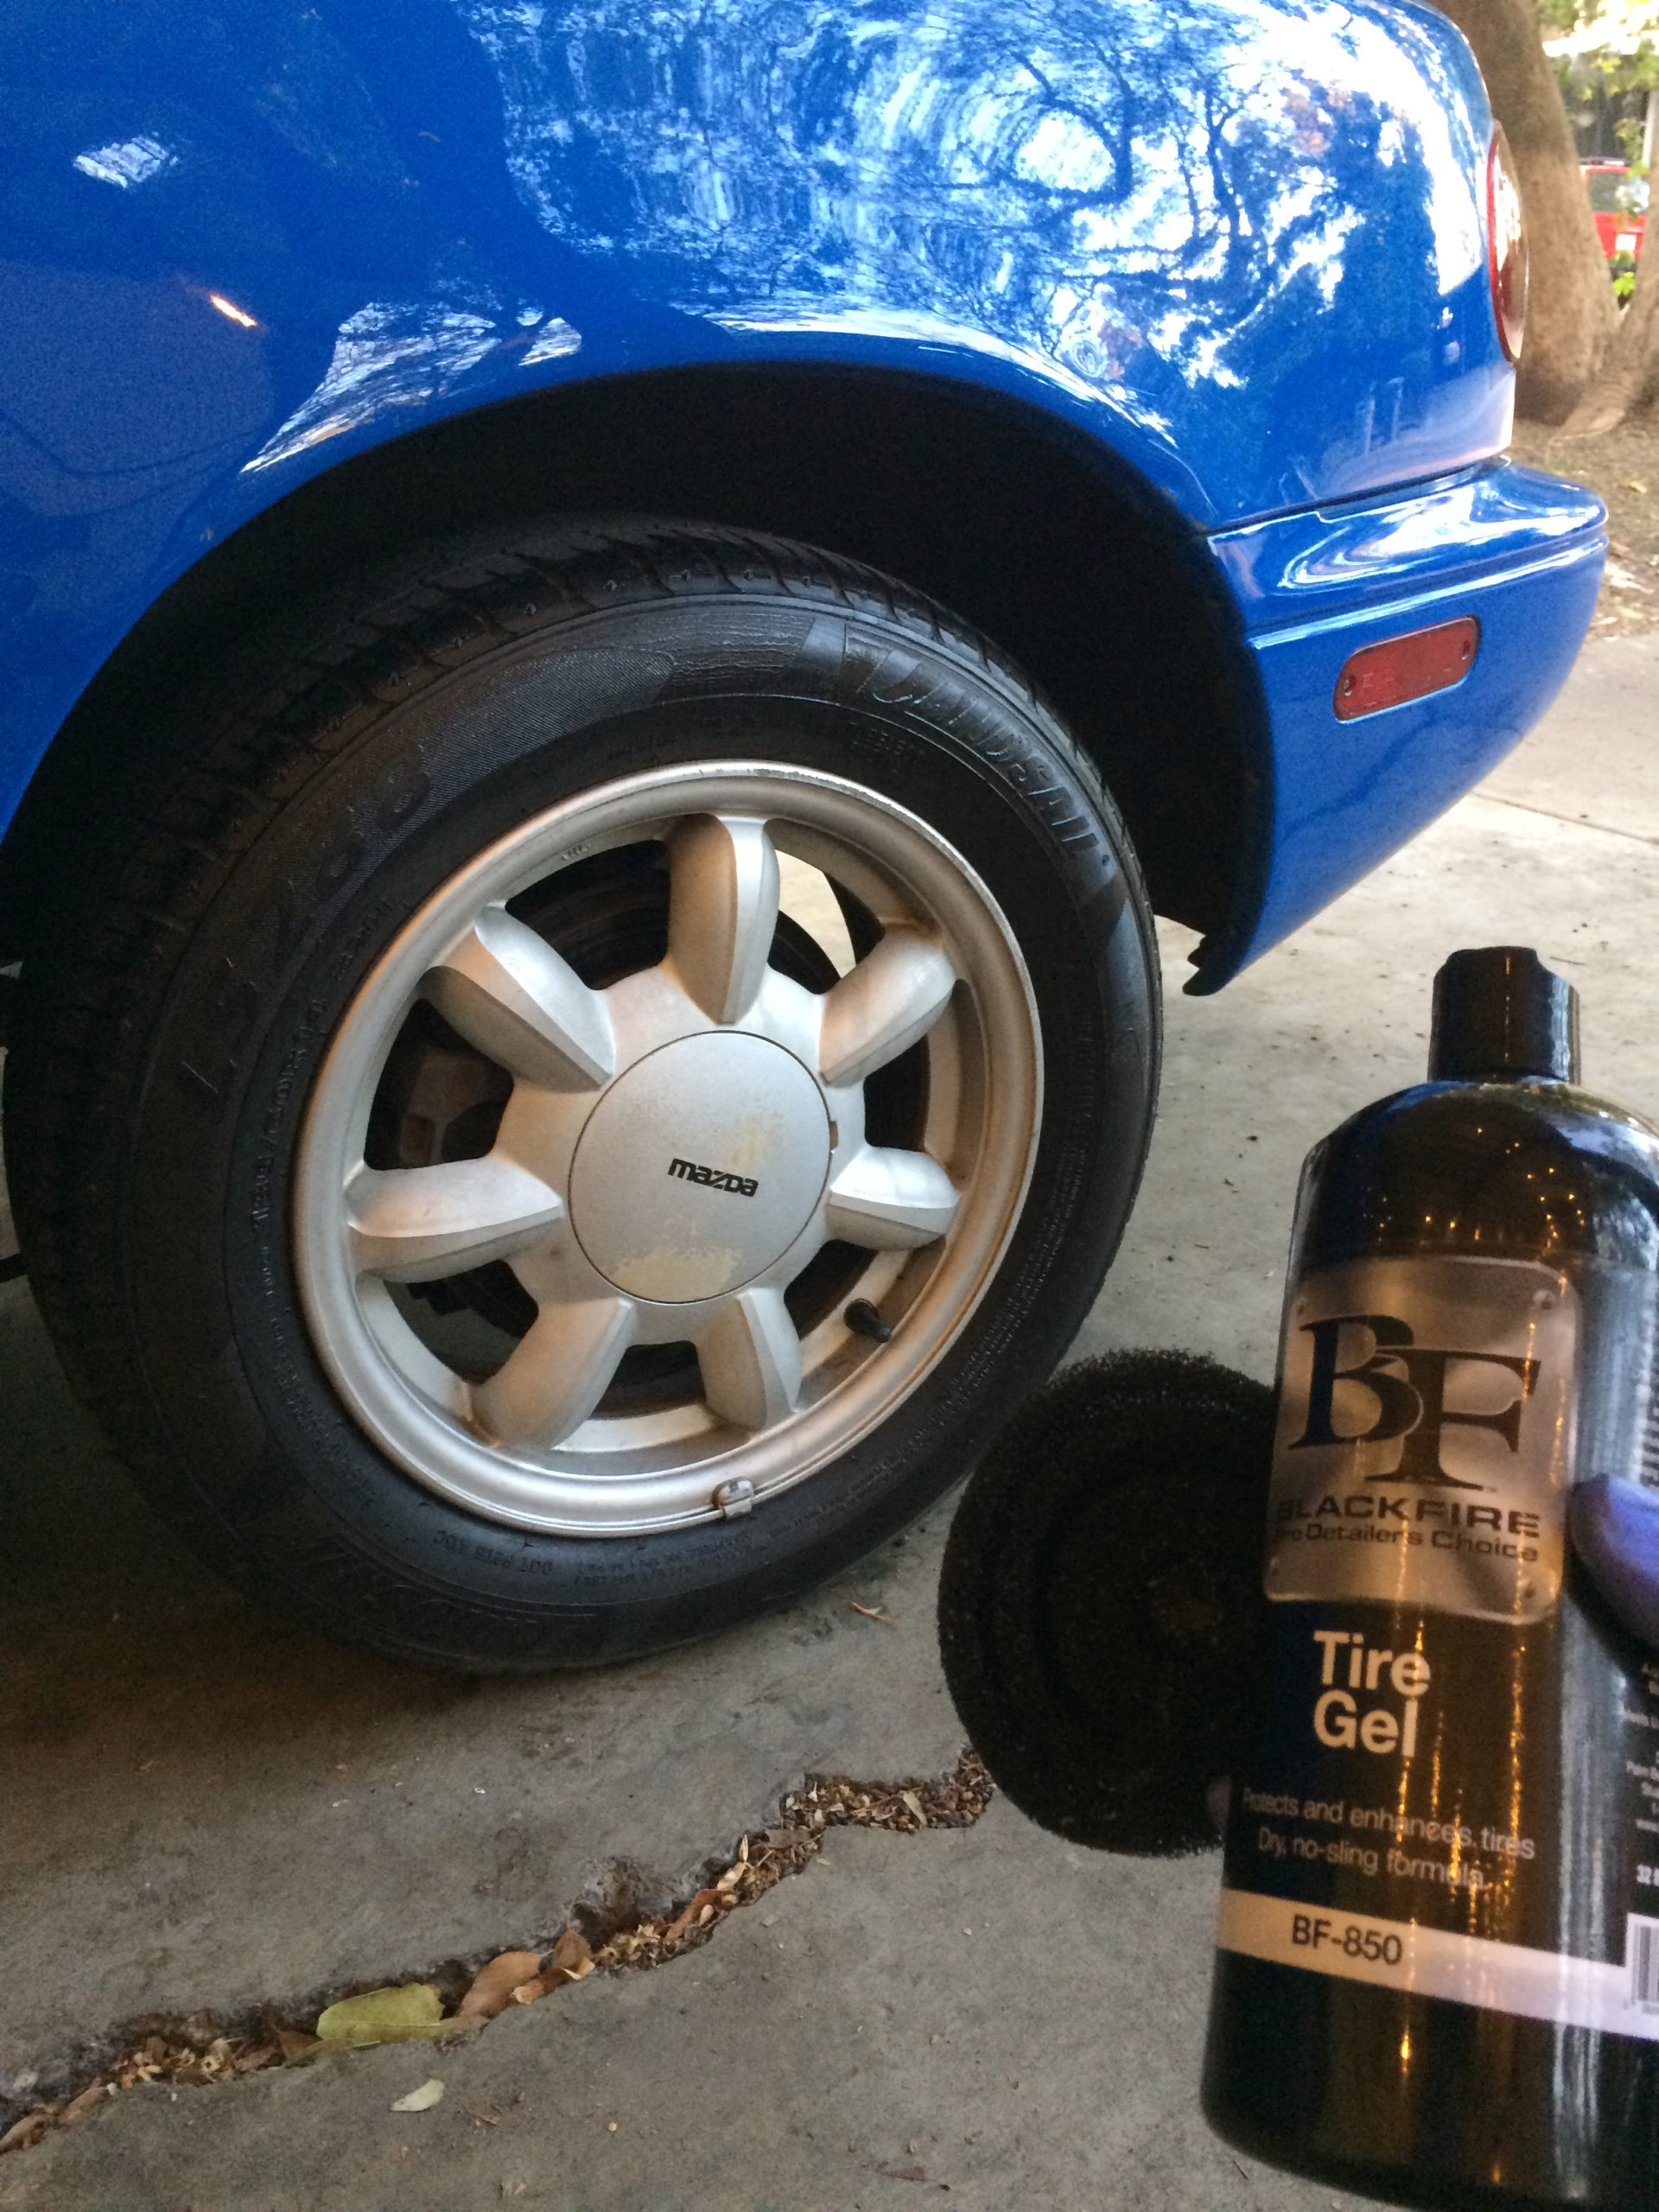
To finish the project, I dressed the driver’s side tires with one coat of Black Fire Tire Gel to give them a satin fresh rubber look.
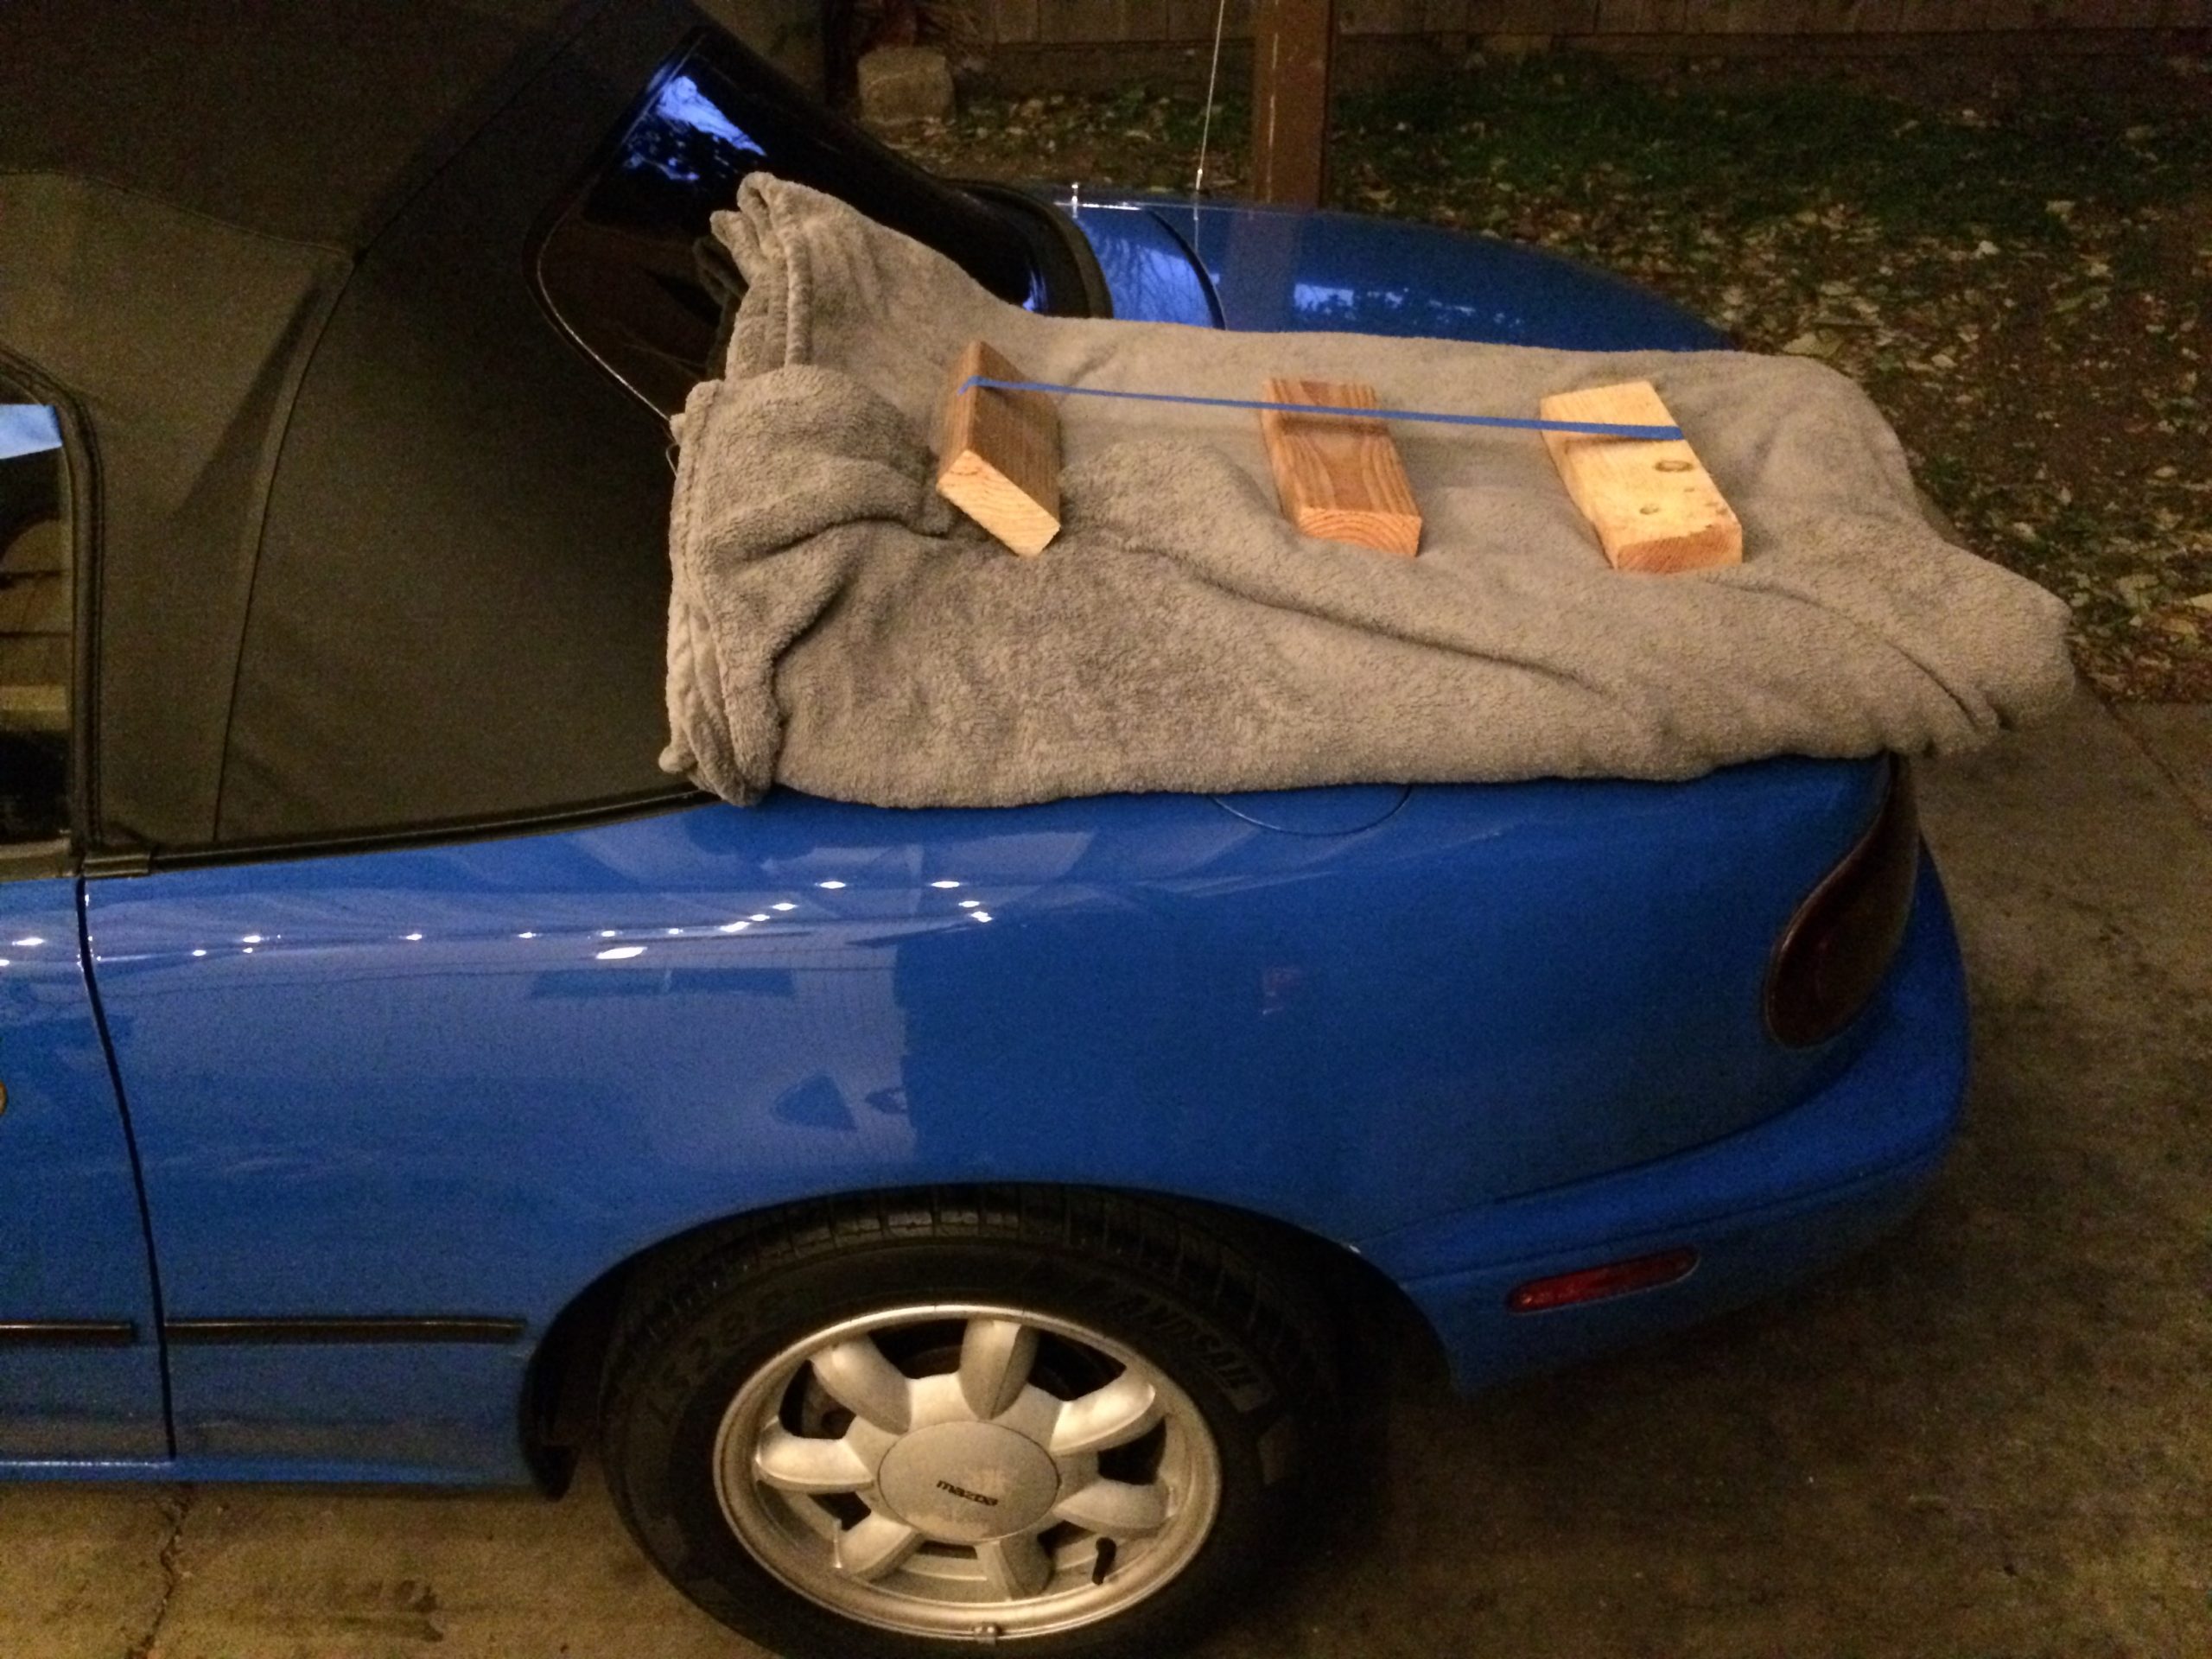
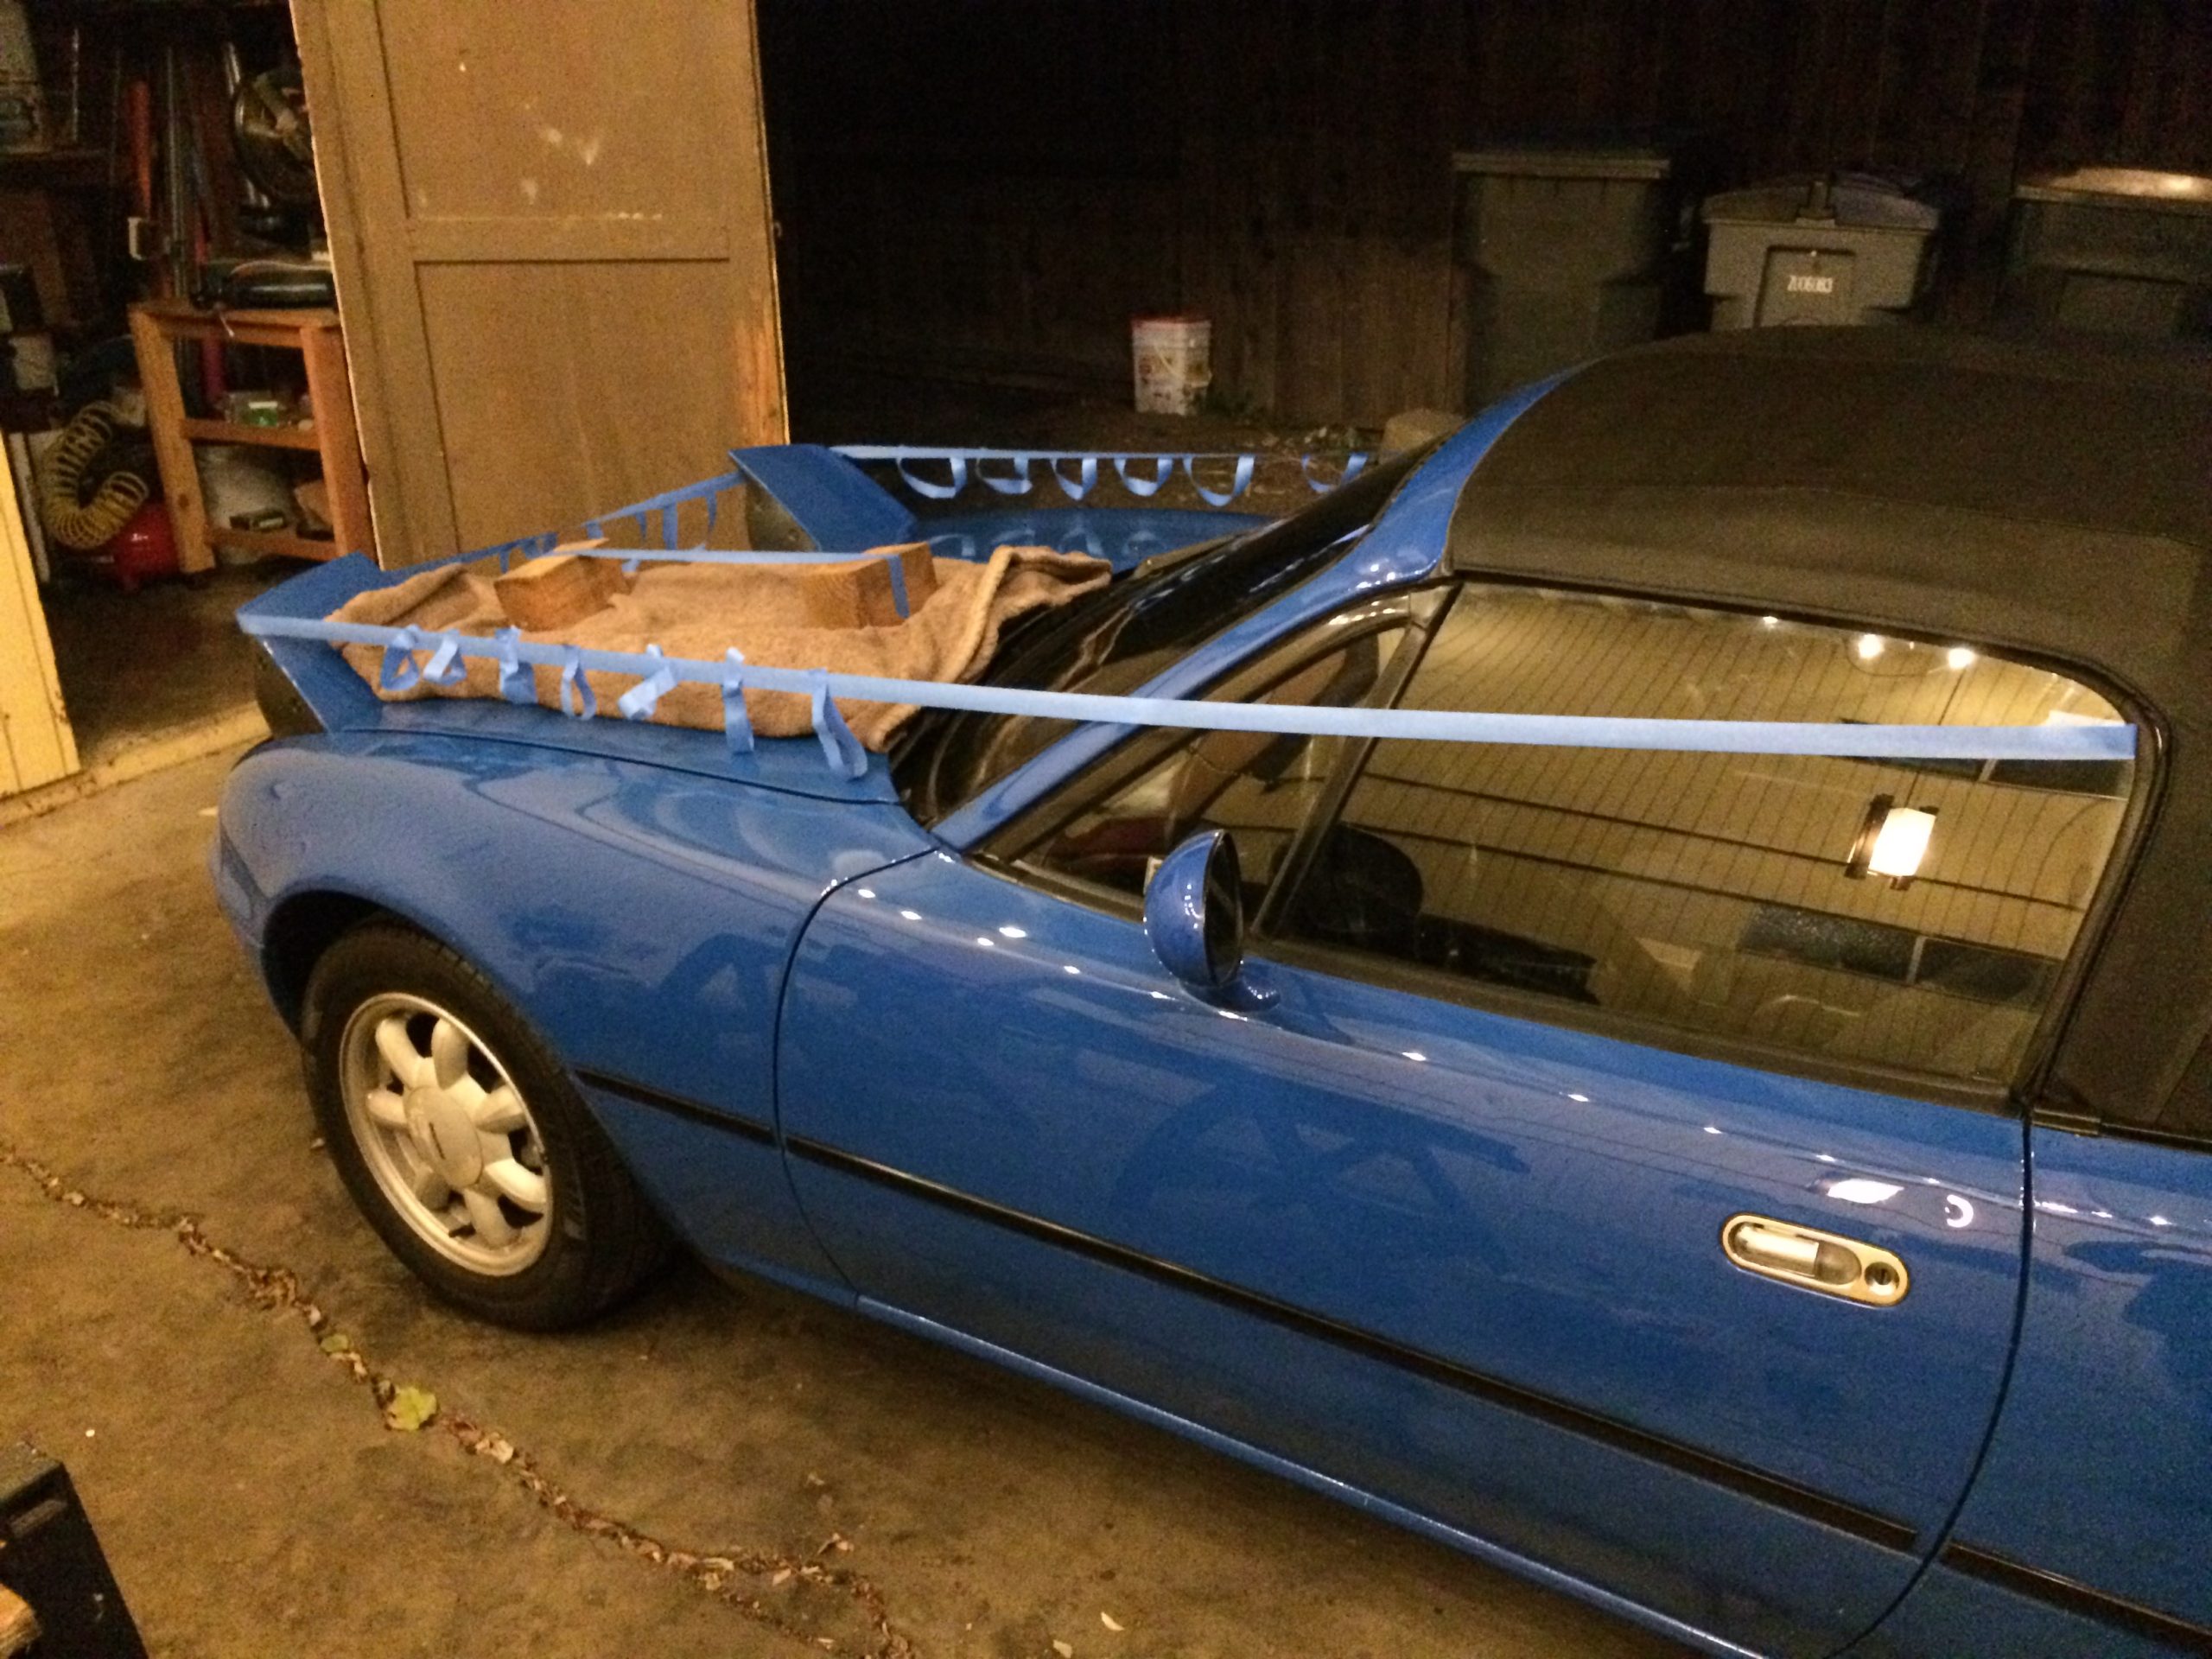
A car show was taking place that weekend. I ordered a car cover to protect the MX-5 from the feline vandal, but in the meantime I had to improvise a deterrence.
A tarp was not acceptable due to scratch risk.
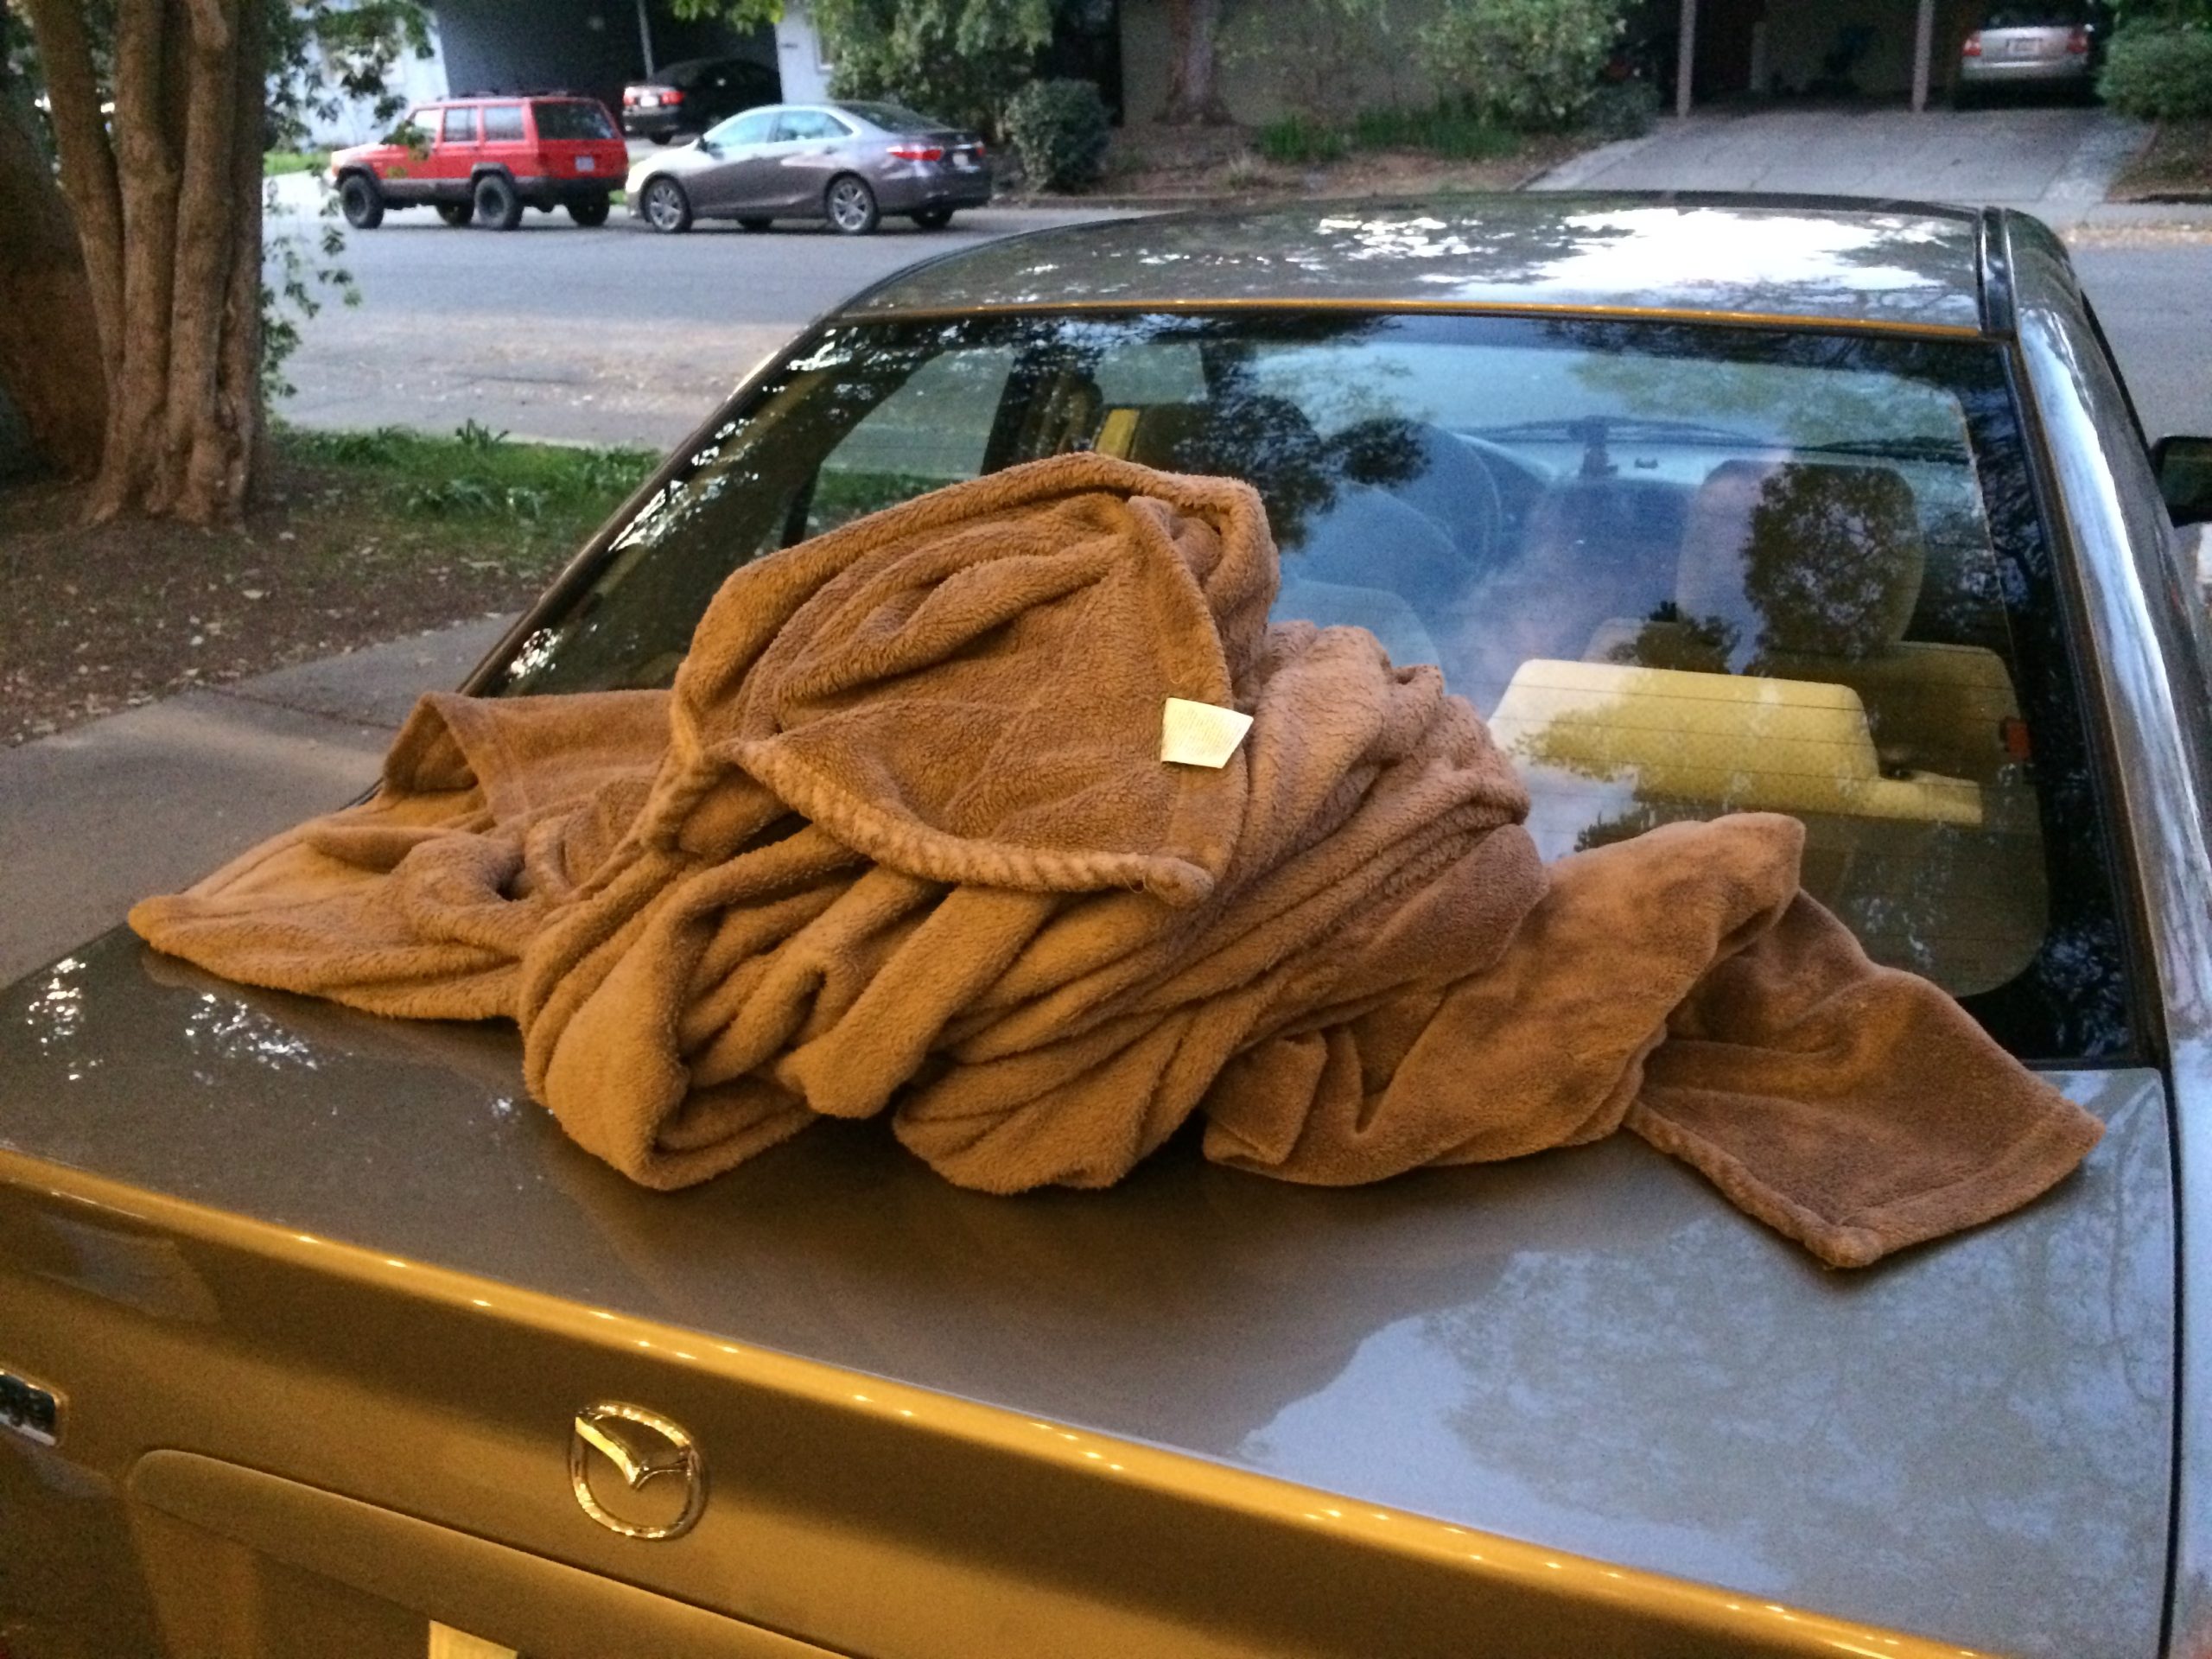
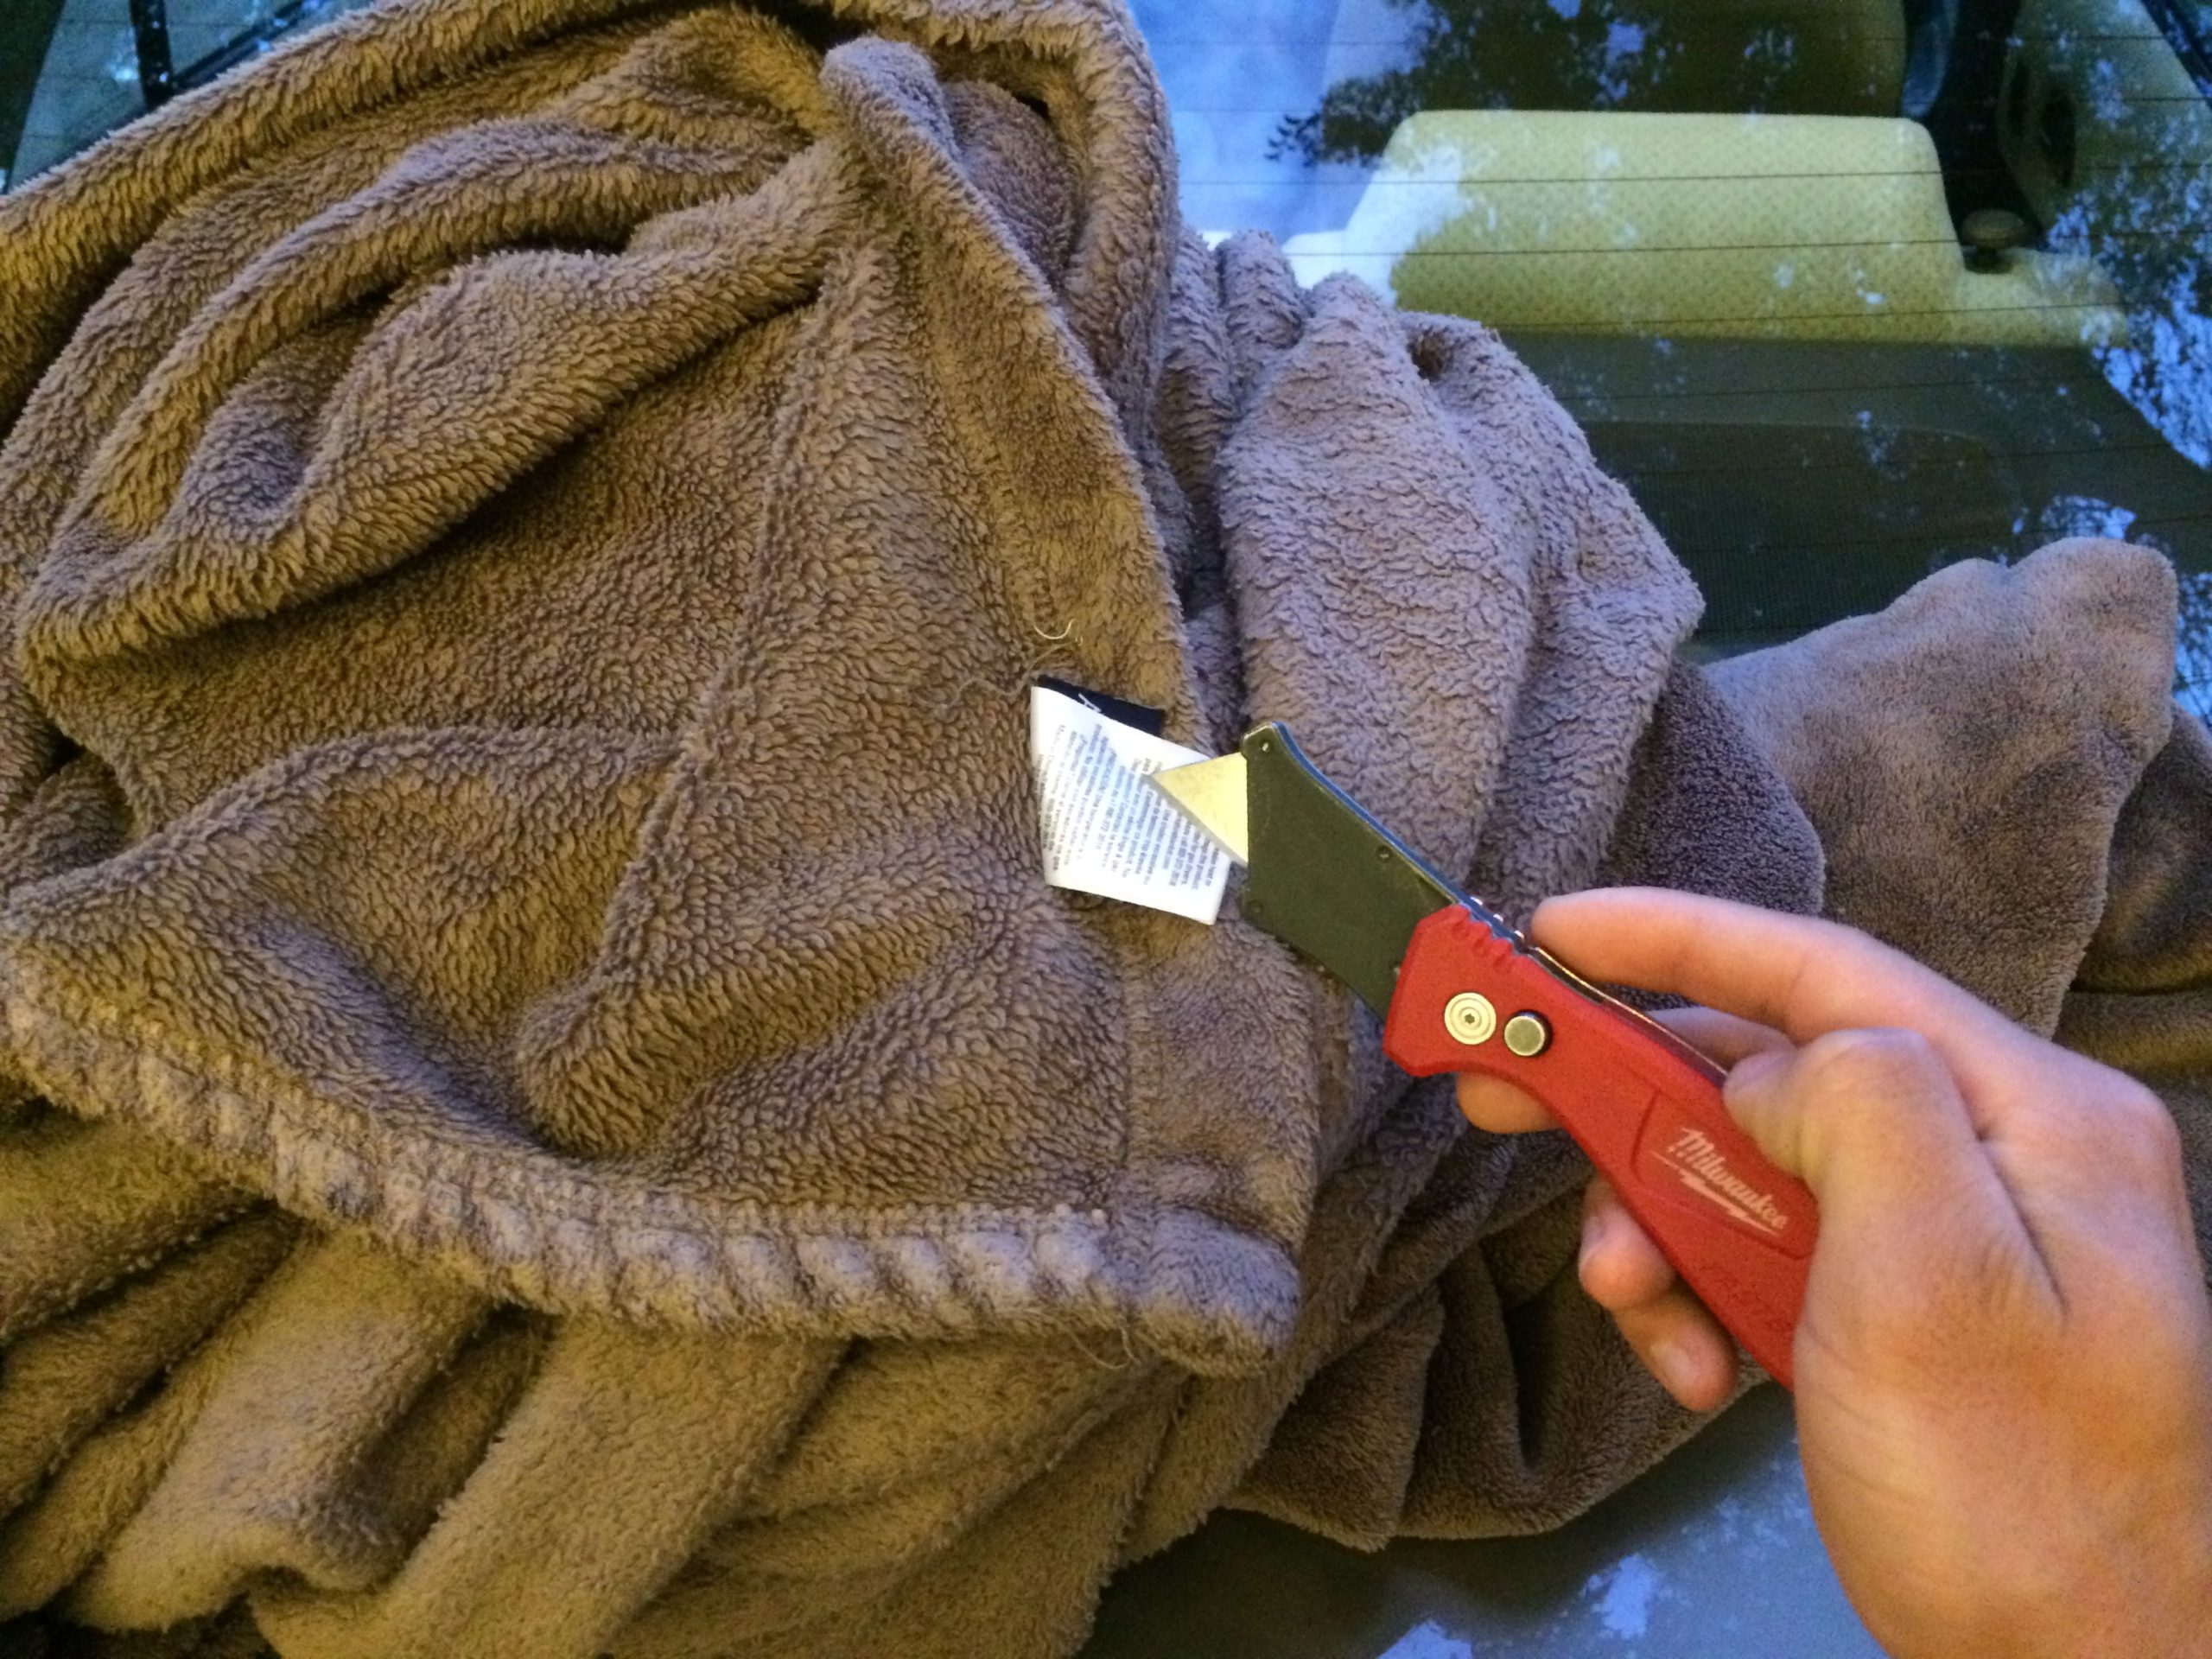
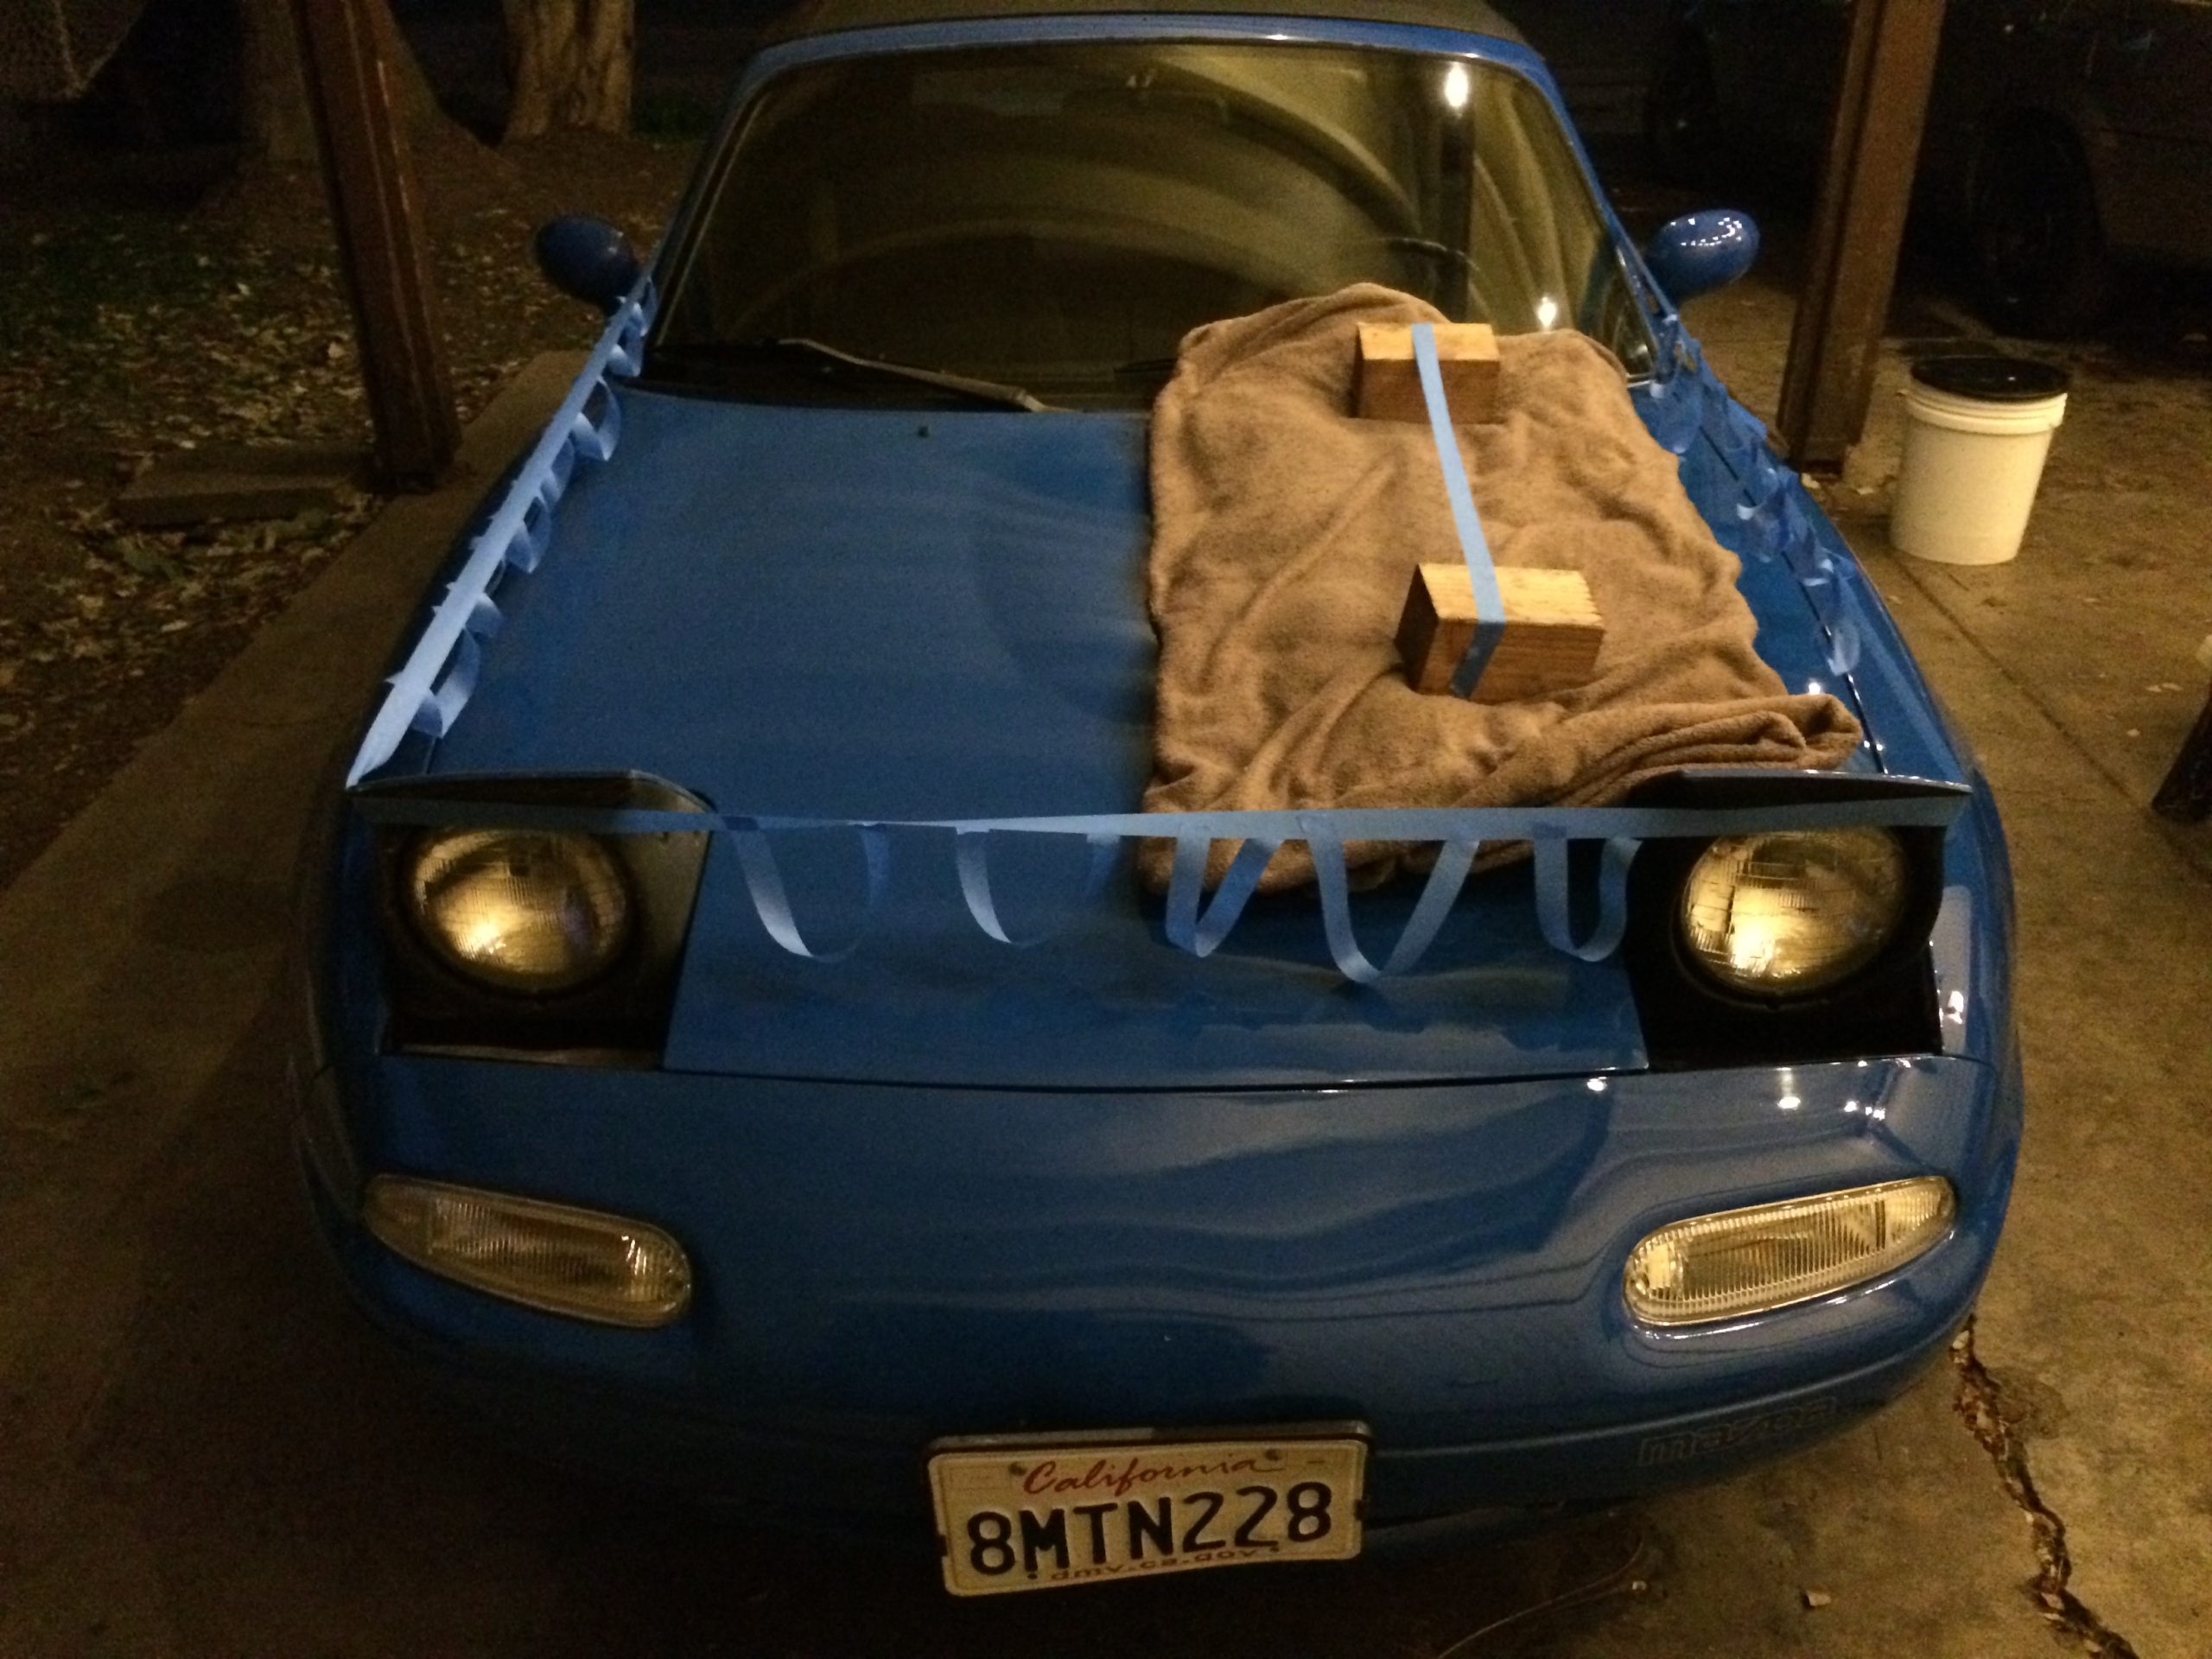
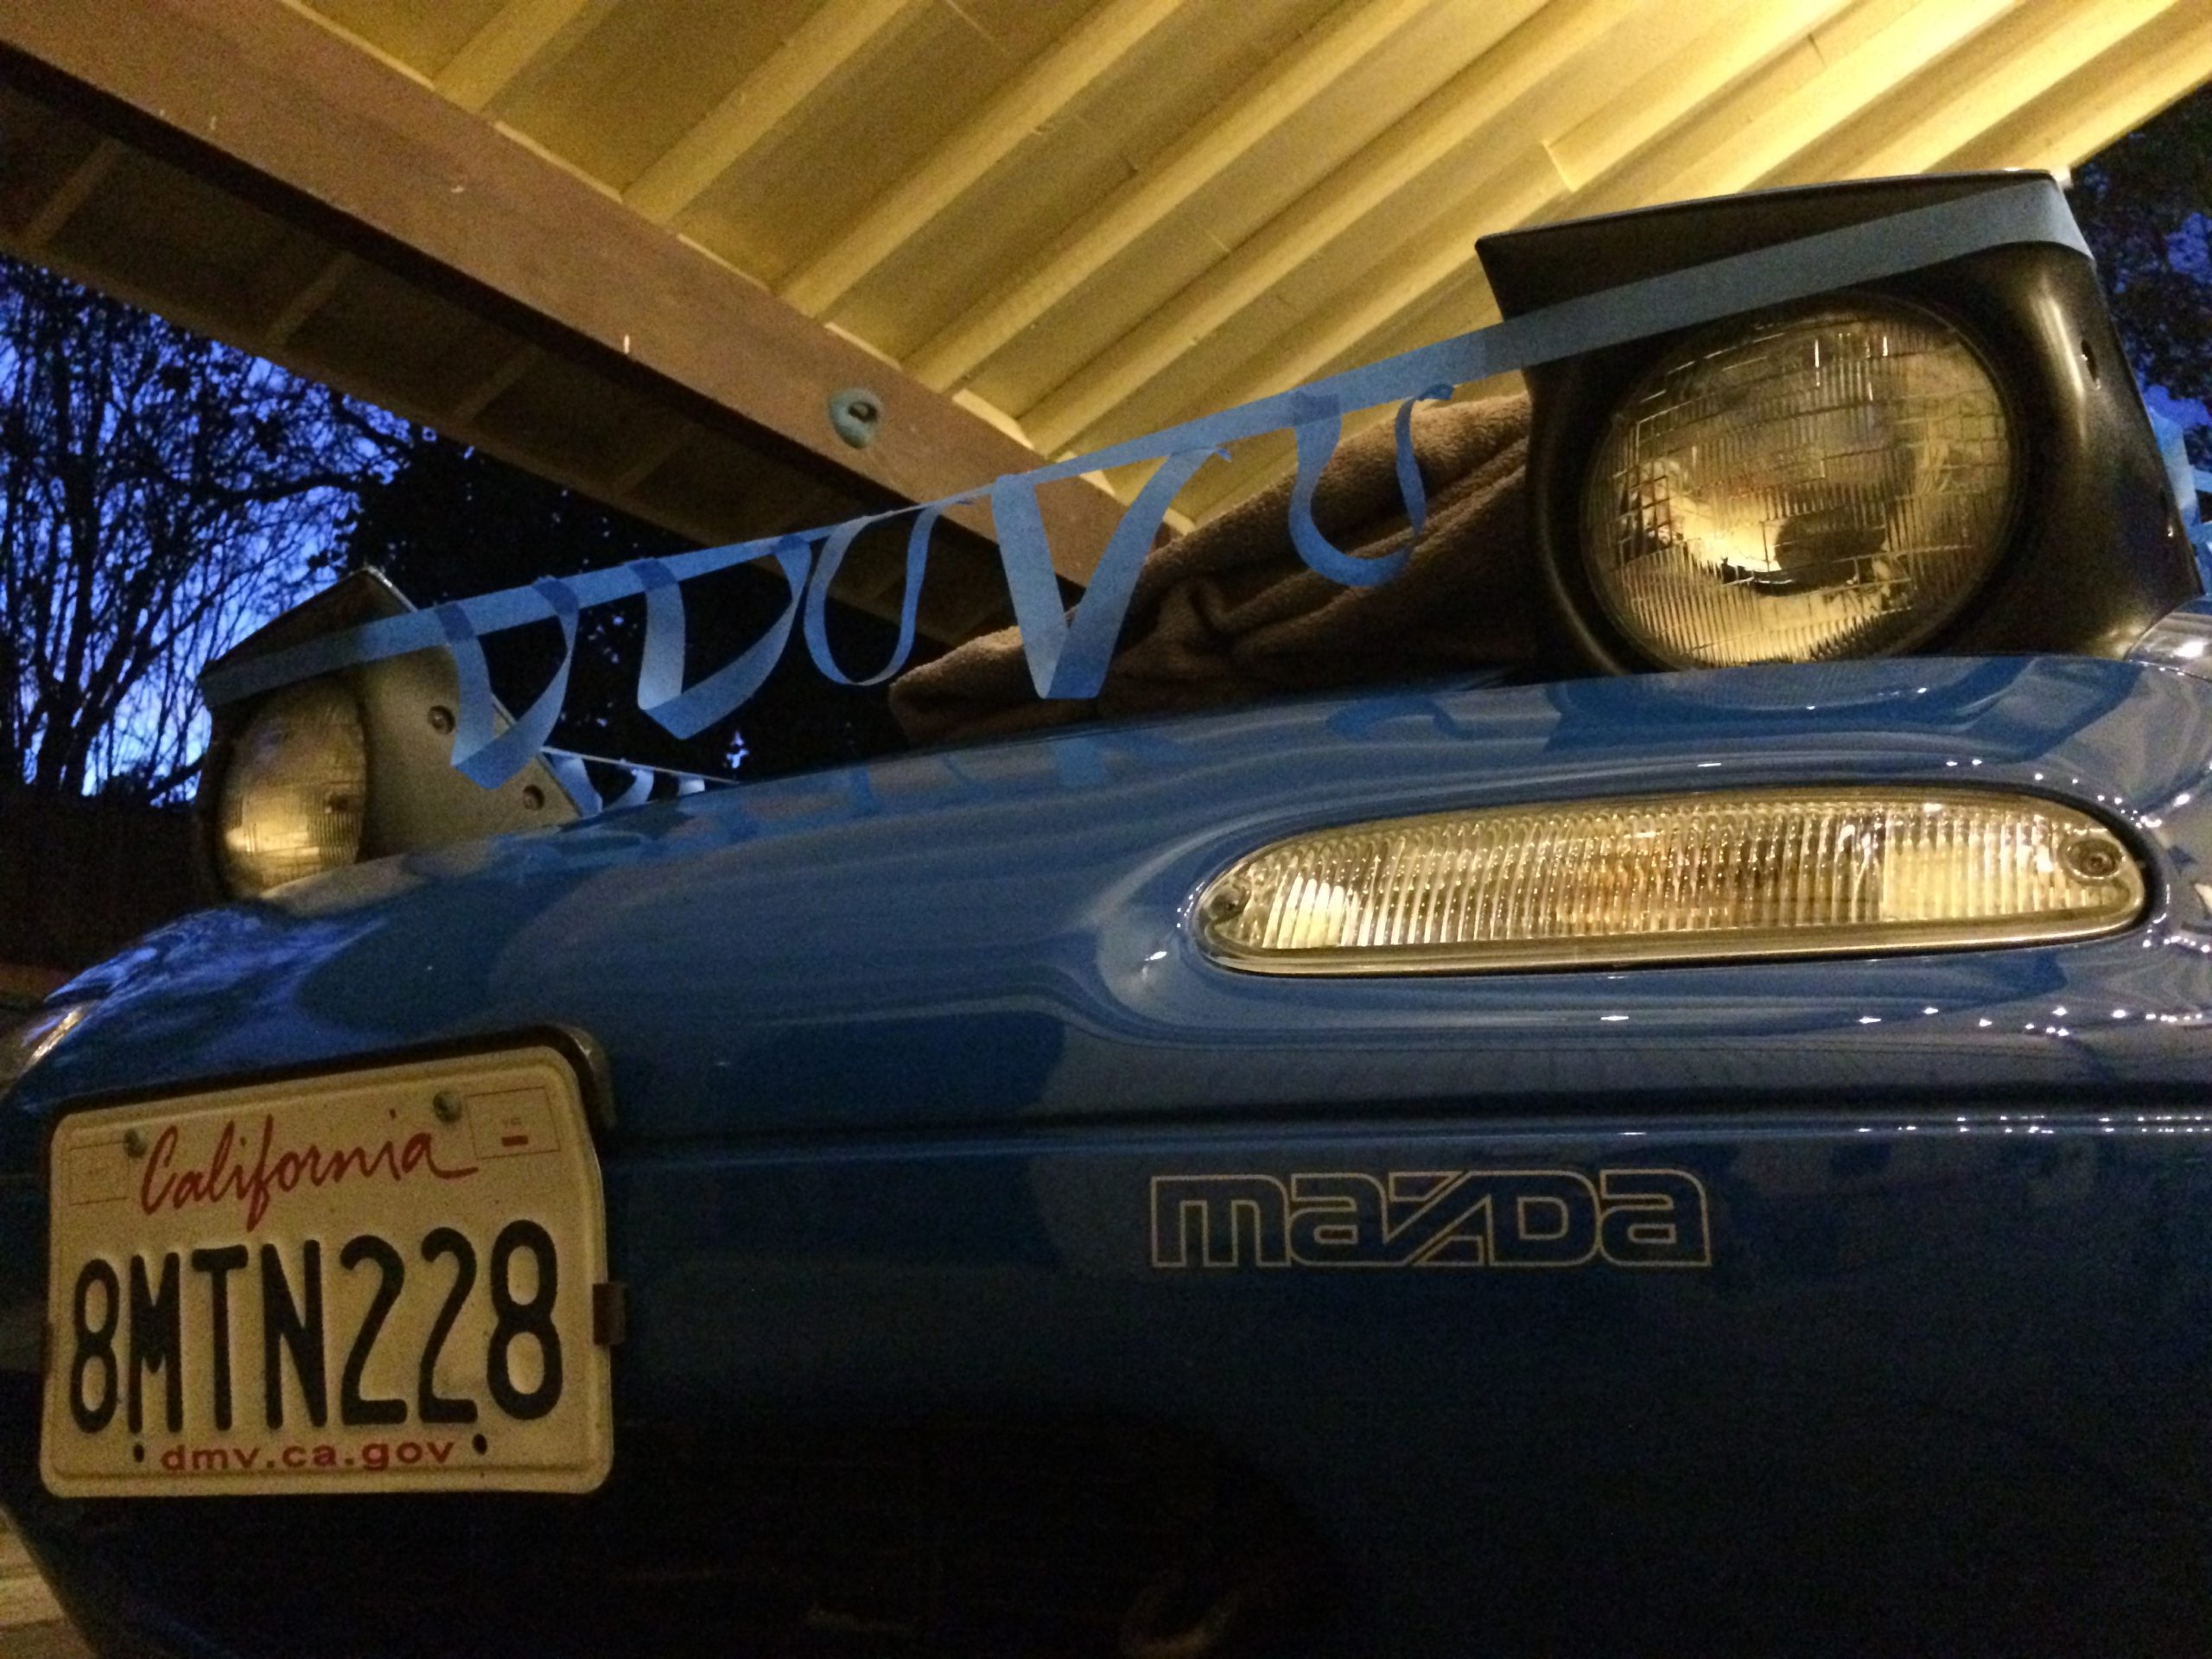
The cat preferred to use the hood as a route to the roof. With this in mind, I decided to hang a tape “fence” from the windows across the headlights. It was effective, and another reason why pop-up headlights are the greatest! Still, I found the softest blankets I had and removed their tags before placing them over the corrected sections just in case.
On the morning of the car show I contemplated the predicament I knew would occur.
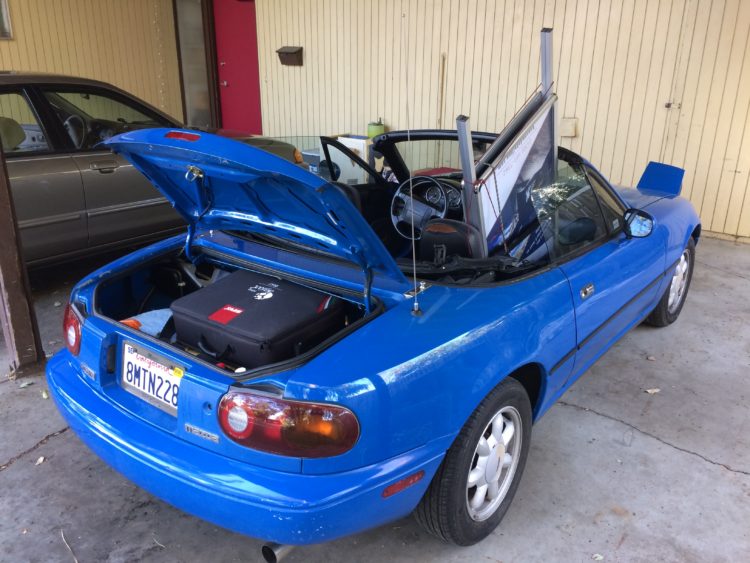
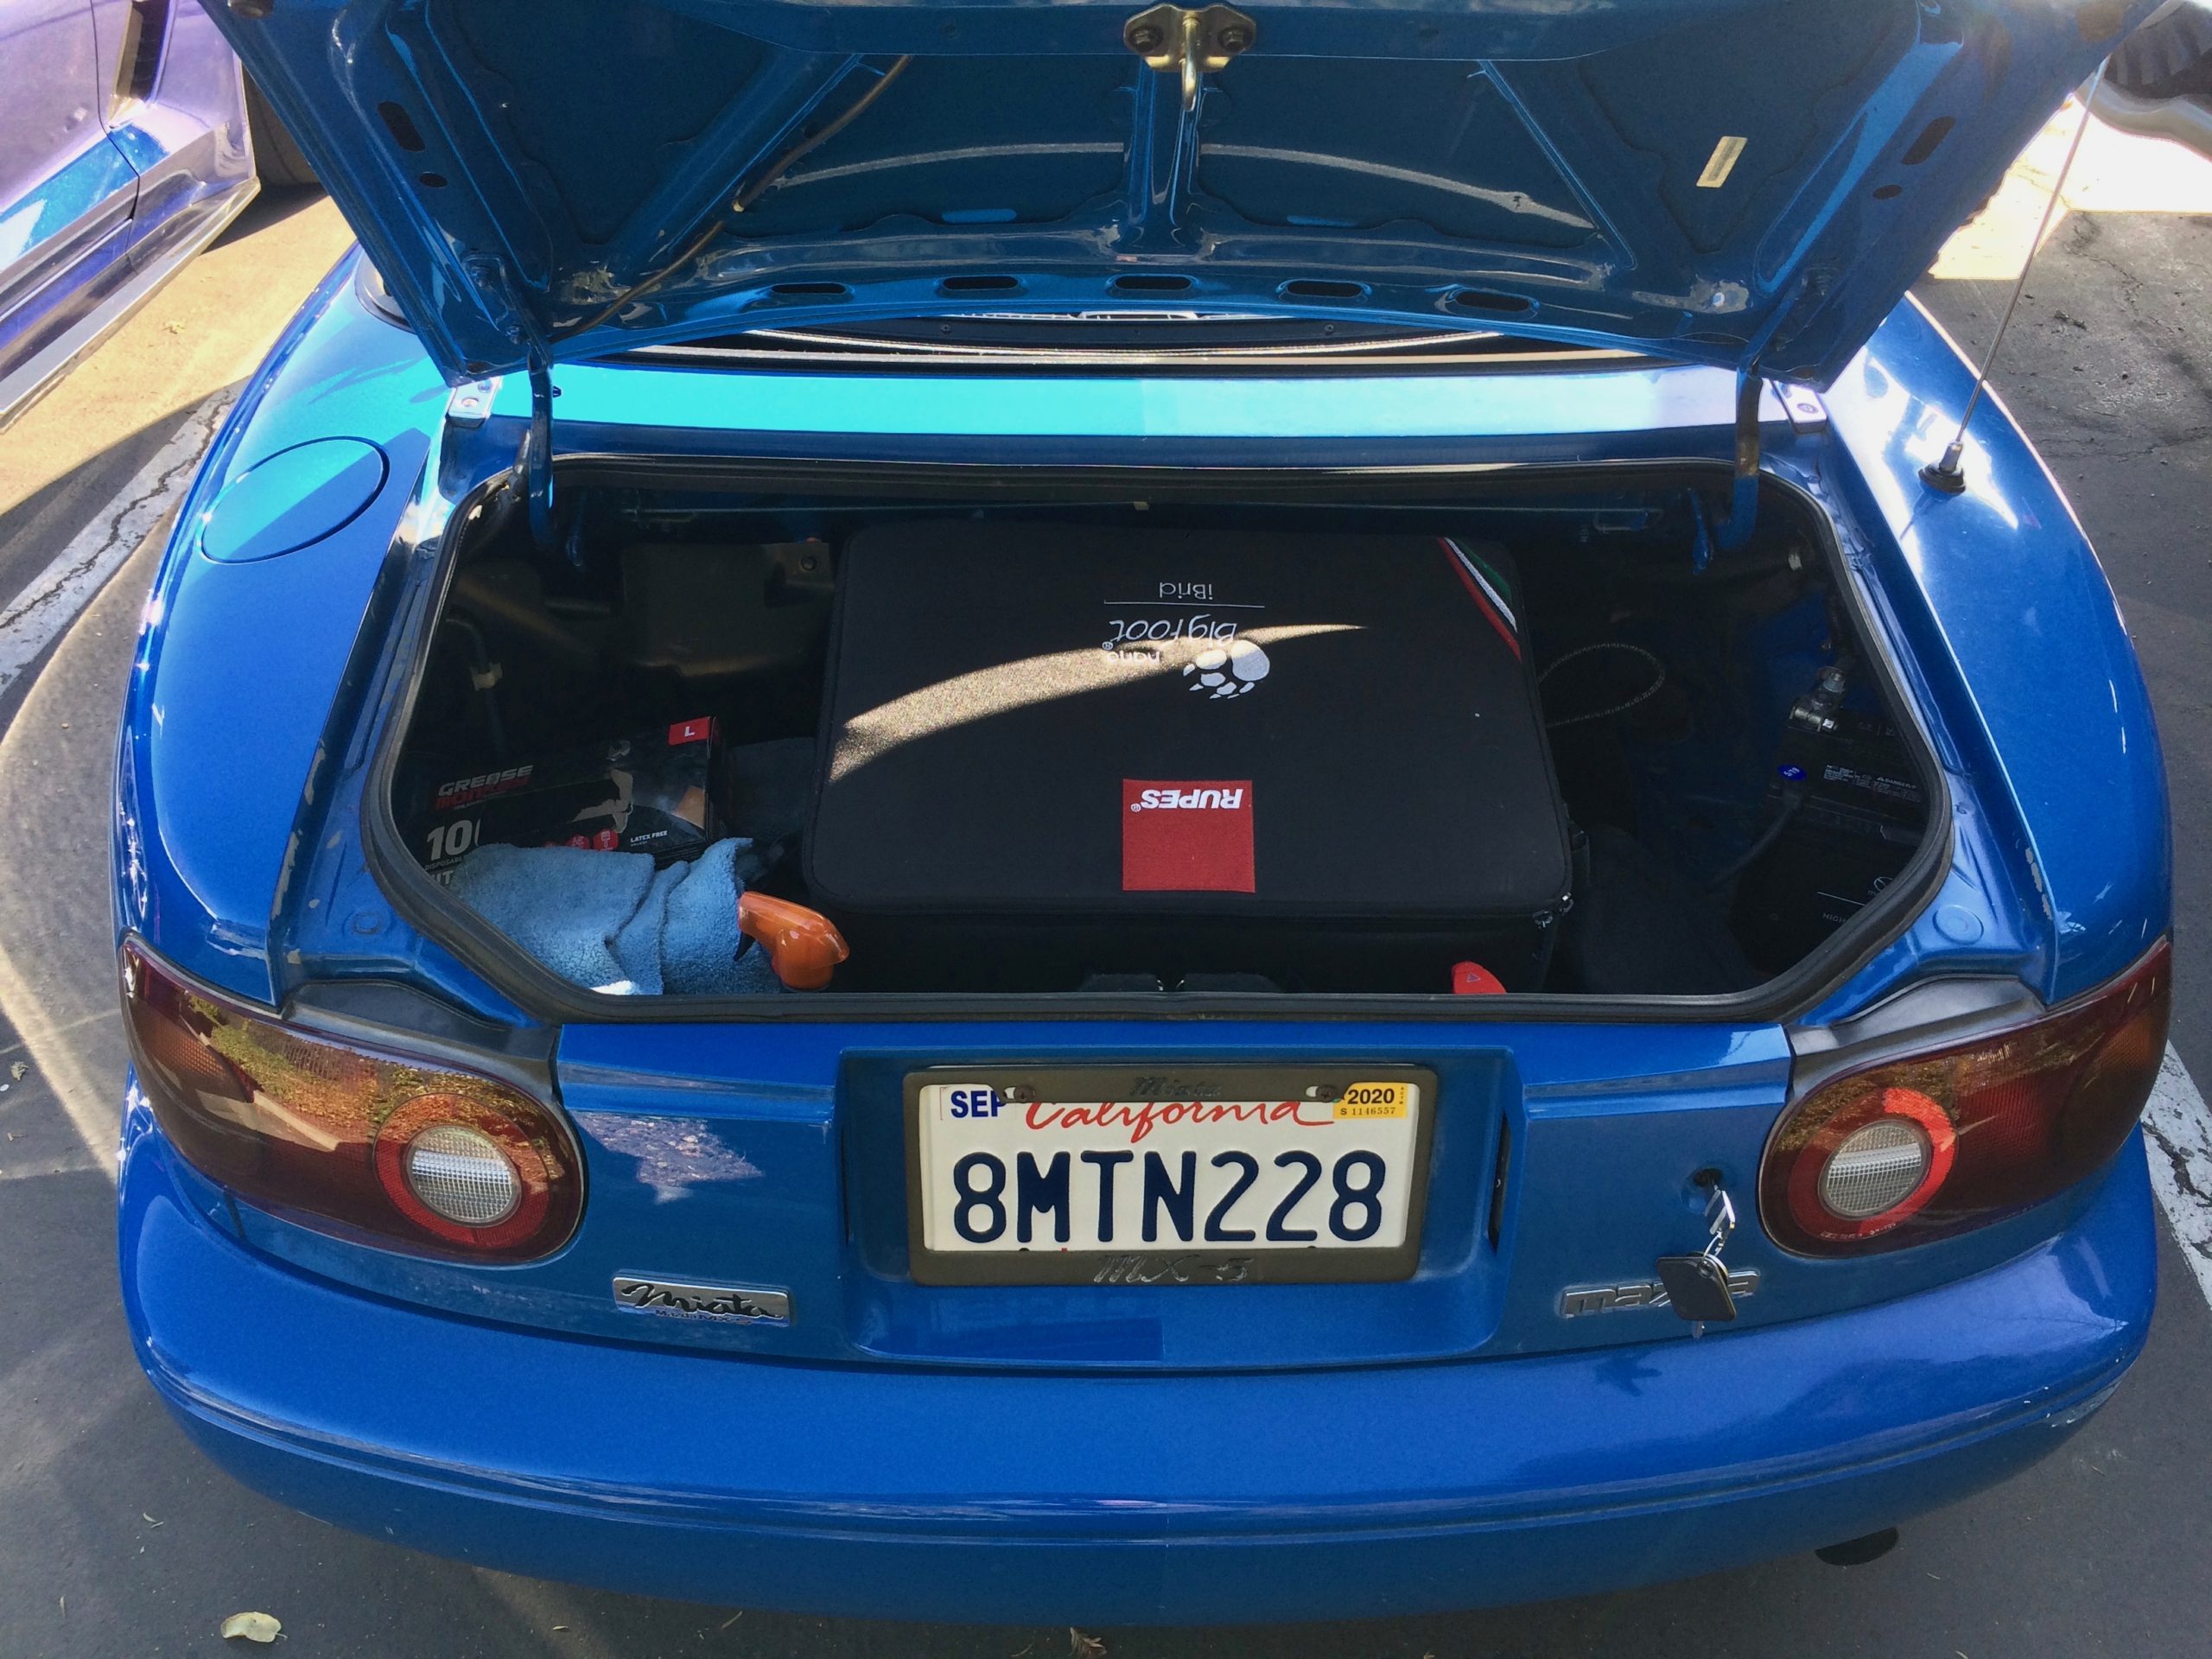
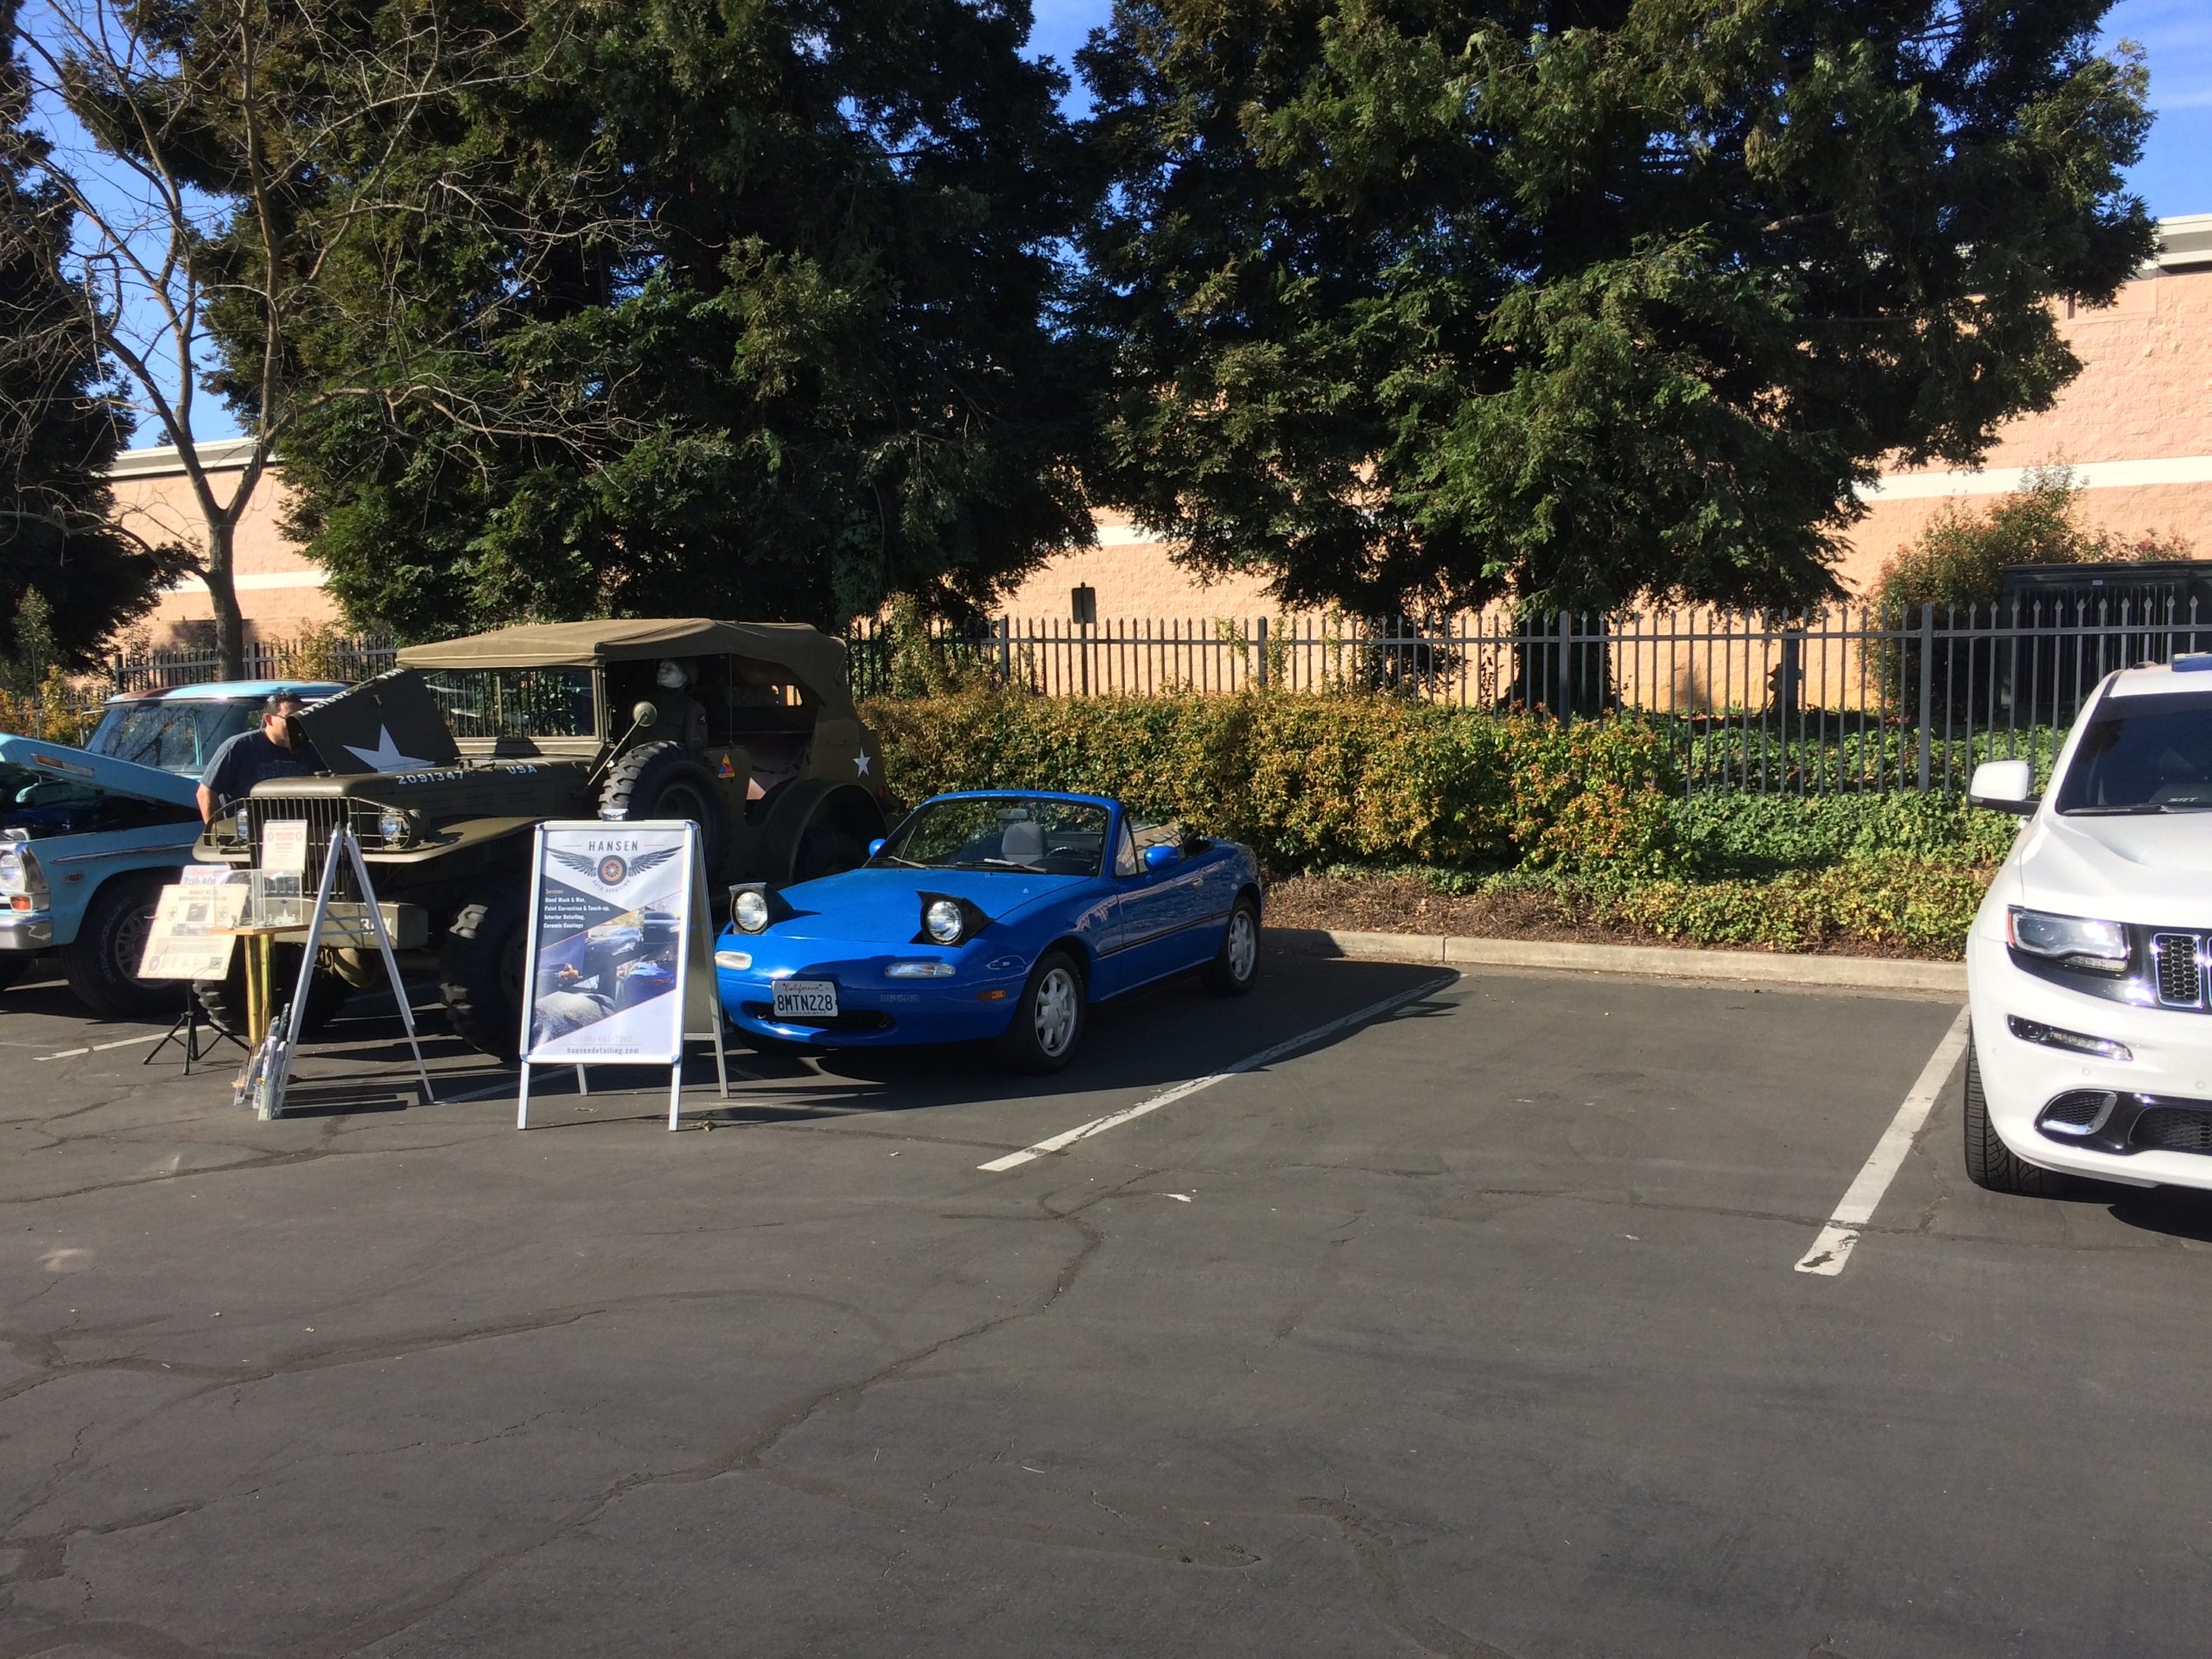
A downside of the vehicle I chose for this project is that my business sign does not fully fit in it… Without another driver available to help, I just strapped it in as a very tall passenger.
The other items I brought for this car show are as follows:
1. The Rupes Nano iBrid, this polisher runs on batteries and allows me to make corrections to the paint anywhere I may be.
2. Meguiar’s D166 Polishing Wax, this polish saves space and time by laying down protective wax as I correct paint.
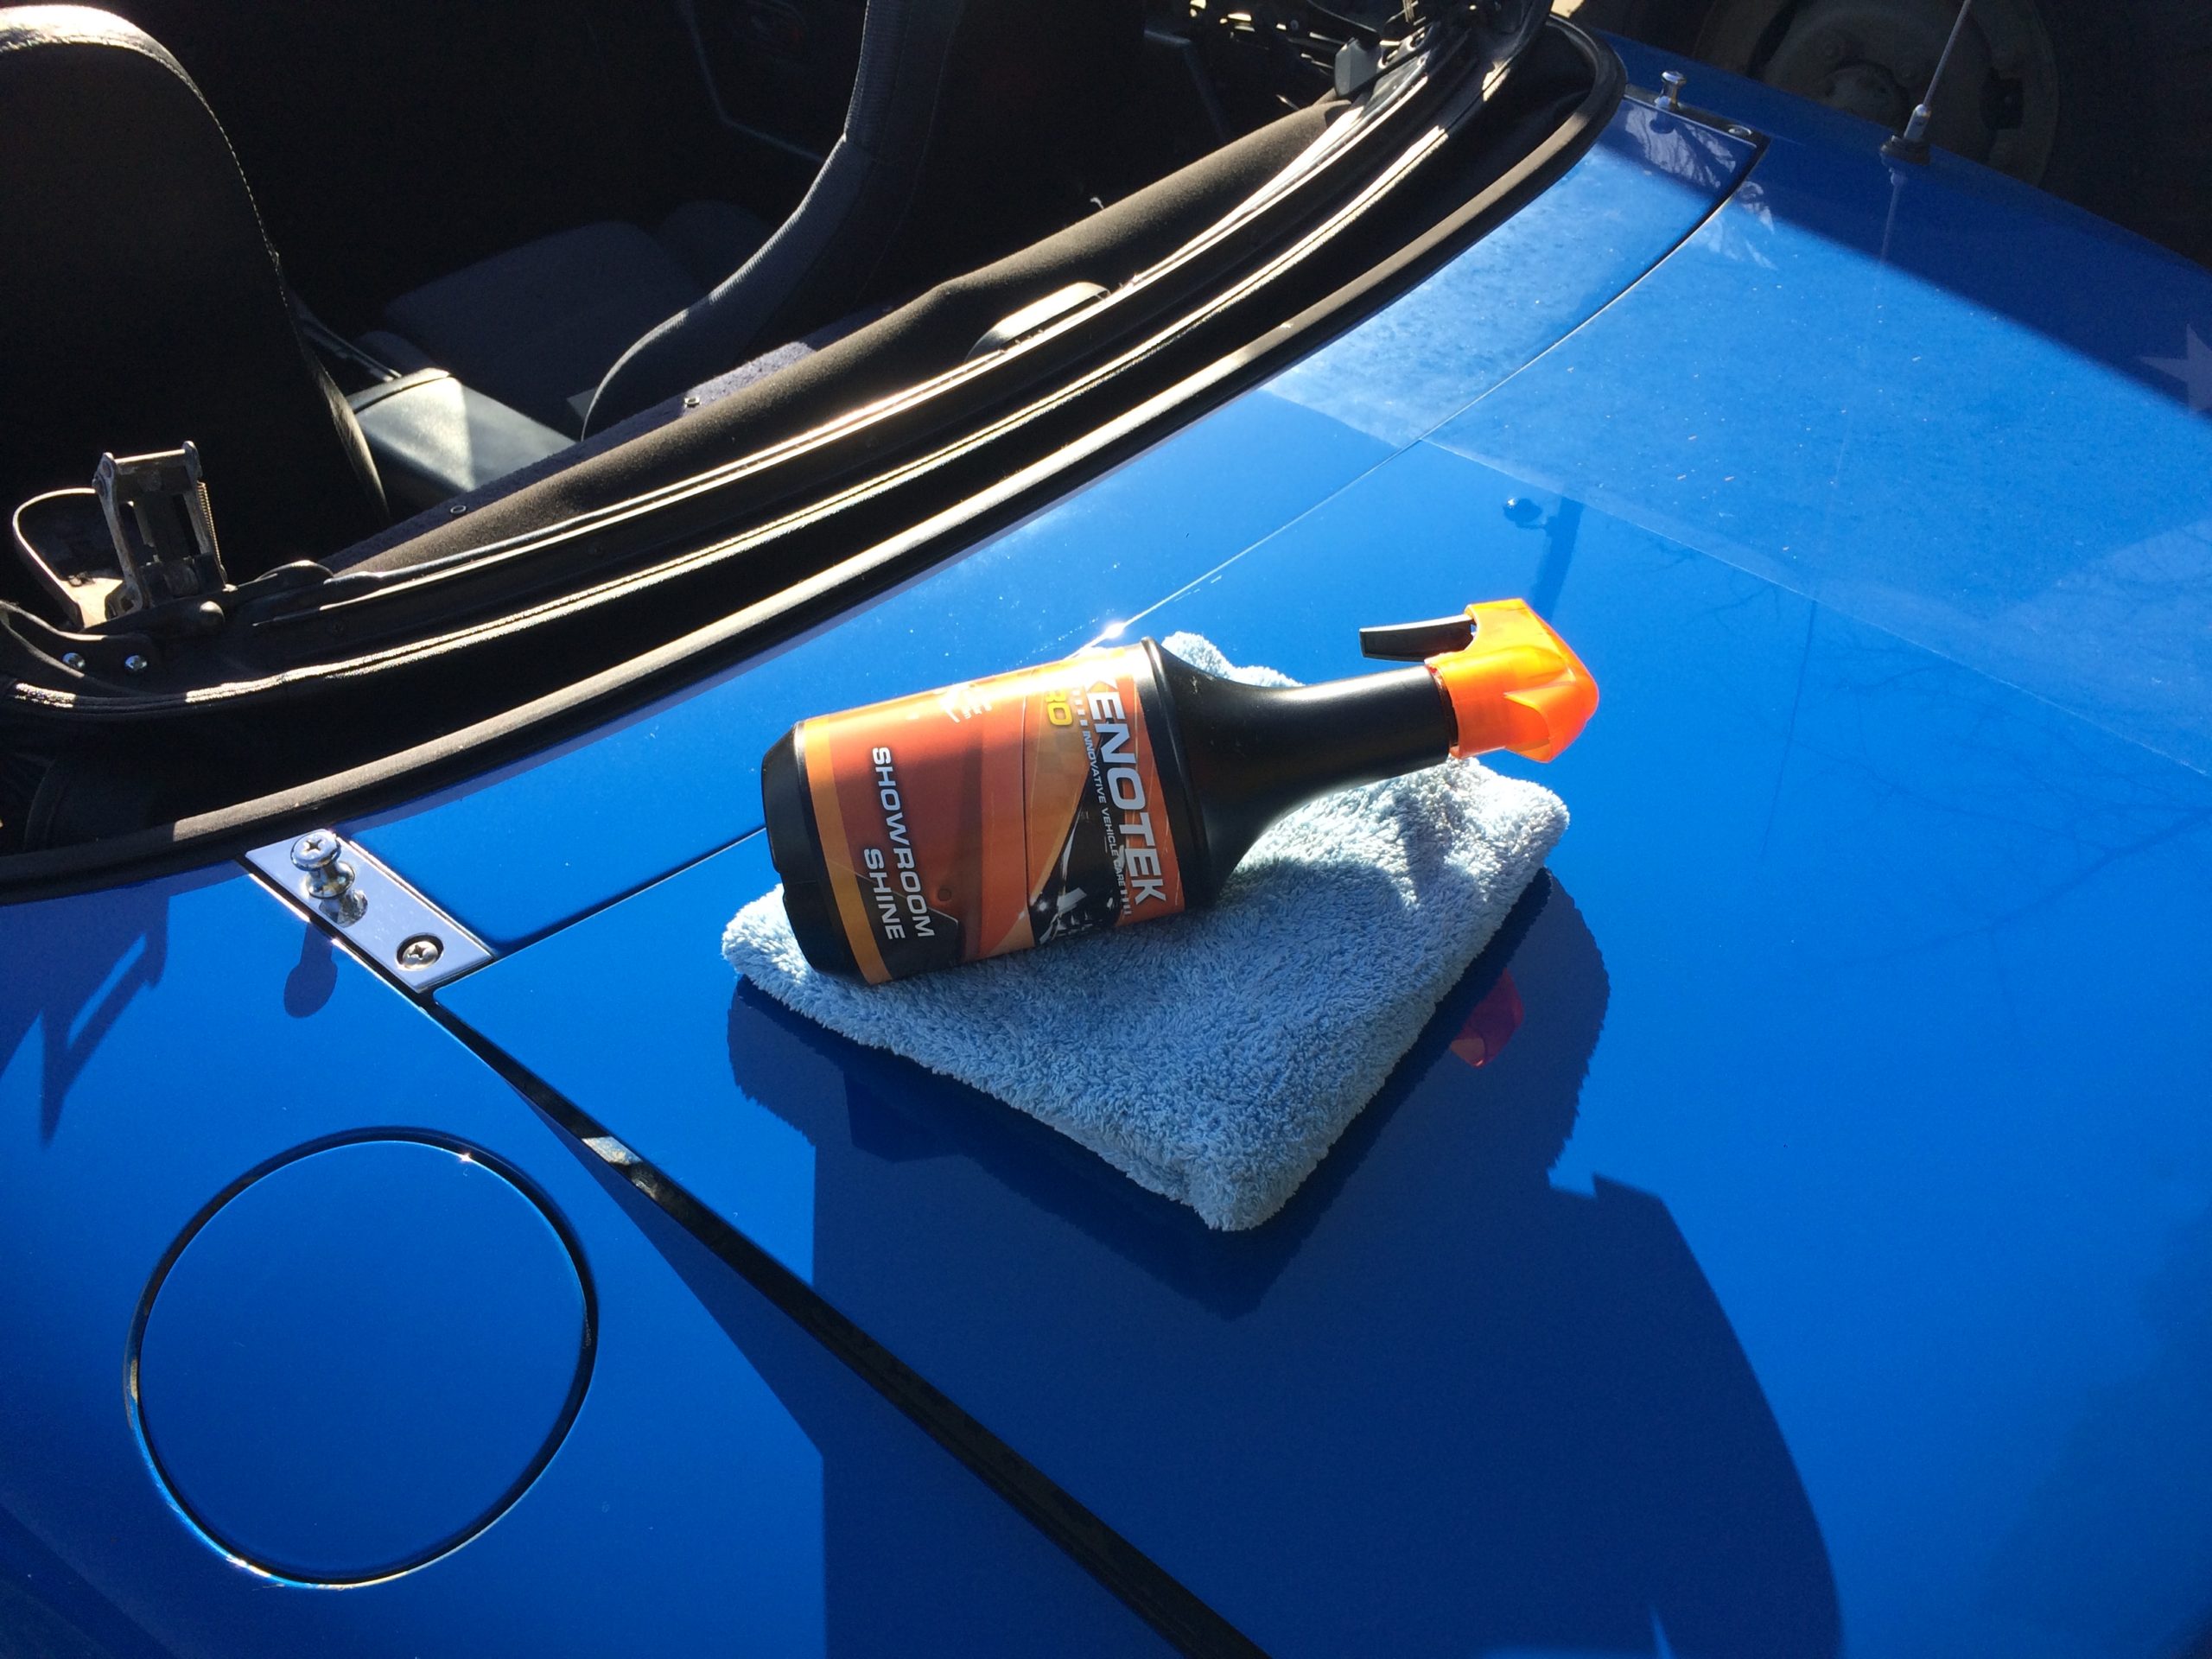
3. Kenotek Showroom Shine, a quick detailer that cleans while also leaving behind a protective and anti-static coating.
4. Griot’s Interior Detailer.
5. Griot’s Plush Edgeless Towels, these towels are very soft and gentle, excellent for concours level paints.
6. Spray bottle with water, for showing hydrophobic surface behavior.
7. Nitrile gloves.
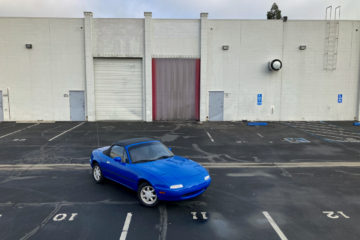
The vehicle I parked next to made the MX-5 look even smaller.
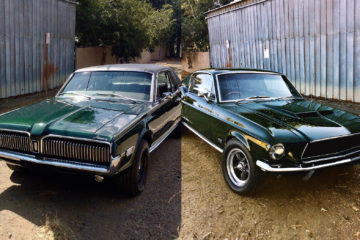
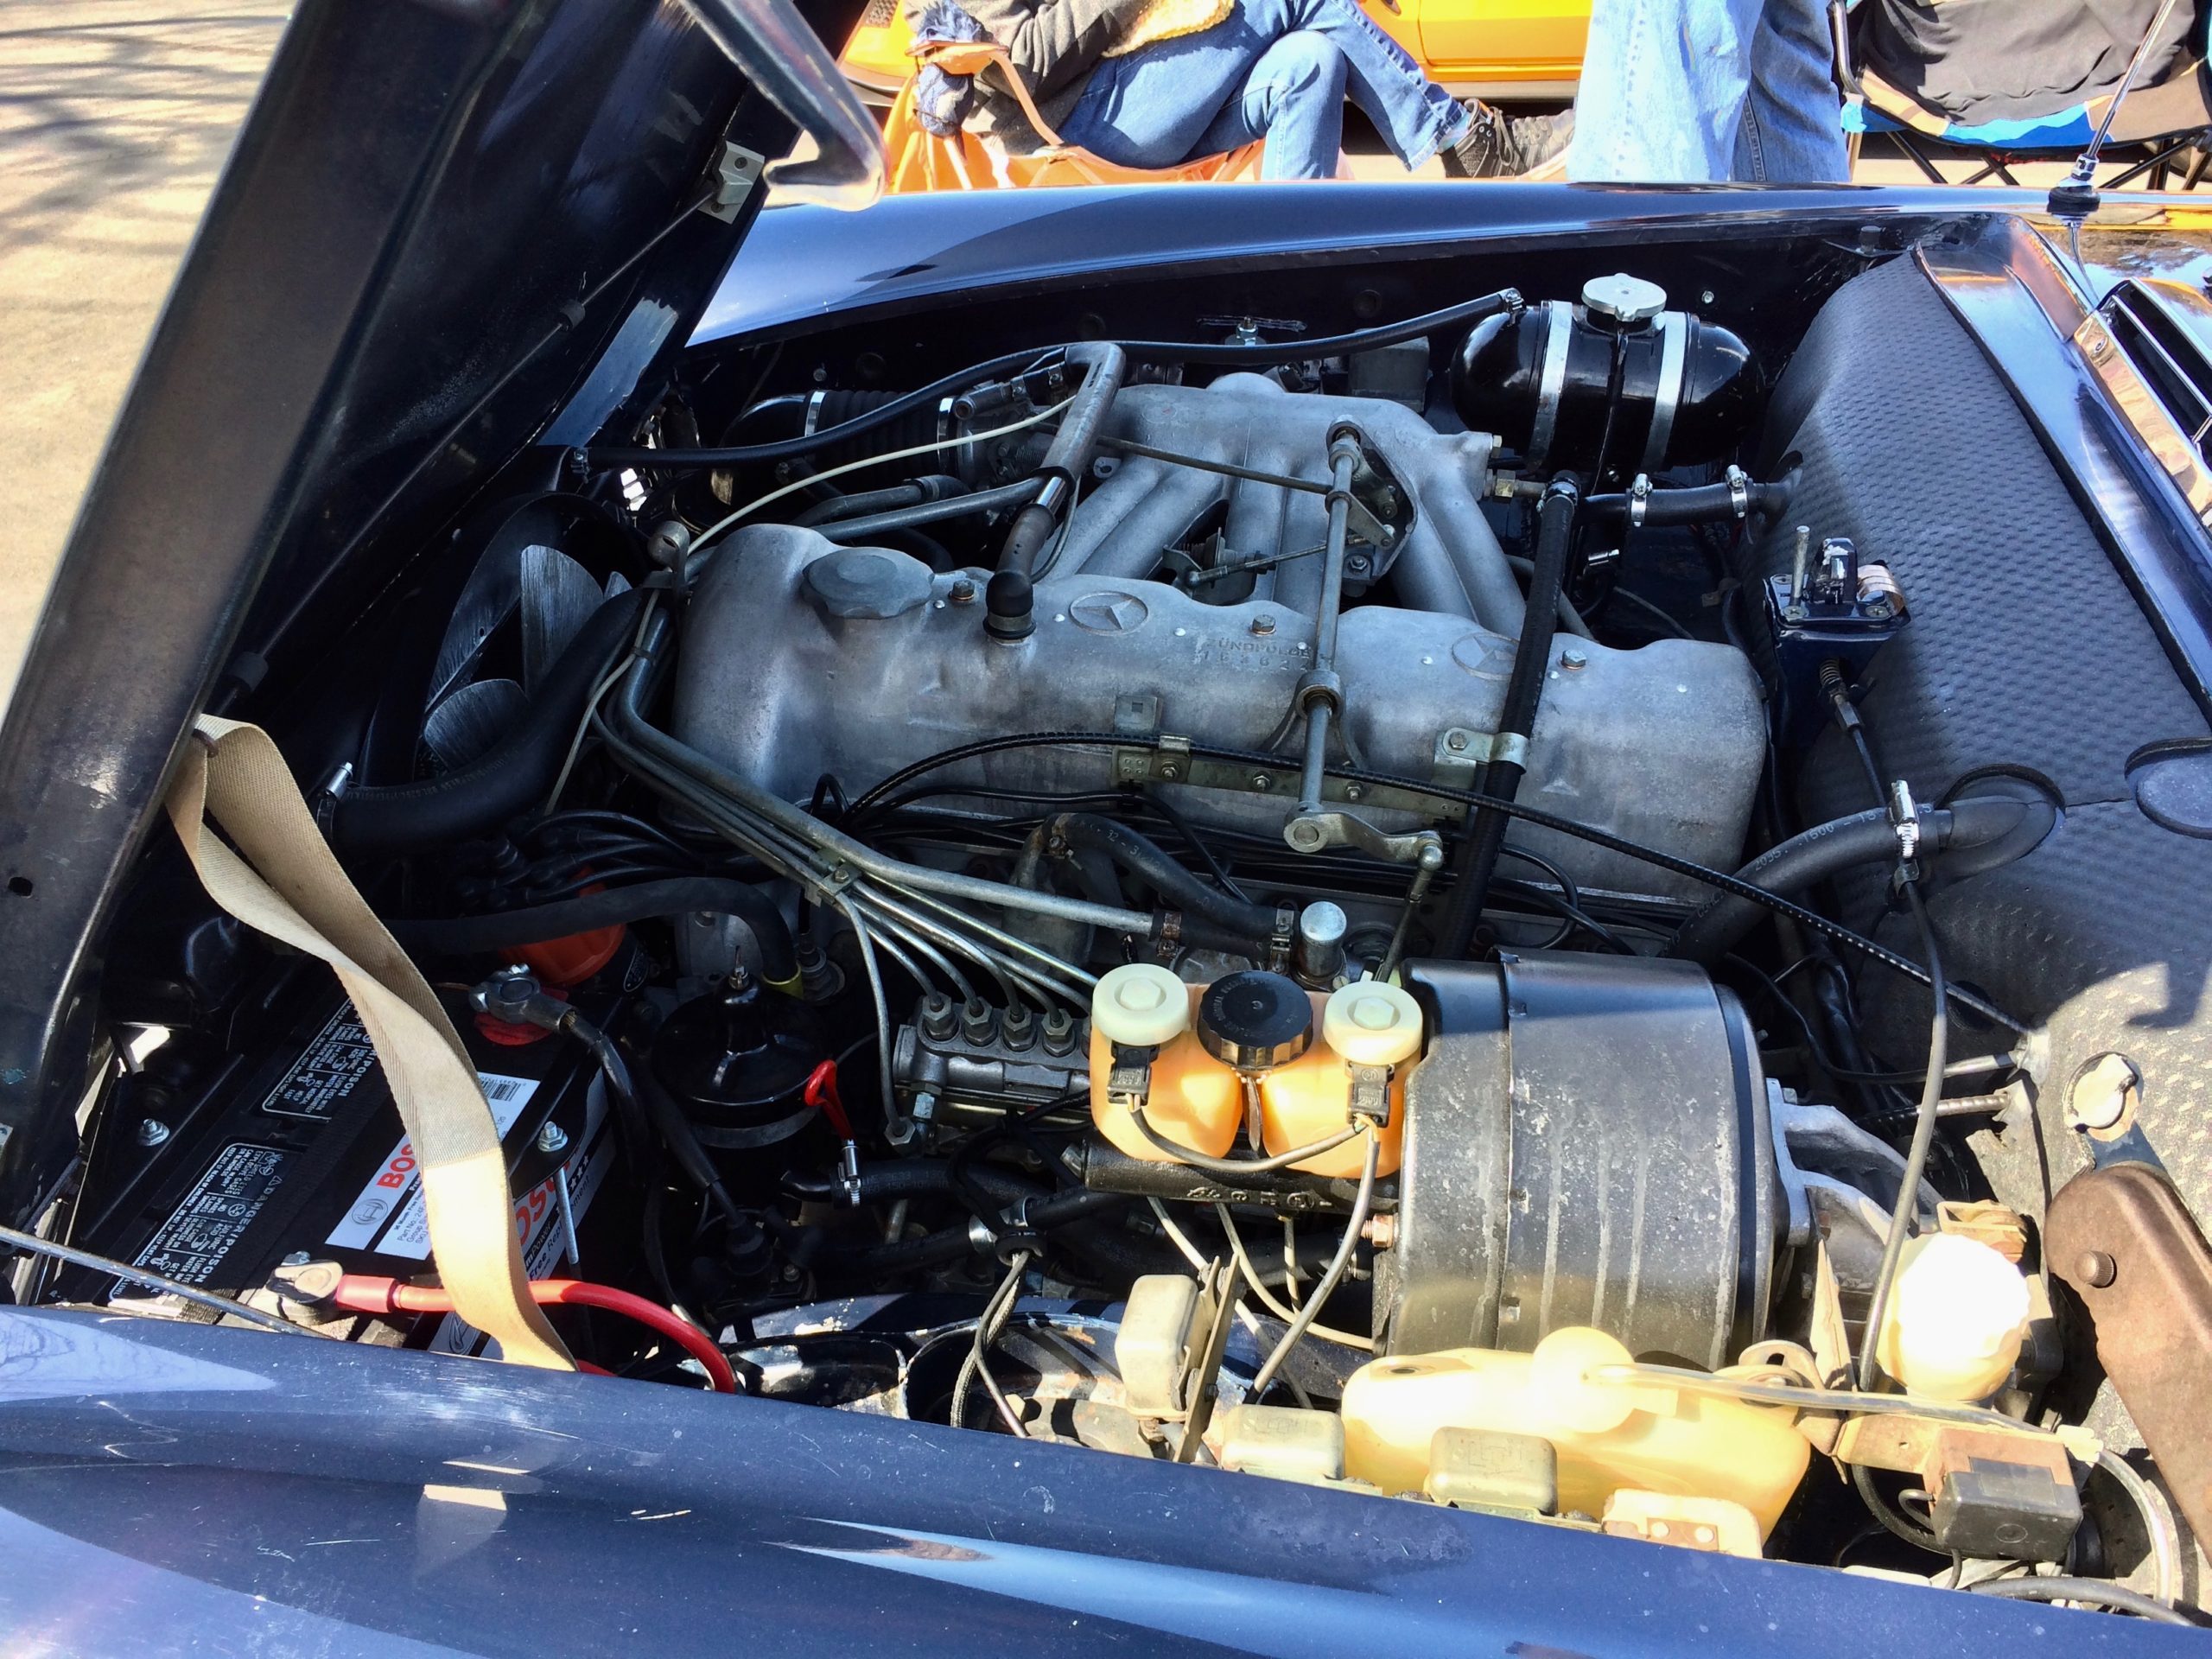
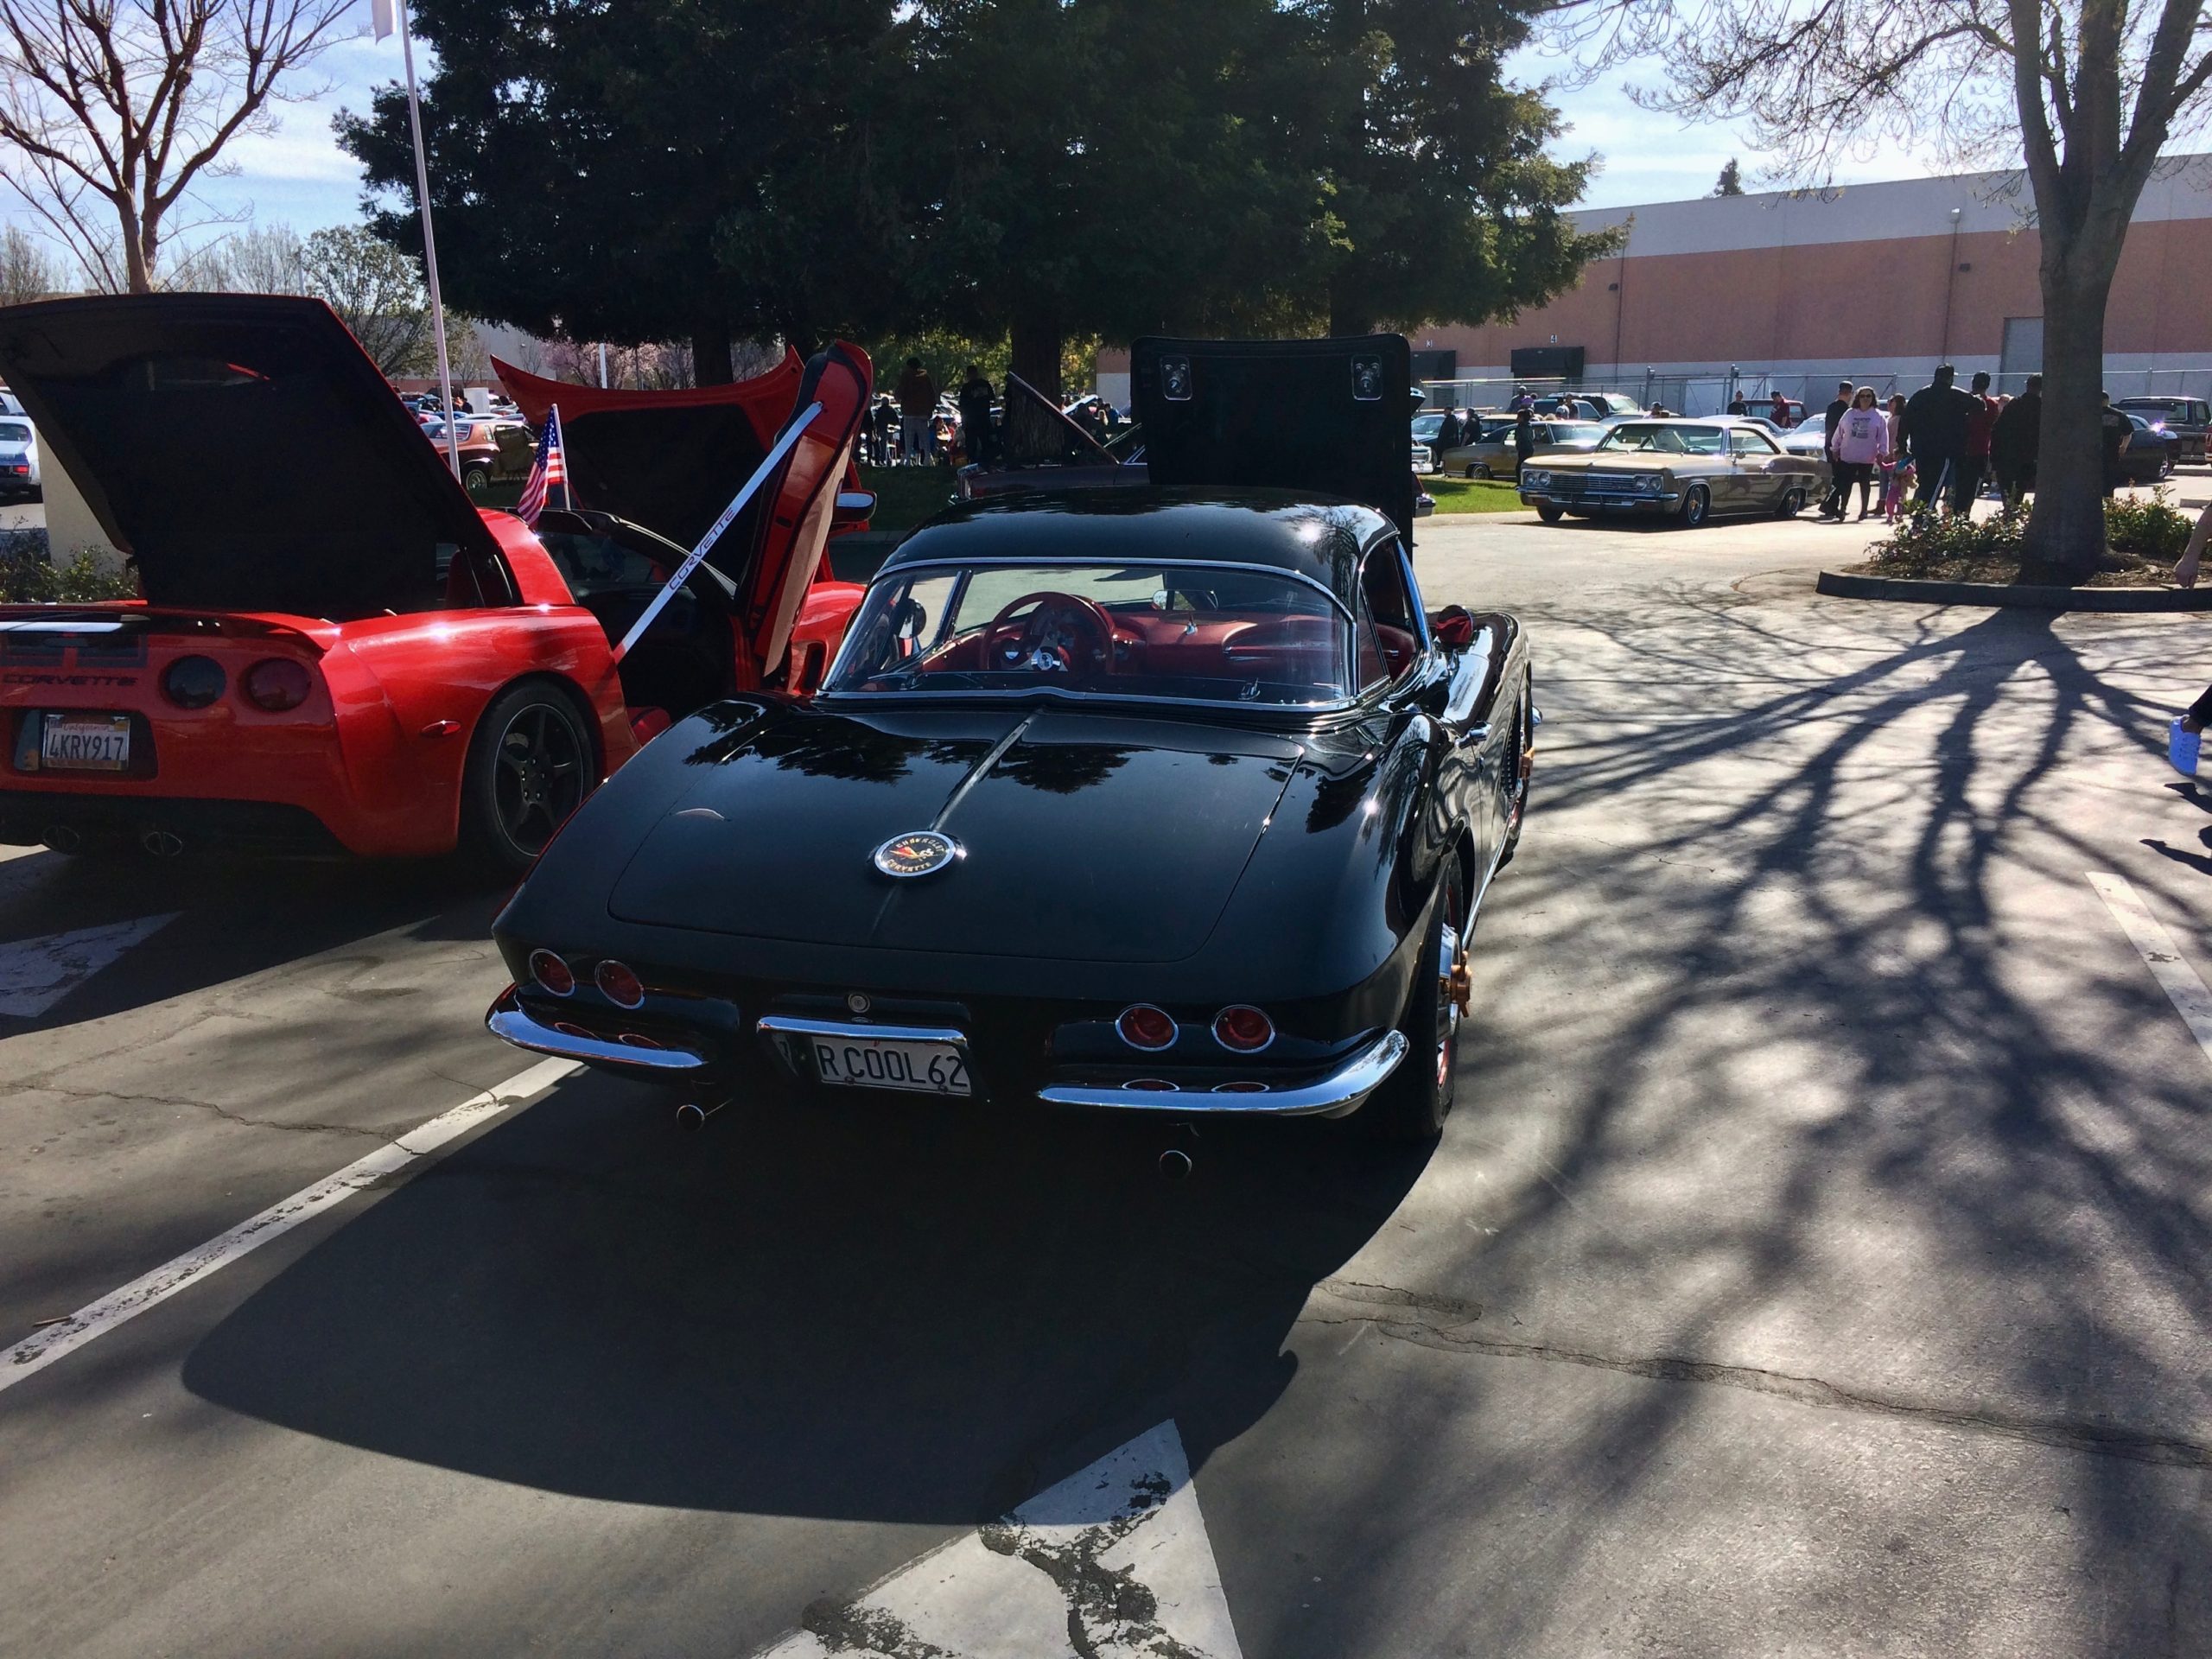
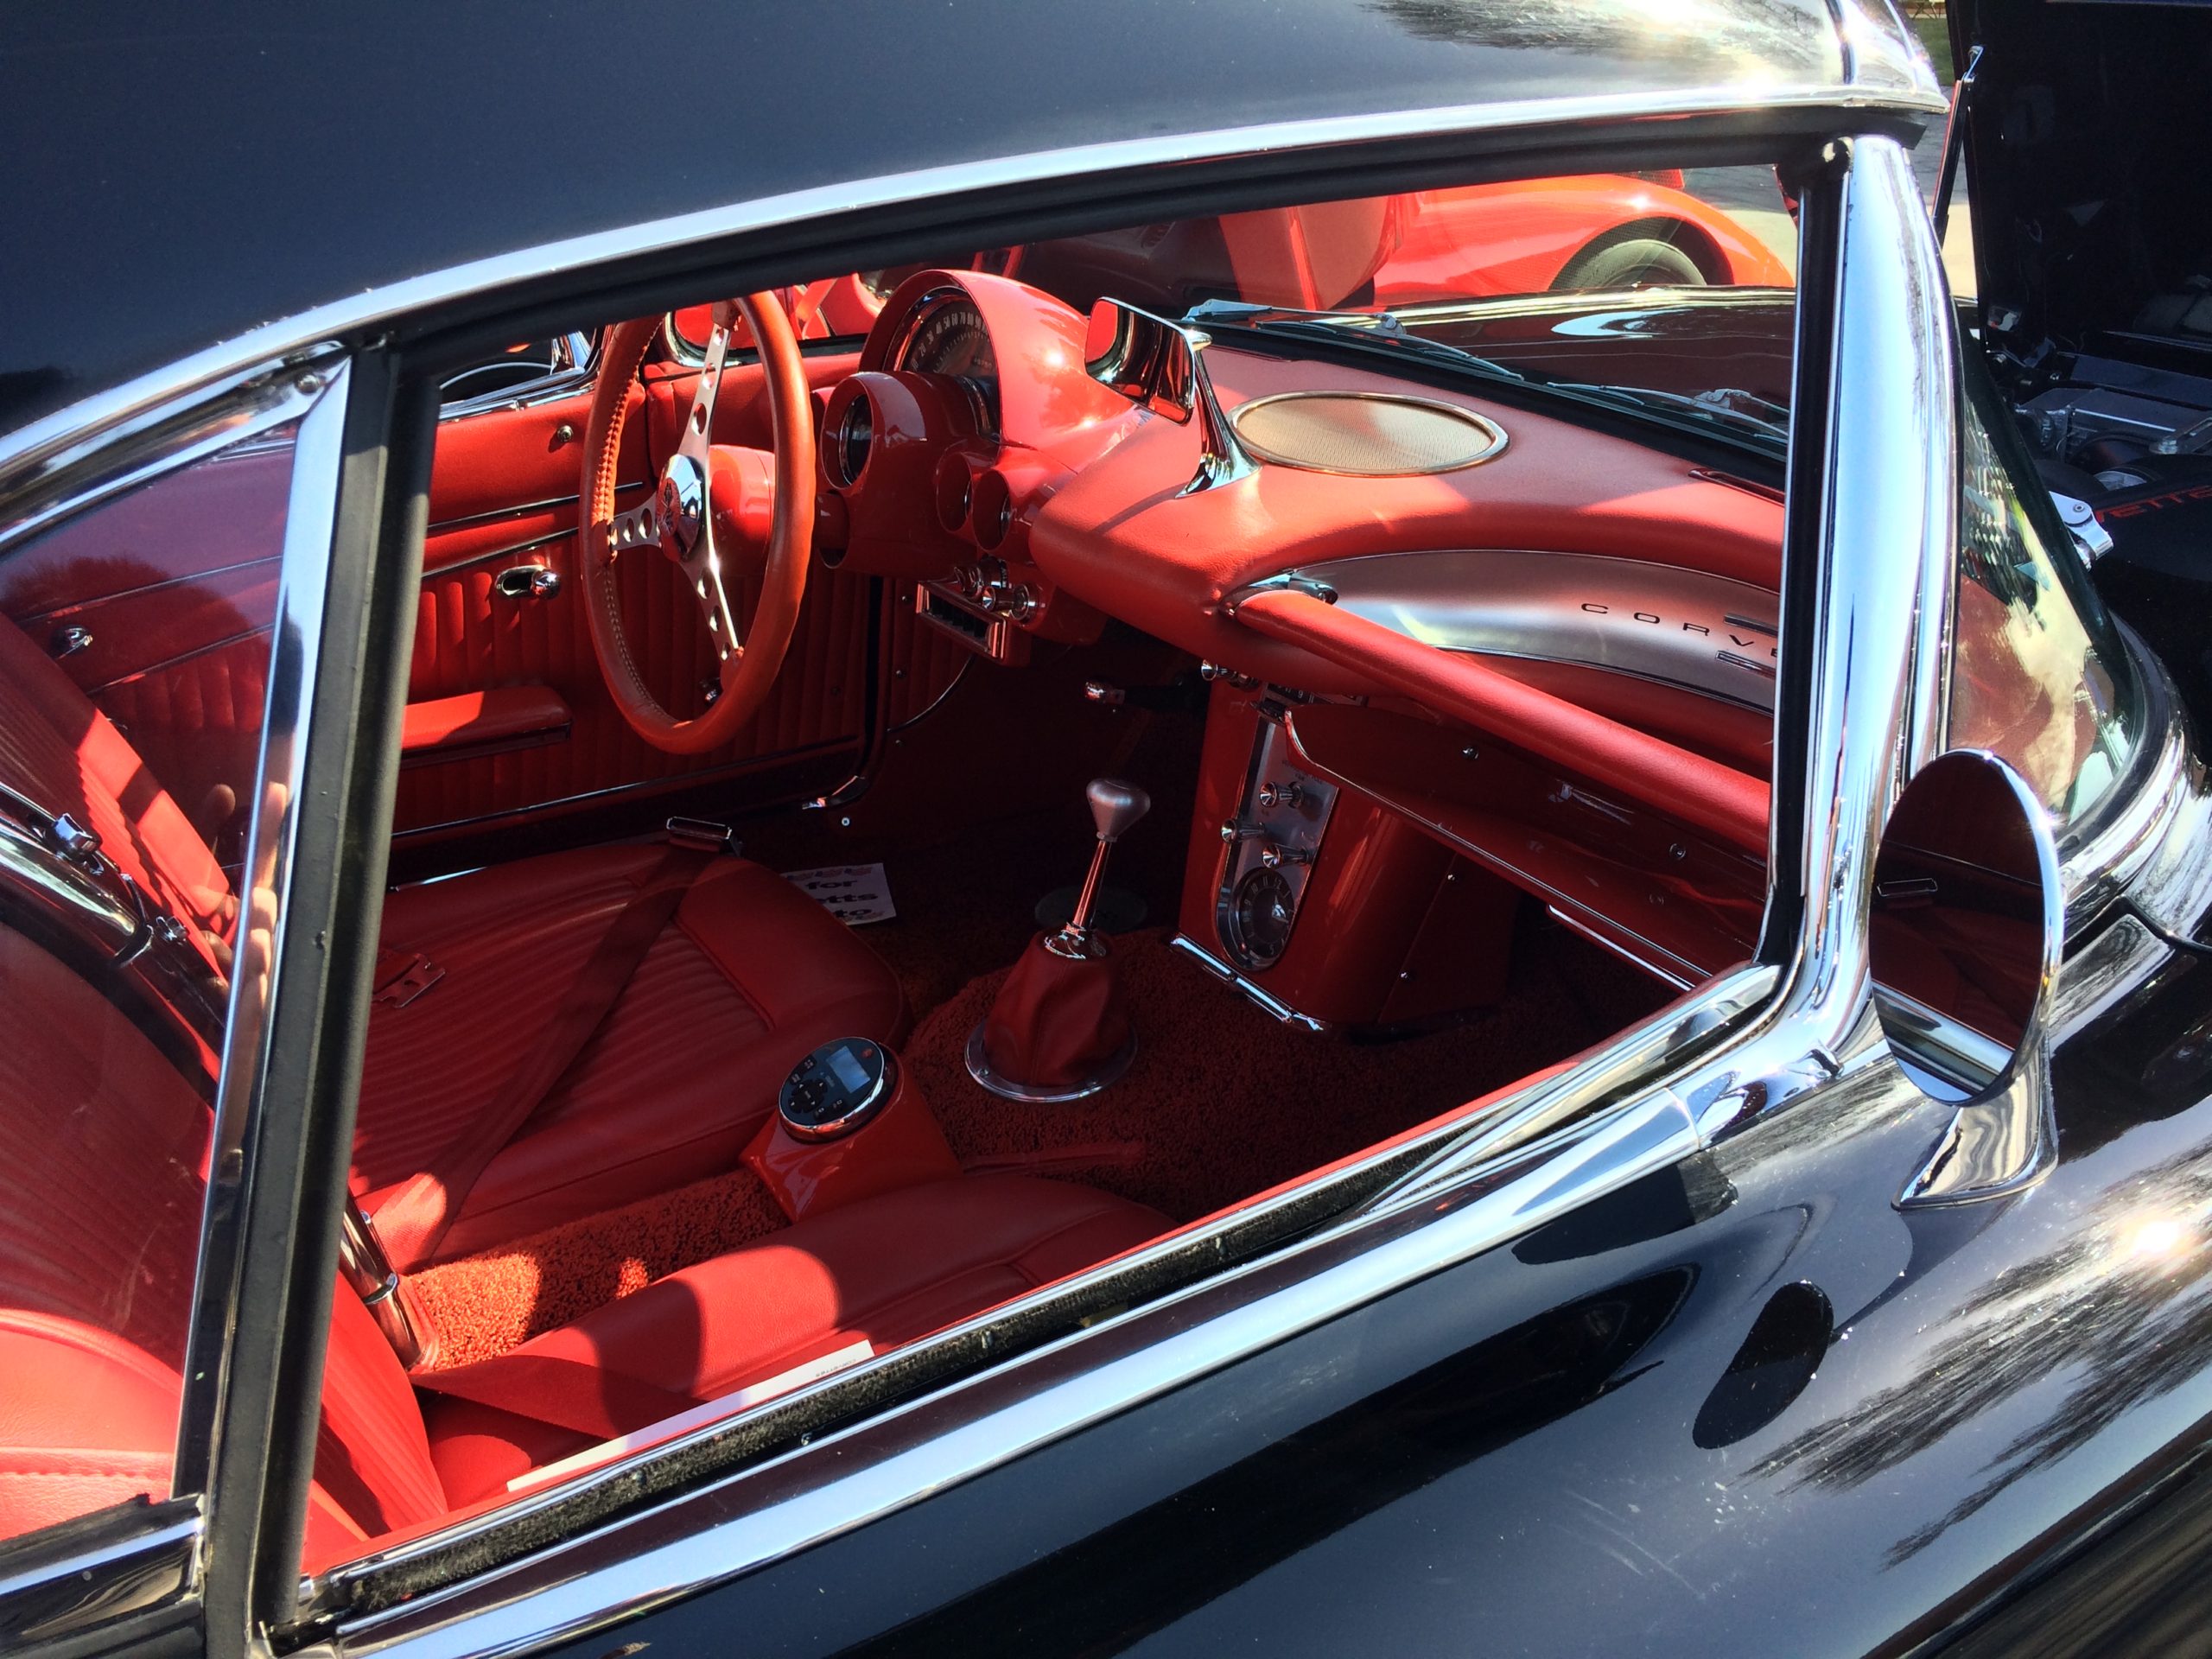
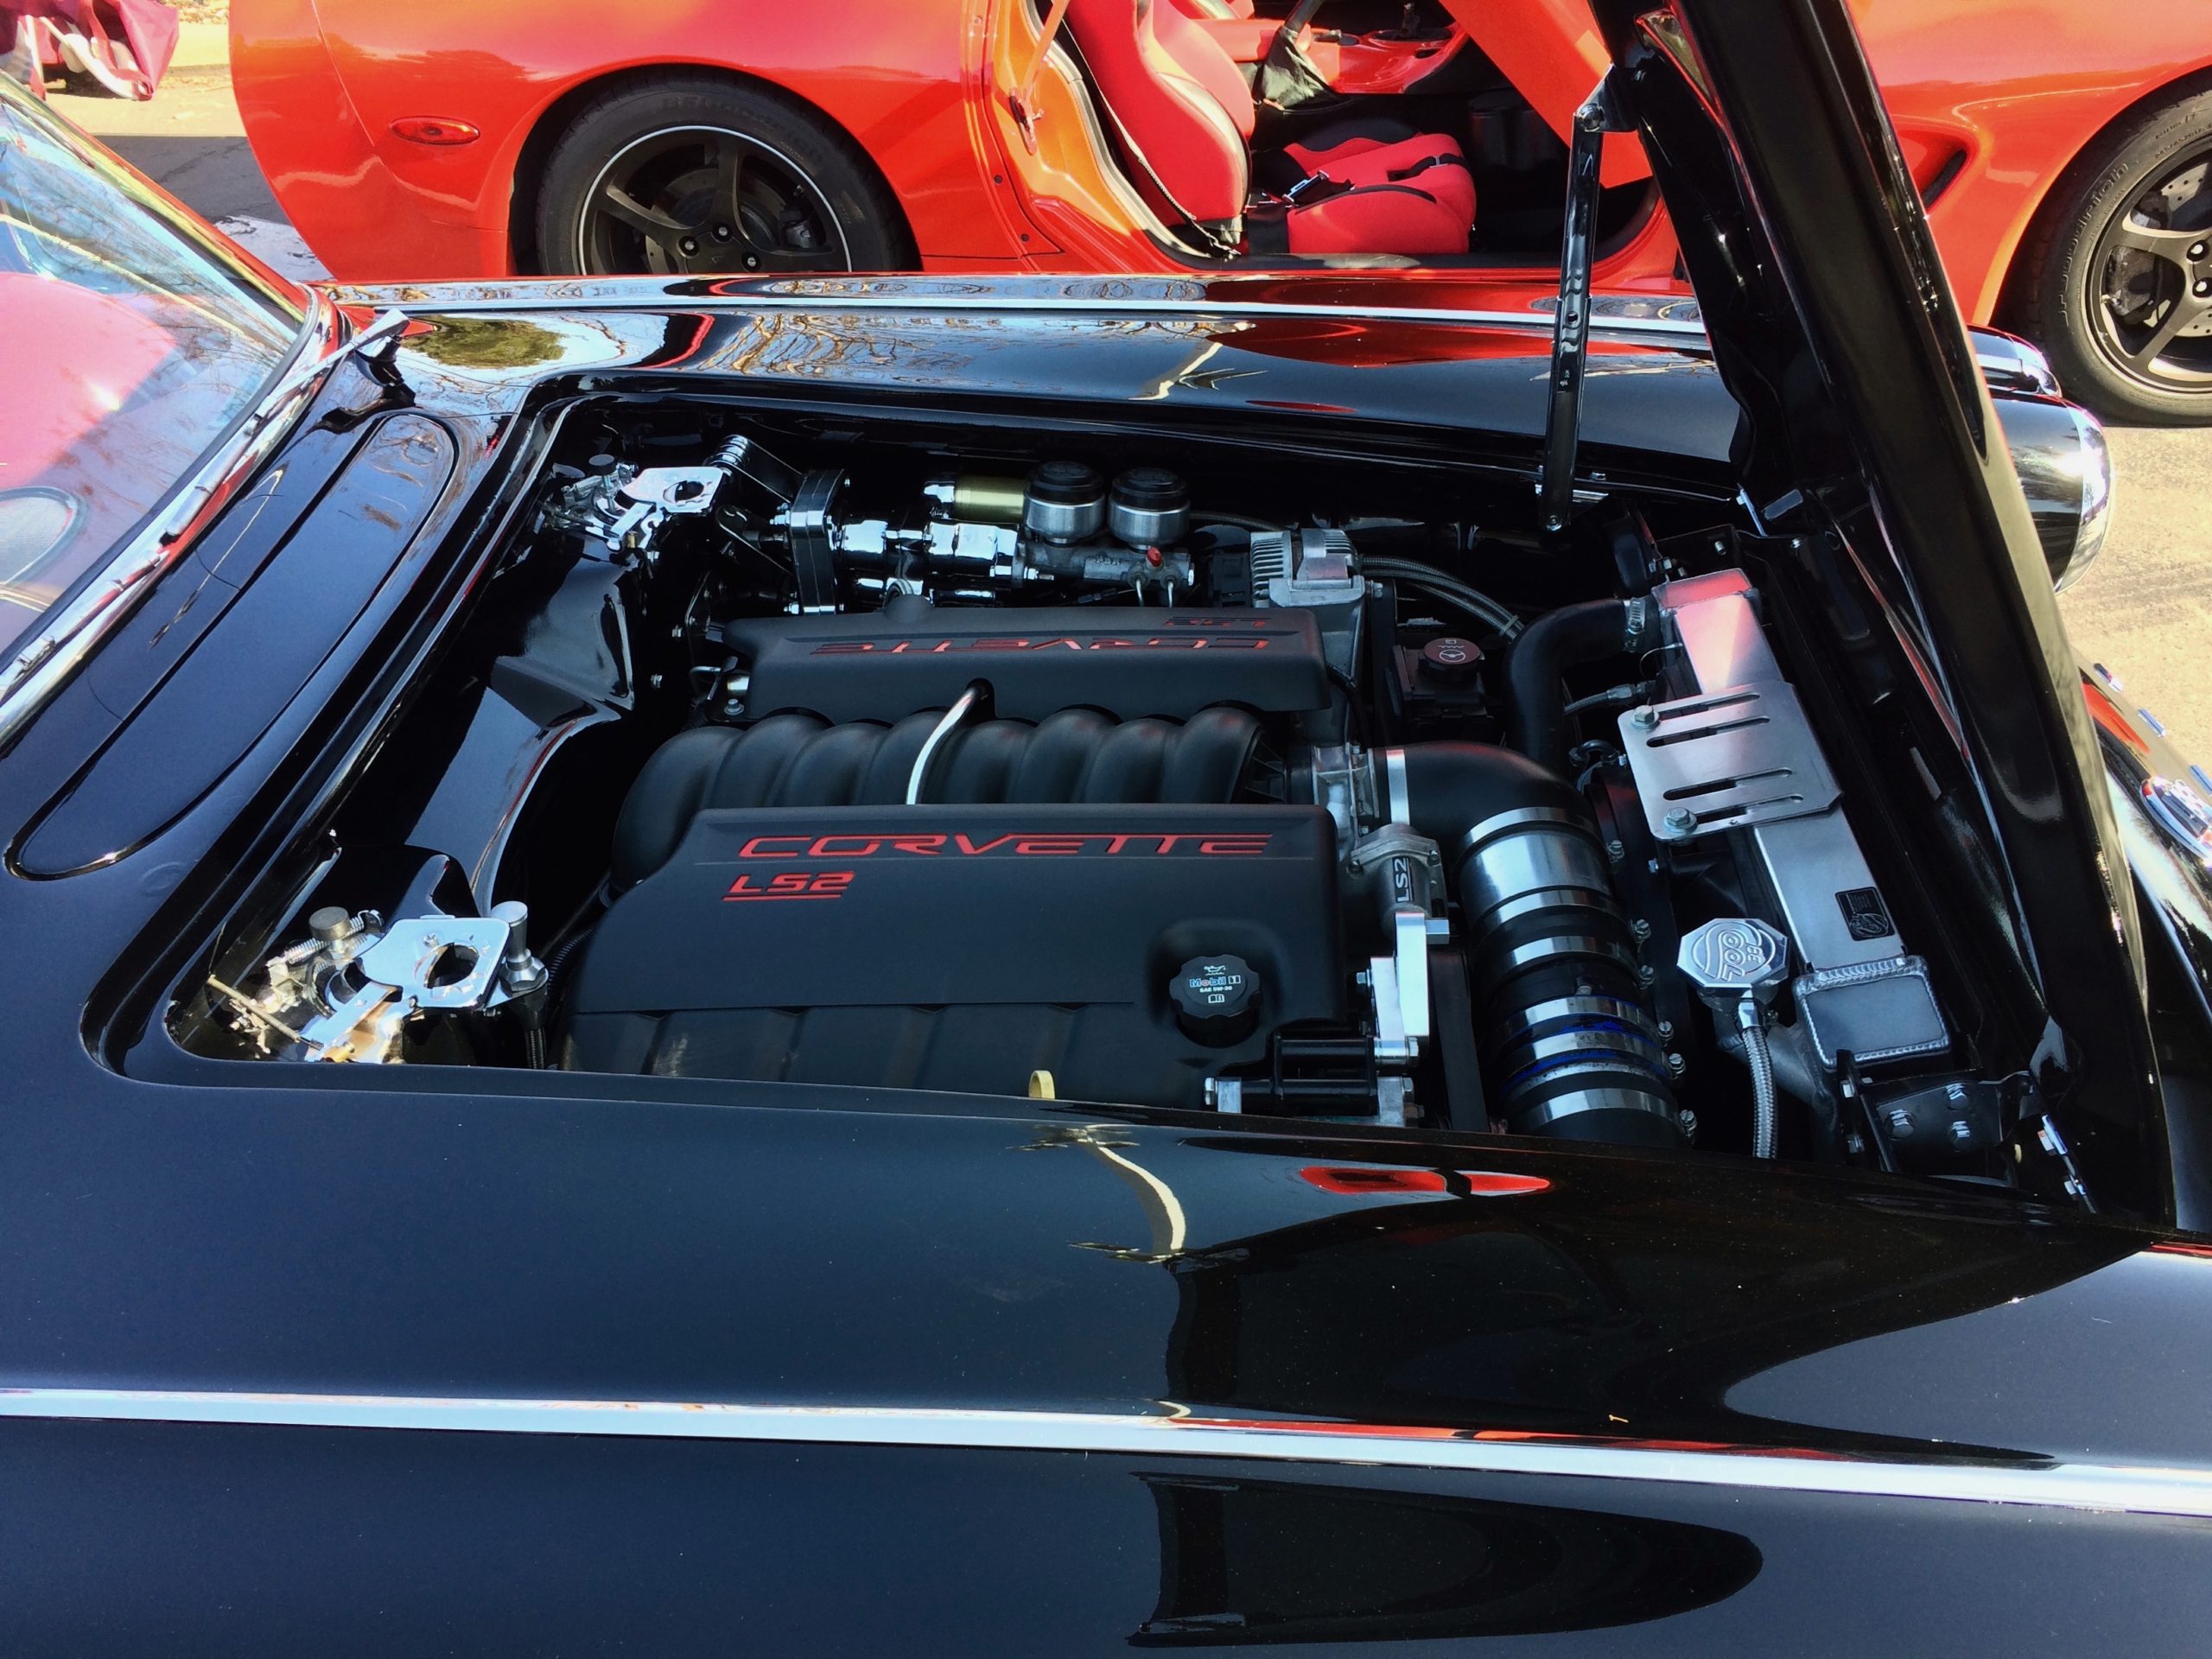
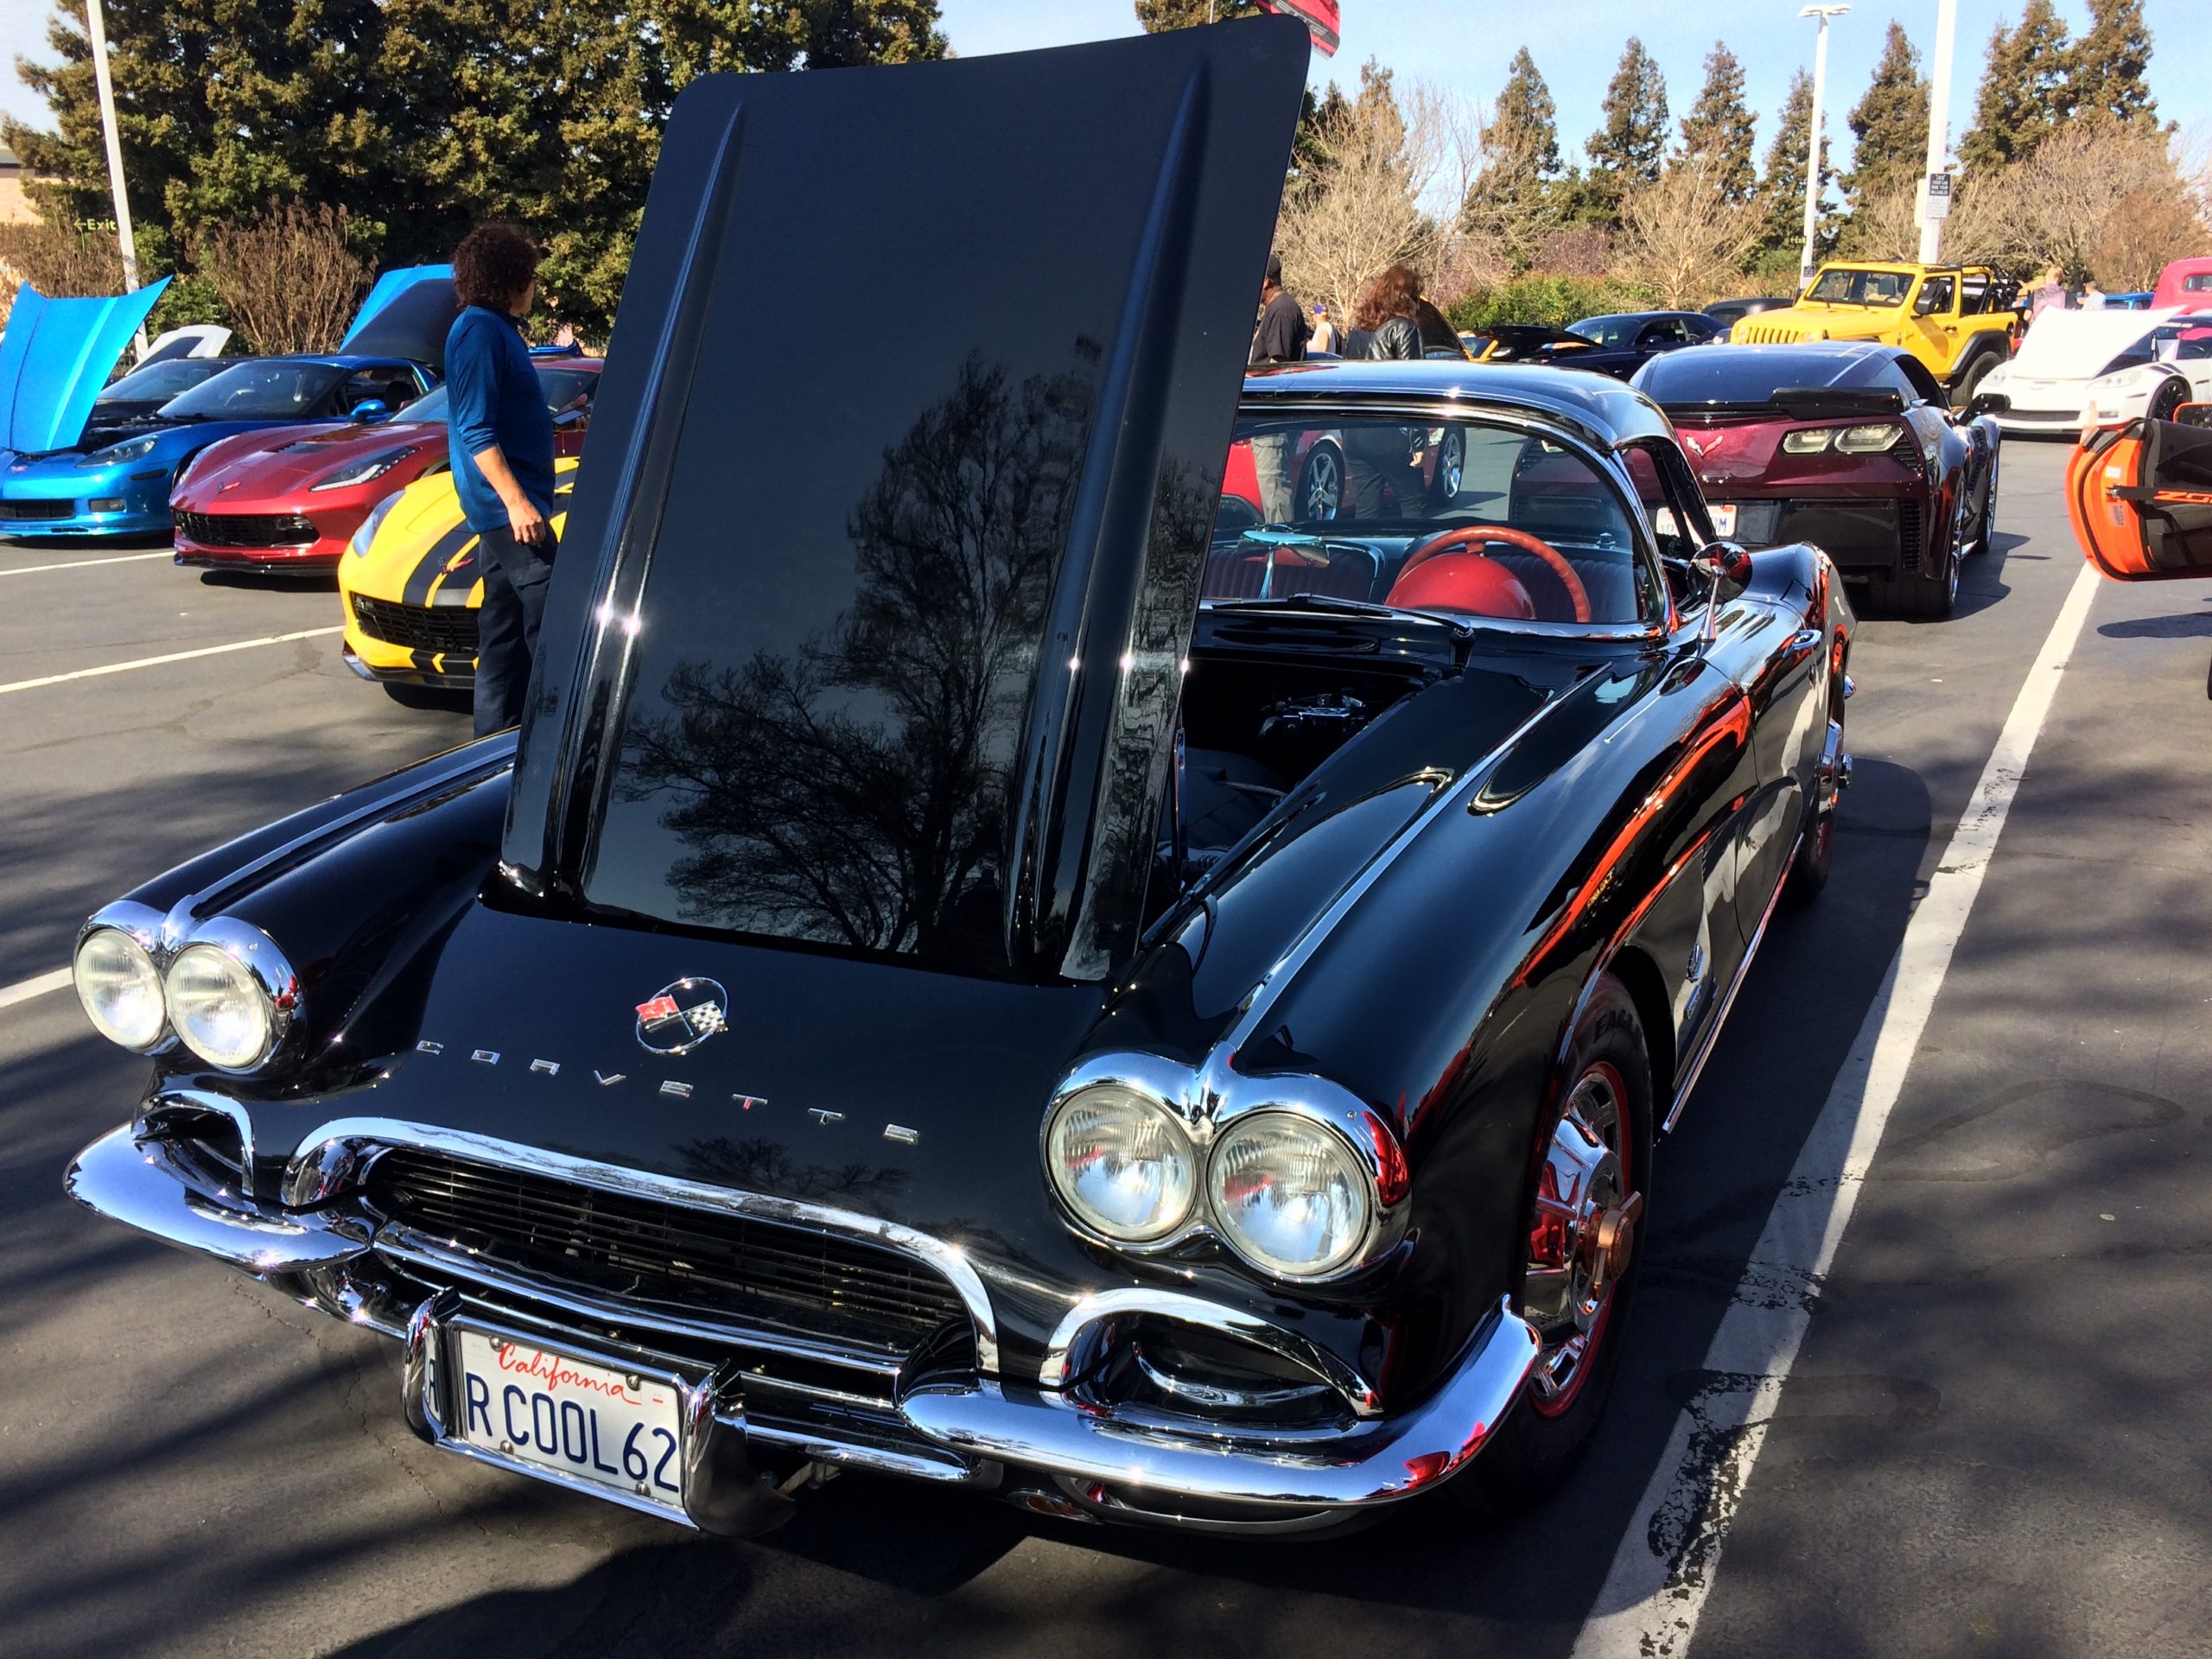
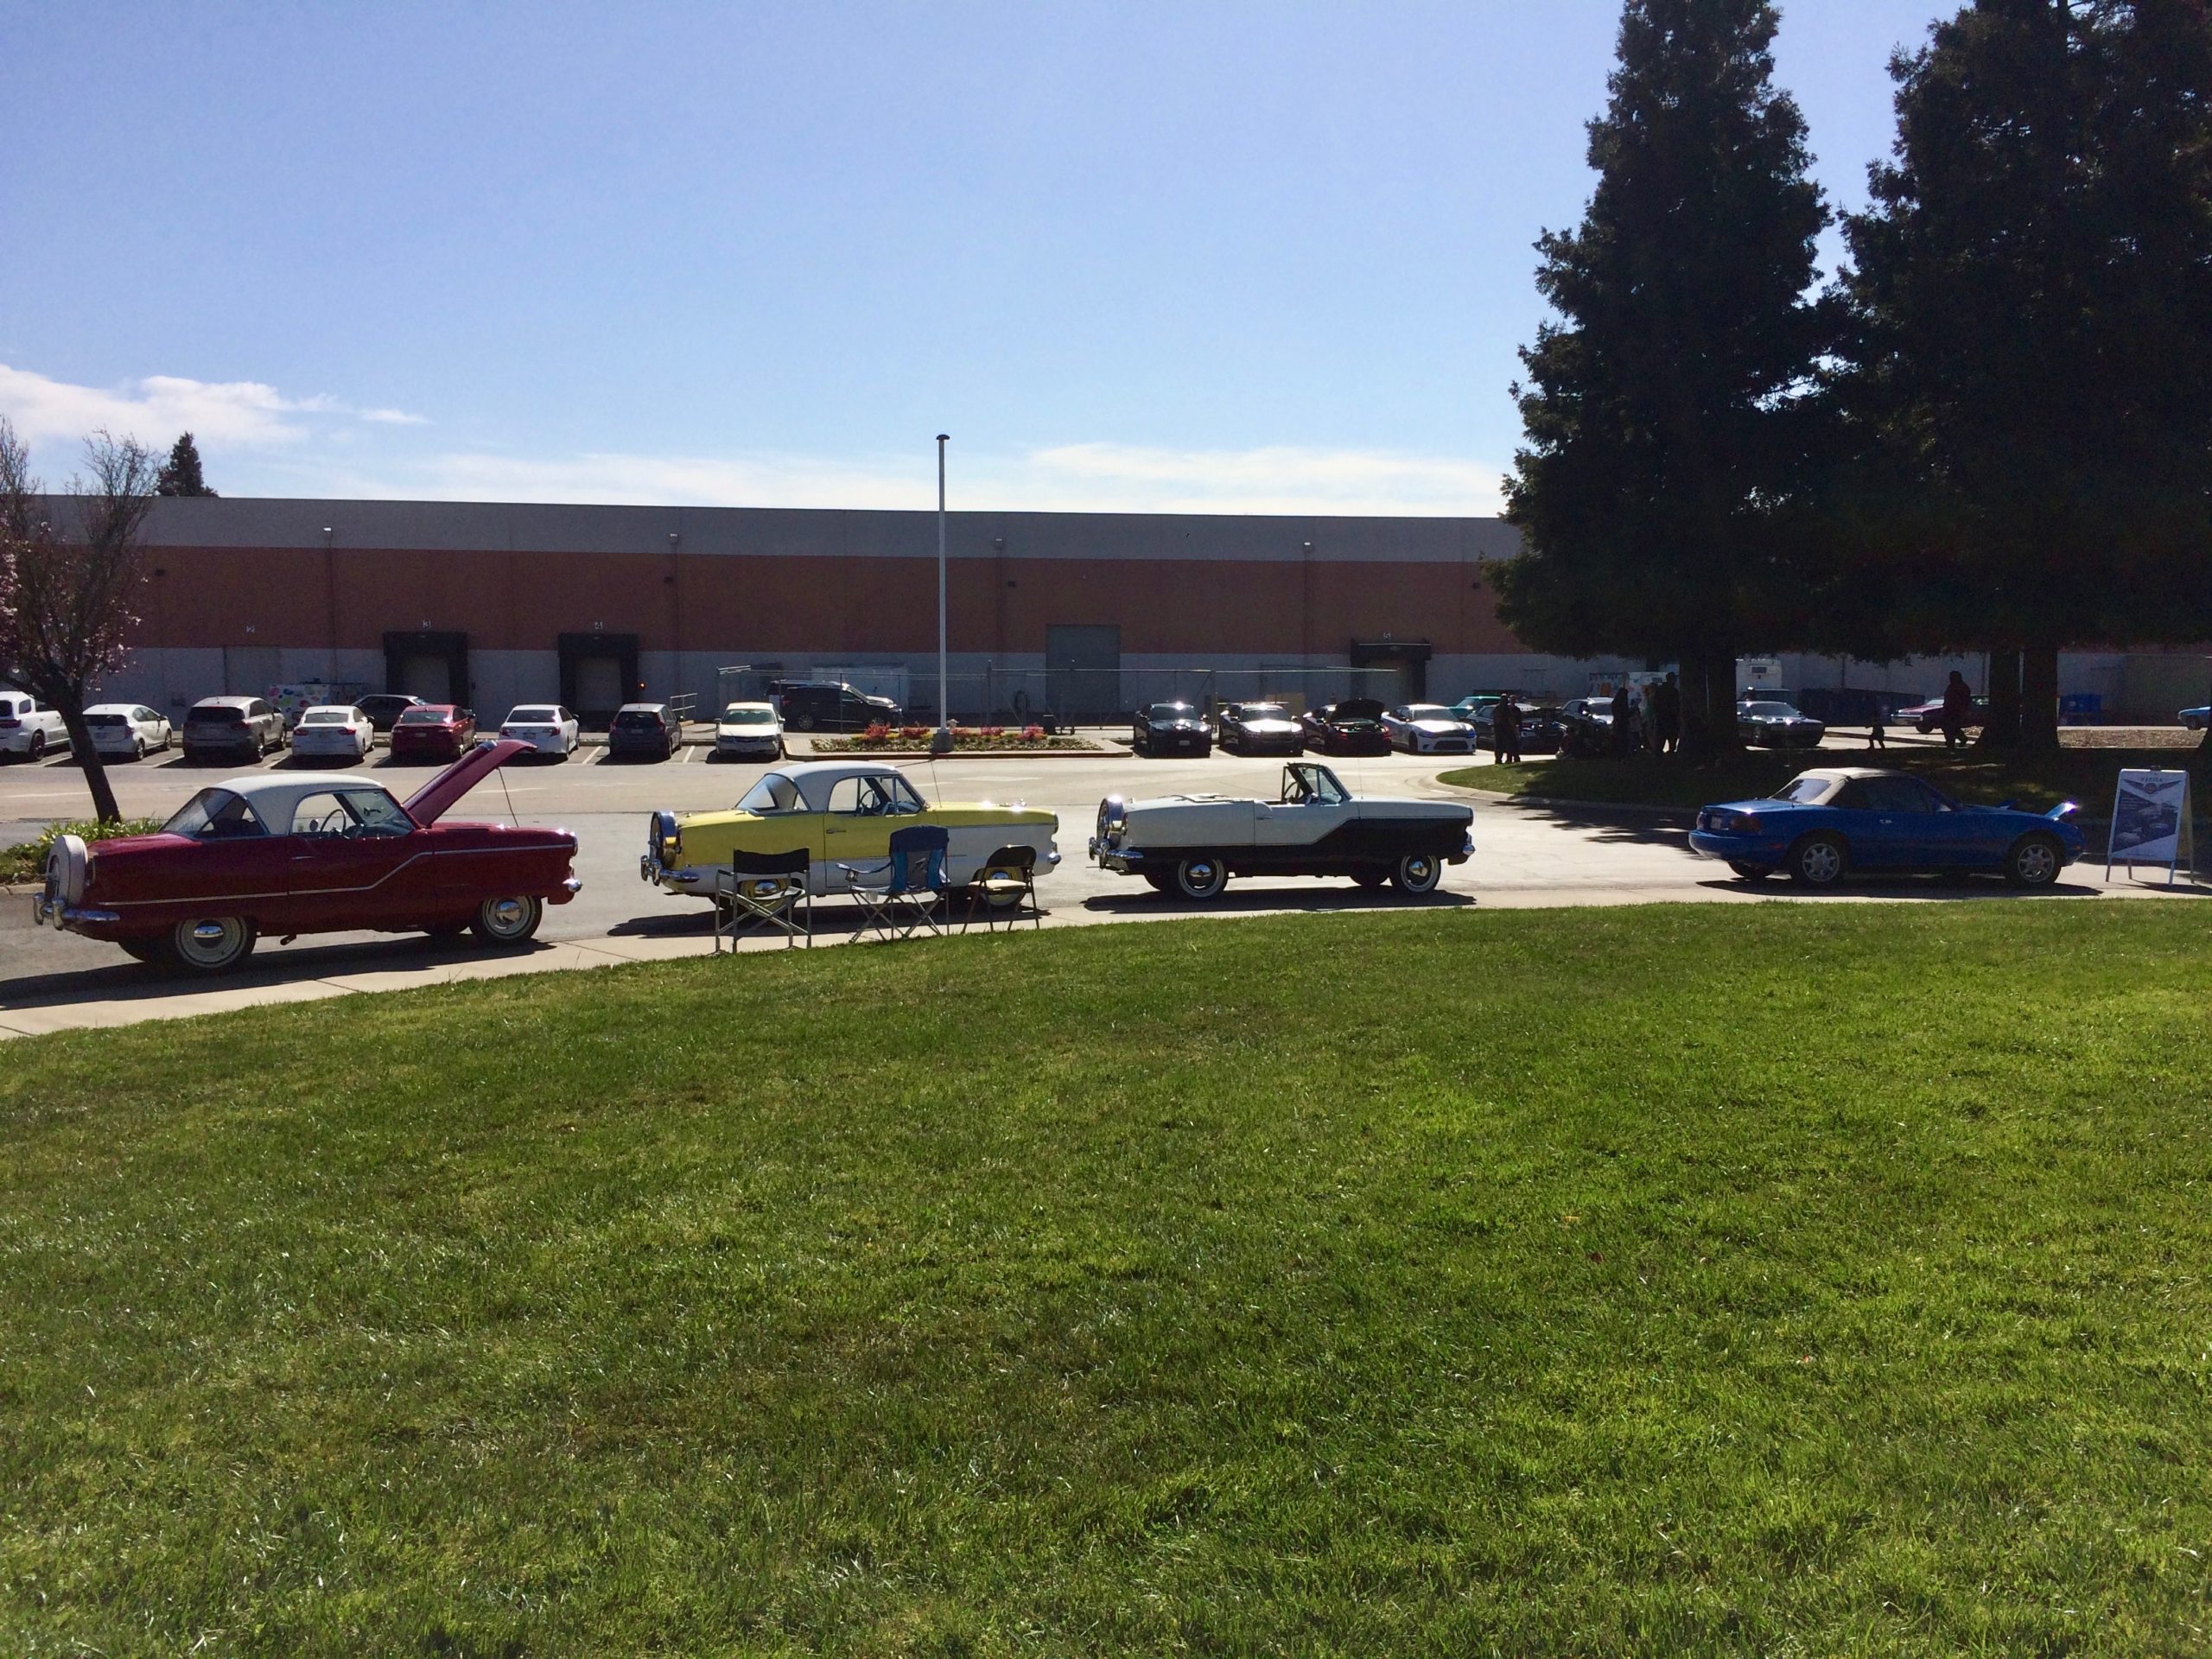
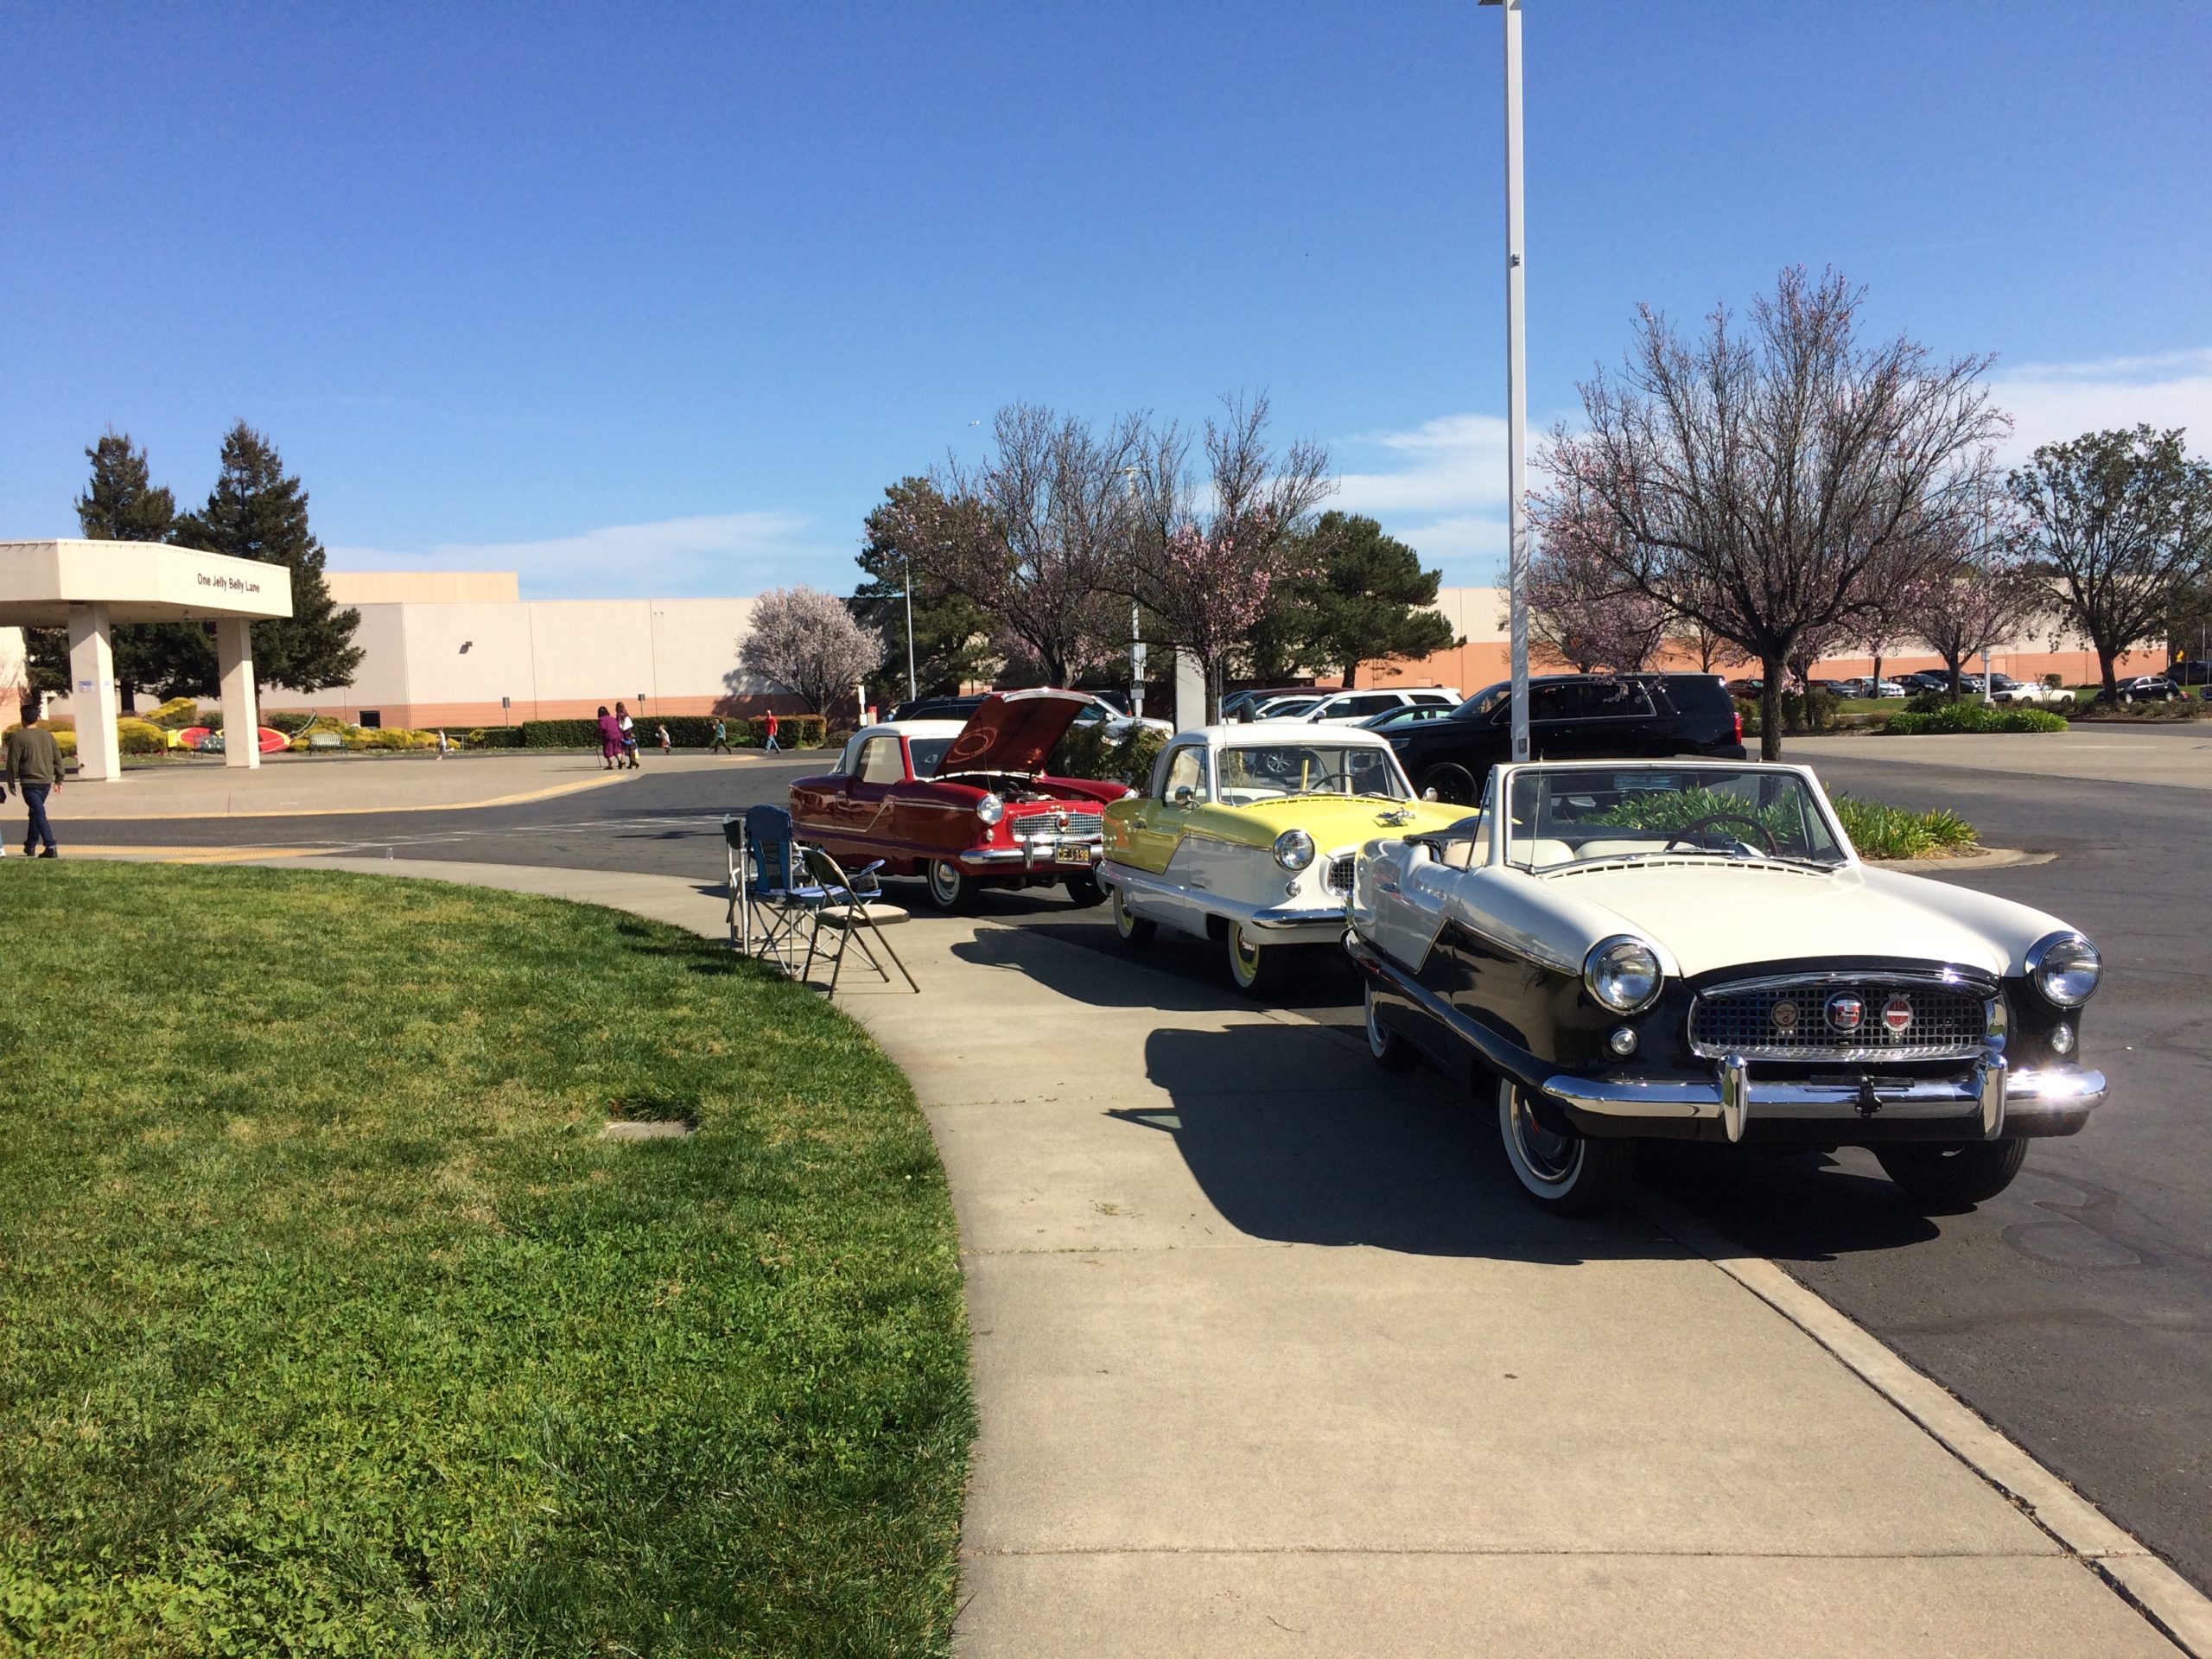
A few favorites from the show were this LS swapped C1 Corvette, a Mercedes-Benz W113, and three Nash Metropolitans.


This half detail was great fun. The hardest part of the project was not correcting both sides. My passion tells me “it would look so nice if you corrected both sides!”, but my logic pulls me back and reminds me that the vehicle stands as an educational and promotional model. She will remain half pampered for now.
I plan on bringing the MX-5 to more shows, so keep an eye out!
-Rio Hansen